HOBBY: Making Cobblestone Bases


As promised here is a step by step article on making your own cobblestone bases. A few months back I made some special movement trays for my WOTR Haradrim army using some sheet foam from Hobby Lobby to make a stone texture. I’d been meaning to try a similar technique to make a custom base for some one of my Warmachine minis, and my new plastic Protectorate warjack seemd like the perfect candidate.
The foam is Midwest Product’s Cell Foam 88. It is very similar in nature to the pink insulation foam that’s a favorite of modellers everywhere, except it comes in white sheets that are conveniently as thin as 3mm. Cut off a manageable sized piece and press it hard into something with a stony texture. I used a roofing tile that was in my garage, but a concrete sidewalk would probably serve the same purpose.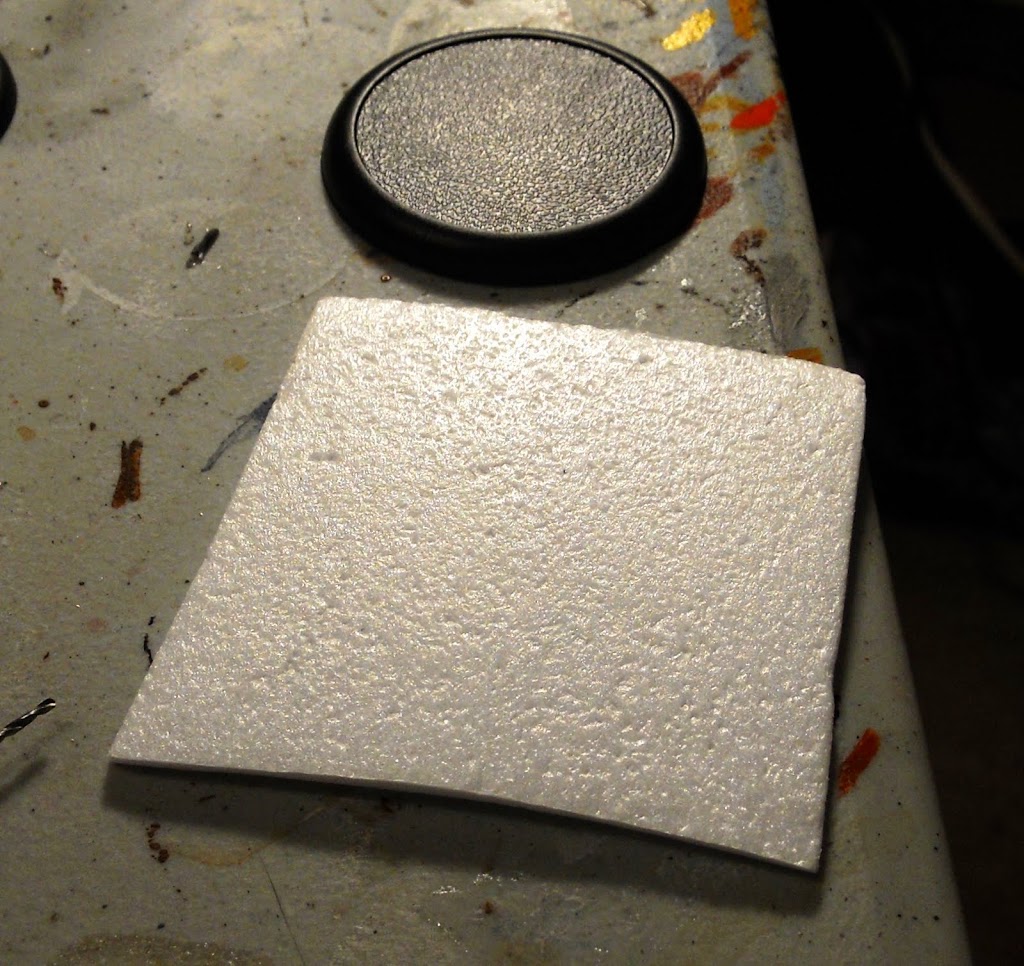
Press your base into it hard to make the outline of what you’ll need to cut.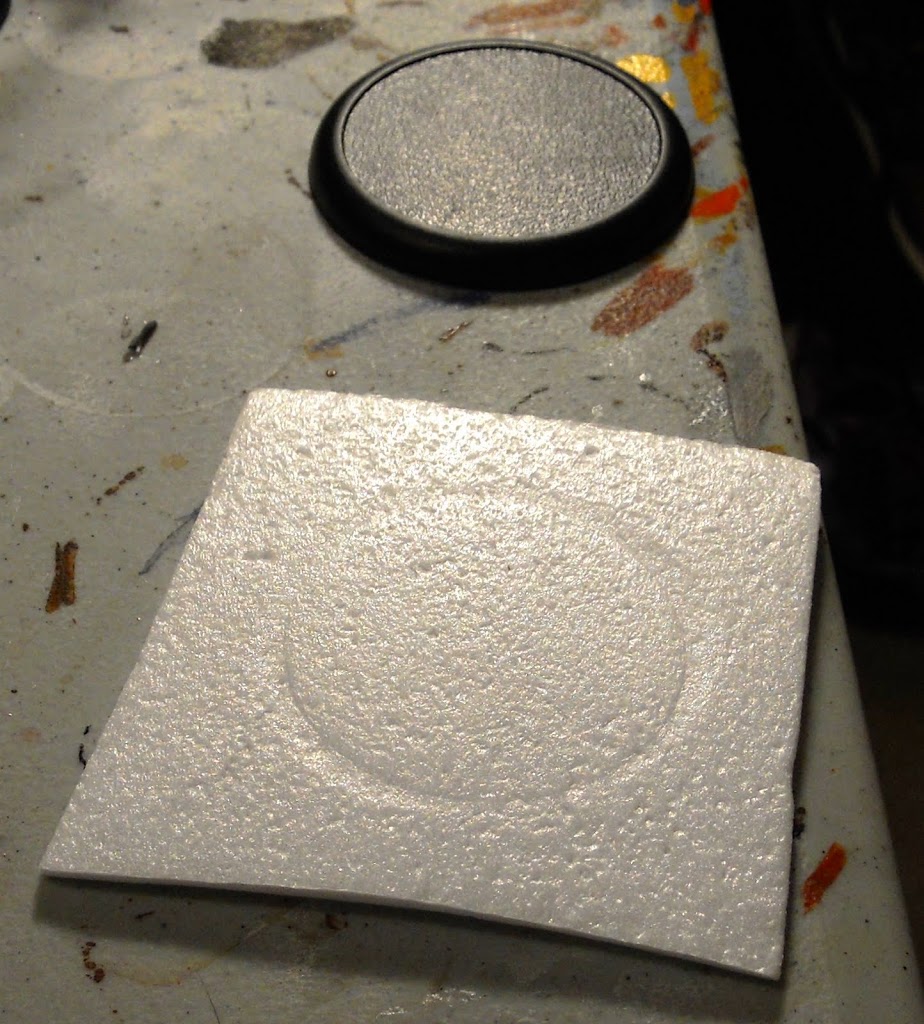
Once its cut out, carefully use an exacto or other sharp cutting instrument to shave off the excess material and bring it down to a reasonable size. We’re talking wafer thin here people.
Once you’ve shaved off enough material, use white glue to adhere the foam to the base. Then press it down on your textured surface again to really stuff it in there. Hopefully the foam will expand out a little into the depression. Clean up any excess glue that oozes out with a wet cloth. Then for the fun part. Use a pencil with an unsharpened lead to “draw” in the tile. Use multiple passes with gentle pressure to keep the material from tearing along the edges.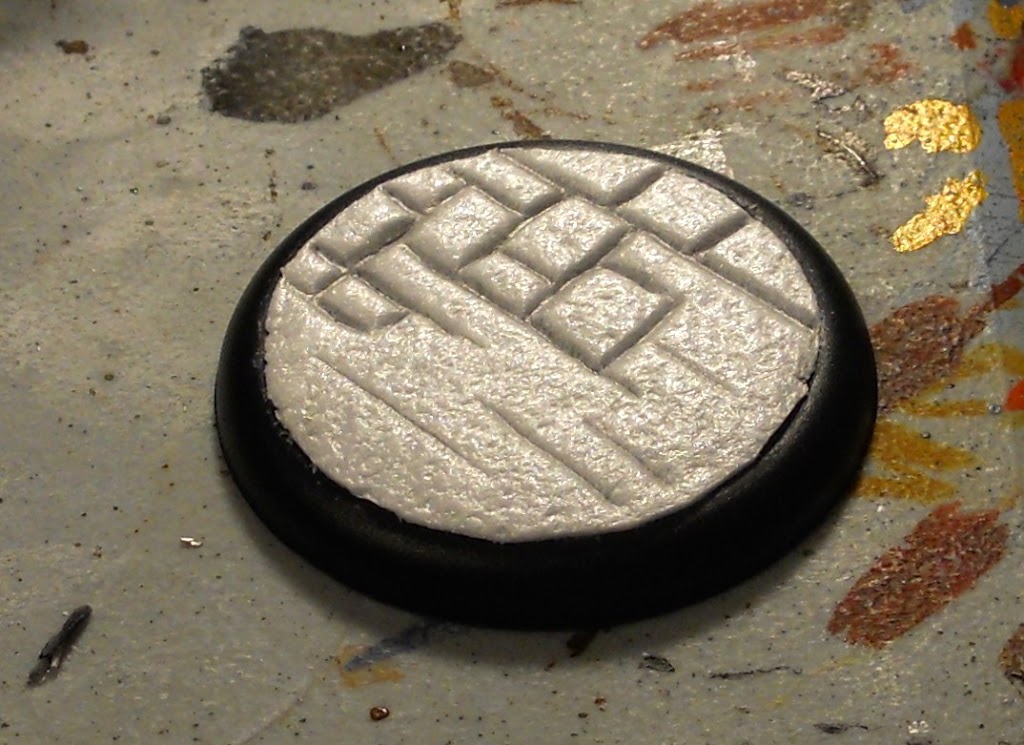 With all the stones defined.
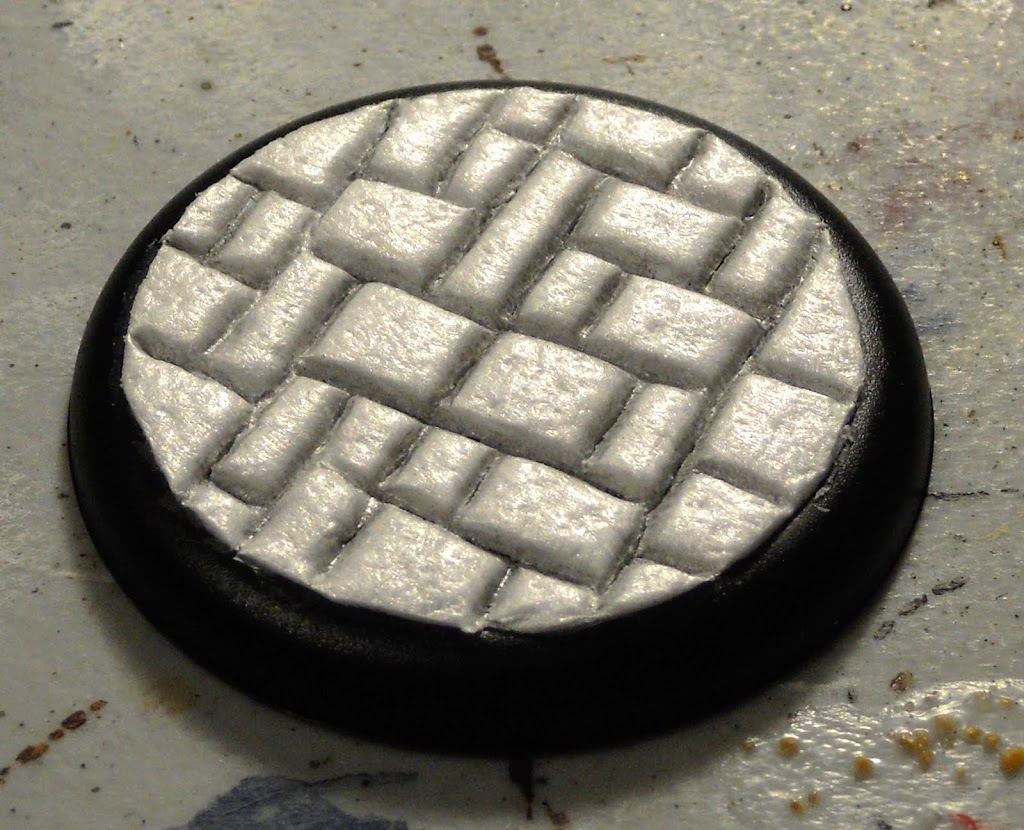 I want to make it look like this is from a ruined city so I add some gravel, using the warjack’s legs as a guide to make sure it still has a flat surface to stand on. I use this opportunity to hide some of the insert’s rough edges with the gravel. And so you can learn from my own mistakes, once I got the base finished and glued the ‘jack to it, I decided I had used a little too much gravel, and that more of the stone surface ended up obscured than I would have liked. In the future I plan to use smaller patches of gravel.
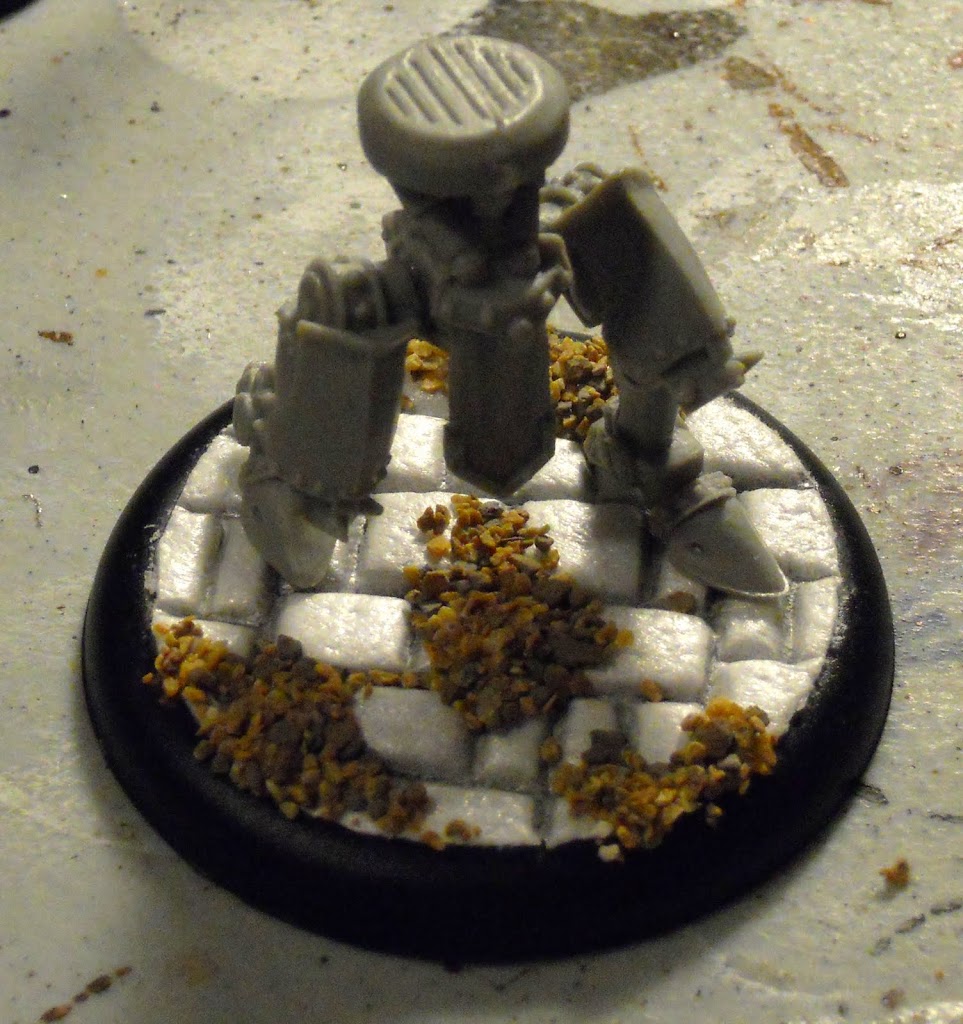 Since I want it to match the rest of my Protectorate basing, I paint it Vermin Brown. Then I give it a Devlan Mud wash, and drybrush it with progressively lighter layers of Bubonic Brown, Elf Flesh, and finally a mix of Bleached Bone and Skull White left over from painting the Warjack the base is for.
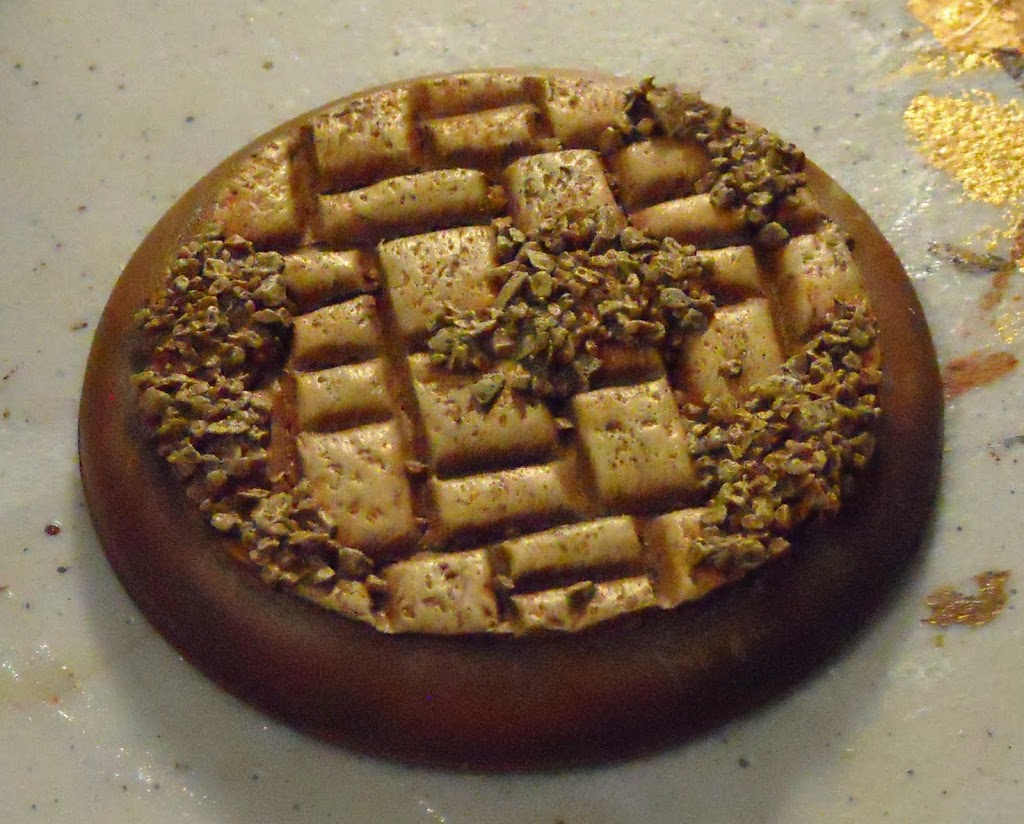 To mix up the appearance a little, I give some of the tiles a Devlan Mud wash. It takes a couple of coats to darken them up to the point I want. I also manually painted some Devlan Mud into the cracks because I didn’t feel the contrast was high enough. I actually think there was some Vermin Brown down there in the cracks that was still wet when I washed it in the first place.
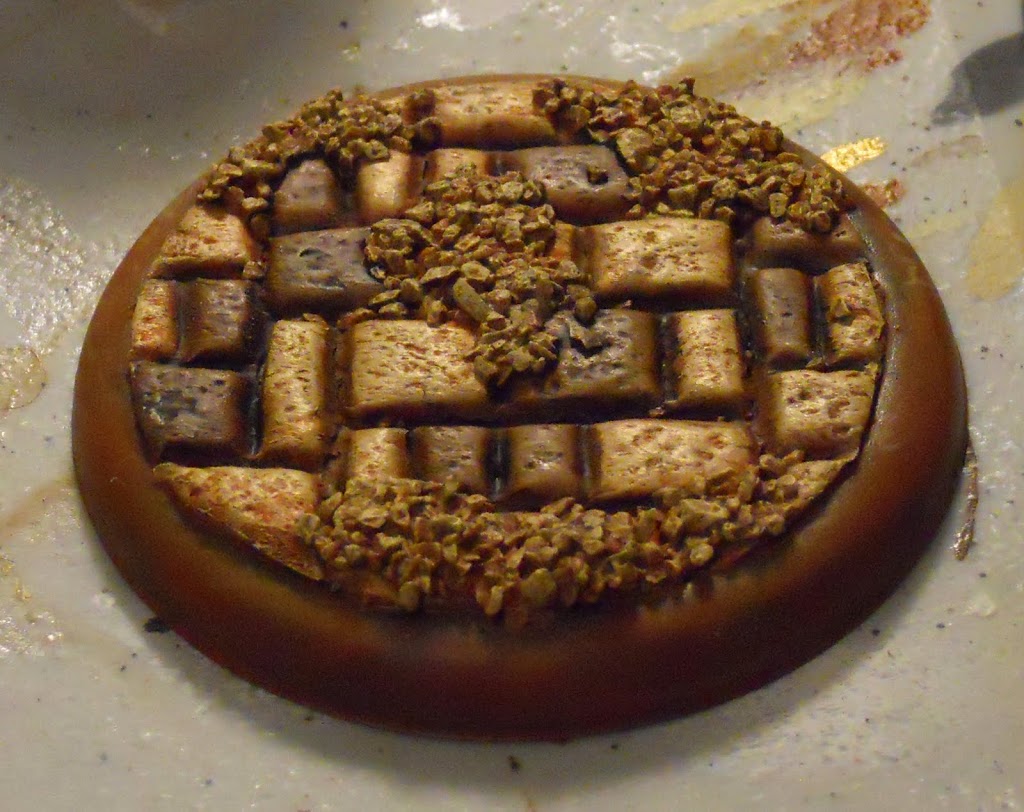 To keep up with the “ruins ” feel, I add some grass growing up from out of the cracks. The high viscosity super glue also comes from Hobby Lobby. You probably shouldn’t use a low viscosity super glue like Zap-a-Gap to glue on grass. It’ll creep up the bristles and onto your fingers and get in all the cracks too. The high viscosity superglue will allow you to gently adjust the bristles with a hobby knife or sculpting tool to get them to hold a more natural look. One word of warning: If you spray your minis with dullcote or some other sealer (which I highly advise) you should probably hold off on adding the grass until afterwards.All that’s left now is to give the rim one final coat of Vermin Brown to even it out, and its ready for your warjack, or whatever else you might have been painting.
~ So I hope this comes in handy to anyone out there looking for inspiration when basing their army, whatever the game. If you’ve got some great ideas of your own make sure to take some pictures and post them in the BoLS Lounge.


