40K: Assault Phase – Tactics for Victory


Today let’s cover many of the tactics used during the assault phase, and show you how to make them work for you!
Hello everyone! Steven Pampreen here! You may have heard of me as the guy who keeps bringing assault orks to a gun fight. This article will cover many of the tactics used during the assault phase, and show you how to make it work for you!
Assault Phase 101
While playing my Orks at Nova, I noticed a common thread among my opponents.
Do to the overwhelming popularity of shooting — even with NOVAs unique terrain and missions — many of my opponents were unfamiliar with the assault phase. As someone who has decided that he likes torturing himself by playing a pure assault list, I’ve become very intimately involved with the assault phase. So I’m going to talk about the most common misconceptions I ran into.
Unit by Unit activation
You activate each unit one at a time, then you move onto the next unit.
This is a basic of the assault phase, and has a lot of repercussions. The most common one I found was someone charging a blob of orks already in assault.
The charging unit kills a couple orks. Orks are pretty easy to kill, so I expect to lose a few. I pull these boys from the unit the boys were already fighting — not from the unit that just charged. Now when it’s the unit who started the fight phase in bases turn to fight, they’re no longer within an inch and they didn’t charge so they can’t activate. By pulling the boys close to the first unit, I’ve kept his unit from attacking mine.
Let’s say my boys were engaged with Cawl previously. I have prevented that Cawl from clobbering my boys with 2d6 + 5 attacks in that assault phase. Sure, he can charge me next turn or shoot at me but I just stopped him from doing any of that for a whole turn. If this happens at the end of a game, it can be the difference between a win or a loss.
Who Can Activate
You can activate any unit that charged or is within an inch of an enemy unit.
A big mek and a boys squad charged a scout squad, the boys swing wipe out the scouts. Now I can activate the big mek to fight. He piles in 3 towards the nearest enemy, then swings (at nothing), then consolidates 3 towards the nearest enemy.
This means that even if there is nothing left to swing at, you can gain 6” of extra movement by charging a unit.
Being In Range
A model within an inch of a model within an inch can swing
GW meant for only 2 ranks to fight. However, they did not consult their freedom unit to metric conversion table! A 2.5 centimeter base is less than an inch(2.54 centimeters). This means that the second row is within an inch and the fourth row is within an inch of the second row.
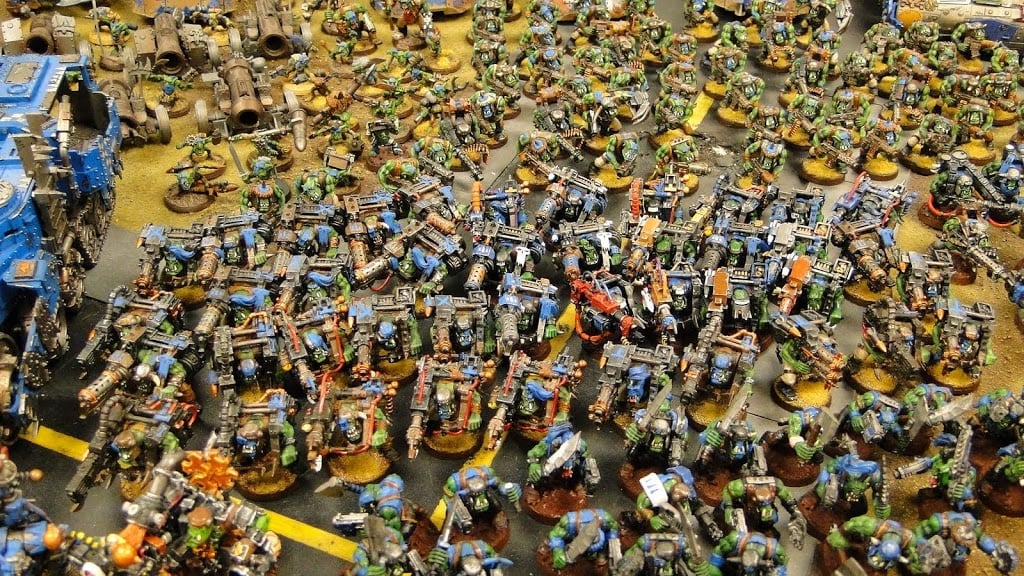
So basically, 4 rows of orks can fight if they’re all base to base. Applies to any horde army on 25mm bases.
Falling Back
Falling back models following normal movement rules.
Many people think that falling back works like 7th edition Hit and Run where you can move through models. That’s not the case unless they have fly. The obvious repercussion being, if you can’t move through models and there is nowhere to go, then you’re stuck.
So on a round base this means three points of contact where you cannot find 180 degrees without a model basing you. It doesn’t matter if you can “scooch” him out. If your opponent can find a single model in the unit which meet those 2 conditions the unit is trapped. This means that it’s shockingly easy to trap a model.
This gets even better if the charging models have the ‘fly’ ability. They can charge all around the enemy unit. I cannot tell you how many times I’ve trapped large models, like a knight, with plague drones.
Charge Movements
You move a model from the unit within 1 inch, otherwise move wherever.
You just have to get a model to swing(within an inch) and then the rest of your unit can go anywhere (outside an inch of an enemy unit you didn’t declare). This leaves you a heady amount of flexibility on where to move, use it wisely! This is a great place to zone out deep strikers or grab objectives with extra movement.
However, don’t confuse the charge phase with pile in and consolidate.
 Pile in and Consolidate
Move towards the nearest enemy Model.
Importantly, this movement can go within an inch of any enemy unit.
At the beginning of the edition, I suffered my own misconception and spidered out ending nearer ANY enemy unit. You have to go closer to the nearest enemy model. However, you still have a lot of latitude with how to move your models.
“Towards a Model” Movement
Towards means you end closer, that’s it.
You must end closer. Which means any distance closer in any direction you wish. So my Stormboys moved from a hairsbreadth away to base to base but on the opposite side?
That’s legal, I’m closer.
Also with this rule and Xeno’s paradox means you can perpetually move closer and never be base to base. I think a rule about always ending at least a half inch closer would fix a lot of the worst assault shenanigans. However, until “Double Quad” stops being an acceptable weapon description I’ll keep doing what I have to do. Plus these tactics add a lot of depth to the game.

Heroic Intervention
End of the charge phase pile in towards the nearest enemy model.
Heroic Intervention means that if a character is within 3 inches of an enemy unit at the end of the charge phase they can “Heroically Intervene”, basically a free pile in movement. They have to be within 3 inches of the ENEMY unit not the unit that was charged. This also doesn’t circumvent the rules for fight phase activation. If you are within 3 inches of an enemy unit, you try to pile in but you’re trapped by your own unit and you can’t get within an inch. Unless that situation changes, still no heroics for you.
Treat heroic intervention as a free 3 inch pile in at the end of the charge phase if your opponent was kind enough to go within 3 inches. Once you’re in the fight phase, the intervention is over and treat the character as if that’s where they were standing when the assault was declared.

Ineligible Receiver Downfield
You must declare units being charged during charge phase if you want to attack them in the fight phase.
People are becoming more and more accustomed to this but it’s still worth mentioning in any article on assault mechanics. You can’t attack units on the turn you charged that you didn’t declare a charge against. As a savvy assault player, you can use this to your advantage, by surrounding a model you cannot actually attack due to not declaring them as a unit you were charging. In turn locking yourself in combat during your opponents shooting phase.
So Much Extra Movement
You get more movement in the assault phase than most units get in the movement phase.
We used to call the extra movement from charging slingshotting, but now its basically galactic traveling. You get the 2d6 charge move, and two 3 inch movements towards the closest enemy models. All these movements help you get up the table and also help control the board.
Also some units get to move further such as Berzerkers and Hormagaunts.
Well hopefully this article helps some of you with the assault phase and clears up some of the confusion behind it. Once you master the assault phase it will help you to master eighth edition 40k.
~Let me know what kind of tricks you like to pull off during the assault phase in the comments.


