WFB: It’s Time to Play – Part 6: Turn Sequence
7 Minute Read
May 10 2014
Advertisement
The steps to each Fantasy turn is broken into four steps…which are broken into more steps…which are… Here’s a summary to help muddle through.
It is helpful to note that although a turn appears to be fairly long when it is written out, they can go faster or slower depending on the armies on the table, as well as the player knowledge of the game and rules. Unlike other games the sequence of the turn is rather important in Fantasy and every phase has its place and the ability to affect the other phases.
Turn Sequence
Page 178 of the Rulebook is very helpful when you are just getting started with Fantasy (or if you are like me and forget which comes first Compulsory Moves or Charges), but not every single detail is listed. If you want more in depth details flip to page 12 and start from there.
 Each turn is broken into 4 phases that make up the turn for each player:
- Movement Phase
- Magic Phase
- Shooting Phase
- Close Combat Phase
Each player gets a chance to do all 4 of these phases to complete the full turn. If for any reason both players are not going to have time to complete all 4 phases then the turn should not be started–this is important in tournament play.
Movement Phase
The Movement Phase is broken into several sections. These are:
- Start of Turn
- Charges
- Compulsory Moves
- Remaining Moves
Start of Turn
What I always found irritating is that I had to remember where Animosity, Stupidity and Rally checks had to take place all on my own, but if you read page 15 it actually says “Some models have particular actions they must take at the start of the turn” and this includes Animosity and Stupidity and any other actions that are to be taken at the “Start of Turn” such as Magic Items like the Potion of Speed or the Potion of Foolhardiness that state “The…can be drunk at the start of any player’s turn.”
Advertisement

Missing this “Start of Turn” step can actually make a mess for the rest of the turn as far as your opponent is concerned. I once played against an Orc and Goblin player who forgot to roll his Animosity test and steam rolled through a unit of Pegasus knights. It is very unlikely that he would have failed his Animosity test but on the chance he did fail it the outcome would have been very different for me as I would have moved those Pegasus knights before his next turn. Which was proven by him failing his next roll and my knights charging and ripping through his unit.
Forgetting to state you are invoking things like the Potion of Speed have caused issues in tense games where using it is the difference between winning and losing a game so I recommend that you pay attention to the items you gear your army with so you know when they are to be used.
Charges
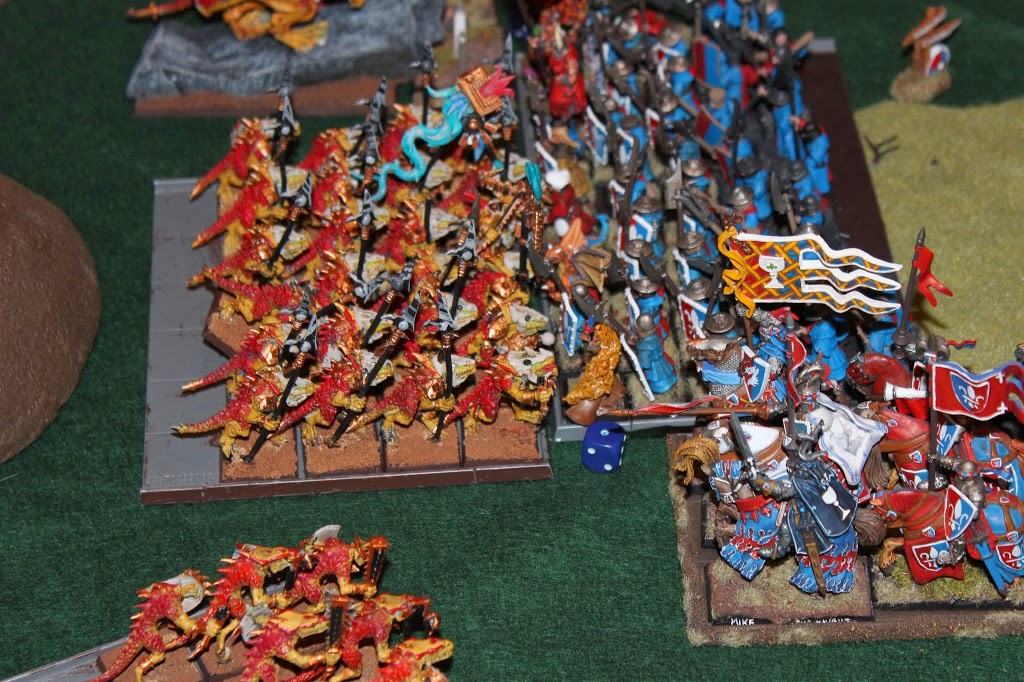
You declare a charge, your opponent reacts to the charge, and repeat.
Key things to remember in the Charge phase:
- You move all the charges AFTER all the charges have been declared and the reactions resolved. This is a common error made in games. Often people will charge, react then move the charge, which changes the line of sight for other units which might allow a unit to charge which otherwise would not have been able to do so.
- The order of moving your charges though does not matter, you can move them in any order you want. Keep in mind though if you move the wrong one first you might block another charge from happening. Only exception is when you have multiple units charging a unity they are moved at the same time.
- You can declare a charge reaction to every charge made. For example if I charge a unit of 18 Warriors with a unit of 20 men at arms, the Warriors are going to hold but if I further charge them with a unit of 15 Grail Knights the Warriors may decide to flee from the Grail Knights.
- You can only declare the charge reaction of “Stand and Shoot” against one unit.
- If your opponent flees from combat as a charge reaction you can try to redirect and charge a different unit.
- If you charge a unit that is already fleeing it keeps fleeing.
 Compulsory Moves
Perhaps the most awkward phase in my opinion.
During the Compulsory Moves phase you:
- Rally fleeing troops first
- Other Compulsory Moves – units that move in this phase are specified in the army book rules that their movement occurs during this phase. Such units includes things like Pump Wagons and Spawn
Non-Fleeing units that move during this phase count as charging if they come in contact with an enemy unit.
Remaining Moves
This is when you move everything that has not yet moved.
Key things to remember:
- You can March (move double your movement)
- If enemy models are within 8″ you must do an “Enemy Sighted” test to be allowed to March
- You can move backwards but only half your usual movement
- You can move sideways but only half your usual movement
- You cannot move sideways and backwards in the same movement phase
- You can “Reform” or “Swift Reform” to be able to change the direction you face or how wide your ranks are (Swift Reform allows you to be able to move half your Movement after you change direction)
- Reinforcements enter the table during this phase
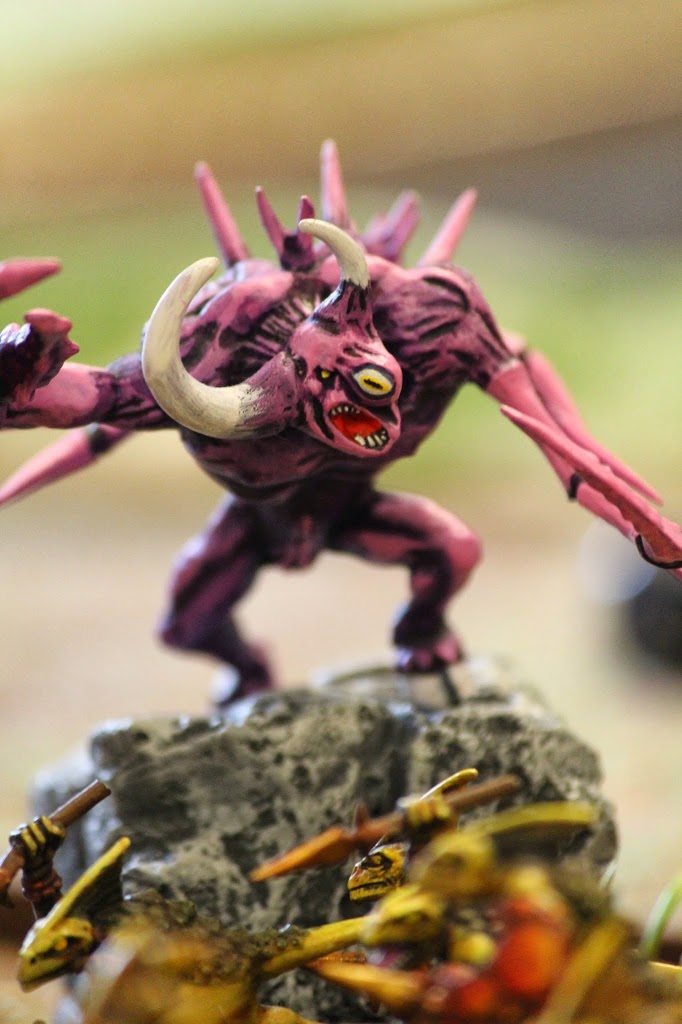
Magic Phase
Wizards are an important part of the Warhammer world and bring with them the ability to Augment or Hex units, cause Direct Damage or throw Missiles at units. But beware that Magic can go awry and you could suffer damage or die.
I recently had to teach my son about the magic phase and found this list helped him:
- Winds of Magic – Roll 2D6 to tell you how many dice you get to Cast with and how many dice your Opponent gets to dispel with (add both together for yourself, opponent gets the highest of the two)
- Channel – Roll D6 for each Wizard, if you roll a 6 you get an extra dice
- Choose a spell and cast it, your opponent will then decide if they will try to dispel it (stop the spell)
- Do what the spell says to do
- Repeat
If when you cast a spell and roll two 6’s (no matter how many dice you use) your spell works but you also might lose casting dice, kill your own units or worse as you have to roll on the Miscast table (found on page 180)
Shooting Phase
Some armies have guns, some bows, and some high powered artillery like cannons, trebuchets and bolt throwers.
Each unit or character that can shoot now gets to do just that: choose a target and shoot! (You cannot shoot into combat)
Close Combat Phase
Remember all those charges that were declared? Well now is when you get to fight those combats.
Key things to remember about the Close Combat phase:
- each combat is only fought once
- battle is conducted at Initiative order
- you can only Challenge once
Once you fight the battle you have to determine who wins each combat and complete the combat by seeing if the battle continues or if one or the other unit runs away. The full explanation is on page 32 and the summary on page 179 of the rulebook. Basically points are awarded to each unit based on wounds inflicted, who charged, the number of ranks you have, how you charged and where you charged from and banners you hold. Whoever has the most points wins and the losing unit has to test to see if they run away or stay put.
Once all the Combats have been fought that Player turn is done and it is his/her opponent’s turn.
More Discussions
Yes I do realize you could have found all that information in the rule book I wanted to include a summary of the Turn Sequence here with a brief summary of what can be expected in each phase.
I have a lot more to say in more articles to come soon, including questions that have plagued me as I have gone through games and I am sure there are lots of questions from you, my readers, about different things in each phase. Please send them my way so I can do some research and and answer them in future editions of It’s Time to Play.
Check back next time for Scoring and then I will get into the other articles.
Check back next time for Scoring and then I will get into the other articles.
Author: Jen A
Advertisement


