TUTORIAL: Snow Basing

Snow Bases; A guest tutorial by Bushido Red Panda.
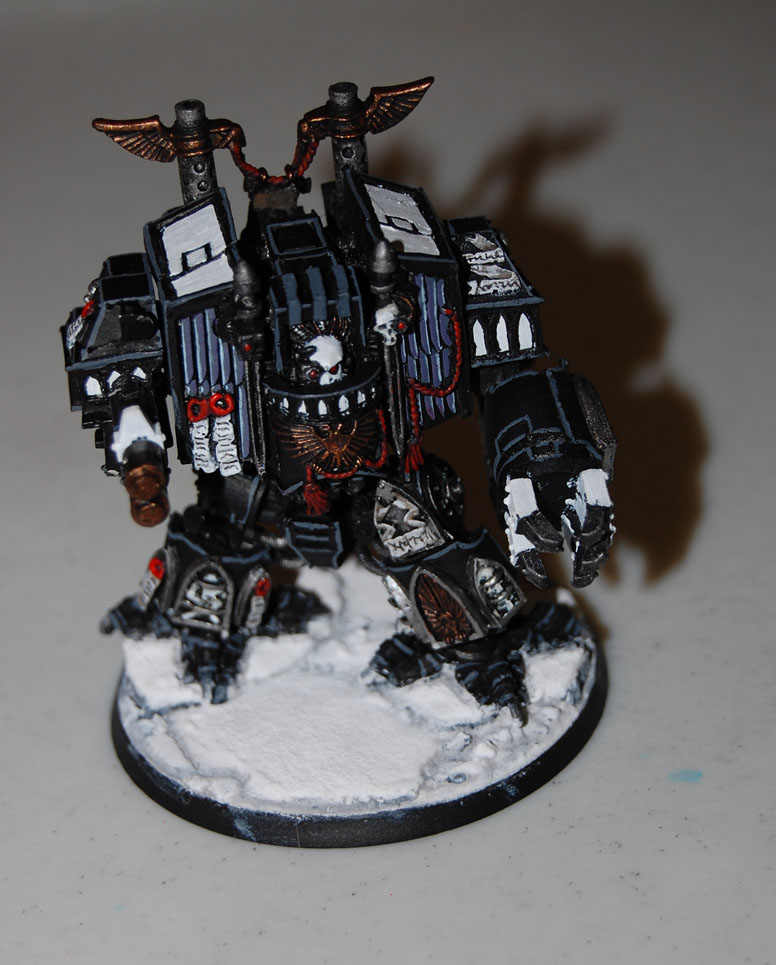
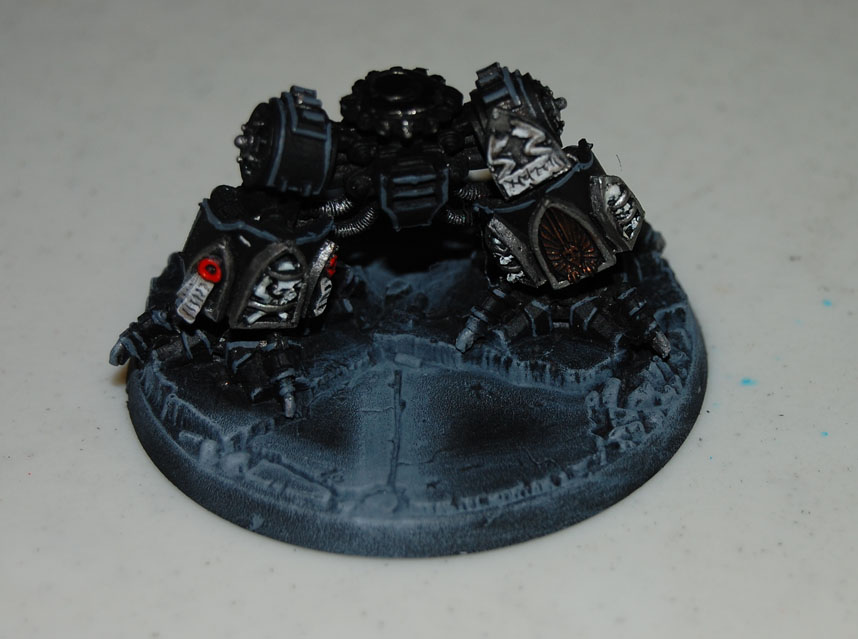
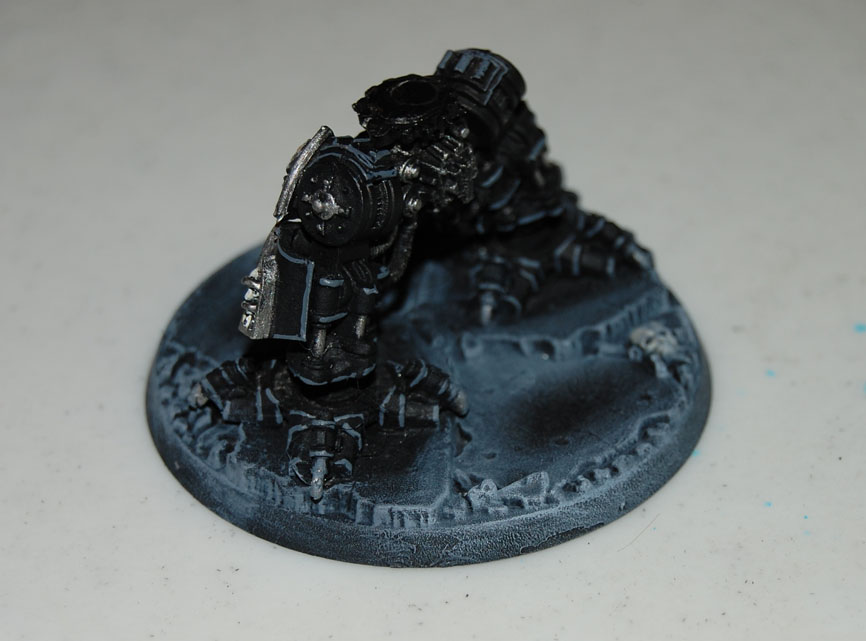
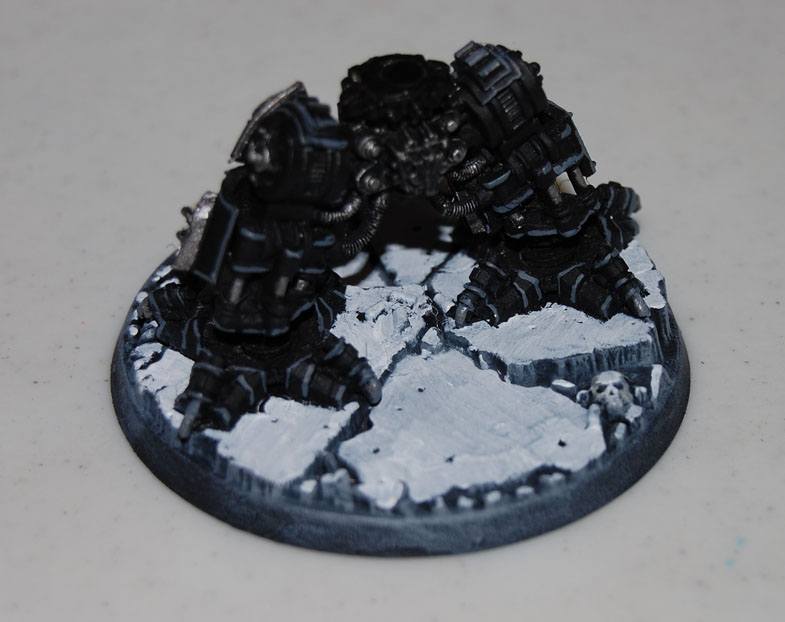
I decided to do the tutorial using my Templar Venerable Dreadnought as it was a very large and already somewhat scenic base. The first step after primer is to put the base colors on the parts of the base that will be showing some after the snow is applied. Here I used Adeptus Battlegrey, then Fortress Grey, then skull white drybrushed onto the edges.
The next step is to put a base coat of white on the parts of the base that will have the snow. I use Van Gogh or Liquitex ‘Titanium’ white high pigment acrylic and a single coat is enough to get the desired coverage. This helps the thinner snow areas to show brighter. It also helps when applying the snow itself to be sure you get it where you want it. I also like to leave the crevasses darker so they show right later as well.
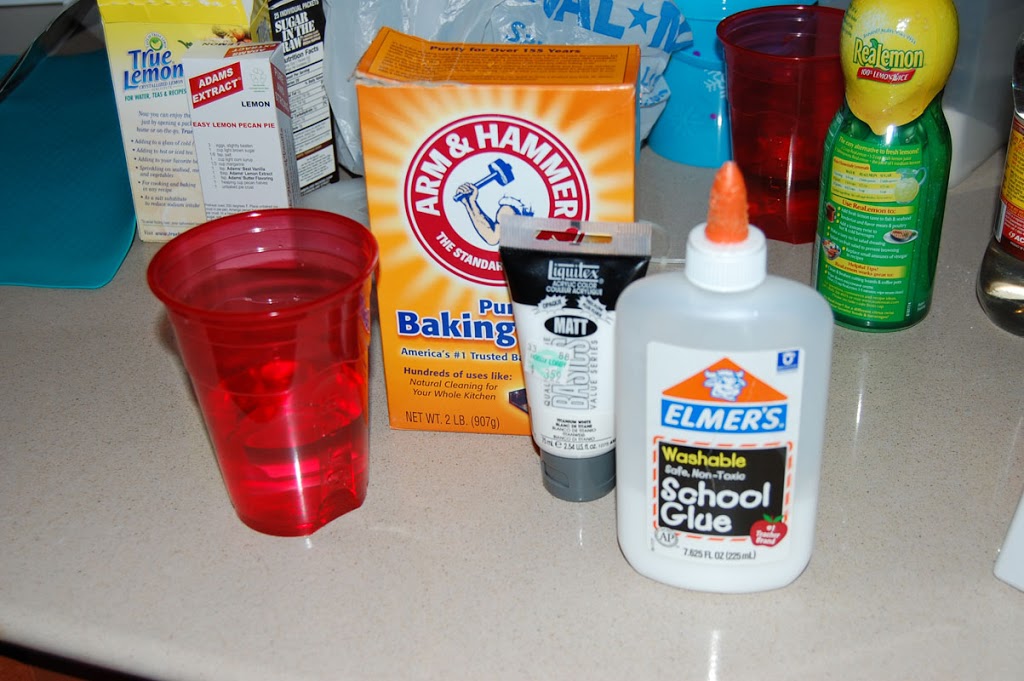
That is all the prep the base needs before applying the snow. To make the snow itself requires water, standard Elmer’s school glue, and baking soda. I also like to add some more high pigment white paint to prevent any yellowing, though it requires a bit more caution to be sure you keep it away from the important parts of the model it seems to work well. The mix is approximately 4 parts baking soda, 3 parts water, 2 parts glue, and about a half teaspoon or so of the white acrylic.
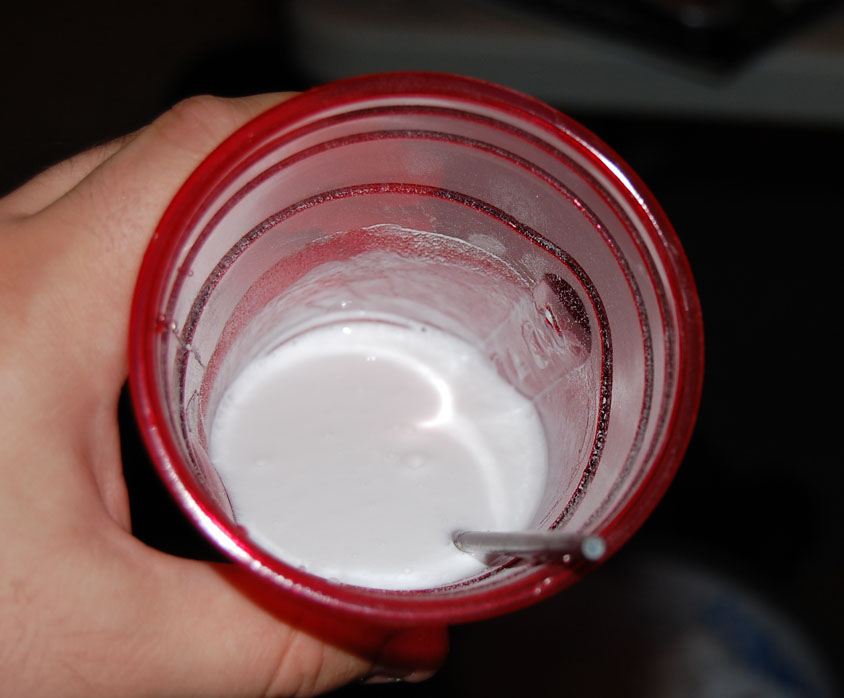
It should end up somewhere between the consistency of cream of wheat and a soft frosting. I use an old brush that I’ve cut into something of a flat edge on one side to apply the paste. I tend to do mix it more on the liquid side, it will settle in time and you can use the thicker part of the mix to build up mounds.

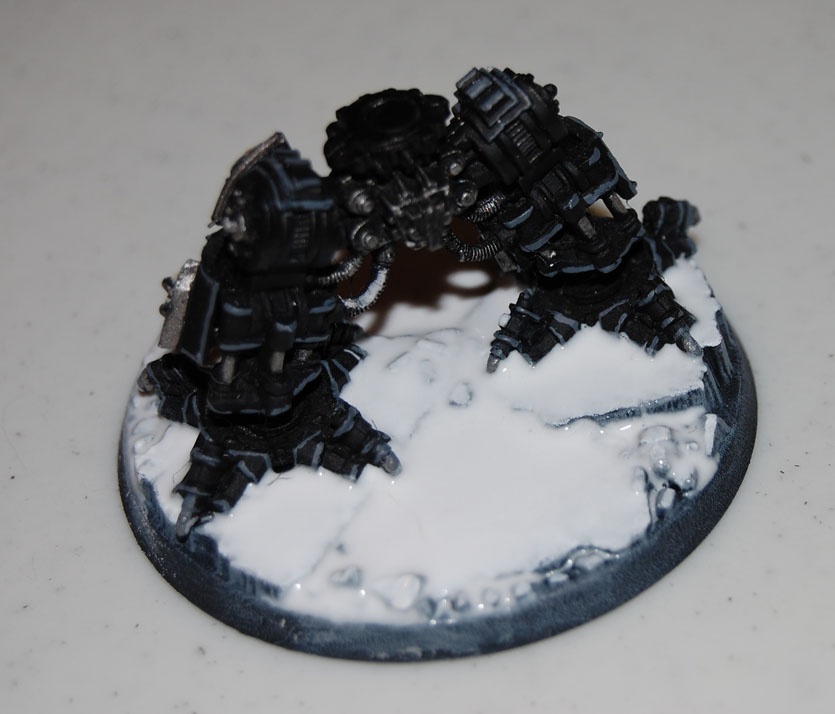
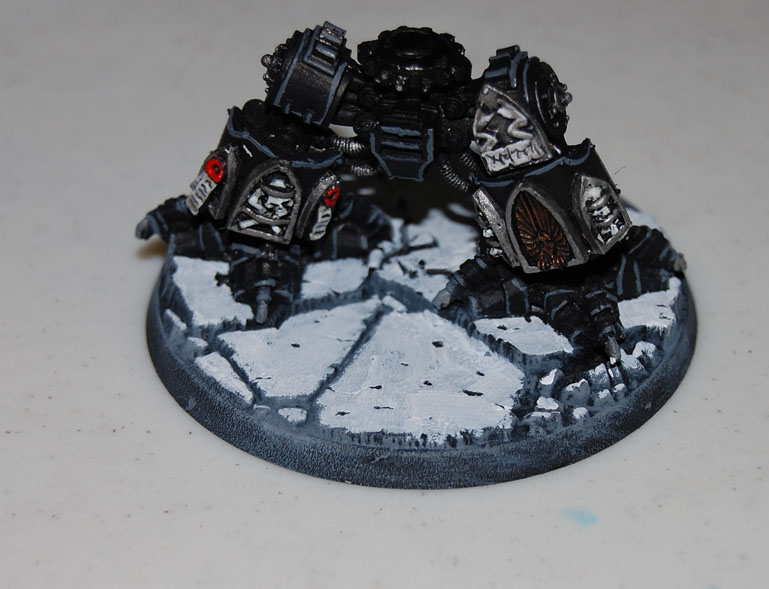
Once it is spread as you want it, it can be set aside to dry. I used my laptop fan to speed up the process in this case. Once it has dried and settled, you can add additional mix (it will stay liquid for some time with some additional mixing) where you feel it is needed. I also used a sharp sculpting too along the feet of the dread while it was setting to show the dreads impression on the snow.
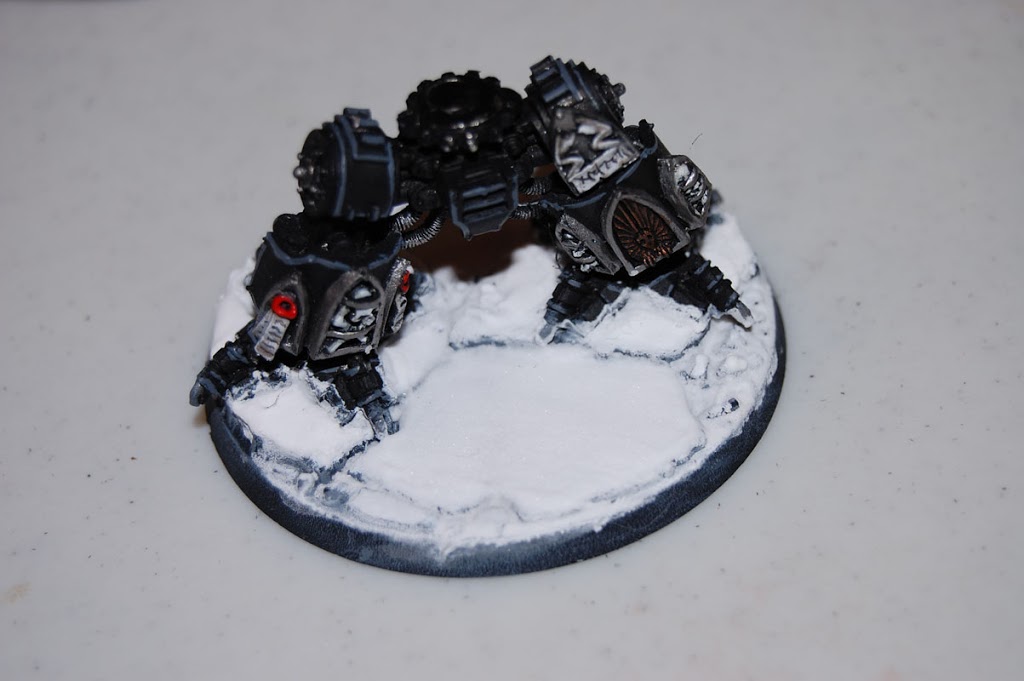
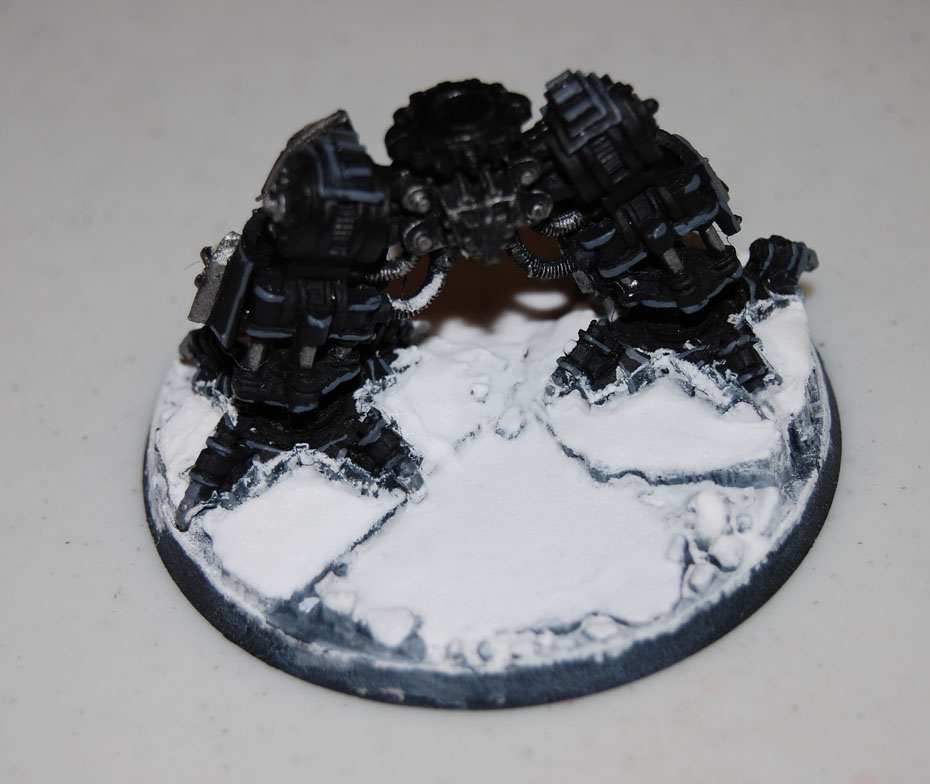
Once I have the snow dried in the shape I wish, I go back over and touch up the model’s feet and the sides of the stone still showing. I also mixed a very thin fortress gray and went back over the crevasses and around the feet with a super fine brush to give some shading.
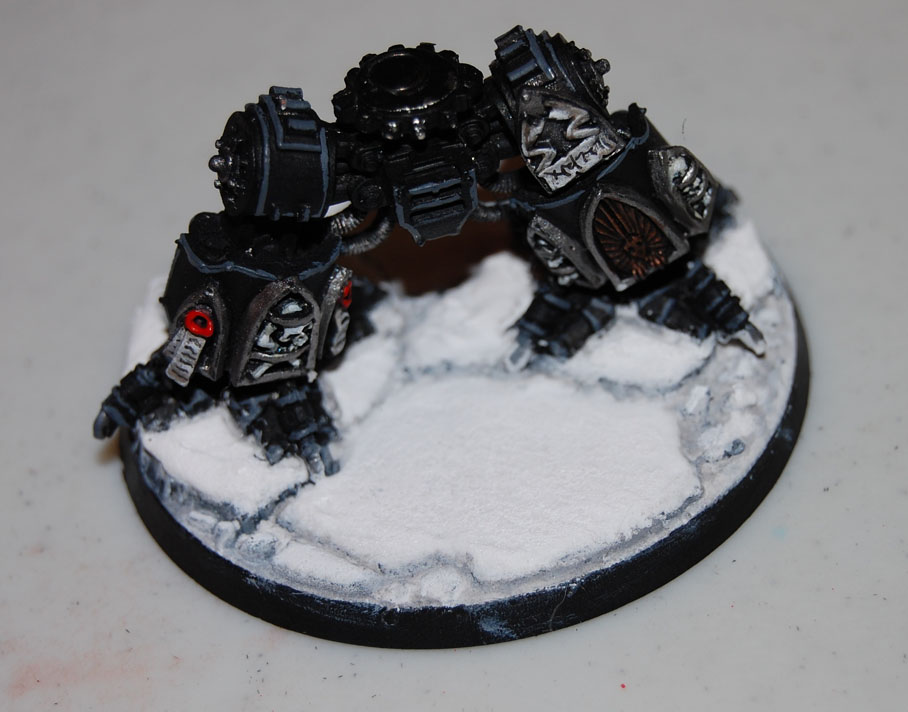

I went over the snow parts with a thinned titanium white to make the snow a bit more white. You can do this as much as you want to bring the snow out. Some other small touch ups and the model’s ready to join the snow ball fight.
~Bigred here. OK everybody, lets raid the kitchen and utility room for supplies and get cracking. Lets see if we can make 2009 the year of the snow based army! comments are welcome, and be sure to visit Bushido Red Panda’s blog for more pics of the Dread.


