40K TUTORIAL: Pre-Heresy – MK.I Armor

-A guest tutorial by Rusty Dice
What better way can you add a bit of character and heritage to your marine army than with a handful of models wearing pre-heresy Mark I Thunder Armor? Lets get started.
Salutations lost souls! Bigred has kindly invited me to contribute some of my works to the great Bell, so I shall begin by briefly introducing myself. I am, foremost, a pre-Heresy fanatic, having re-discovered my love for the background thanks to the Black Libary books. The last two years have been a discovery of both my own artistic interests and the whole pre-Heresy ‘scene’ over here in England.
Recently, I felt I had come so far and learned so many new tricks and techniques for this niche part of 40k that I setup a website to share my findings with the rest of the community through a series of step-by-step tutorials. The first chapter of pre-Heresy tutorials is complete and so I intend to provide some insight into methods of creating classic marks of armour, starting with the Mark I to IV power armor suits.
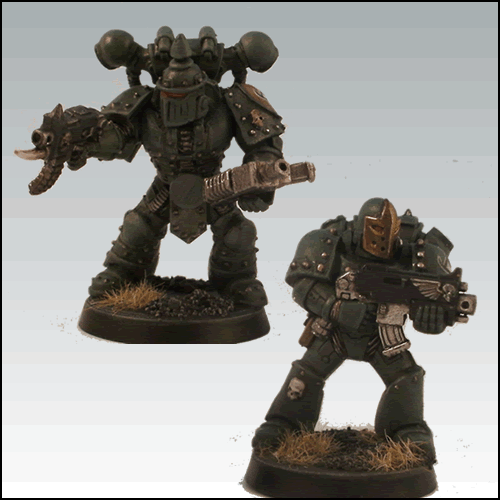
First up we have the ancient Mark I power armour, or Thunder Armor as it is also known. A suit built for the Emperor’s proto-marines while he conquered Terra through the Unification Wars. The suit was not designed for the vacuum of space and as such is not wholly enclosed. This armour, quite visibly, includes seemingly primitive components – chain mail, simple belts and open-faced helmet.
Games Workshop originally released two classic metal models for this armour but it is otherwise uniquely unsupported by modern plastic sets, which tend to have one or more parts from old marks of armour. One of these models is still available in the collectors set of old marines. However, with a pose like this, taking more than a few token models would soon make your army very dull looking!
 With a little perseverence and a sharp knife, it is very possible to create this suit of armour using existing plastic components, taking full advantage of the modern dynamic marines at your disposal. Here is my recipe!
Components required:
-Imperial Guard Cadian helmet
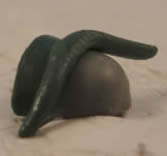
-A topknot from a Chaos Space Marine or Ork helmet
-Mark IV chest from Space Marine sprue or Forge World’s Red Scorpions
-Mark V legs
-Your choice of marine arms, preferably with gloves – Chaos Space Marines
-2 plain marine shoulder pads
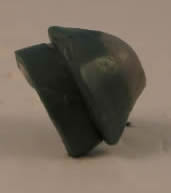
-Chaos Space Marine backpack
Tools required:
-Sharp craft knife
-Glue
-Thin plasticard
-Modelling putty
-Sculpting tool
How to create Mark I power armour:
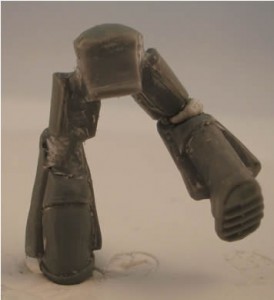
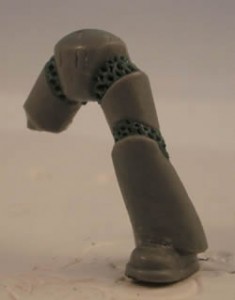
Beginning with the legs, mark the areas that need to be cut down and reshaped or sculpted. The following image is marked with paint to illustrate the relevant areas on a pair of Mark IV berserker legs:
 Using a knife these areas should be reduced sufficiently to allow putty to be placed into the gaps. The boots can be cleanly sculpted out of the existing plastic:
 Putty (in this case Greenstuff) can then be pushed into the cut areas and smooted down, ready to be turned into chain mail. The links can be quikly created by poking alternating ovals into the putty with the tip of a sculpting tool:
 The chainmail is quite extensive, so can be done in a single pass with your tools.
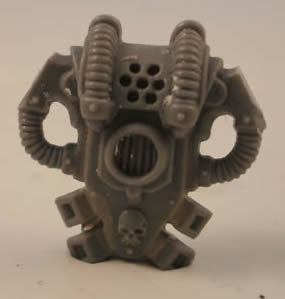
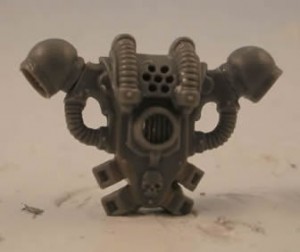
 To keep pace in construction, while the putty on the legs cures, work on another part of the armour. For the chest, all chest markings and abdominal pipes should be removed to allow space for more chain mail. This is a cut down Red Scorpion chest from Forge World:
 Like the legs, smooth some putty into the gaps at the hips and craft the chainmail:
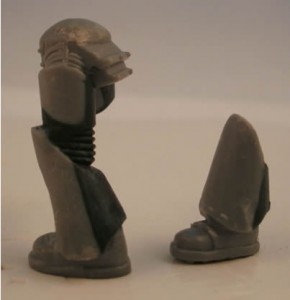
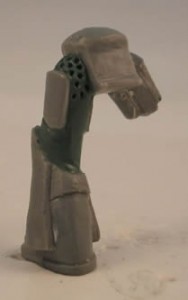
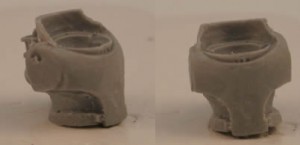
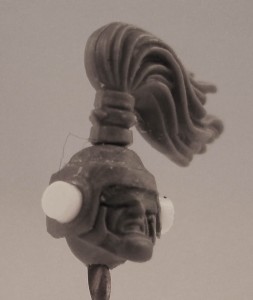
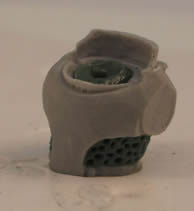 To create the helmet, remove the top knot from its existing helmet. Scrape down the Cadian helmet to remove the iconography and then attach the top knot. I pinned the piece to help prevent it from being knocked off.
A small piece of putty can be spread over the eyes and smoothed across to create a visor. The ear guards are simply hole punched pieces of plasticard – created using a leather hole punch.
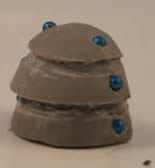
 The shoulder pads are the most fiddly components to create. Shave down the shoulder pads to remove the outer trim. Then roll a small sausage of putty and lay it across the pad:
 Smooth the putty onto the pad and let it cure before starting the next strip – you should require three layers in total to cover the pad:
 Once fully cured, the pad can be given studs. There are many methods of adding studs, such as dotting plastic glue or gluing discs of plastic rod. Here I drilled small holes and glued in tiny plastic beads:
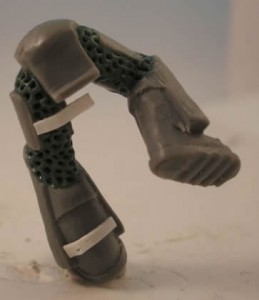
 Returning to the legs and ensuring the putty is hard. Cut small strips of plastic card to use as belts for the back of the legs. Attach these by adding glue across the whole strip and fixing one end to the model. Then stroke across the plastic onto the model.
 The backpack is a simple conversion that modified the regular chaos pack. Cut off the vent exhausts as so:
 Clean and reattach the reduced vents:
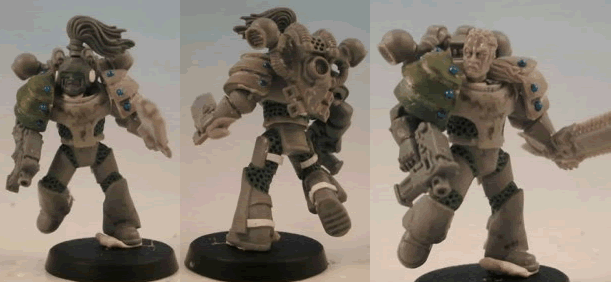
 With all components finished, the model can be assembled accordingly. Thanks to the open design of the helmet, you can easily justify using helmet-less heads to add character to some individuals. Or Space Wolves:
This is quite a reduced version of the full tutorial available at my website here.
~There is one issue I have yet to resolve though. Which legion should I paint him for?


