WFB HOBBY: Painting White the Cool Way
3 Minute Read
Aug 10 2010

Advertisement
 Howdy all. My name is GAR. One of the questions I get a lot is how to work with different colors that are considered difficult. Today I am going to discuss working with White.
White is really a very easy color to work with once you understand there is no highlighting white. Much like you can’t shade or darken black, white cannot be made any brighter. So the trick to using white is to define the base color as something darker than white. For this article I am going focus on a cool white. What I mean by this is my shade color is going to be bluish-turquoise set of colors. I prefer cool whites instead of browns or grays because I believe it makes my warmer colors ( reds and yellows) stand out more.
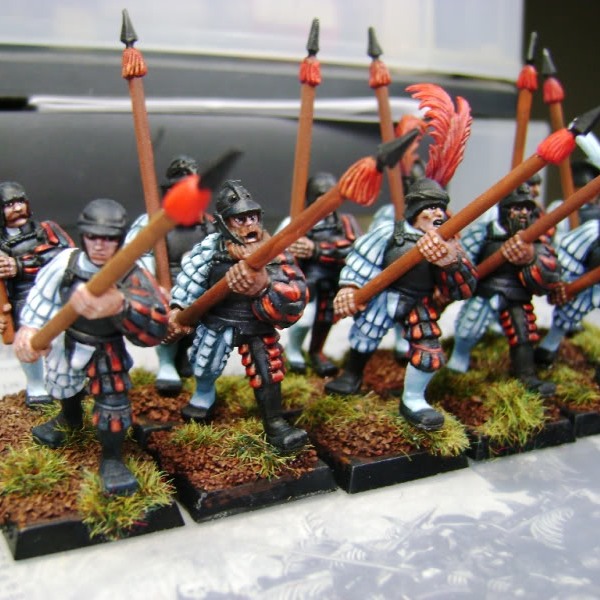
The figure I am using is an older Warhammer Fantasy Battle Empire Spearman I have converted. The figure is going to be part of my Ostland Army (army colors, white, black and red details).
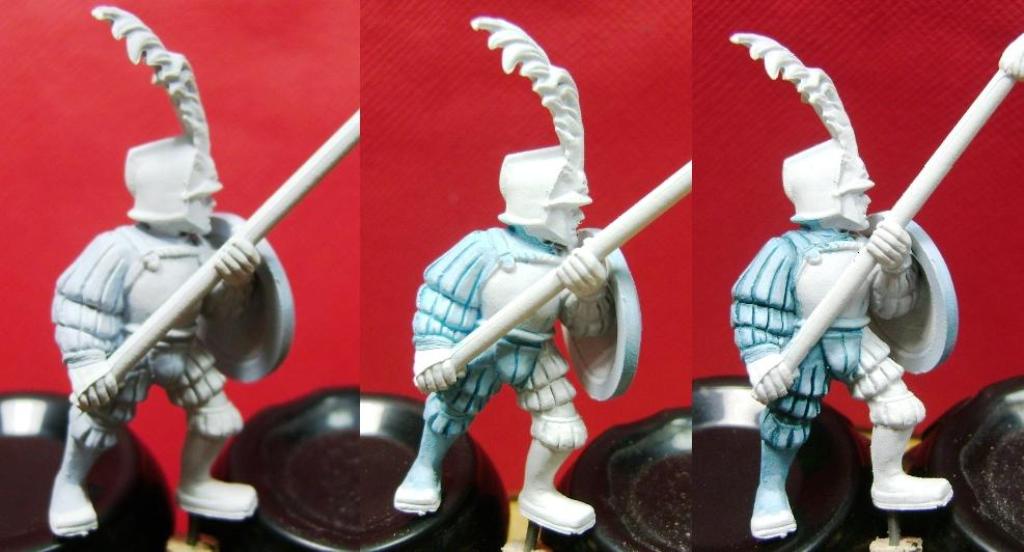
Step 1 is to prime in white. I want the minimum hassle in getting my white to look white and not some dirty grey as can happen with a black undercoat.
Step 2 is to apply my base color. For this I use Privateer Press Paint (P3) Frostbite. I really like this color. It is probably the most perfect color for anything I want to make white because the blueish-purple hue is very subtle; just enough to make an excellent base color.
Step 3 is to make a wash from P3 Trollblood base or GW Hawk Turquoise. I mix 8 parts water to 1 part paint to get a decent wash that won’t change my base color too much.
Step 4 This is mostly a matter of preference, but I like to add an additional shade wash of very thin Coal Black to the cracks and folds to add a bit more depth. Not really required, but I like the final look. This is a very selective wash in that I only apply it to the darkest regions on the model, not as a general wash.
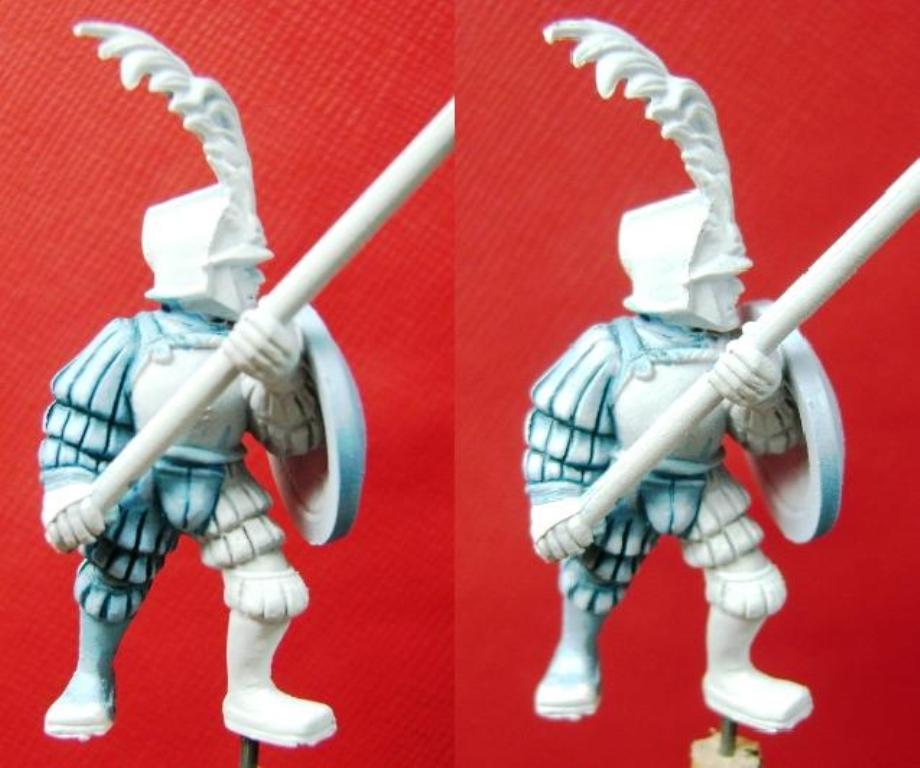
Step 5 I begin to build the highlights up using a mix of Trollblood base and Frostbite. I don’t have any particular recipe, I take a dab of one and mix it with a dab of the other and then apply the high lights over most of the model.
Step 6 Apply pure P3 Frostbite to the raised areas, but leave some of the previous highlight layer showing.
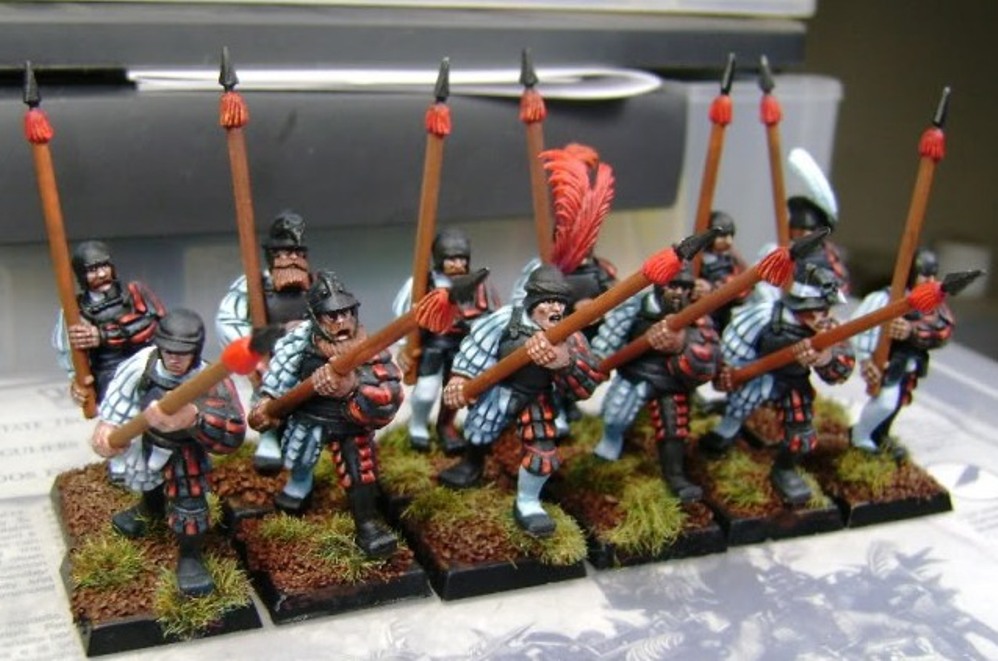
Step 7 Only on the most pronounced regions will I apply a small amount of GW Skull White as a final highlight. The trick is to use the white very sparingly so the depth we have built up really makes the white stand out. I prefer the GW Skull White over the P3 brand because of the intensity of the pigmentation in the paint. In short, the GW brand has more pigment and is a visually more intense white then the P3 brand.
At this stage the white still looks pretty bare, but when the other colors on your model are added, the results will become much more apparent as in my final picture for my Spearmen unit.
What things to you all find as a challenge or daunting? Drop me a note, I’m more than happy to offer my thoughts on painting minis or models!
http://garness.blogspot.com/
http://garness.blogspot.com/
Author: Guest Columnist
Advertisement


