FOW Hobby: How to fix the Bent Barrel Once and for All

Howdy. Today I would I like to discuss how to upgrade and improve the look of your tanks and fix the bent barrel problem forever!
One of the things about Flames of War is the armor all looks the same. It has tracks and a body, sometimes a turret depending on the type of armor or vehicle. But all in all they all look more or less the same.
What I wanted to do today was to cover a few simple things that can be done to spice up your tanks and armor.
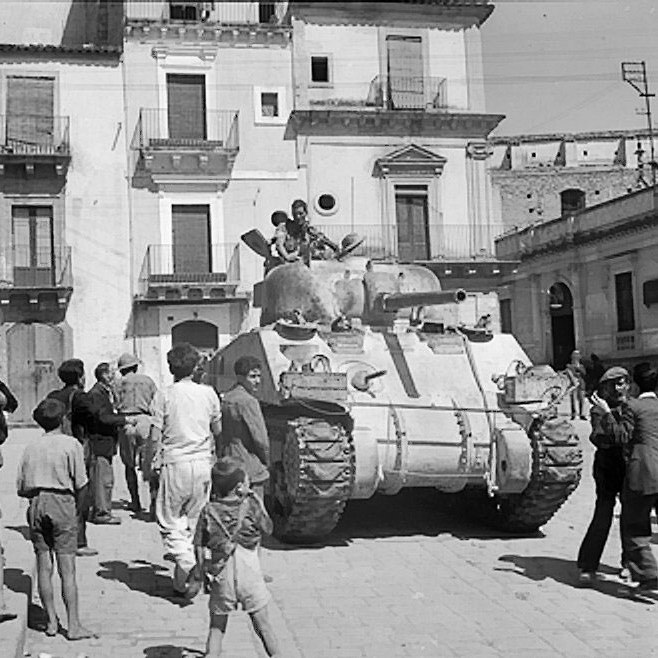
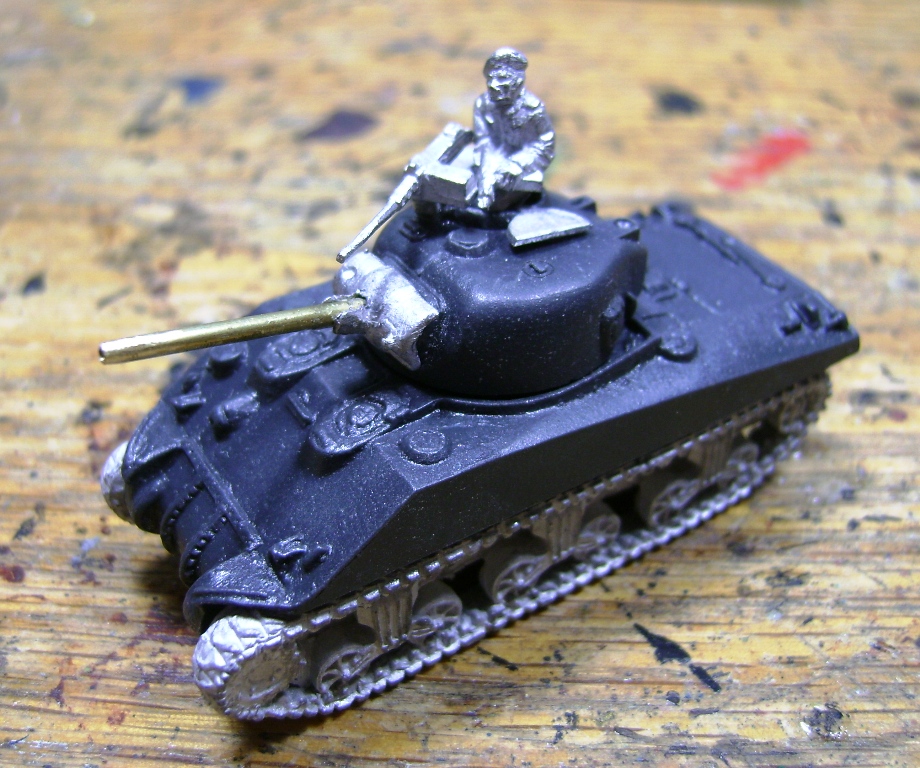
The model I am using is a British M4 Sherman with a 75mm barrel used for most midwar lists. One of the things that annoys me most is when the barrel gets bent or falls or is knocked off the turret. The most common solution to this is to pin the barrel to the turret. The problem is that the turret is fairly thin and there is not a lot of room for a pin to fit without greatly reducing the physical integrity of the barrel. My solution is instead of pinning the barrel is to make the barrel the pin. What I used was brass tubing easily found at most craft or hobby shops. The brass rod is 3/32” x 0.043 wt. Which means it is small tubing with a thin wall. For a check I took my Sherman barrel with me to compare to make sure I was getting something that is close to the actual barrel I am replacing. Using brass tubing has several advantages for barrels. It is not as weak as plastic or “lead” or whatever alloy they are using for casting metal. It is very unlikely to bend and can be easily cut and filed down.
The other thing that really bothers me is tank crews. I love having tank crews pop their heads out and look around. However, the models for this are also pretty weak. Apply a little glue and hope it stays on at least through the painting and first game you play with. My solution is to be a little more creative in my approach to using tank crewmen. To do this I am using an older dismounted tank crewman.
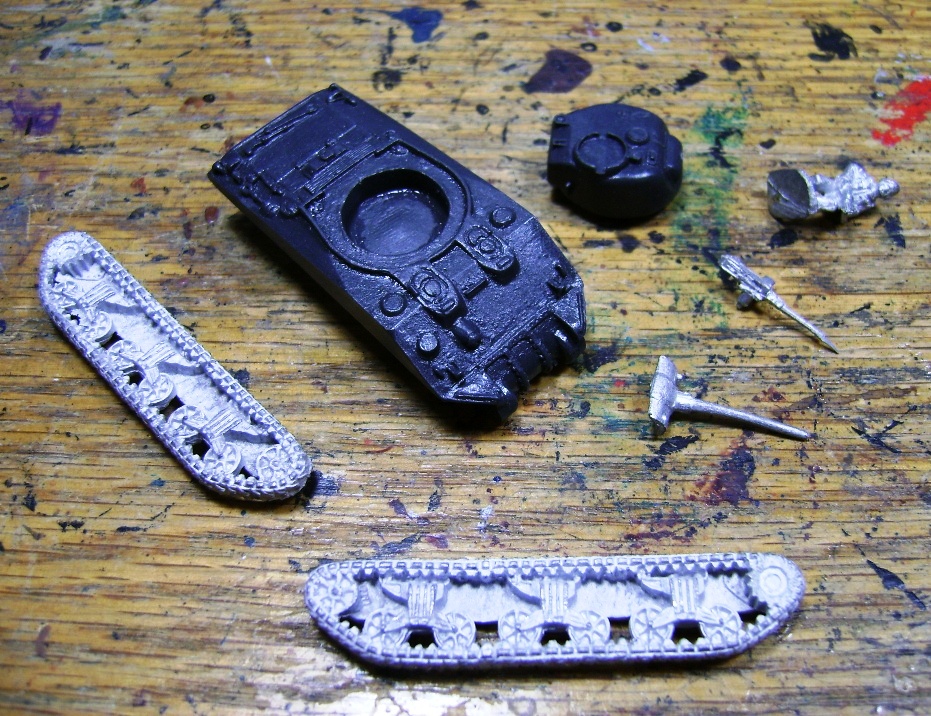
In the first picture you see the tank unassembled and the tank rider.
Step 1: Remove the barrel from the barrel housing. To do this I cut the barrel off just at the side flaps along the base of the barrel. Then using a small drill bit I drill my guide hole. I will follow up later with a larger 1/16th inch drill bit Once that is done I remove any remaining flash and check the fit of the brass tubing through the hole. I want it to be snug, but not so much I need to exert a lot of effort to force the tubing through. Then check to alignment of the tube through the housing to ensure it lines up the way you would like it to. If not, then use a round file to open the hole up a little bit to get the right fit. I cut the tubing to length by lining it up with the barrel before I cut it and left a little extra at the end to use as a pin in the turret.
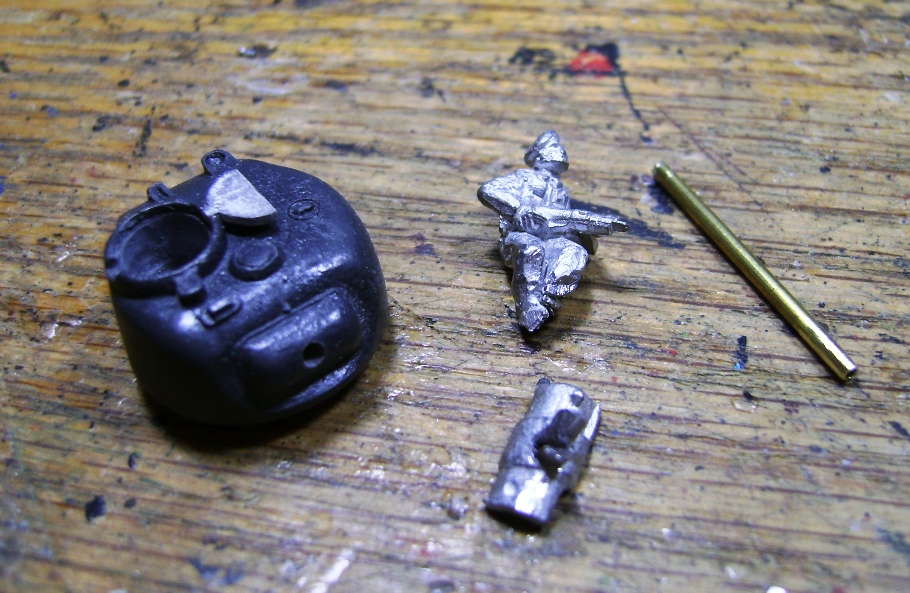
Step 2: For the crewman, I used my trusty Dremel and bored out the hatch. I cut the feet off the dismounted crewman and then using needle-nose pliers I force the legs of the crewman together and ten checked the fit of the crewman as he is sitting on the open hatch. I had to do a little filing on the back of his legs so the fit was right, but it was fairly minor work to get the right fit.
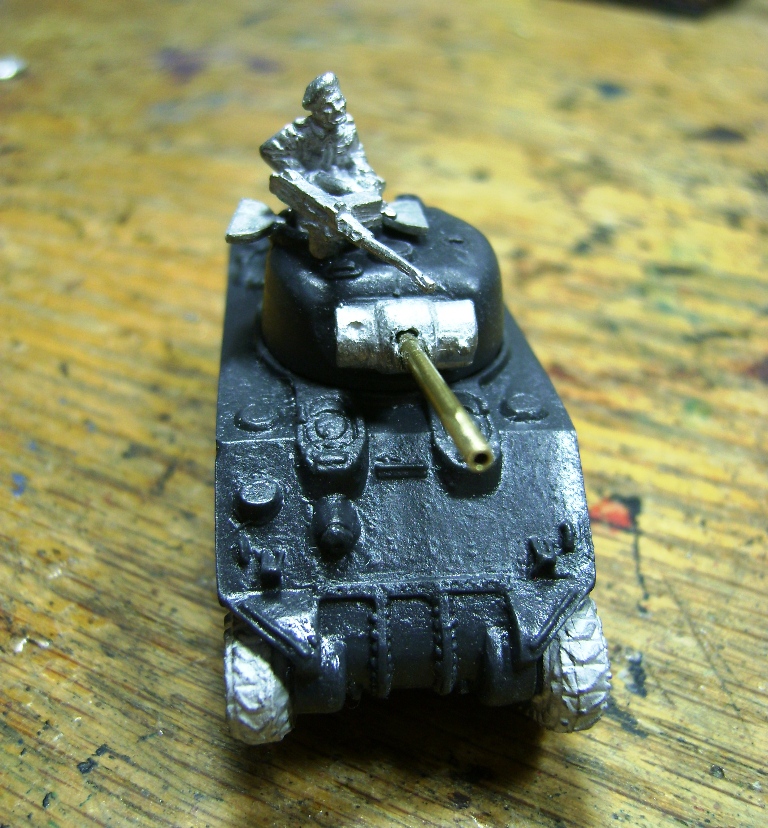
Step 3: Drill out the turret to fit the tubing barrel. I used a small hand drill to get the guide hole, and then used my Dremel on low speed to finish out the hole. Check the fit then add glue and let it set.
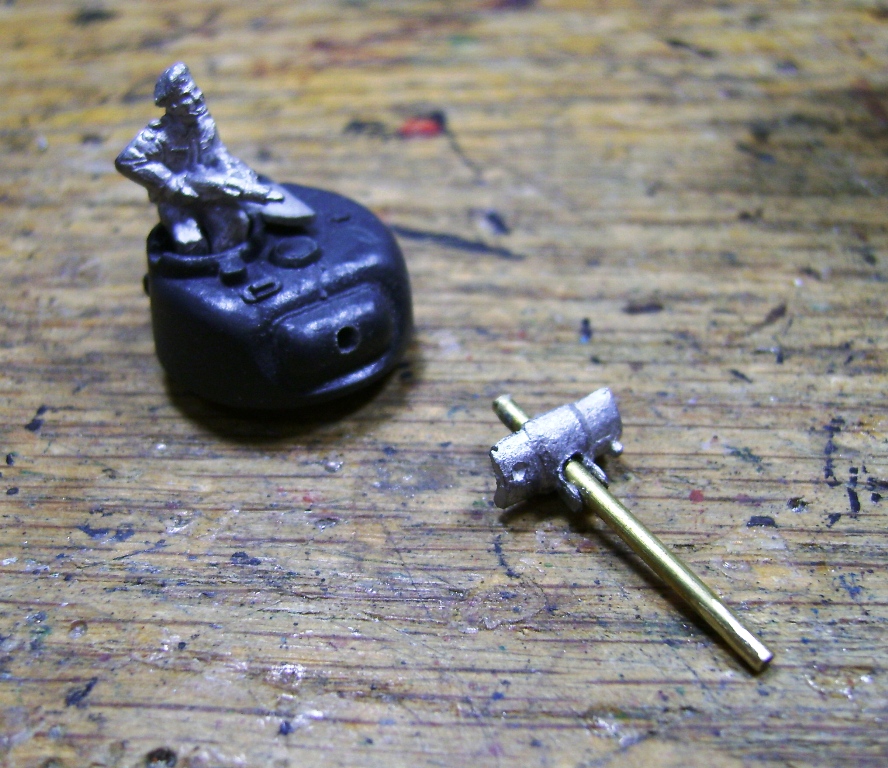
Step 4: Add the crewman to the empty hatch and glue in place.
Step 5: Using a tiny drill bit, I drilled out a small hole for the 50cal machine gun in front of the open hatch and drilled a equally small hole I the machine gun mount. I then checked the different angles of the machine gun so I got the look I wanted and pinned the machine gun in place.
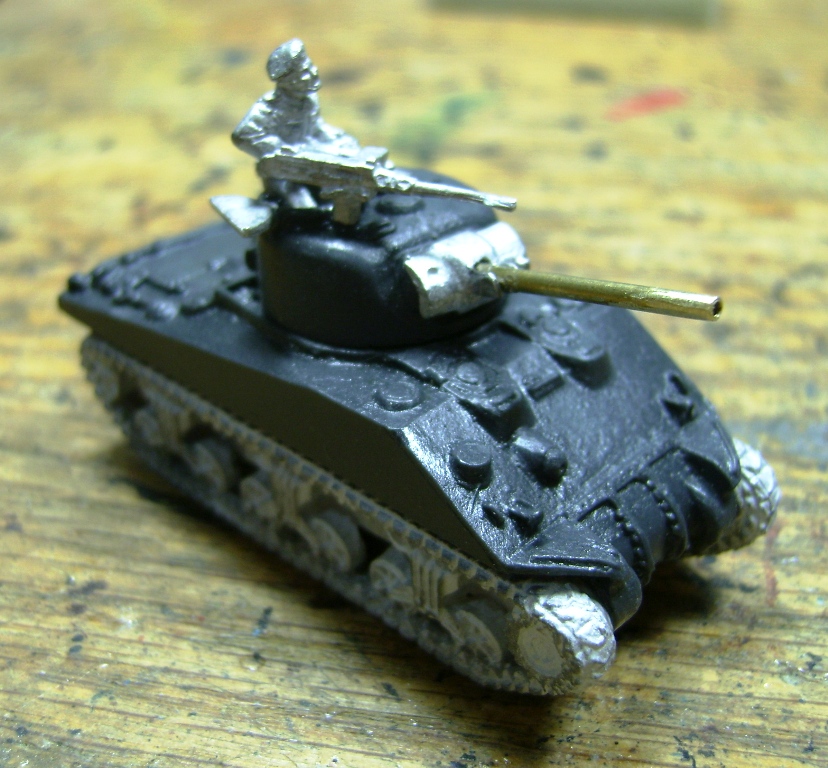
Next add the tracks to the body and we are done with the initial work on the tank. I already have a large number of midwar North Africa Shermans ready, so this may be added to a late war group with more European appropriate conversion work. Those will be covered in a separate article I the near future. Thanks and I hope this was easy to follow and of interest to ya’ll.
What things to you all find as a challenge or daunting? Drop me a note, I’m more than happy to offer my thoughts on painting minis or models!


