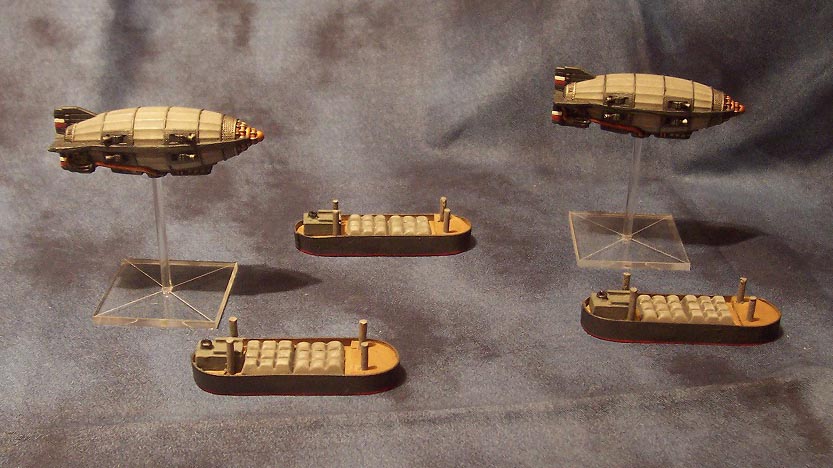
HOBBY: Making Cargo Transports/Objectives for Dystopian Wars

Making a cargo transport for Dystopian Wars sounds like a daunting task, but it is actually quite simple. All you need are a few common items.
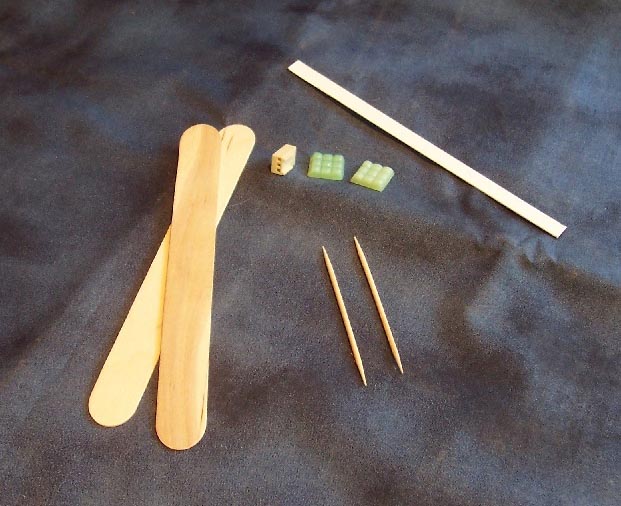
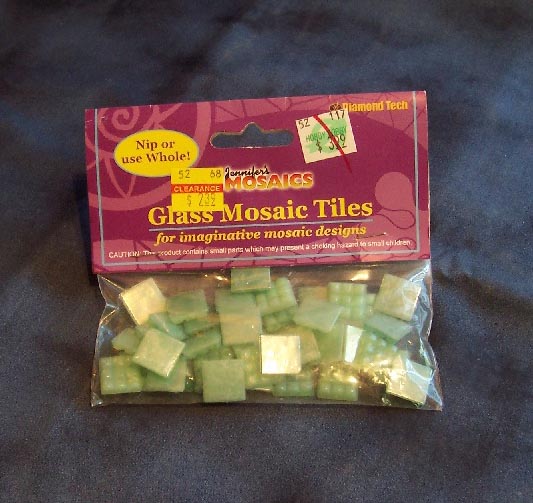
2 jumbo sized popsicle sticks, 2 toothpicks, a strip of plasticard, a coffee stirrer straw, a fan plug from a computer and something to represent the cargo. In this care, I used glass mosaic tiles to represent the cargo. Don’t go ripping apart your computer looking for a plug. Fry’s (or other electronics parts stores) sell a bag of 10 for 99 cents.
Start by cutting three 5cm sections from popsicle sticks and one 1.2cm section. Also, cut a small rectangle to use as a spacer.
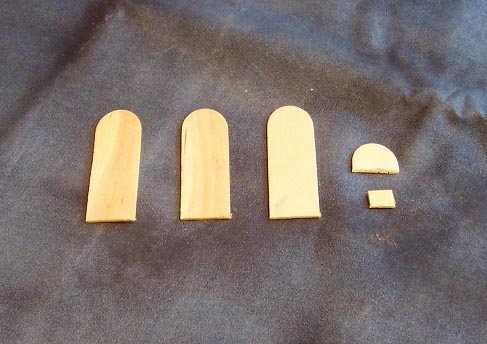
Sandwich the 3 larger sections alternating their ends.

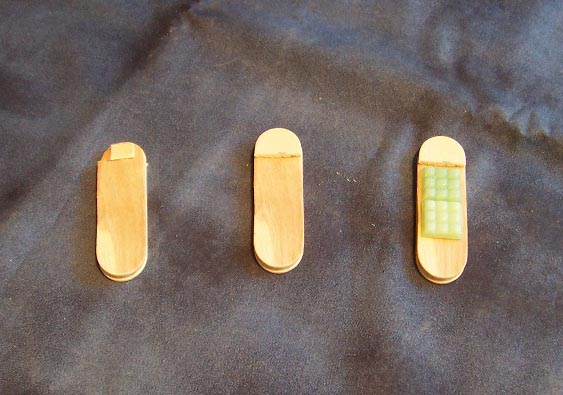
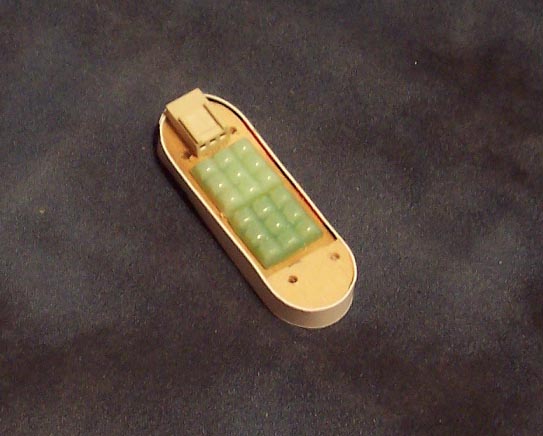
Next, glue the space on to the top of the middle section. Then glue the 1.2cm section on top of that. This will be your foredeck. When that has dried, glue the 2 mosaic tiles in the center to represent the cargo. Make sure you sand the bottom of the tiles down so the glue will have something to attach to.
Up until this point, all the gluing has been done with white (elmer’s) glue. From here on out, use super glue.
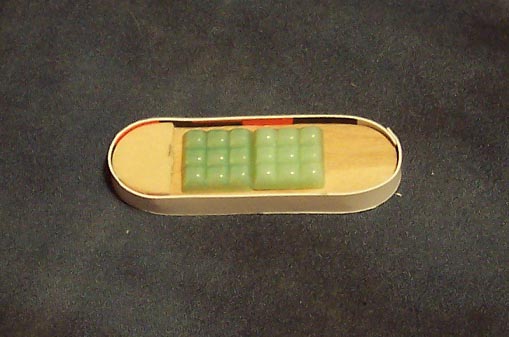
Cut a strip of plasticard 15cm by 0.7 cm. This will be the outer hull of the ship. A quick note on plasticard. This is not something you will find in most hobby stores. I usually use a 99 cent ‘Garage Sale’ sign from the super market. It works just as well in this case.
Take your plasticard strip and glue it around the popsicle sticks. If you put glue on all of the strip except 2cm at each end, this works best. Put the front of the popsicle sticks in the middle of the strip and wrap it around. Once this has dried, glue the last 2cm on each end and wrap them around the back.
Take the fan plug and glue a small piece of plastic to the back of it to cover up the large holes. Next, glue it to the rear of the ship. This is your wheel house.
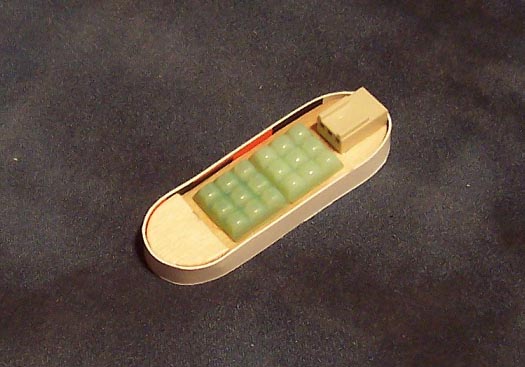
Drill 4 holes (5/64” in my case) to hold the toothpicks. Place 1 on either side of the wheelhouse and 2 on the foredeck.
Next, cut the pointed ends off the toothpicks and place them in the holes. Mark a line about 1cm above the deck on the toothpicks. Trim to this mark. Remember, the foredeck is higher than the aft, so you will need to adjust your mark accordingly.
Cut a .2cm section from the coffee straw and glue it to the back of the wheelhouse to represent the smokestack.

Add a little paint to your creation and you are ready to use your new objectives in a game of “tiny boats.”