HOBBY: Airbrush- Fading Shoulder Pads 101

Today I have a closer look at one of the techniques I use to paint my Grey Knight’s shoulder pads, using mostly an airbrush.
Recently I’ve been posting up Work in Progress stages of Grey Knights Purifiers I’m currently airbrushing., on Facebook.
I post there mostly because it’s quick and easy to post on there cause I can just snap some pics with my phone and upload them while I work, er spray.
Well, I got a comment the other day asking how I do the red shoulder pads that “really seem to stand out on the models”.
So today I though I’d do a article about the technique and how easy it is.
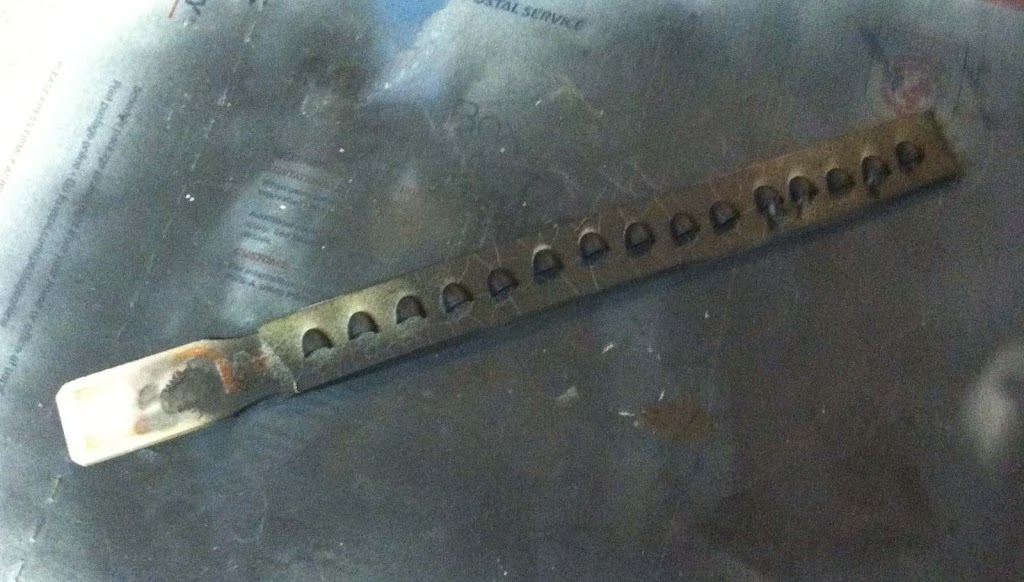
First off I prep the shoulder pads by placing them on a paint stirring stick (from Home Depot) affixed with double sided tape. Then after priming them and giving them some time to dry, I bust out the colors I’ll use and the airbrush.
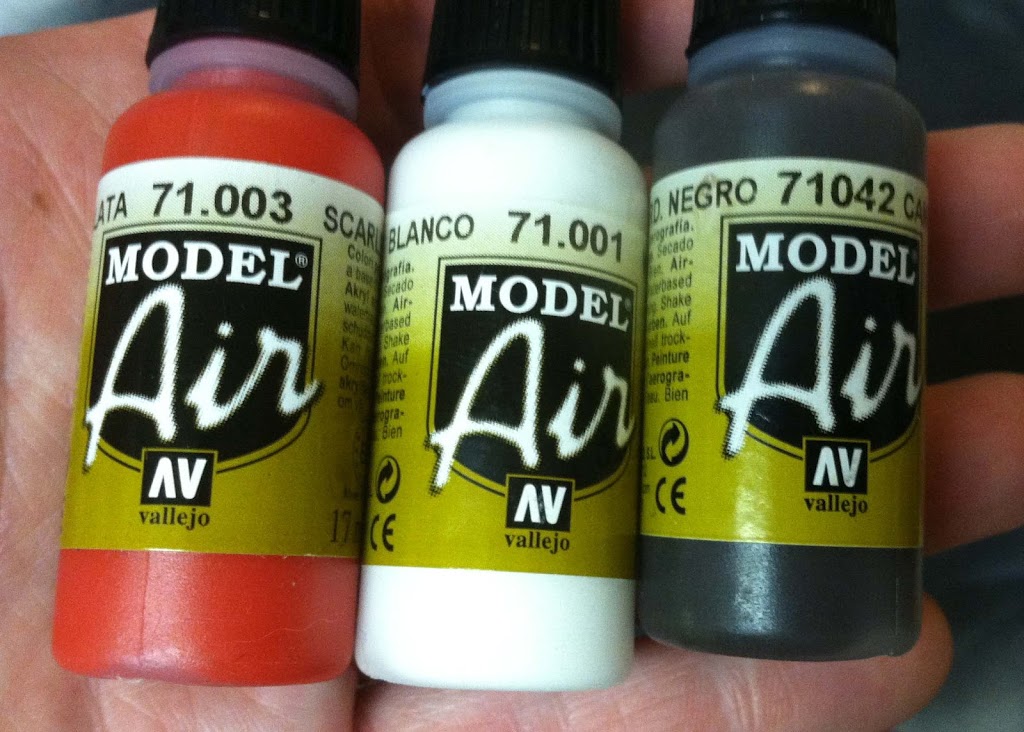
For the Red pads I use Vallejo Air Color, White, Red, and Burnt Cadmium Brown. The White gets a little wonky sometimes so I have to use a few drop of Vallejo Air Thinner from time to time.
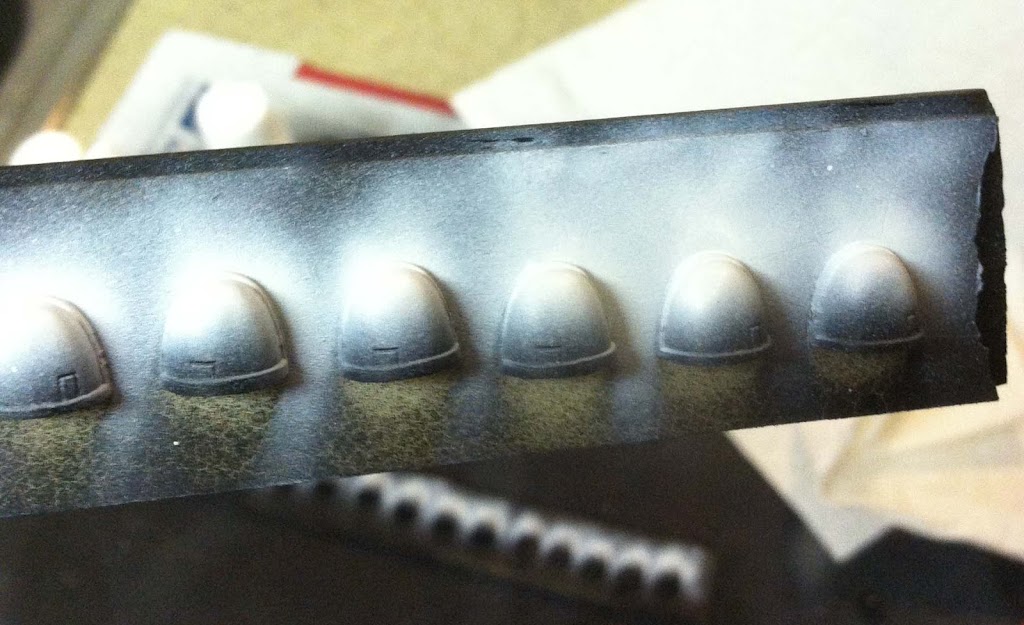
Step one is to spray some White about 3/4 of the way down the pad. Make sure to get a good coat around the sides where the lip of the pad touches the flat round areas.
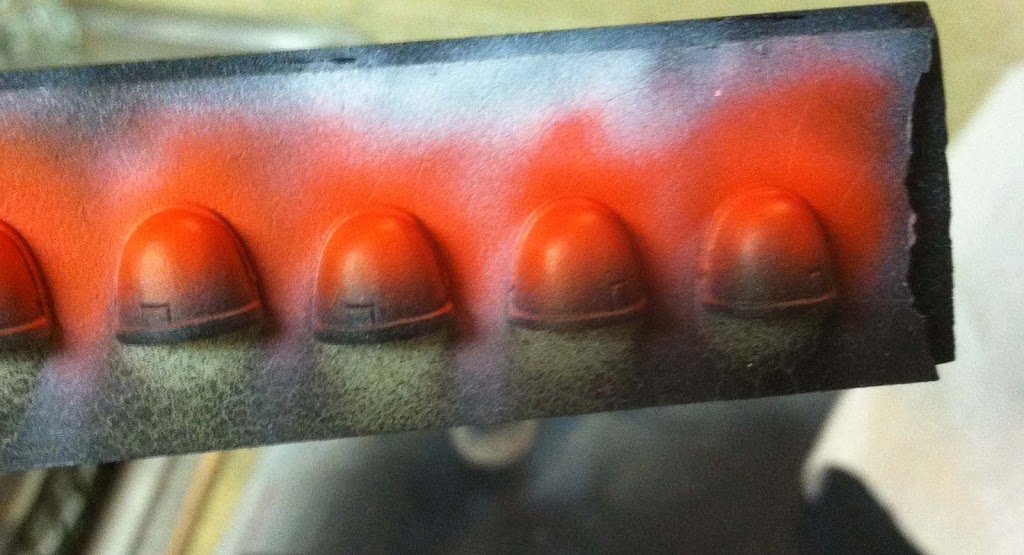
Next spray down your red over the white.
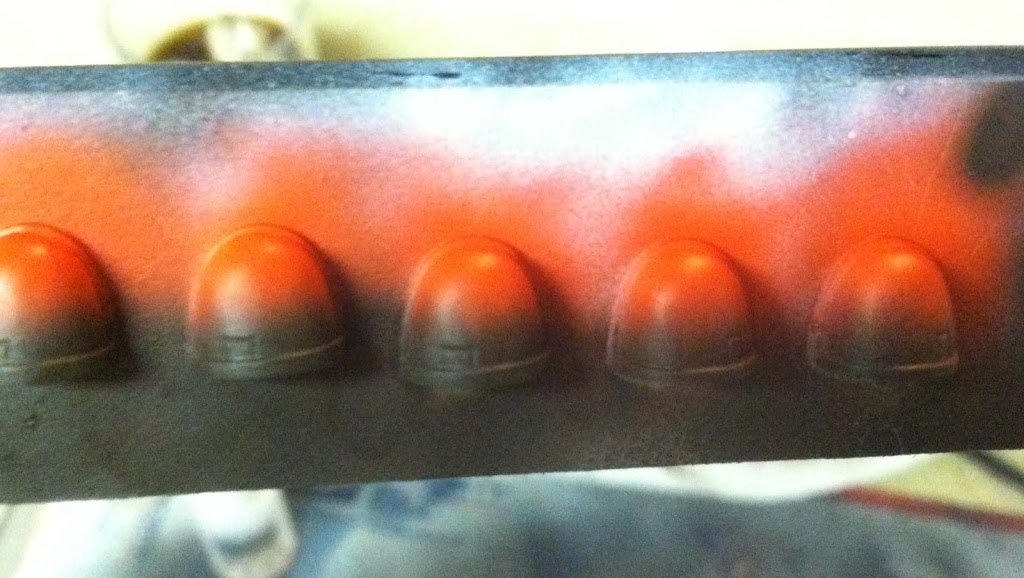
Now we get to fade back the dark areas with the Cadmium brown. Just spray up from the bottom of the pad now, slightly crossing over into the Red.
The key again is to get a good coat into the filleted areas where the trim meets the flat round pad. You can use Black for this, but I think it looks too “stark” with the Red.
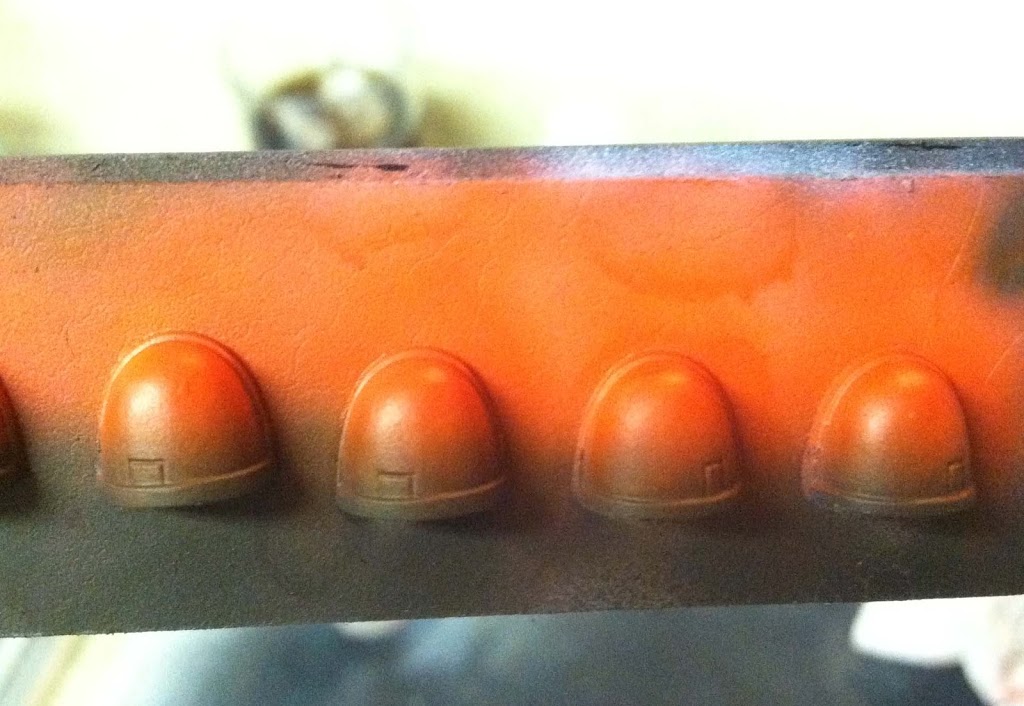
Last step for the fade is to load back up some Red and slightly spray back into the Brown, and fix any areas that encroached too far into Red territory.
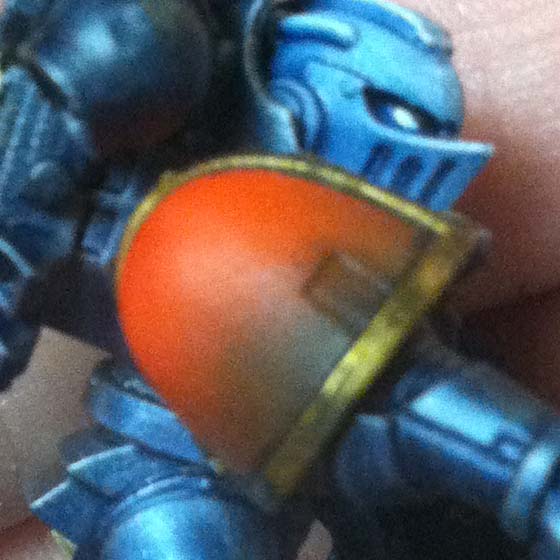
From here on in it’s all brush work. With the pads still stuck to the stick, I paint Shining Gold onto the trim of the pad, making sure to not get any (or as little as possible) into the cracks. If you get crazy with the gold just go back with some Mechrite Red, (or it’s new counter part Mephiston Red) and cover up any stray gold streaks before you wash the pads.
Then after it dries I wash the trim and then paint with a small detail brush Badab Black (or its new equivalent) into the fillet where the pad meets the trim.
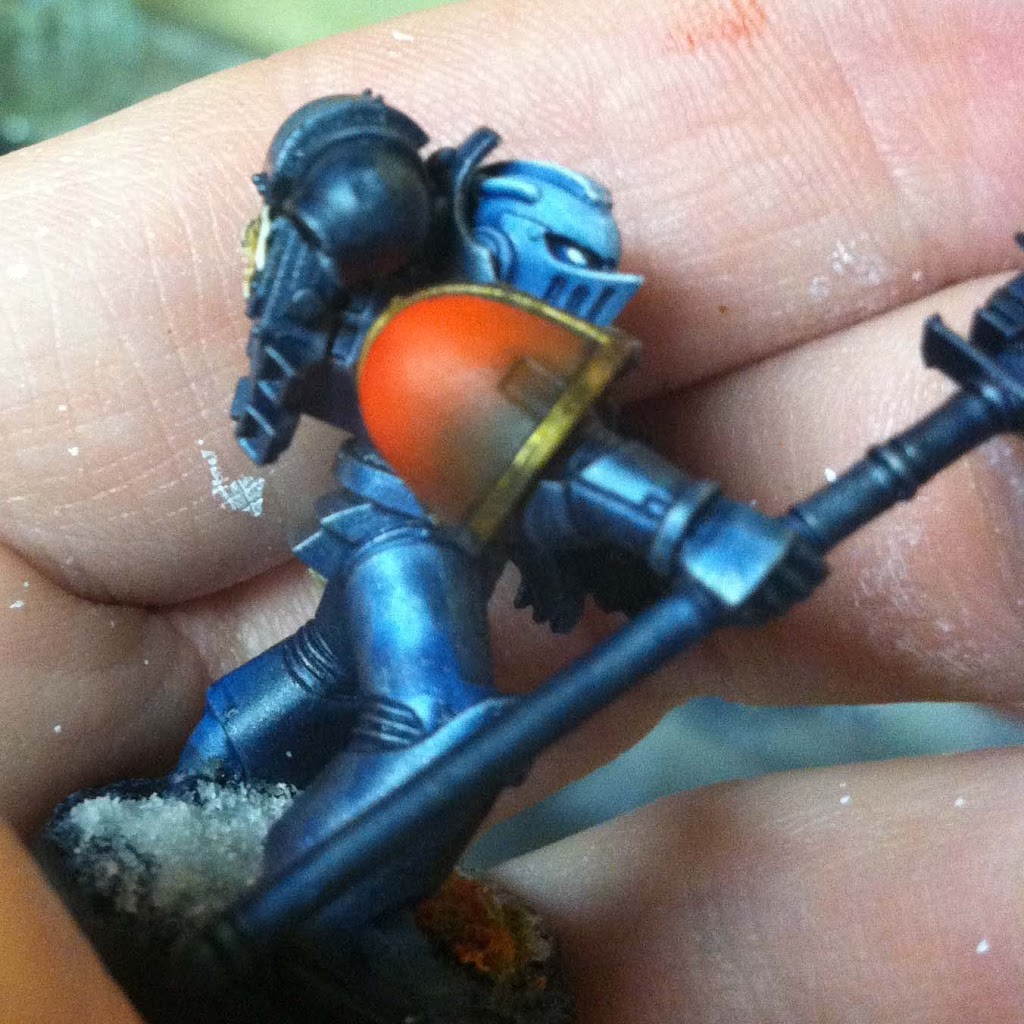
After all that dries, just peel off the pad from the tape and glue onto your model! You may need some shining gold touch up where the underside is slightly exposed, but that is just personal preference.
They are pretty easy and can really put your models over the top in no time!
What do you think, pretty quick and easy? -MBG


