HOBBY: Wrath of Kings: Painting The Ironward Pt. 1

Man this one was a blast to paint! Read on and I’ll reveal some of my tricks and techniques.
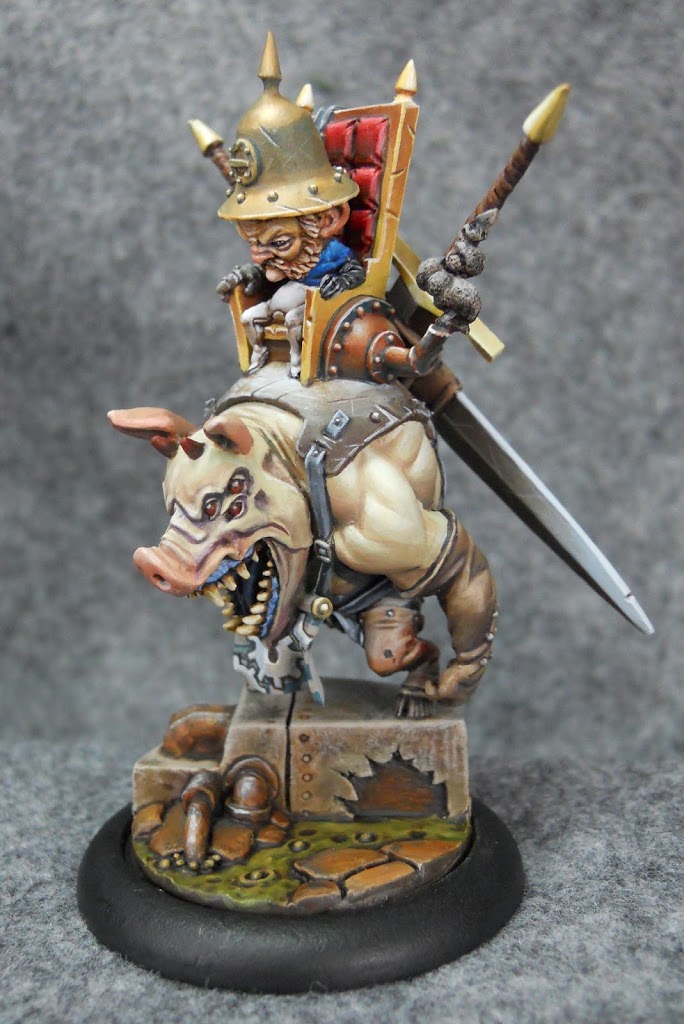
I had a lot of fun at Gencon this year, and one of the things I enjoyed the most was getting a demo of Five Houses’ and CoolMiniorNot’s Wrath of Kings. It sounds like a pretty good partnership to me. Five Houses employs some of the creative minds behind Rackham’s old Confrontation line, while CoolMiniorNot has been a partner in some of my favorite projecs like Super Dungeon Explore,Sedition Wars, and of course they’re also in charge of the whole Dark Age line. Anyway, when the demo was over, my opponent and I were each handed one of the Wrath of Kings resins that have been on sale off and on since last year’s Gencon. Terrence left with Sorik the Unfinished and I took home this fellow: The Ironward.
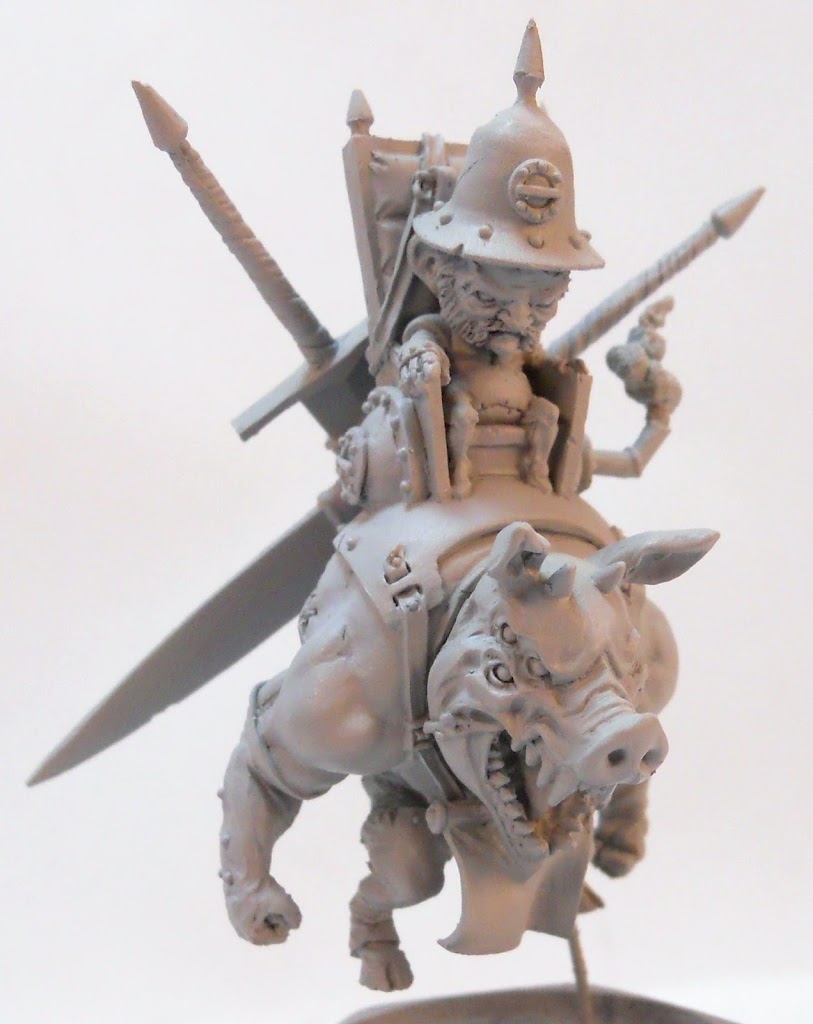
I wasn’t sure what to do with him at first. “Hadross and Goritsi: those will be the ones to back” I had told myself. But when it came time to discuss faction choices with a friend and fellow pledger he was surprised. “Oh I don’t know, I just figured you’d be all about the faction with the weird midgets riding around on other humanoids.” Well when you put it that way… The next day I’d taken this guy out of his blister, cleaned him up, and primed him for painting.

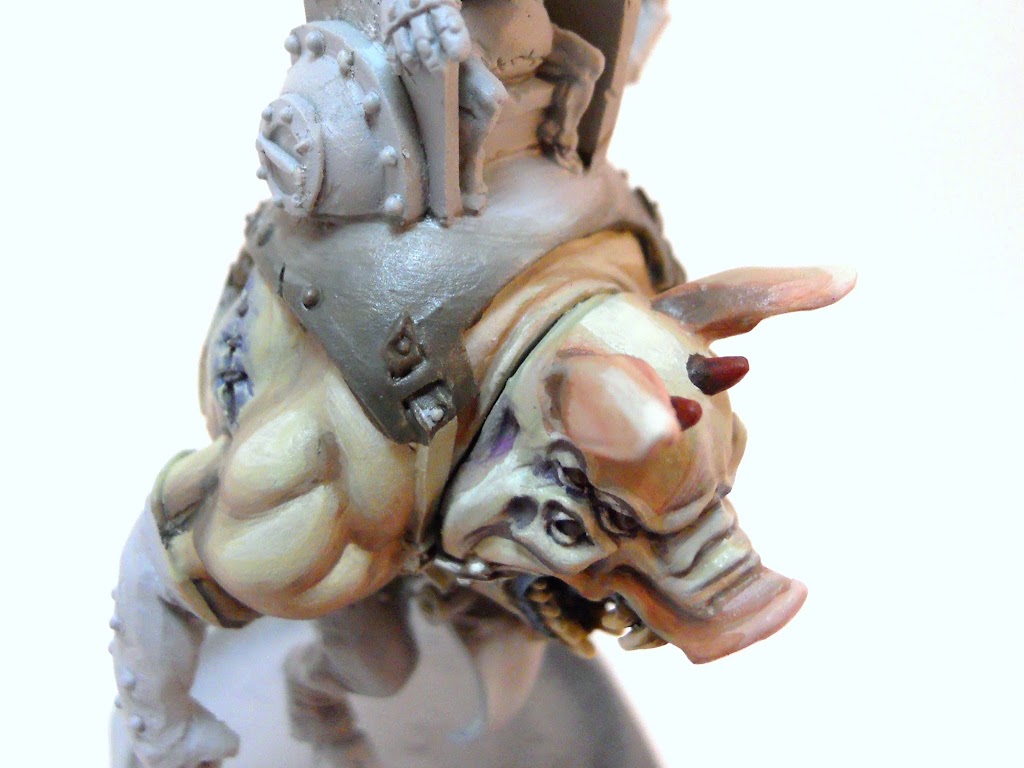
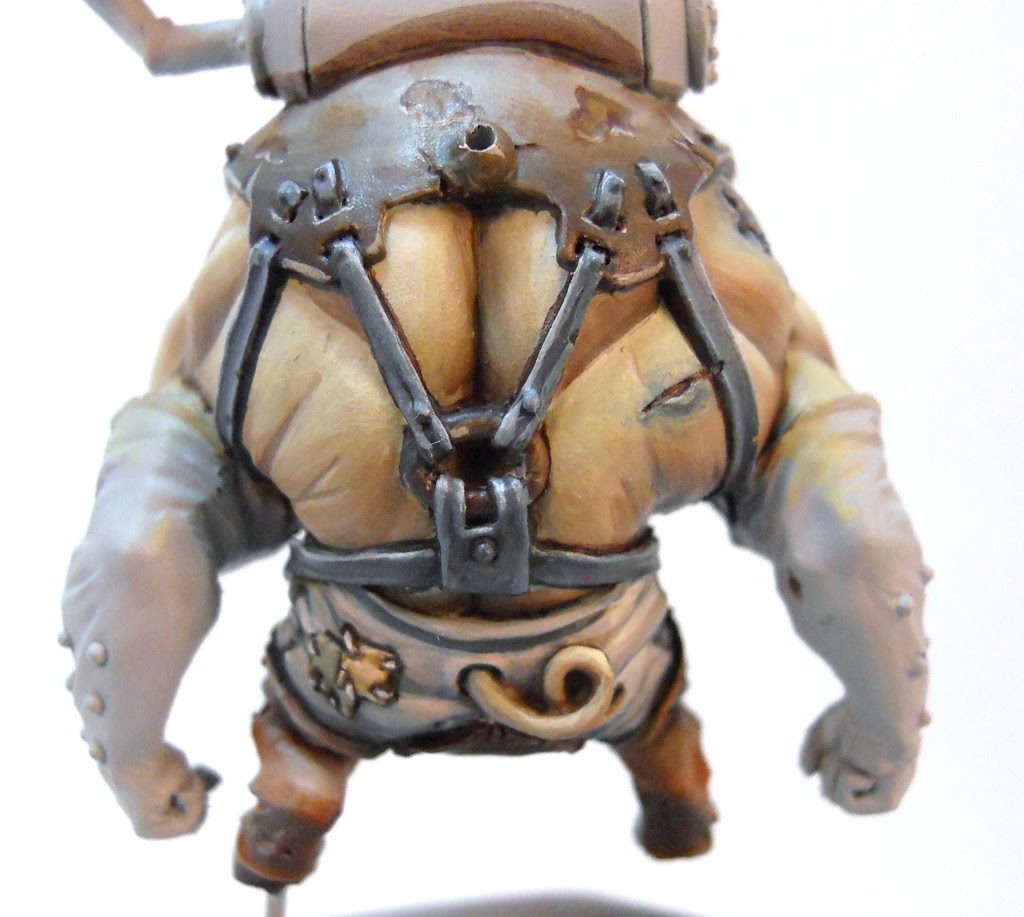
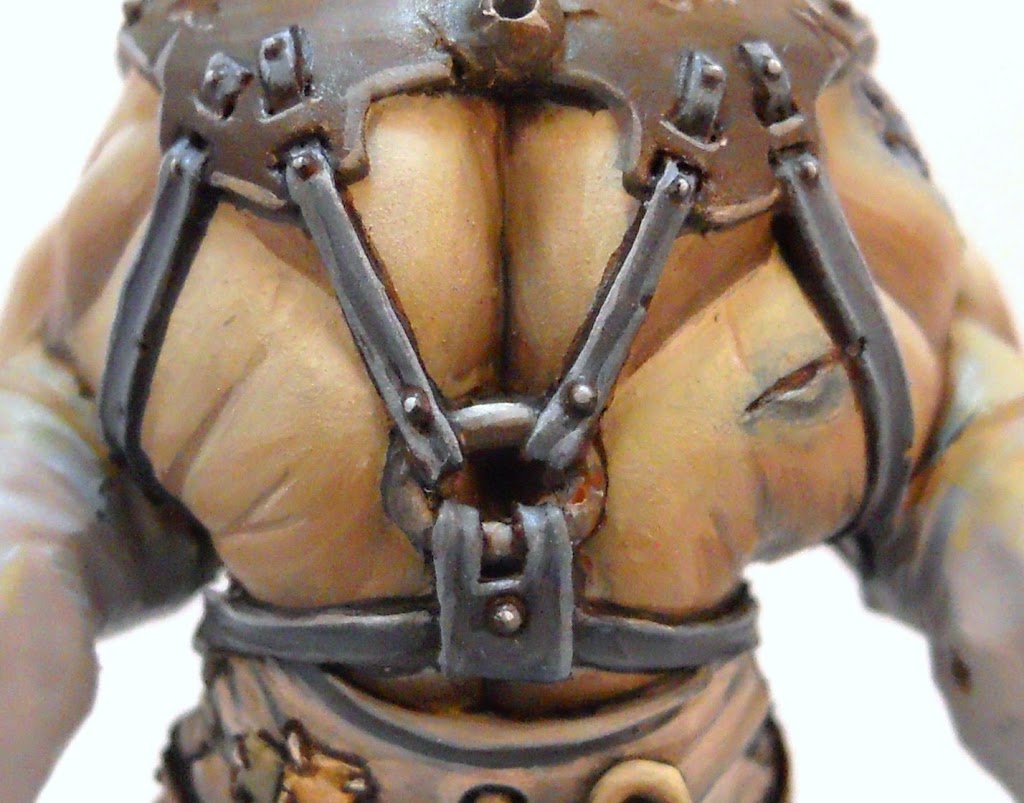
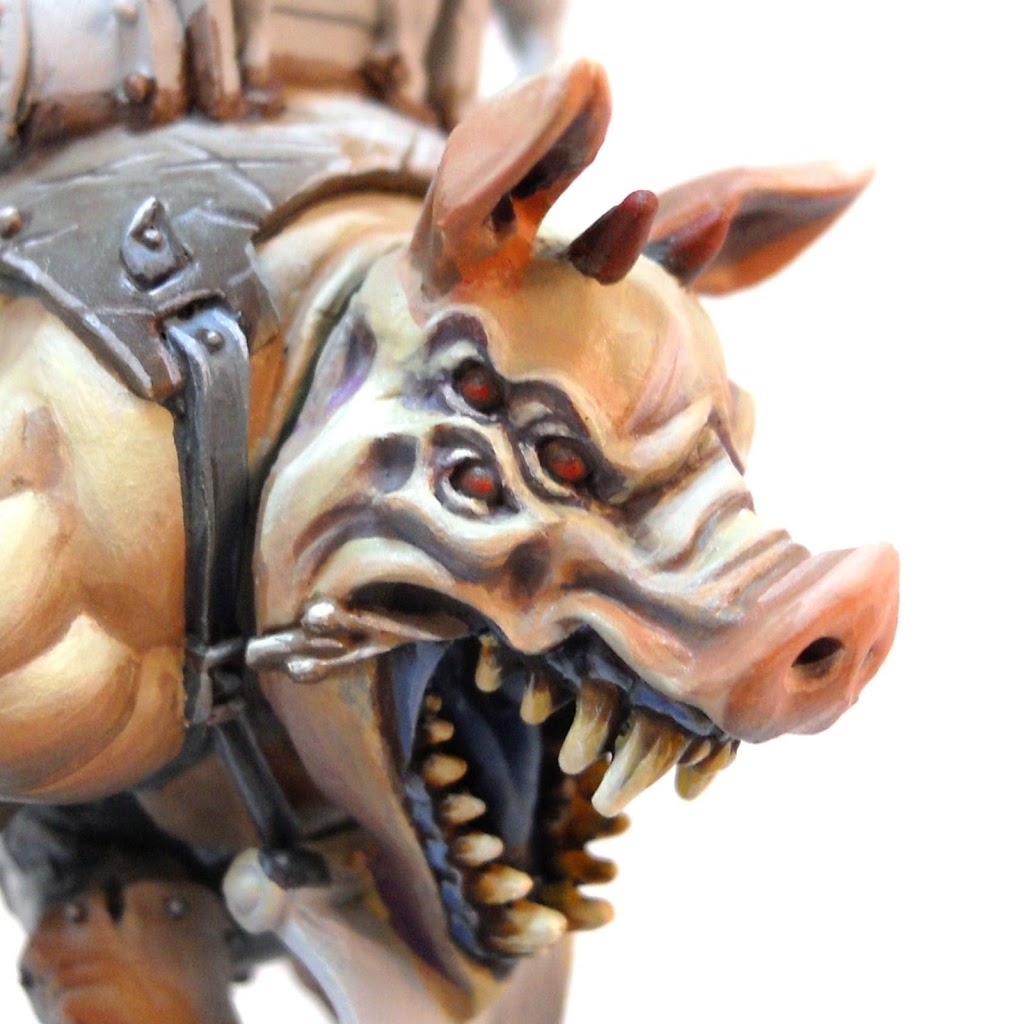
Lets get to it shall we. For pt.1 I will be painting the loyal steed. As usual I’m using almost exclusively P3 colors here. To help with the blending I use Matisse Drying Retarder. I keep it in a little dropper bottle and add it to my palette as needed. I start off with a base coat of Thrall Flesh for the skin. I begin to shade it with Beast Hide.
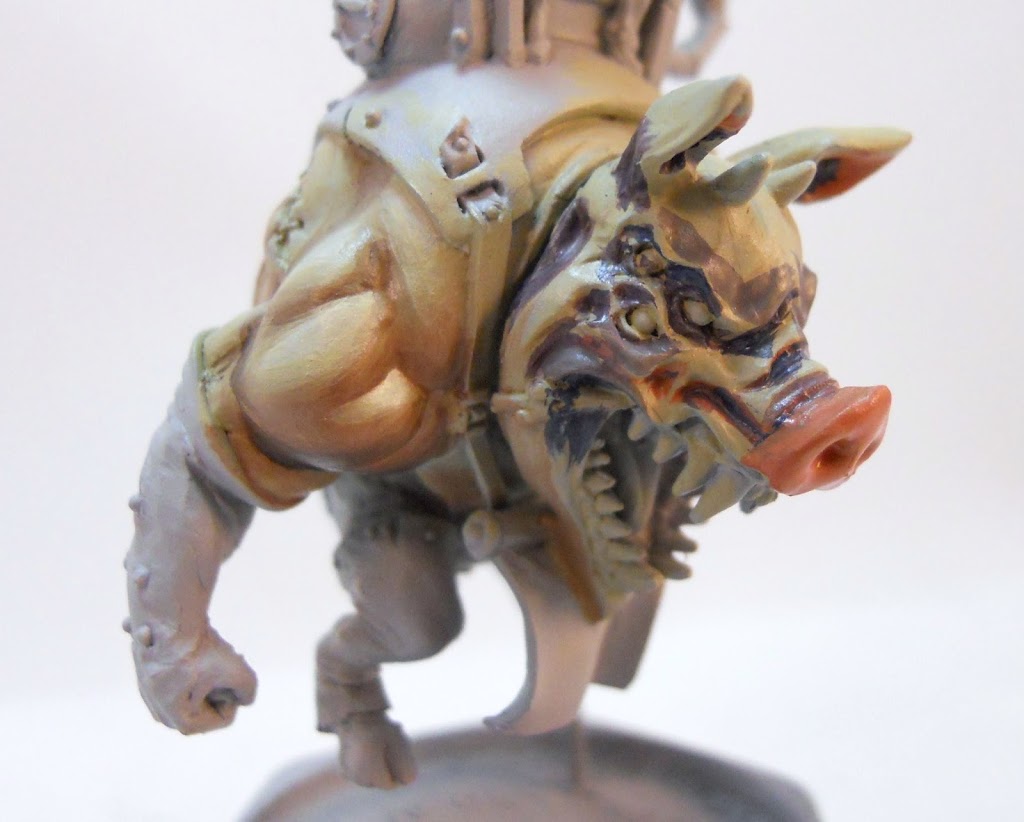
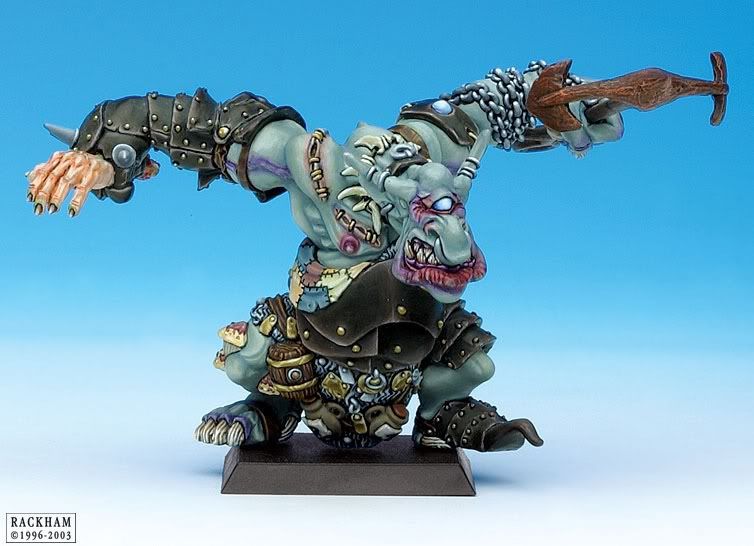
I add more depth to the shading with some Thornwood Green, and brighten up the highlights with some Menoth White Highlight. Since this guy was done by one of the Confrontation sculptors I looked through one of that company’s old catalogs to see if there were any color schemes that I thought would work well for him. I ended up latching onto the Black Troll as a source of inspiration. For reasons unknown to me, the Rackham studio painted two versions of this model. One of them is easy enough to find on the web. The other one, the one from my catalog, seems to have disappeared from the internet altogether.Well, long story short, it had a really interesting pallette for the skin with lots of nice pinks and purples on the face. I shamelessly borrowed from it for piggy here. The purple around the eyes and nose is a mix of Beaten Purple and Exile Blue. It’s lightened a bit with some of that Beast Hide from before. The pink on the nose and ears is pure Khardic Flesh.

With that colorful foundation laid, the next step is to gently blend it in to the surrounding area. Doing this is simple enough: increasing amounts of Thrall Flesh are added to the purples until it’s nicely worked into the surrounding flesh. The nose and ears are highlighted with Ryn Flesh and later on some more of that Menoth White Highlight.

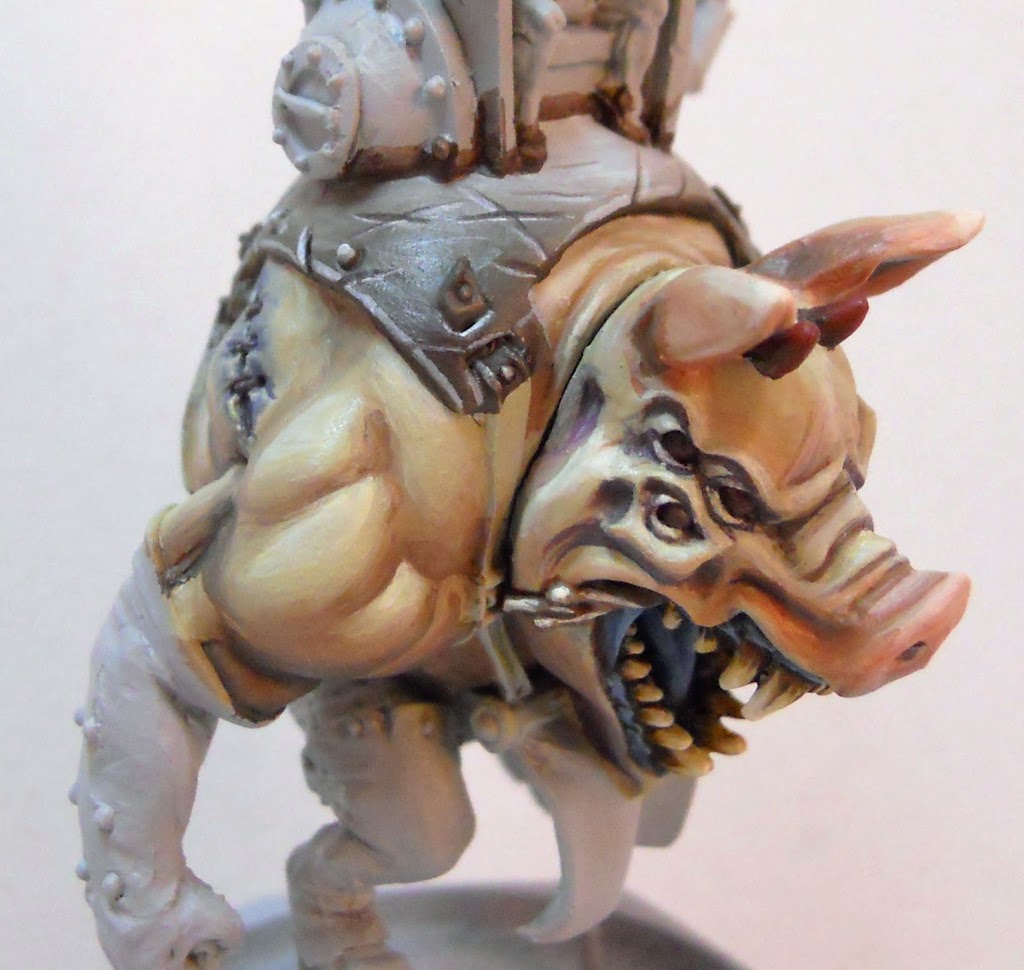
With the skin to my liking, I move on to other areas. I love blue gums on my models, and this guy seems like he’ll be perfect with them. They get a base coat of Exile Blue. I add some highlights to this blue base by mixing in some Frostbite with the Exile Blue. I also shade it with a brown color I’ve mixed up. I use it often enough that I have a whole pot of it and use it for all sorts of things. This color is a 2/1/1 mix of Thamar black/Skorne Red/Bloodstone. I use this same color as a base for the eyes and horn. In fact I used this color so much in this article I should probably give it a name for the sake of convenience. Let’s call it Deep Red Mix. In other news, the teeth get a basecoat of Sulfuric Yellow. And that little fleck of spittle… it’s painted with some Trollblood Highlight – a nice warm gray.
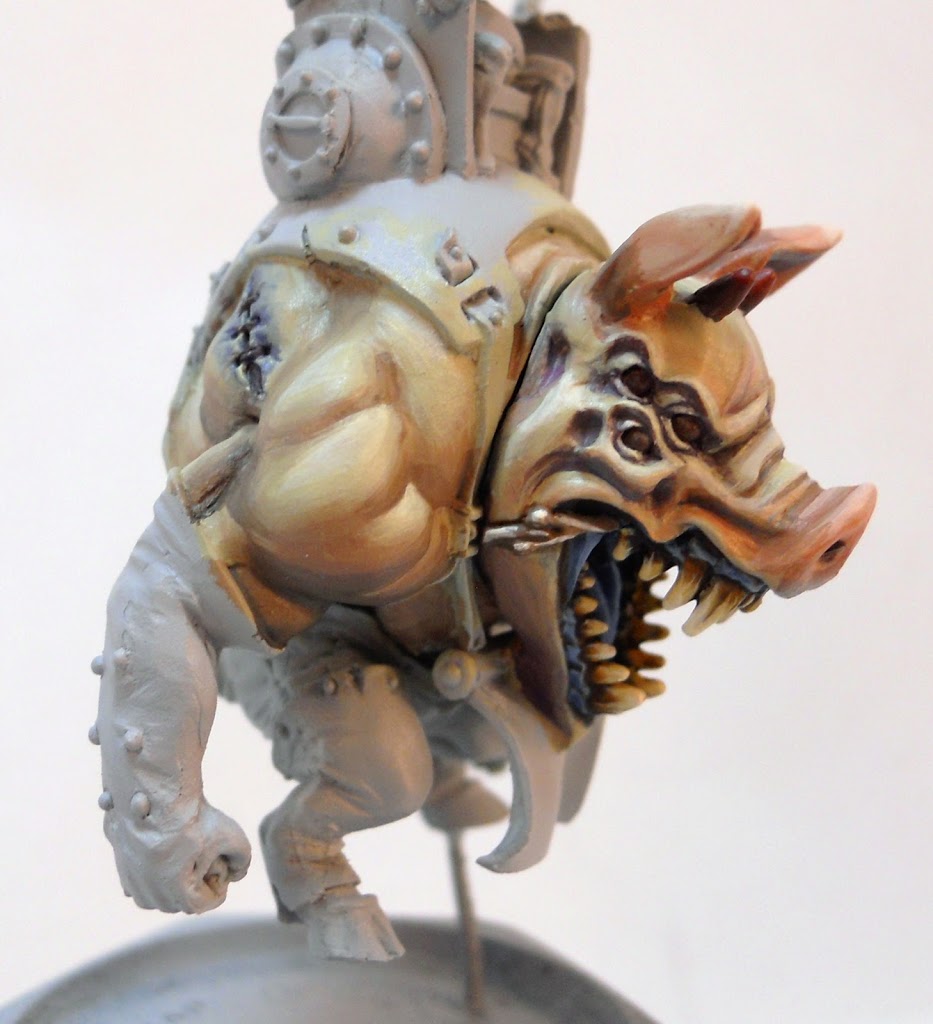
After finishing off my blends with the blues, the teeth get a wash from GW’s Agrax Earth, and so does the spittle. Once this wash has dried, I reapply the yellow in nice little streaks to indicate ridges on the teeth. This is followed up with a highlight of – yep – Menoth White Highlight. The spittle is highlighted with the same color; on top of a reapplication of the Trollblood Highlight. Finally, the horns are highlighted with a little Skorne Red.
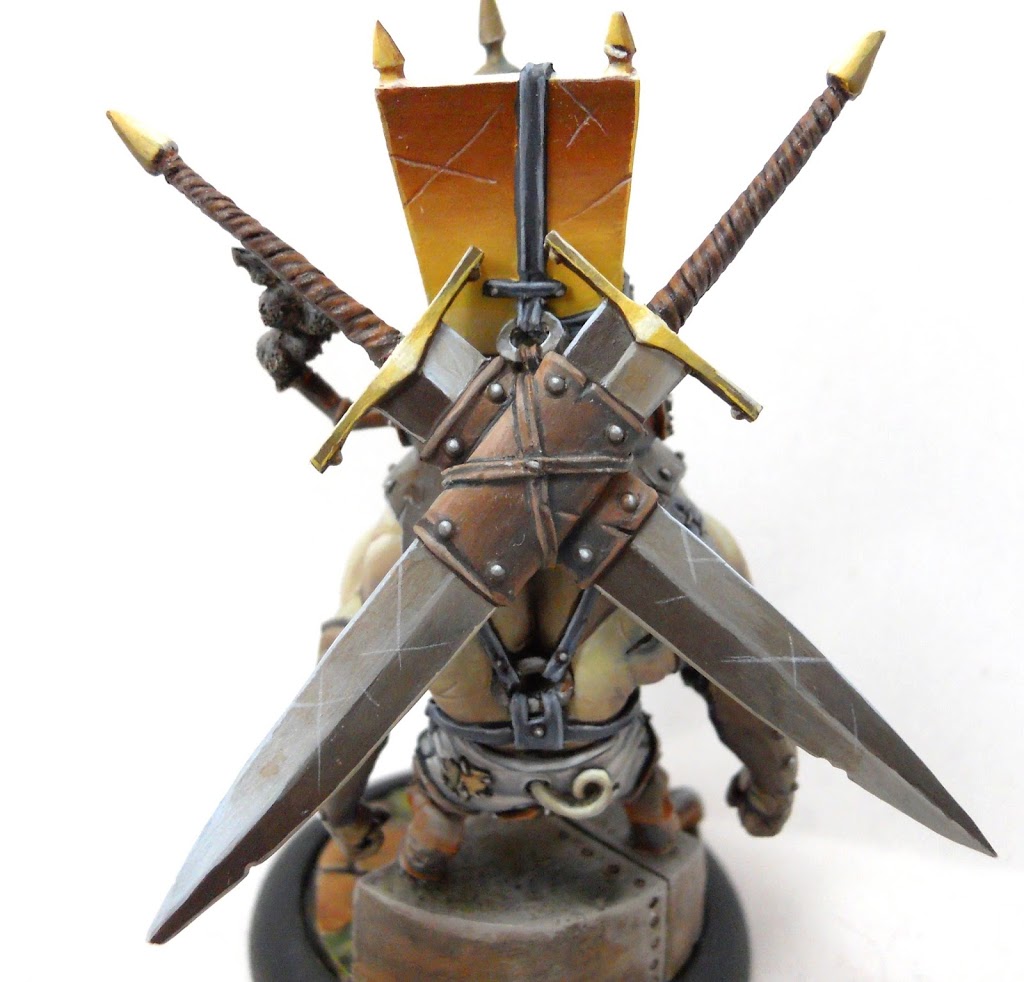
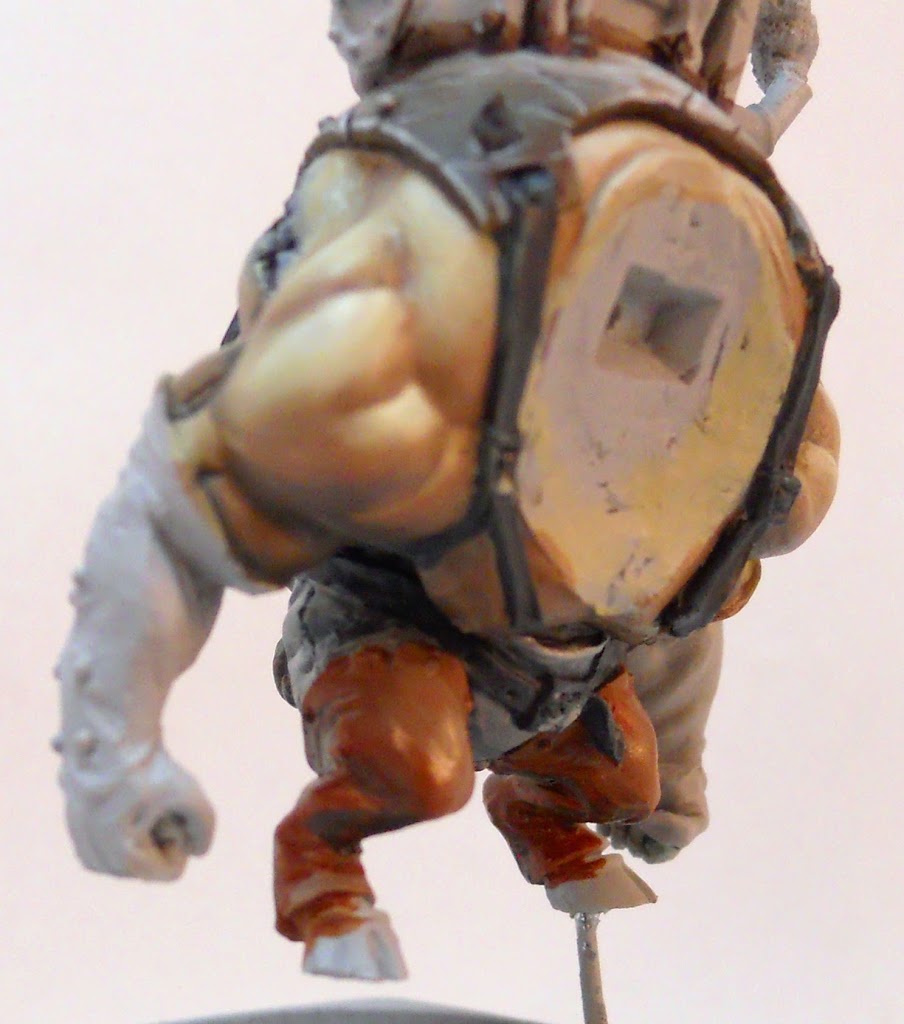
Next I move on to the back plate. It seems only right that it should be made of iron, so I go for a NMM approach here. I’m always trying new things with my NMM and this time I decide to use Thornwood Green as basecoat. It’s not really the greenest of greens. In fact it’s almost gray. Nonetheless it is a warm and saturated gray, and I do believe that one of the keys to successful NMM is a good amount of color in your pallette. With that in mind, I highlight the Thornwood with some Frostbite. As its name implies this is a pale blue color that will hopefully work well to indicate the sky reflecting off of my “metal.” I make sure the highlight gets lighter and lighter as it reaches the apex of the object as this is the best way to create the illusion of a metallic appearance.
After adding some shading with my Deep Red Mix, I apply some battle damage. This entails throwing on a few streaks of Frostbite which get a contrasting line of the Deep Red Mix directly above them. The bolder the line, the deeper the gash should appear to be. You can vary this by thinning down the consistency of the paint and the intensity of your brush pressure.
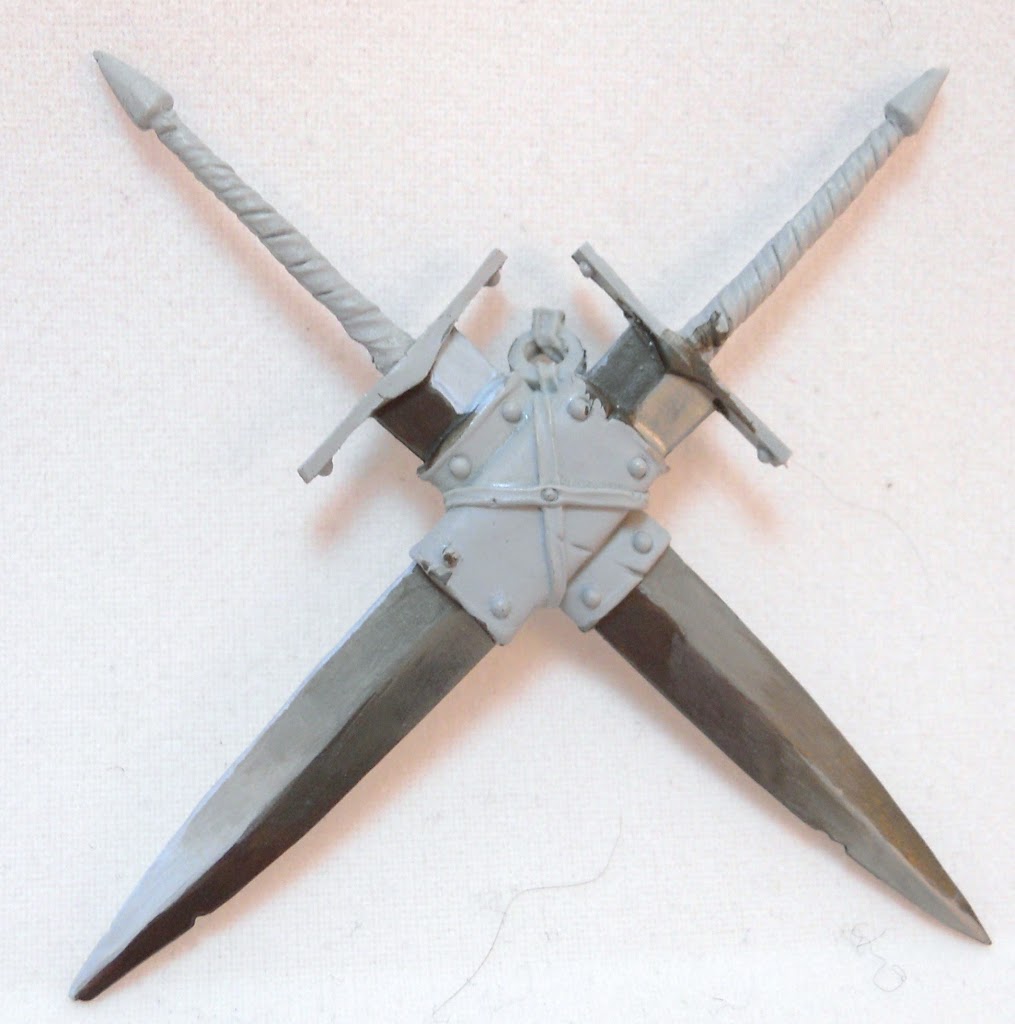
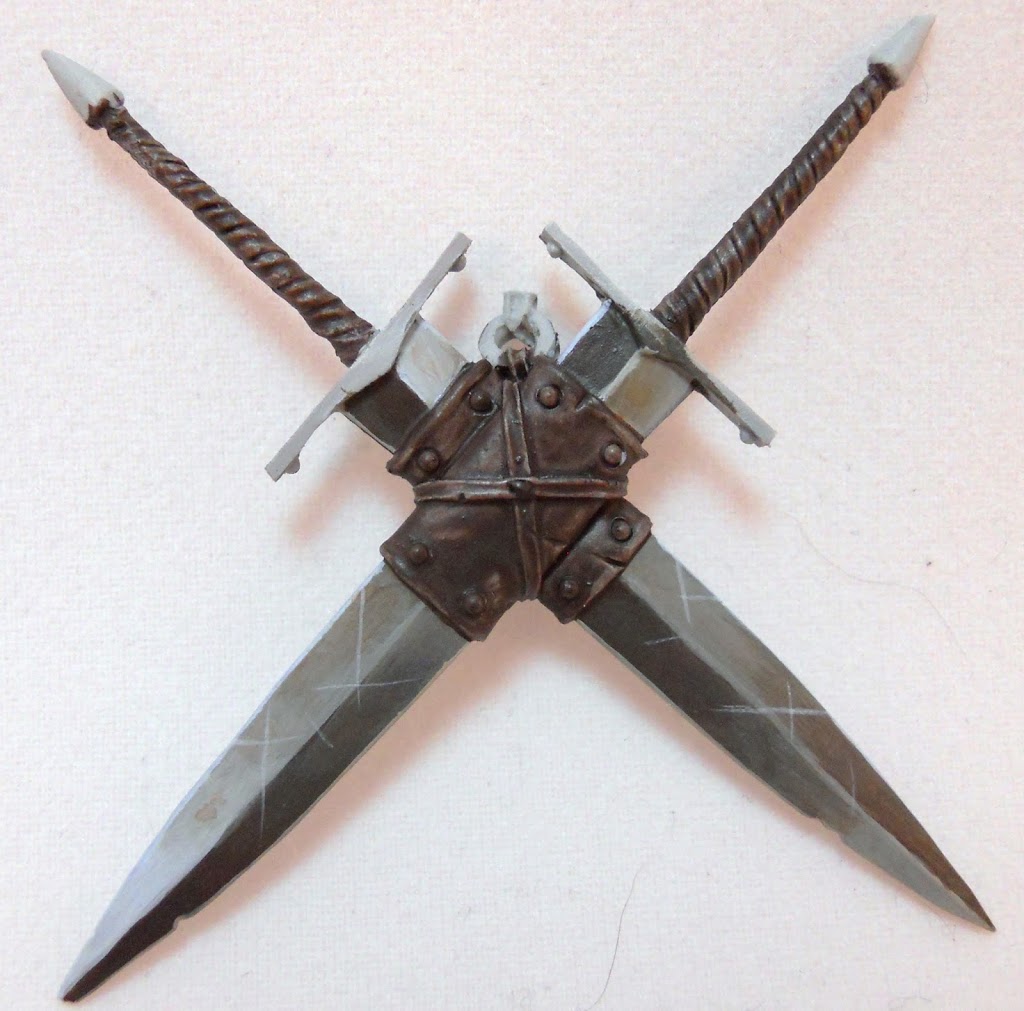
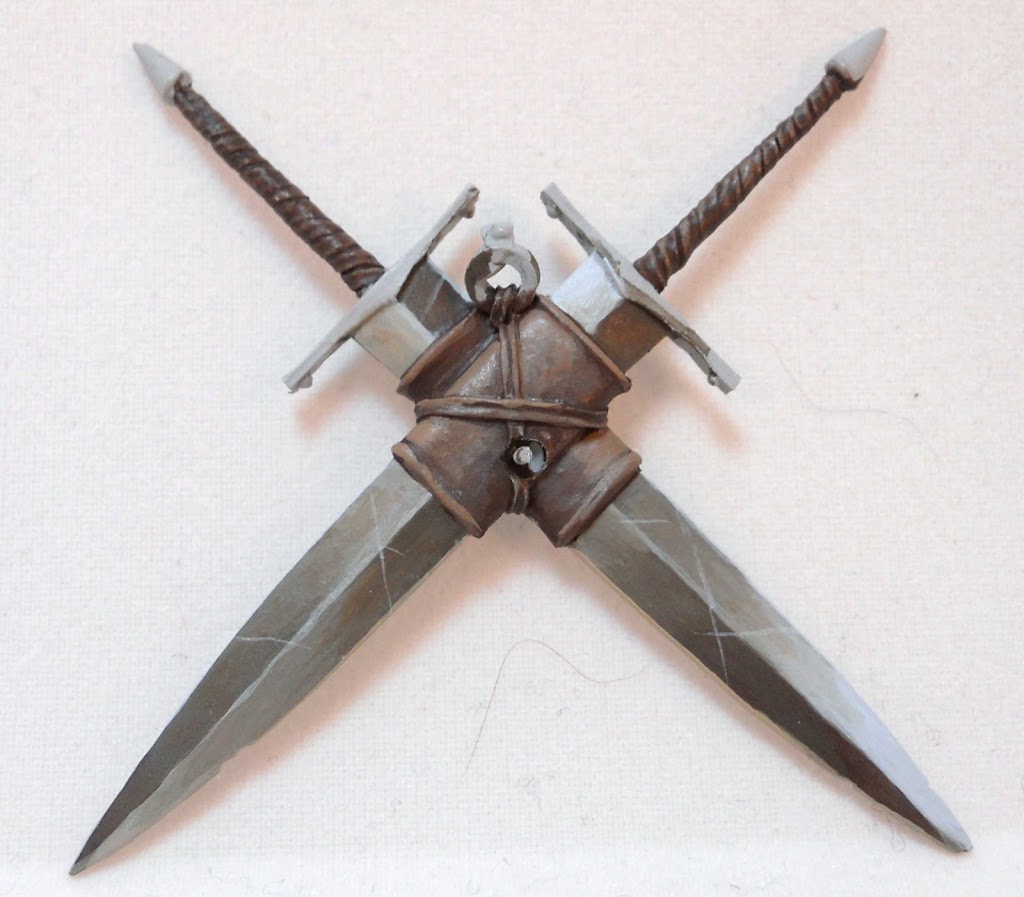
Now we move onto the swords which are painted with the same three colors: Frostbite for a highlight, Thornwood as a base, and Deep Red Mix for the shade.

After finalizing the blending, the leather is painted with the Deep Red Mix.
I stipple on a little bit of very thinned down Blood Tracker Brown to simulate a slight patina of rust. Then I add a few streaks of battle damage with Frostbite.
I begin to highlight the leather areas by mixing in some Beast Hide with my base color.
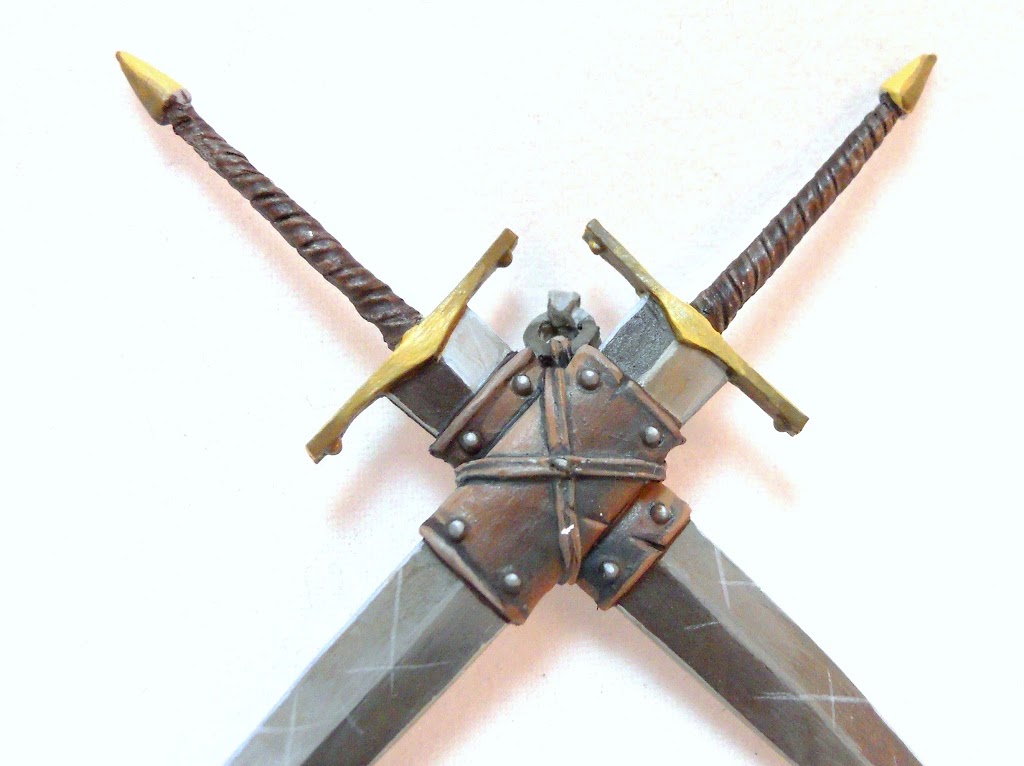
I continue the leather highlights up until they get to pure Beast Hide. The rivets are painted using the same colors as the blades. To do little spheres like these just highlight up with a strong contrast until you reach a single point of your strongest highlight color. I alsostart on the hilts and pommels at this time. I’m going for a brass/faux gold look here. Sulfuric Yellow is used as a basecoat and is shaded with Thornwood Green.
Quick confession. I forgot to get a final picture of the swords before they were glued on. That means we have a picture out of sequence. But that last step was a comparatively simple one. I just added some final highlights to the hilts with Menoth White Highlight. While the white was blended in to the center of the ridge to emphasize the curve, the metallic aspect of the material is emphasized with a sharp line of white down the top of the hilts.
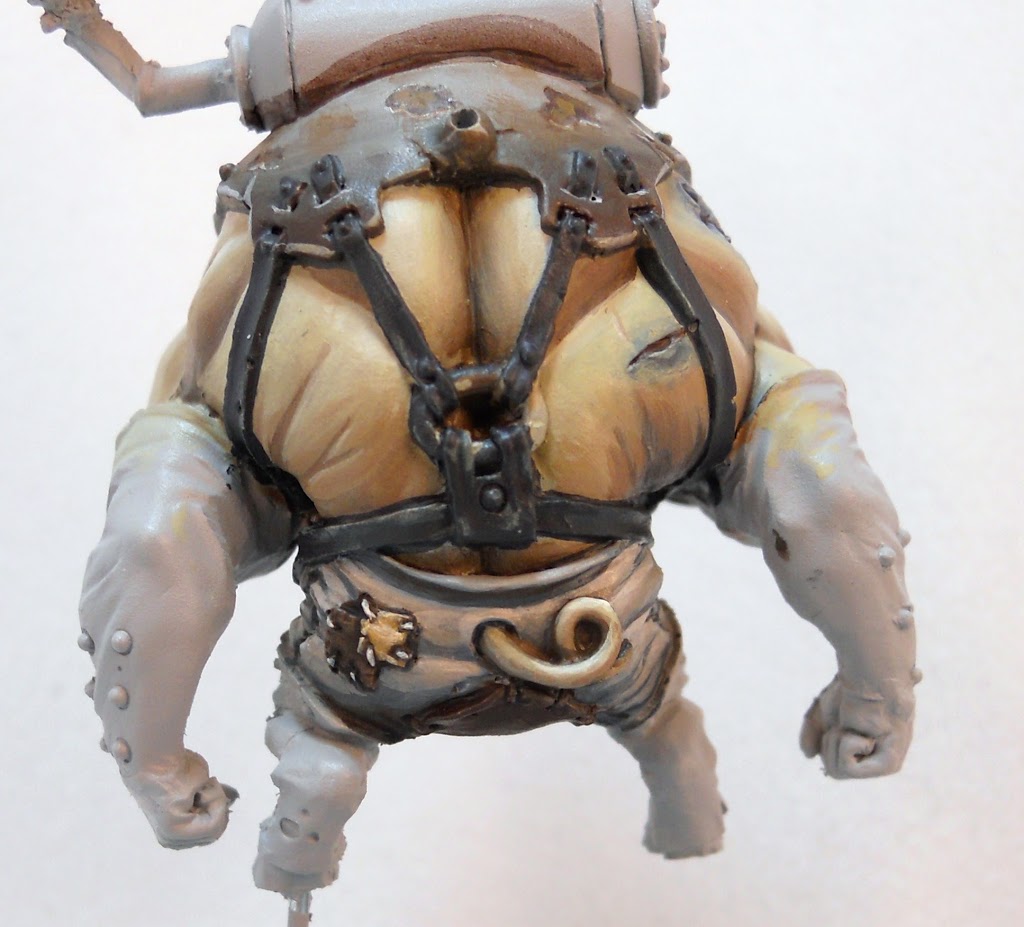
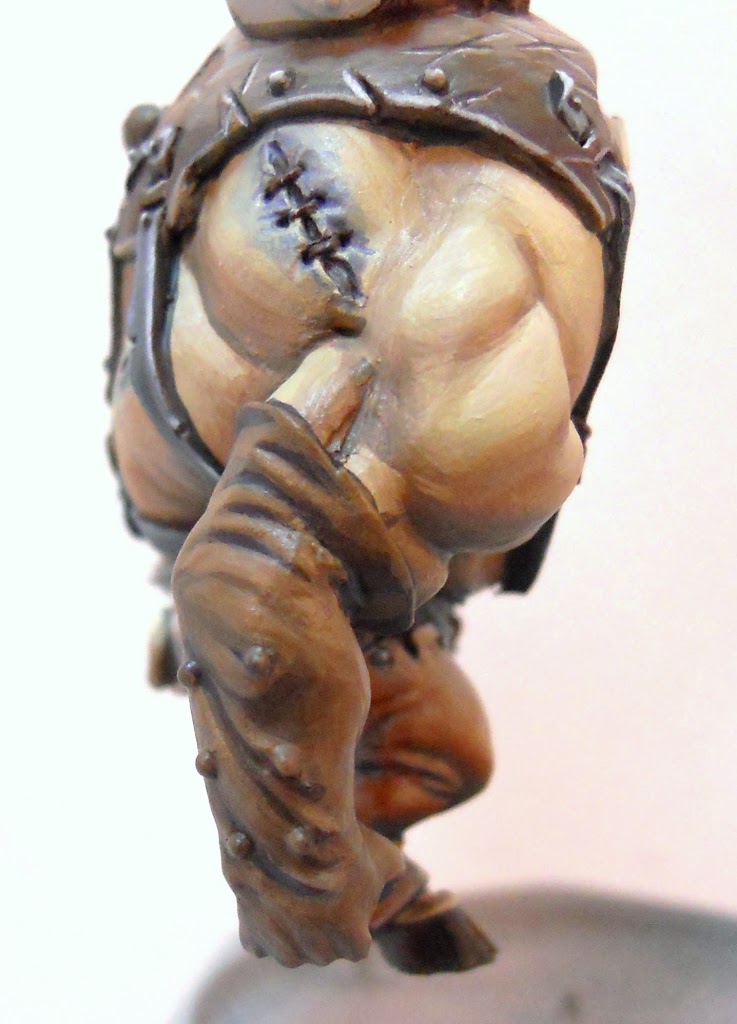
And now its time to move on. I got so into the pants here that I completely forgot to get WiPs of them. Sometimes it’s a good idea to have kind of a neutral color in the middle of everything. To that end, the pants were painted with Trollblood Highlight. This is highlighted with a mix of Frostbite and Ryn Flesh, and shaded with a mix of Exile Blue and Umbral Umber. Like the Deep Red Mix, both of these are colors I use frequently enough to have premixed pots sitting around. In fact the leather straps here are painted with the same blue mix that was used to shade the pants. It’s even the same color I mixed in with Thrall Flesh around that scar there to make it look all gross and gangrenous. It’s another mix I use enough that it should probably have a name. Let’s just call it Navy Mix.
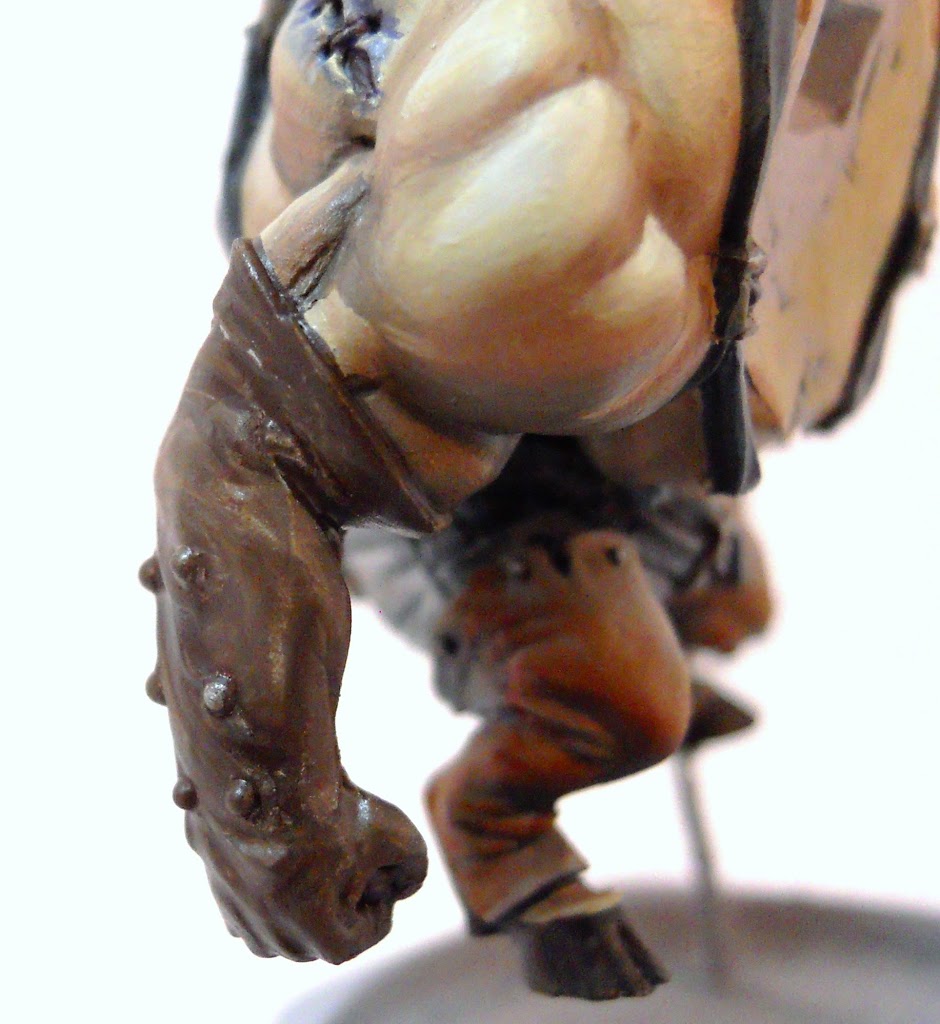
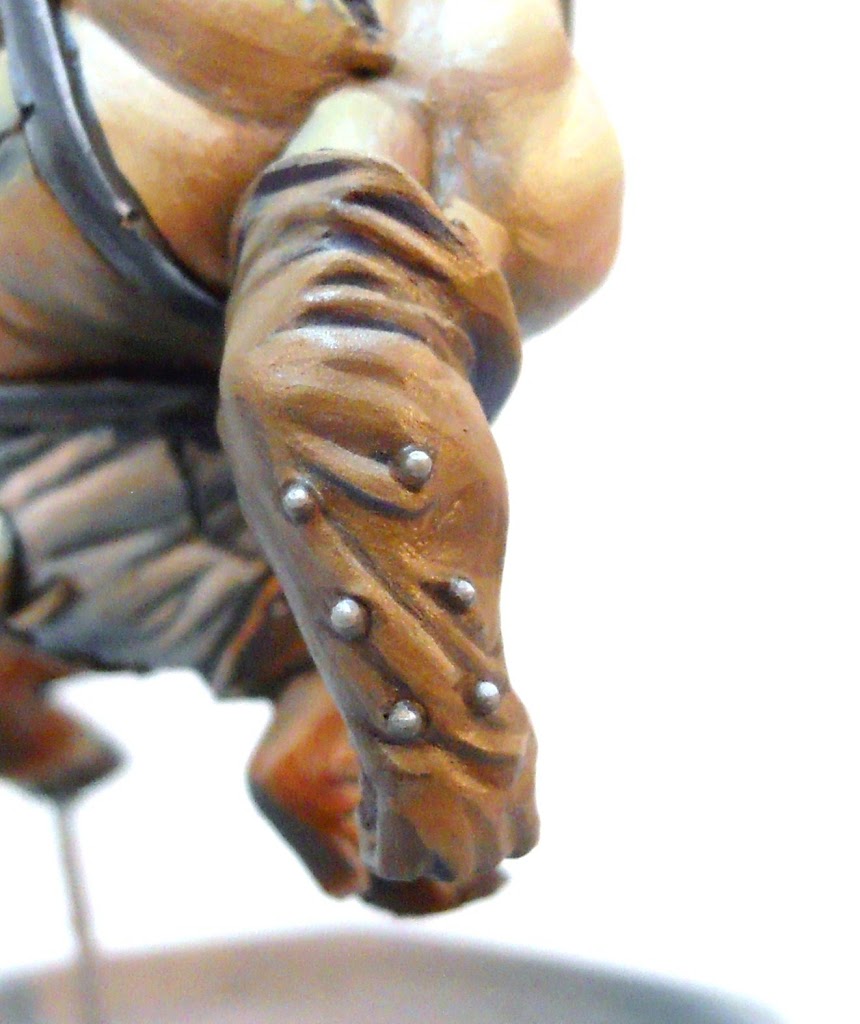
Next I do the… chaps? Boots? Leggings? Whatever you call them I start them off with a mix of Bloodstone. This is shaded with that Navy Mix and highlighted with Trollblood Highlight.
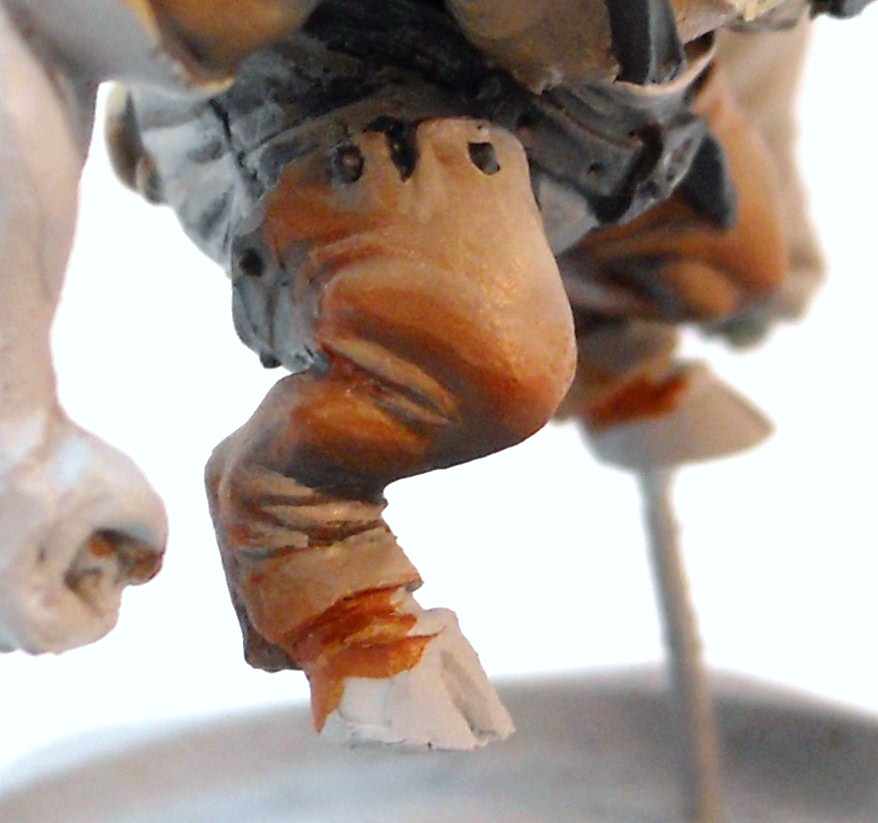
Here the highlights and shadows have been increased…
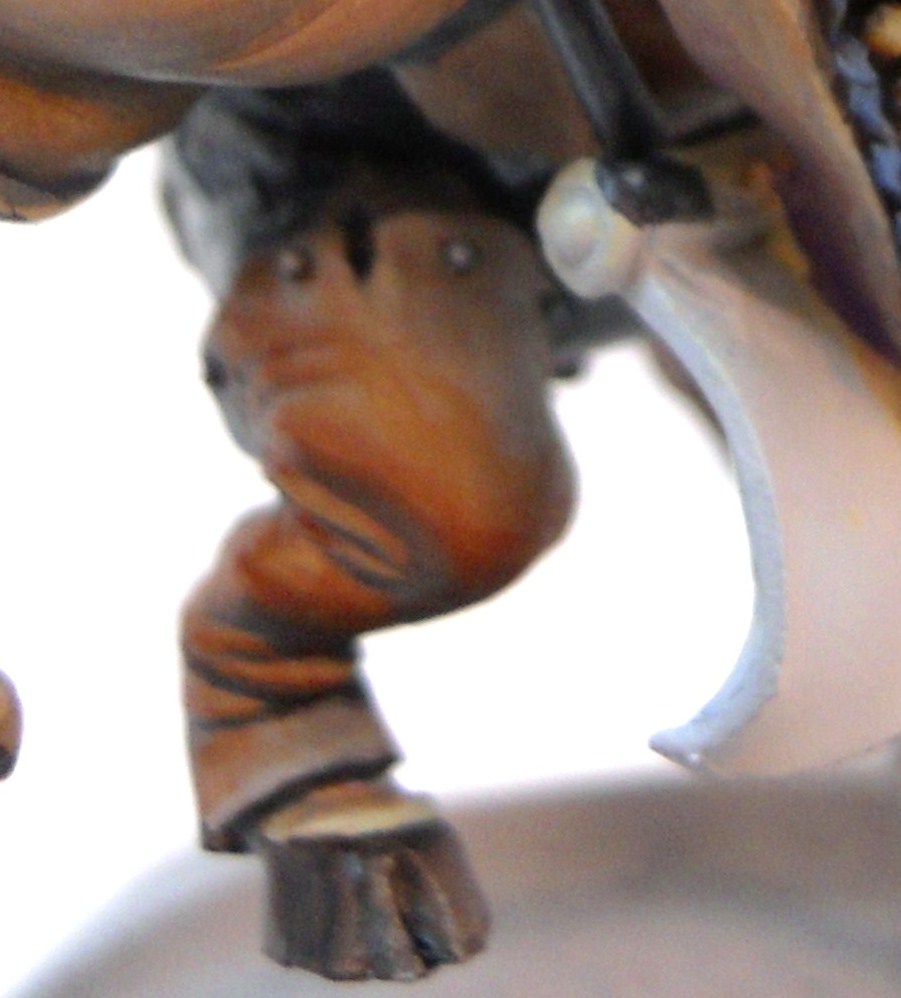
And now finalized. Unfortunately when I took this shot, my camera chose to focus on the arm in the foreground rather than the leg. I didn’t notice at the time so you get a slightly blurry picture for this shot..
Time to get back to the straps. They’re highlighted by mixing Frostbite in with the base color.
The highlights are blended in more cleanly while the buckles and rivets get the same NMM treatment as you see in so many other places.
We’re getting close now. Onto the gloves, which I start off with a base of Umbral Umber.
This is highlighted by adding increasing amounts of Gun Corps Brown and shaded with a mix of Exile Blue and Beaten Purple.
A few final highlights are added with just a bit of Hammerfall Khaki
Hey I forgot all about those eyes earlier. Since this is more or less a demon pig-man I decide to for some nice sinister pools of red for the eyes. Skorne red is painted along the bottom edge of a basecoat of Deep Red Mix.
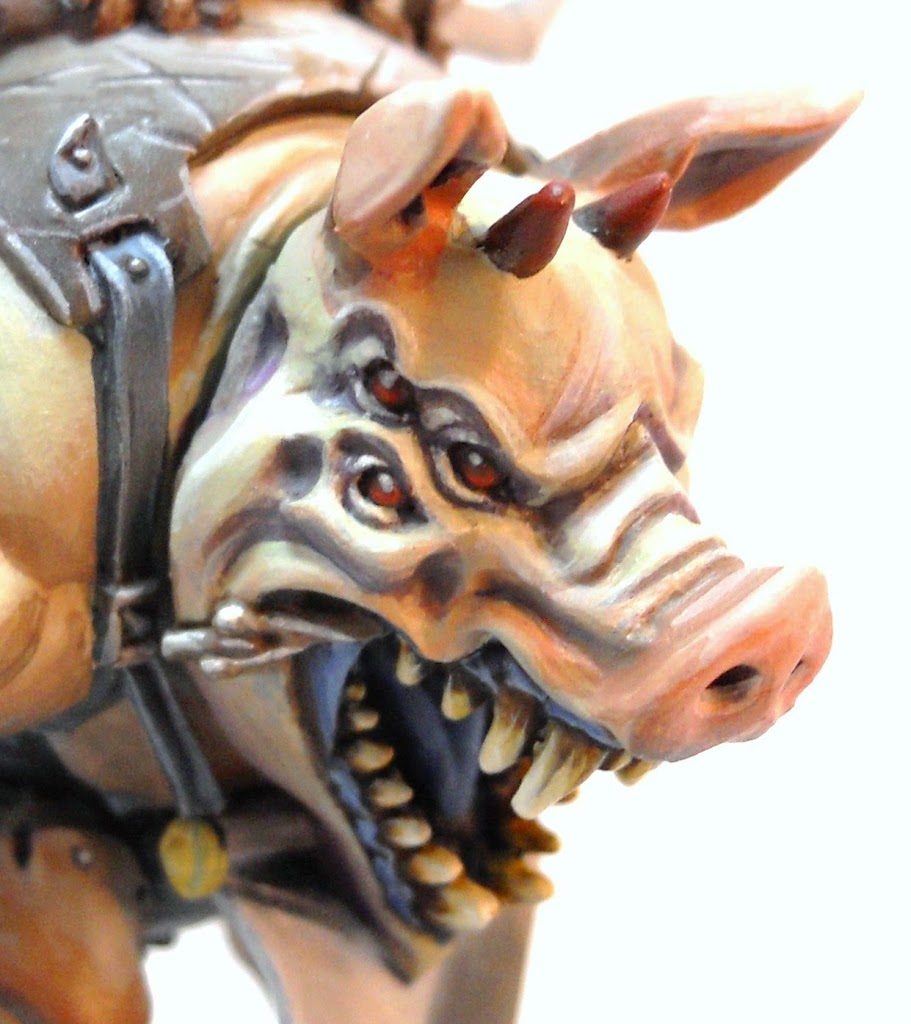
The Skorne Red is further accented with a little bit Khador Red Base. To complete them, a reflection on top of the eye is added with a spot of Trollblood Highlight that is given even smaller spot of Menoth White Highlight within.
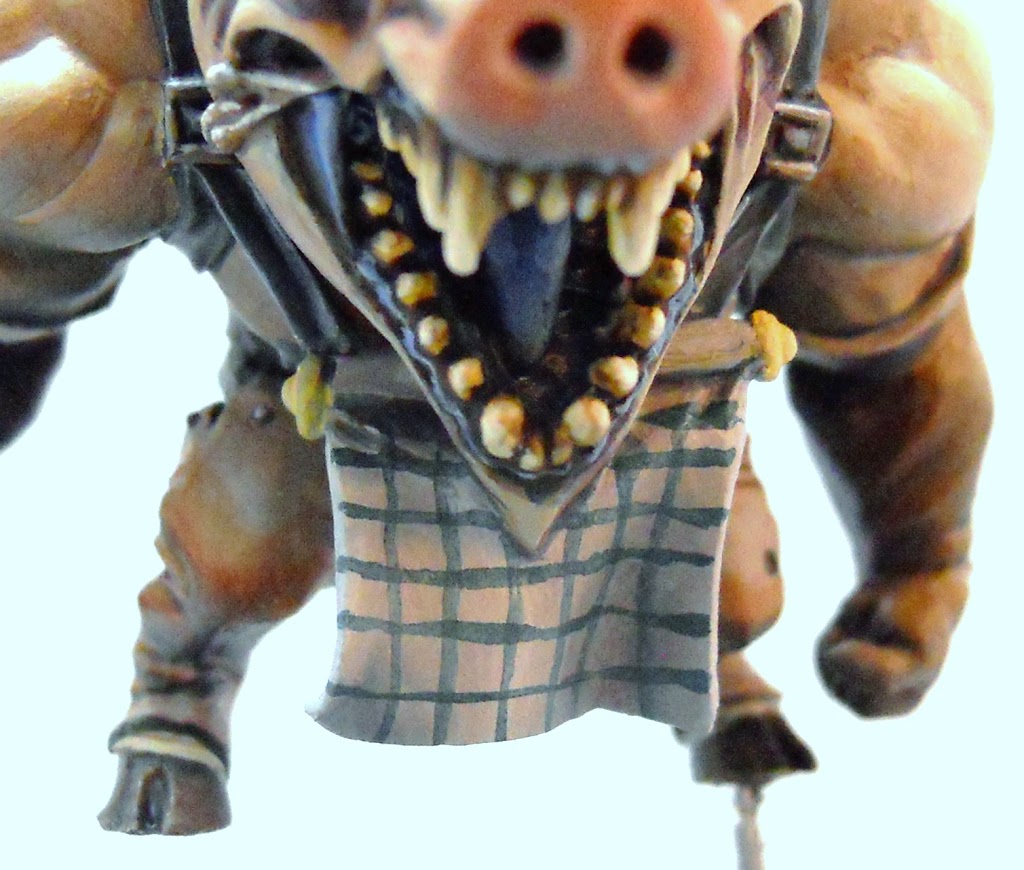
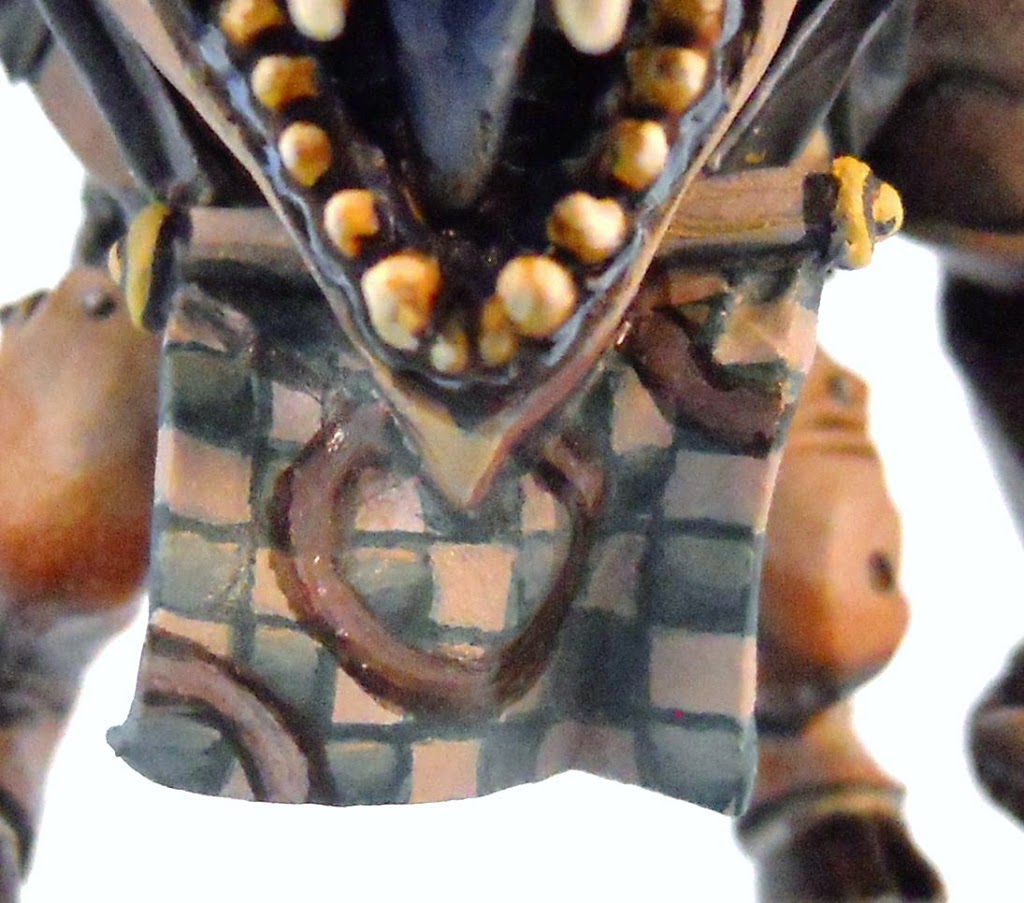
This guys little… errr… bib(?) is just aching for some freehanding. It’s been a long time since I checkered anything. This guy seems like he needs some. Here I’ve painted a grid of Coal Black (not a black so much as a dark turquoise) over a background of Hammerfall Khaki. The Khaki was shaded a bit with Navy Mix before the grid was painted.
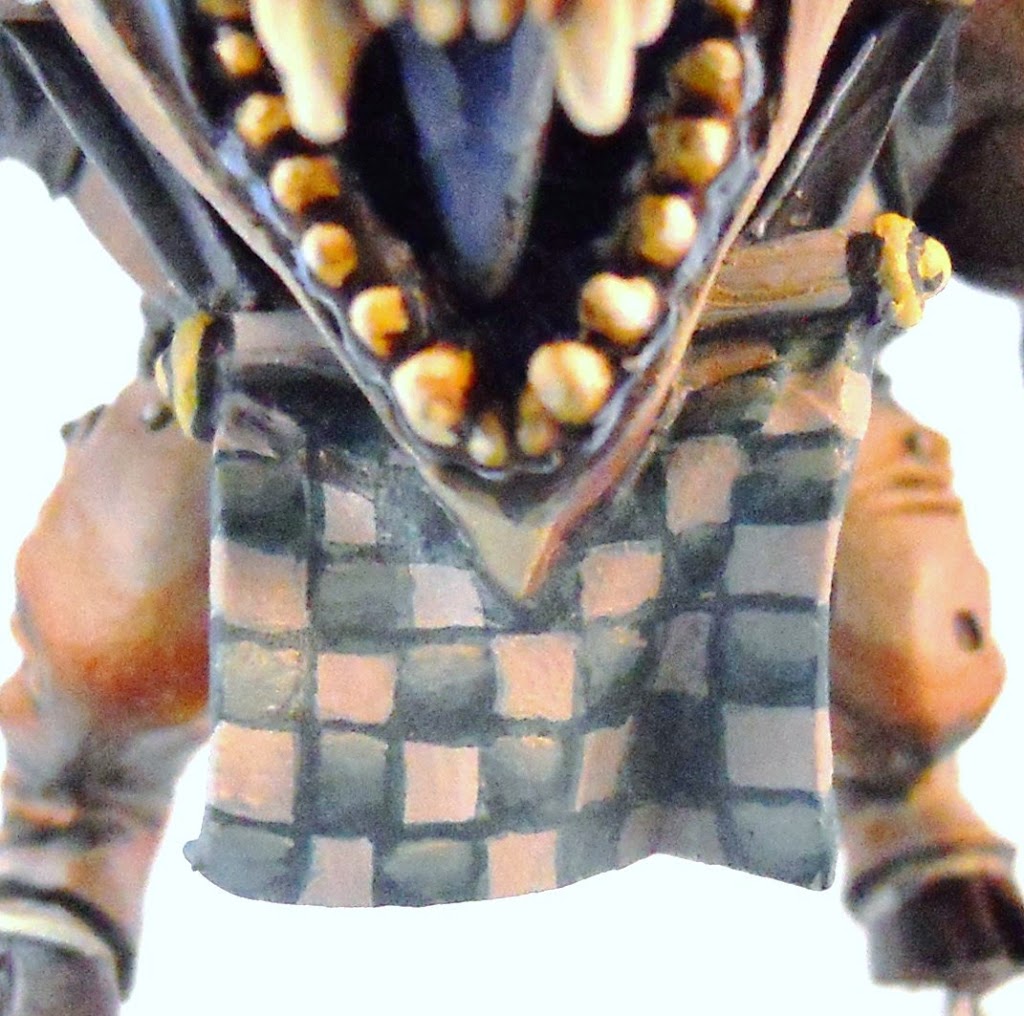
With my checker-field completed I want to add some gears. Teknes is kind of the technological faction so it seems appropriate. I start with some ring shapes to get the sizes right.
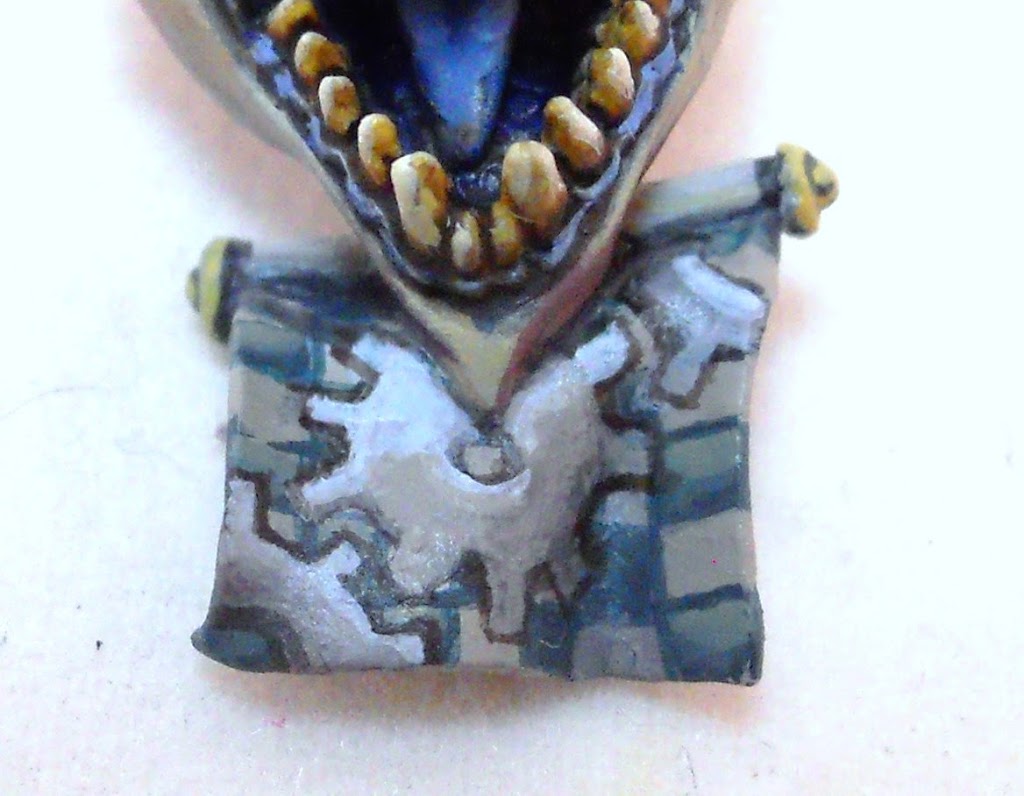
Slowly I begin turning the forms into gears. Freehanding is just one of those things you have to practice a lot, but having a good retarder helps. Even more than with mini painting in general, free handing requires you to rotate what you’re painting. Hold your subject at multiple angles so that you are always applying paint with motions that you feel comfortable with.
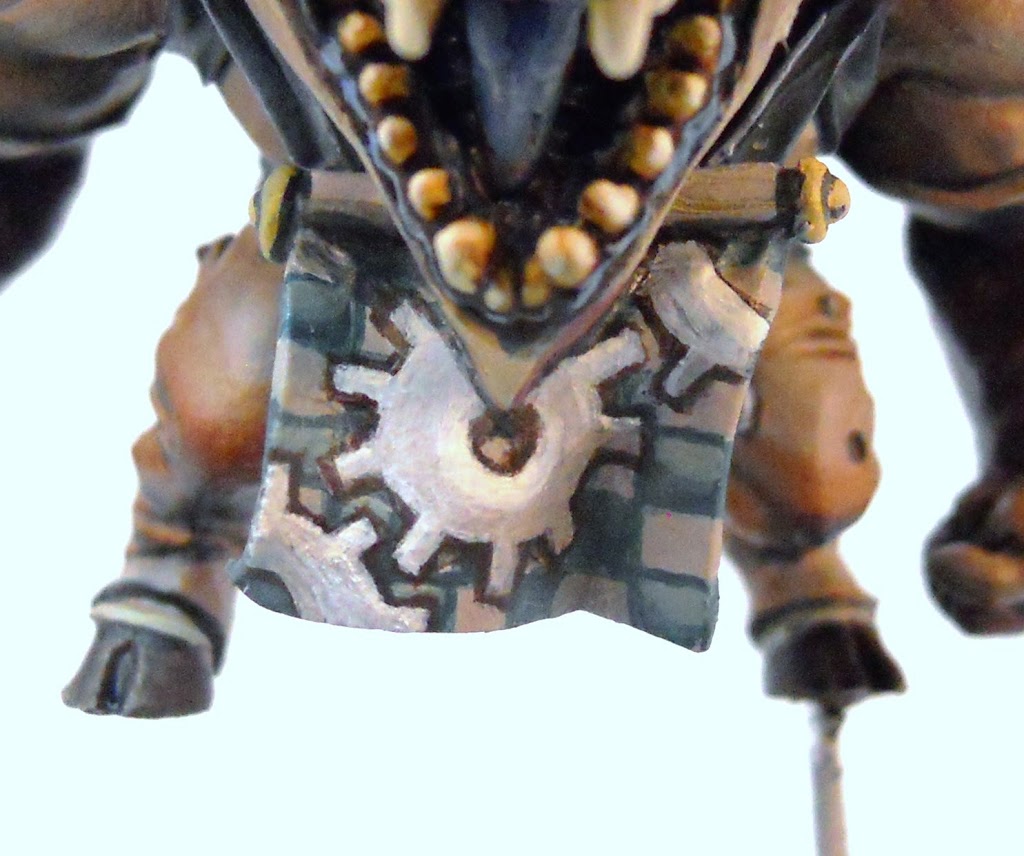
And lastly I clean up the shapes. This means reapplying some of my checker-field to cover the parts of the gears I don’t like. The pegs that were too stubby are made thinner and longer. The pegs that were too long are made shorter and stubbier. Then a final very careful line of Deep Red Mix is painted around the whole shape.
~And that does it for part 1! Check back soon for Pt. 2: The Rider. If you think this guy looks awesome go check out the Kickstarter. And if you don’t like him you should still check the Kickstarter to see what some of the other factions look like. They’re already offering everything at essentially wholesale, and the stretch goals just keep adding more minis to the pool.


