HOBBY: Light It Up- Upgrade Your Rhino With LED’s

Hey all, today we have a modeling project that can light up your day, or night, or something…
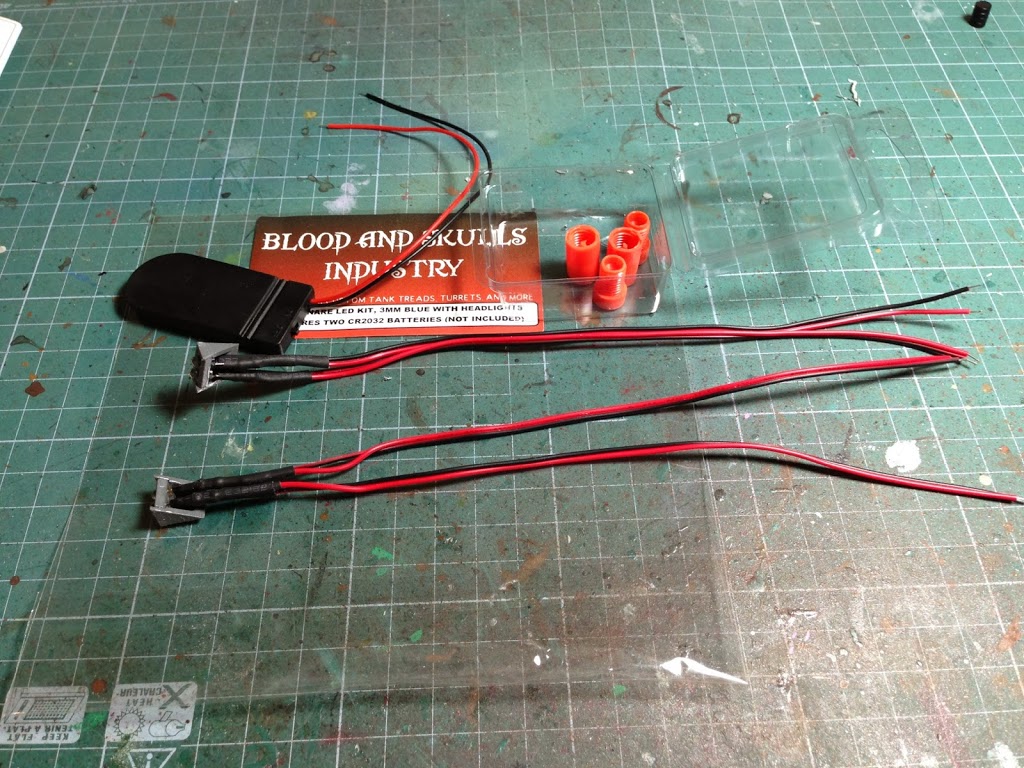
MBG asked me to follow up my original LED kit article with another one of a similar but slightly different flavor. This project used the Blood and Skulls Industries LED Illuminare Kit that is specifically suited for Rhino chassis conversion.
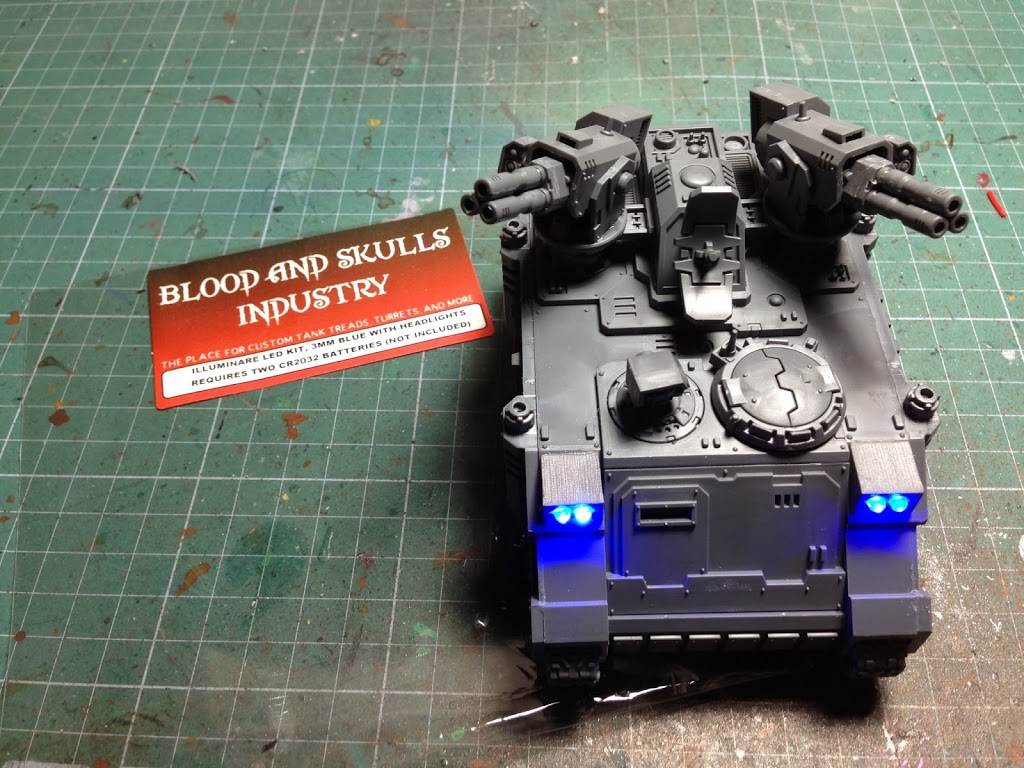
The kit can be purchased with a variety of LED strings. This sample kit had blue LEDs. The kit itself comes with a battery holder/power switch, two wire nuts and four leads with one LED on each.
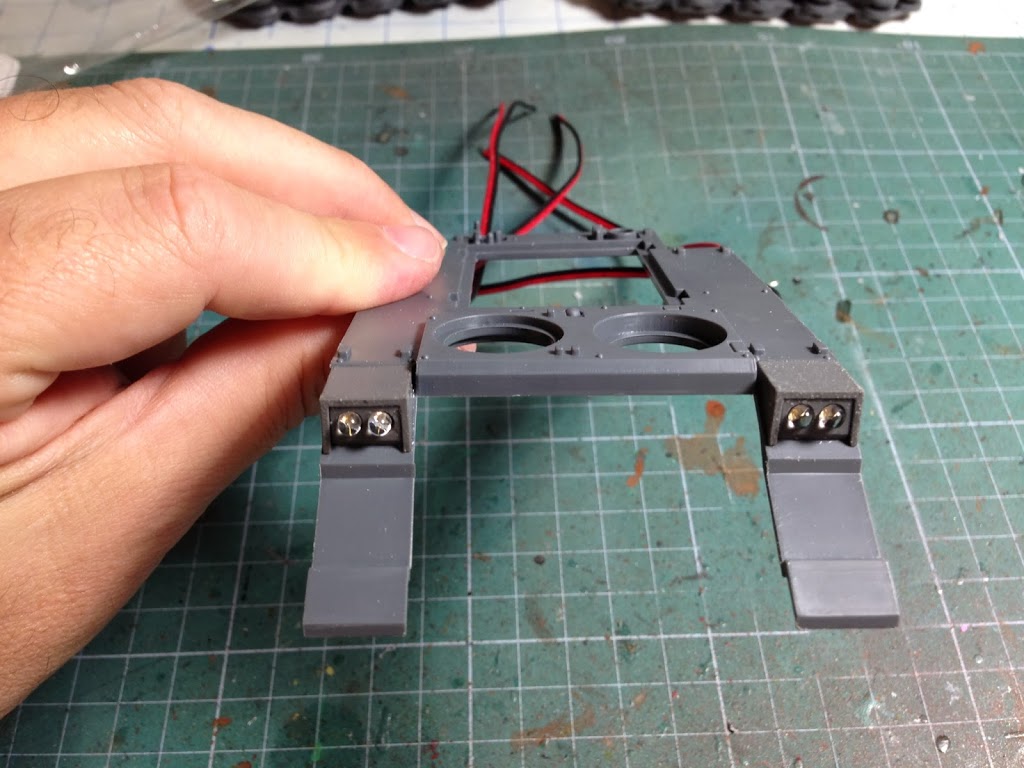
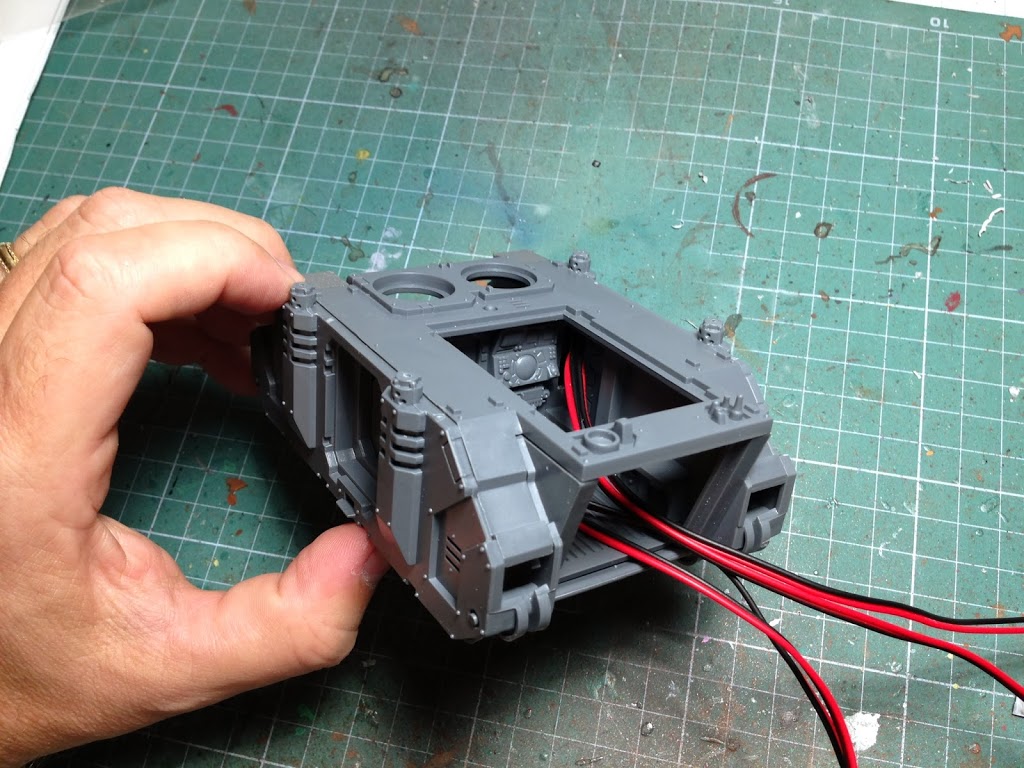
I started the conversion of this Stalker kit off by planning where the leads would run and test fitting the headlight shrouds. They fit nicely where a normal headlight shroud would mount so I decided to cut access holes for the wires behind this section.
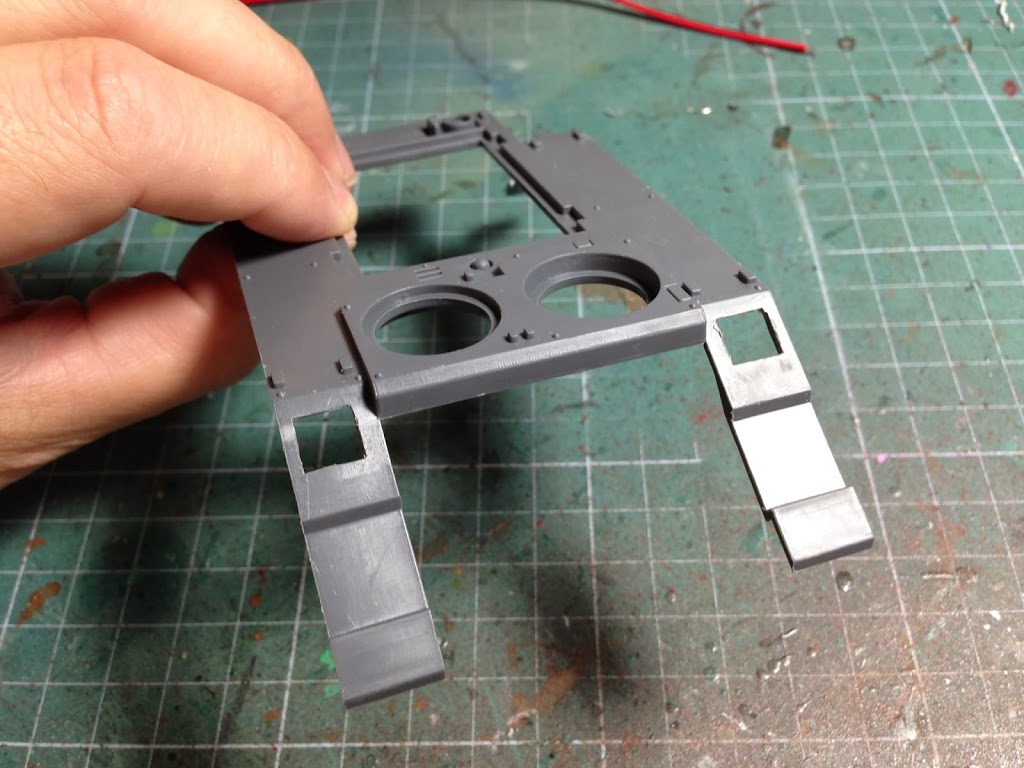
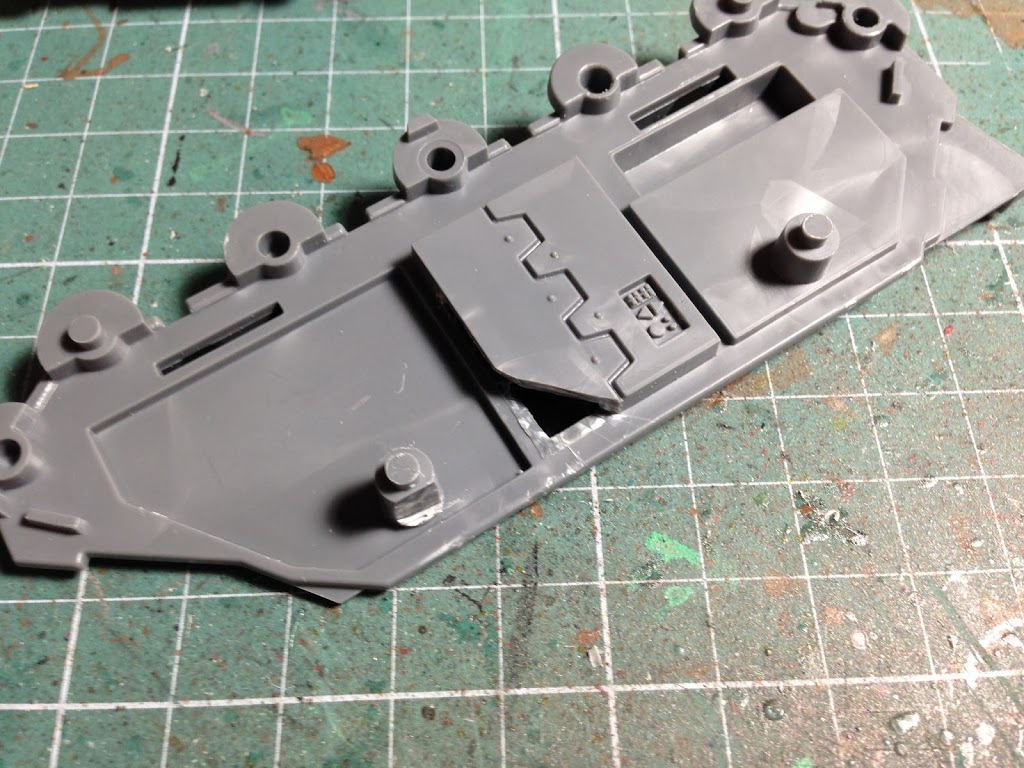
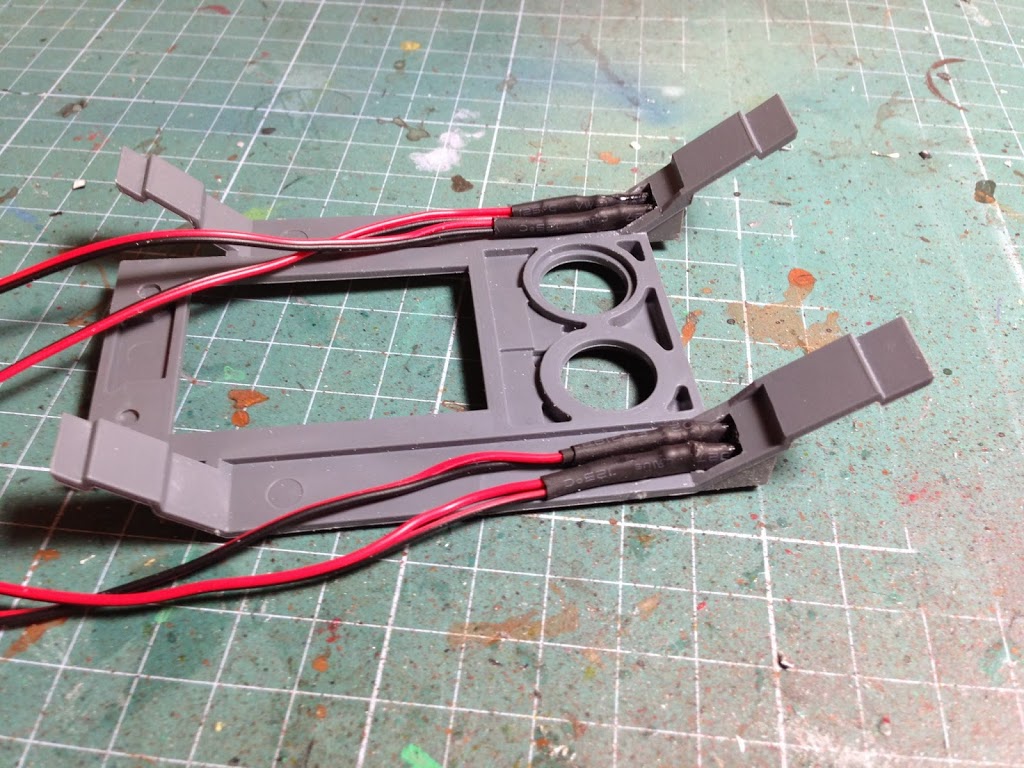
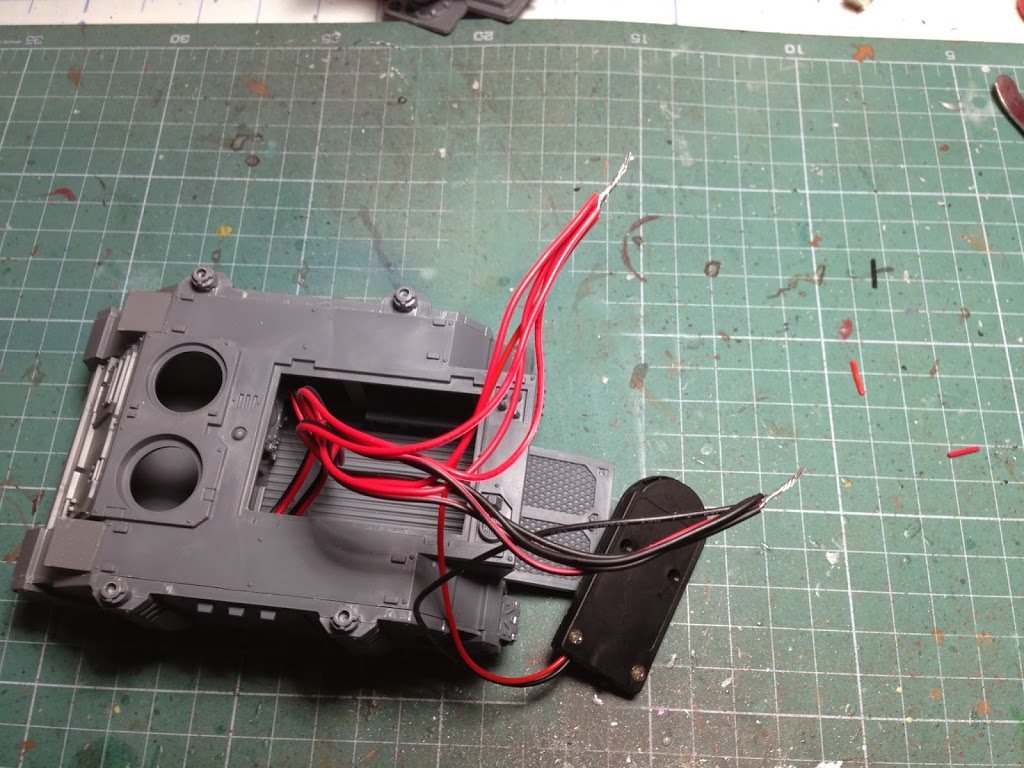
Here are the finished LED wire cutouts that can now be routed through the Rhino door so all the leads could be attached together inside the passenger compartment.
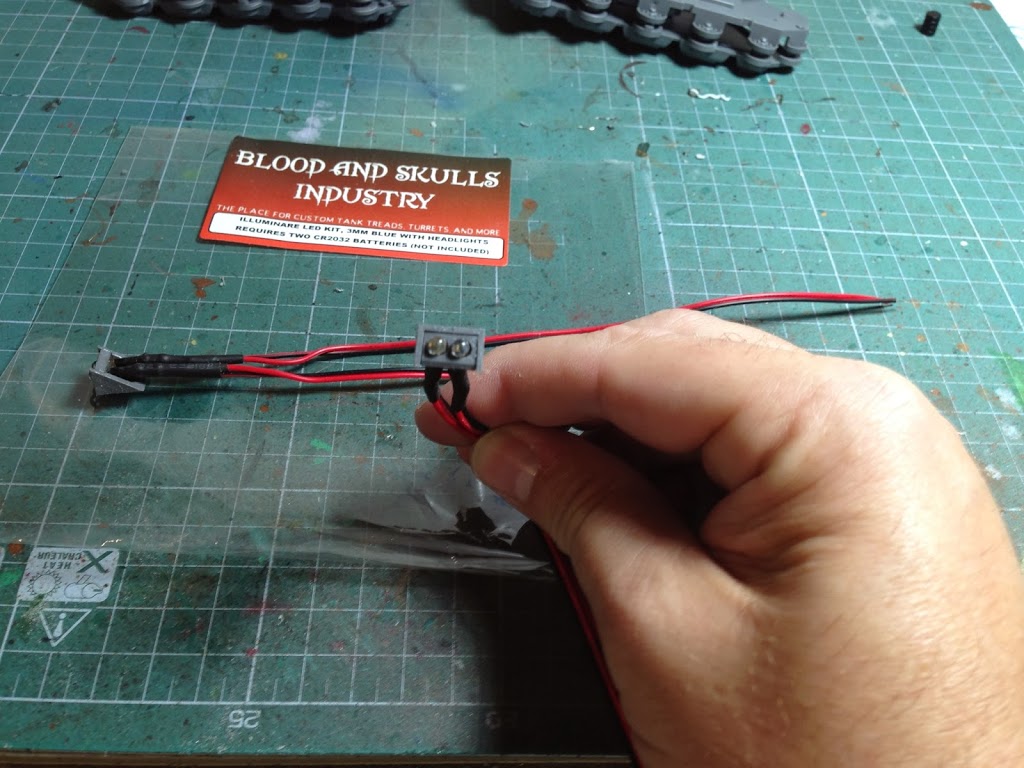
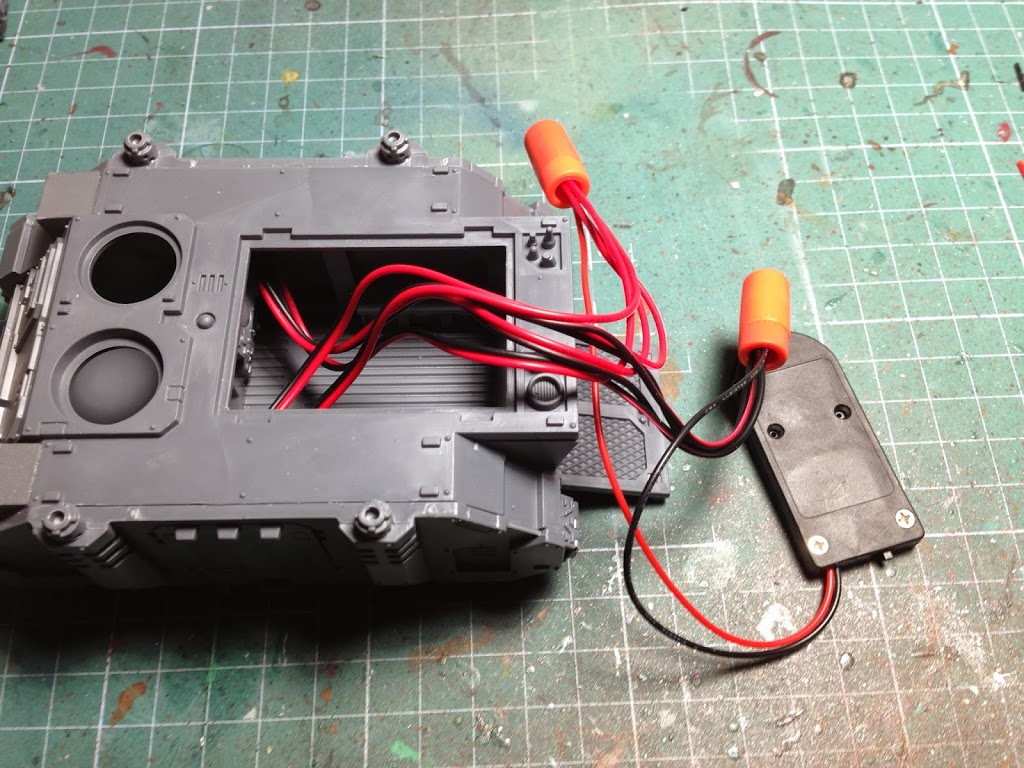
Stripping the ends of each lead and then using the wire nut to hold them is a simple process, just be somewhat careful when removing the wire sheath as the internal wire strands are delicate and can easily be ripped off as well.
The CR2032 batteries that this kit requires- 2 of them- are pretty expensive ($4-6 each) if you just buy them at your local hardware or electronics store. But, they are very cheap (about $1 for two, plus shipping) if you plan ahead and buy them on e-bay or some other online site.

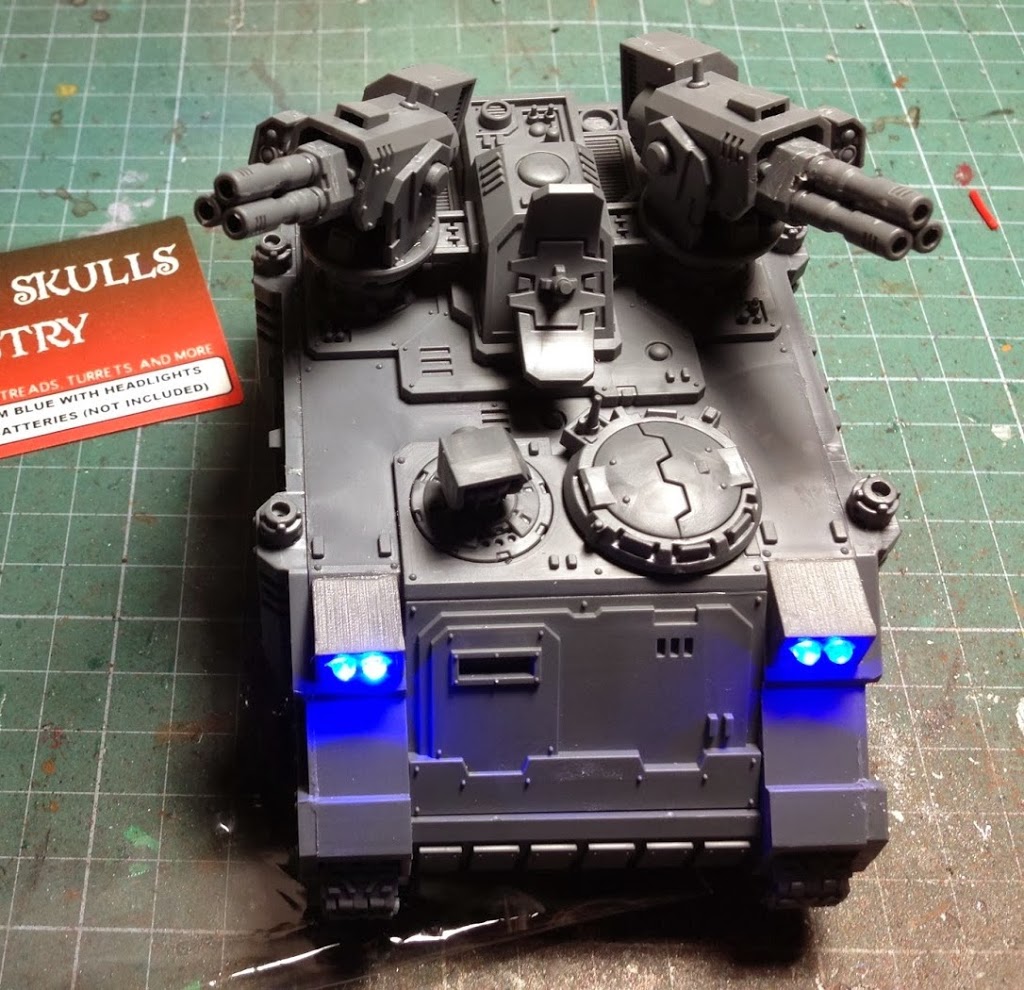
Once the batteries were installed and I turned on the lights, I was stunned at how bright these LEDs seemed. I don’t recommend looking directly into them straight on… But they create a really cool looking headlight effect on the kit I built. Night fight first turn? Pfft…. These things could light up the entire board if you actually turned the lights out.
Overall, it is a simple kit and easy to incorporate into a Rhino-chassis vehicle. Other applications obviously include other vehicle kits, however the included headlight shrouds may or may not be useful in those cases.
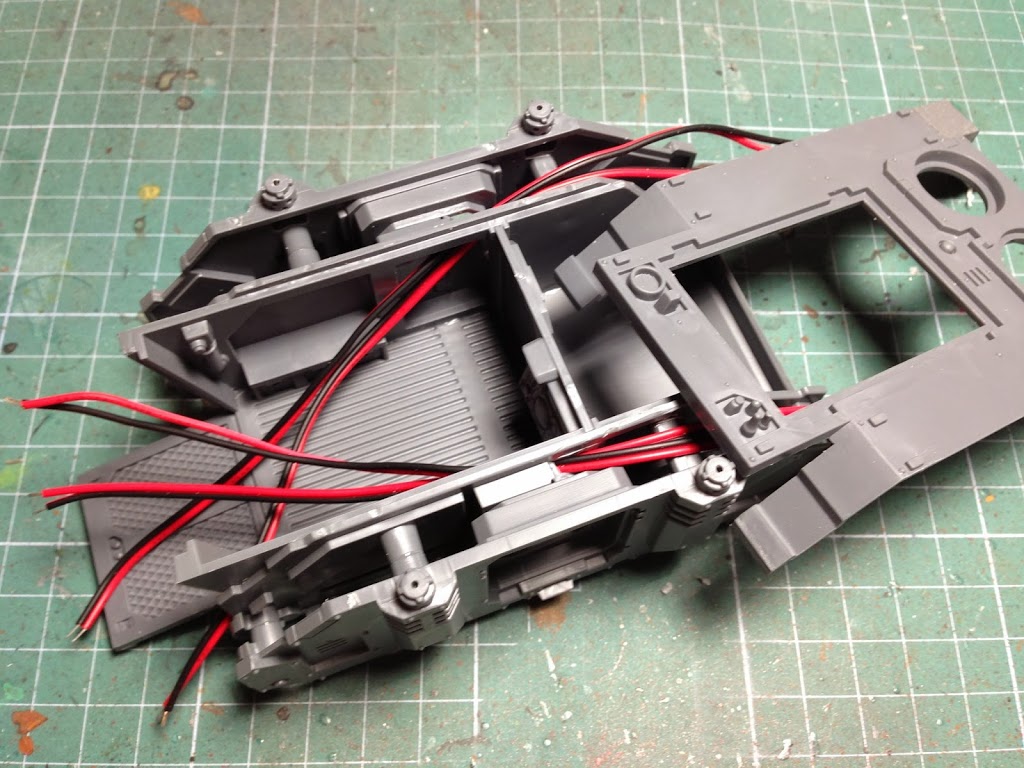
The battery holder/switch is fairly thin but is kind of long so definitely plan where you want your battery/switch to be prior to starting your conversion- it may not fit just anywhere. You will also need easy access to the switch so you can change out the batteries and turn on/off the LEDs. So that’s it, a simple yet cool looking conversion using the Blood and Skulls Industries lighting kit.


