HOBBY: Deadlift’s Adventures in Airbrushing – Pt.4 Painting Area & Supplies

I’m going to post my experiences of airbrushing over the last 18 months. I hope to pass on a little help to those who are thinking about giving airbrushing a go, and give a little confidence to anyone who may be a little daunted about the technique.
A hobby series by the Lounge’s Deadlift
Airbrushing Painting Area
Right then I’ve talked about airbrushes, compressors, and paint. I’m now going to talk about where we’re going to paint and some of the things that will make our airbrushing that much easier.
1st off if your going to airbrush inside your home, it has to be very close to a window. You need ventilation when airbrushing and please no kiddies or pets nearby when you do. My set up is a desk directly under a window which gives two advantages. Great natural light and ventilation. Never airbrush with the window shut, it’s bad for your health. You can buy airbrush booths, with extractors. I don’t have one. Open windows good enough for me. Obviously you want to be facing said window.
So we have decided where our painting area will be, what else could we use to make things go easier and safer for us.
1. Paper, this is to test your airbrush on as you paint. Whenever your painting away you will get used to having to give your brush a quick blast on the paper to make sure your paintings flowing nicely out of your brush. I always test my airbrush on paper before painting anything.
2. Airbrush stand or cleaning pot. When your not holding your airbrush, where are you going to put it ? You don’t want to just lay it down as any paint still in the airbrush will pour out and make a mess. Some compressors even come with a place to put your airbrush when your not painting. Some don’t. Get a stand or even better an airbrush cleaning pot. They look like this.
As you can see you can stick your airbrush securely in the rubber ringed hole nice and safe, and if you need to flush out your airbrush you can use this pot too. Just add water to your airbrush insert your airbrush into the hole and spray out any paint and water before switching colours.
3. Latex Gloves, not really necessary but handy to have. I wear one to hold the piece I’m painting on its cork (see below). Airbrushing does produce overspray and your hand will end up getting paint on it, I call it Goth hand, especially if your painting black. Fortunately the paints we use are easy to wash off but these gloves are good.
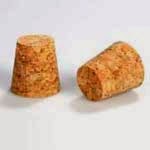
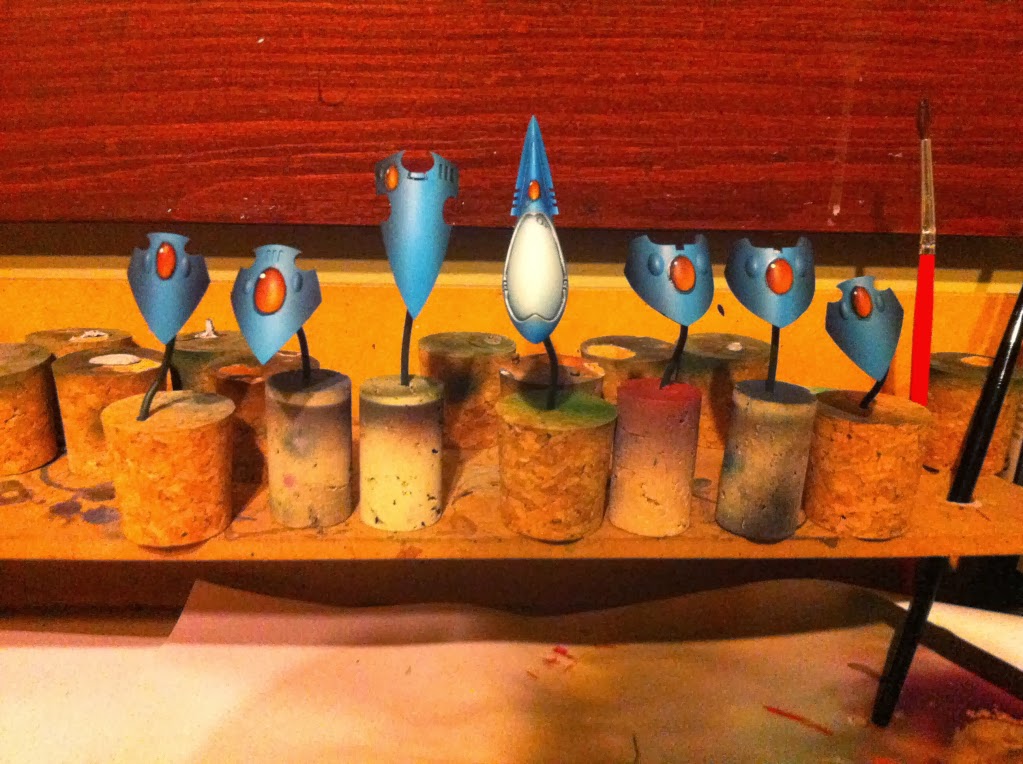
4. Cork caps like these and some blu-tac. I use these to put models on when painting. Use anything really, old paint pots or anything you have to hand. I use these because you can also stick paper clips in them. If your airbrushing say a space marine bolter. You can stick one end of the paper clip in the cork, the other to the bolter and airbrush it without getting your fingers in the way.
I should add that if you embrace airbrushing as I have you will start clipping your smaller model parts like heads and guns out of the sprue thinking about how you can leave it partially attached to some sprue for you to hold whilst painting.
Here’s a picture of how I used cork caps to paint parts of my Wraith Knight.
6. Clean water, to flush out your airbrush when switching colours. Not difficult. Just pour the water into the airbrush, place in your cleaning pot and squirt until clean.
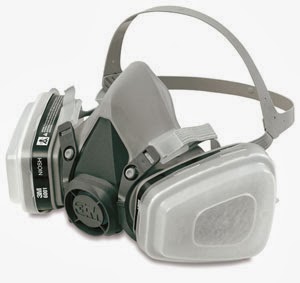
7. Face mask, this is a safety must! Breathing in all that paint is bad for you. Wear a mask. Plus they look cool and you won’t get multicoloured bogies or snot.
8. Cotton buds (q-tips) and paper towel. You will find as you airbrush you will accumulate rather quickly a build up of paint around your needle tip. This can cause paint to splatter onto whatever your painting. Keep an eye on your needle and give it a wipe every now and then to prevent this.
9. Obviously your paint of choice.
Other things like masking tape, airbrush cleaner and lube, patterned templates and more come later. They aren’t 100% important to have yet. We’re just starting out.
Next post: We’re going to talk about actually using our airbrush connecting to the compressor and having some fun.
Any questions on paint don’t be afraid to ask here or PM me.
Ask away everybody, I’m here to help. Until next time – Deadlift.


