TUTORIAL: Sculpting Skull Icons
5 Minute Read
Jul 24 2014

Advertisement
Tyler M. here with a quick tutorial on how to sculpt skull icons onto your models. Who doesn’t love skulls?!
If there is one thing that the denizens of the 40K and Warhammer Fantasy universes never seem to have enough of it skulls.
I recently taught myself how to sculpt these when I needed to fancy up a bolter for a Space Marine. I then perfected it when I had to sculpt about 20 of them for a more recent project which I will be putting up here sometime soon. After you know what you are doing these are a very easy and simple way to spruce up an model that needs some extra detail.
Lets start off with a brief overview of the supplies you need.
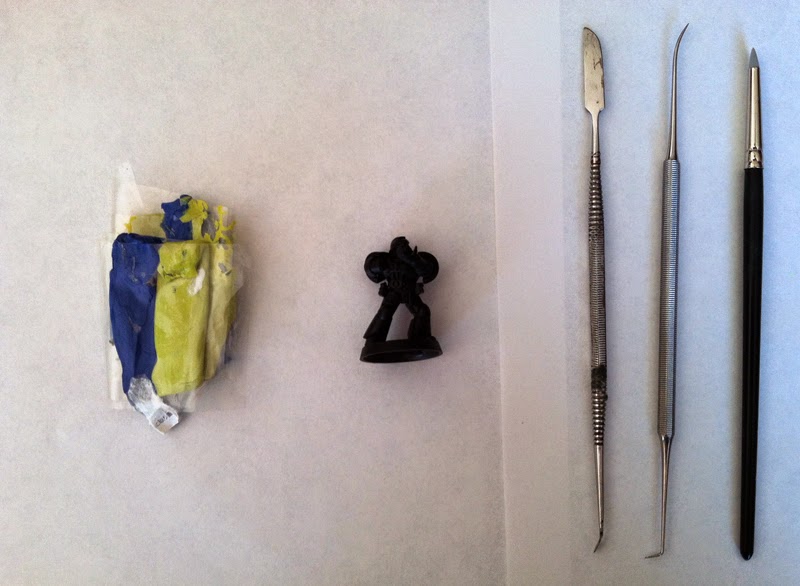
You can see some greenstuff, a Space Marine to sculpt on and 3 different sculpting tools.
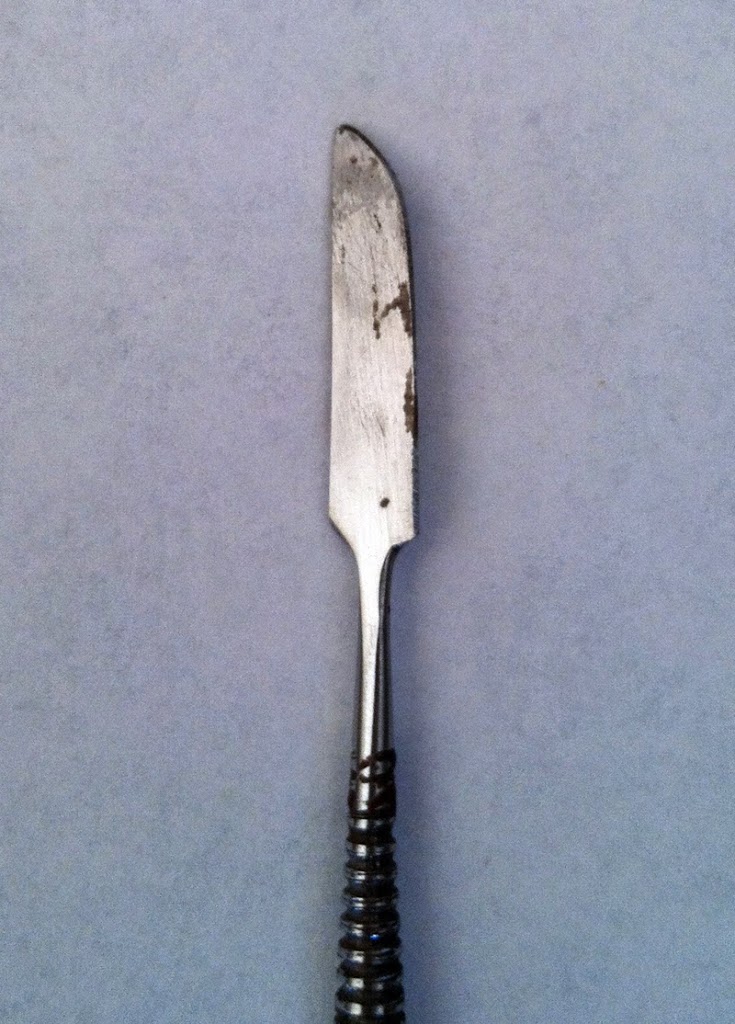
The first is the old GW sculpting tool which has a dull knife on one end and a flat circle on the other.
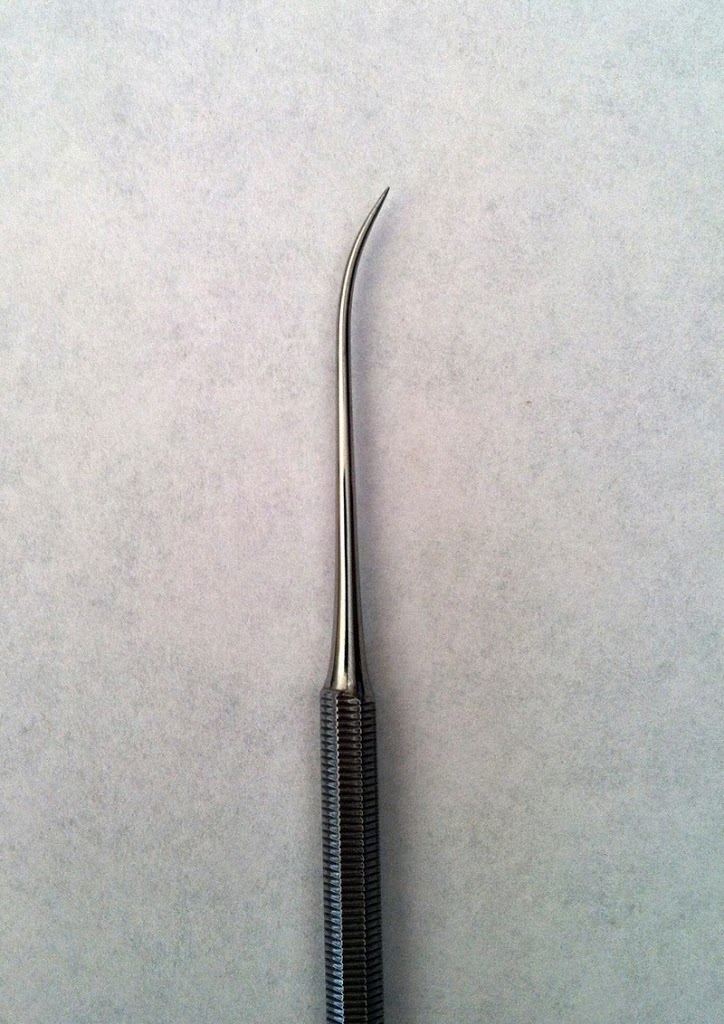
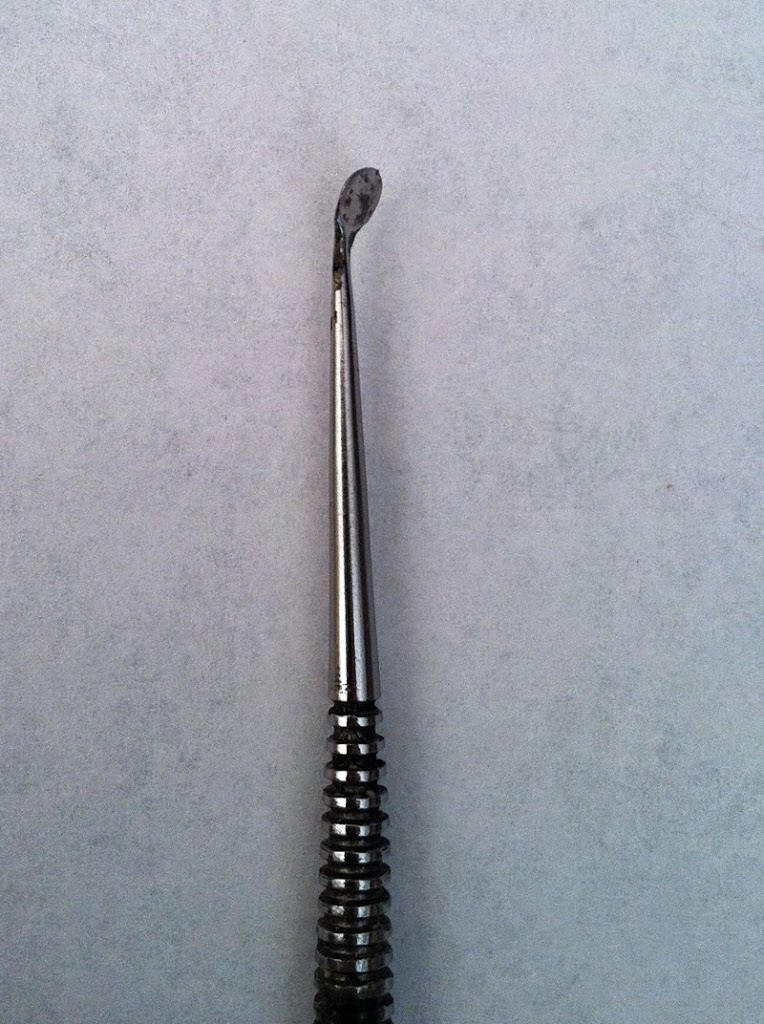
The second is a dental pick which I picked up from a local craft store.
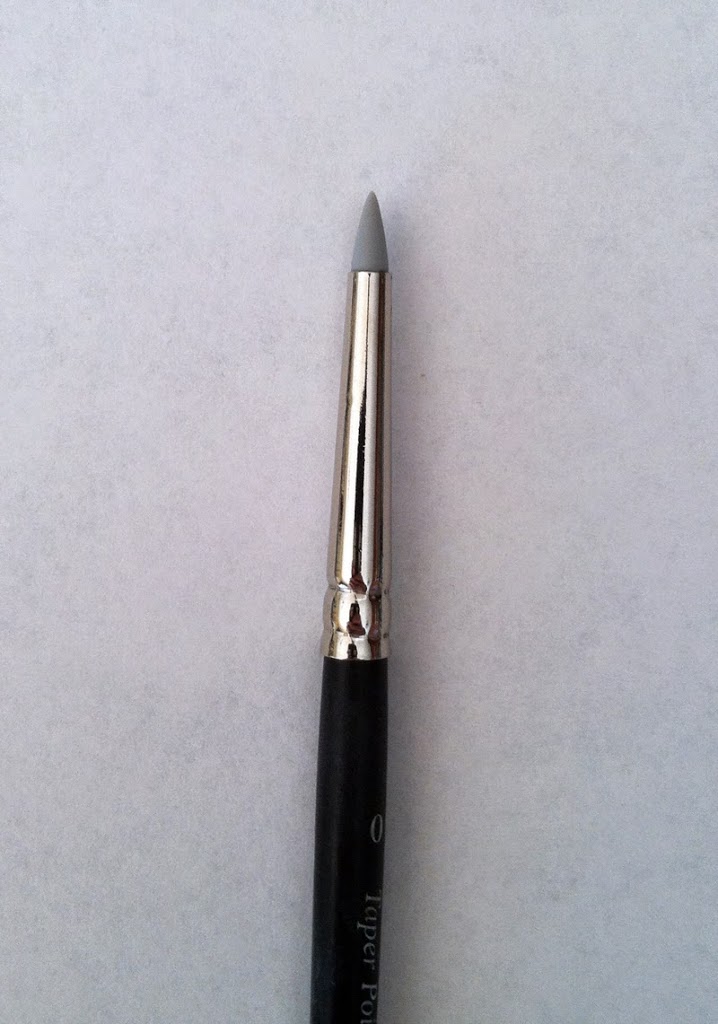
The last one is a rubber clay working tool. I bought this in a pack off the internet and its really one of the most valuable tools I use. This particular one is cone shaped, which I prefer to use the most, but the set came with a bunch of other shapes too.
Also make sure you have a cup of clean water since the greenstuff is sticky and you will want to wet your tools before you use them. So to start of go ahead and mix up a small ball of greenstuff. I always mix way more then I need on accident, and these skulls you a lot less then you would think.
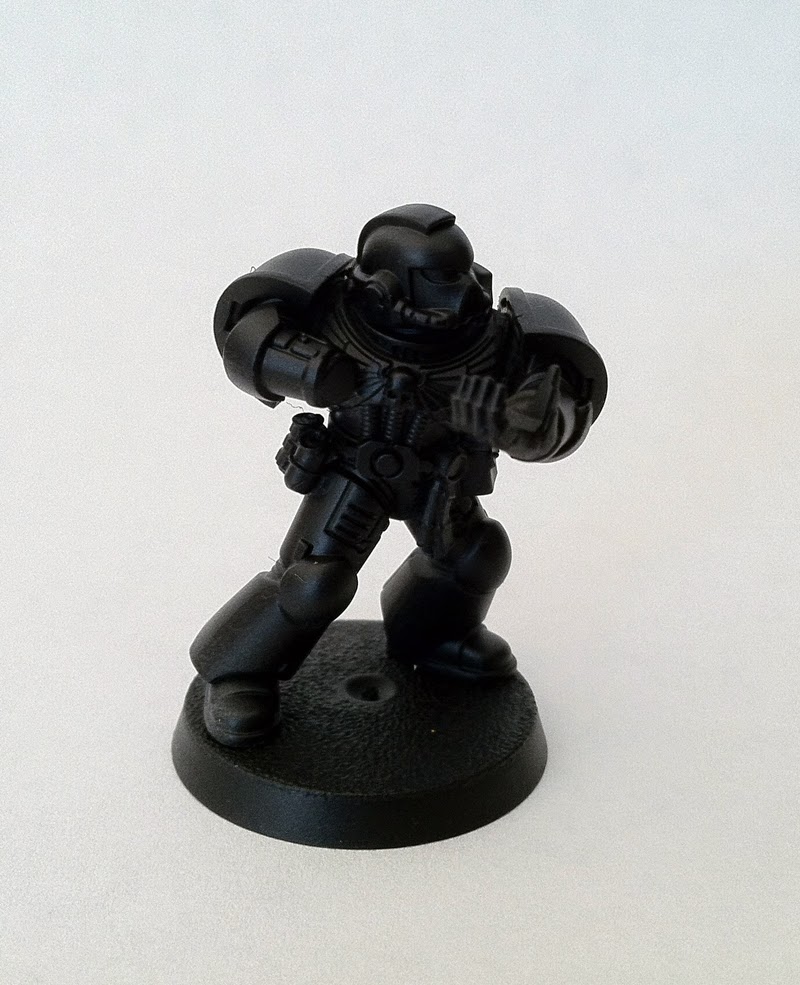
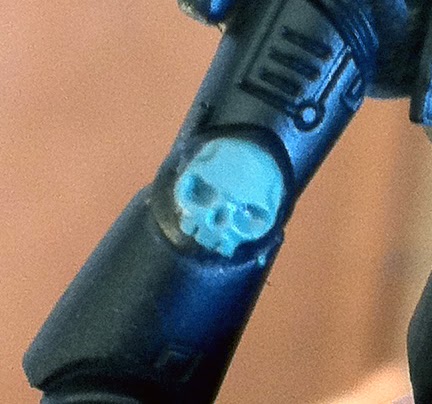
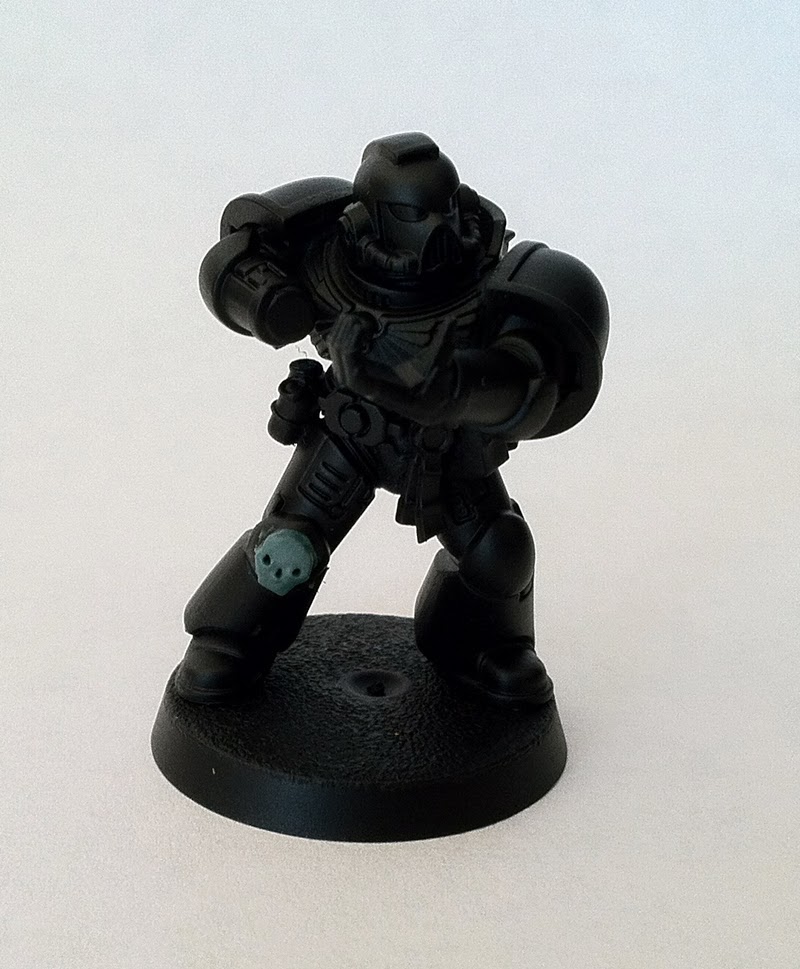
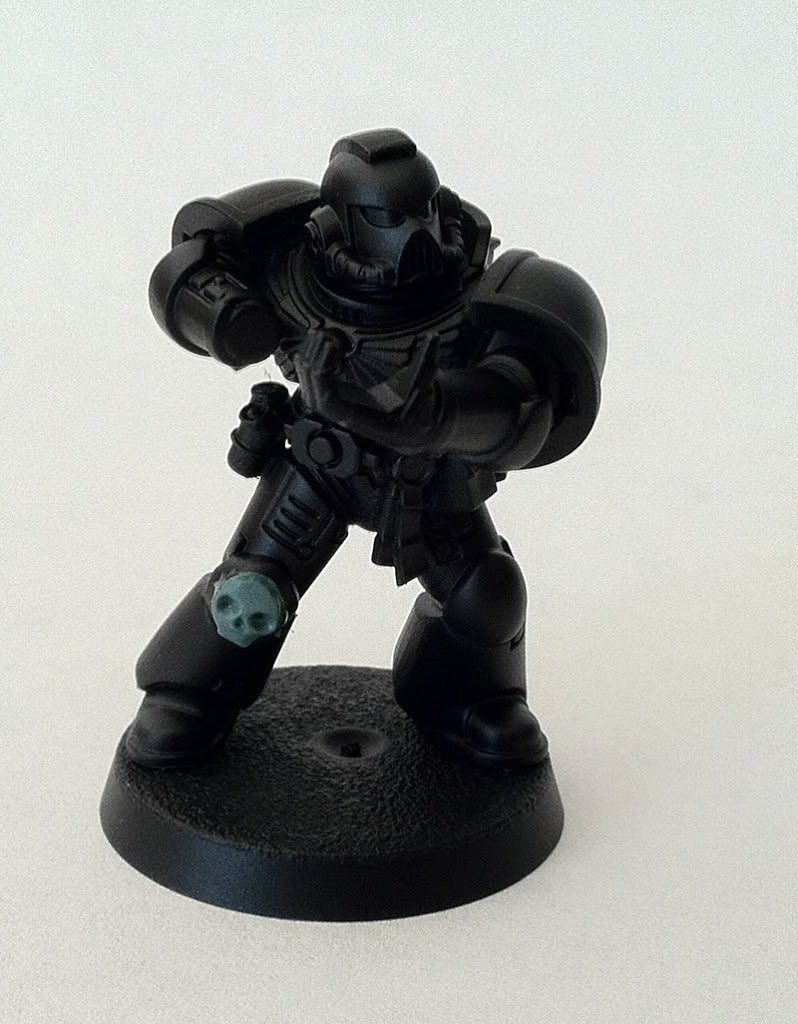
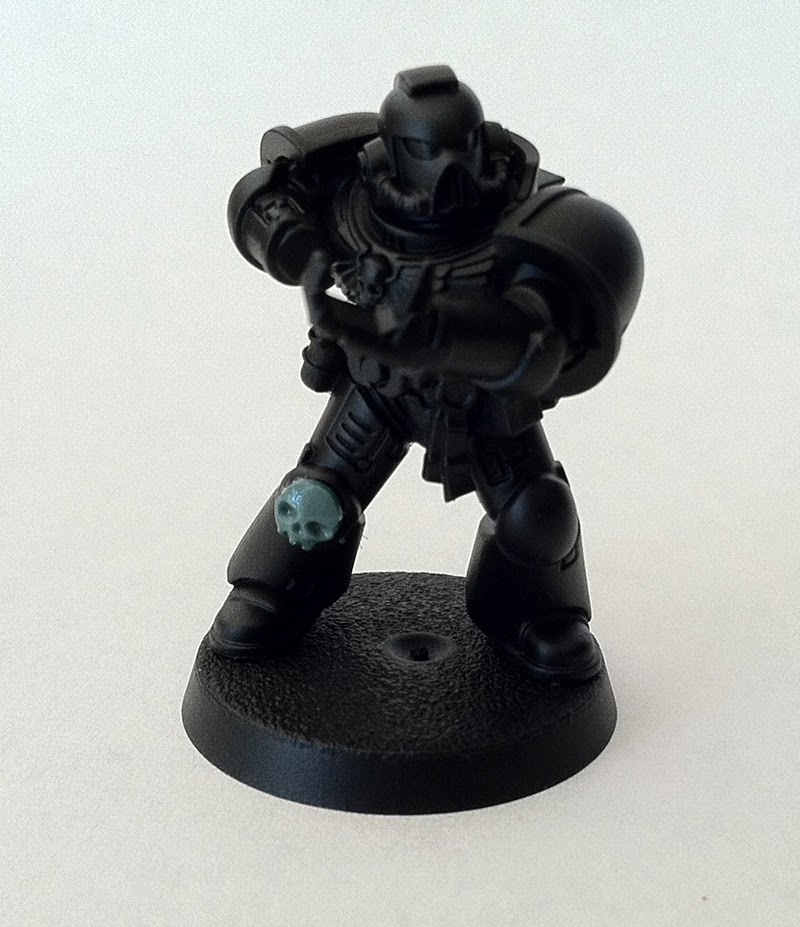
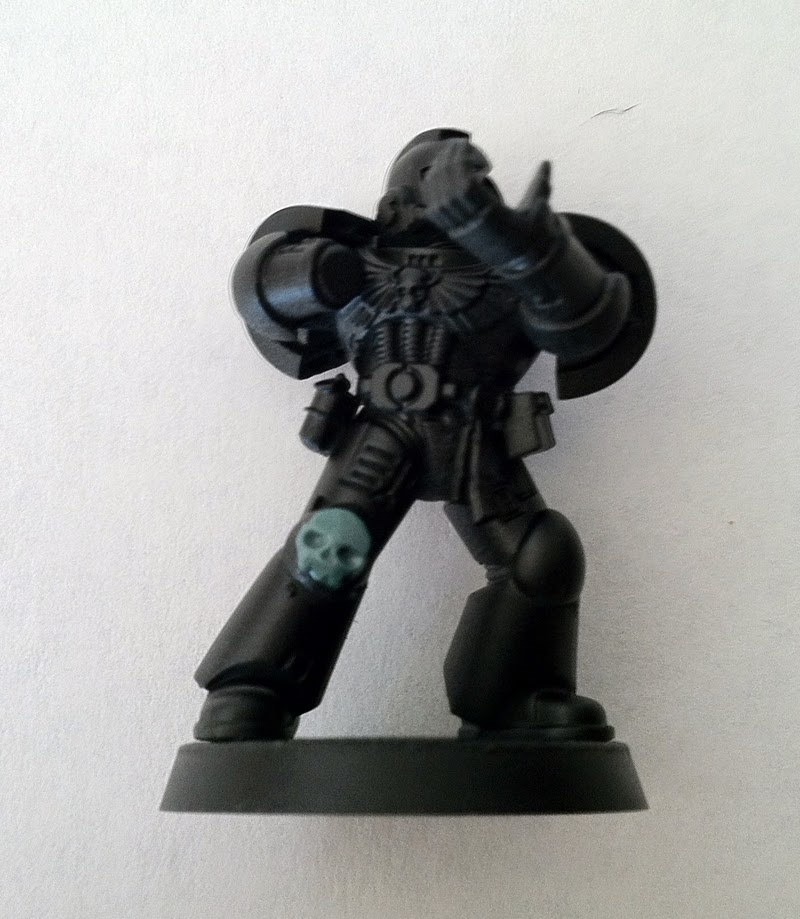
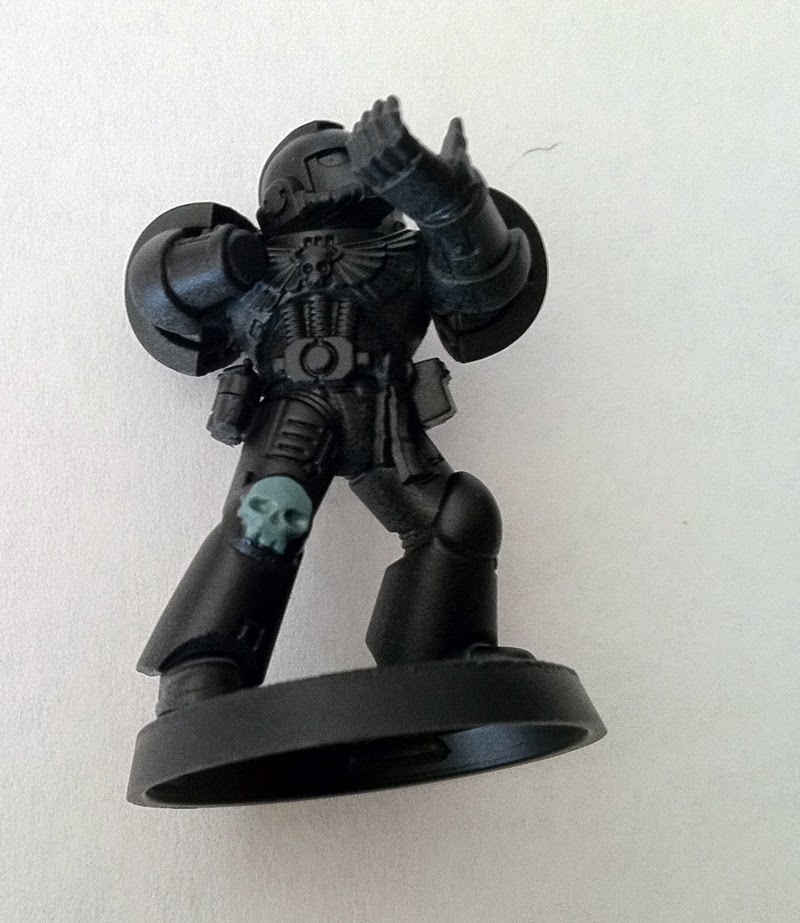
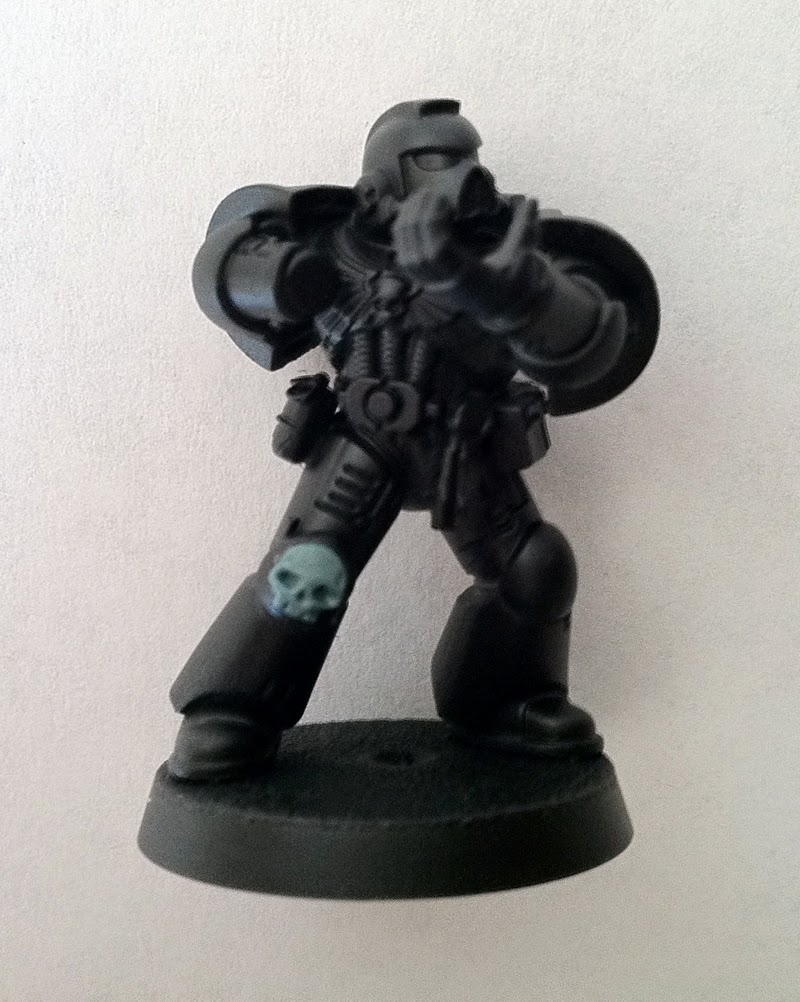
Looking over the model I chose to add the skull to his right knee pad.
Advertisement
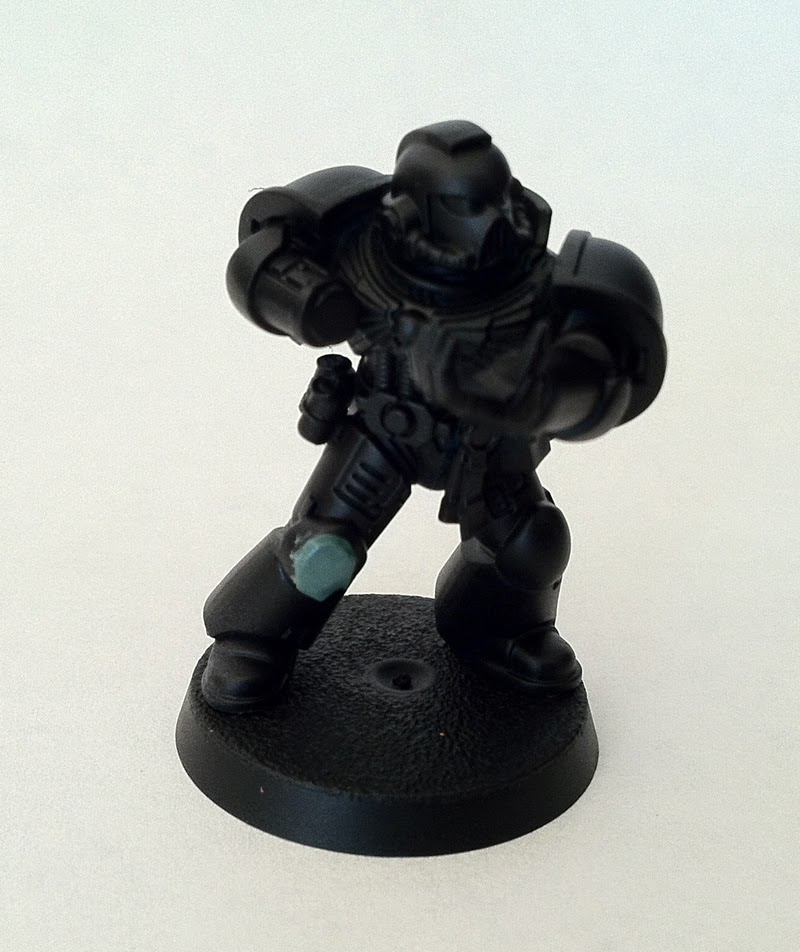
Add a small ball of greenstuff to the model and flatten it so it isn’t very thick. At this pint I also work it into the basic shape of a skull, so basically a circle with a V on the bottom that doesn’t have a point on the end. Don’t be afraid to cut off some of the putty if you put to much on. I used the GW sculpting tool for all of this work, flattening it with the circle end and cutting it with the knife.
Now take the dental pick and poke holes where the eyes and nose go. It will look very simple at this point.
Grab the rubber clay tool and gently widen out the eye sockets. Don’t worry about making them to round at this point because we are going to go back in later and refine their shape. You also want to enlarge the nose a bit but not nearly as much and remember that it needs to be in a vague triangle shape. The clay tool is great for this since I can just use its’ natural shape to widen the eyes and such.

Now take the circle end of the GW tool and flatten out its’ brow so the top of the eyes are almost horizontal. I just gently push down and towards the bottom with it. You can also press the forehead deeper a bit to give the brow ridge some definition, but don’t go overboard with it, you don’t want a Neanderthal.
Now take the dental pick and carefully carve the teeth in. I usually do 3 teeth, but you can do more as well. All I do is place the side of the pick where I want the tooth gap and press down, don’t use the point. You can also use the knife here if you want.
At this point the teeth are usually to long so I went ahead and cut off the extra with the knife. You may have to reshape the teeth a little bit after doing this.
Now it’s time to give the cheek bones some definition. I used he clay tool and gently defined under the eye sockets by indenting into the area just above the teeth. This will leave you with a indented V that point towards the nose. You can also mess around with the shape of the eye sockets by just gently nudging the outside of them with the side of the clay tool into the shape you want.
Last but not least I added some definition into the side of the skull by indenting slightly with the clay tool. This gives the illusion of the skull continuing backwards since thats where the skull would indent for the ears. At this point I also did any last minute adjustments I wanted if something wasn’t in the right shape. I also added a small indent between the tip of the nostril cavity and the brow.
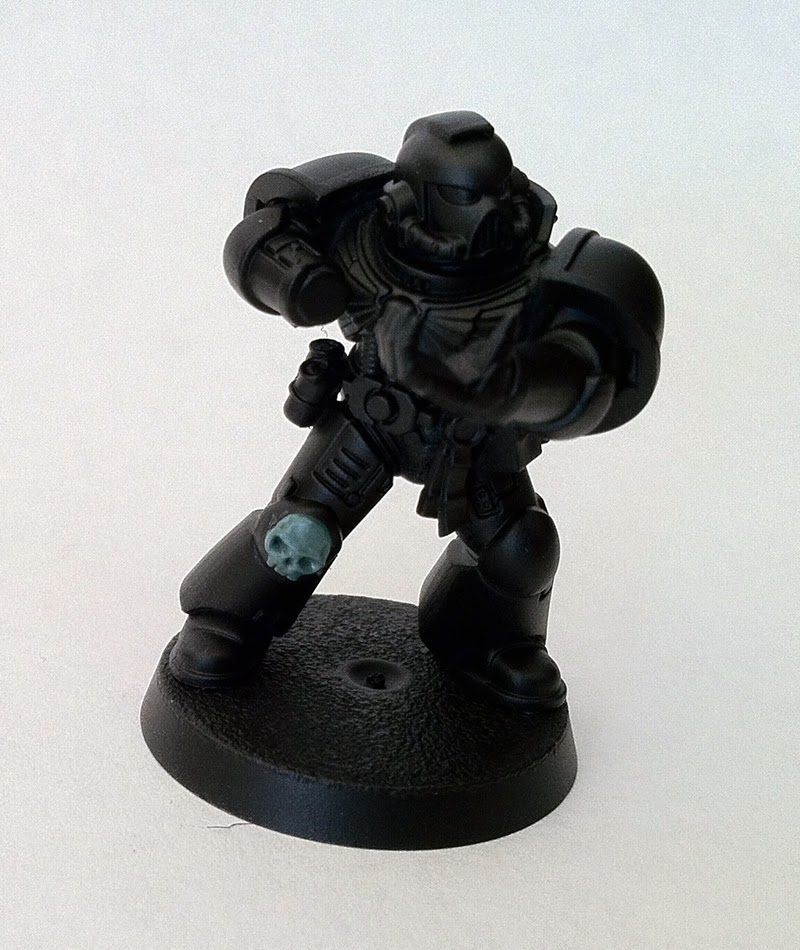
Here’s the finished model with a brand new skull badge on his knee. You can do this at any shape, just with less detail the smaller you go and more detail the larger you go. This took me about 20 minutes to do from start to finish. Make sure you have the skull aligned properly as you go along. There’s nothing worse then finishing and realizing that the skull is crooked in context with what its sculpted on. Hopefully this will help you in adding some more morbidity to your models, because Emperor knows there are never enough skulls in Warhammer.
Until next time, Tyler M. from Mengel Miniatures
If you have any questions about any of the stages or techniques used just let me know in the comments below and I will be sure to answer you. I want to see someone do a Marine covered head to toe in these skulls.
Author: Tyler Mengel
Advertisement


