Dropzone Commander: The Commanders, Part II
4 Minute Read
Oct 30 2014
Advertisement
Once more into the dropships, brothers! Today we will continue our discussion of the leaders that coordinate the battles of the near(ish) future.
In the last article we took a look at the basics of Commander units in Dropzone Commander. Now we will start a path through the various leaders themselves, going from faction to faction as we cover their strengths and weaknesses. Today’s article will cover the United Colonies of Mankind and the Scourge.
The United Colonies of Mankind – The Kodiak ACV
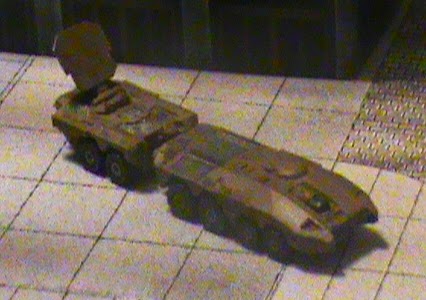
This Commander brings a well-rounded approach to frontline command, which seems fitting for the utilitarian nature of the UCM. It sports communication gear that allows it to direct orbital laser fire from behind the safety of a Building. This means he is rarely exposed to danger, and therefore much less likely to surrender his Command Value by being slain. Add that the orbital laser can hit anything on the table that a friendly unit can see, and this powerful shot becomes even better. His Armor and Damage Points are high enough to prevent fast skirmishers from removing him instantly, giving the UCM player time to reposition and protect their leader.
This incredible strength to strike from safety is also one of the Kodiak’s few weaknesses. Due to its continual location near the back of the board, it can be difficult to have Command Radius to cover those frontline units. Since this is usually the most important location for your Command Cards to provide the needed buff, you have to be certain that you bring adequate Scout units to provide this advance coverage.
The Kodiak’s desire to remain backfield can definitely limit his Command Radius, but the UCM has a high number of Scout units that can fulfill this role. As always, the caveat applies that they are expensive and fragile units, so husband them carefully along the way.
Another general advantage comes in the form of the UCM Command Deck. Many of their specialist cards deal with Fast Movers and are Global, allowing you to play them regardless of Sphere of Influence. They focus on general bolstering of your army, giving much-needed support against foes that generally outclass you in some way. The UCM Deck is subtle but powerful, and requires a bit of patience in when to discard unwanted cards. You never know when a vital moment will crop up!
The Scourge – The Desolator
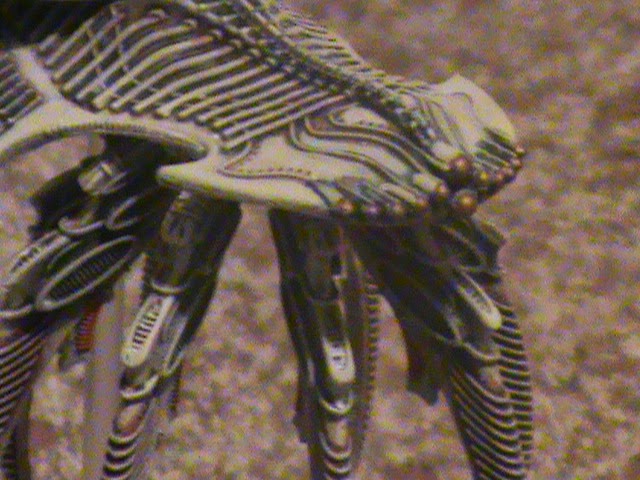
Few models are capable of invoking as much dread to a block of heavy armor. This Commander has incredible destructive potential in the form of a massive Area of Effect attack. At Energy 11, even the heaviest armor in the game cannot sniff at this unit.
Add to this the fact that the Desolator is an Aircraft, and you have a truly resilient Commander. At Armor 6 with 6 Damage Points, he isn’t going down quickly! Add to this some incredible speed on the approach, and he quickly becomes a threat. This suits the Scourge way of war perfectly, as almost everything in your force will be lunging for the enemy’s throat at top speed.
These advantages can also become disadvantages as the game grinds on. Such a powerful model is sure to draw a ton of enemy attention, and while he may be tough he definitely isn’t immortal! All those AA hits may be the swats of puny flies, but enough bites will eventually take their pound of flesh. This issue is exacerbated by the slow Scout units that the Scourge possess.
To keep the Commander flying, it is vital to target your “Rush ‘Em and Crush ‘Em” attacks against hard points of AA. With these destroyed, your Desolator will be free to engage the enemy army at his leisure, further augmenting the power of his devastating attacks.
The Scourge Command Deck further rewards their aggressive mode of play. This set of cards is everything the UCM Deck isn’t. The cards are about immediate, overwhelming power, with little in the way of subtlety. However, there is still the element of timing. The cards will provide devastating power, but often all at once. If used too early, the effects of these damage increasing cards will be largely wasted.
Conclusion
The Commanders are an integral part of their respective armies, and each will bring elements of augmentation to the force they lead. The trick is learning to use each leader effectively, harnessing his combat prowess while also keeping him in the fight for those important Initiative Rolls. Since their Command Value directly determines the number of cards you draw each turn, they greatly affect the places you can play your cards and the number of chances you get of drawing that all-important card. Keep them in the fight, and they will not disappoint!
Leave a comment below and tell us about your command strategies in Dropzone. Stay tuned for next week, when we will cover more of the fearless leaders of the near(ish) future!
For a healthy dose of gaming insanity, visit us at Enter the Maelstrom.
Author: Randall Madden
Advertisement


