40K Tactics: Astra Militarum – Basilisks

INCOMING!!! Today we discuss the venerable Basilisk – a vehicle that can reach out and kill you like no other.
Greetings my fans, friends, family and other followers and welcome to the third last addition to my ever-ongoing Astra Militarum Tactica series! As the trend-setters they are, the Astra Militarum are known for having some of the most iconic units in Warhammer 40,000, and truly the Basilisk continues that trend as it is easily the most well know artillery unit in the game. Nothing comes close to the colossal range and incredible firepower offered by a Basilisk (not among “standard” units, anyway) and while it might seem aggressively priced, the reality is that this is more of a niche choice that shines in Apocalypse games or in matches where the game board is well above the average size.
Overview
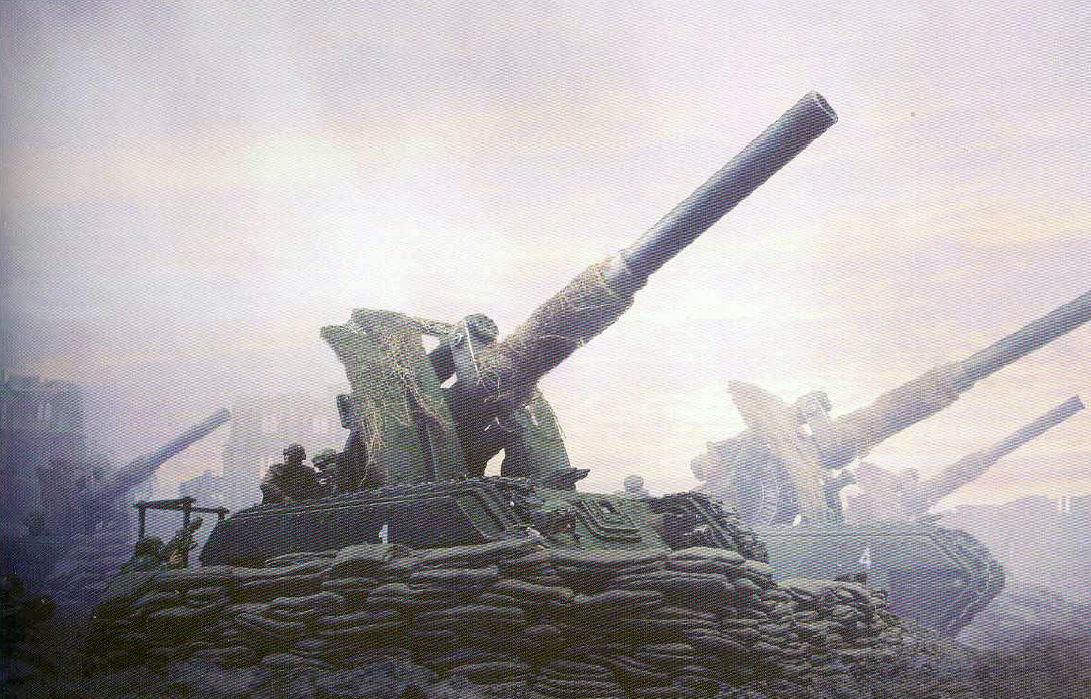
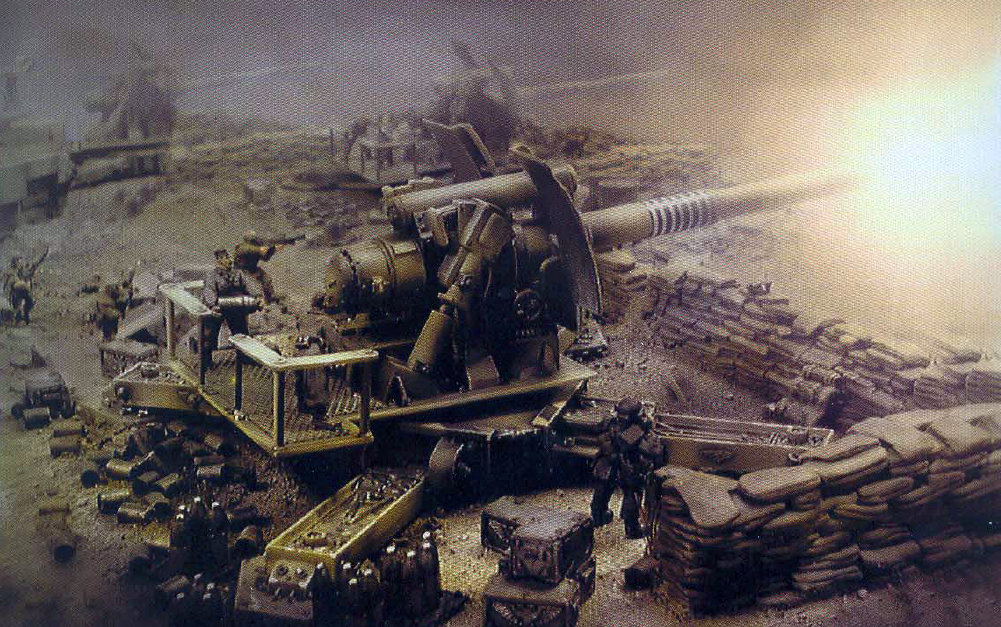
There is truly nothing in Warhammer 40,000 that screams “fire the heavy guns!” quite like a Basilisk, fielding one of the largest weapons in the game on such a small body – the sight of a squadron of these is admittedly rare but undoubtedly impressive to view. Sadly, these are not the ground-shattering death machines they are made out to be in the background and in the various Dawn of War video games, no matter how useful they still are. At first glance, the Basilisk shares your typical Chimera chassis and all that implies, namely front AV 12, side AV 10 and rear AV 10 with three hull points for a tank that has decent but hardly special survivability. That the Basilisk is open-topped only adds to its potential defensive woes, leaving it crazily vulnerable to attacks from the flanks which, given its role, makes it an obvious choice to protect in your backfield as a possible objective baby-sitter – thank you 7th Edition! Another standard trait making its way to the Basilisk from so many other Astra Militarum tanks is Ballistic Skill 3, meaning it will scatter quite a bit whenever it fires its primary weapon. Smoke Launchers and Searchlights are also included in the basic package as is a hull heavy bolter, just like any tank that uses the Chimera chassis but isn’t a Hellhound variant.
Of course, the defining feature of a Basilisk is its huge Earthshaker Cannon; while it doesn’t quite cause a tremor much like the name would suggest (unlike a Thunderfire Cannon), it nonetheless hits like one of the terrifying Flakk 88’s from World War II (on an unrelated note, notice any similarities between Thudd Guns and Nebelwerfers?). This functions much like an improved Battle Cannon, firing a single shot that uses the large blast template and impacts at a whopping Strength 9 with a respectable AP3. It possesses the Ordnance and Barrage special rules, meaning that it not only allows you to roll 2D6 choosing the highest for armour penetration, but also that all wounds inflicted by the Earthshaker Cannon are resolved from the centre of the hole rather than the gun itself for the purposes of wound allocation. Oh, and don’t forget that Barrage weapons can be used to fire indirectly – meaning without line of sight, but at the cost of increased scatter – and always strike the side armour of vehicles, making them surprisingly good at penetrating most tanks! There are a few downsides that bear mentioning in relation to the Earthshaker Cannon and its interaction with these special rules, but the fact that the Ordnance classification means the Basilisk’ other weapons are forced to Snap Fire is effectively a blessing in disguise. A hull heavy bolter on a Ballistic Skill 3 model that wants to stay as far away from enemy attention as possible is unlikely to ever do anything significant anyway, while this also means you don’t have to worry about wasting points on pointless weapon upgrades for the model.
What is important to keep in mind is that the Barrage rules effectively ignore cover saves provided by intervening models or terrain, eliminating the cover saves of most units that have decided to trod on forward towards an objective or other target. Seeing as the Earthshaker Cannon is Strength 9 and AP3, this means it can and will annihilate entire squads of Space Marines, Tyranid Warriors and almost any other kind of infantry at a time; it is because of weapons like these that transports, Malanthropes and defensive re-purposing were invented for the various units susceptible to such attacks. That’s just the problem though, a single Strength AP3 Ordnance Barrage shot that is quite inaccurate isn’t going to worry most transports all that much as the worst that could happen is it gets Immobilized – unless it is open-topped, of course. On the other hand, the various defensive measures implemented by Tyranids to provide cover for the horde will quickly reduce the damage dealt by a Basilisk from, for example, a dozen wounds to half or less depending on the terrain and Night Fighting. The Basilisk hits hard and from a colossal range, but it is almost as inaccurate as a Master of Ordnance and there are many ways to outright circumvent or otherwise neuter the damage it can cause.
On the note of range, as far as I am aware there is nothing available in a standard codex that uses a fixed value (i.e. not including Deathstrike Missiles) and isn’t fitted on a super heavy or gargantuan creature that exceeds the range of an Earthshaker Cannon; no, that 240″ range is not a typo. To clarify just how massive this is, each standard Games Workshop Realm of Battle gaming section – as in the individual square boards – measures 24″ across, both vertically and horizontally. To even have a chance of escaping a Basilisk’ sights, one would have to play on a 10×10 gaming board and hope you are deployed diagonally opposite of it with each participating party in the absolute opposite corners, hugging the table edges.Yikes! There’s just one issue here that amplifies the vulnerabilities of the Basilisk, and that is its ridiculously high minimum range; while firing with line of sight obviously has no repercussions, firing without line of sight or “indirectly” restricts the Basilisk to targeting enemies that are more than 36″ away.
When you consider the aforementioned fragility presented by being open-topped and using the Chimera chassis, this means that games played on standard 6×4 or 4×4 tables will heavily restrict the indirect fire capabilities of a Basilisk and paint it as a relatively easy target. Unless you play against a static gun-line that thinks it can get away with sitting still in Maelstrom of War missions or get the short table edge deployment on a 6×4, the Basilisk’ indirect fire will be rendered useless and thus force it to move out to attain line of sight just so that it can fire its unit-defining Earthshaker Cannon. This is a significant and fundamental flaw with the Basilisk that relegates its competitive usage to the types of games that don’t emphasize tournament play in the slightest, the ones that are played on massive gaming tables and feature several players or just two humongous armies all vying for dominance. The Basilisk is just too easily destroyed by the common massed Strength 7 or Strength 8 shooting almost every codex can bring once it is placed out in the open, eliminating one of the big advantages offered by Barrage-firing vehicles. While you can obviously still provide it with suitable defences such as cover saves taken from Aegis Defence Lines and other forms of terrain, fortifications or units, exposing a relatively expensive artillery tank with a gun that strong is a recipe to see any hunter swoon with elation.
How to Equip Them
If there is one vehicle in the game that has access to upgrades but should never take any of them, the Basilisk is the grand champion of the category. When the tanks’ defining weapon happens to be of the Ordnance variety – meaning other guns have to Snap Fire – and has an insane 240″ maximum range, you never need to worry about mobility or adding defensive counter-measures, not unless you have a thirst for spending unnecessary points on units that don’t need it. Seriously, none of the upgrades are worthwhile here; this is a tank that should be right at the back of the board and hidden as well as possible. If it somehow gets shot at then it will likely see the main weapon rendered useless by the minimum range or it will have a cover save anyway, while a tank that gets into melee is virtually a dead one anyway – why bother with melee counter-measures on an artillery bombardment piece? I also can never imagine where having the capability to move through terrain more reliably or switch stunned results for shaken results instead would ever be required on a Basilisk; not shooting the main gun makes it an overly expensive Chimera without the transport capacity, while moving on a platform with a 240″ range means any melee-range units will have gotten past its protective units already.
Movement is situational for a Basilisk, as are any other upgrades; do not bother with them. Of course, there is just one exception to that rule and that is Camo Netting – if you use Basilisks on 6×4 gaming tables, you will need to fire them directly and thus leave it susceptible to enemy fire. This means you will also need either an Aegis Defence Line, suitable terrain or a Guardsmen squad or two to provide it cover, mandating the valuable Camo Netting upgrade. If you are using the Basilisk on a large gaming table such as 8×8 or larger then you can ignore this upgrade, otherwise I find it very useful for a Basilisk as it will have to endure firepower on average gaming boards to ensure it can fire at all. As for the Enclosed Crew Compartment, I feel having an improved saving throw versus removing a slight vehicle damage chart modifier is superior; if you already take Camo Netting then skip the Enclosed Crew Compartment – you don’t want to spend any more points on an already arguably over-priced tank! Of course, if Wave Serpents are common in your area and you aren’t on a gaming table suitable to hiding the Basilisks for indirect firing, the Enclosed Crew Compartments will serve you better seeing as Camo Netting is virtually useless against them.
Best Uses
When you have an artillery piece with as colossal a range as possessed by the Basilisk through its incredible Earthshaker Cannon, making the most of that range simply isn’t possible in your average game and it can lead to some unfortunate limitations. This is why “hiding” Basilisks out of sight and blind-firing them through the Barrage rules simply will not work with its huge 36″ minimum range unless you get lucky and play on a 6×4 with the short table edge deployment zones and a large terrain piece handy at the back of your deployment zone. Instead, use any kind of terrain to hide the main hull of a Basilisk, whether it be a wall, a ruin, a barricade or some other terrain feature. As vehicles measure line of sight and range from the barrels of each individual weapon they possess, this means the high arc and length of the Earthshaker Cannon allows the Basilisk to fire without offering cover saves to opponents through its own intervening cover. A similar principle can be applied with the use of your basic Guardsmen – particularly a sizable, cheap Conscript squad – as their height compared to that of a Chimera chassis means even your most basic infantry can provide the Basilisk with a 5+ minimum cover save.
As for which targets to prioritize with a Basilisk, either aim for the kind of infantry that are terrified by it – Tyranid Warrior equivalents with Toughness 4 and multiple wounds, or any kind of sizable infantry squad with a 3+ or worse armour save – or try and snipe off the remaining hull points of already weakened vehicles. The Barrage rules give the Basilisk an important advantage against Imperial Knights in regards to the way their shield functions; as the shield can only function for one of the front, side or rear armour values and all Barrage weapons automatically target the side armour, this means opponents fielding Imperial Knights will have a struggle against your Imperial Guard artillery. If you field enough lascannons through Heavy Weapon Teams or Leman Russ variants, they will likely prioritize the front-facing shield; this leaves them open to anything that uses the Barrage rule, such as a Basilisk or Manticore. Note that the Barrage rules are used regardless of whether the weapon fires directly or indirectly; you don’t lose out on all those tasty benefits just because you wanted to shoot at something in your field of view!
Thank you everyone for taking the time to read the third last entry in my Astra Militarum Tactica series! While Basilisks don’t really have that many advantages over a standard Leman Russ Battle Tank – especially if you play on a standard 6×4 or smaller gaming table – they do have a place in large-scale games where table size and points limits give them the perfect place to shine.
If you disagree or have any other critiques or suggestions for me, please leave them in the comments section below – we appreciate any and all feedback! Thanks again and have a lovely day!


