SHOWCASE: Infinity: Painting Combined Army Part 1


Starting a new army is always so exciting. I’m finally putting brush to the Combined Army Starter.
This is a project I actually started back in April. I got less than half way through and kept getting interrupted by equally exciting projects. After finishing up a small Dark Age Forsaken force I decided nothing else would distract me before I finished up these guys.
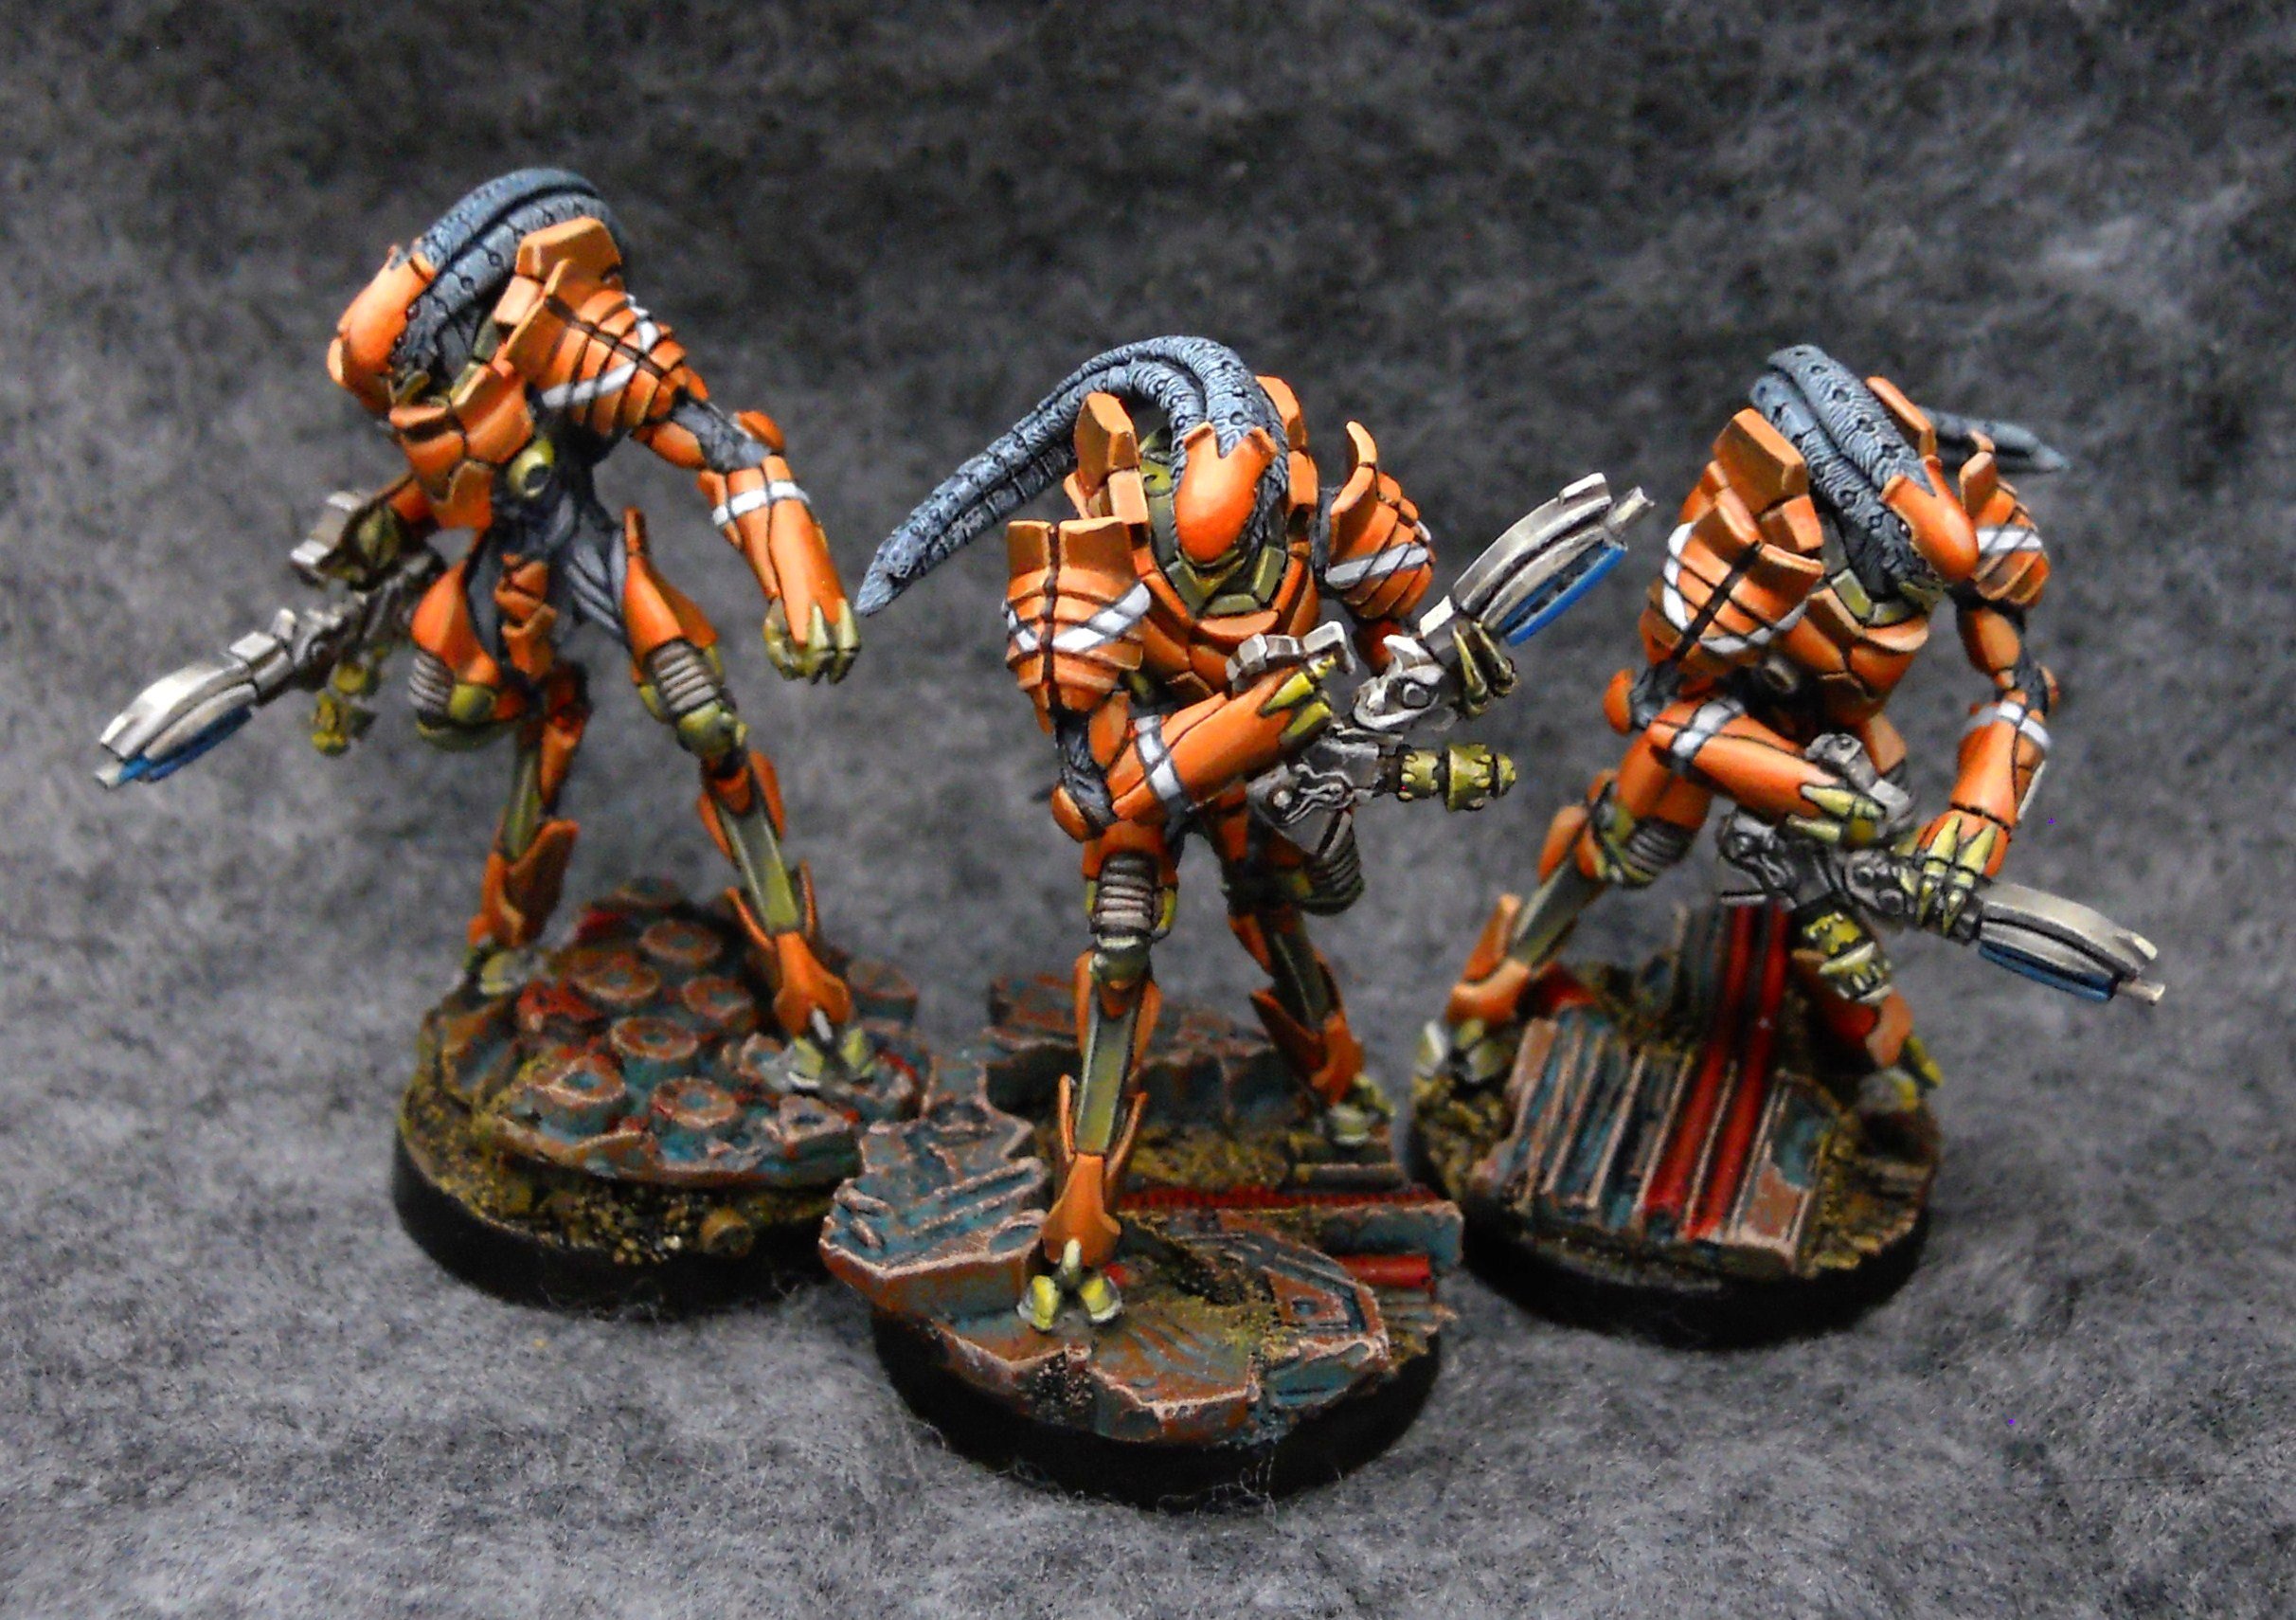
The orange color scheme was hatched for the Morat army that I’ve collected but still haven’t painted. Like every game I have shiny syndrome, so when this new starter came out, my Morats were pushed even further back in the paint queue. I wasn’t sure how such an unnatural look would work on models with a more organic feel than the Morats, but in the end I decided that contrast might look really good.
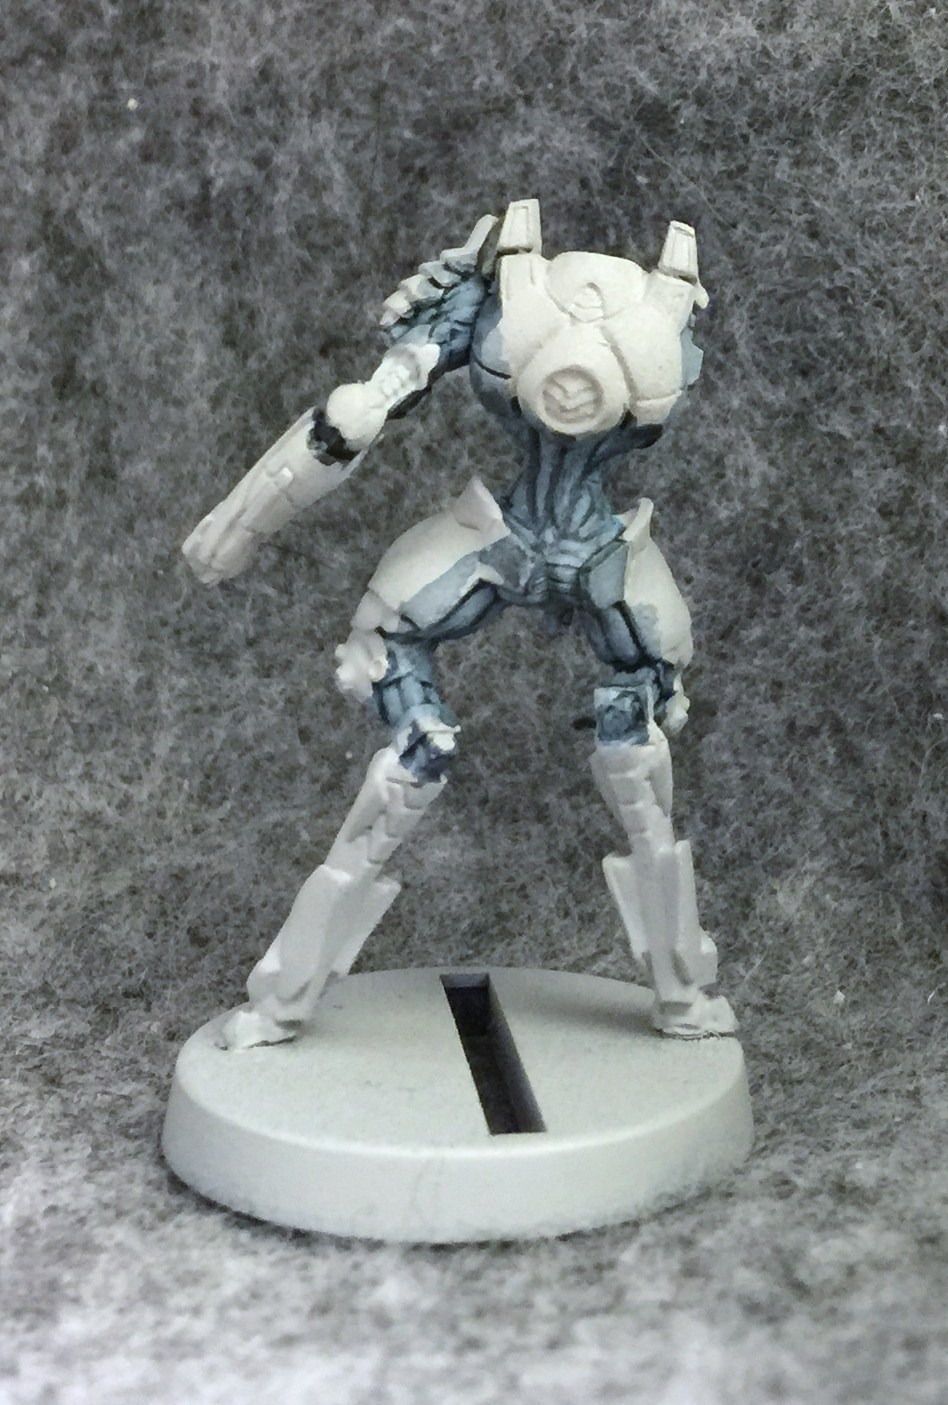
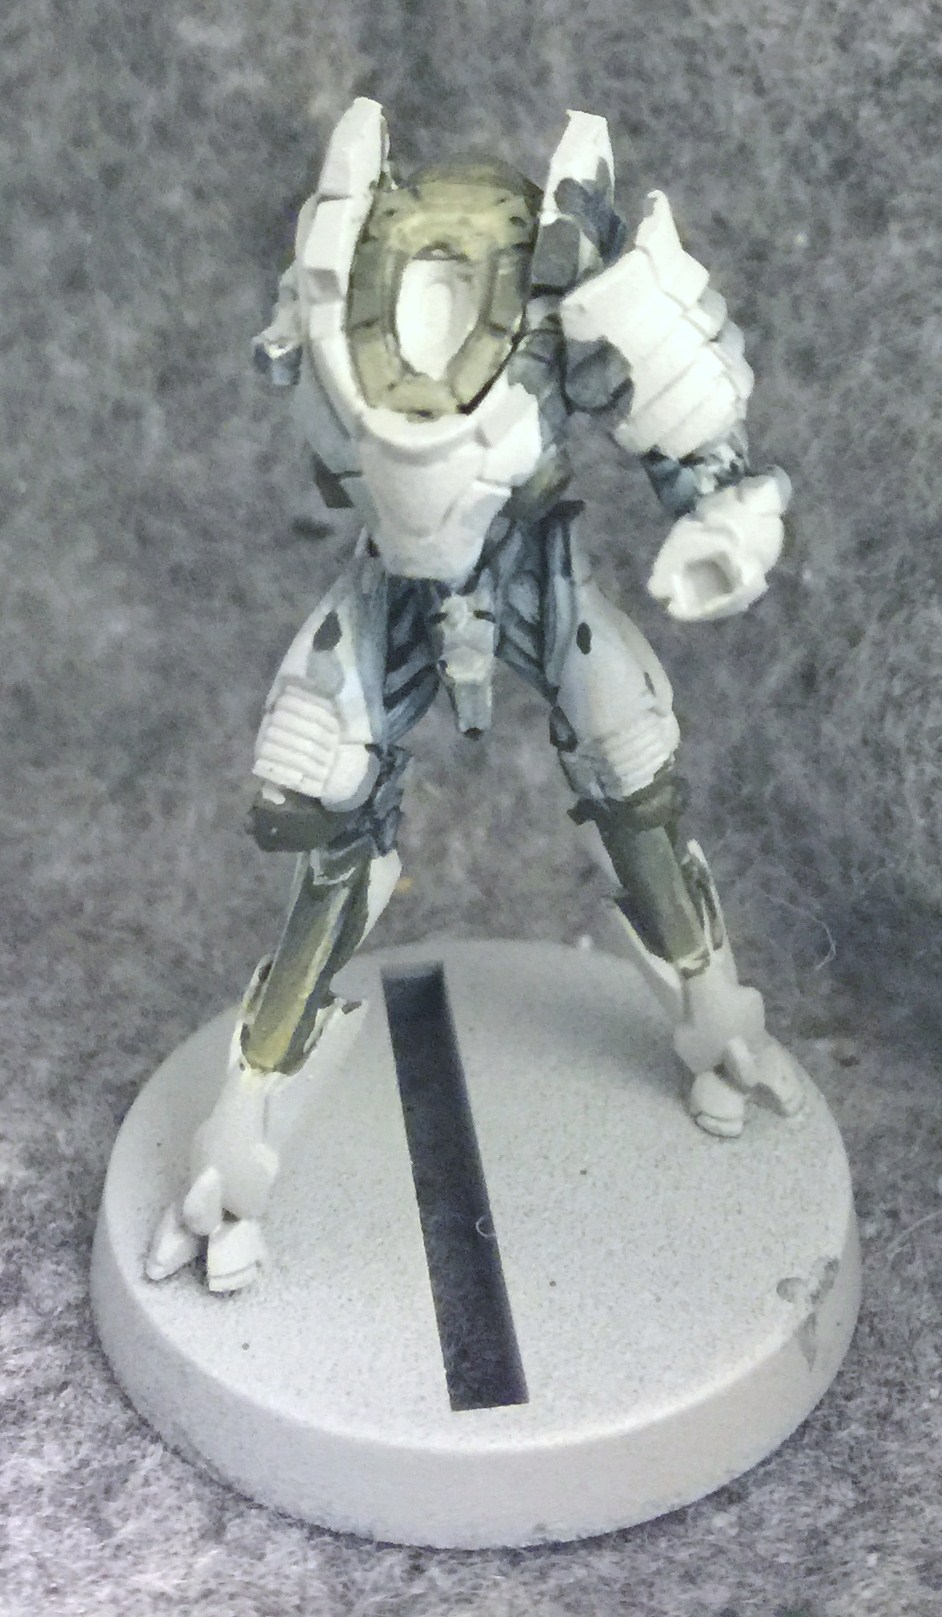
We’ll start with the back. It’s always good to start with the most recessed parts of a mini – aka the ones behind everything else. For these Batroids it’s the fleshy parts beneath all their armor. I went with a nice alien blue, specifically because it would contrast the orange I was planning on using on most of the model. I started with a basecoat of P3’s Frostbite and washed it with Guilliman Blue with a little Nuln Oil mixed in.
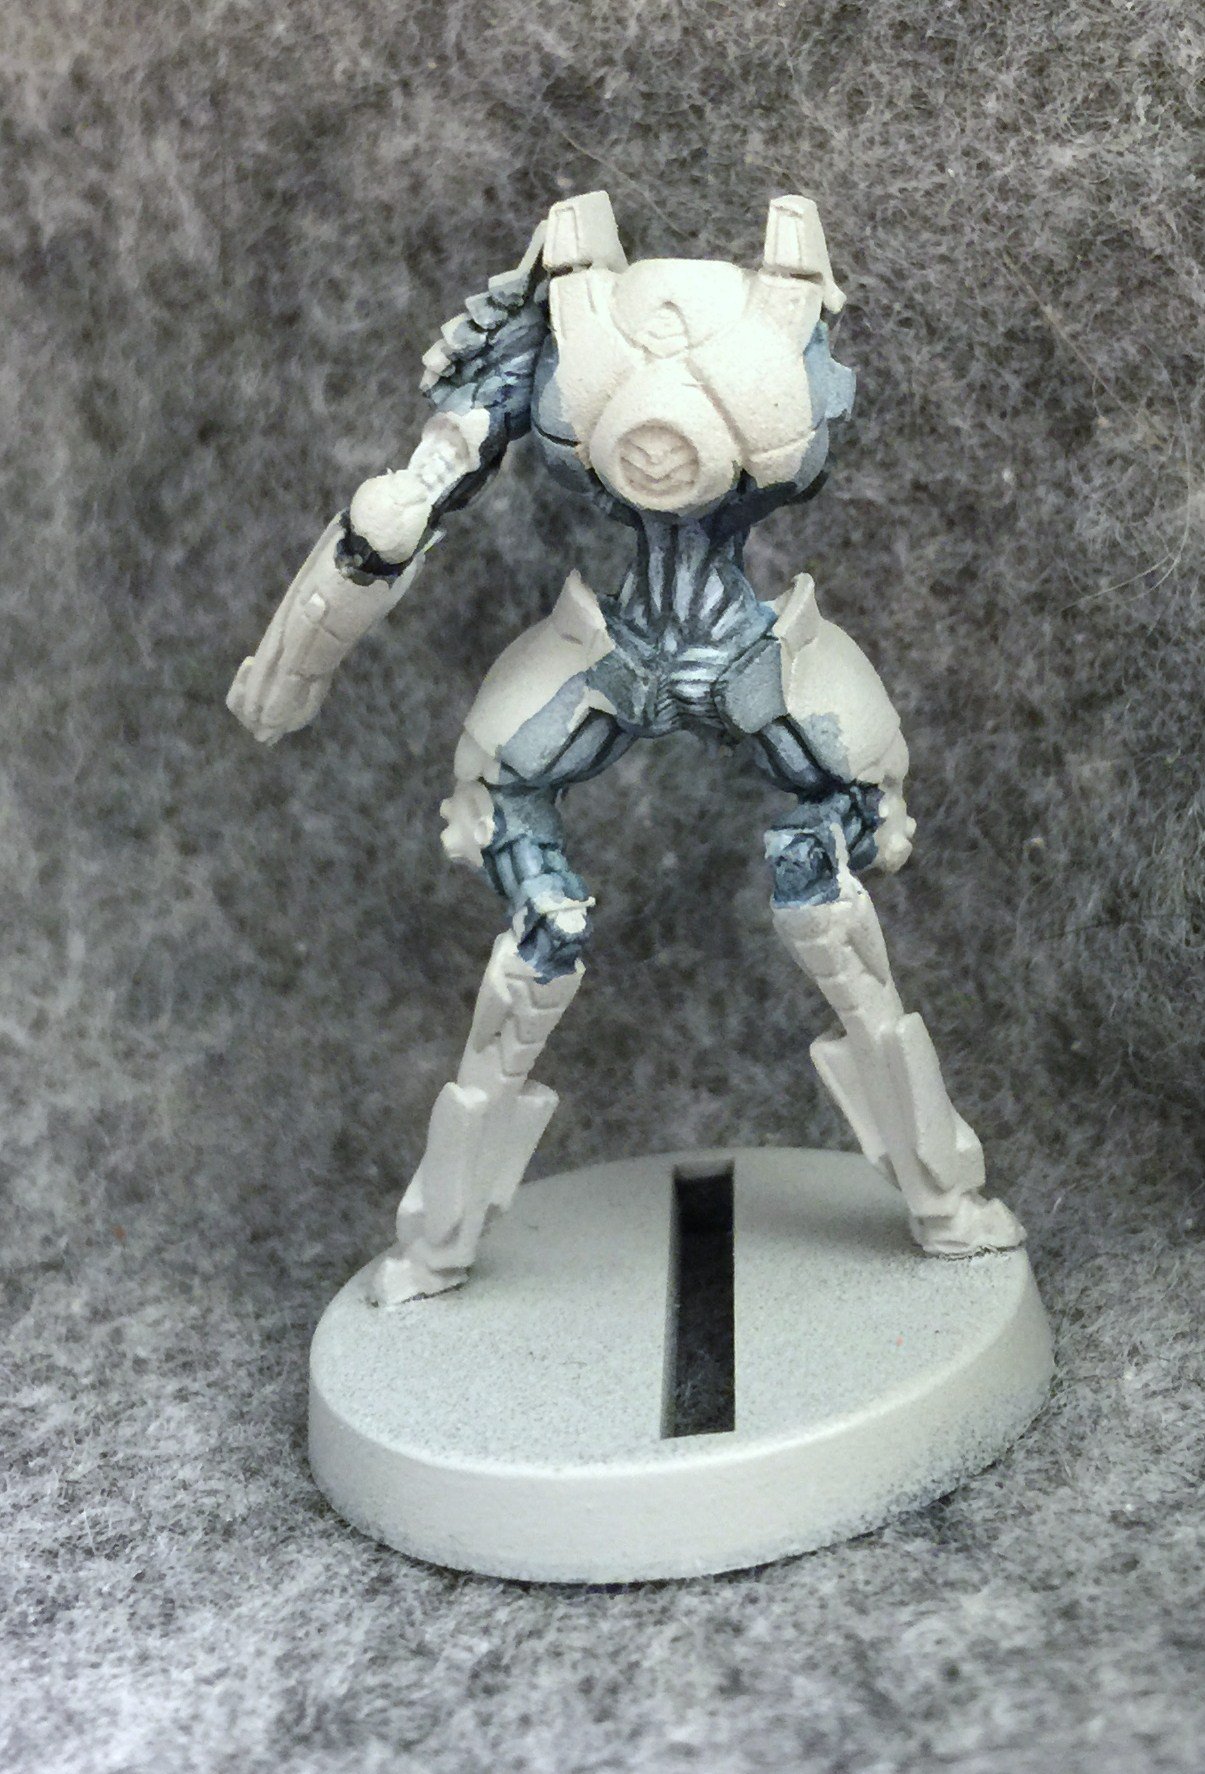
Then I picked out the details with some more Frostbite.
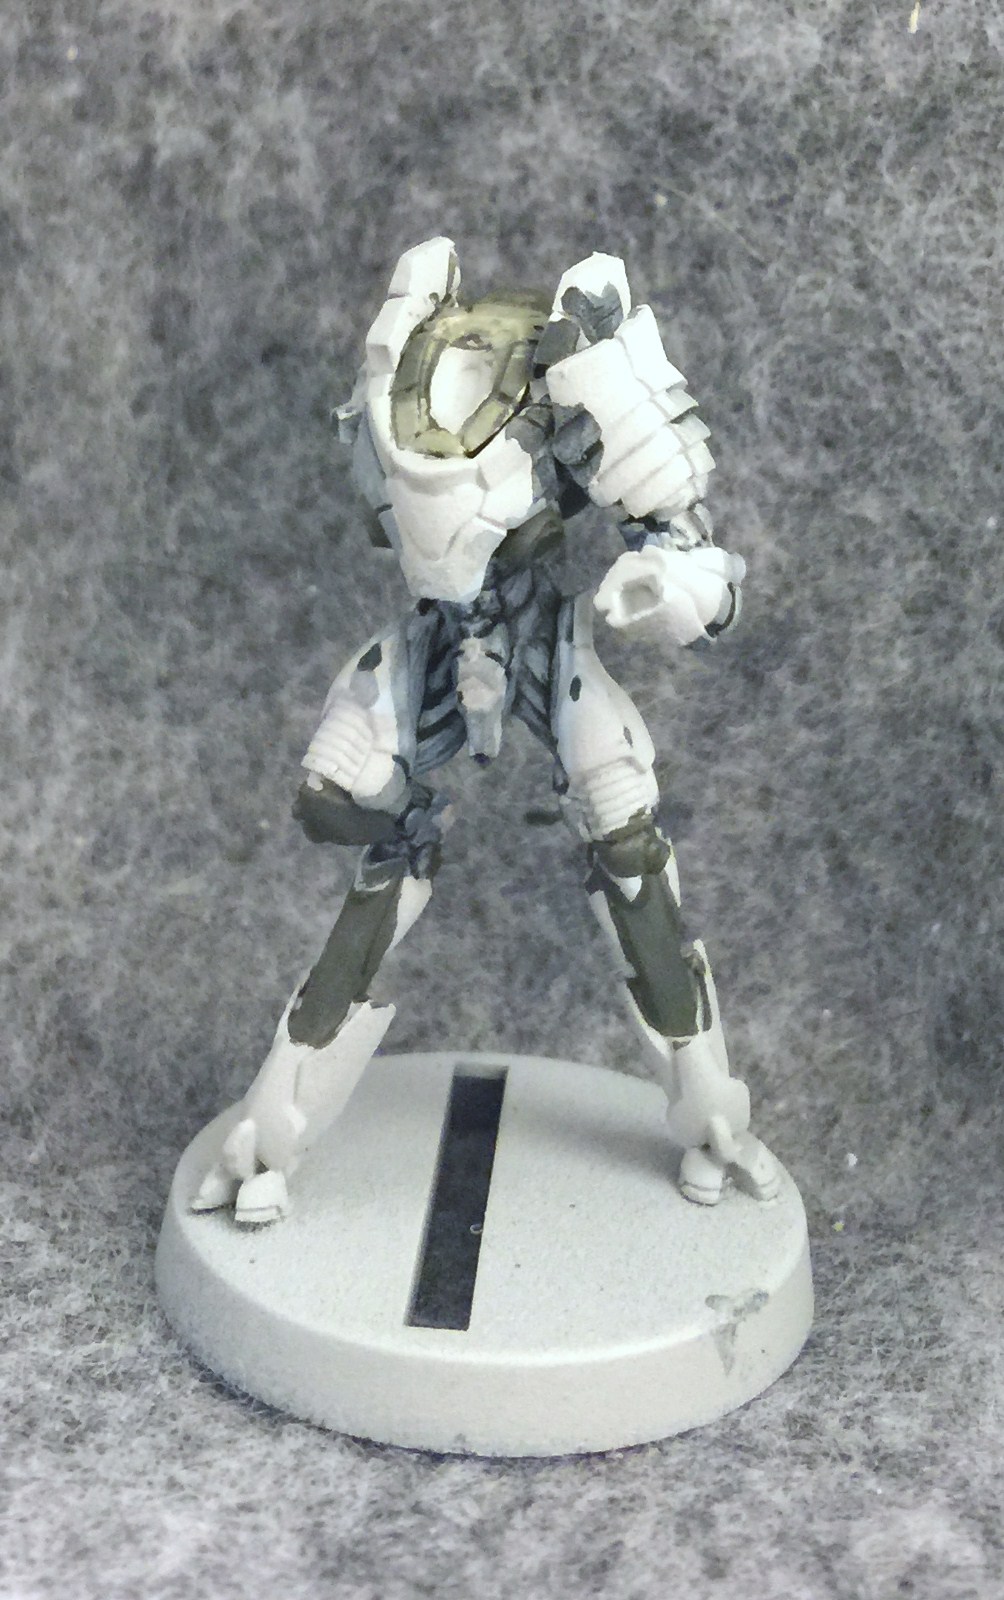
There are two metallic areas on these models. The first is this Brassy color. I start it out with a basecoat of Cryx Bane Base. That’s P3 again as are most of the colors I’ll be using.
I begin blending in highlights with Sulfuric Yellow. The color here is a little washed out and I wasn’t able to adjust the photo enough to bring back the somewhat vivid green you get with this mix. Check the first photo to get a better feel for the green I ended up with.
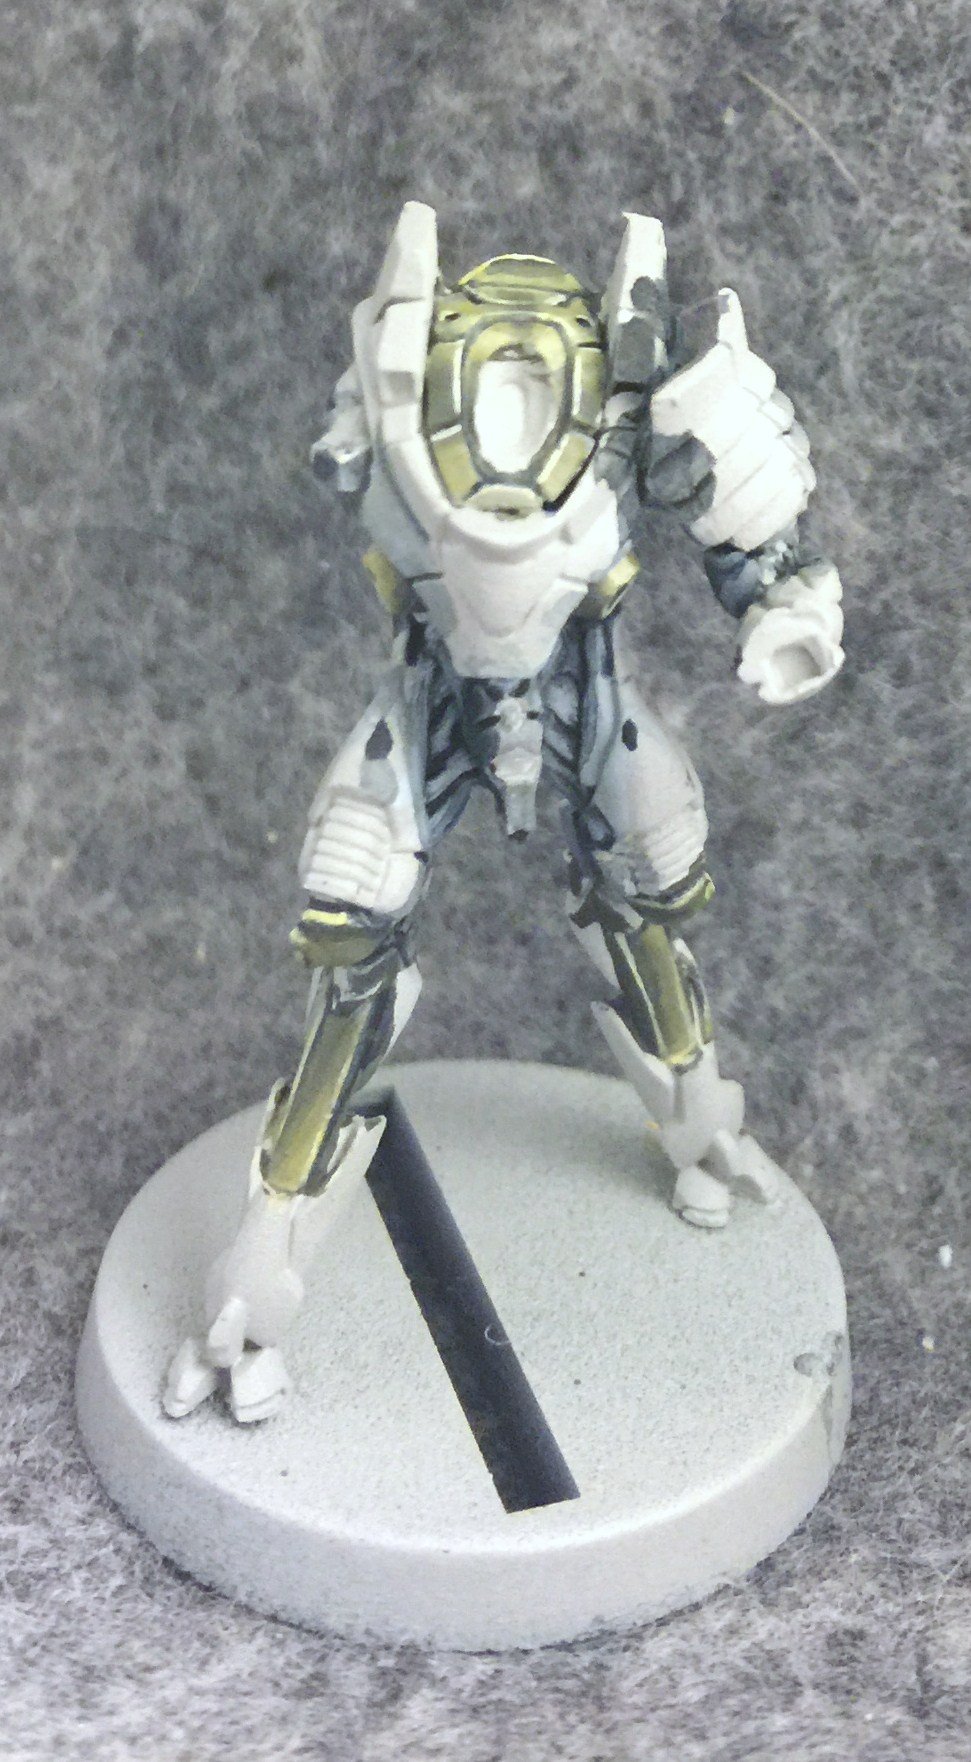
Once everything is blended together better, I bring up the highlights a little more by mixing some Menoth White Highlight in. Then I add a nice thin line along every edge with a mix of Sulfuric Yellow and Menoth White Highlight.
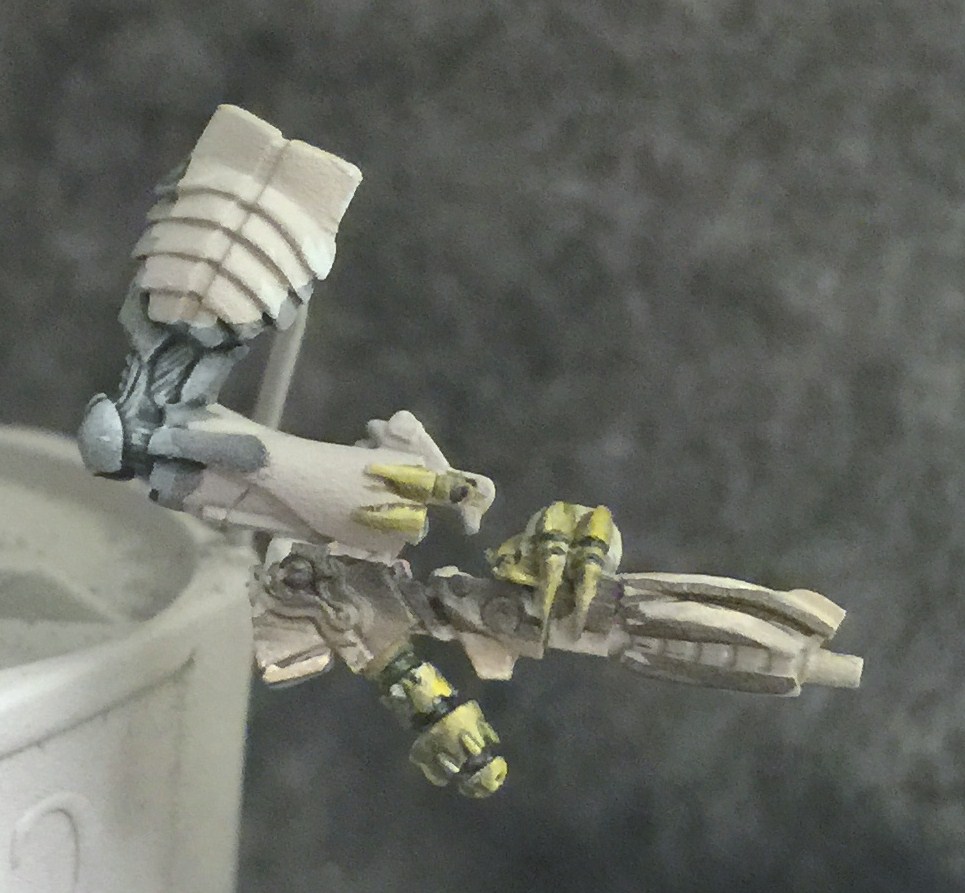
The other metallic color is more of a silvery shade, and you find it mostly on this gun. I use three colors to get this metal. Well – five technically. The darkest tone is a mix: Black mixed with a little Bloodstone and some P3 Red Ink to give it a warm tone. This is blended into Trollblood Highlight which in turn is blended into a bit more of that Menoth White Highlght. You can see the gradient best on the back of the gun.
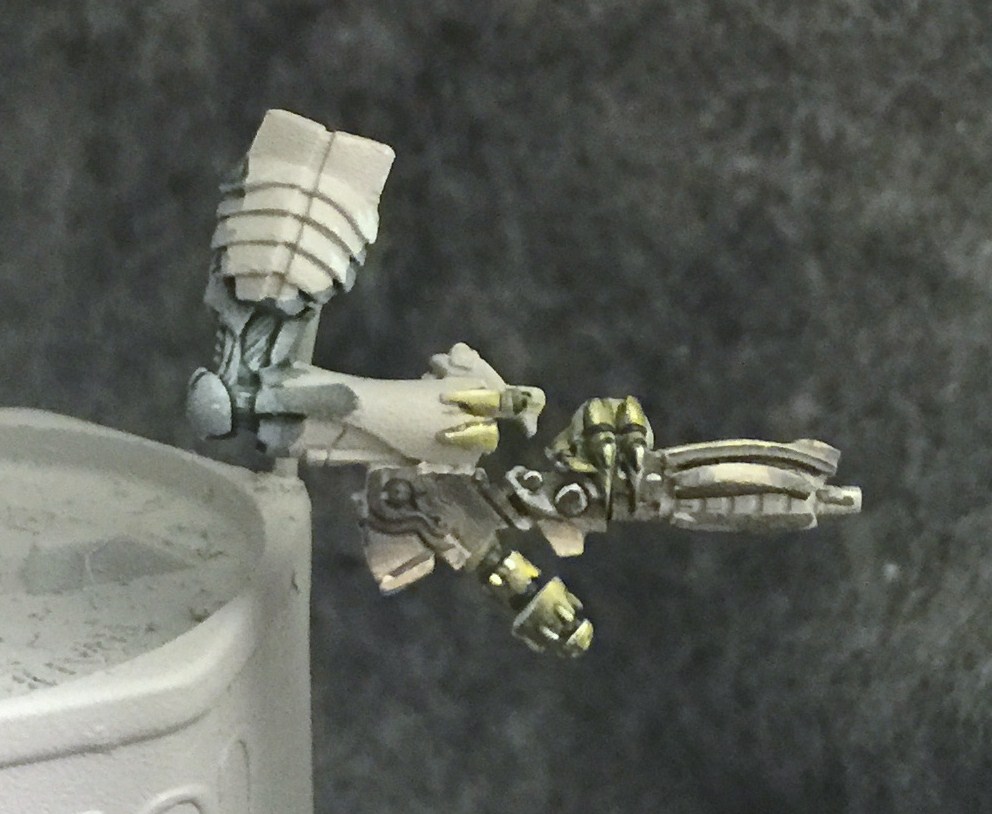
Now I just have to develop it a little more. I punch up the highlight on the barrel to accentuate the curve. In a couple of places I’ve also begun adding those thin lines of highlight that define Non-Metallic Metals.

And now I’ve got everything properly highlighted. I also line all the recesses with the same warm black. It’s the same for the brass areas, although rather than the black, I use a mix of Exile Blue and Umbral Umber. It’s basically a Dark desaturated blue that works well with the green.
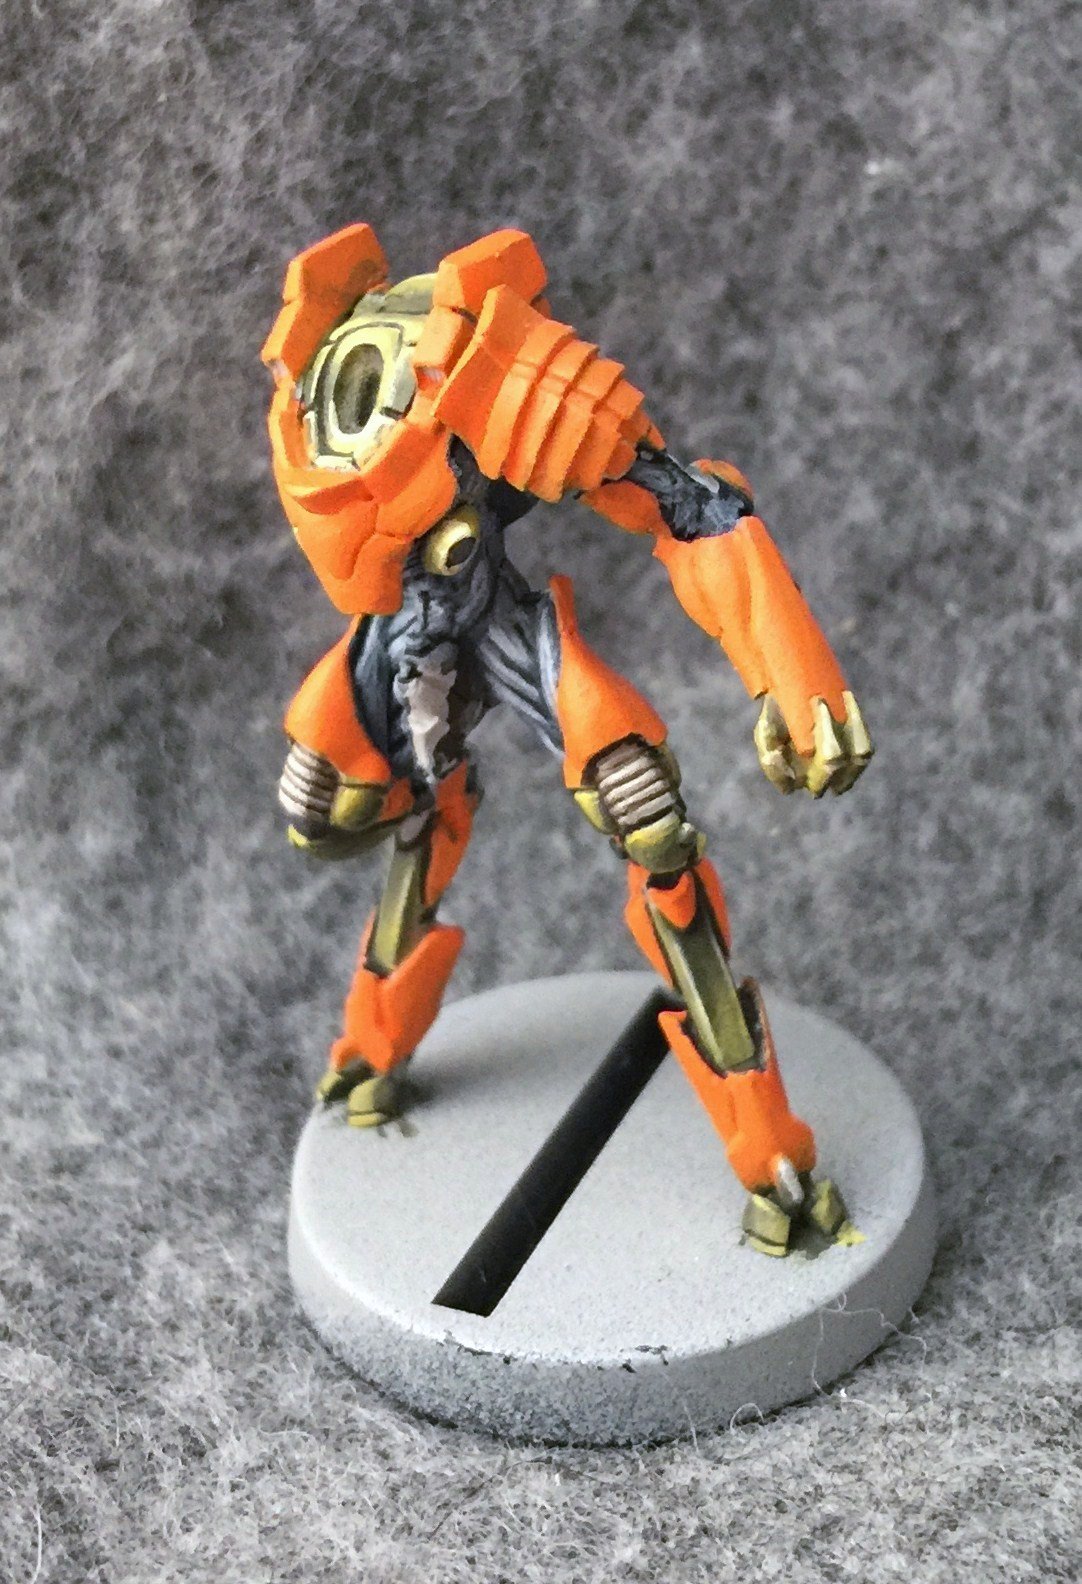
Then I paint all the armor with Khador Red Highlight. Yes it’s orange. It gets that name because it’s meant to be a highlight for red. If you’re curious, this is the time skip right here with nearly 7 months passing between when I took the picture of the gun, then finally painted on the armor here.
~Hope part 1 was informative. I’ll be back for part 2 soon.


