Arena Rex: Painting Ywain and Dextarius Part 2

I’m back for part II. It’s time to finish off Ywain. Pick up your brushes and follow along.
Before we go any further, go catch up with Part I if you haven’t already.

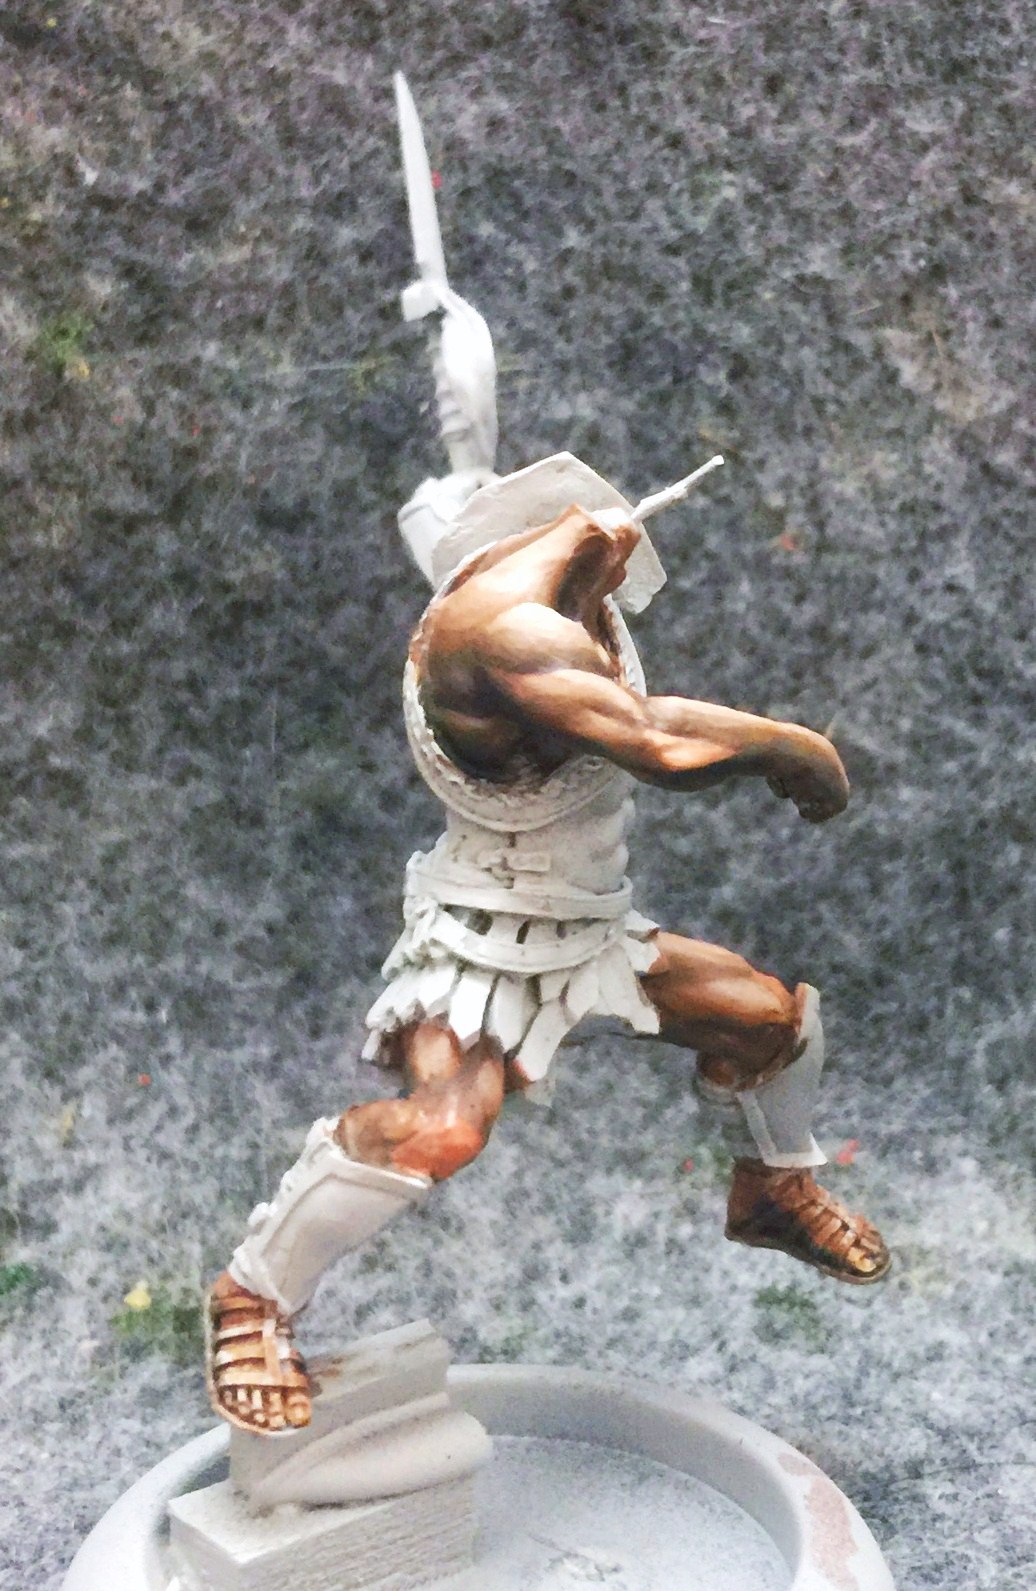
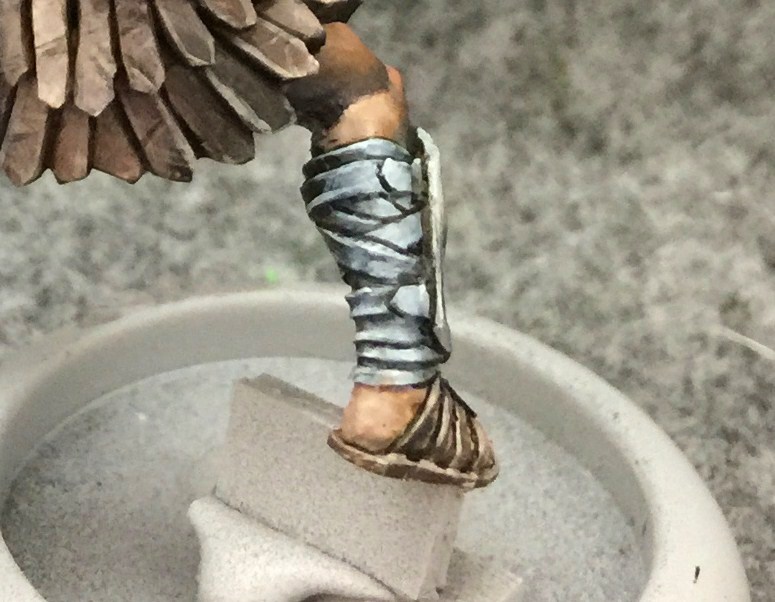
I start the skin off with a base coat of Bootstrap Leather. I add shading with a mix of Exile Blue and Umbral Umber. I use this “Navy Mix” as I call it a lot, and keep a pot of it pre-mixed for whenever I need a de-saturated blue.

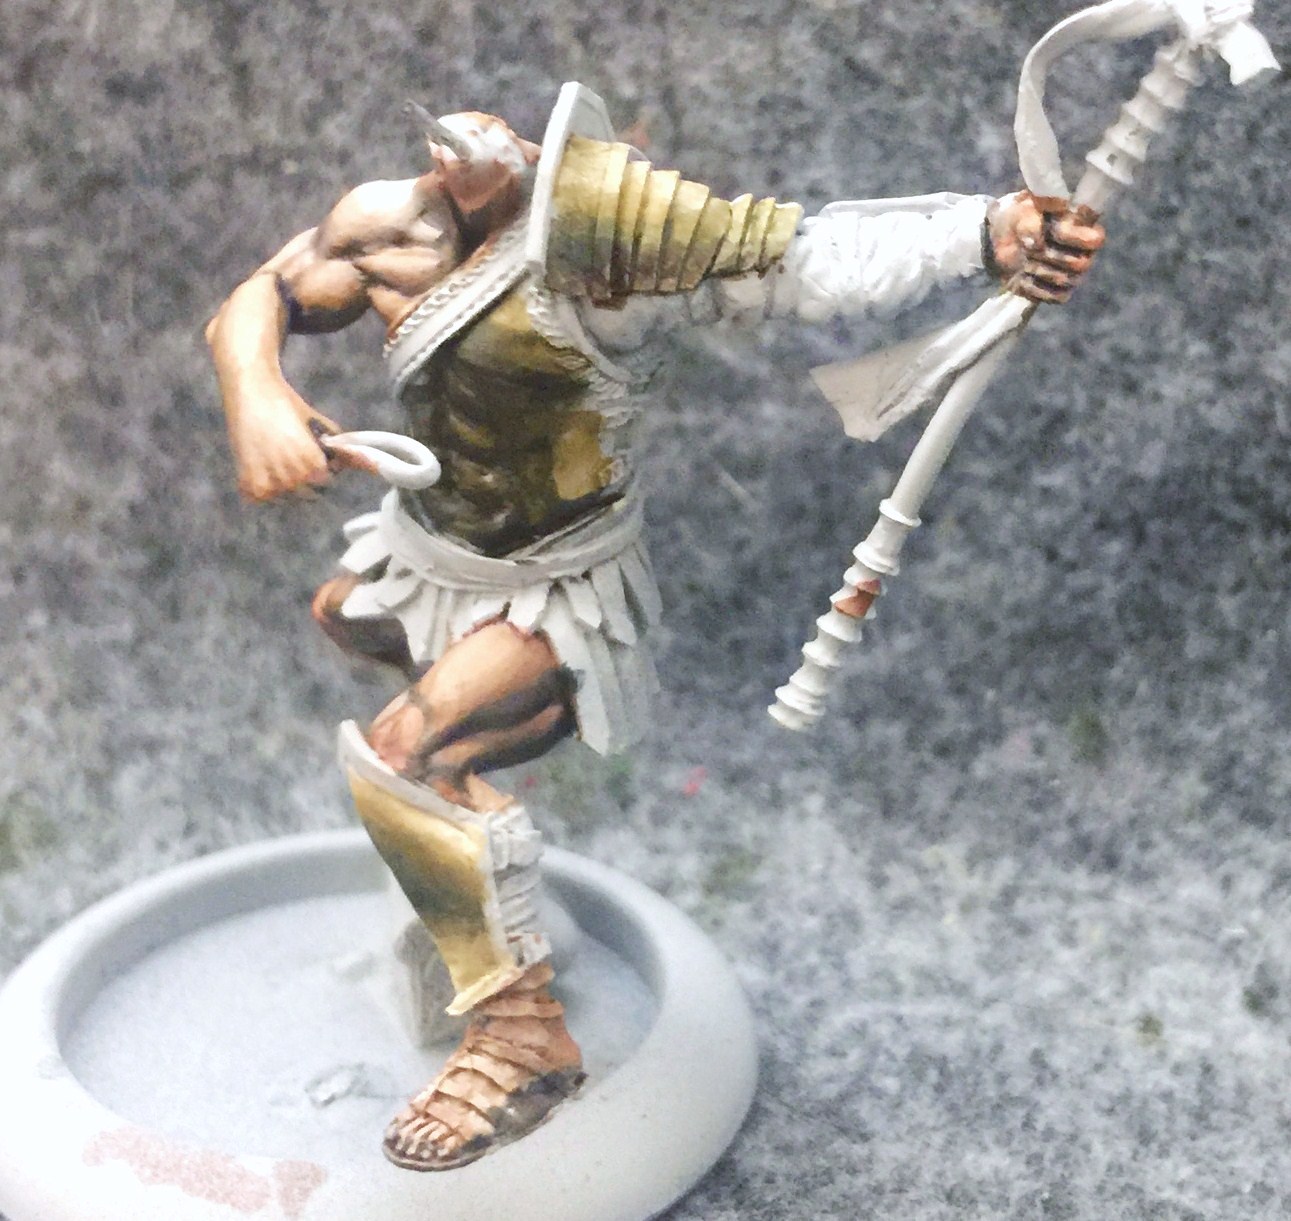
Once I have the shading nice and smoothly blended in, I start adding some highlights of Menoth White Highlight. I also add a little color to the knuckles and elbow with some Khardic Flesh. I try to give most of these gladiators some nice tanned skin from all the time they must spend in the arena under the roman sun. Unfortunately sometimes this can leave them looking a little a lifeless. My hope is that the warm pink will help make him look a little more engaging. I’ll admit it’s very hard to see here but I did kind of like the effect so I think I’m going to have to focus on making it more distinct in future projects.
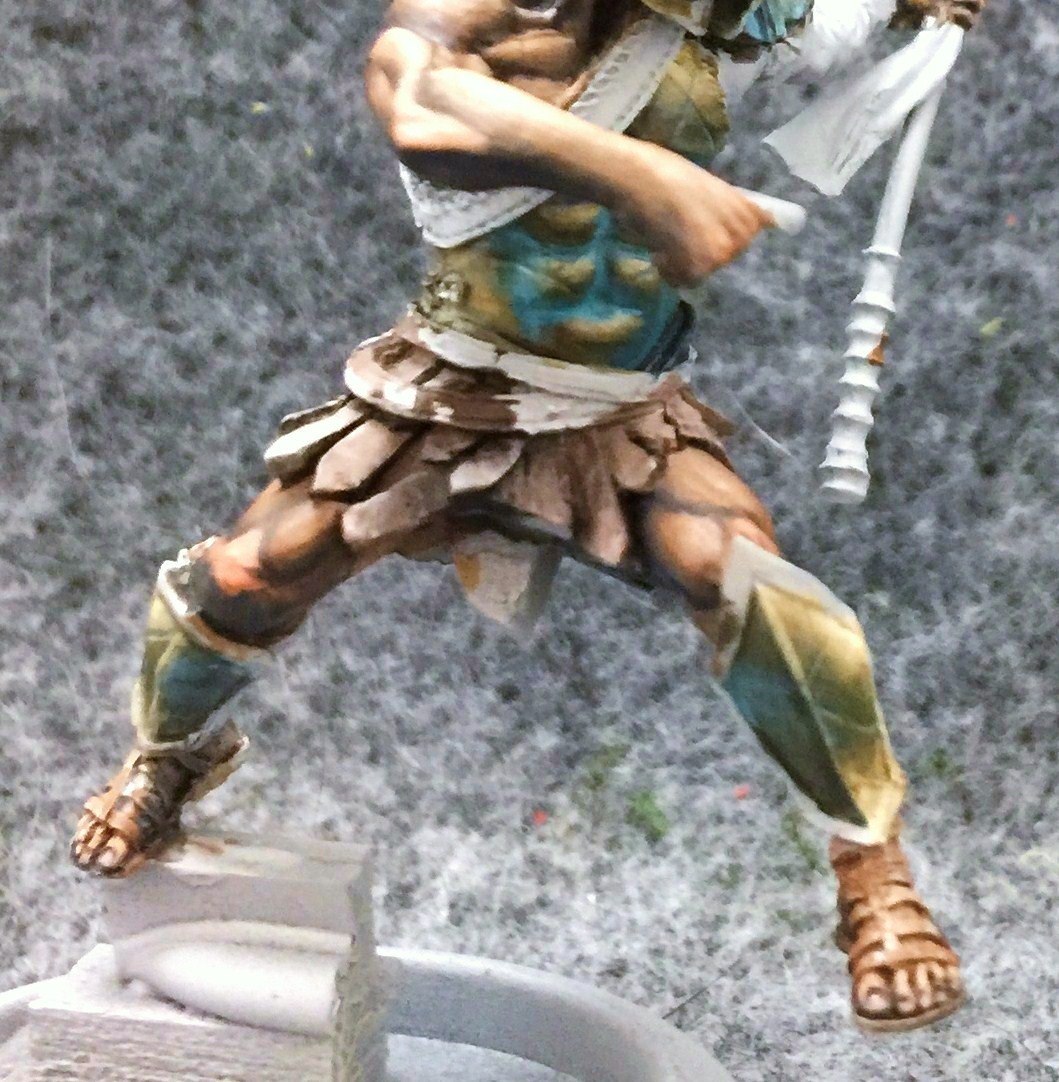
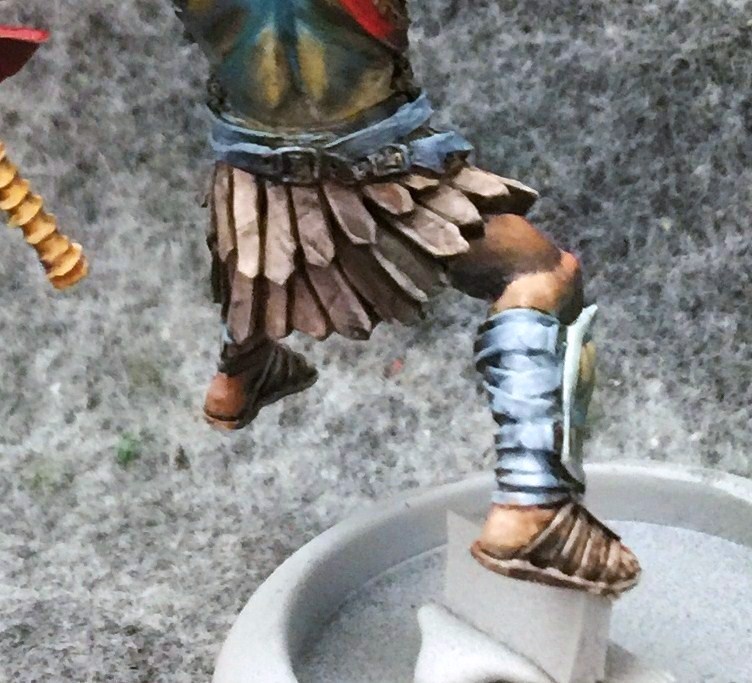
Here’s a look from a different angle as I start adding more definition to the legs.
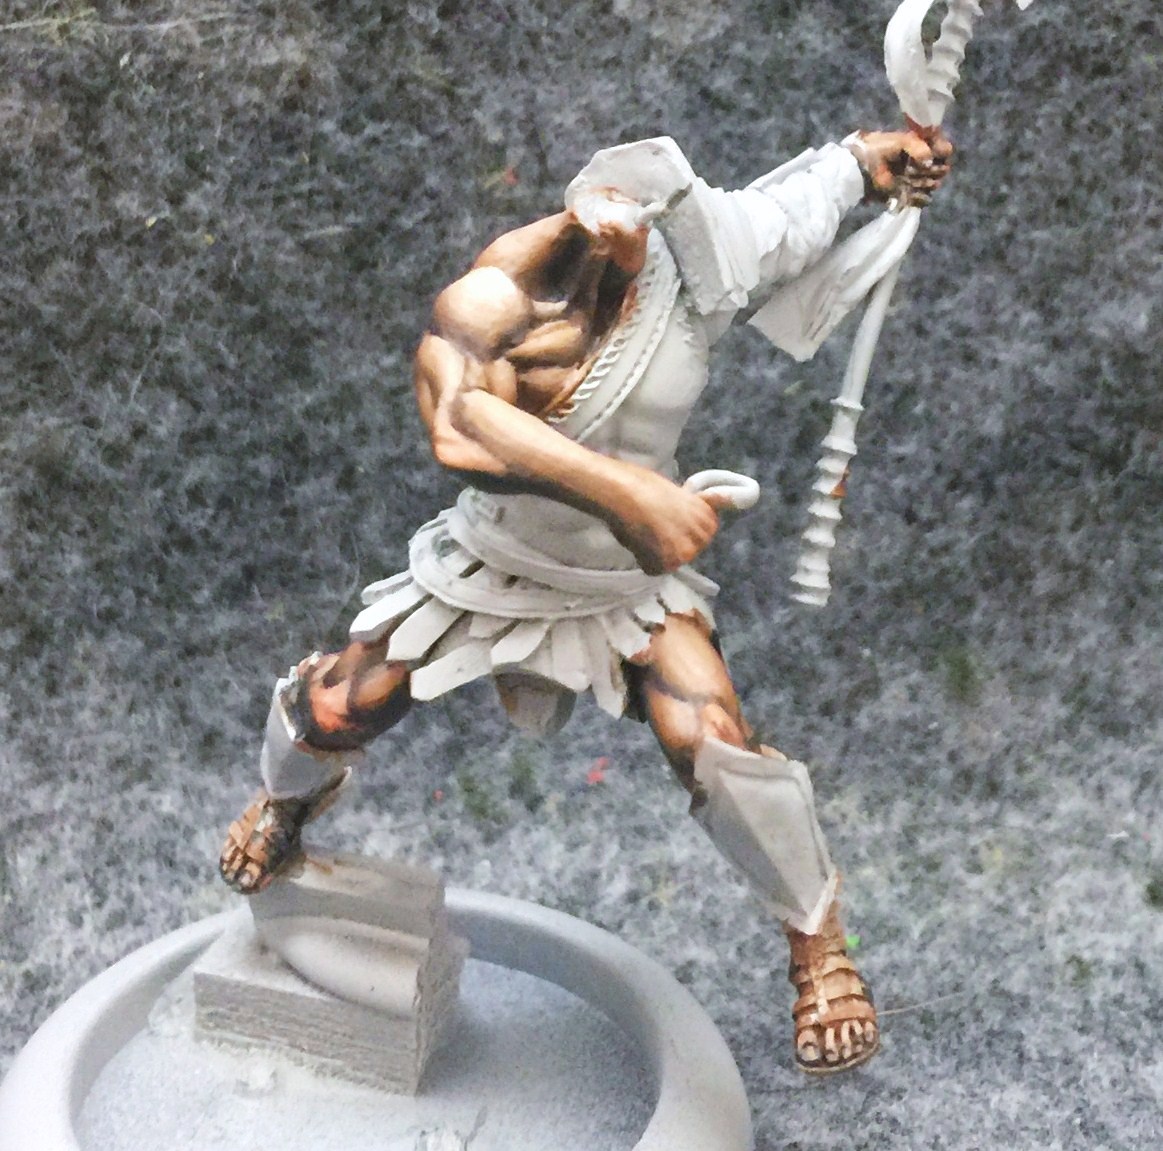
One last look from the original angle with the leg musculature fully realized along with the toes, fingers and even the toe and fingernails.
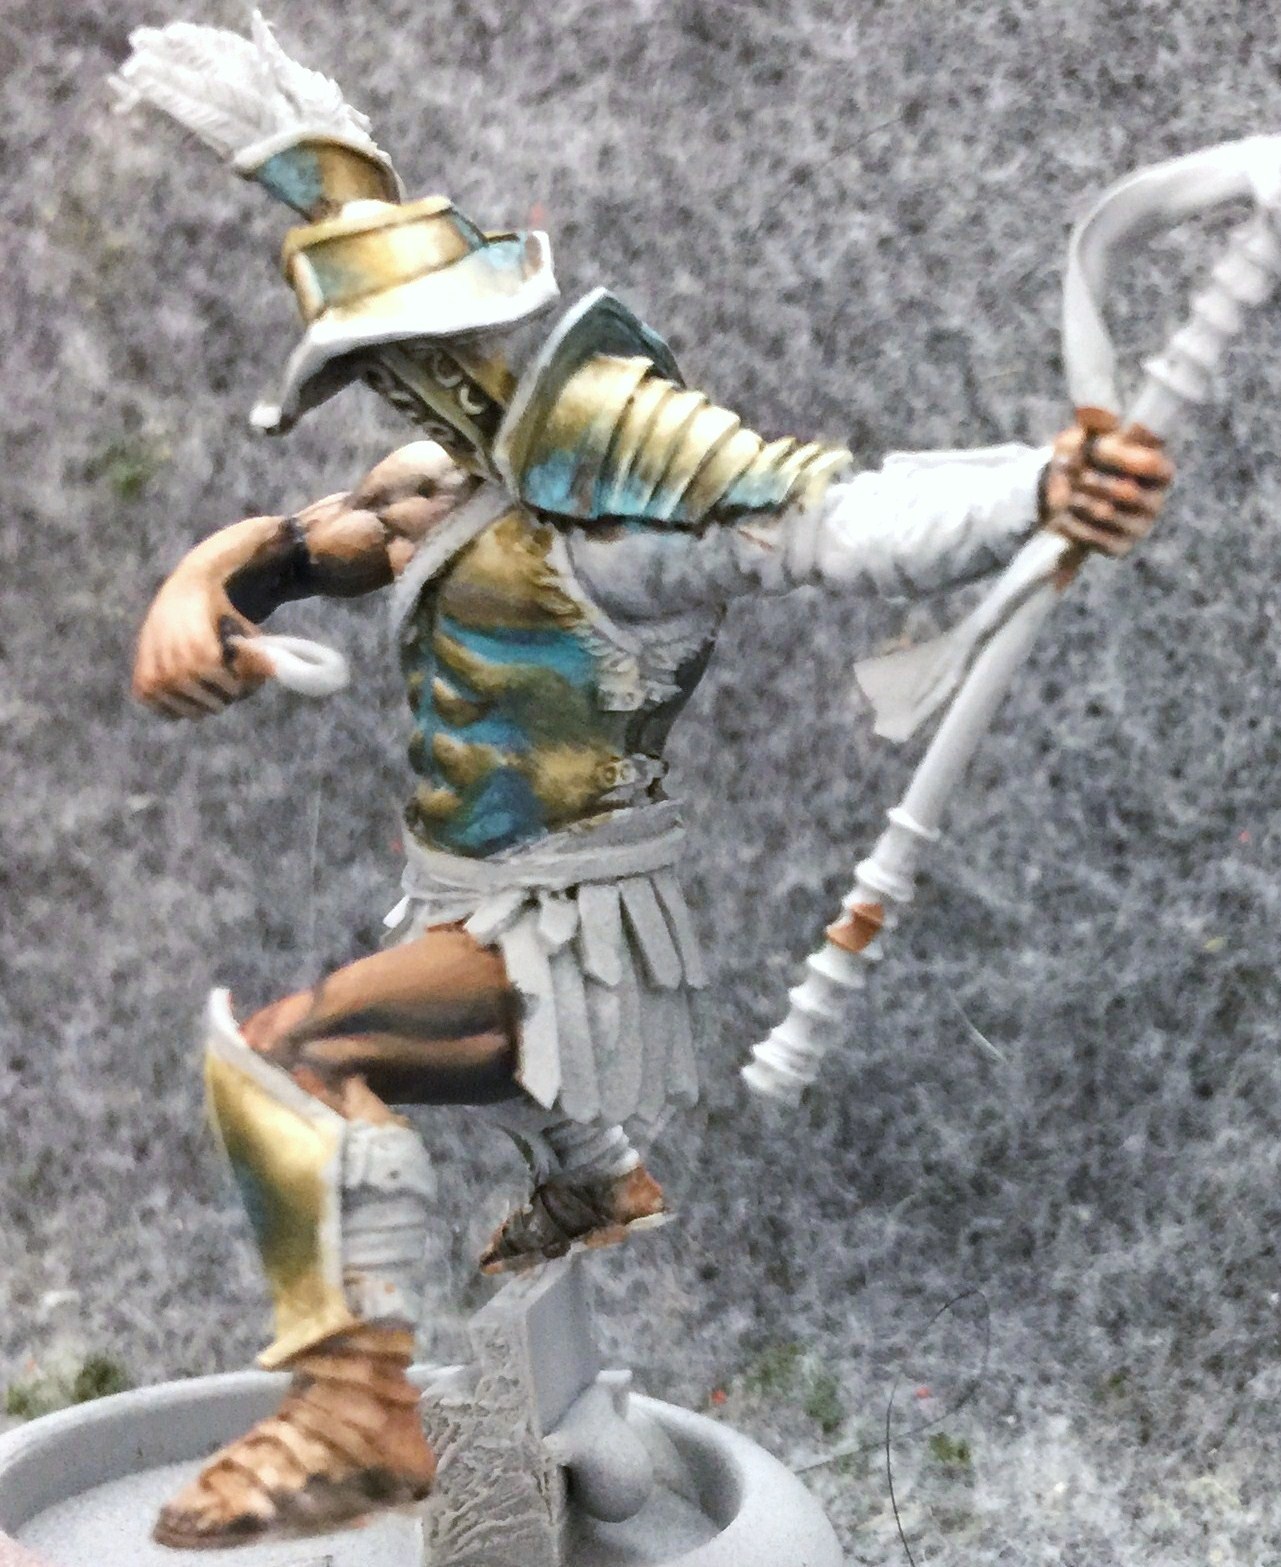
Now let’s start on that bronze armor. For bronze I use a basecoat of Traitor Green. This is highlighted by blending in increasing amounts of Rucksack Tan and Menoth White Highlight until there is no Traitor Green left in the mix. That same Navy Mix I was talking about earlier is used to shade the Bronze with a bit of black added if need to get it really dark.
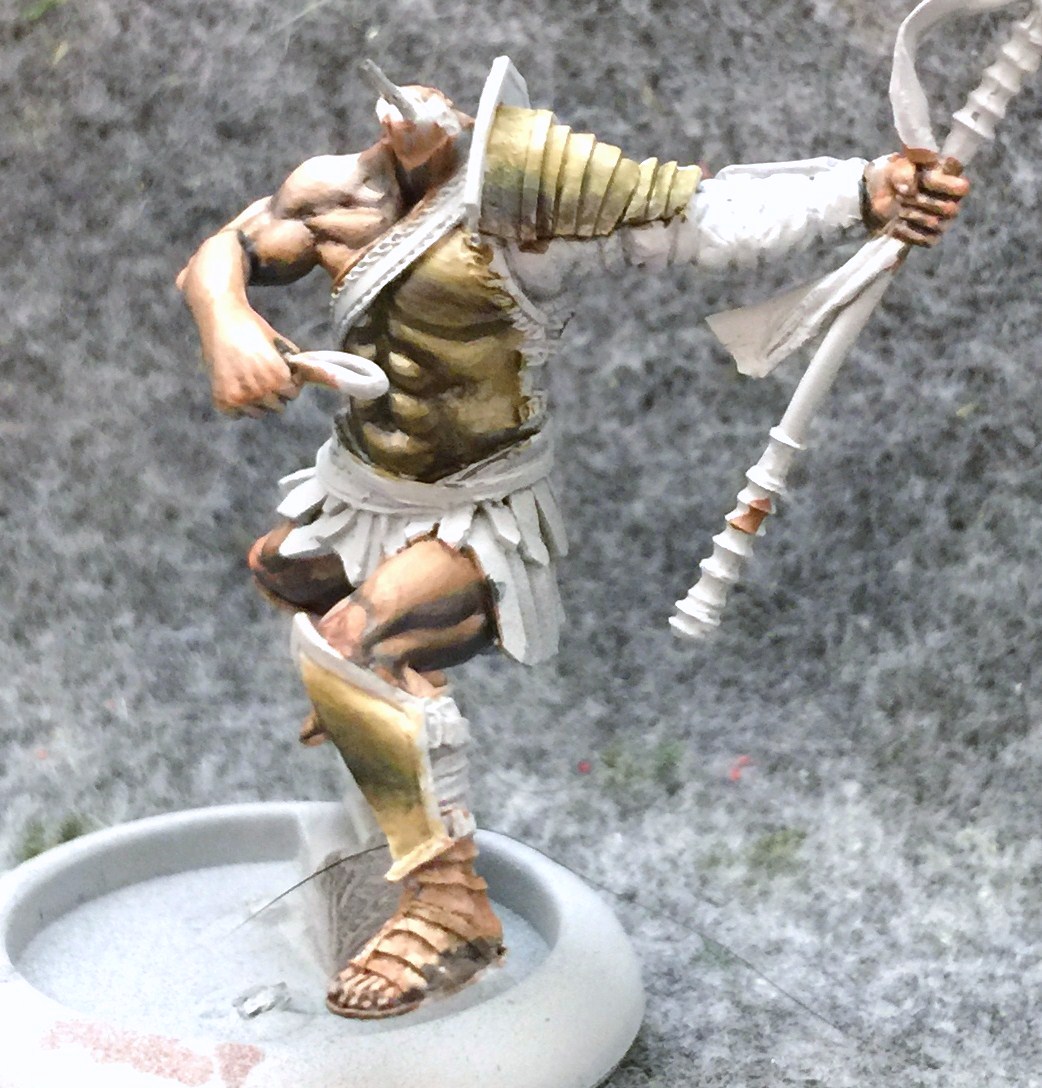
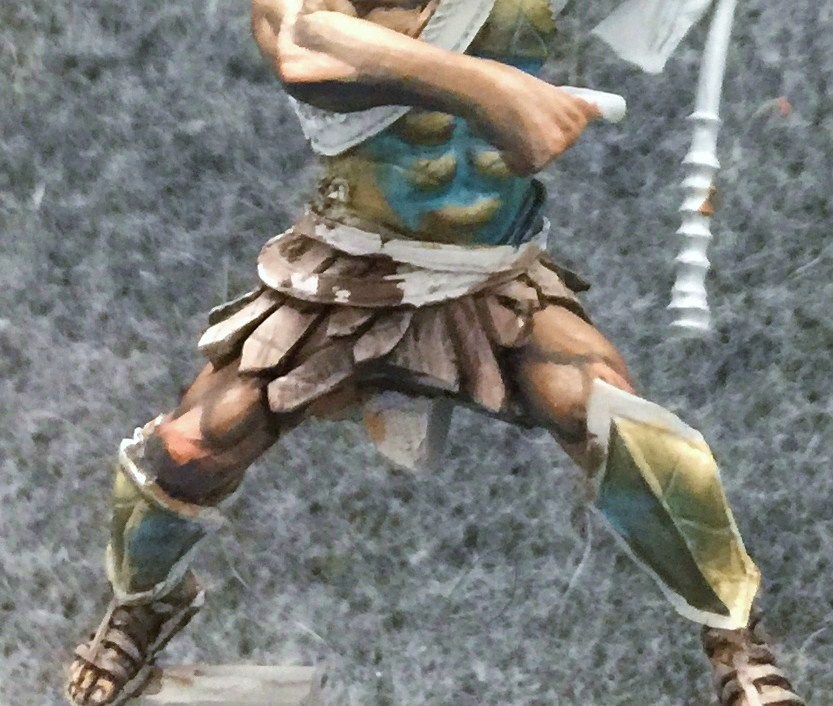
Next I start trying to define Ywain’s bronze abs. Creating a non-metallic metal effect on human anatomy is always a tricky prospect. I’m treating each ab and pec as an individual oval with its own central highlight point along with a bit of “reflected light” along the bottom of each shape.
Here they are with a bit more definition.
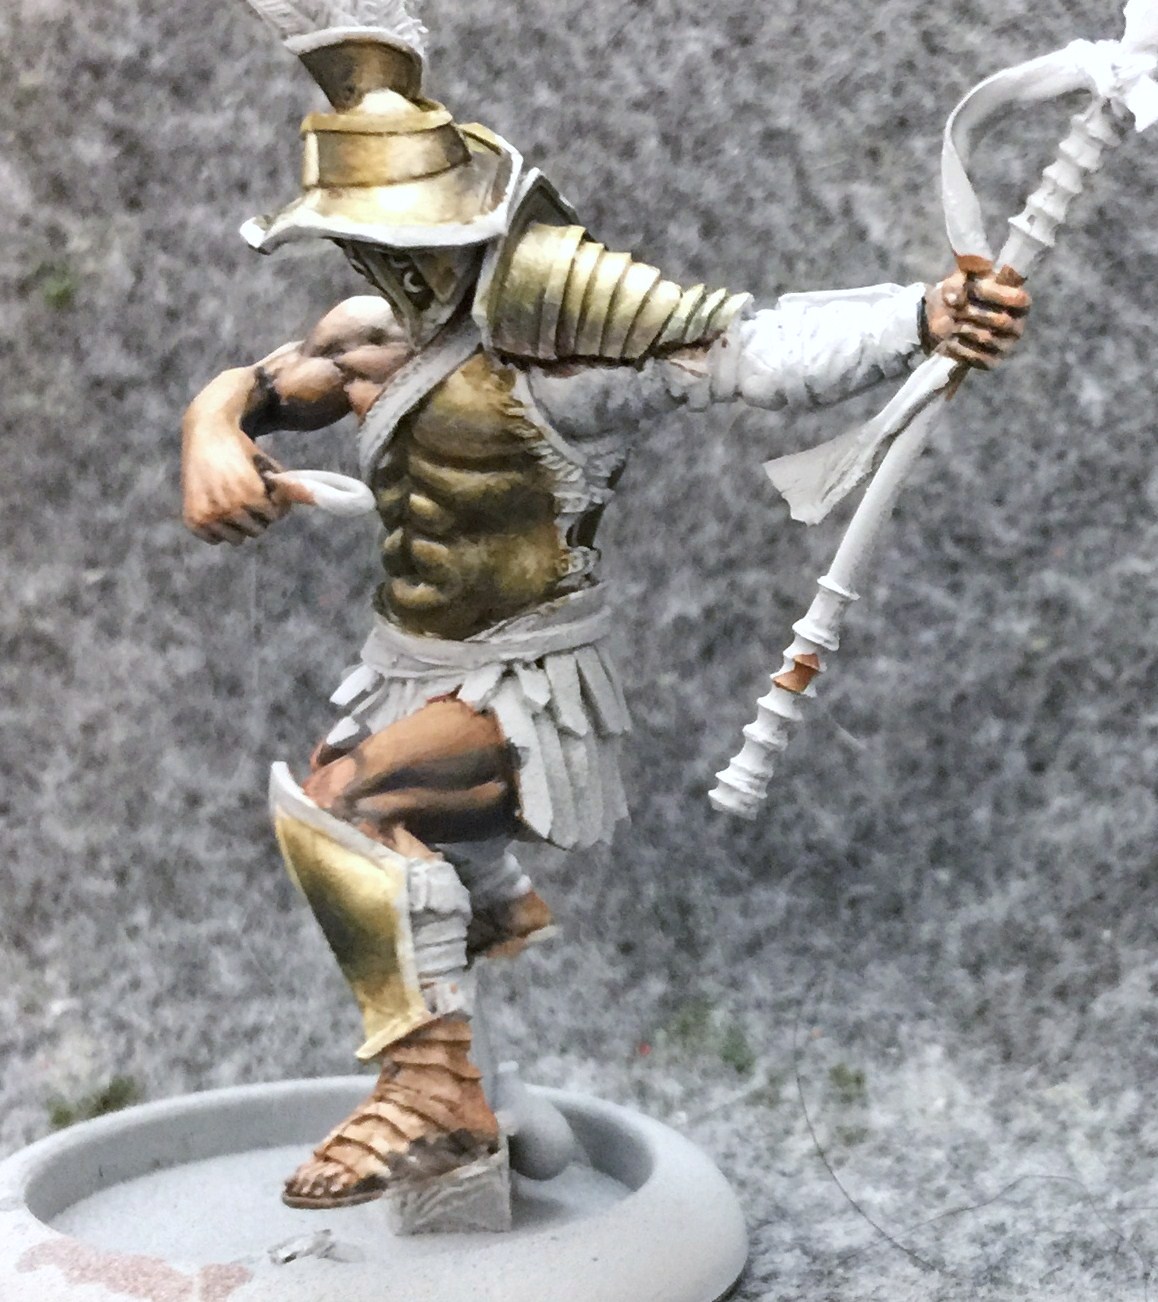
Oh yes… and there’s helmet I had been forgetting about. It can’t be attached until the very end since it pins the cape in place. I can’t glue the cape on until the rest is finished since I need to be able to paint things beneath it.
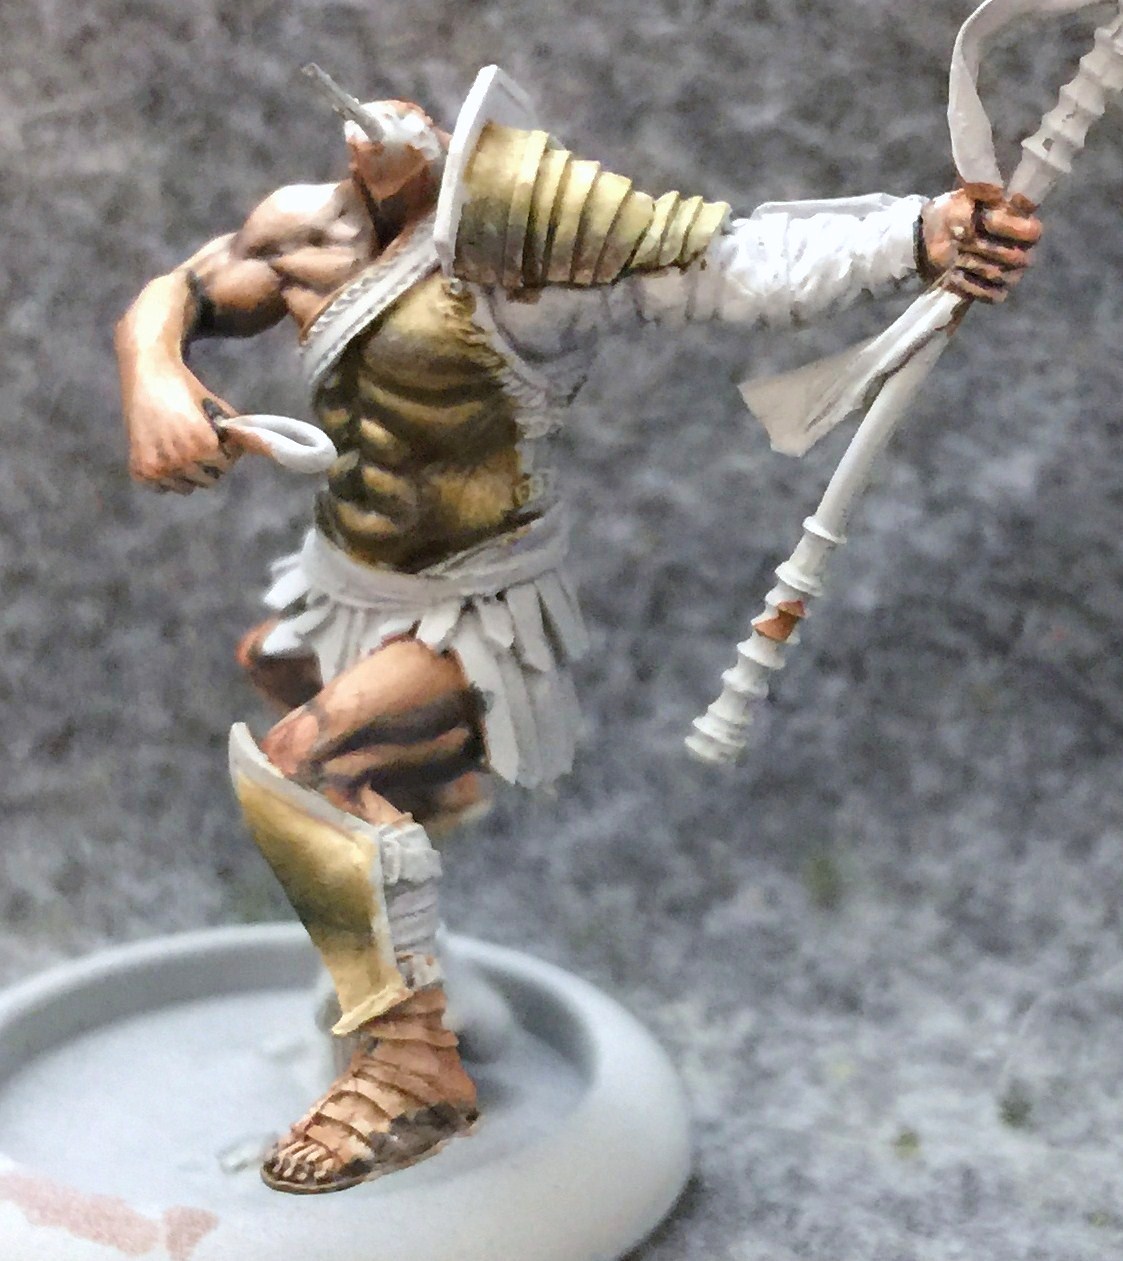
At any rate, in this step I added a bit of distressing to the metal with some energetic strokes of very thinned down paint above what I already had. This article has some better step by steps shots of distressed metal.
I give Ywain’s armor a bit of a patina more as an excuse to add some color than anything else. I started with some very thinned down Arcane Blue.
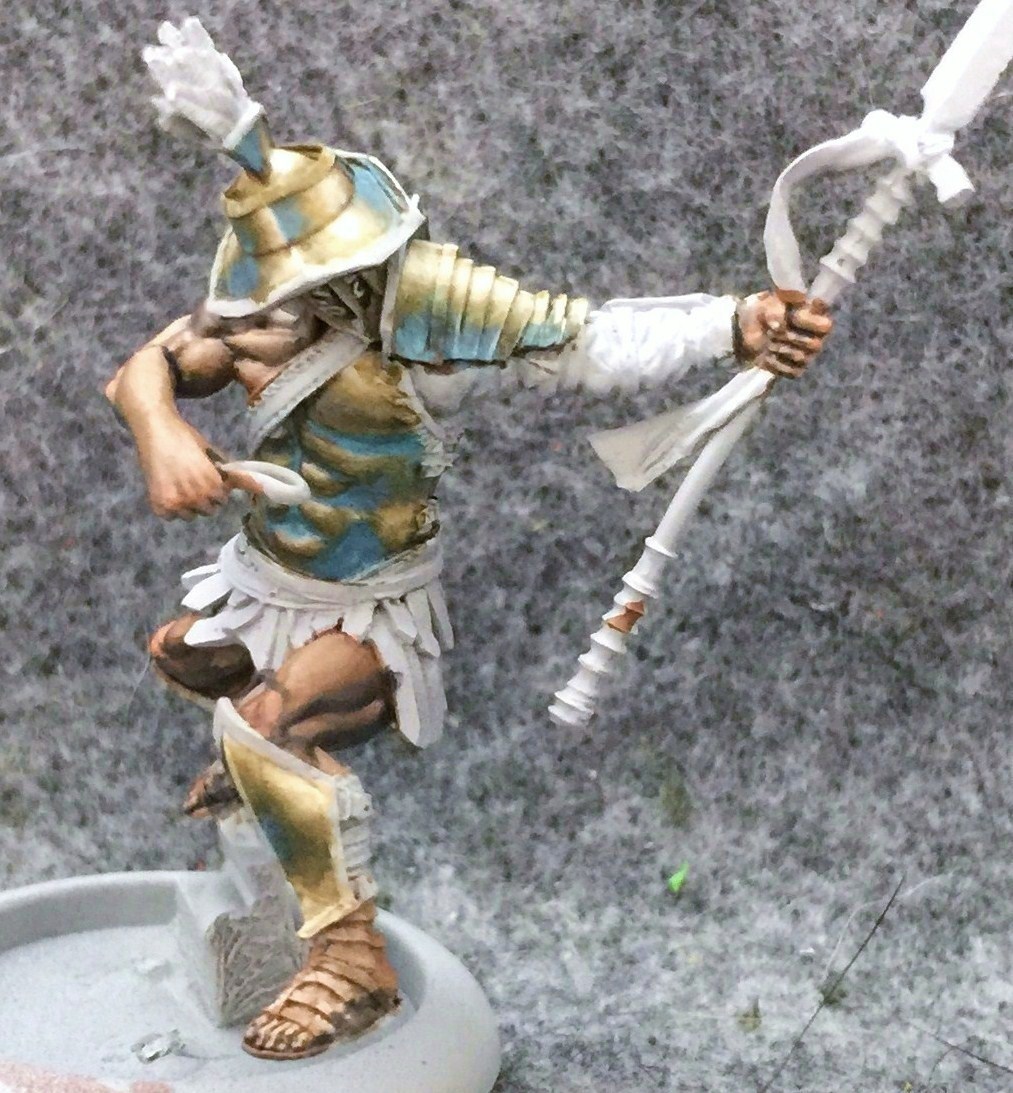
I found it to be just a bit too colorful, given how de-saturated the rest of the model is, and added some Trollblood Base mixed with a little Underbelly Blue over the top of it. Unfortunately I put it on a bit thick and ended up having to go back over it and blend it in to the surrounding area with the original metallic coloring. I did end up covering over some of the areas I’d worked so hard on, but that’s just how these things go.
The final step was to add some dings and scratches. This is done by adding a thin line of highlight color followed by a thin line of a darker color right above it. This is also the step in the process where I add a little line of highlight along all the metal armor plates.
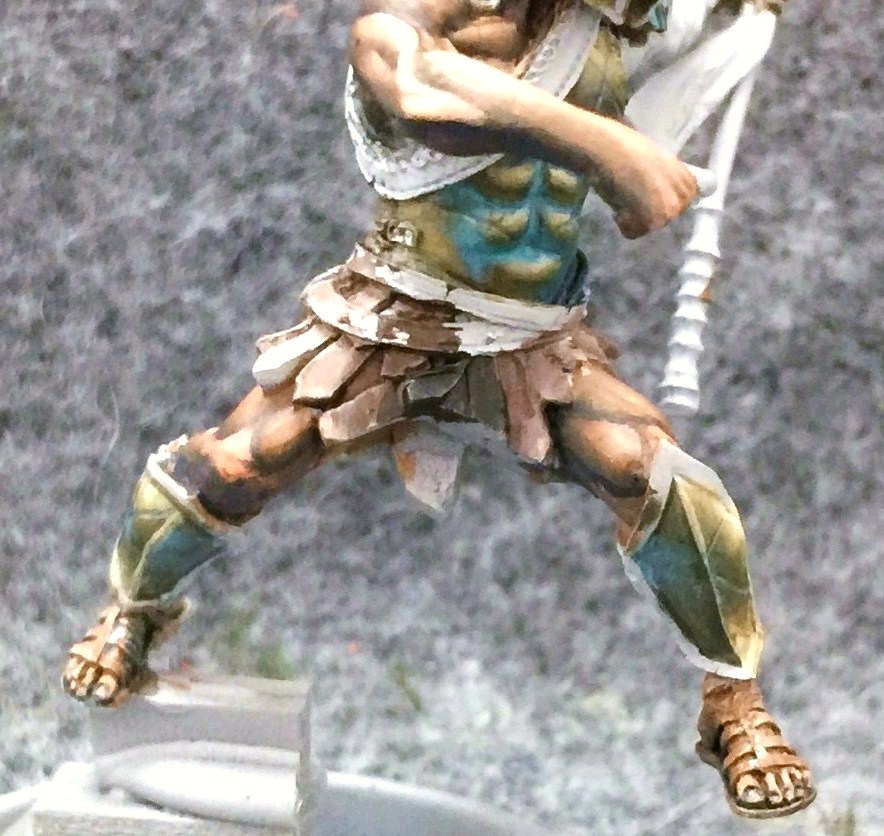
Next I move on to the leather skirt. Despite the fact that it’s made up of multiple strips, the best way to approach it is to start off treating it as a single object. The whole skirt is based with Umbral Umber. On the area just above the legs, some Ryn Flesh is mixed in with the Umber to highlight it. At the crotch, shading is added with a mix of Thamar Black and Ordic Olive.
Then I use the same black/olive mix to line the area between each of the strips.
Then I add a little distressing and further define each strip by painting a thin line of highlight down the side of each one.
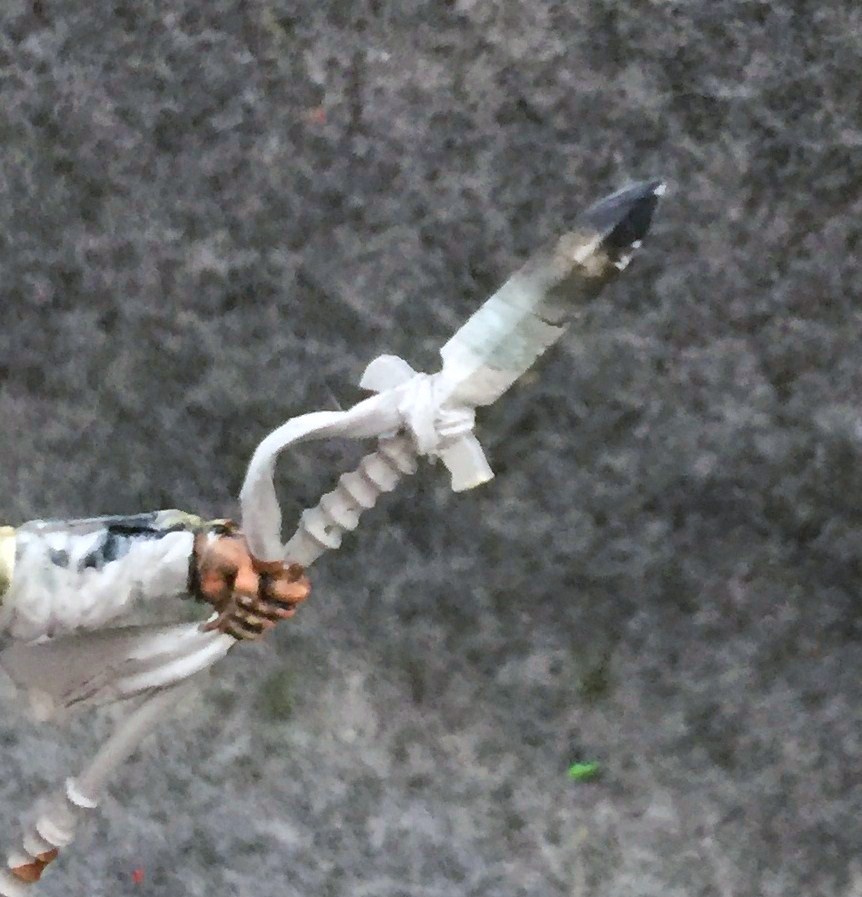
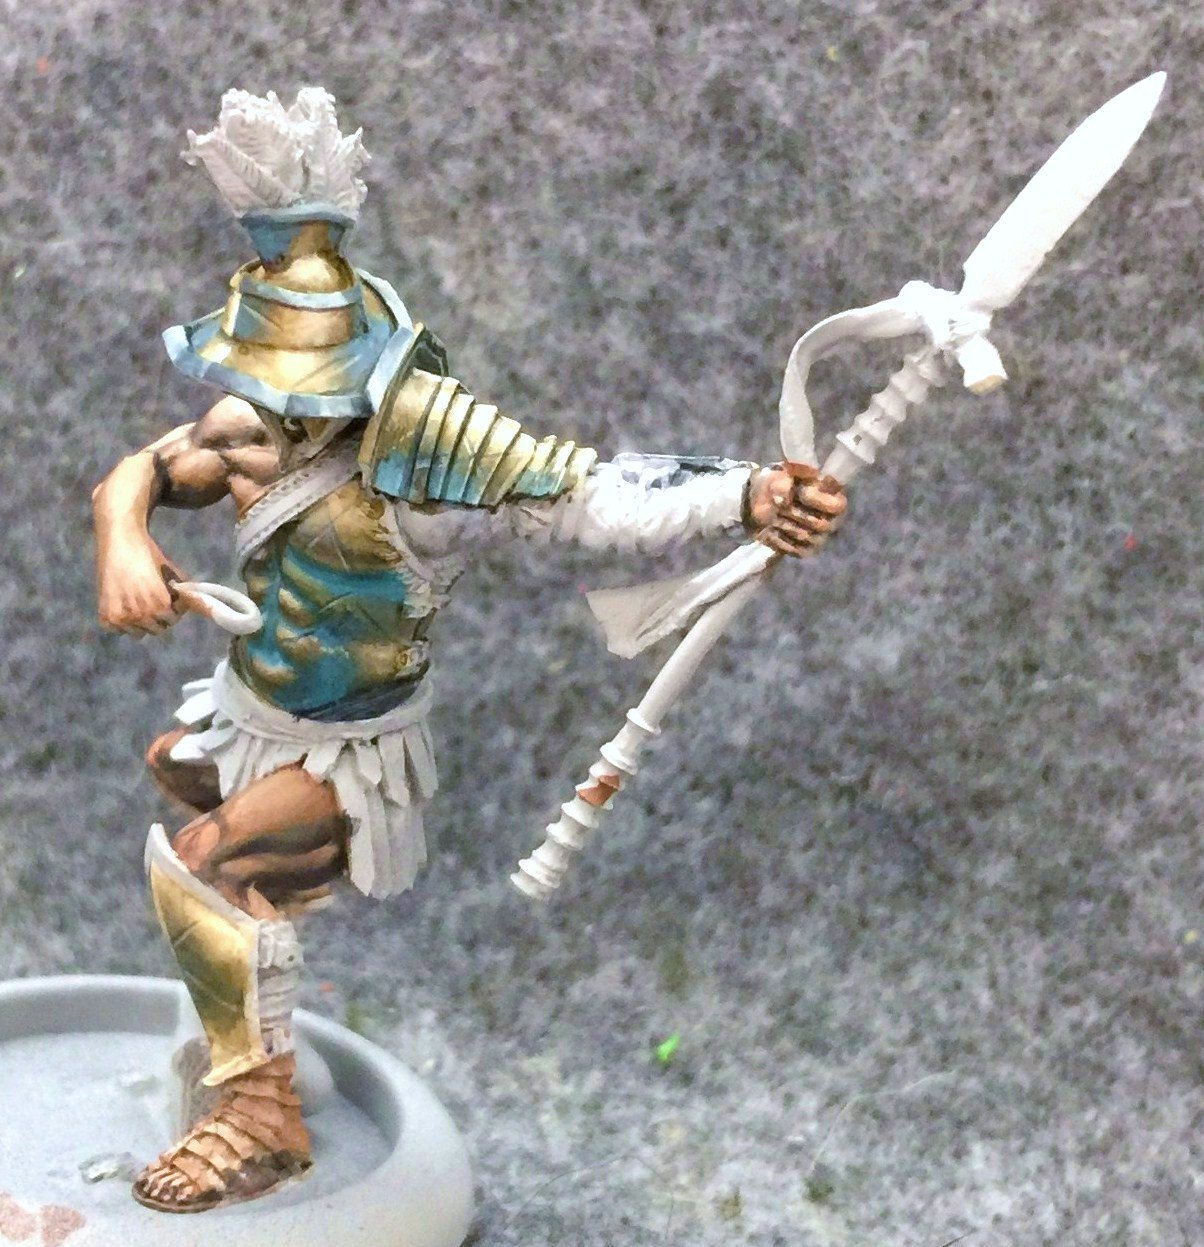
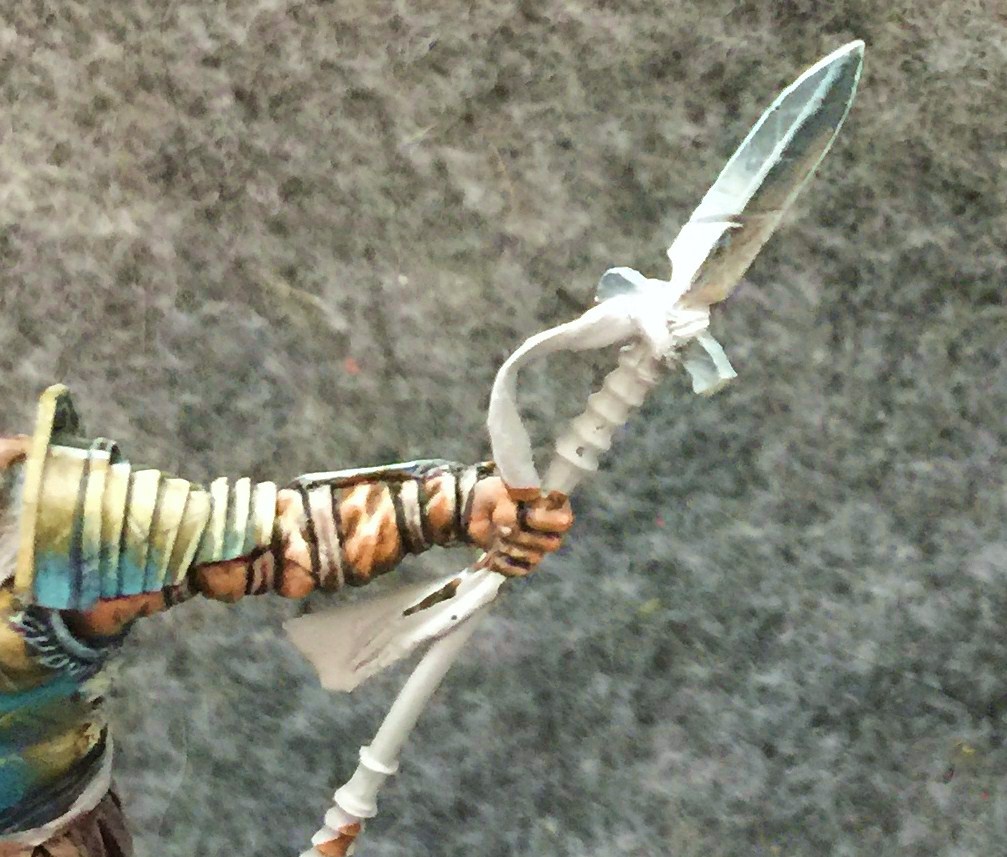
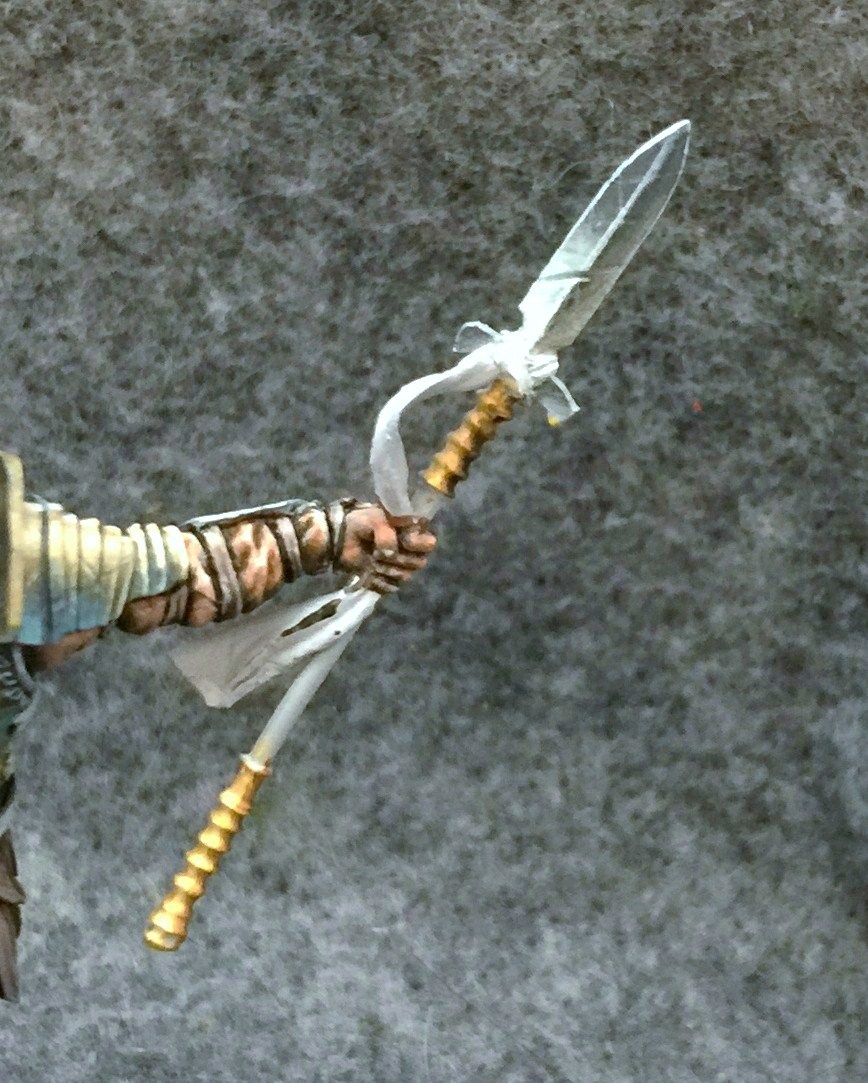
Then I move on to the blade. For the top, I start setting up a nice smooth gradient from bottom to top with Menoth White Highlight, Frostbite, Thornwood Green, and then the Navy Mix.
I work on smoothing it out more, then start a different gradient for the bottom half of the blade. This one is done with a gradient of Navy Mix to Hammerfall Khaki. As you can see, the angle of the gradient is different to reflect light reflecting off the ground.
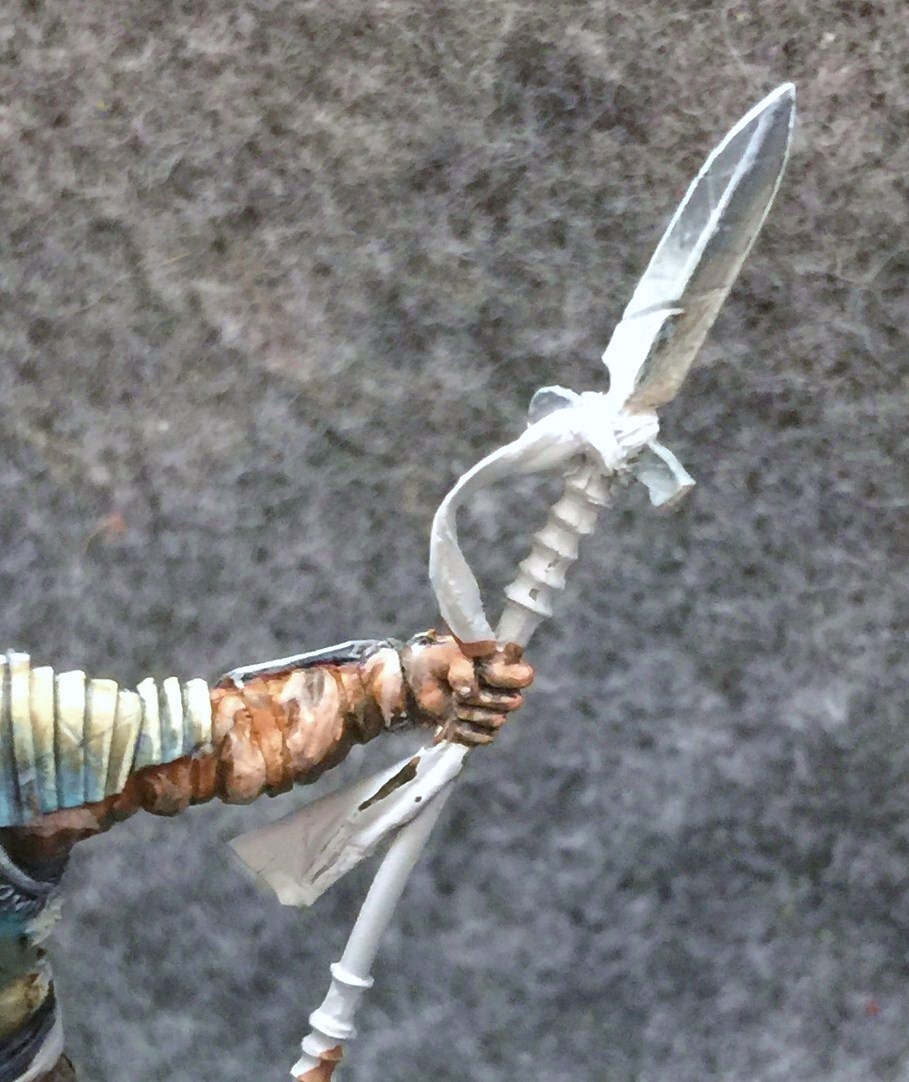
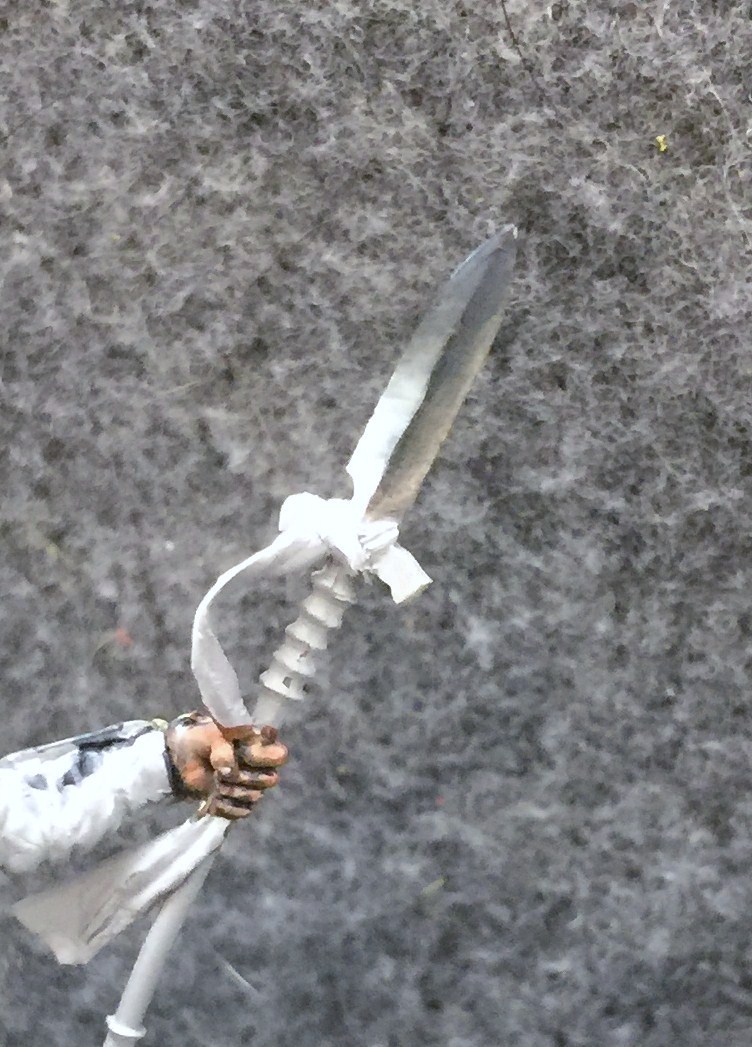
The final step with the blade is to add some dings and scratches. I use the same color scheme and technique for all the steel trim on the armor, but the blade was the easiest place to take WiP shots.
With the blade complete, I go to the padded sleeve. Here a basecoat of Bloodtracker Brown is highlighted with Menoth White Highlight, and shaded with the Ordic Olive/Black Mix I was using on different leather earlier.

Here I’ve added some more definition to it.
And here it is at the end with every little curve and fold complete. The straps are painted the same way as the skirt.
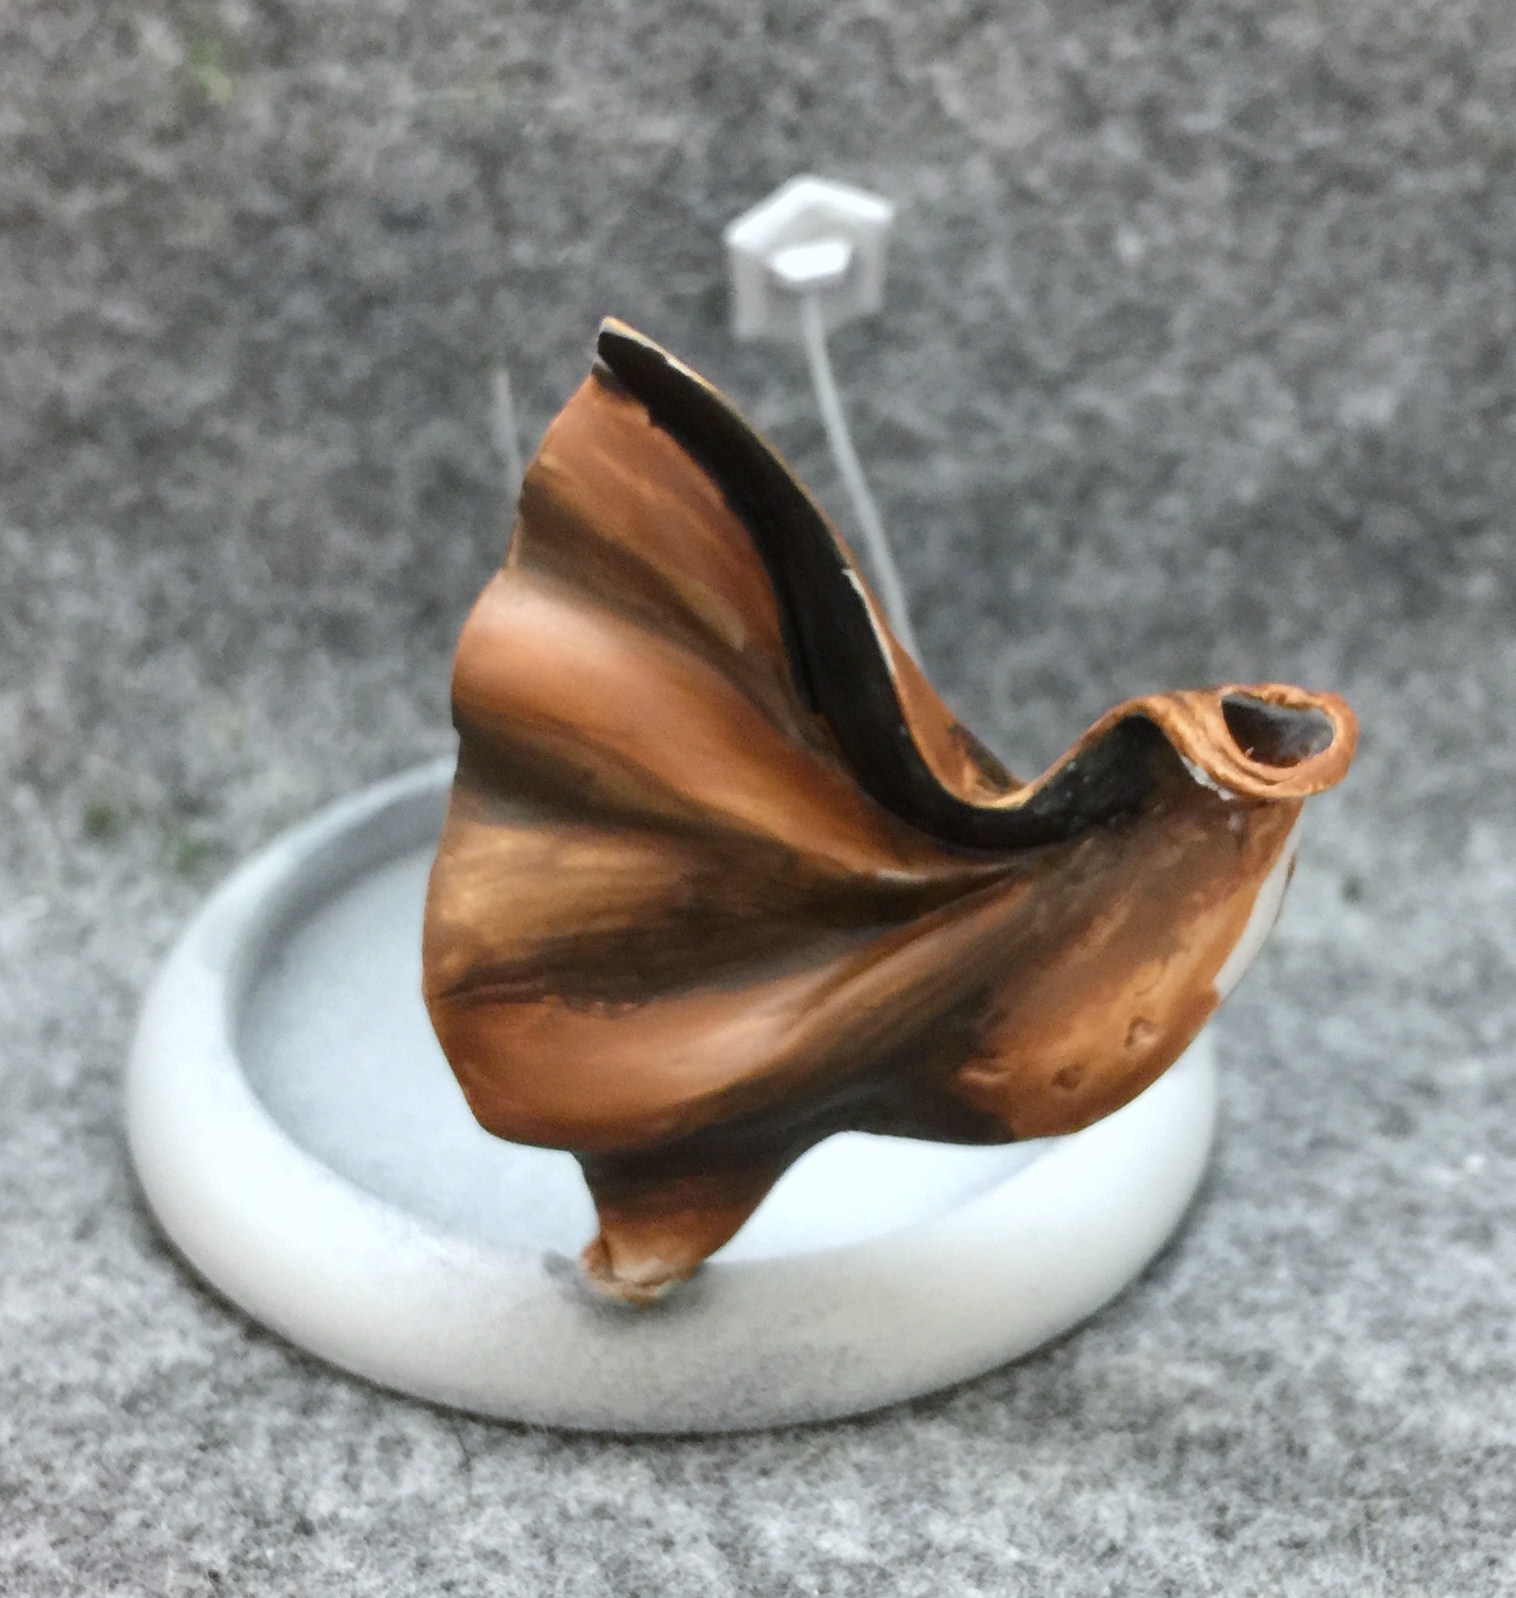
The brown cape was painted with the same three colors. Here it is during the early stages of blocking out.
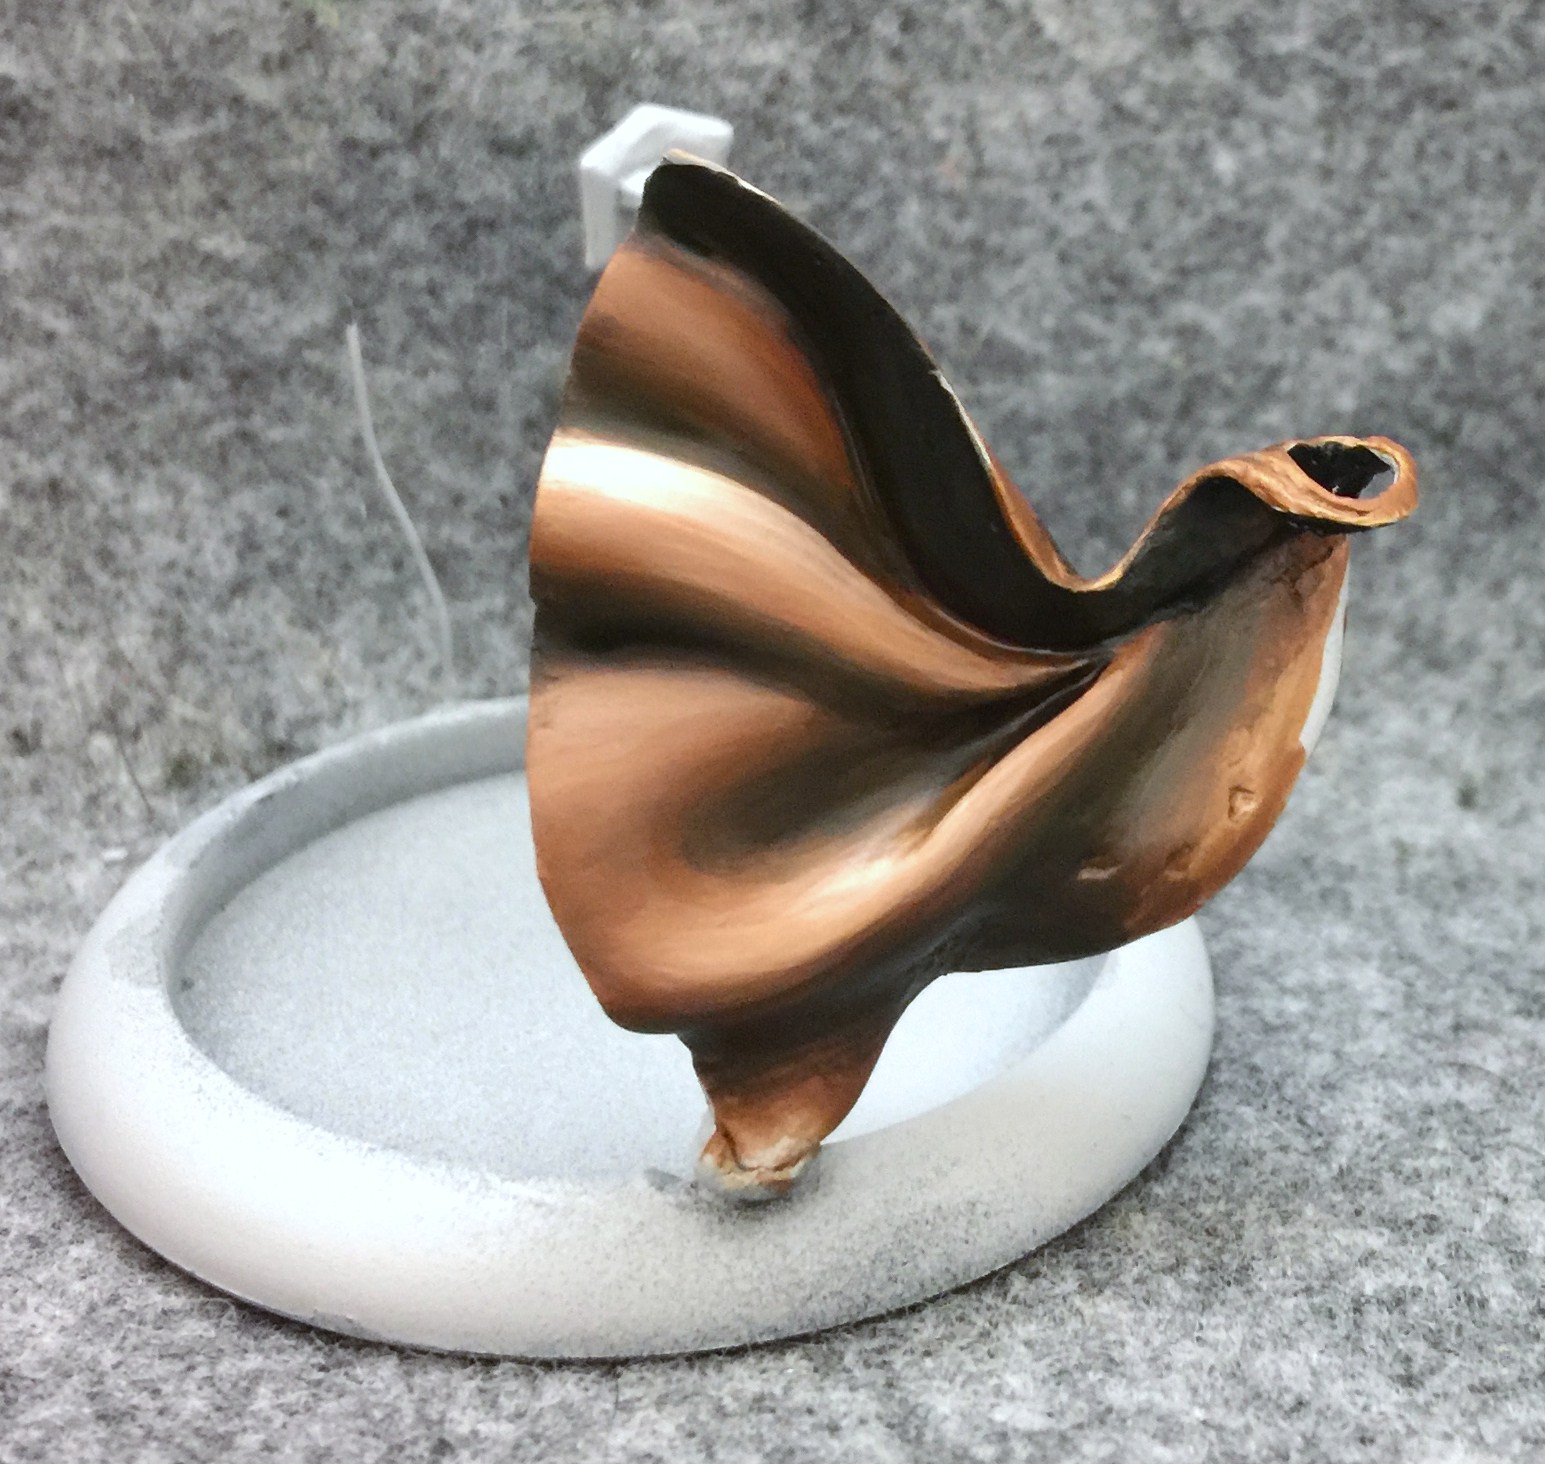
Here it is after being cleaned up quite a bit.
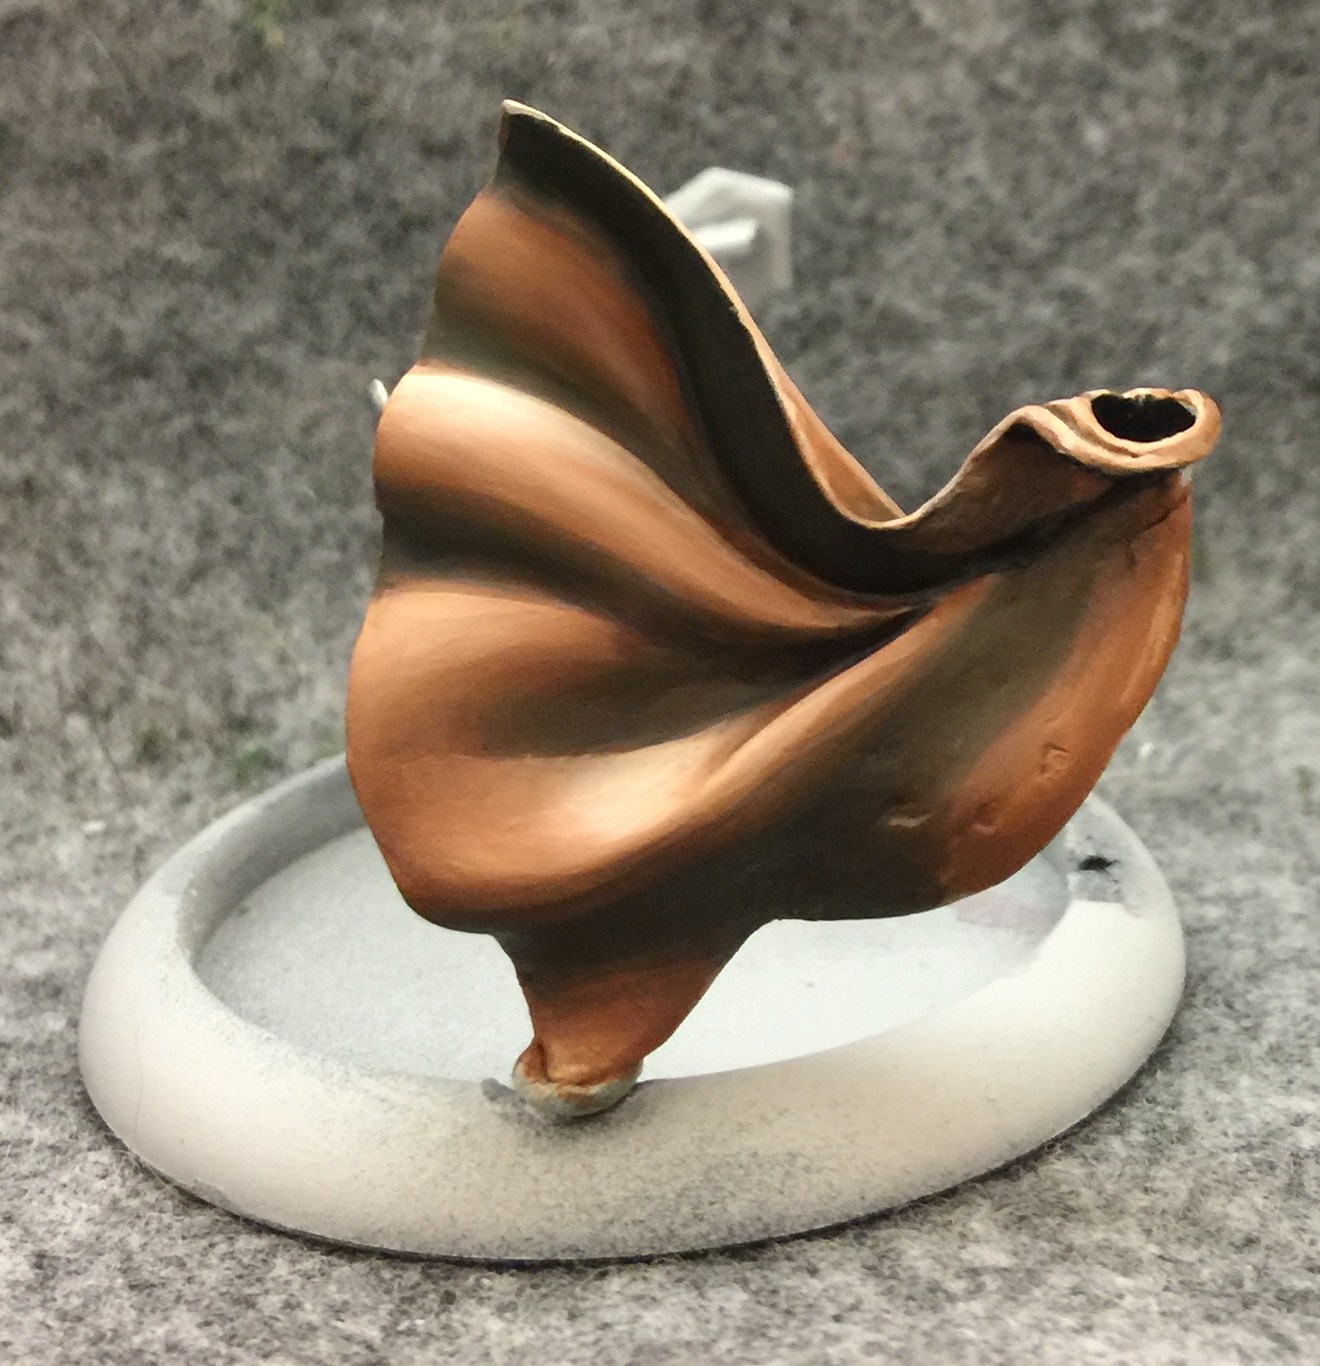
And finally complete.
Next we’re doing the gold of the spear shaft. I’ve found a mix of Sulfuric Yellow and Bloodstone make a good base for NMM gold. The mix is highlighted by adding increasing amounts of Sulfuric Yellow and Menoth White Highlight. Shading is done by adding more Bloodstone, then that same mix of Black and Olive that I keep talking about.
This part of the spear represents its own unique challenge since each individual flute needs its own highlight to really pull off that gold look.
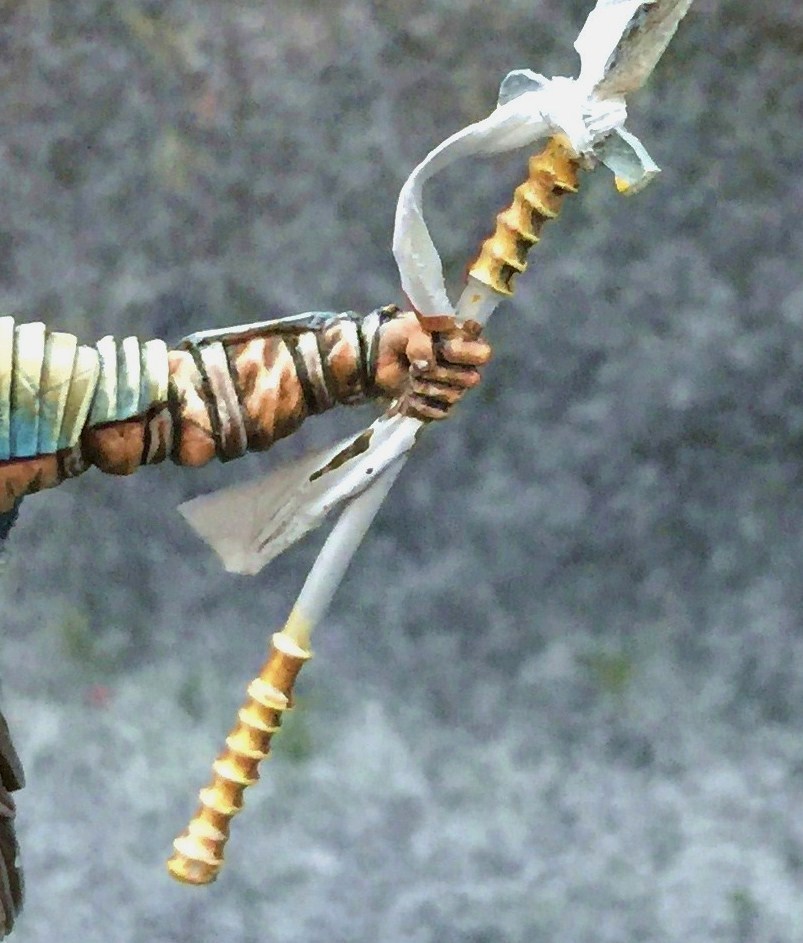
I’ve defined the area a little more here although it’s hard to tell.

At this point it was nearly done. It was only after I took this picture that I realized I would need to clean up some of those errant bits of shadow on the top section. Unfortunately it was hard to get WiP shots of this step, since the camera didn’t really like focusing on that narrow strip of rod.
Not much left now. I chose to do a few areas of the leather in a more blue/black color scheme. These areas were based with the navy mix, then highlighted with increasing amounts of Frostbite. Shading was added with Black mixed with some Bloodstone and Red ink to give it a warmer tone and provide contrast with the cool blue. As with the skirt, I treat all the strips as one object in this early stage to give them consistent highlighting.
Then each strip receives a thin line of highlight before they are all picked out with individual lines of the same red/black mix.
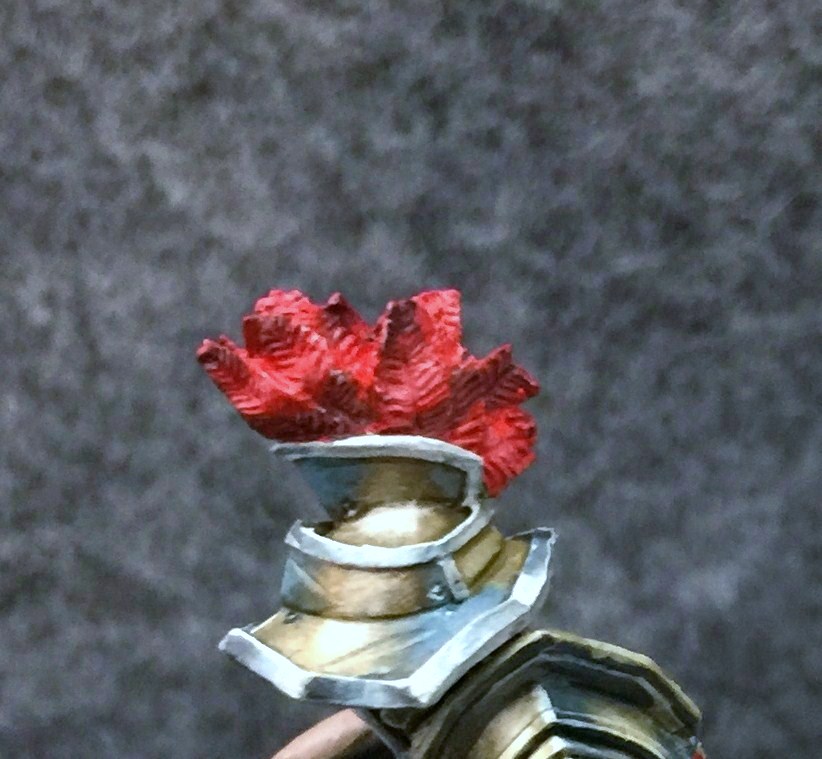
The final step are these red plumes. Once again I start by treating each plume as it’s own piece, ignoring the individual barbs. I use a basecoat of Khador Red Base shaded with Coal Black, and Highlighted with Ryn Flesh.
With the shape of each plume defined, I can start focusing on the barbs. I used about three different tones on the barbs, differing based on the intensity of the highlight around them. Pure Ryn Flesh is used on the brightest barbs, while pure Khador Red base was used on the barbs in the shaded areas. A mix of the two colors was used on the barbs in the areas between the two extremes.
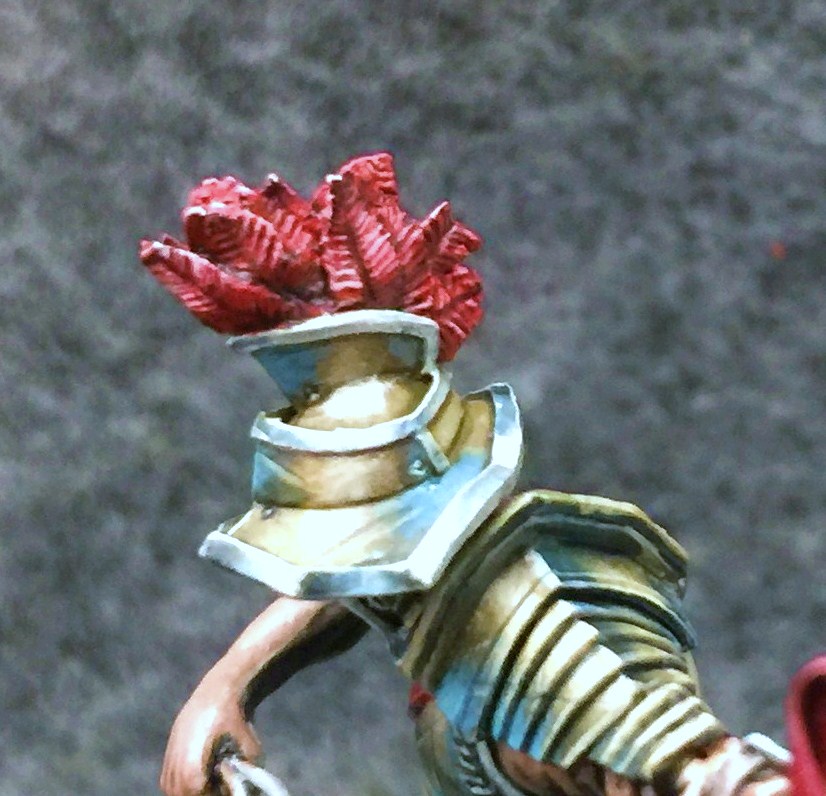
The last thing I did was to apply a coat of P3 Red Ink to the feathers. P3 red ink works a little differently from other inks you may have used. It increases the intensity of a color rather than adding depth and shading as most inks do. Honestly I think it was a little better without the ink, but I didn’t dislike the change enough to redo the whole thing.
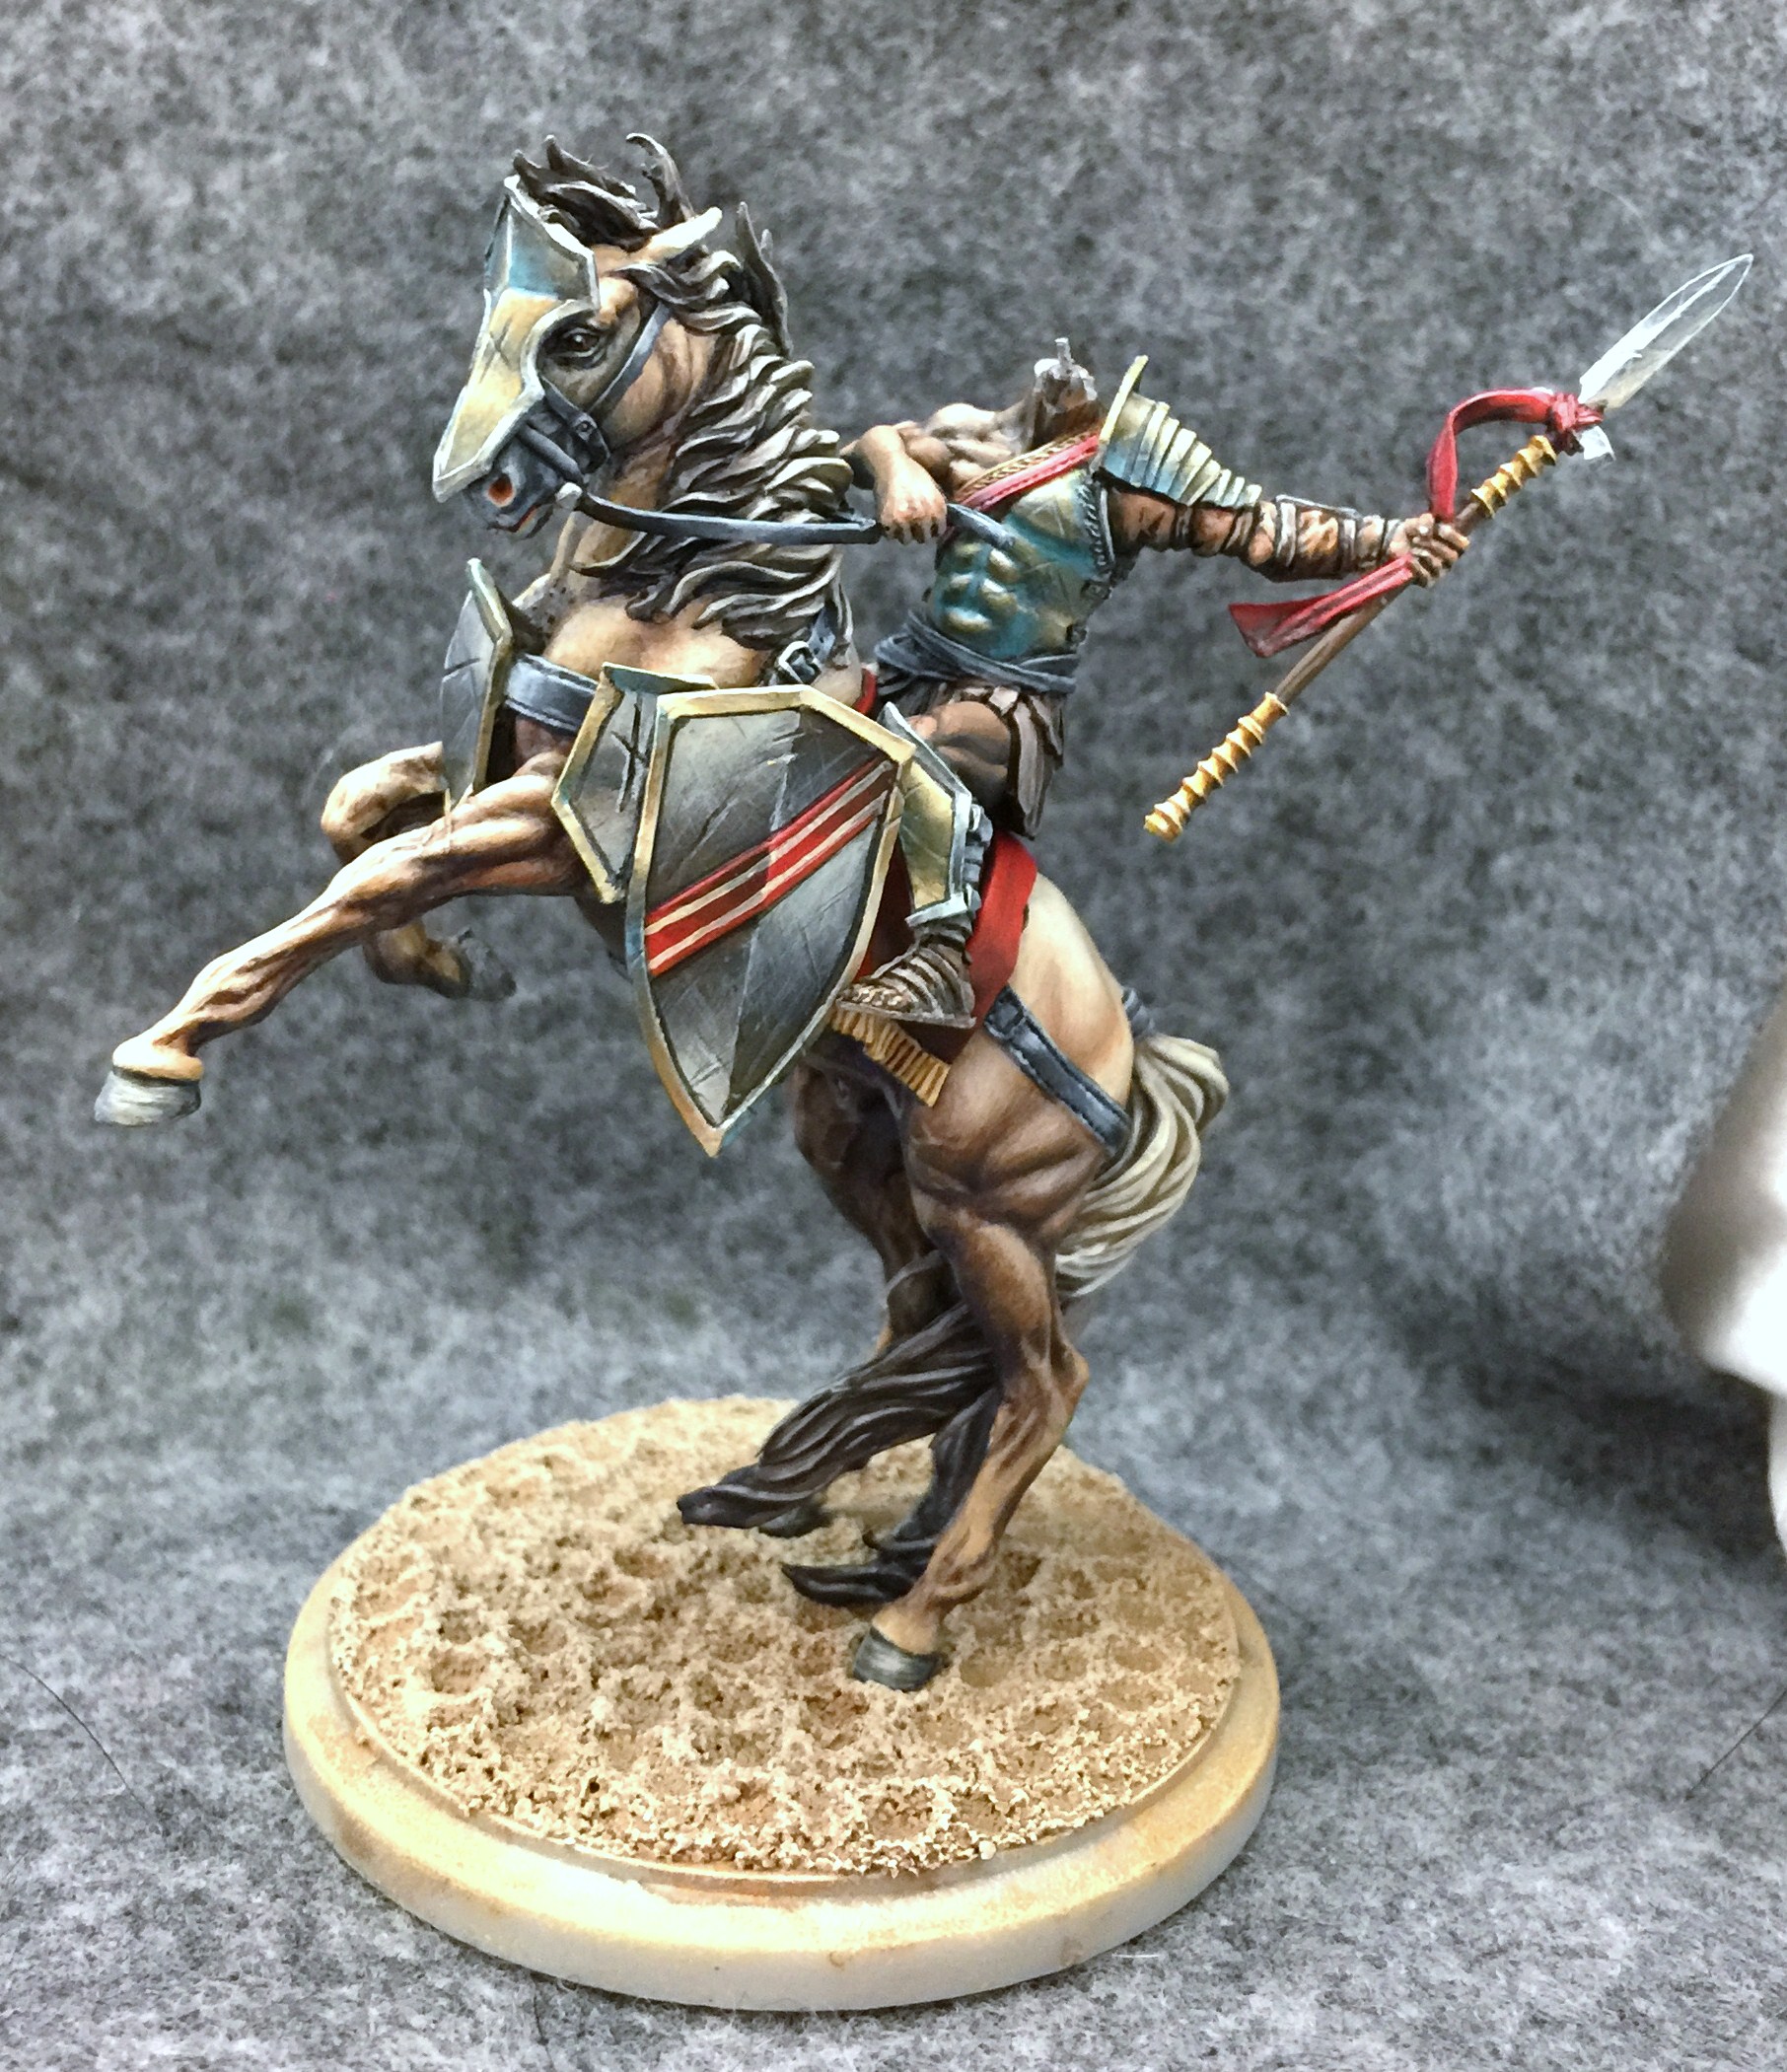
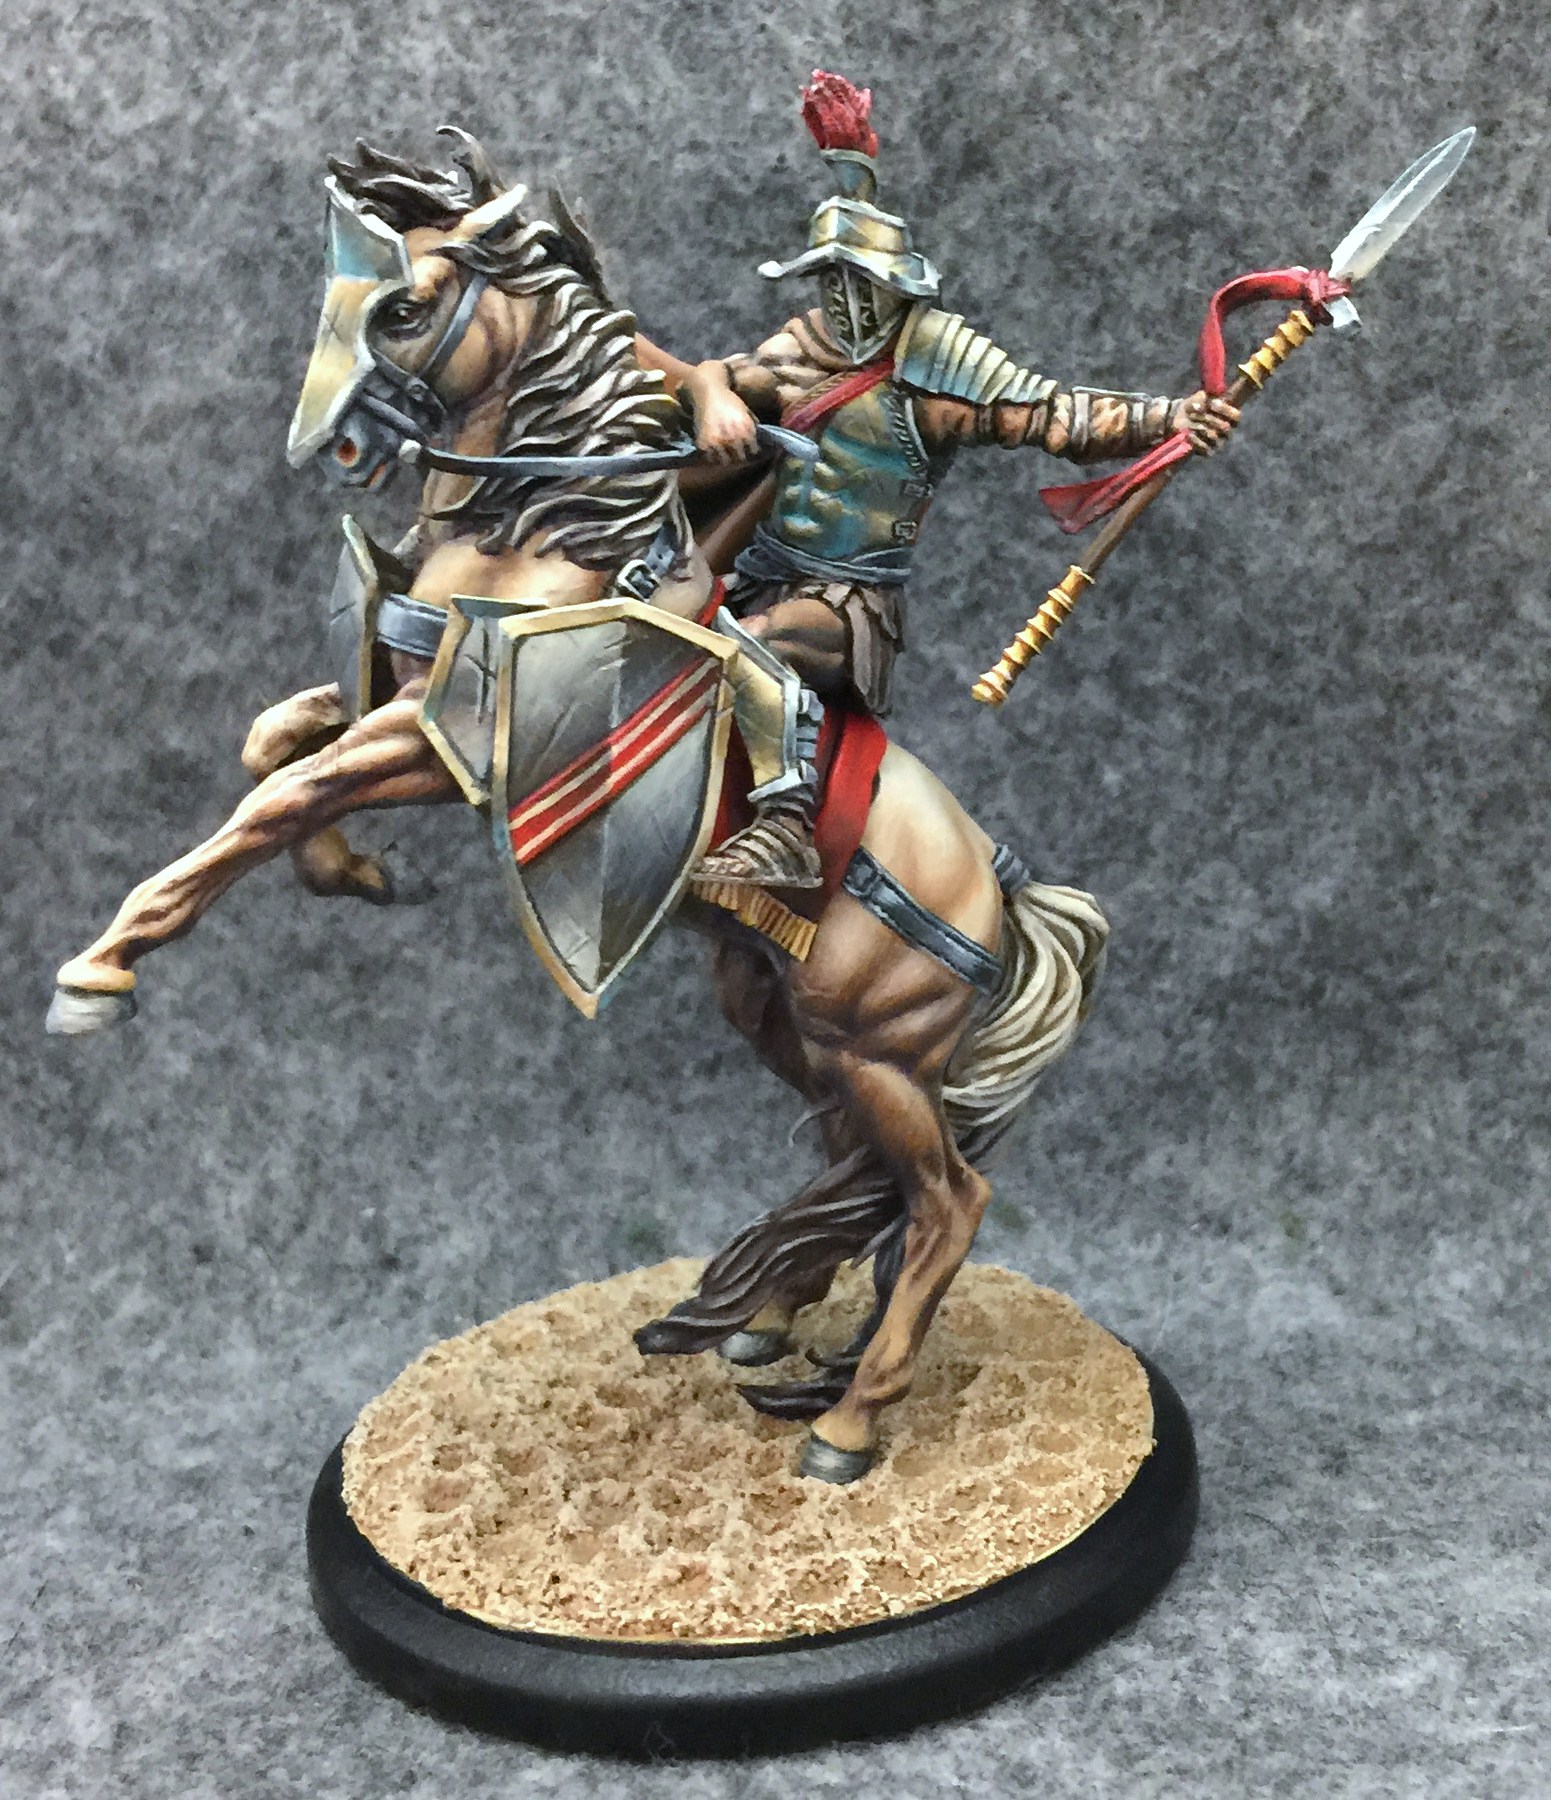
With nearly all the pieces complete, it was time to attach Ywain to his loyal mount. There was still one last leather strip to glue in. You can see it connecting Ywain’s arm to Dextarius’ bridle. Once it was glued in place I painted it to match the other leather strips on Dextarius.
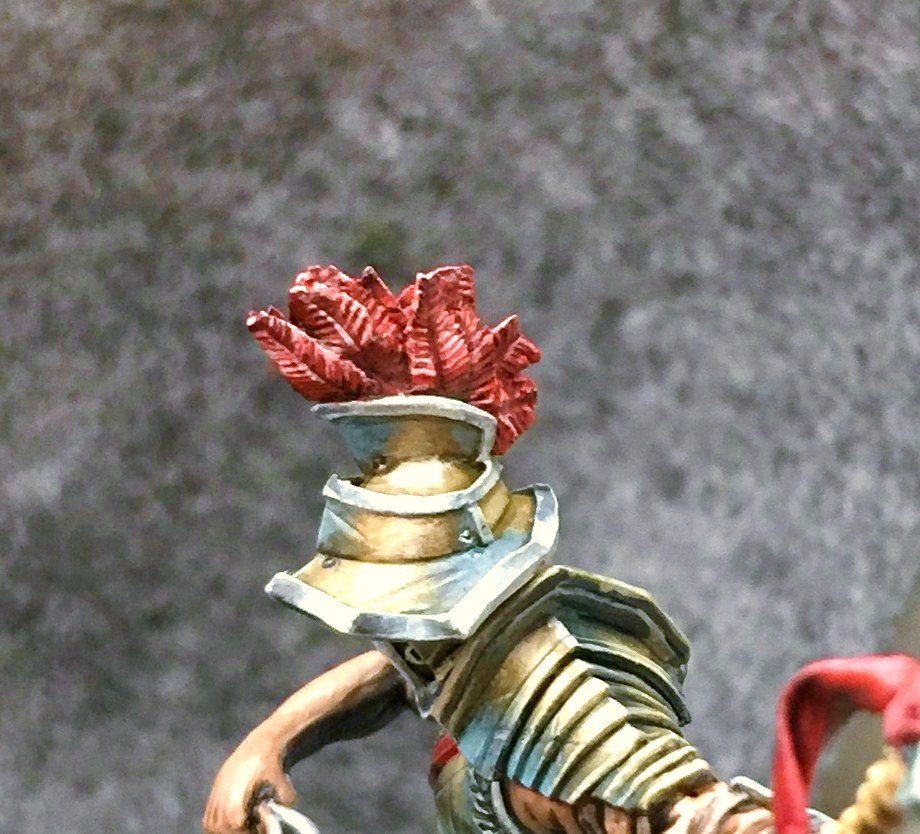
Then all that was left was to slide Ywain’s cape over his neck, and glue his head in place.
~Hope you enjoyed the article. What do you think of this Gladiator and his proud mount?