Knight Models Marvel Universe: Painting Starlord


Starlord man… Legendary outlaw?
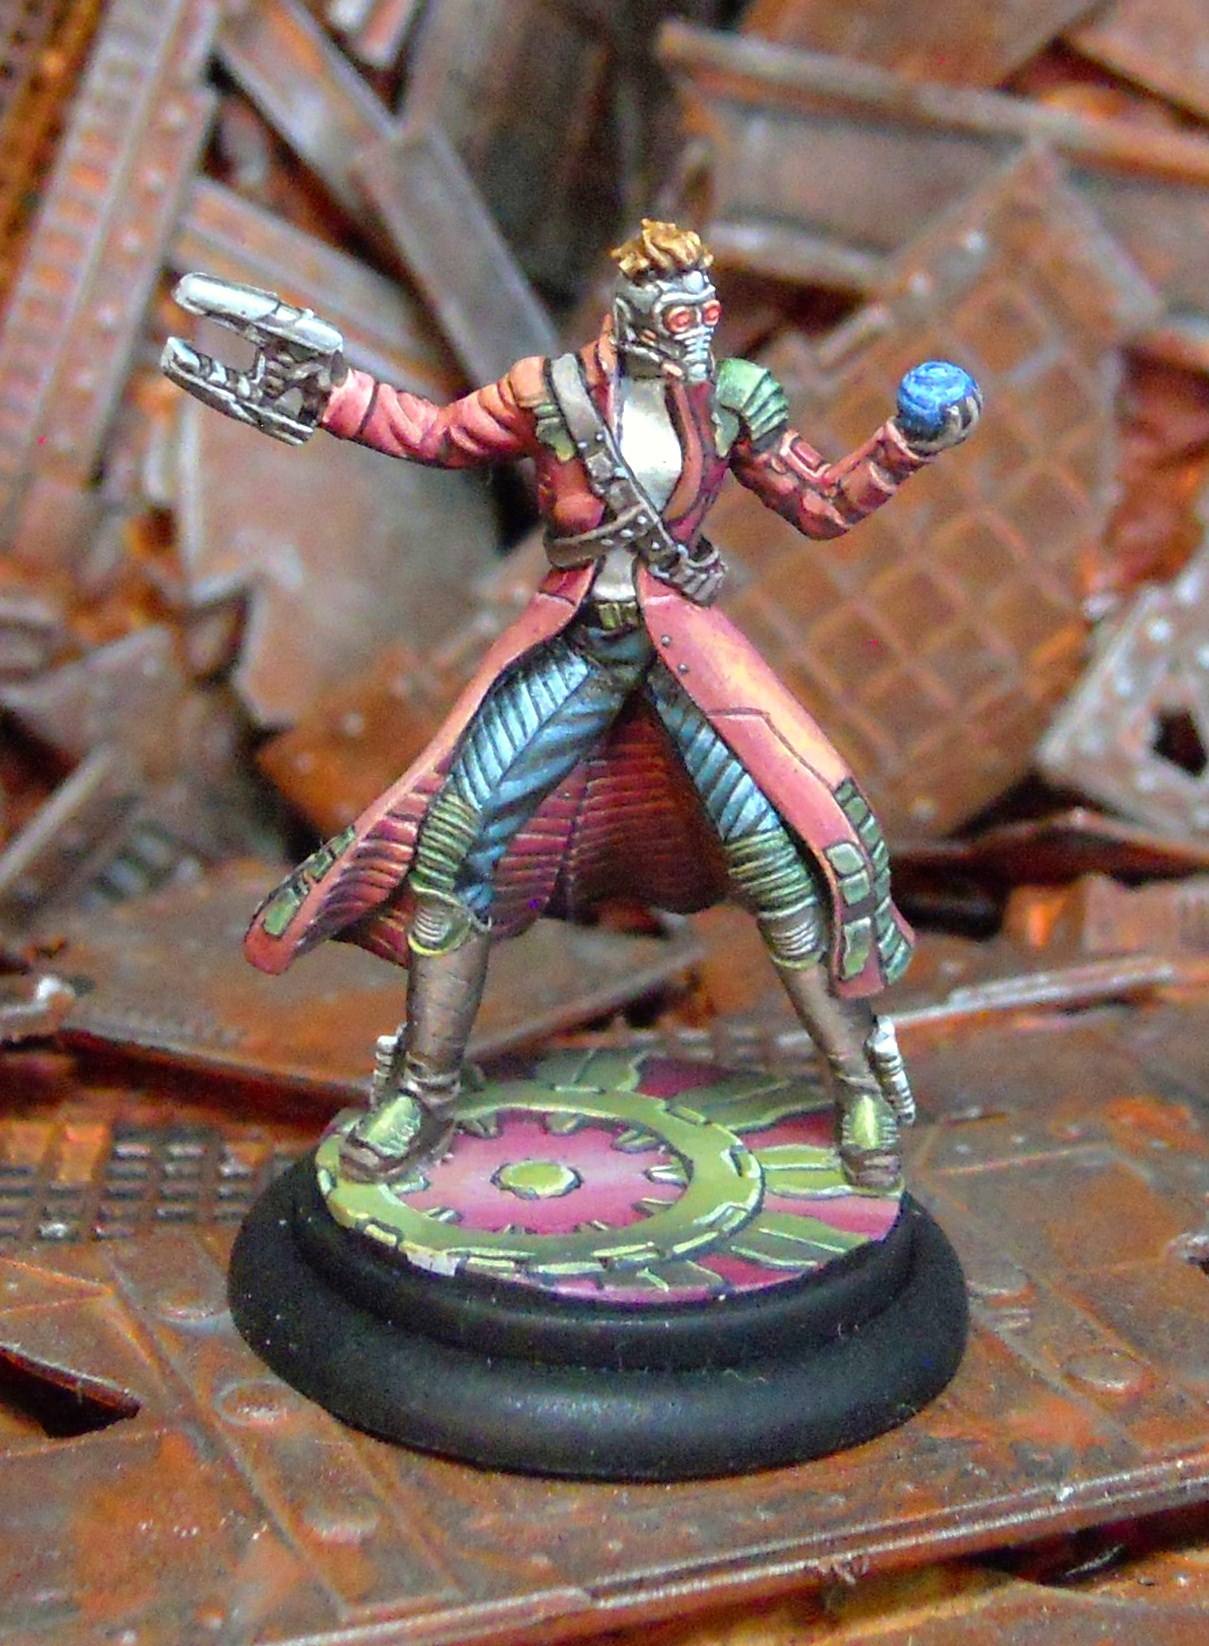
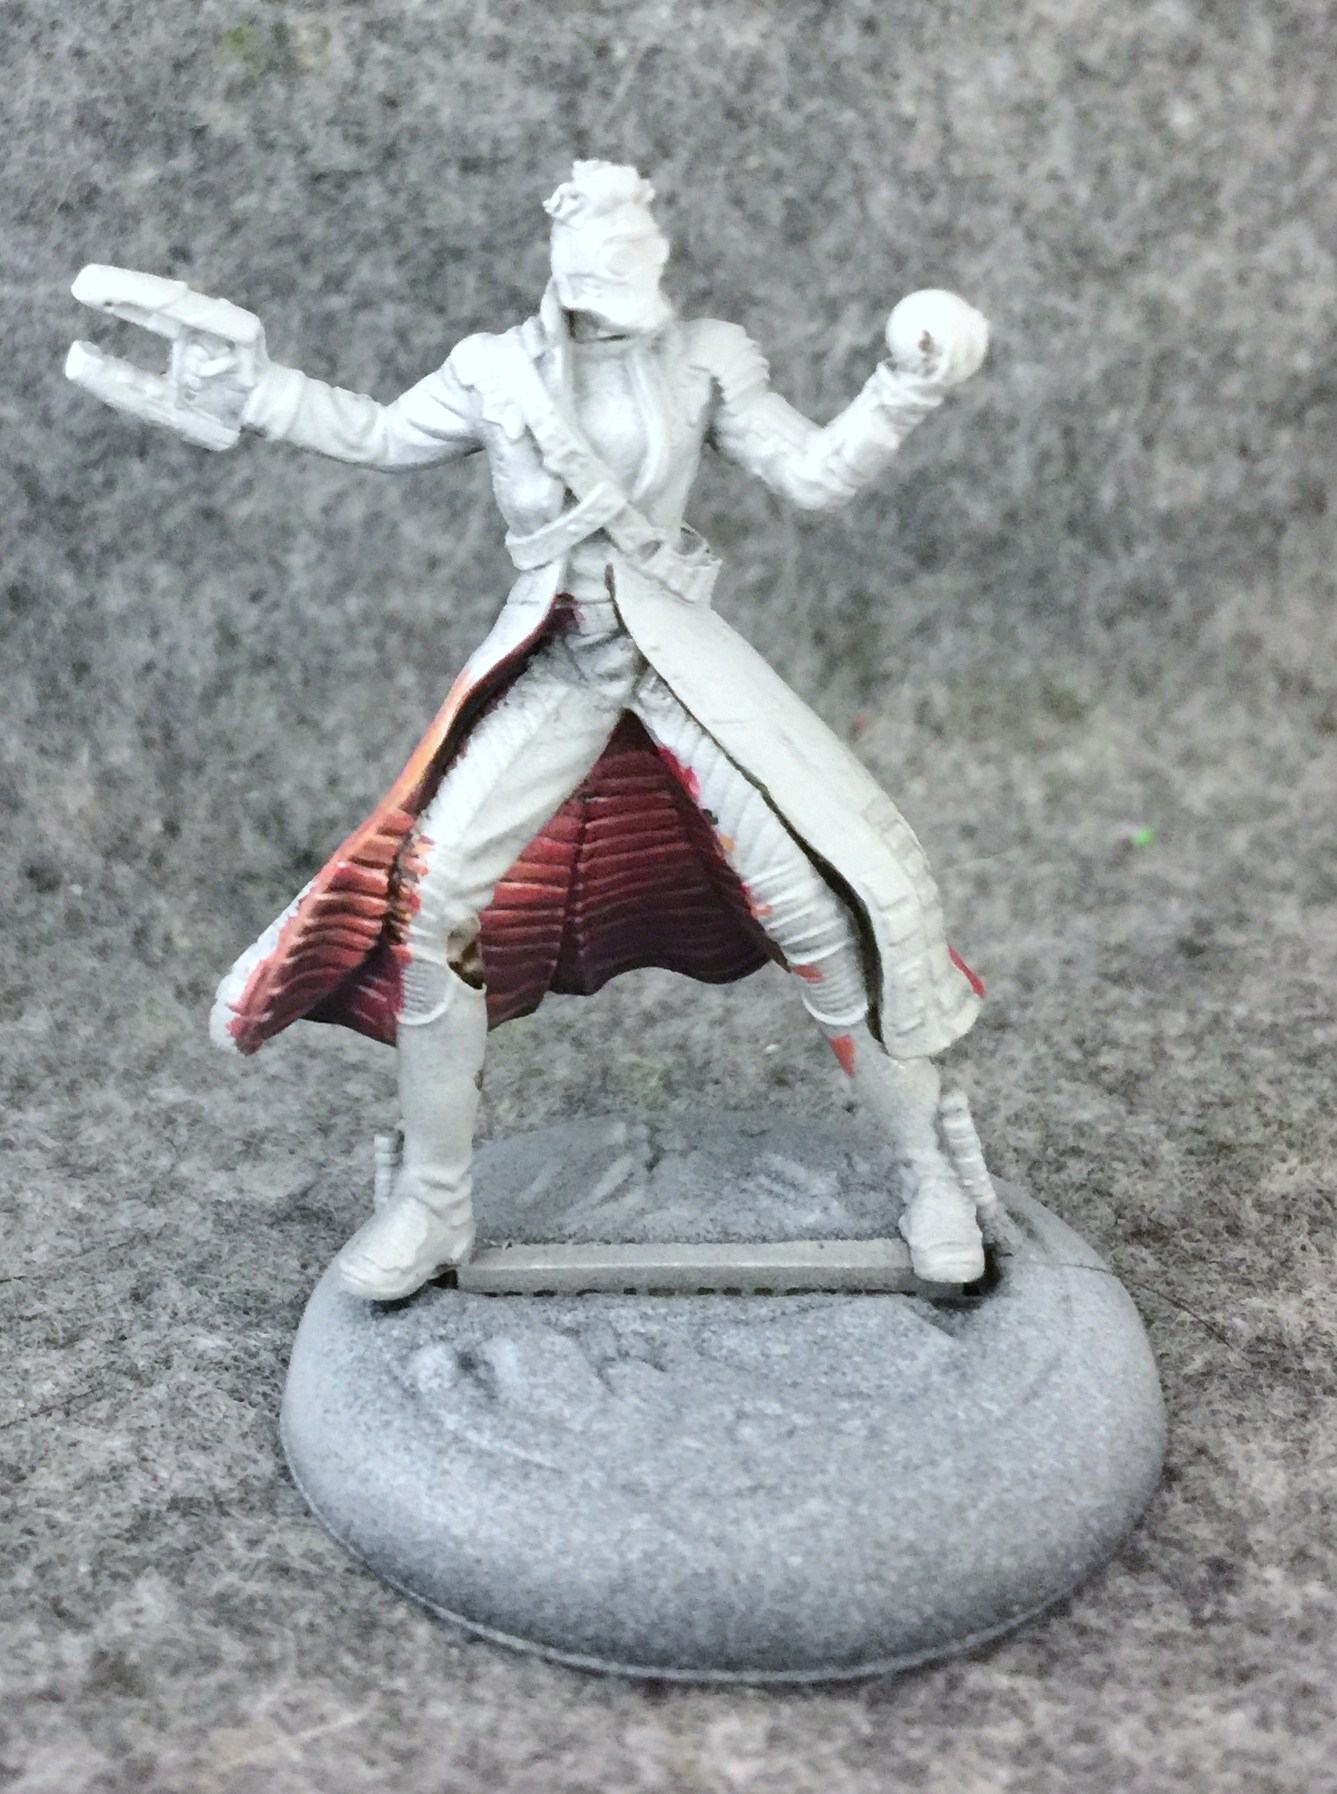
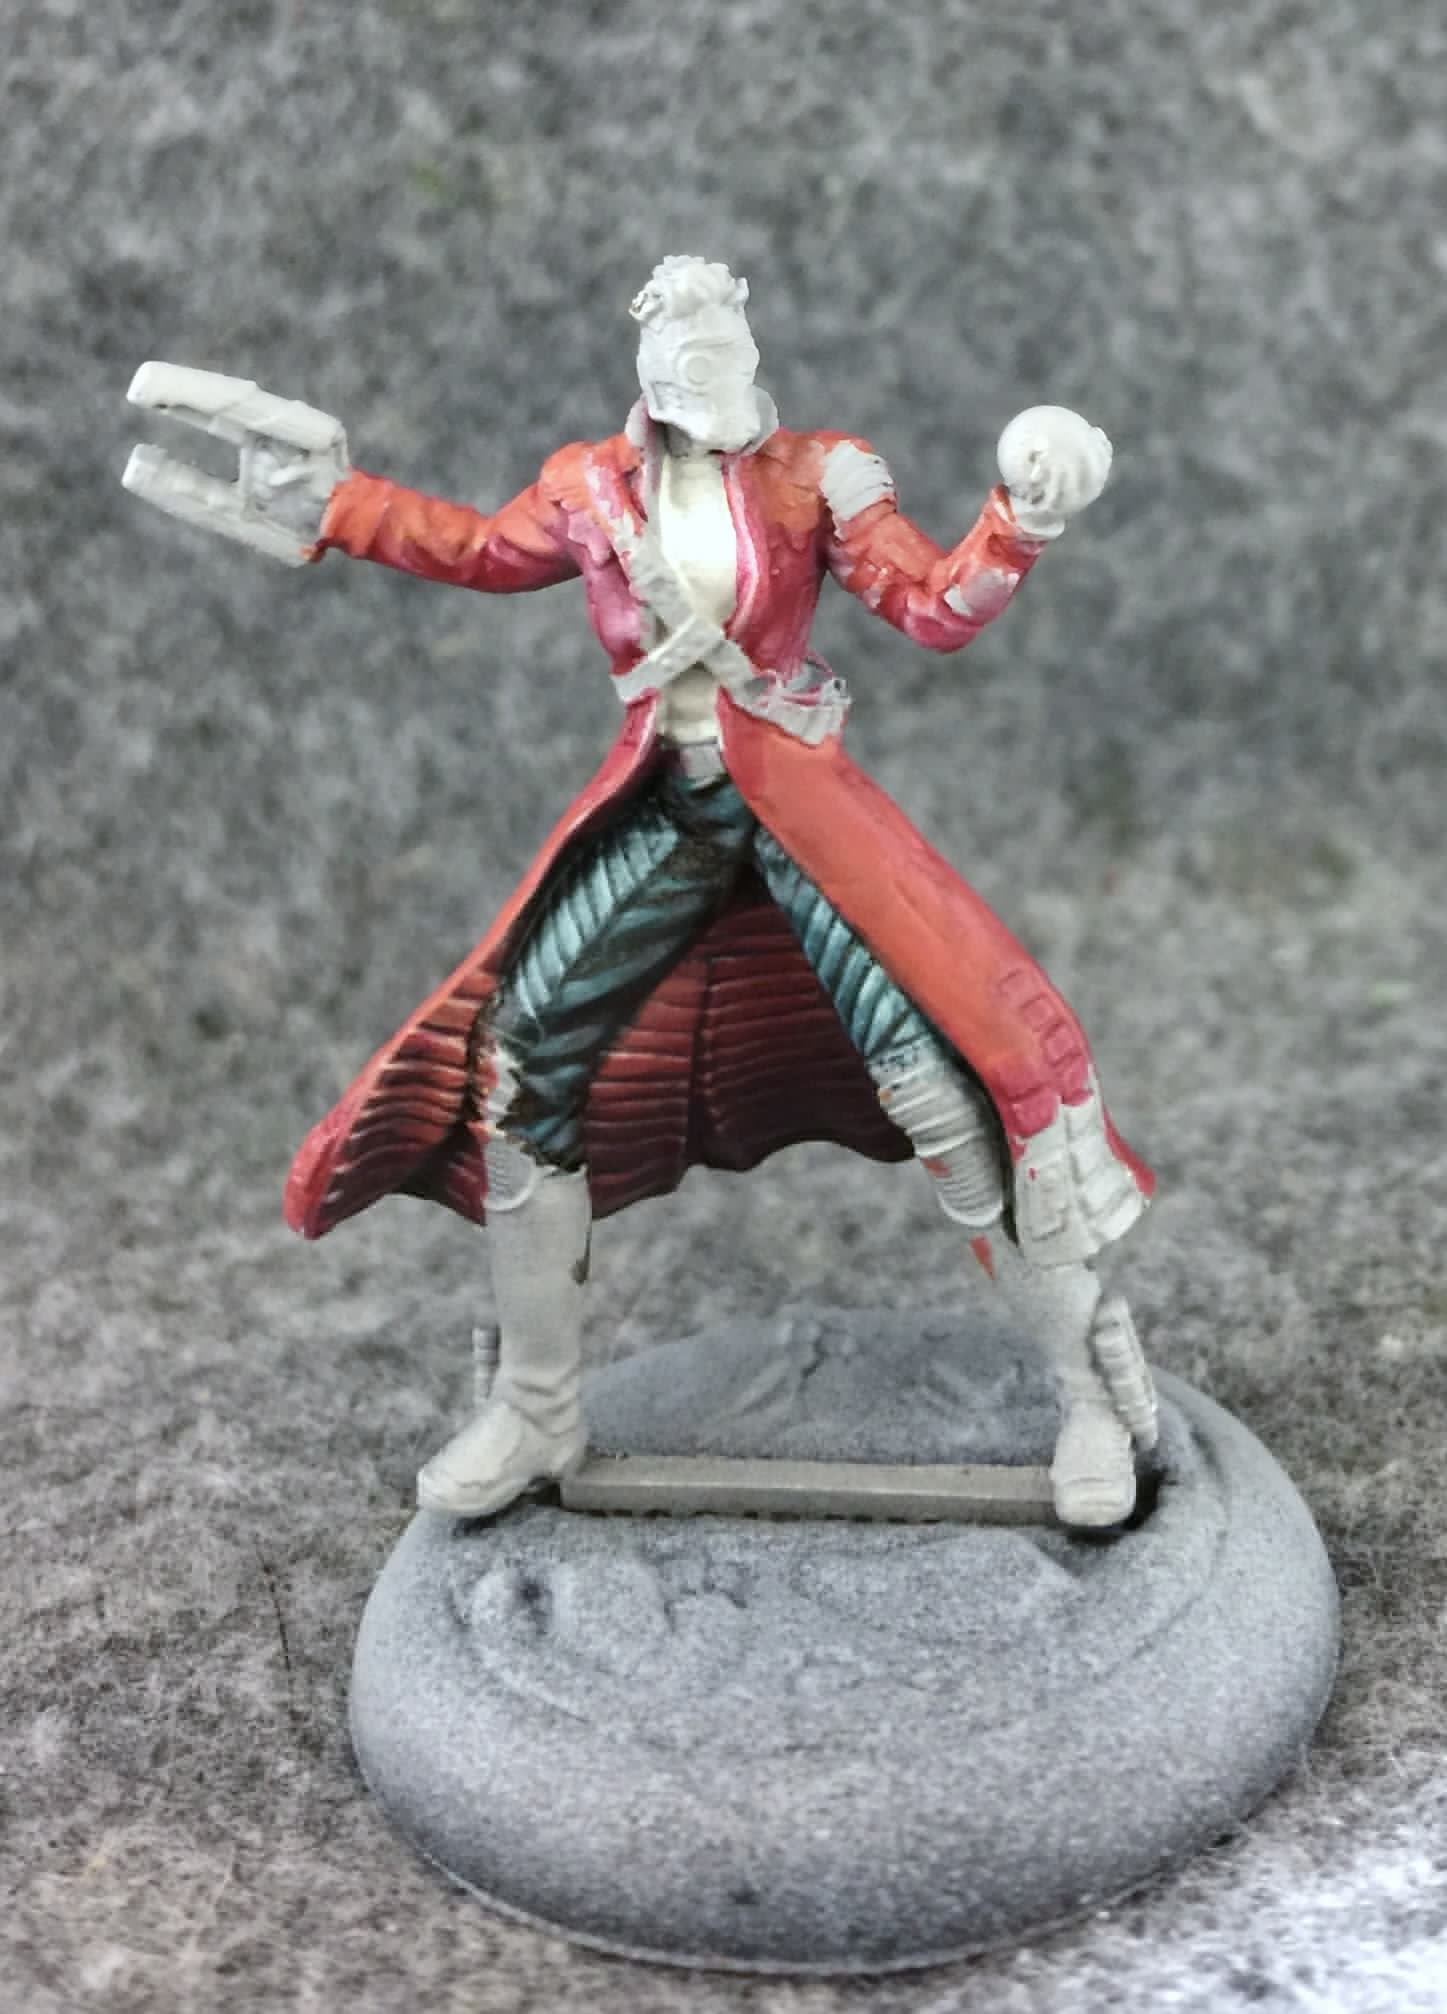
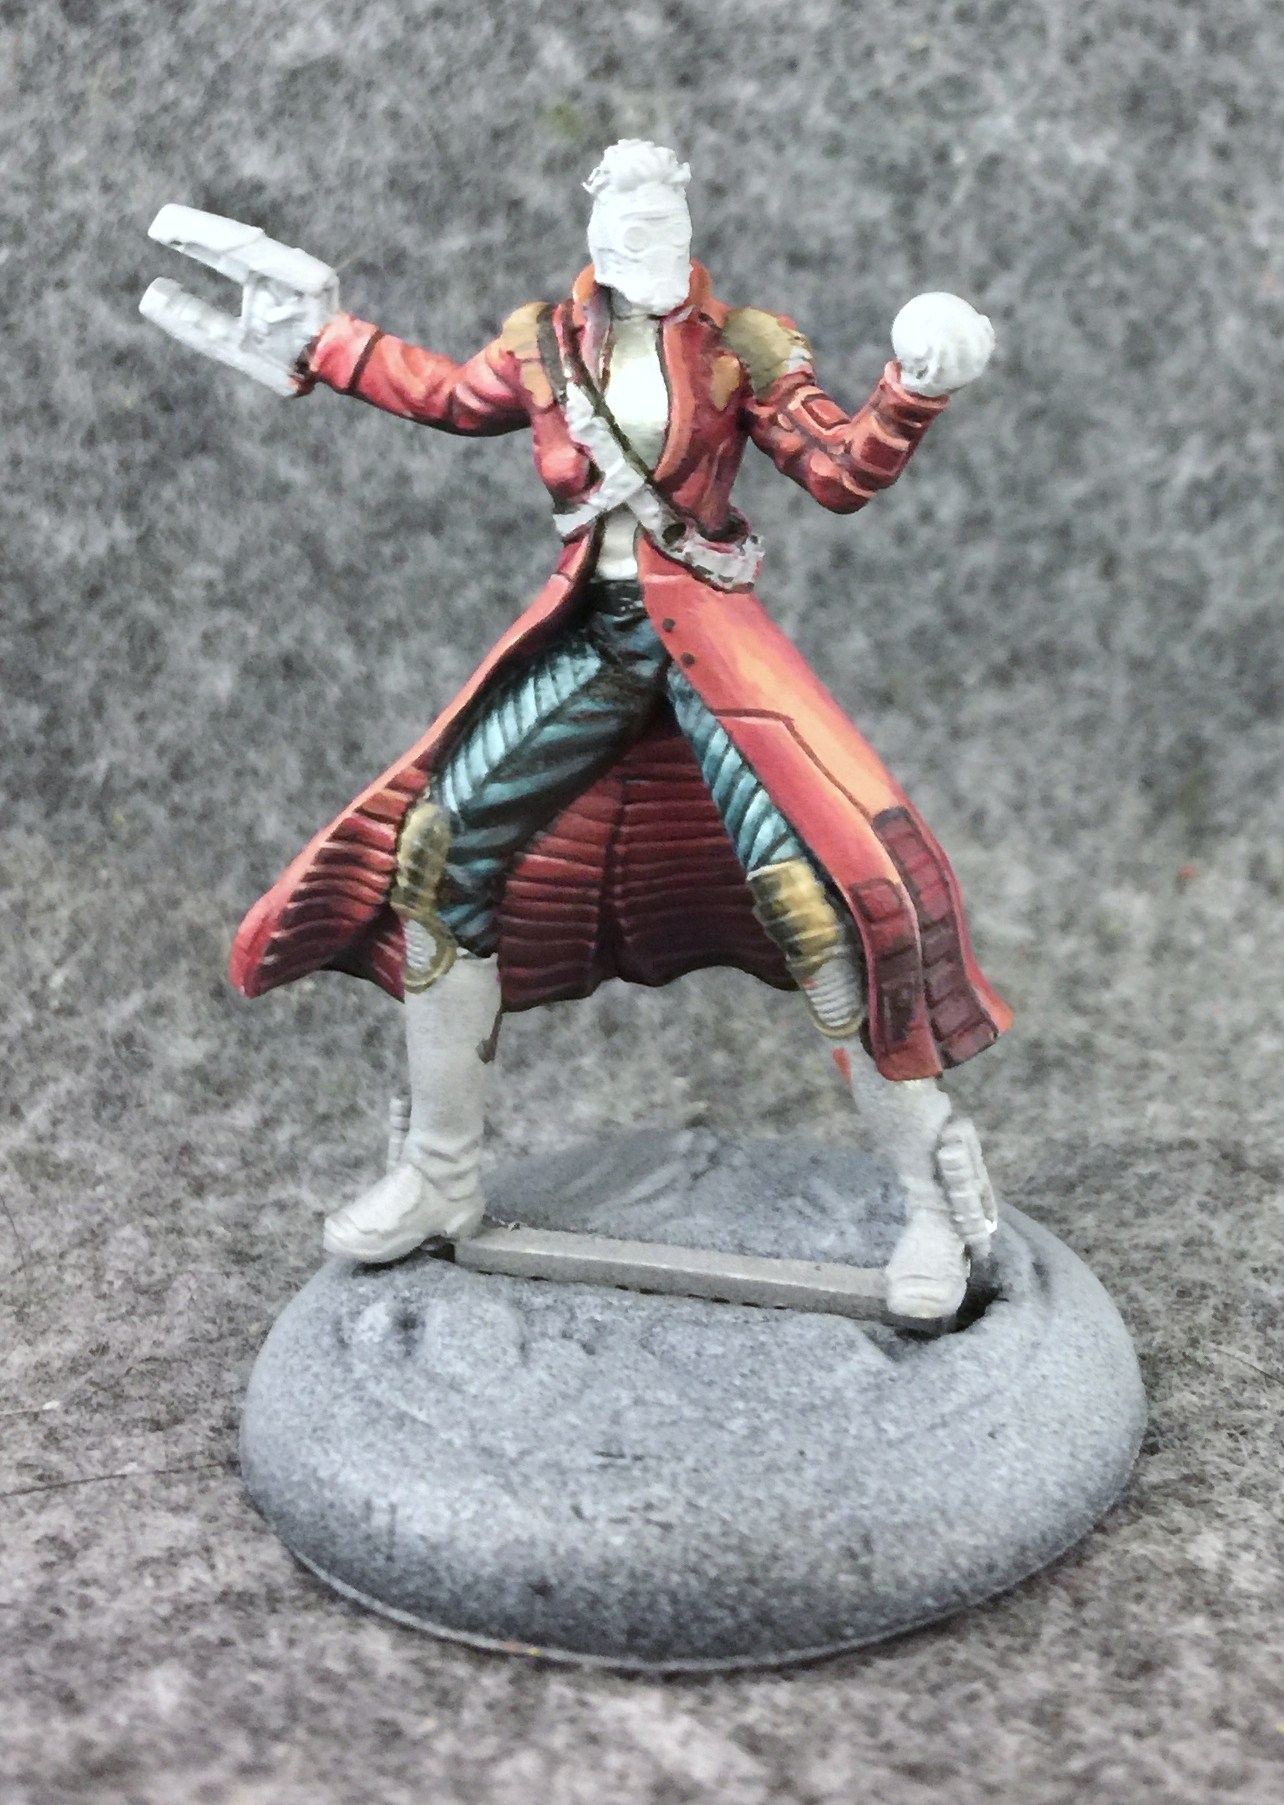
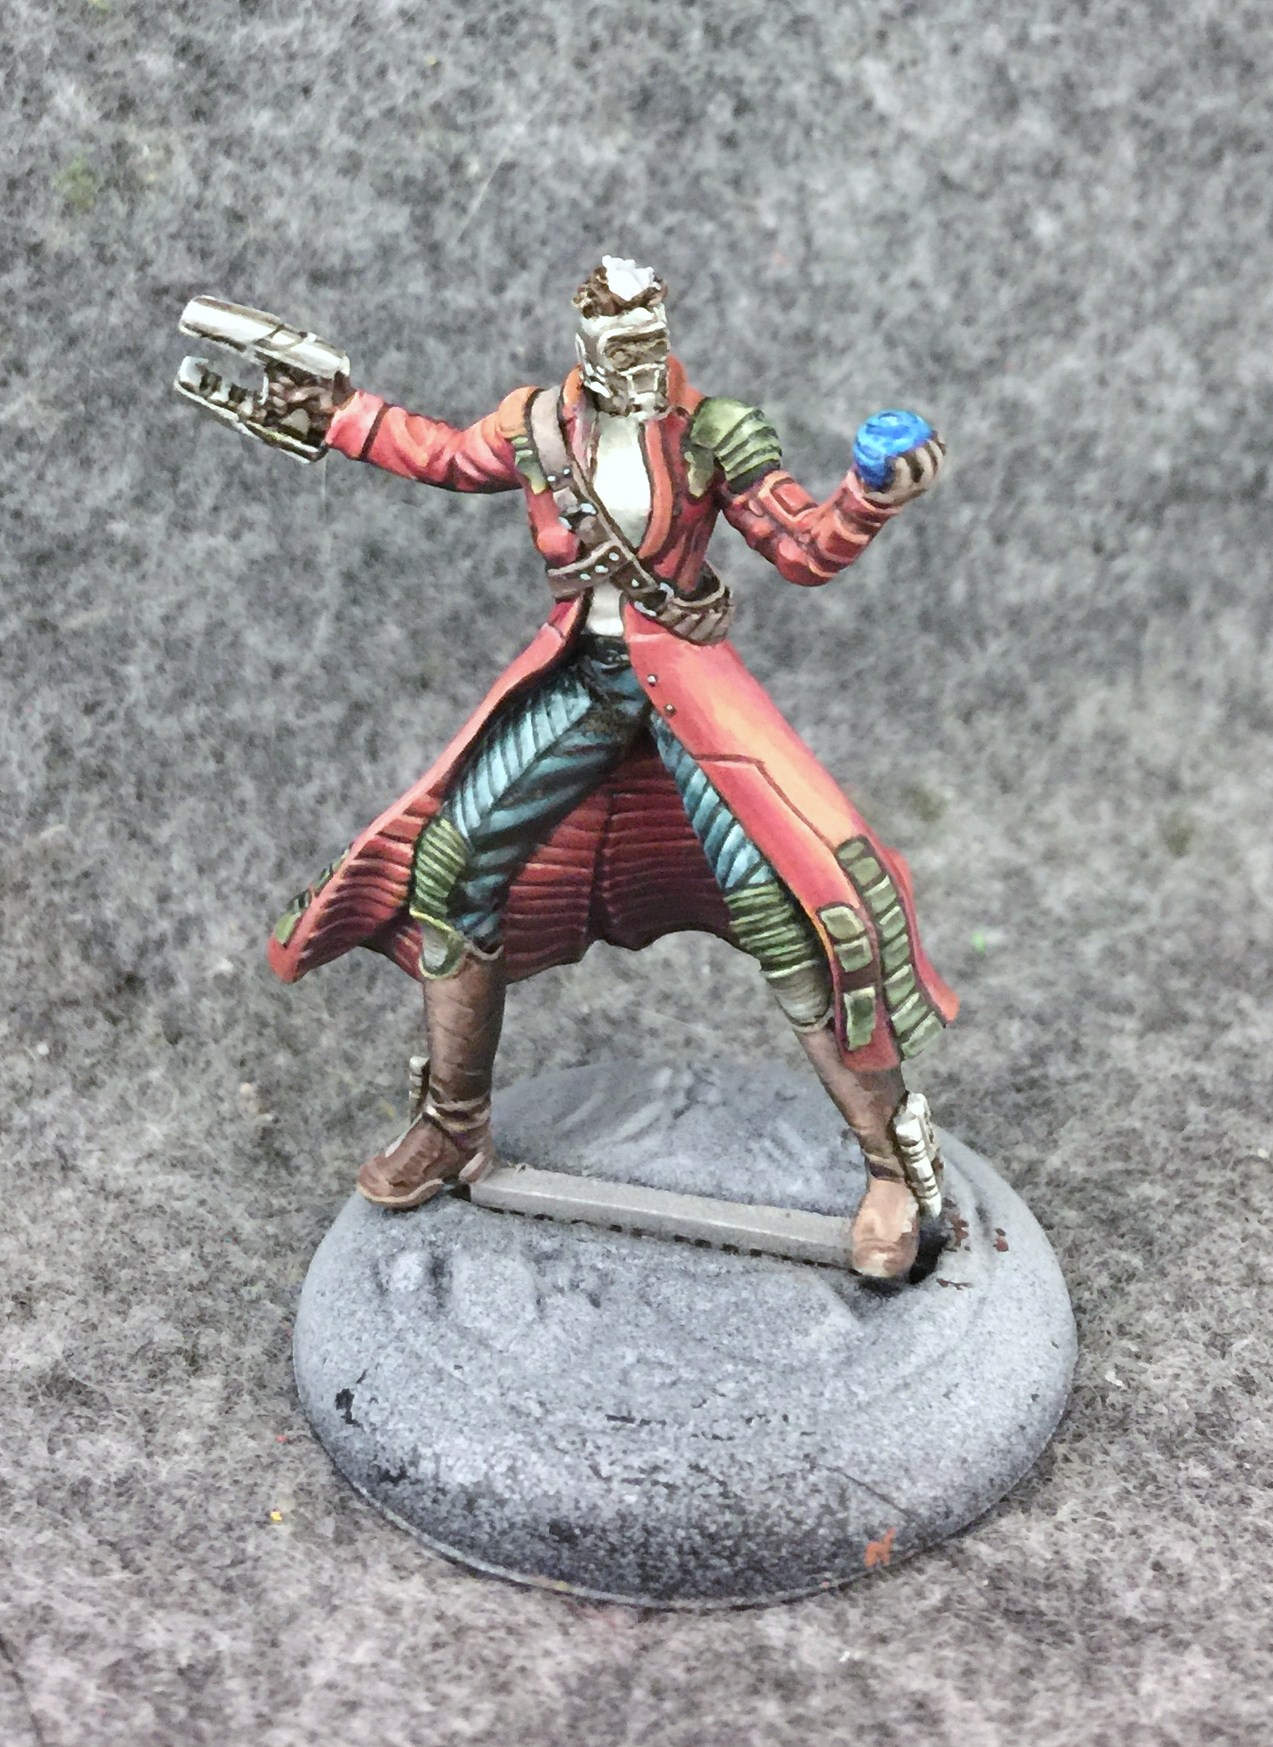
Here’s Starlord, freshly primed and ready for painting. I never expected to enjoy the Marvel Universe Miniatures Game from Knight models as much as I do. It had been years since I’d read a super hero comic, but minutes in to my first demo I was hooked. Since late last December this has been the only system I’ve been dabbling in. While my enthusiasm cannot be overstated I feel compelled to offer one warning to any gamers interested in swapping out their power armor for spandex. These models are all metal and they can be difficult to clean. Fans of the system are only too happy to devote the extra time required to strip these heroes of excess flash, but I felt compelled to deliver the warning nonetheless.

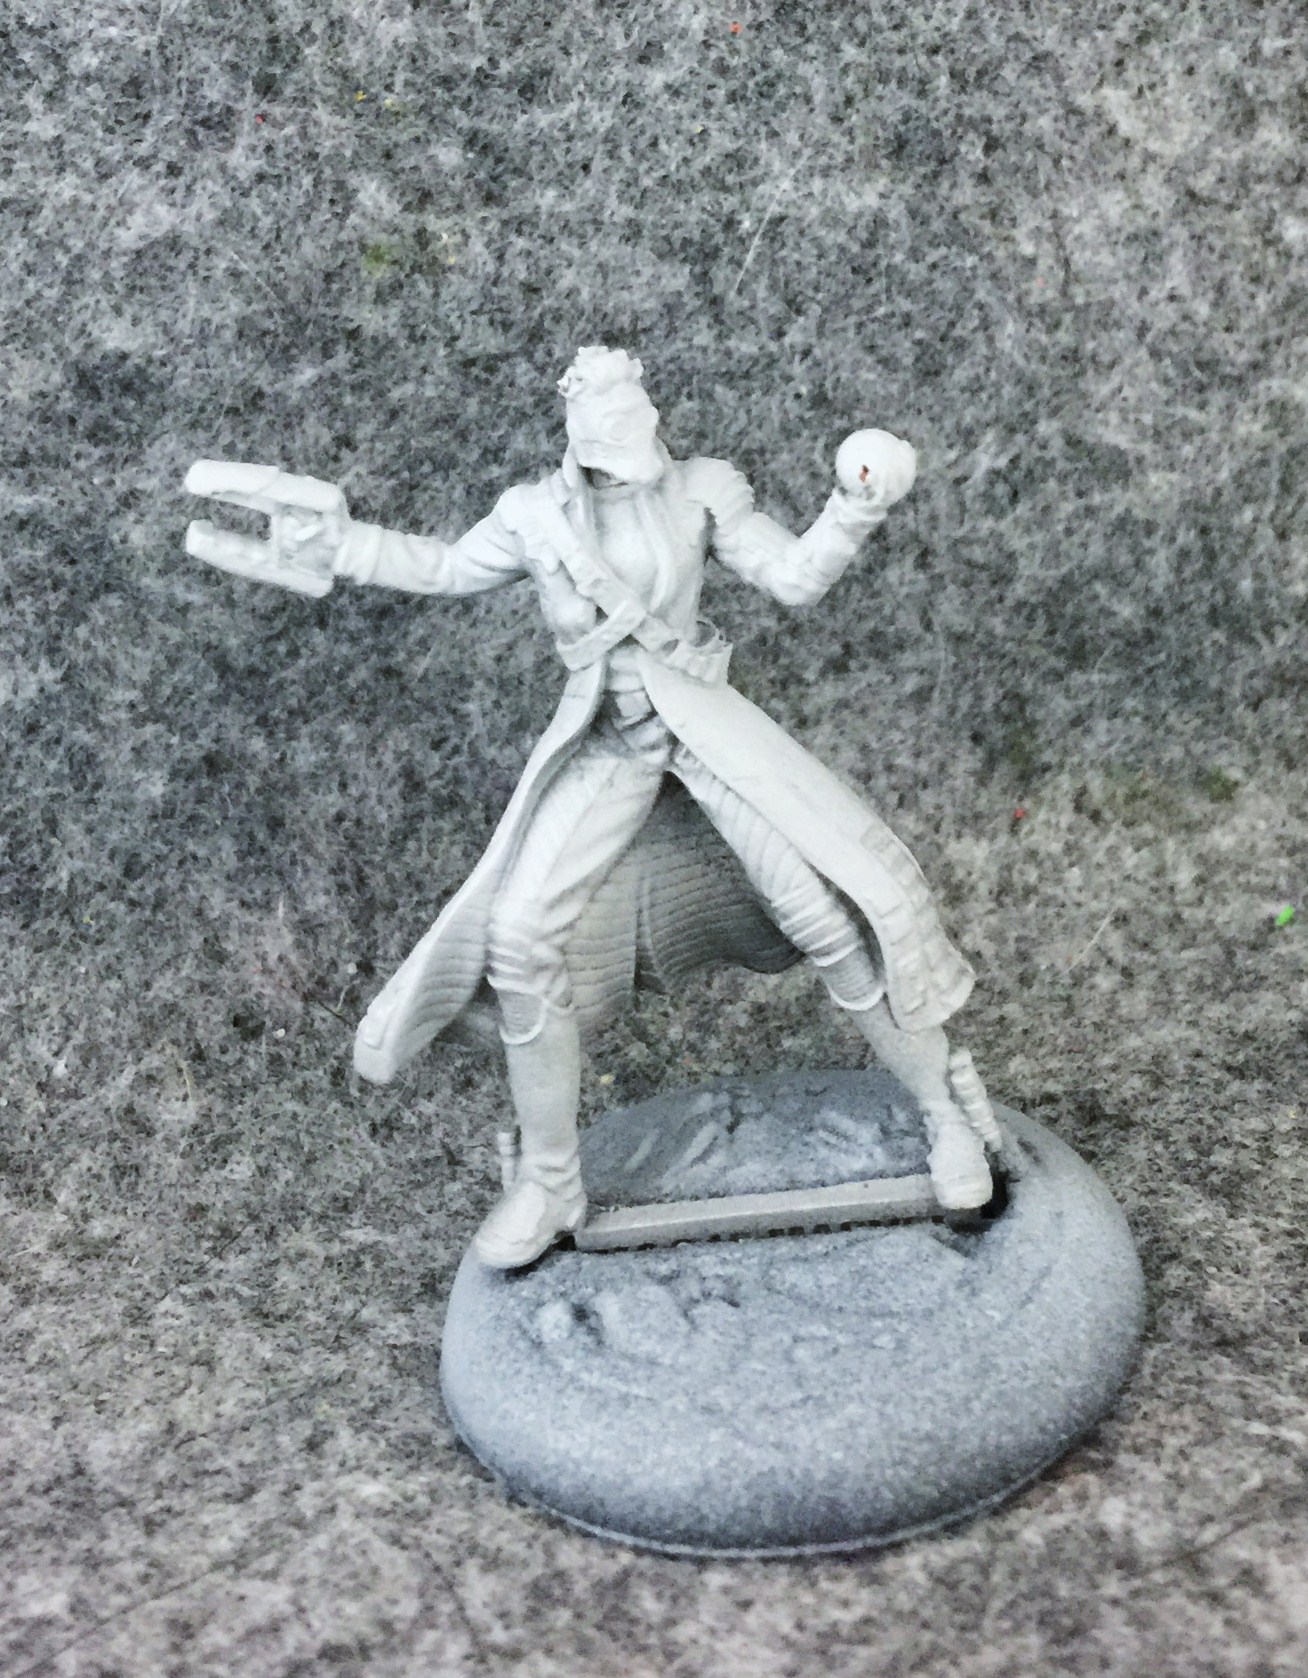
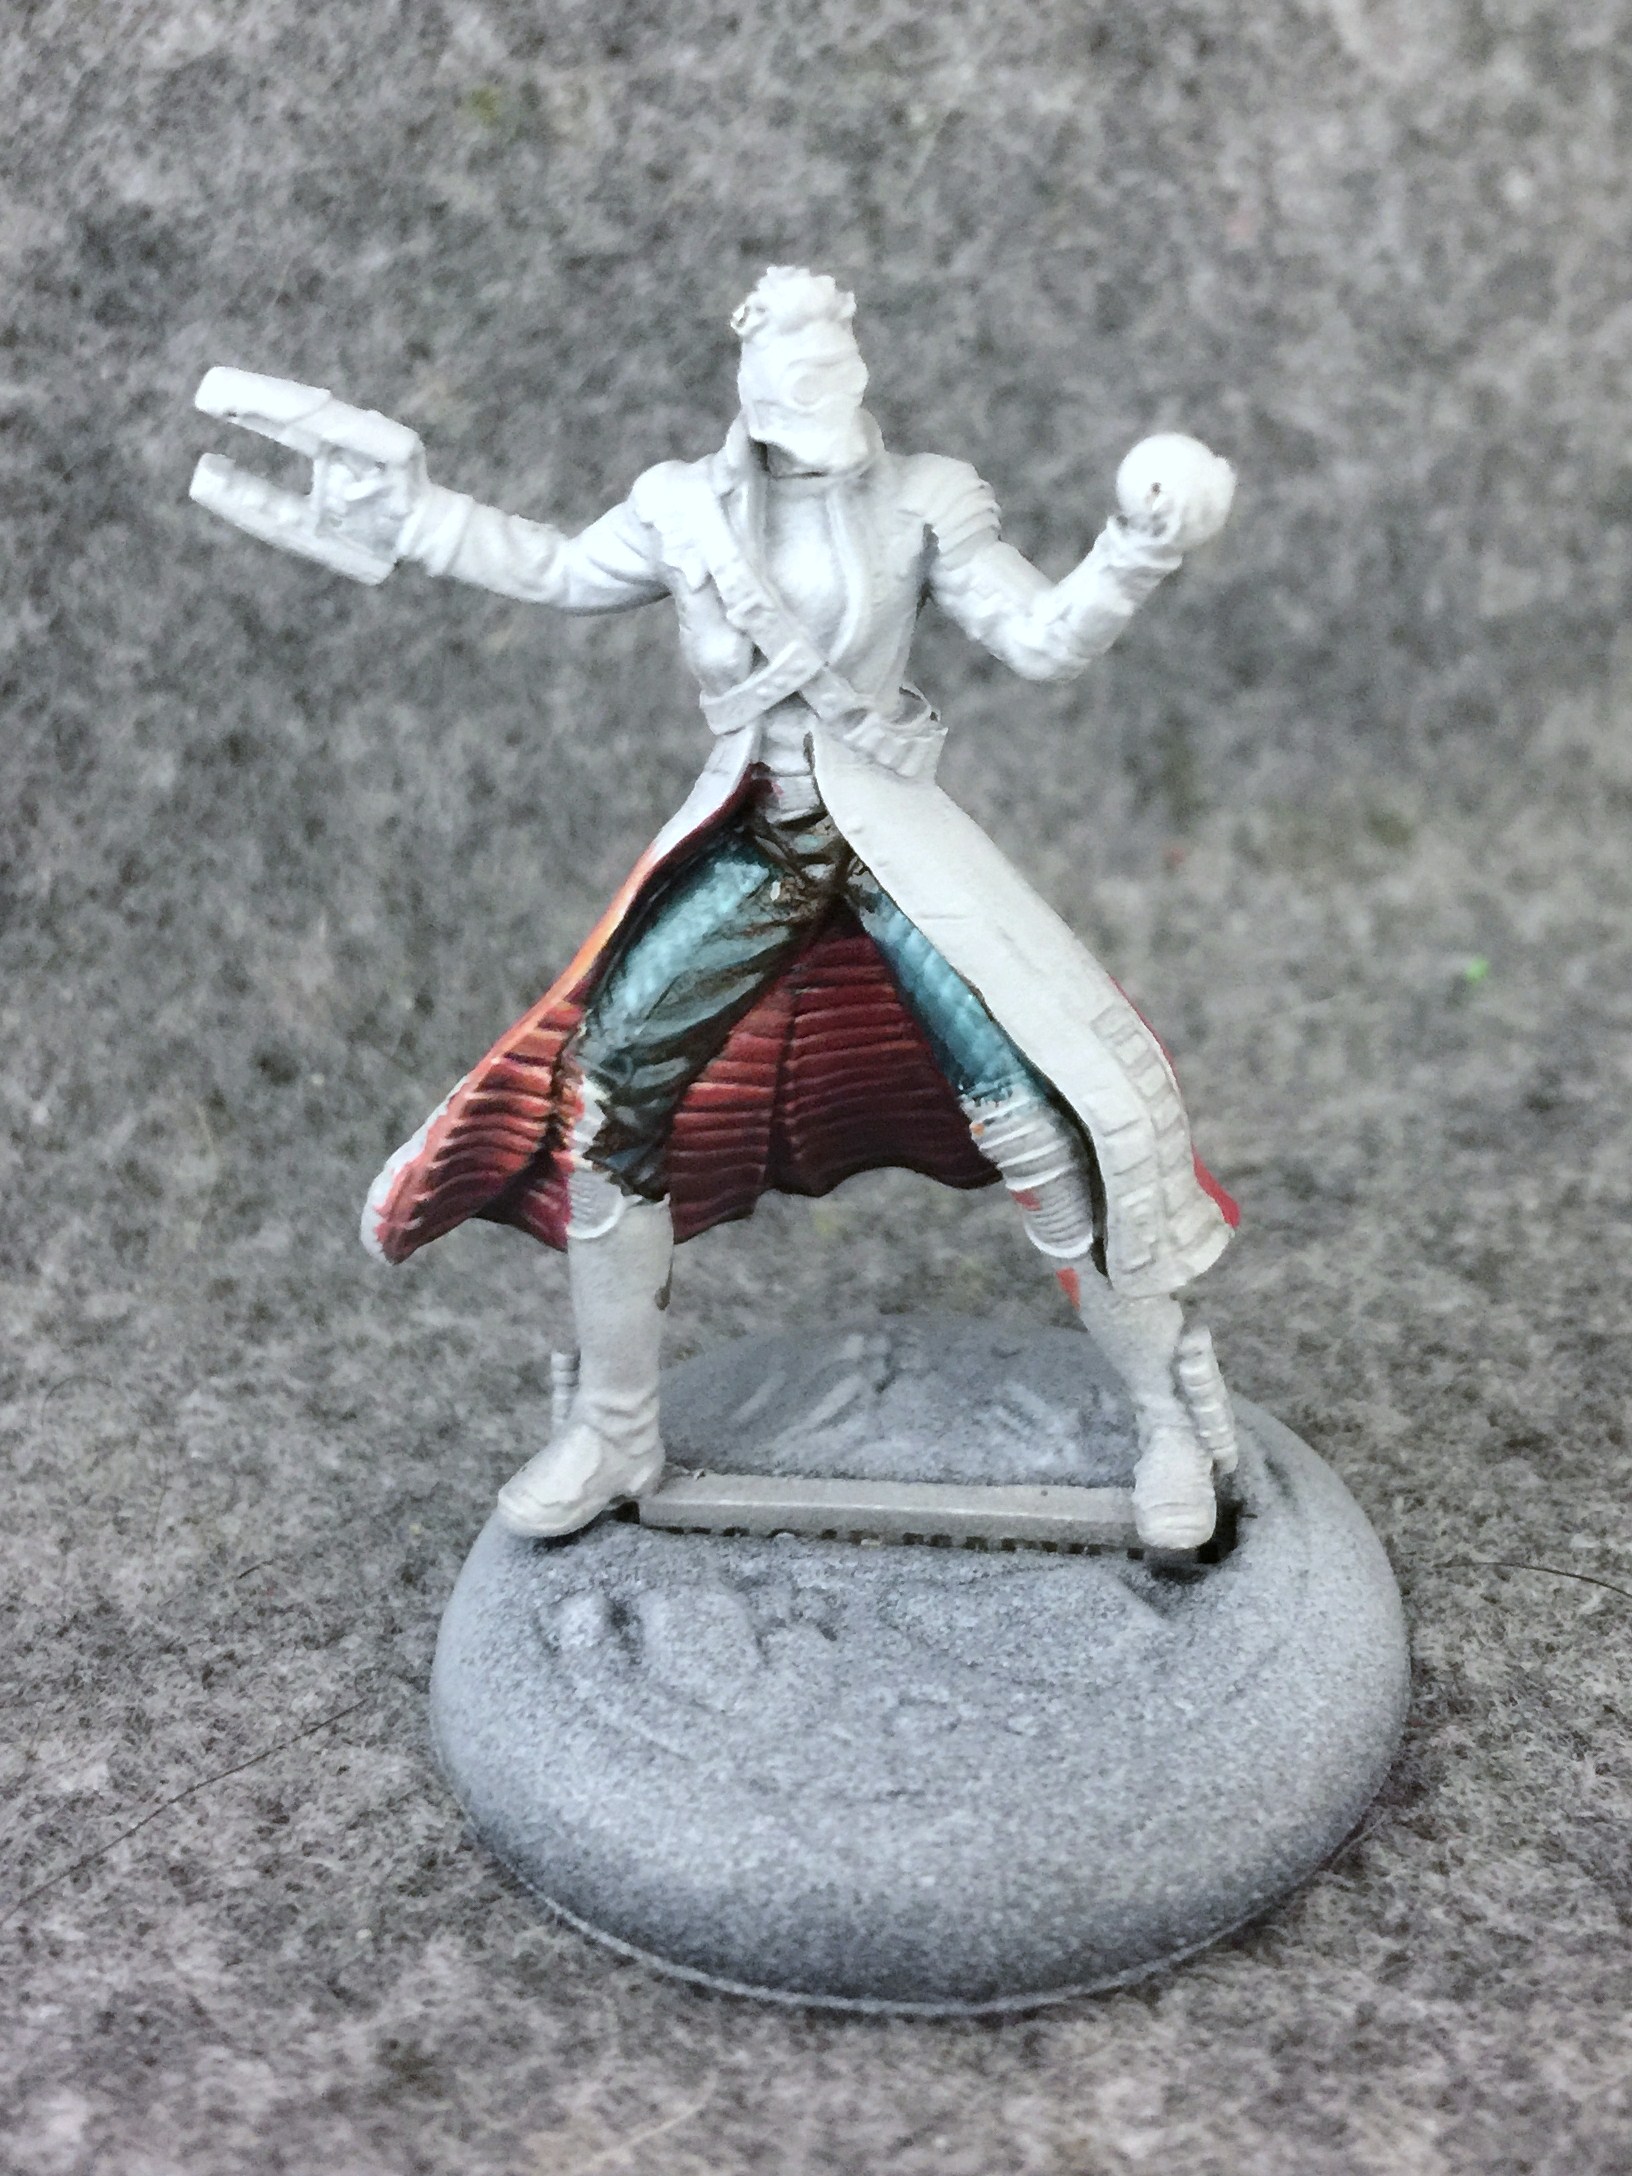
I decided to begin with Starlord’s coat – specifically the interior of it. It’s always a good idea to start with the most recessed part of a model. You’re more likely to miss when you’re going into crevices. Painting them first allows you to go back over them later when you’re painting other things.
For Starlord’s red leather (pleather?) coat, I began with a basecoat of P3’s Sanguine Highlight. I highlighted it sparingly (it is in a shadowed area after all) by mixing in a bit of Sulfuric Yellow. It’s shaded with Thamar black mixed with a bit of Ordic Olive and Green Ink. The point of adding this cooler tone to the black it to add a subtle bit of contrast against the warmer reds and yellows.
The next step was a bit more painstaking: applying a thin line of highlight above each strip of leather. Three different tones were needed to get the right effect. For the lines in the most shadowed areas I used a mix of mostly Sanguine Highlight with some Sulfuric Yellow. As I start highlighting further up on the strips, I add a bit more Sulfuric Yellow and a bit of Menoth White Highlight so that the intensity of the tone is consistent with the intensity of the area it is highlighting.
Then I add a thin line of the cool green/black mix I mentioned earlier above each fold.
Next it’s time for the pants. I have three colors at work here – five I guess if you want to get technical. The base coat is P3 Coal Black which is highlighted with Underbelly Blue. The “third” color is the darker shade: Thamar Black toned with P3 Red Ink and some Bloodstone. This is the same principle as the earlier cool green/black, but in reverse. Adding some warmth to the black adds a nice contrast to the bluish Coal Black.

Then the leather strips on the pants receive the same treatment as those on the coat: a thin line of highlight above each one. This time I was able to get away with using just pure Underbelly Blue for each line rather than having to adjust the tone for different areas.
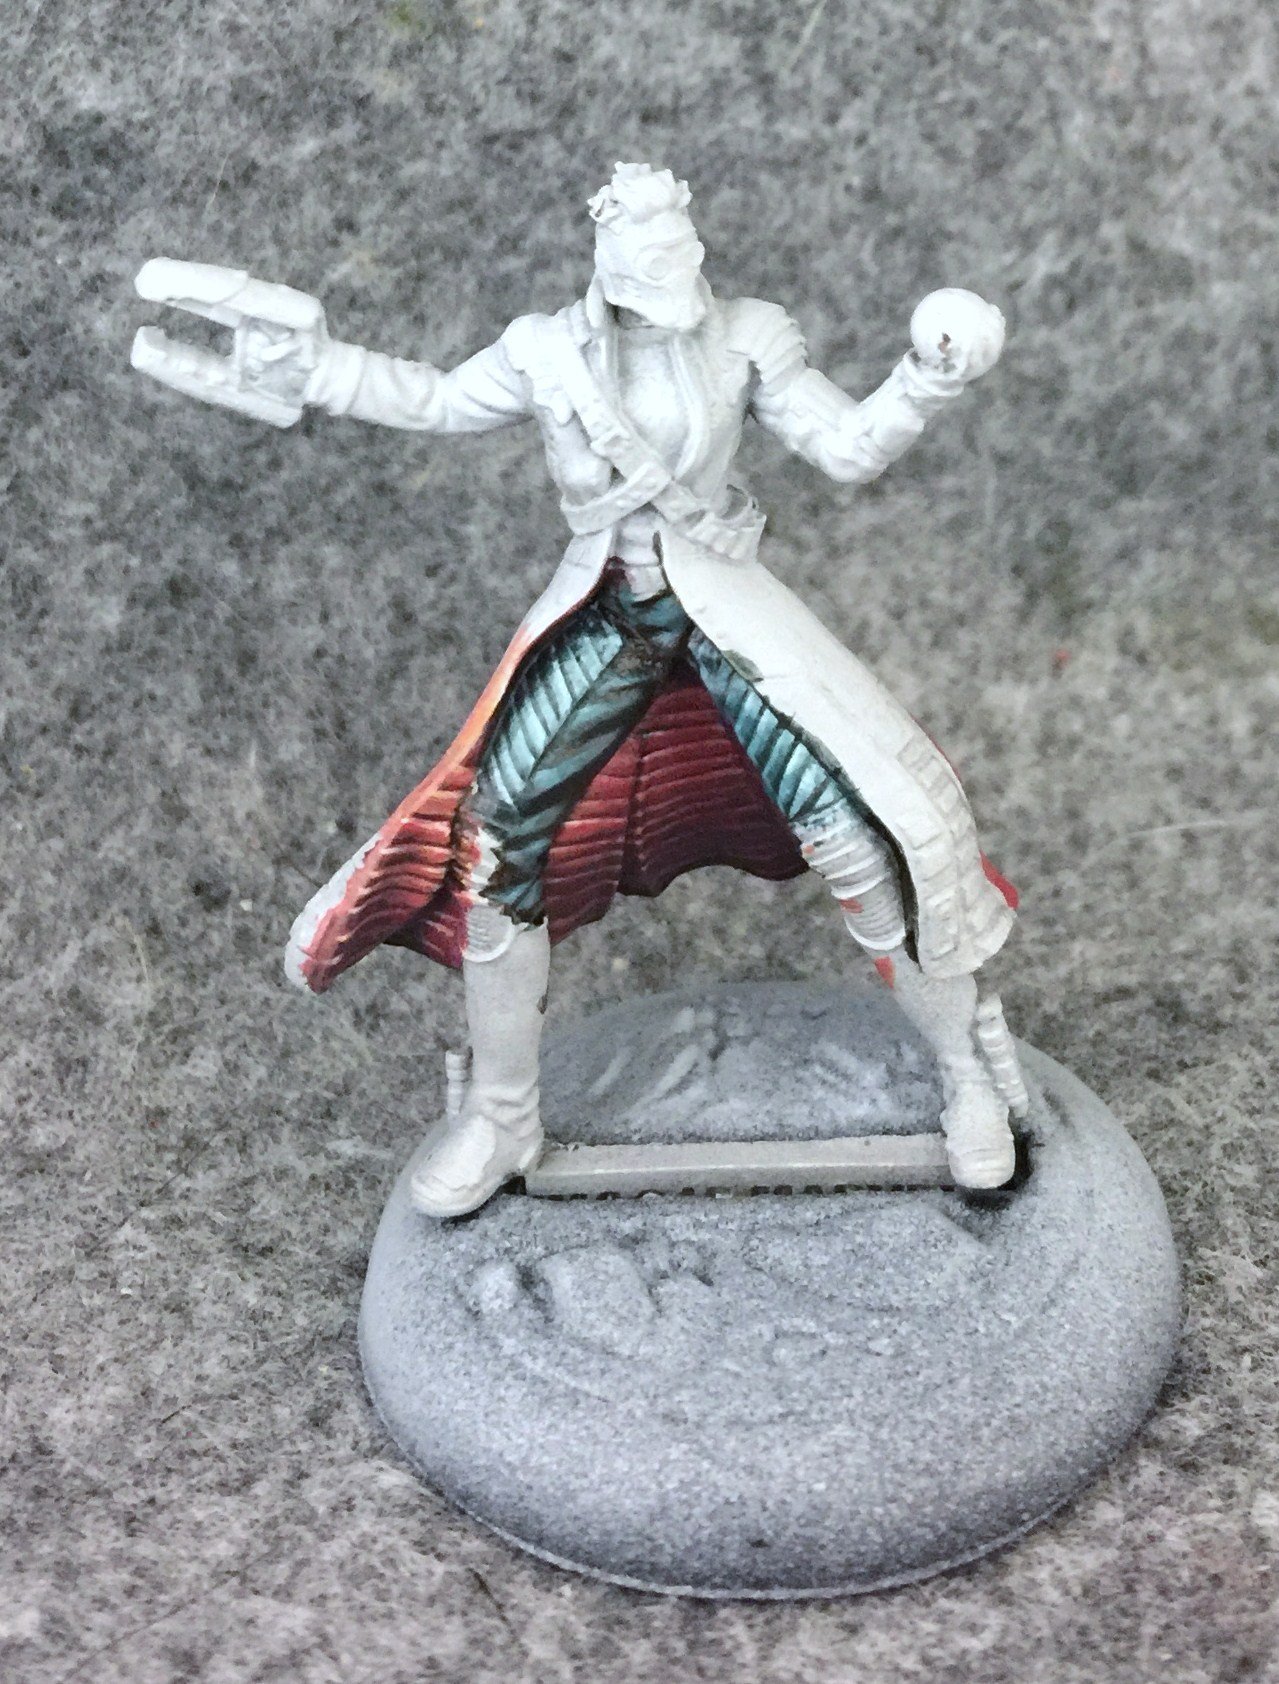
Then a warm black line to finish defining each strip.
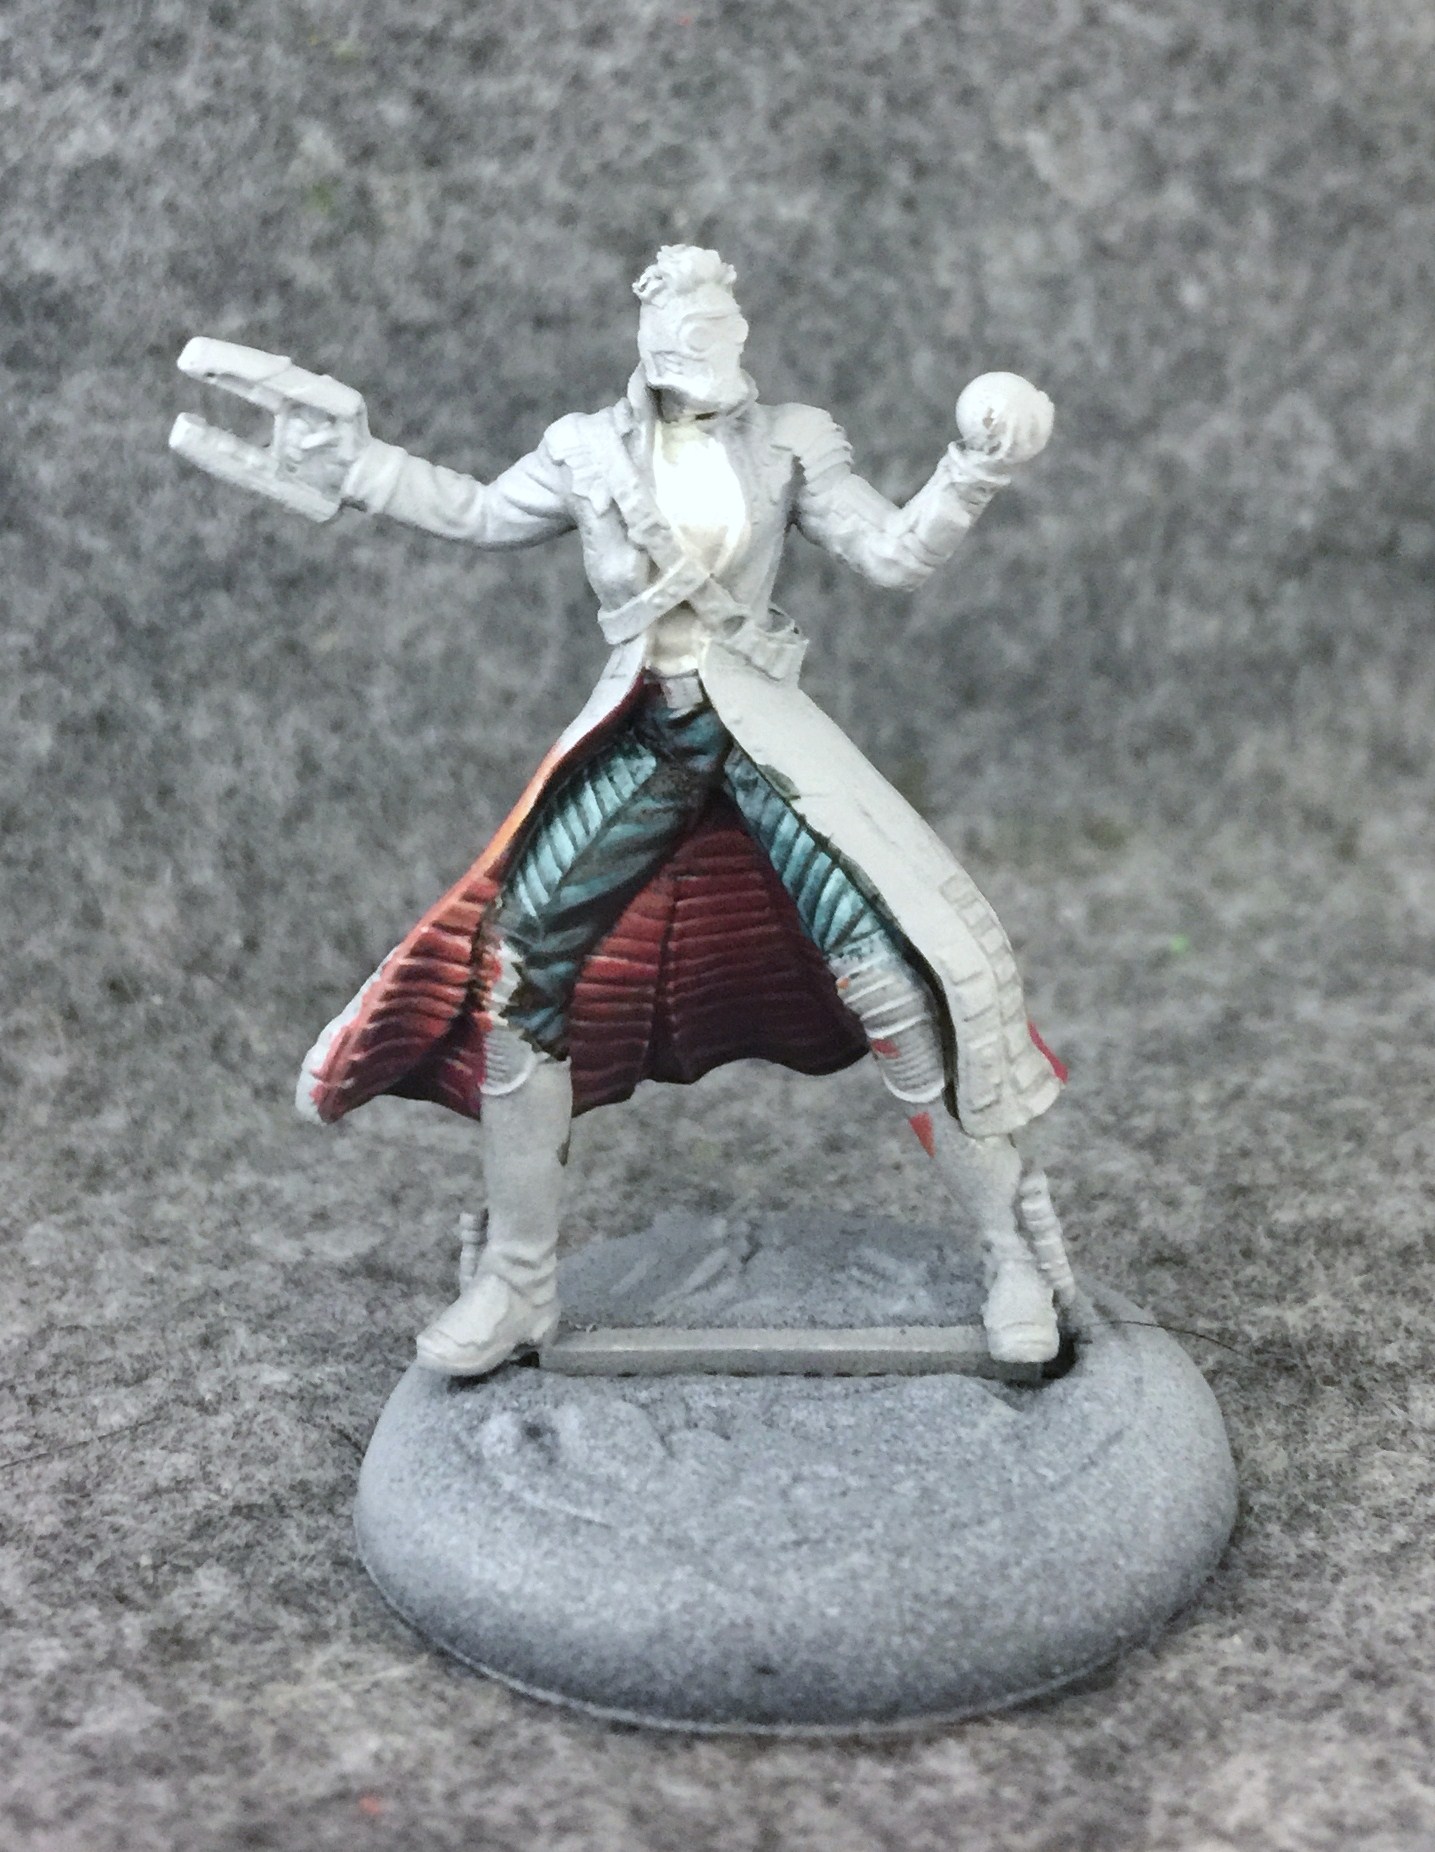
It took me a second to even remember what the step was here. Oh right. The shirt. It’s another three part process: A basecoat of Trollblood Highlight highlighted with Menoth White Highlight with just a bit of pure Morrow White at the Apex.
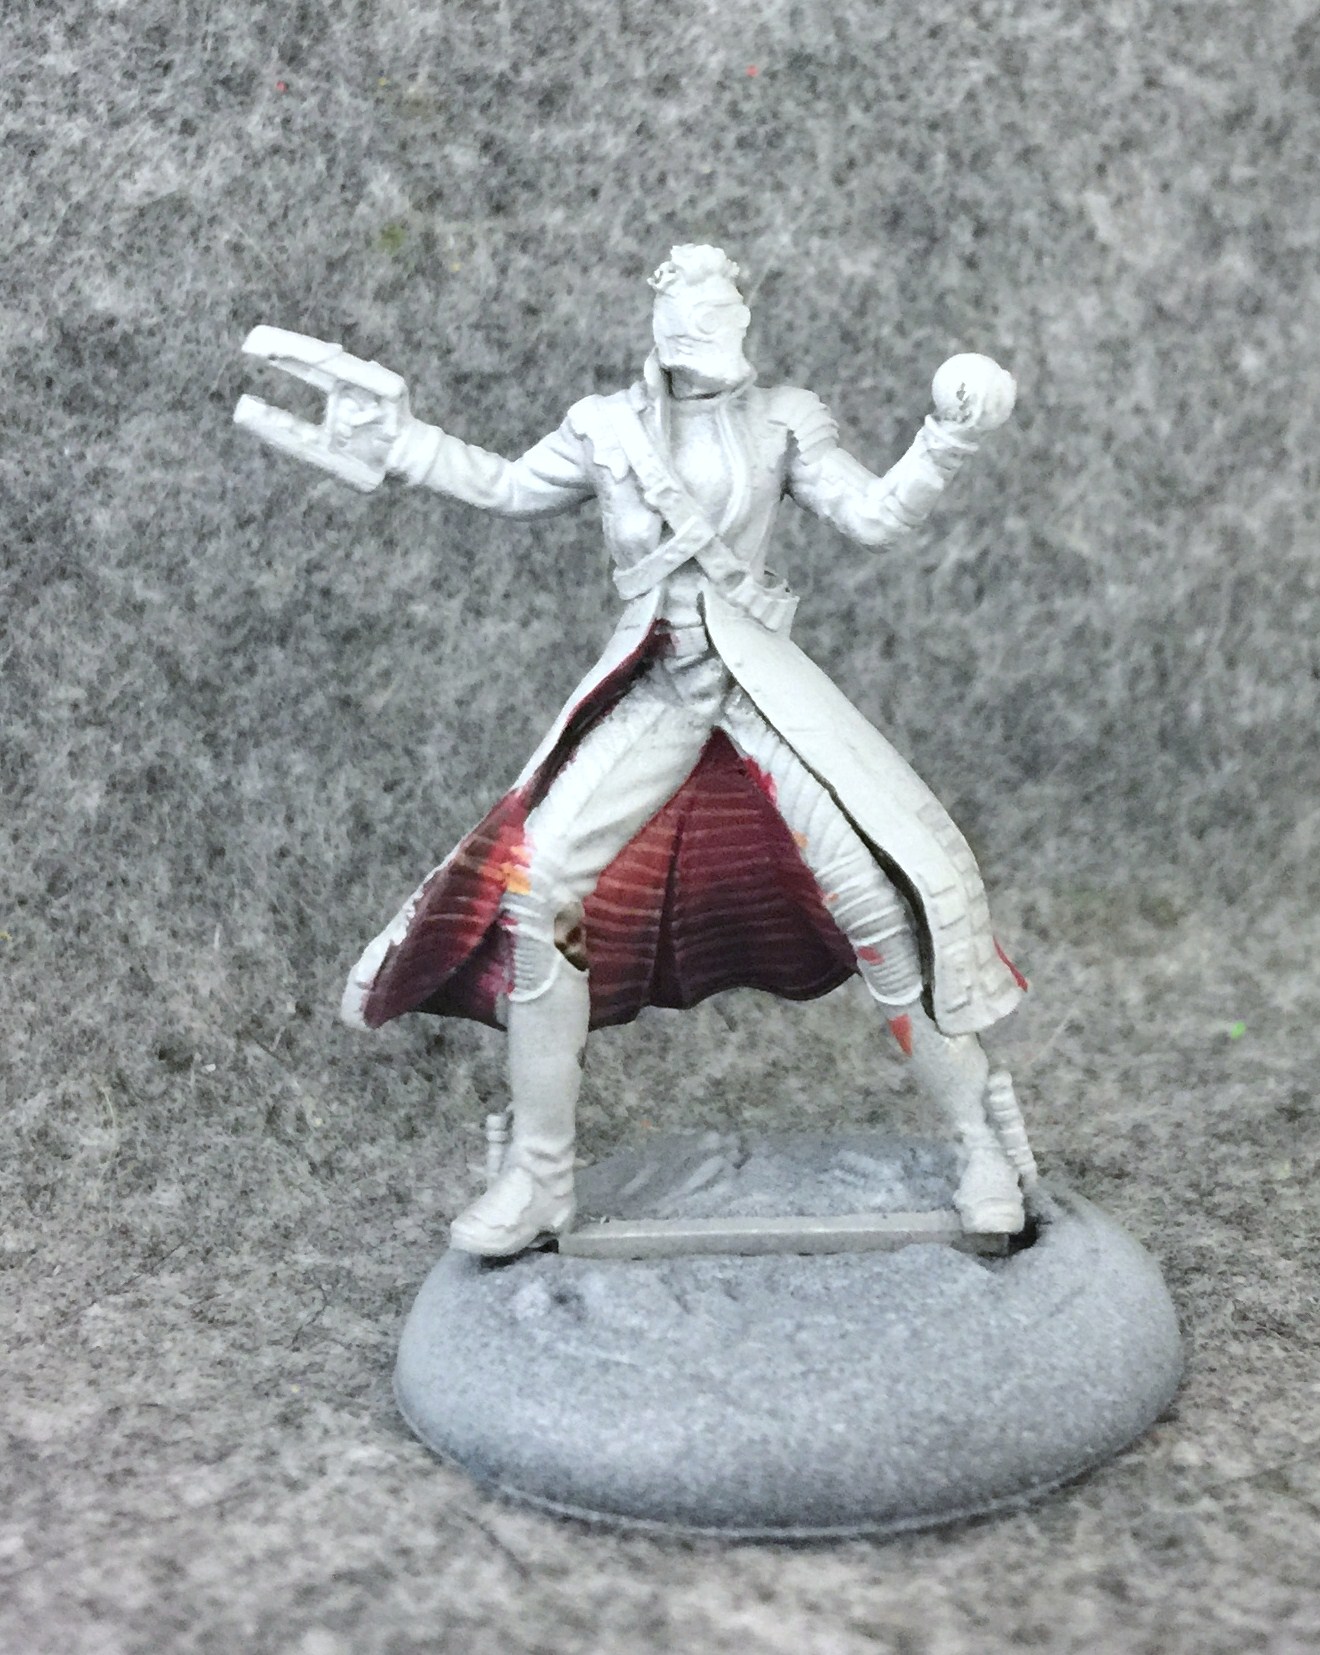
This seemed like as good a time as any to return to the coat. The same colors were used here as in the interior. This is the first pass.
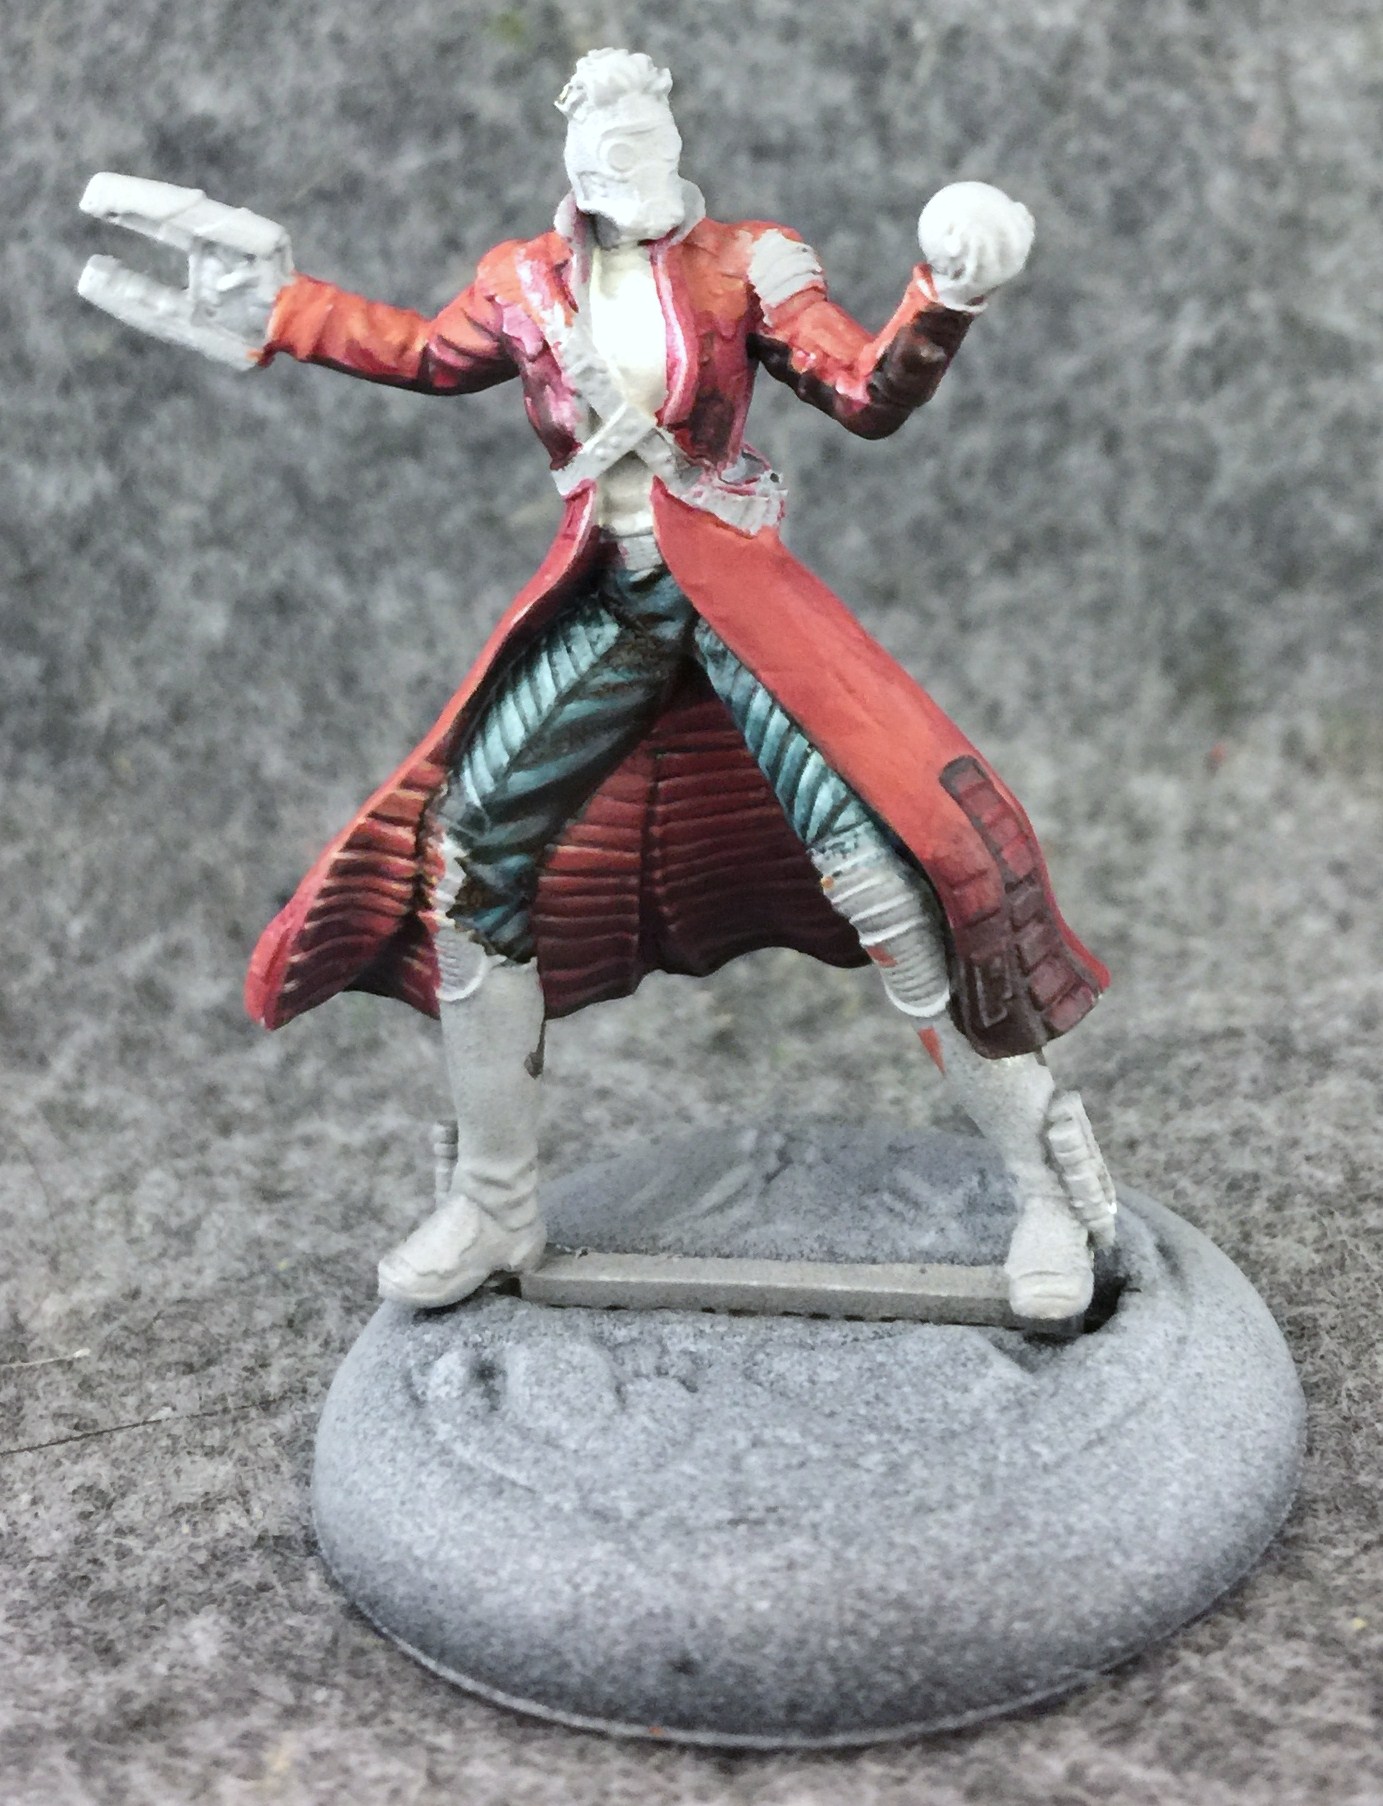
Here I’ve begun to add a bit more definition as well as some deeper shading.
Now I’m starting to pick out the folds and really define the large leather sections toward the bottom of the coat.

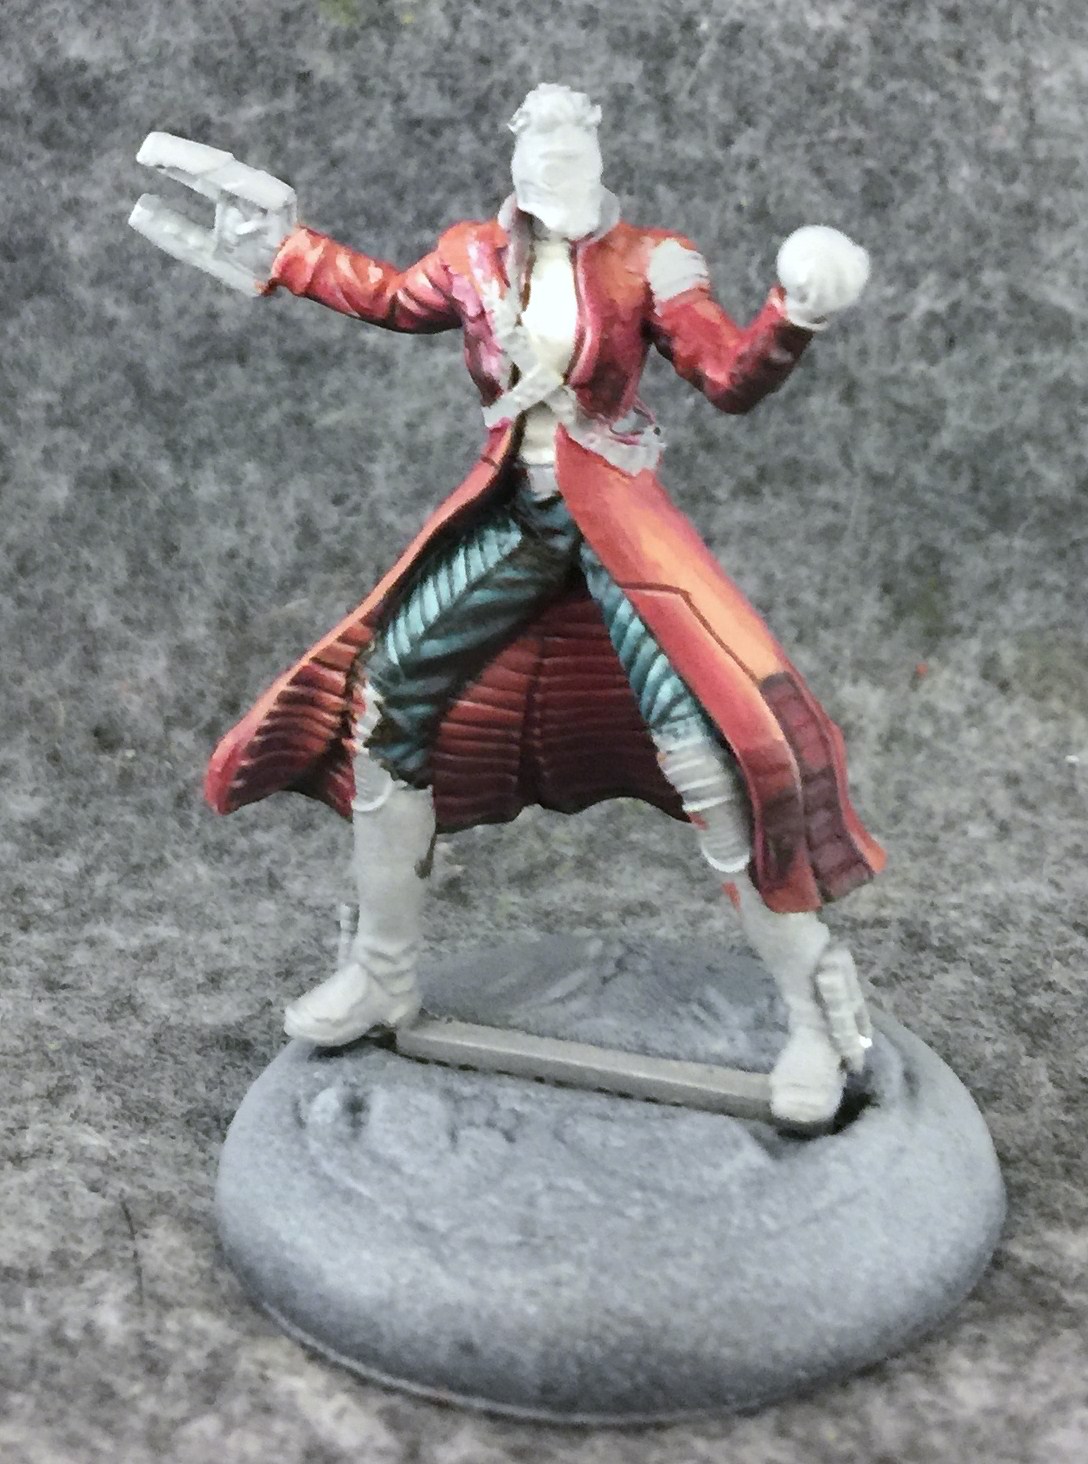
With all the little details on the left arm finished, I’m calling the coat done.
Next are some armor plate type pieces that I’ve decided to do in a Bronze – mostly because it’s a good contrast to the red. The breakdown for the colors here is Traitor Green, highlighted with a mix of Rucksack Tan and Menoth White Highlight.
A bit more Menoth White Highlight is mixed in to the highlight tone to bring the highlights to their peak. I also add a little contrast with a darker tone on the leg armor by blending some of that warm black in at the edges.
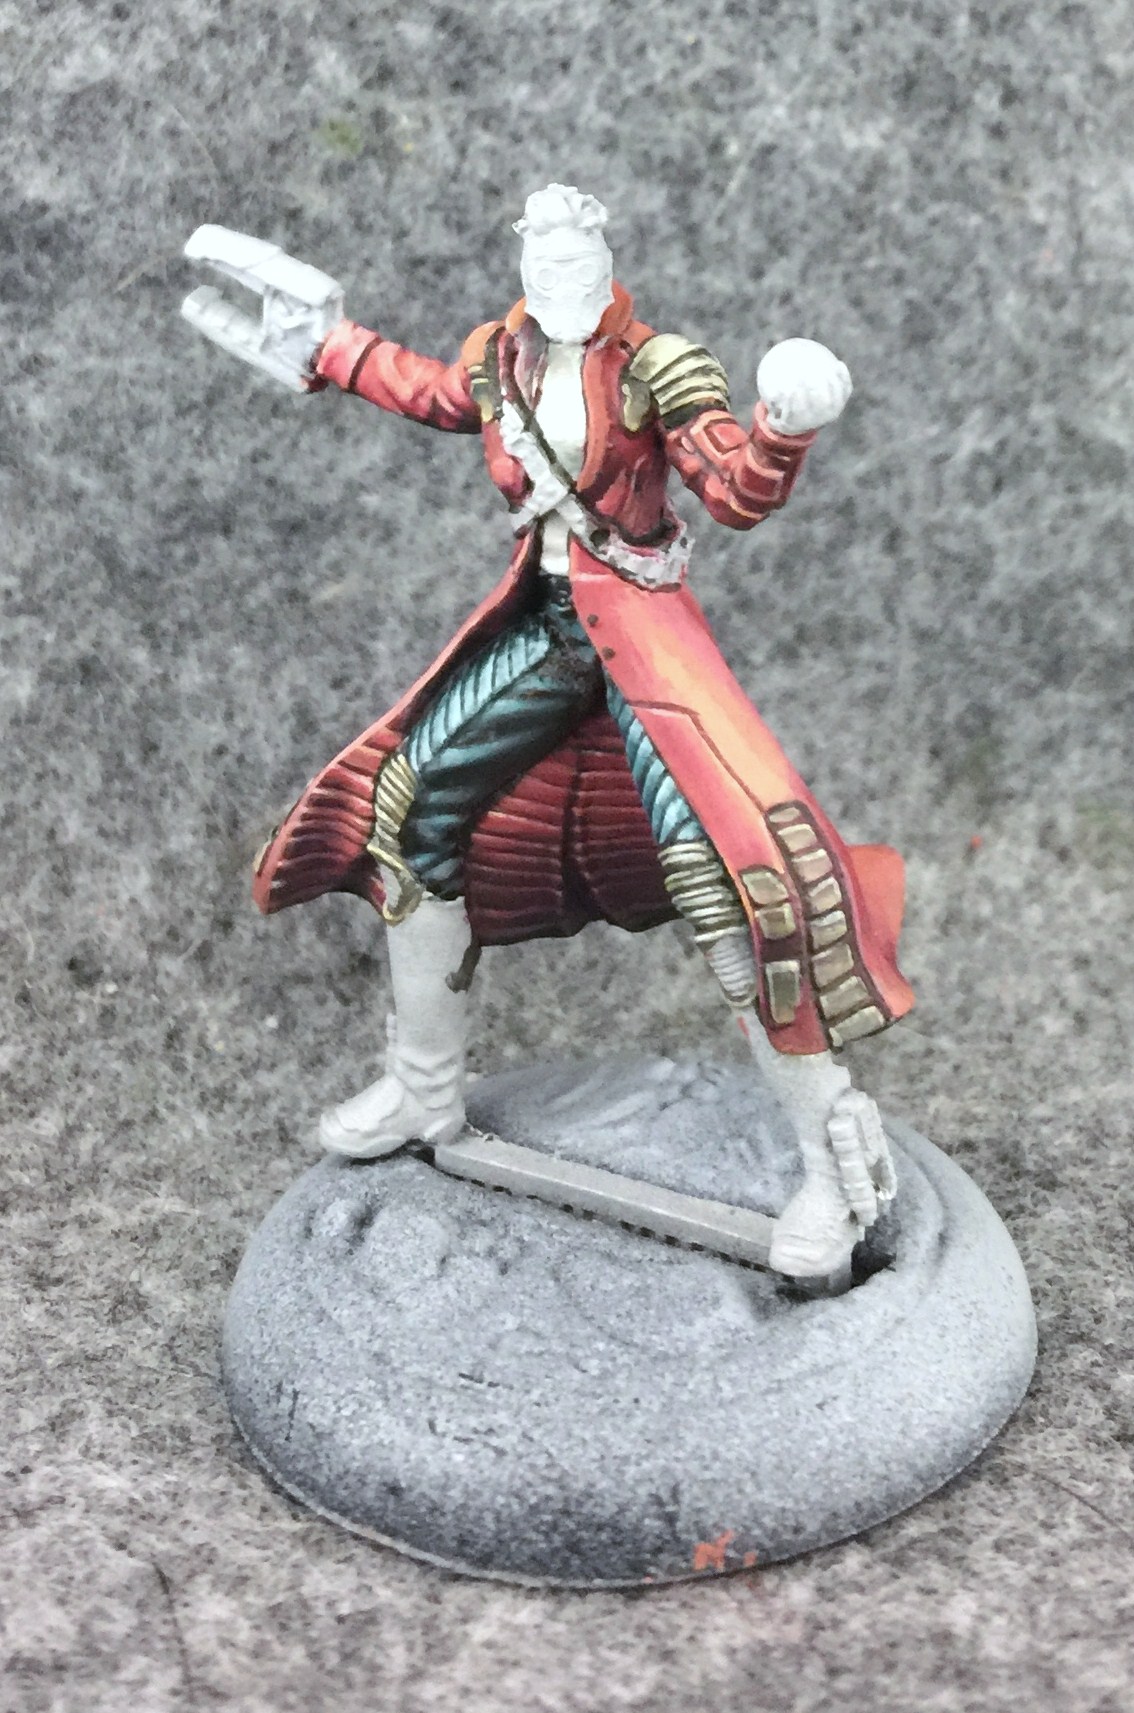
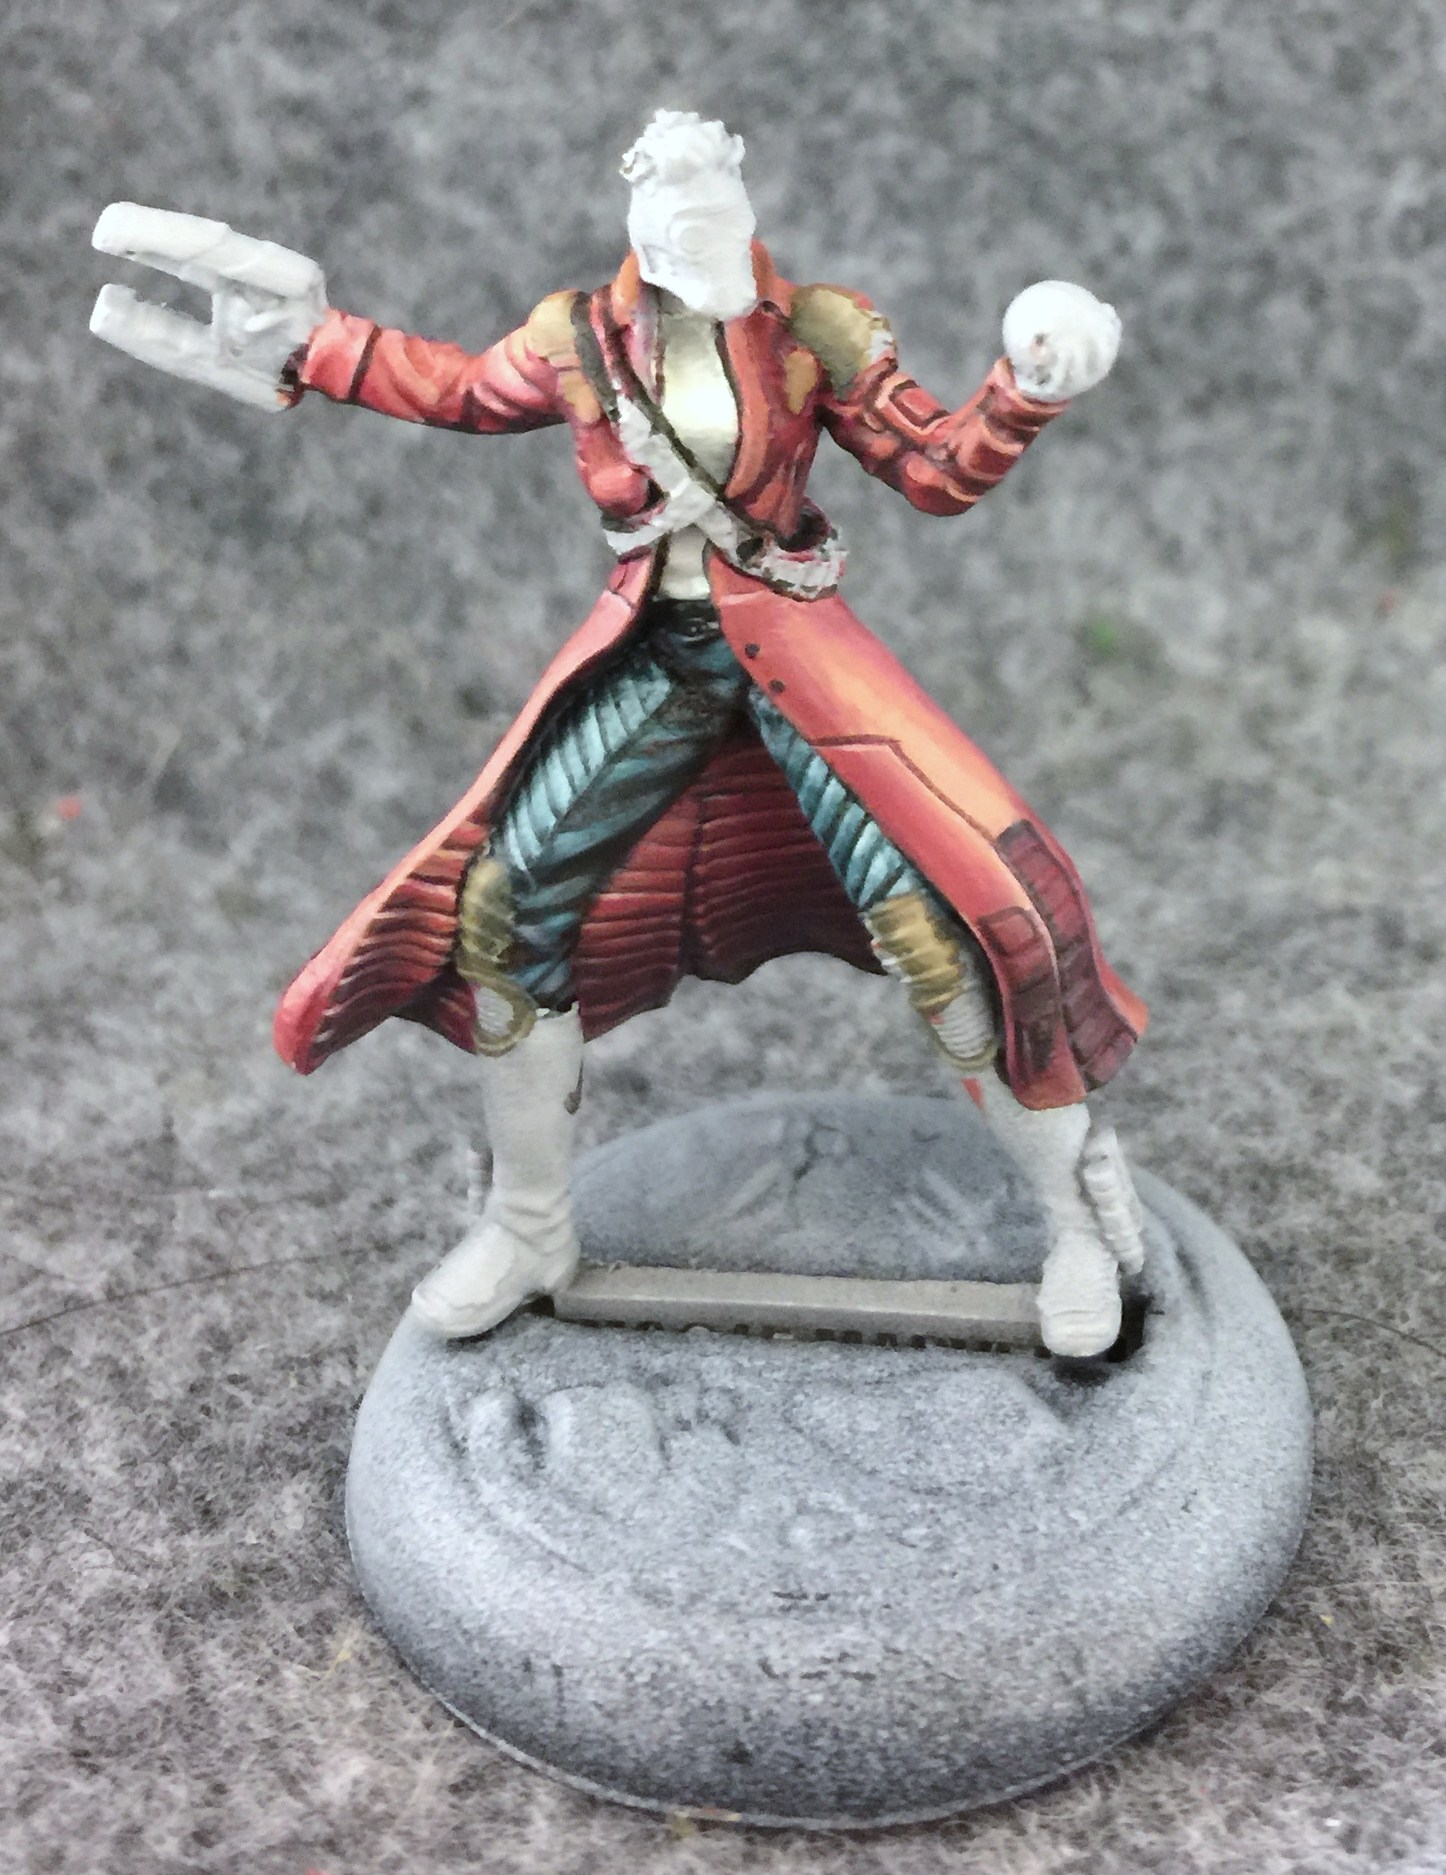
Then I remembered I wanted the cool rectangles on the base of the coat to be the same color, so the same process was applied to them. Picking out the ridges on the leg armor with highlight and then blackling them was the most difficult step of this stage, since the detail was very fine.
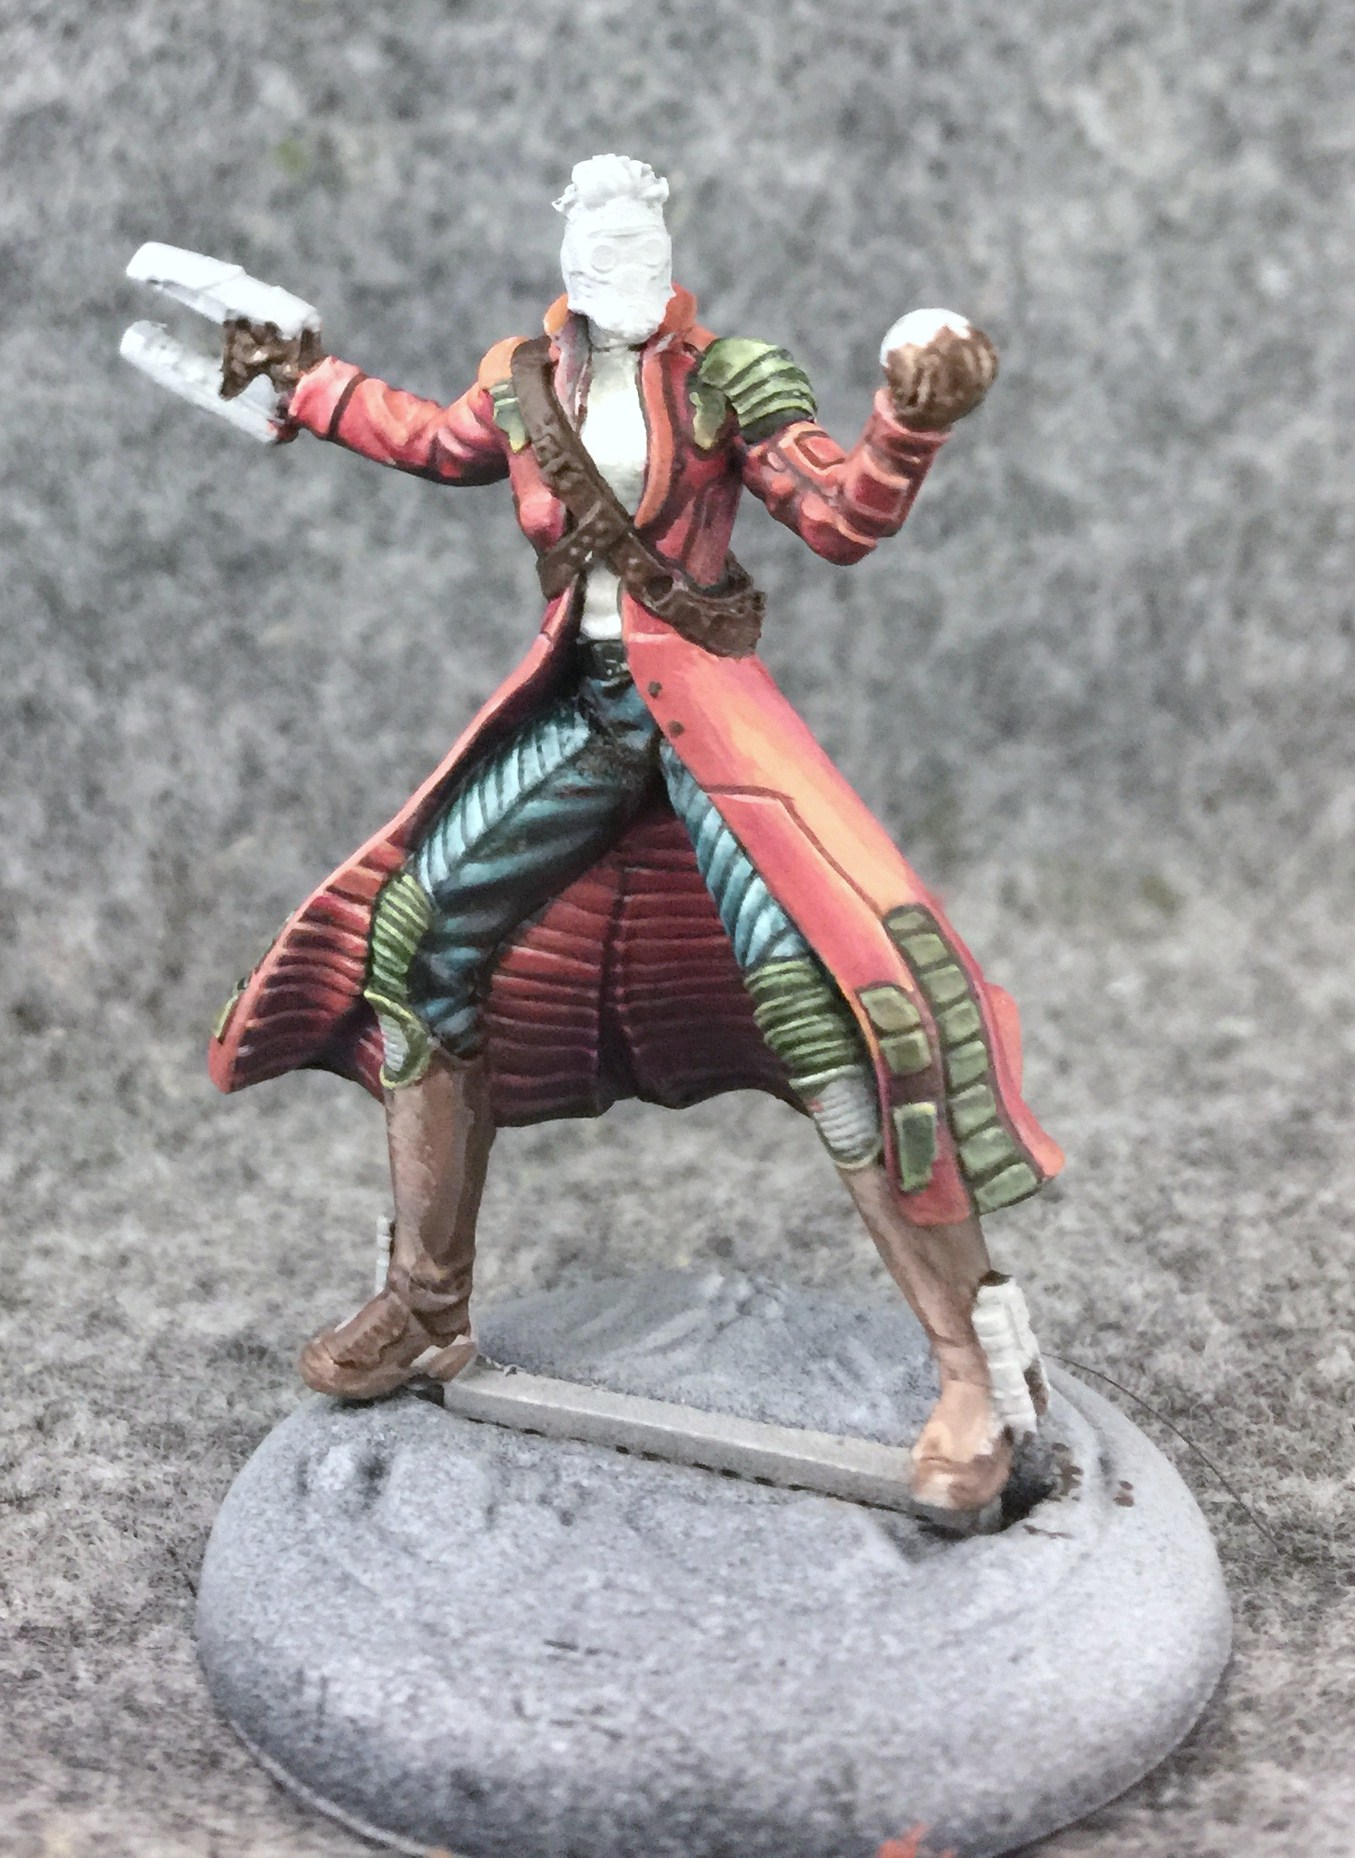
Now we have a third leather tone for the boots, gloves, and straps. This time it’s a base of Umbral Umber highlighted by blending in some Ryn Flesh. The shade tones are the cool green/black from earlier also blended in with the Umber.
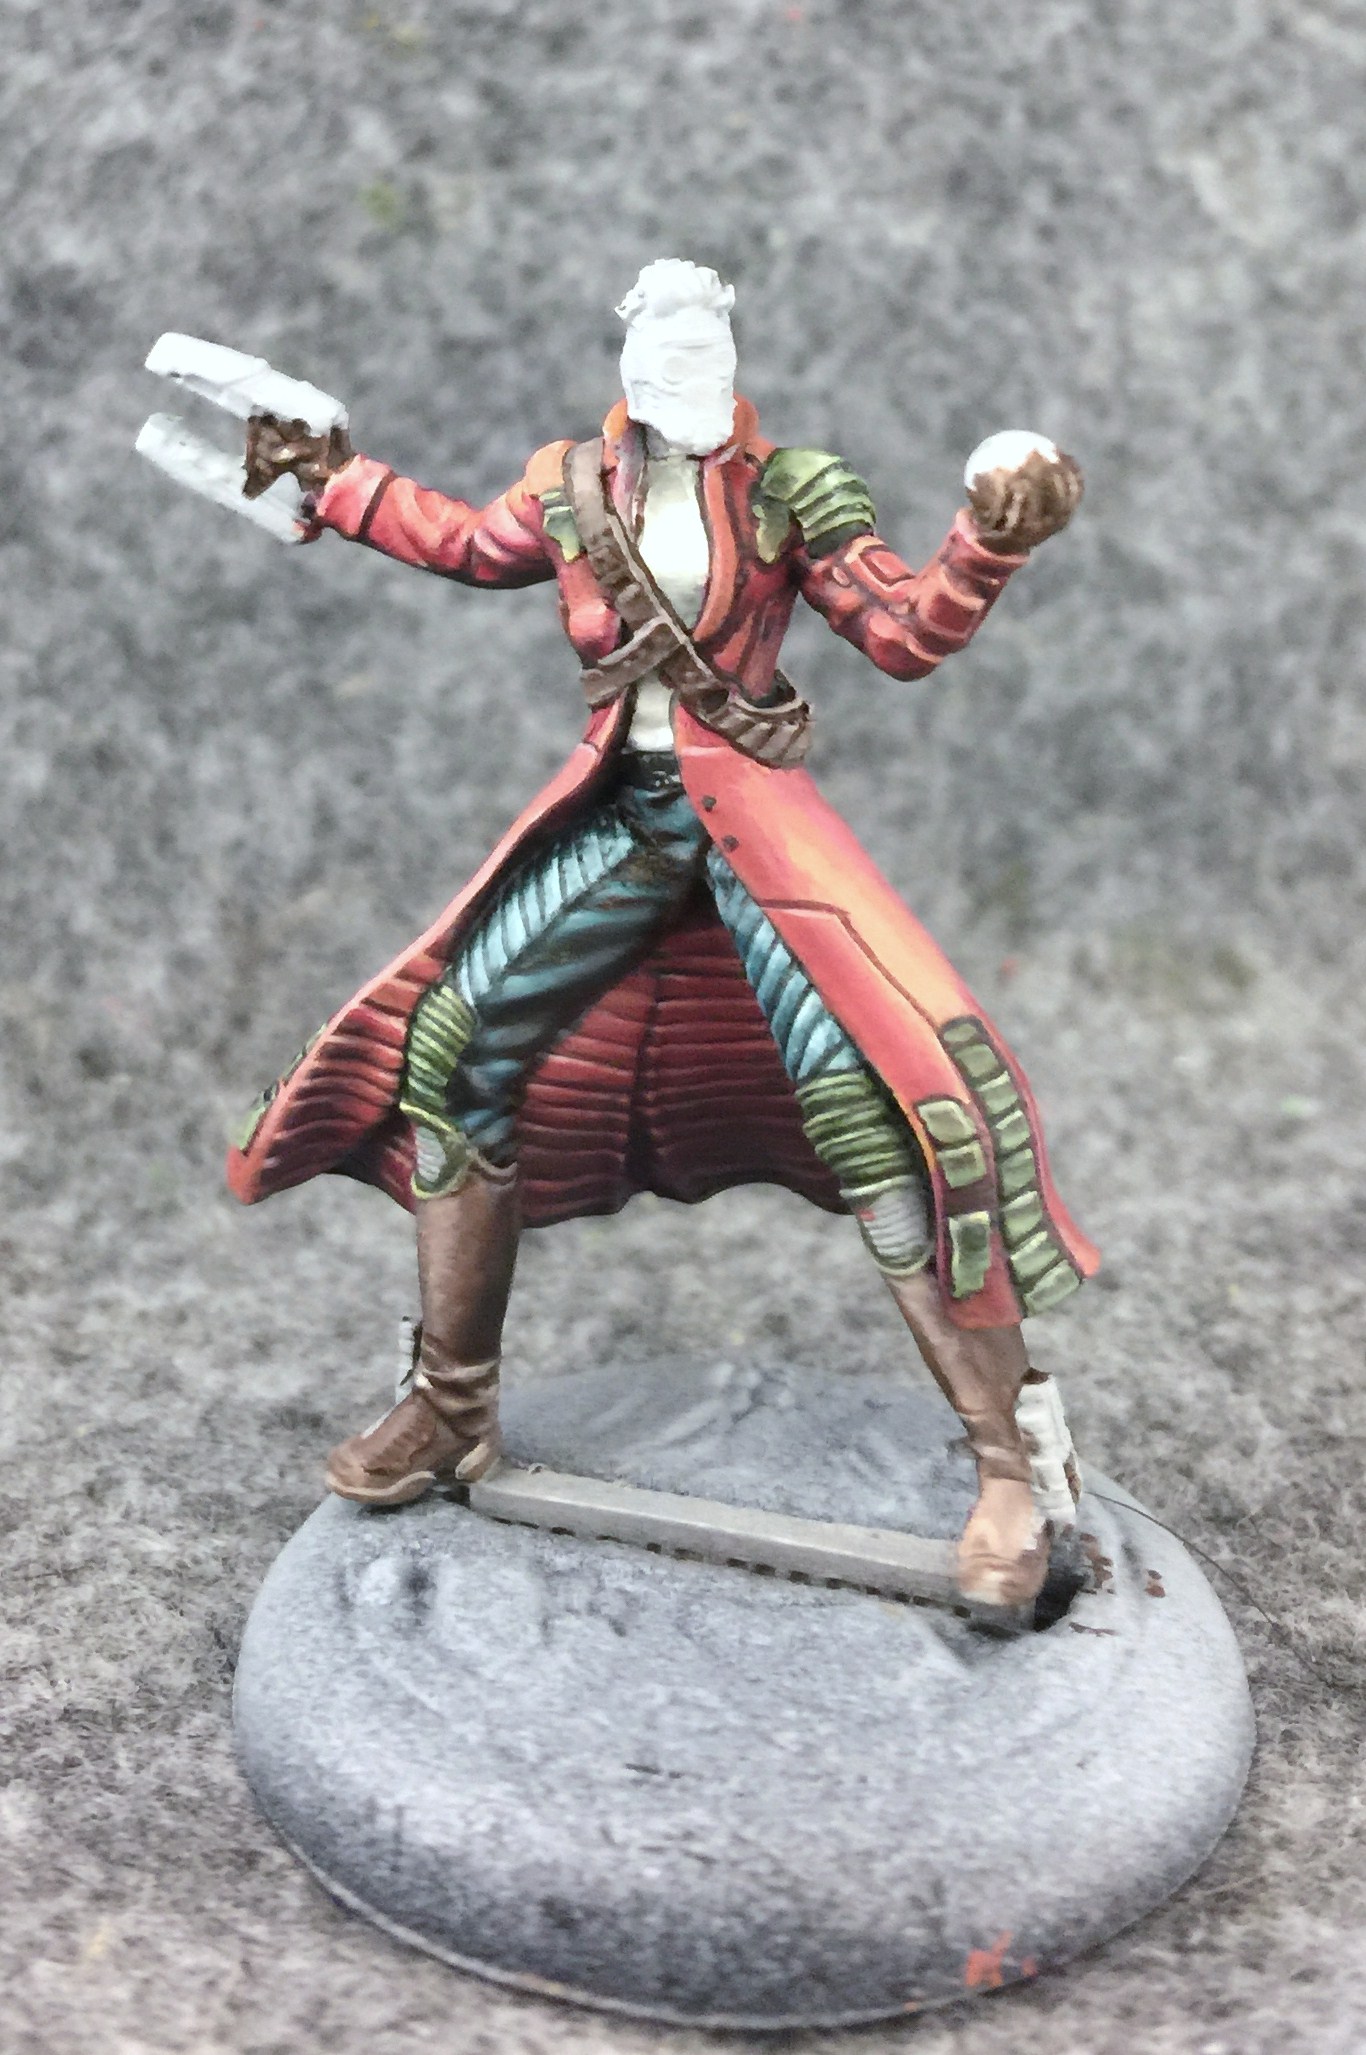
Here I’ve actually added a bit of texture by stippling on layers of increasingly intense highlight.
The leather is completed by adding thin lines of highlight along the edges of the various straps, as well as the accompanying blacklining.
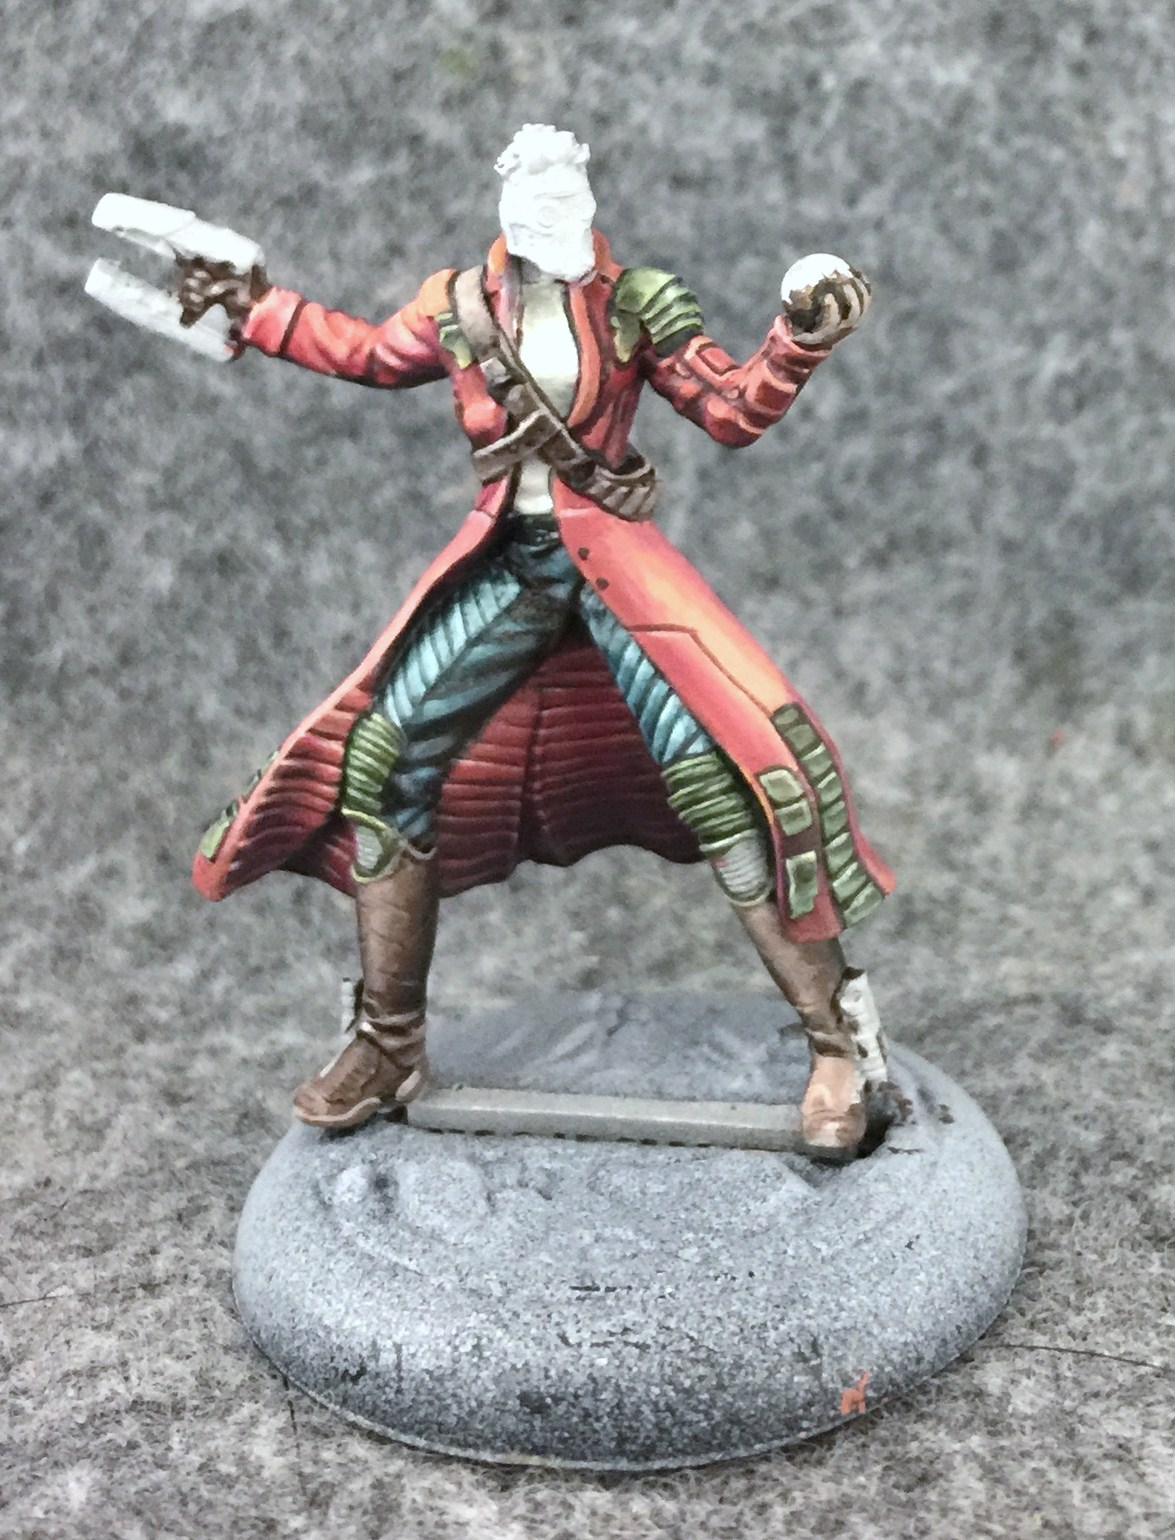
The next step was the orb. I guess it’s the orb from the movie but it seems a little odd to have Starlord running around with an infinity stone all the time. I decided to paint little swirls on it since I was getting close to the end of the project and I didn’t really feel like bothering with the glow effect I thought it probably needed. The orb was painted with a basecoat of Cygnar Blue Highlight with Frostbite Swirls.
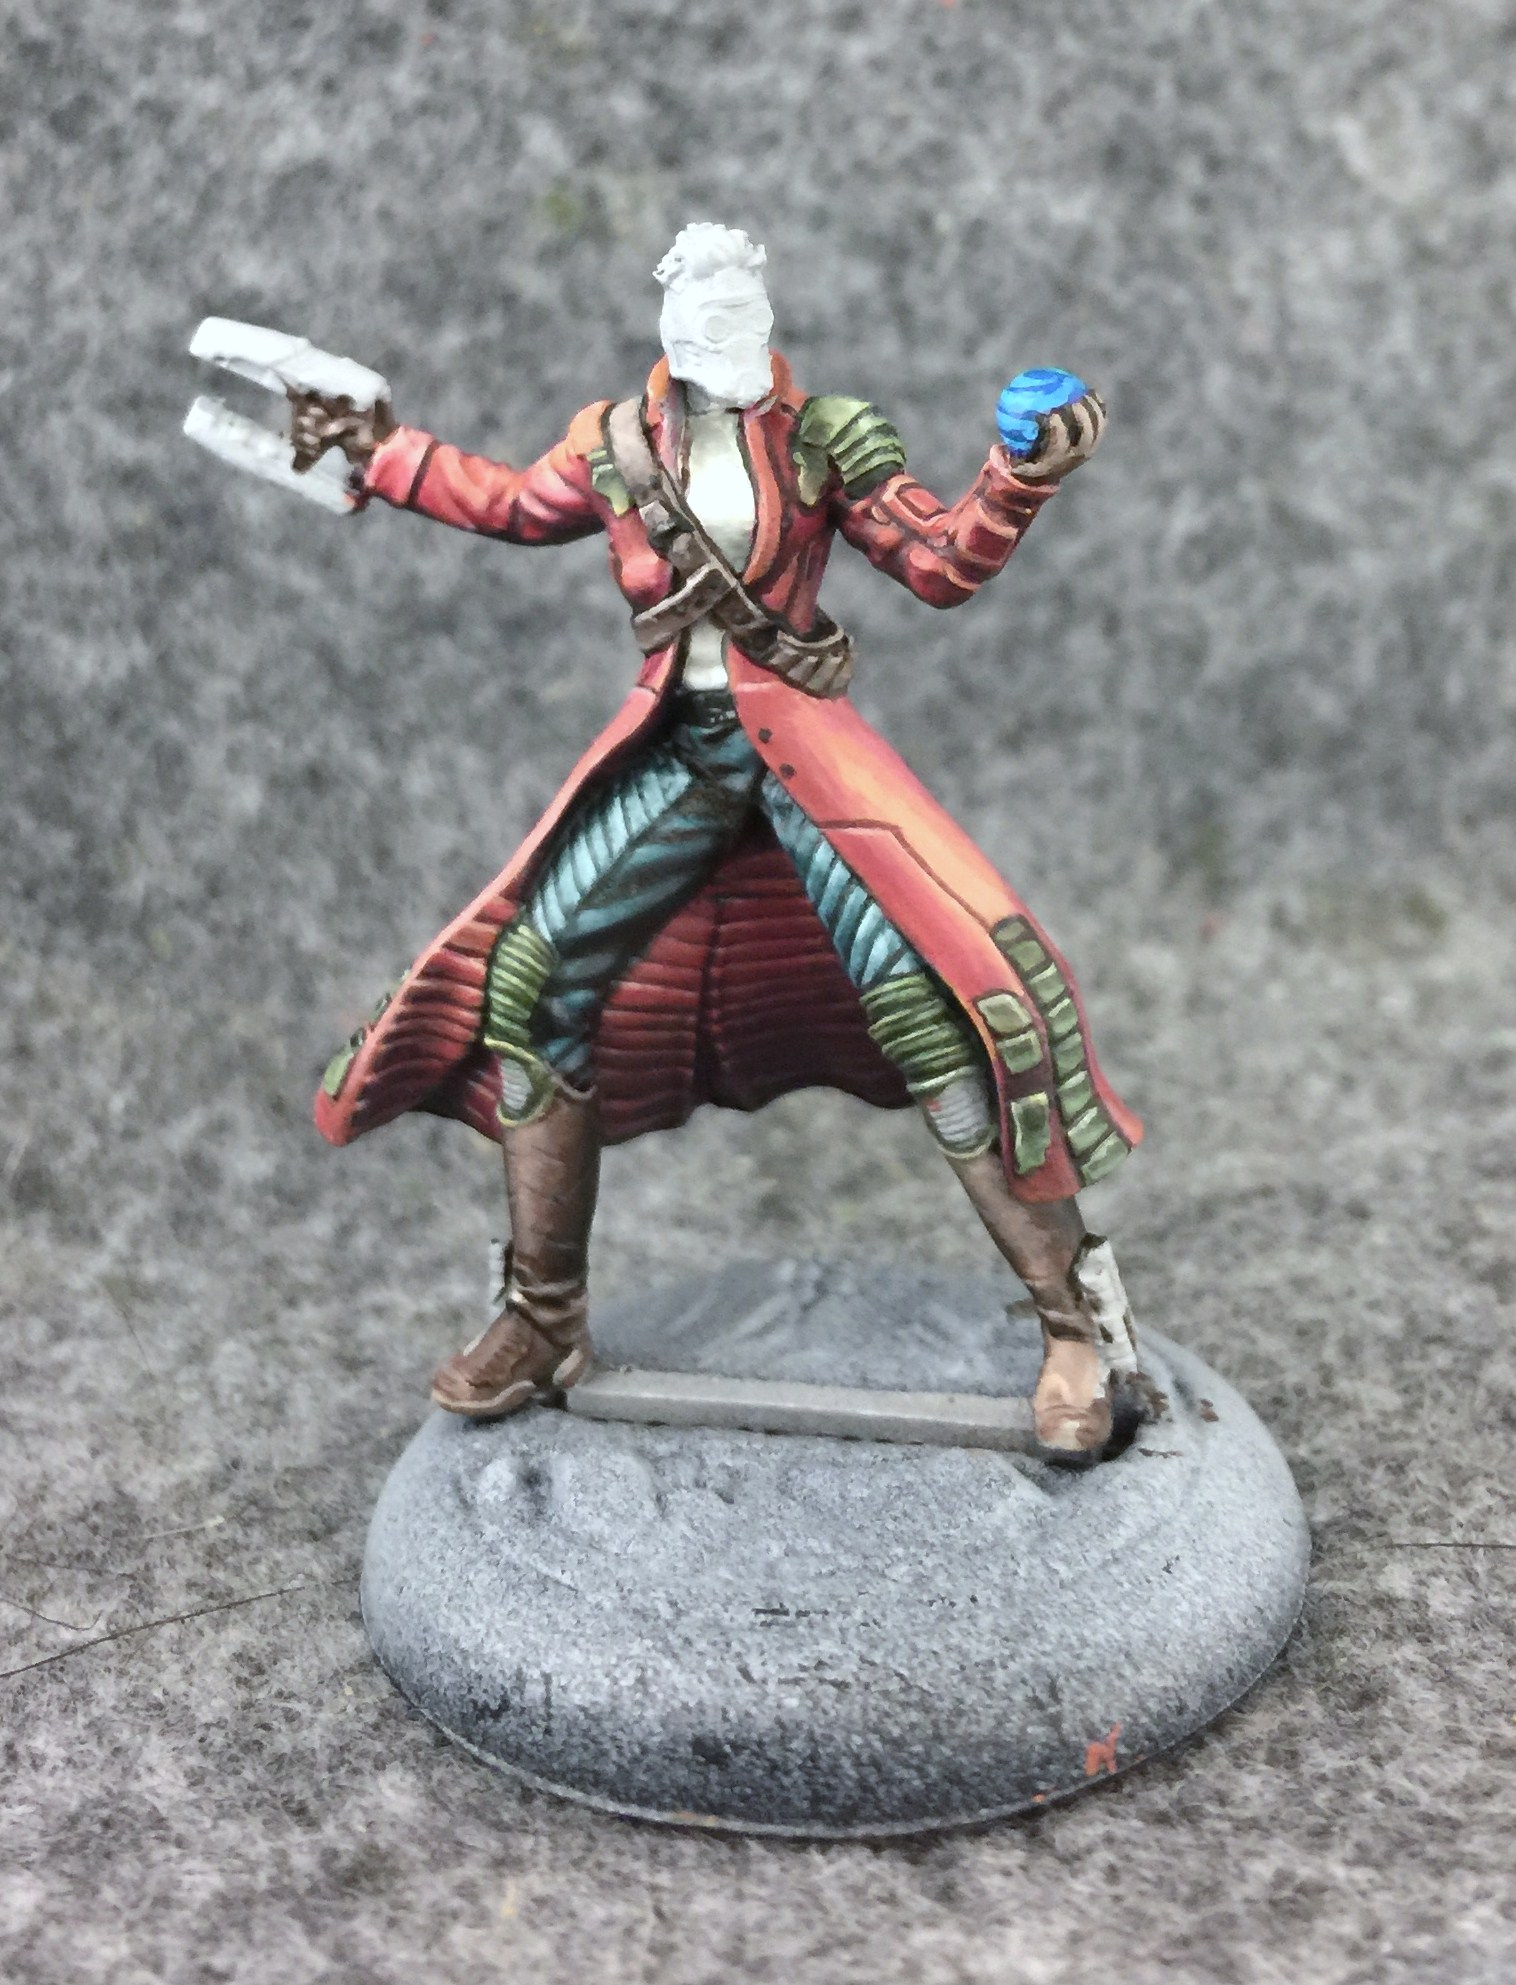
I smoothed out the swirls by stippling thinned out Cygnar Blue Highlight on to the edges of the Frostbite. I also stippled some pure Frostbite on to the swirls to lighten them up some since they had picked up some of the Cygnar Blue.
I saved the chrome step until almost the end. There’s a group of about five to seven colors (depending on how you look at it) that I’ve come to rely on whenever I want to do steel or chrome. The most important is a mix of Exile Blue and Umbral Umber that gives me a nice dark Navy Color. I highlight this with a bit of Thornwood Green followed by Underbelly Blue then Menoth White Highlight. For areas I want really dark, I bring out that warm red I mentioned earlier. The idea is that this mix of warm and cool tones, while subtle, will create a more vibrant NMM than just a range of grays.
The four areas I’m using the chrome on are the helmet, gun and the two rocket boosters. As always, figuring out how to create the illusion of light reflecting off the various shapes will be the real challenge to creating a convincing NMM illusion. Most of the shapes are cylindrical, which are fairly simple considering. Blend the darker colors up to a thin line of highlight. I usually do multiple streaks of highlight so you get the same effect looking at the model from front or back. The helmet is a bit more difficult. I treat it like a sphere which means a central highlight point blended into a darker “horizon line” down the middle which blends into a lighter color towards the base.
Of course it’s all a little more complicated than that. There are other little bits and pieces that require attention. Practice is really the only way to master these things. Practice and observation. Be aware of metal objects you see in the world and how they reflect light, then incorporate this into your next painting project.
In this step I’m handling all those little bits and pieces. The helmet has a lot of little pieces. There are those round shapes over the ears, that plate over the mouth plus that little round bit that I guess is like a speaker or something. Plus all those little studs on the leather.

In this step I added a little copper on the face. I used it for the rings around the eyes and also on those little buds (for lack of a better word) near the mouth. Copper is one of those NMM tones I still find myself struggling with, but a P3 Bloodstone basecoat highlighted with Menoth White Highlight and shaded with Coal Black seems to work pretty well, I added a little Sanguine highlight to the Bloodstone to make it a bit more reddish but I’m not sure how much it matters.
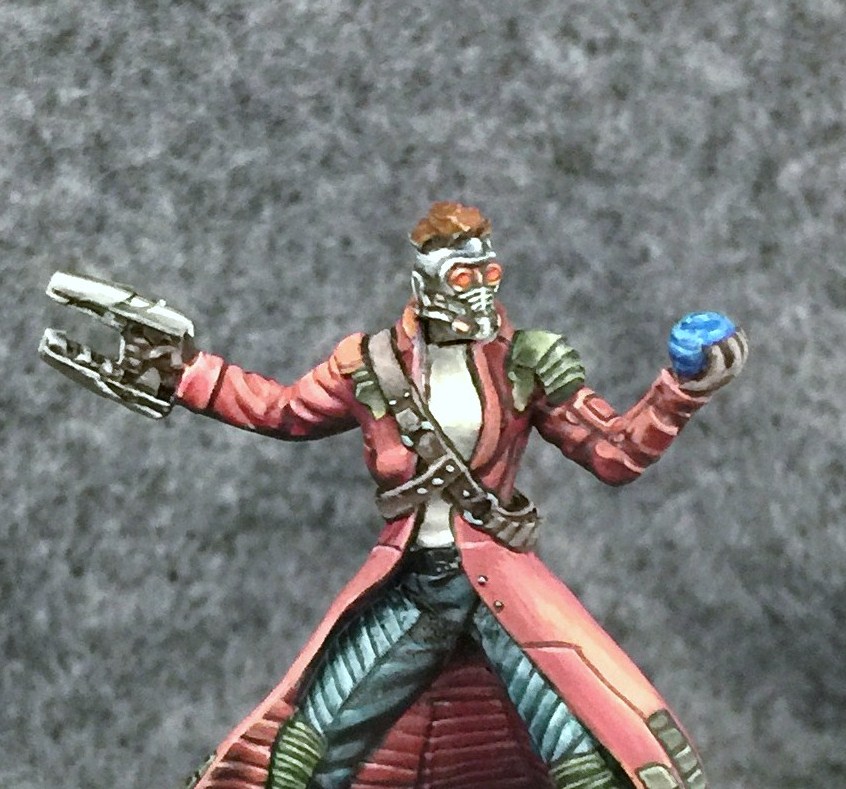
After looking at a few pictures of Starlord, I decided my Starlord really needed those vents by his mouth that the character has in movies and on paper. This took a while to get right since they aren’t sculpted on.
I also went for a little glow in the eyes starting with a basecoat of Khador Red Base blended into Cygnus Yellow as it reaches the center. I’ve also begun the hair with a basecoat of Bloodtracker Brown.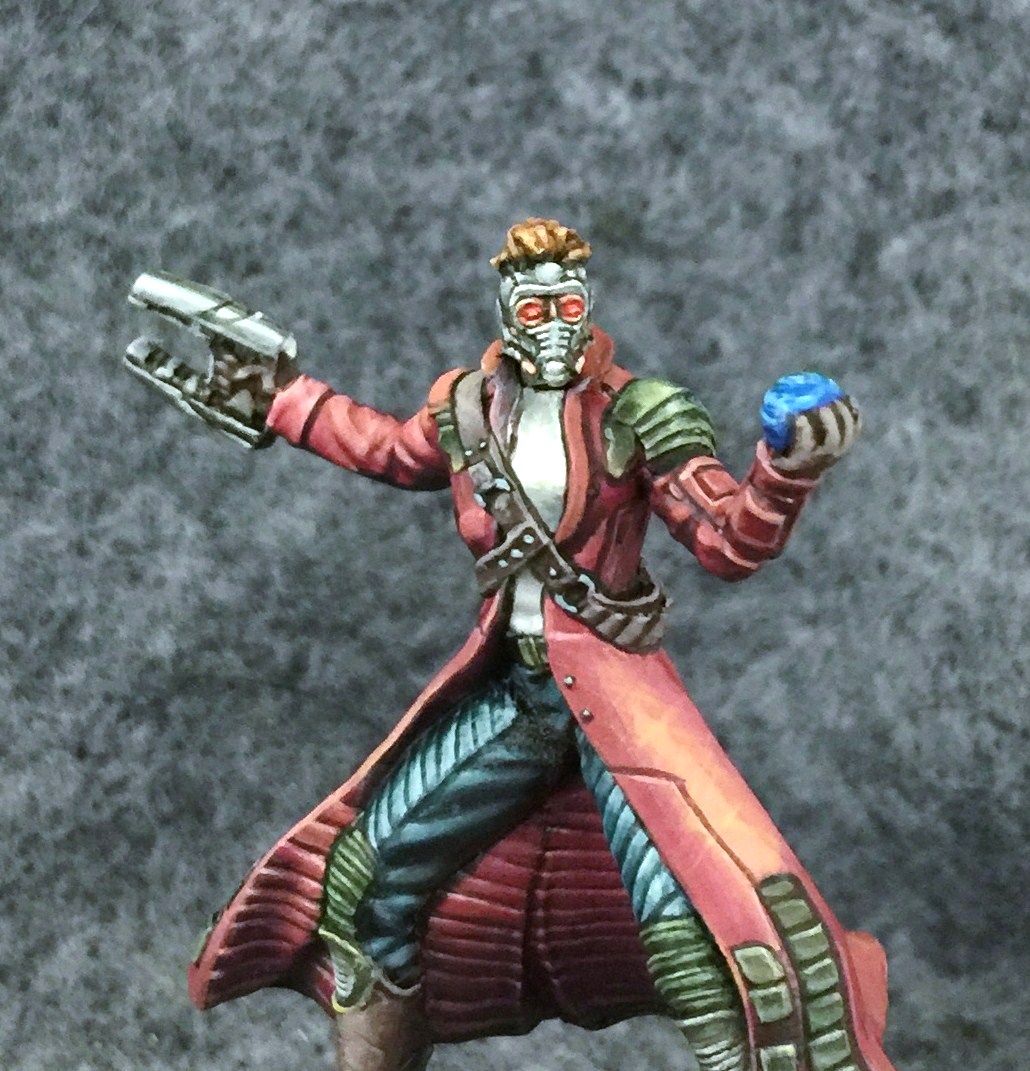
The eyes aren’t perfectly blended, but without meaning too I’ve ended up giving them kind of a sparkling effect, like glowing embers or something. I’m calling it done. The important step here is those face vents. When I was painting them I remember it being so hard to clean them up, but now I can barely see the difference between them in the two pictures. I wanted to get the lines nice and thin so painting over them with the surrounding light blue was key. You can get the thinnest black lines possible by painting over the black beside the black lines. I also clean up a few other areas like the ridge around the eyes.
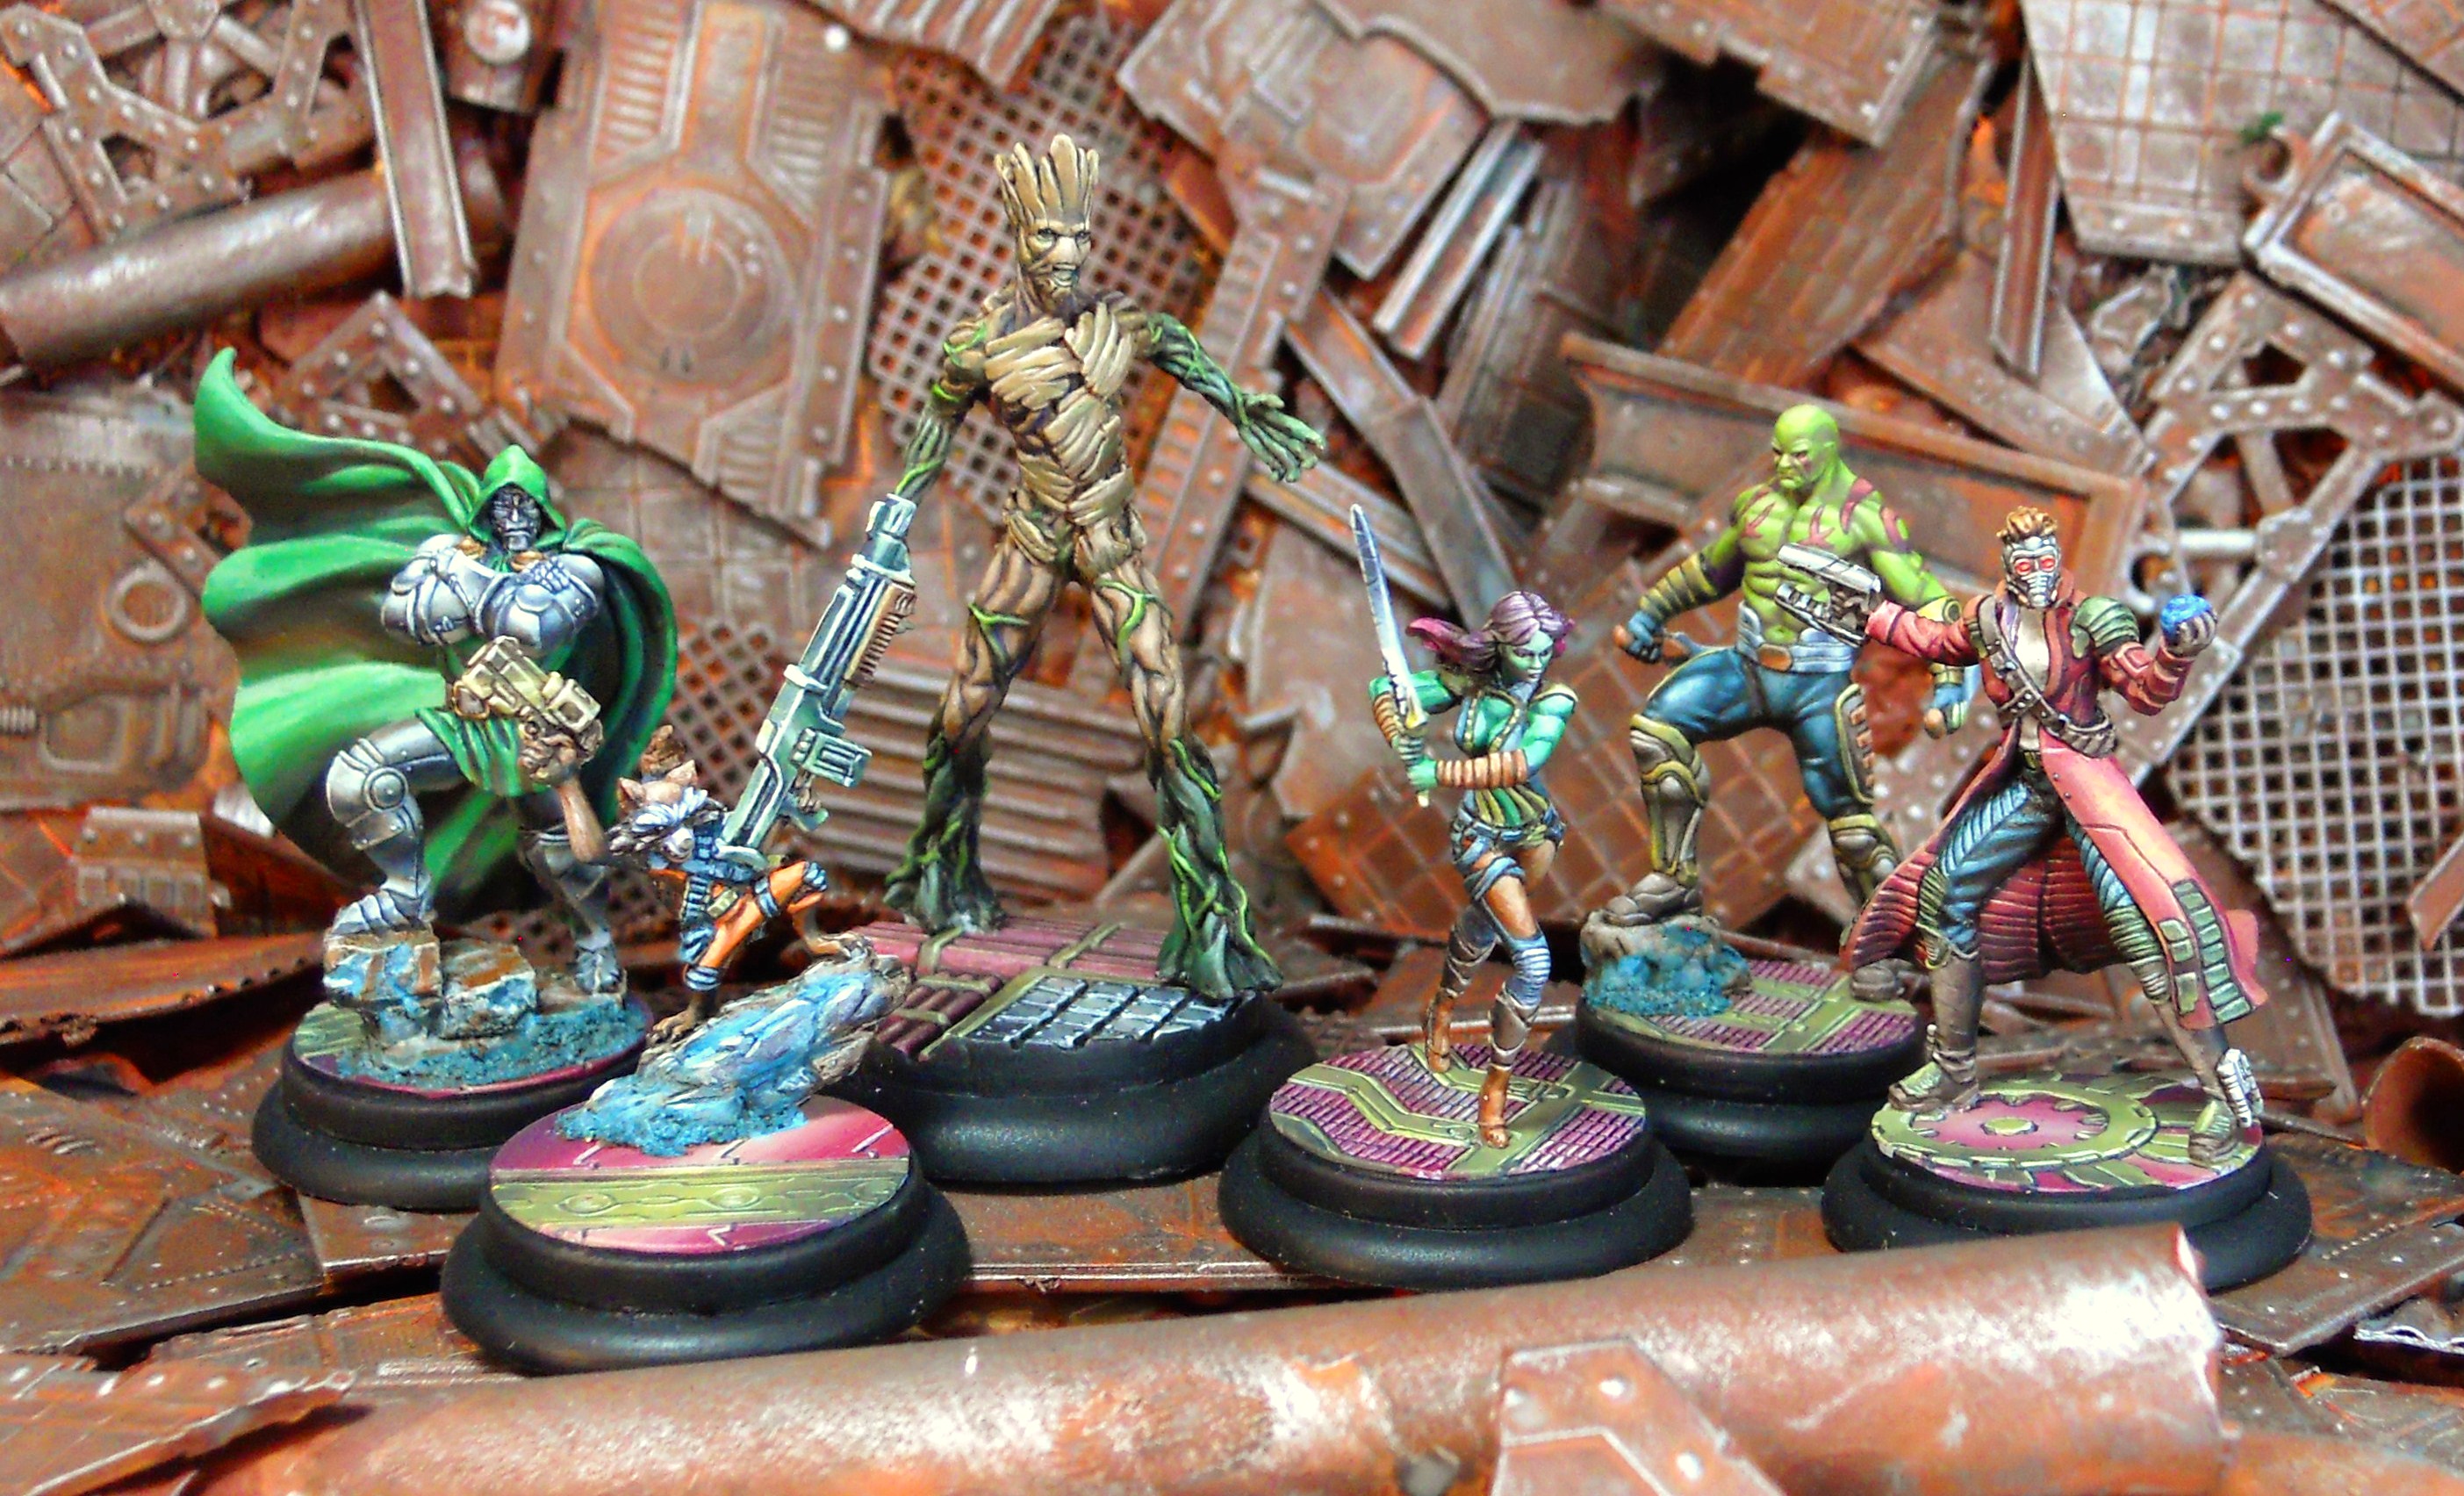
Here is my whole first 50 point Cosmic team.
Hope you enjoyed the article! I have WiP shots for a lot more superheroes (and villains) Comment to tell me which character from this shot you would like to see next!