GMM Studios: Building Ynnari Display – Part 1
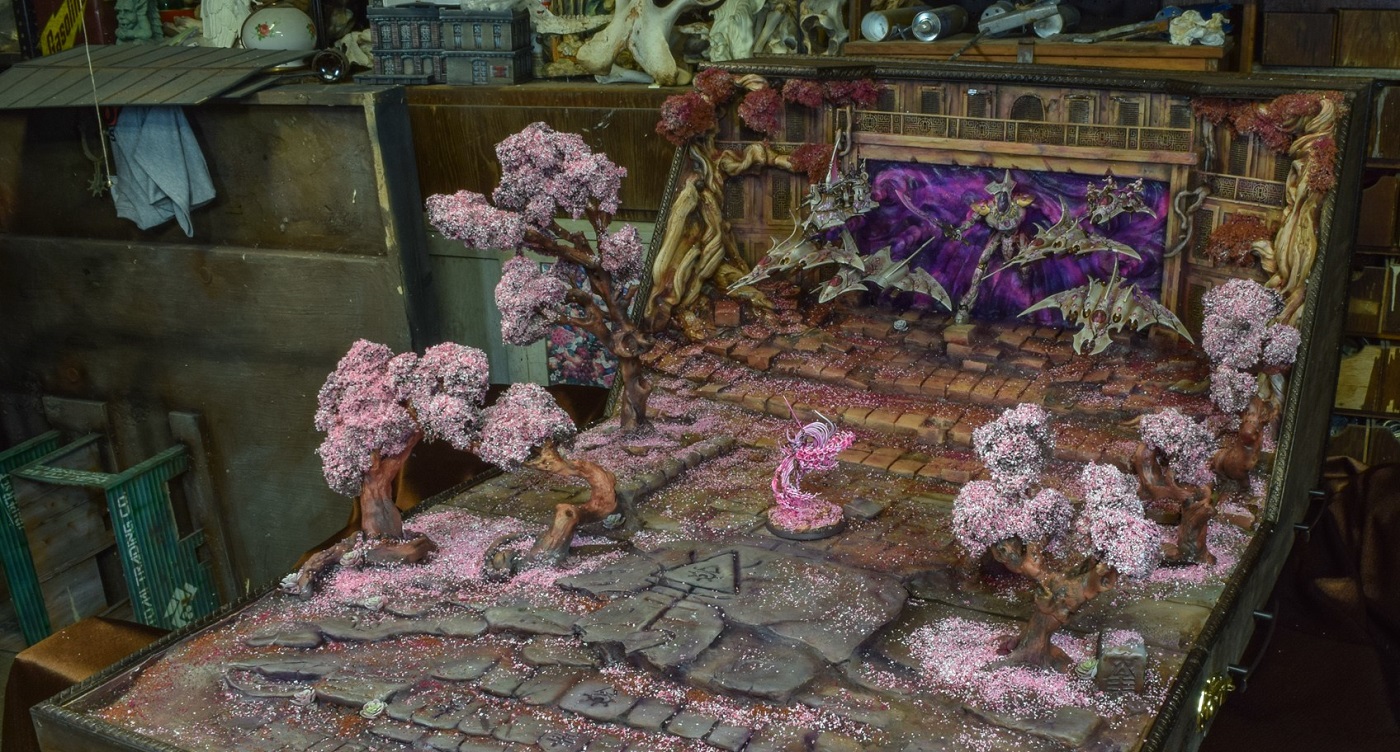
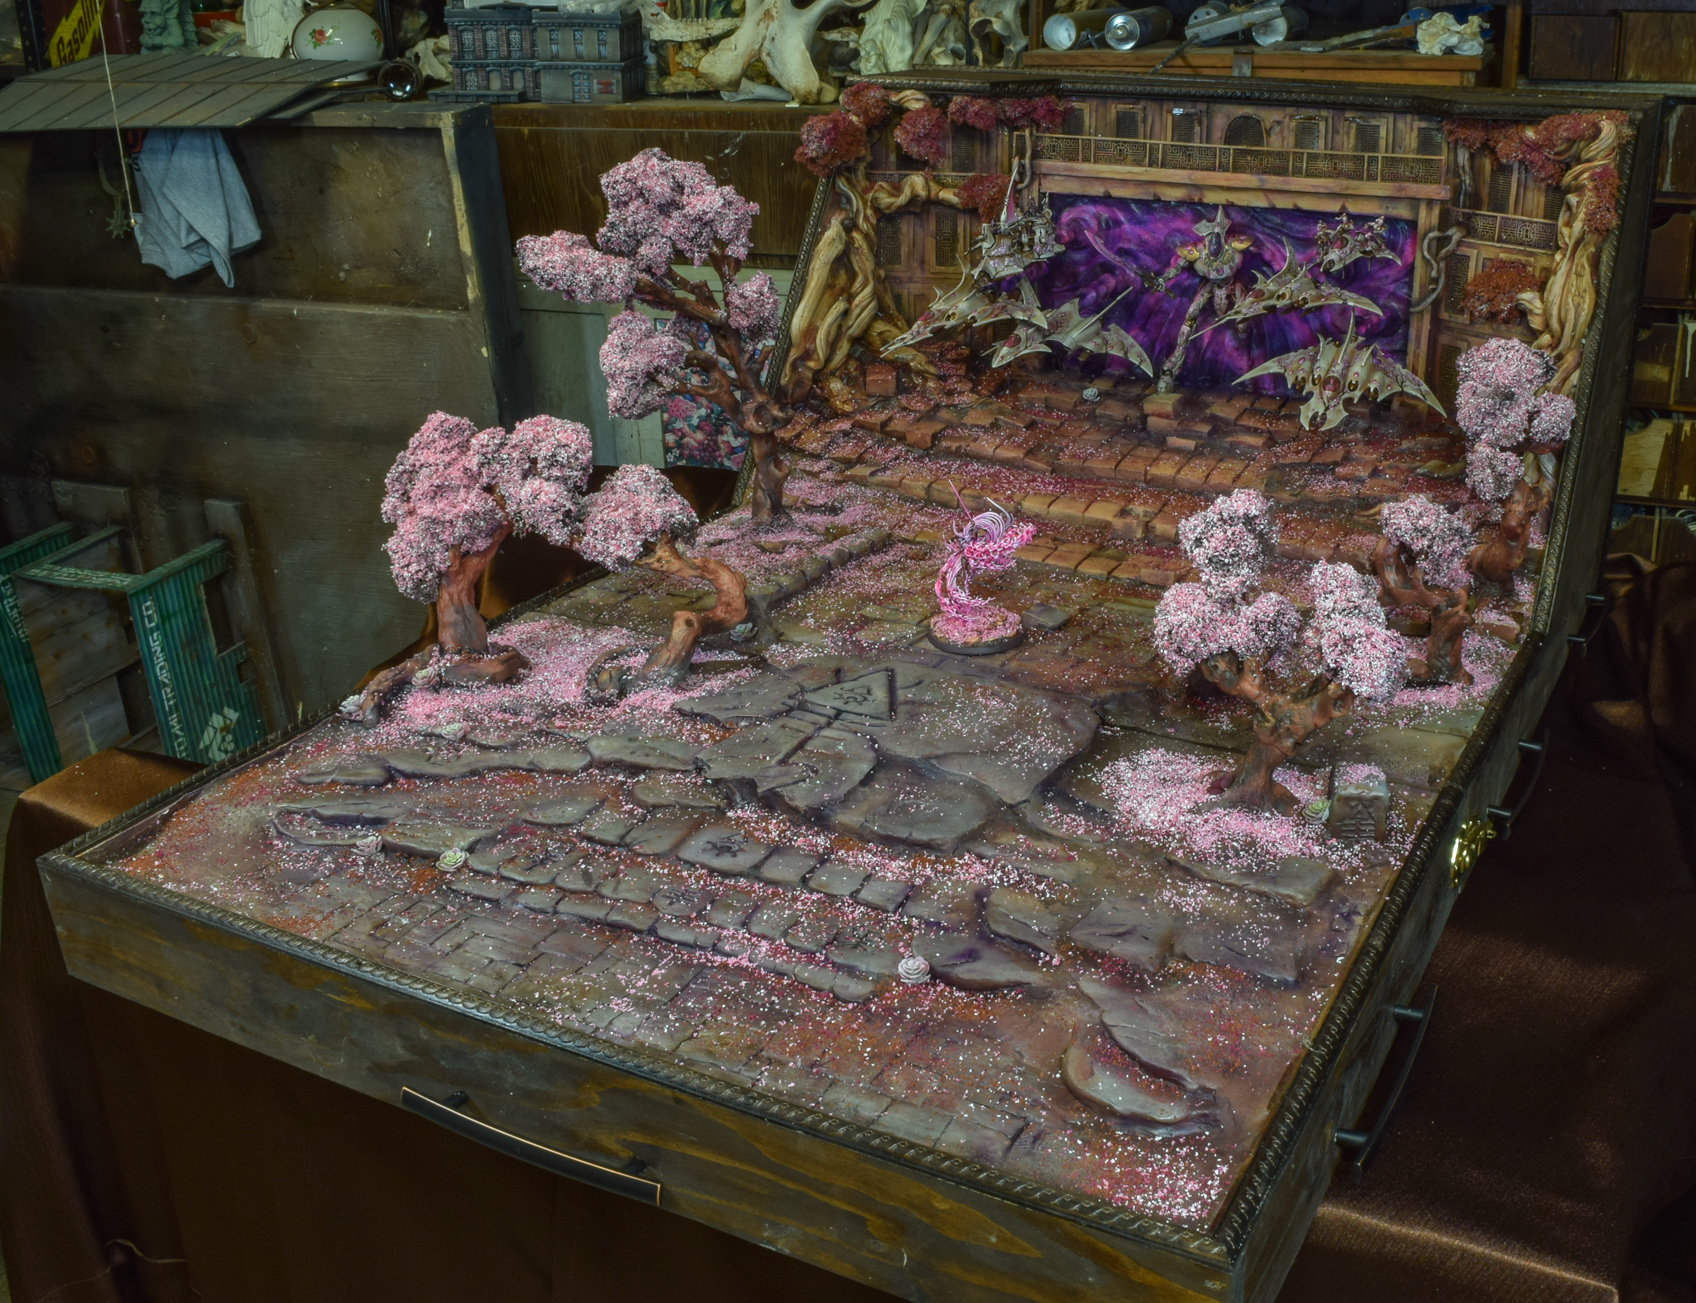
GMM Studios’ Ynnari display is incredible. Come and see how this ancient temple world was sculpted, and watch a true master of the hobby at work.
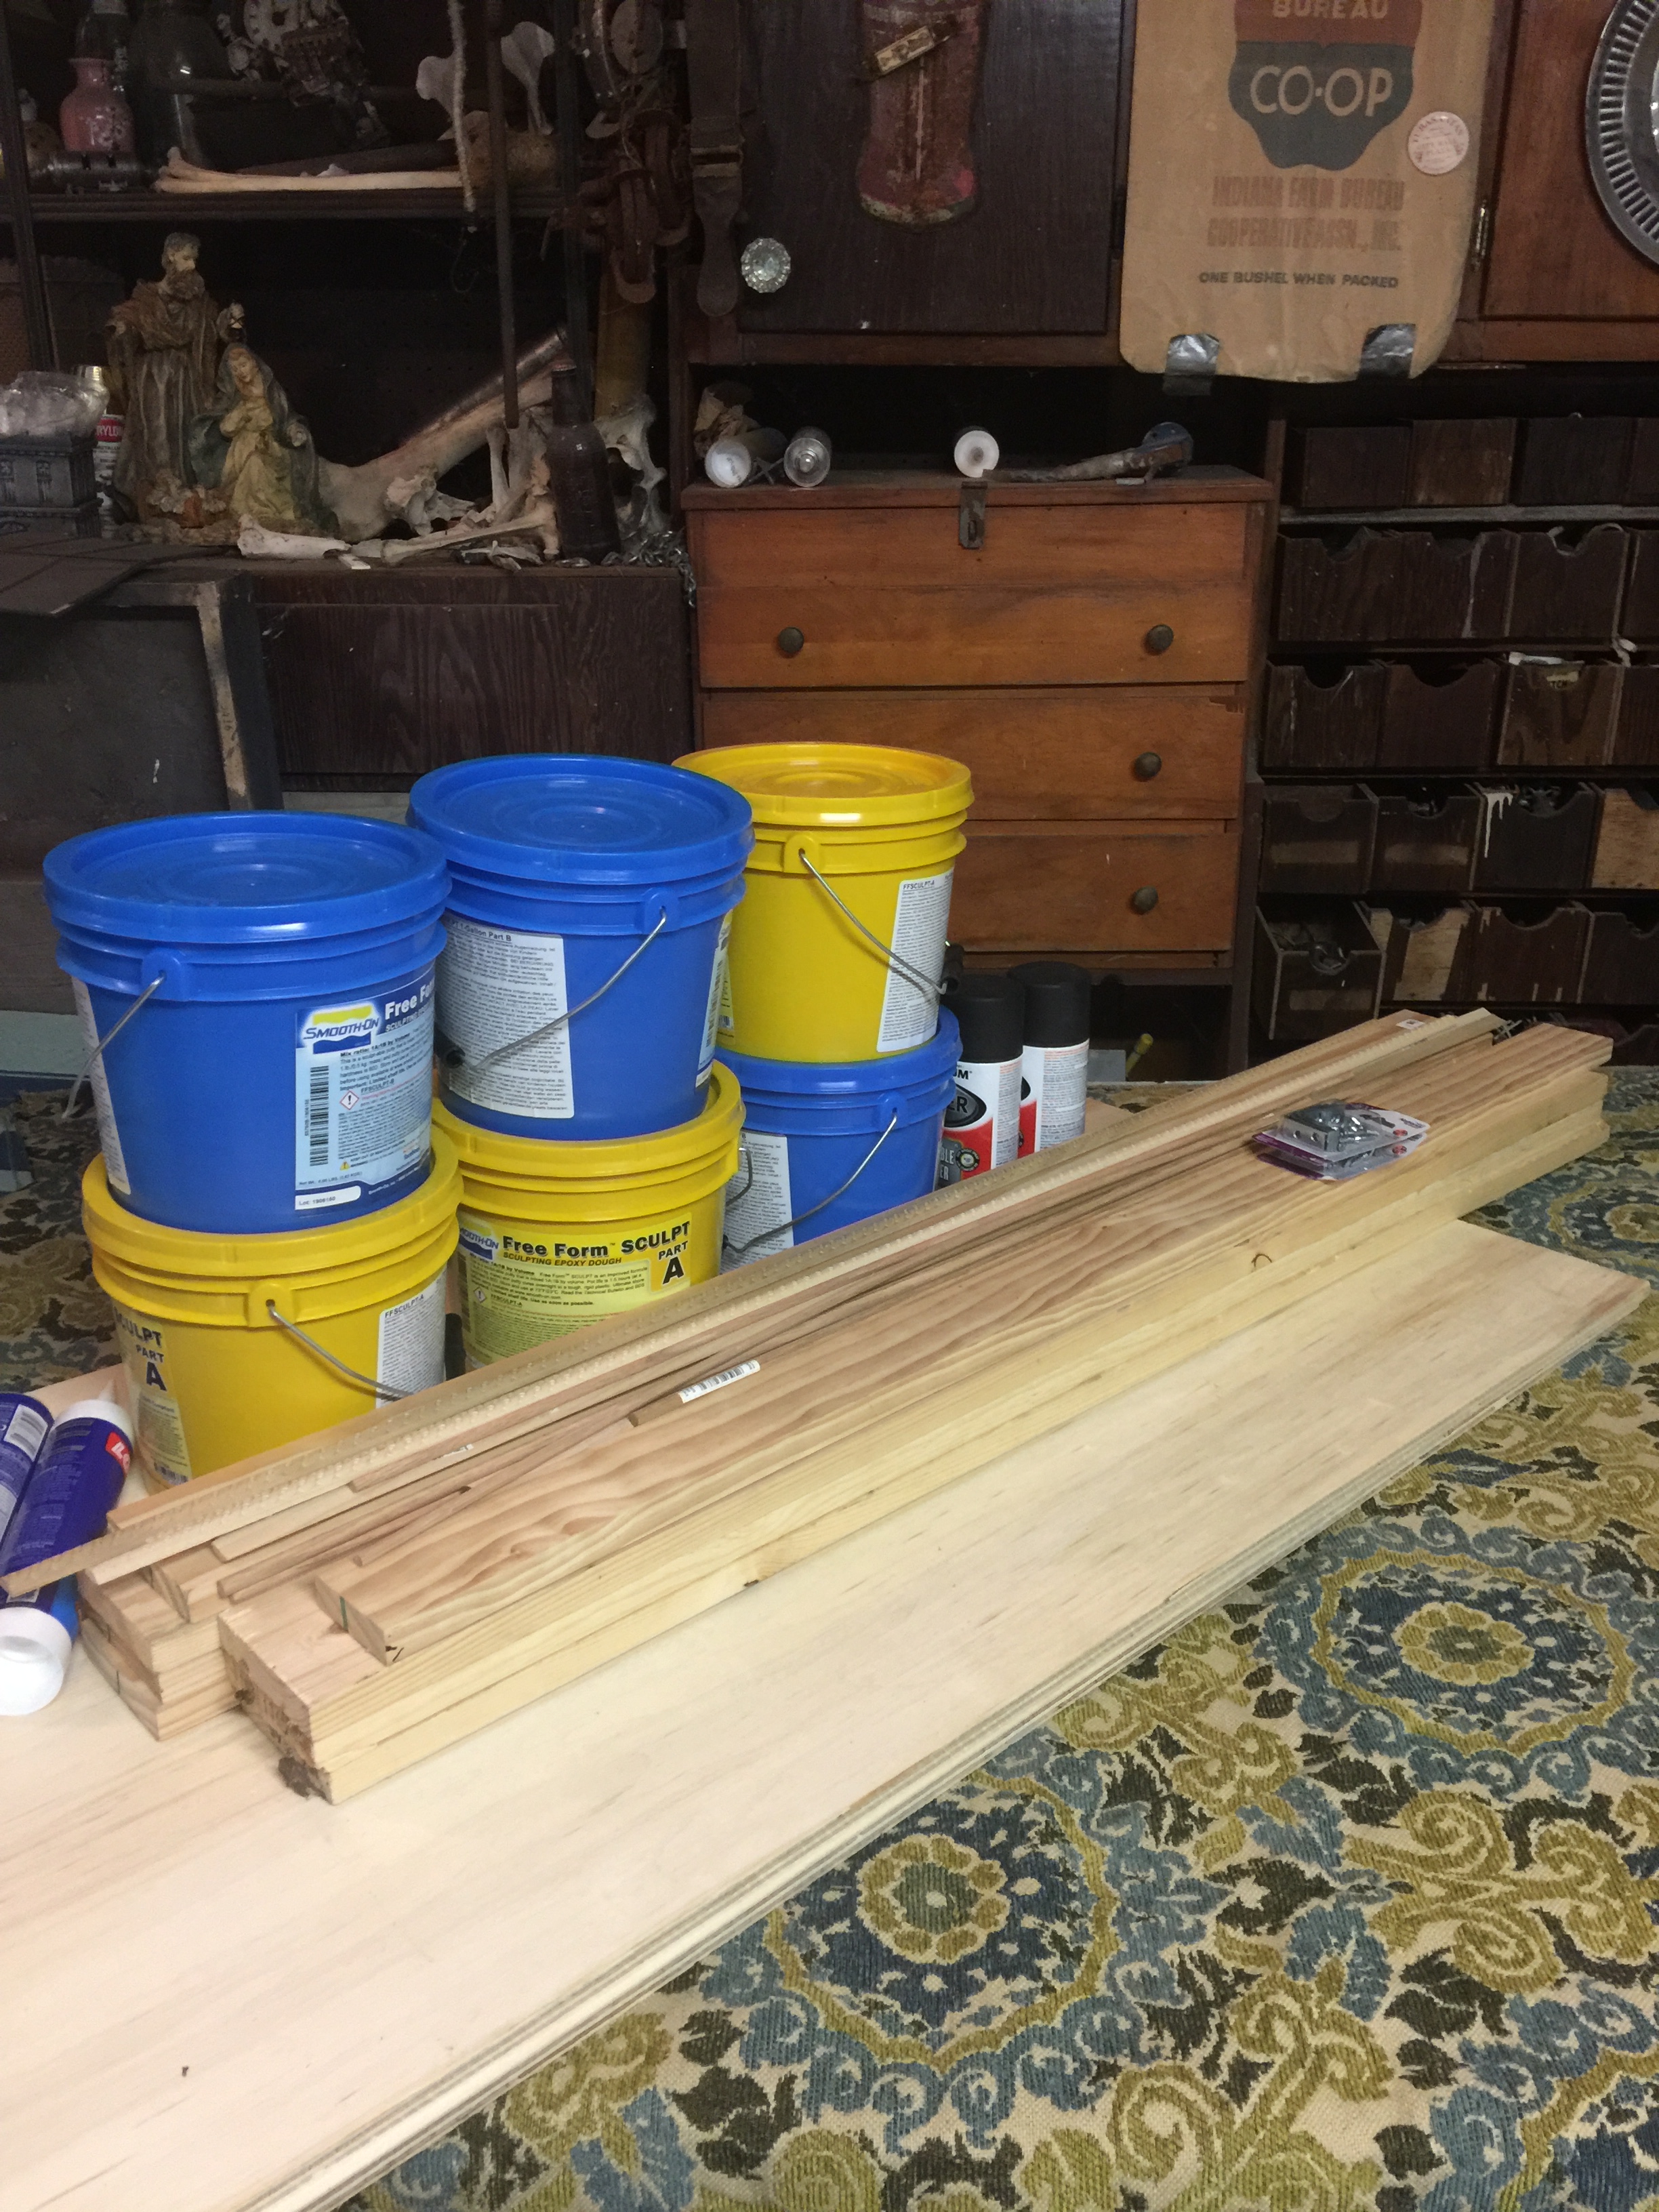
Supplies ready to go! Whole lot of Smooth-On two part clay, wood trim, and some hardware. Getting the best quality wood possible goes a long way both in aesthetics and durability.
Basic frame for the front out of pine. This display was built dual purpose – the front part was designed to fit over a wheeled cart for smaller tournaments, and later built a second larger half to combine the two for huge games and events.
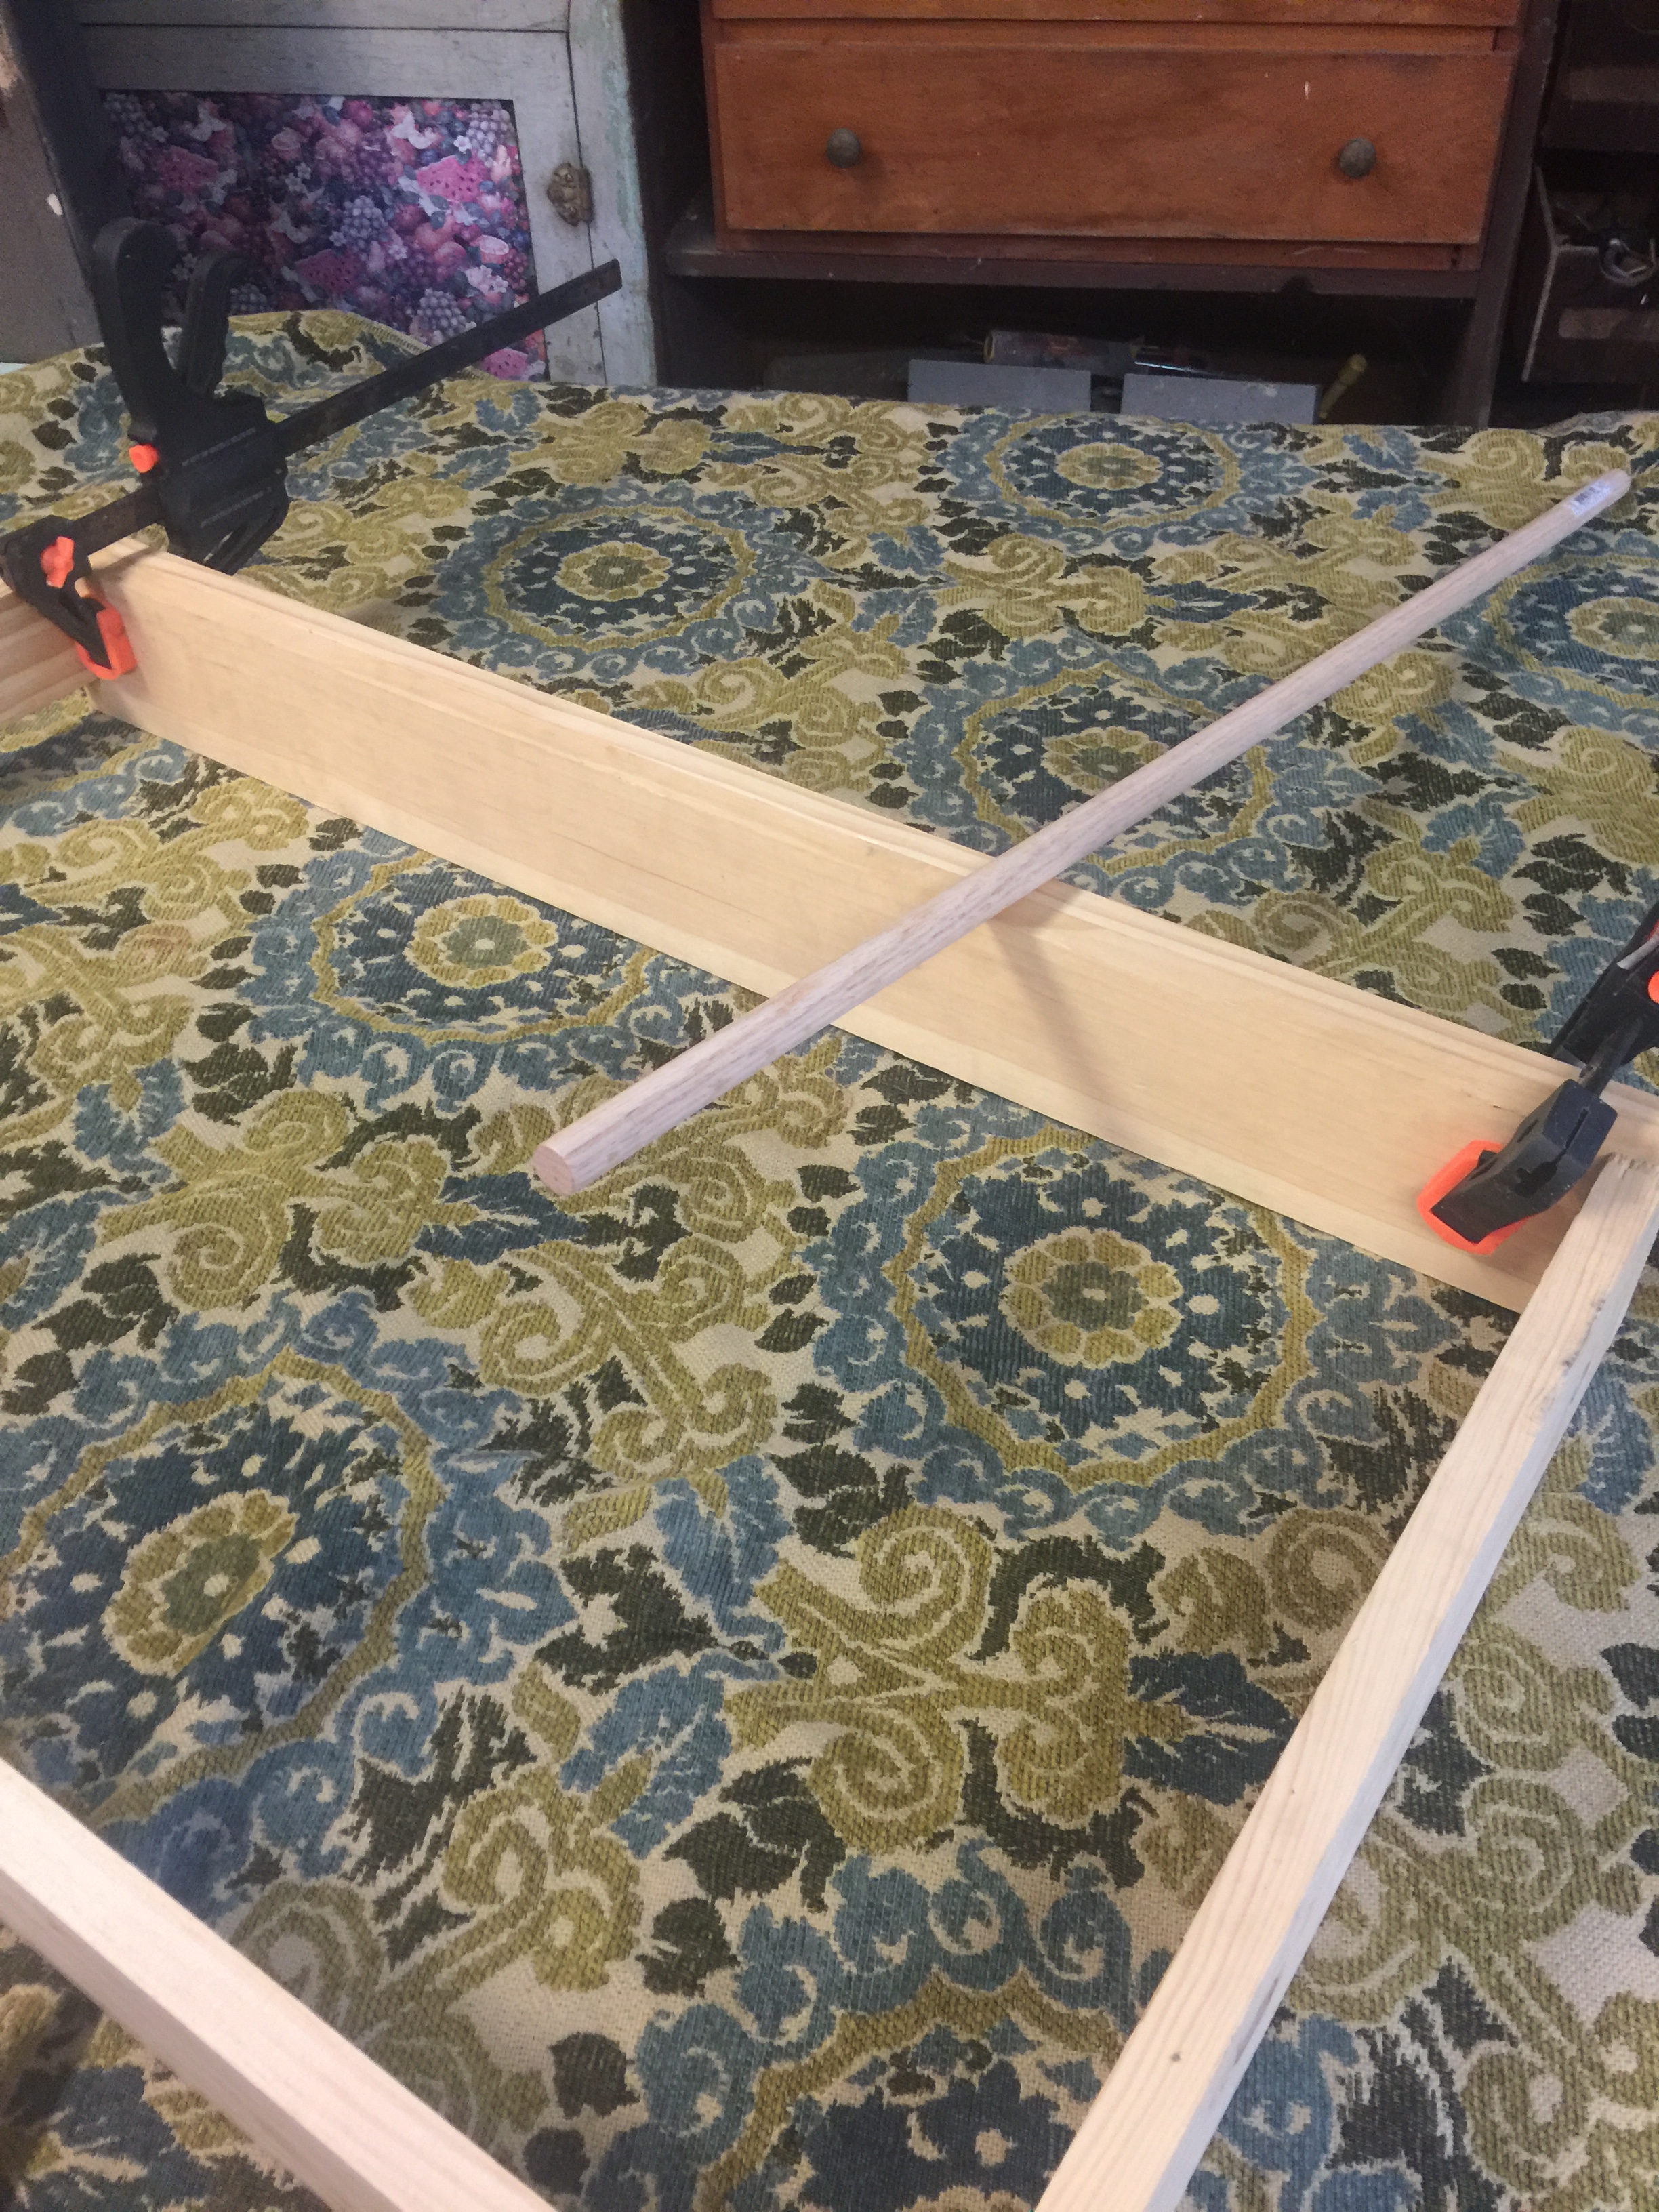
The two plates of the frame of the front and back halves needed something to keep them lined up when locking together. For this I bored 1 inch dowels through both while clamped together.
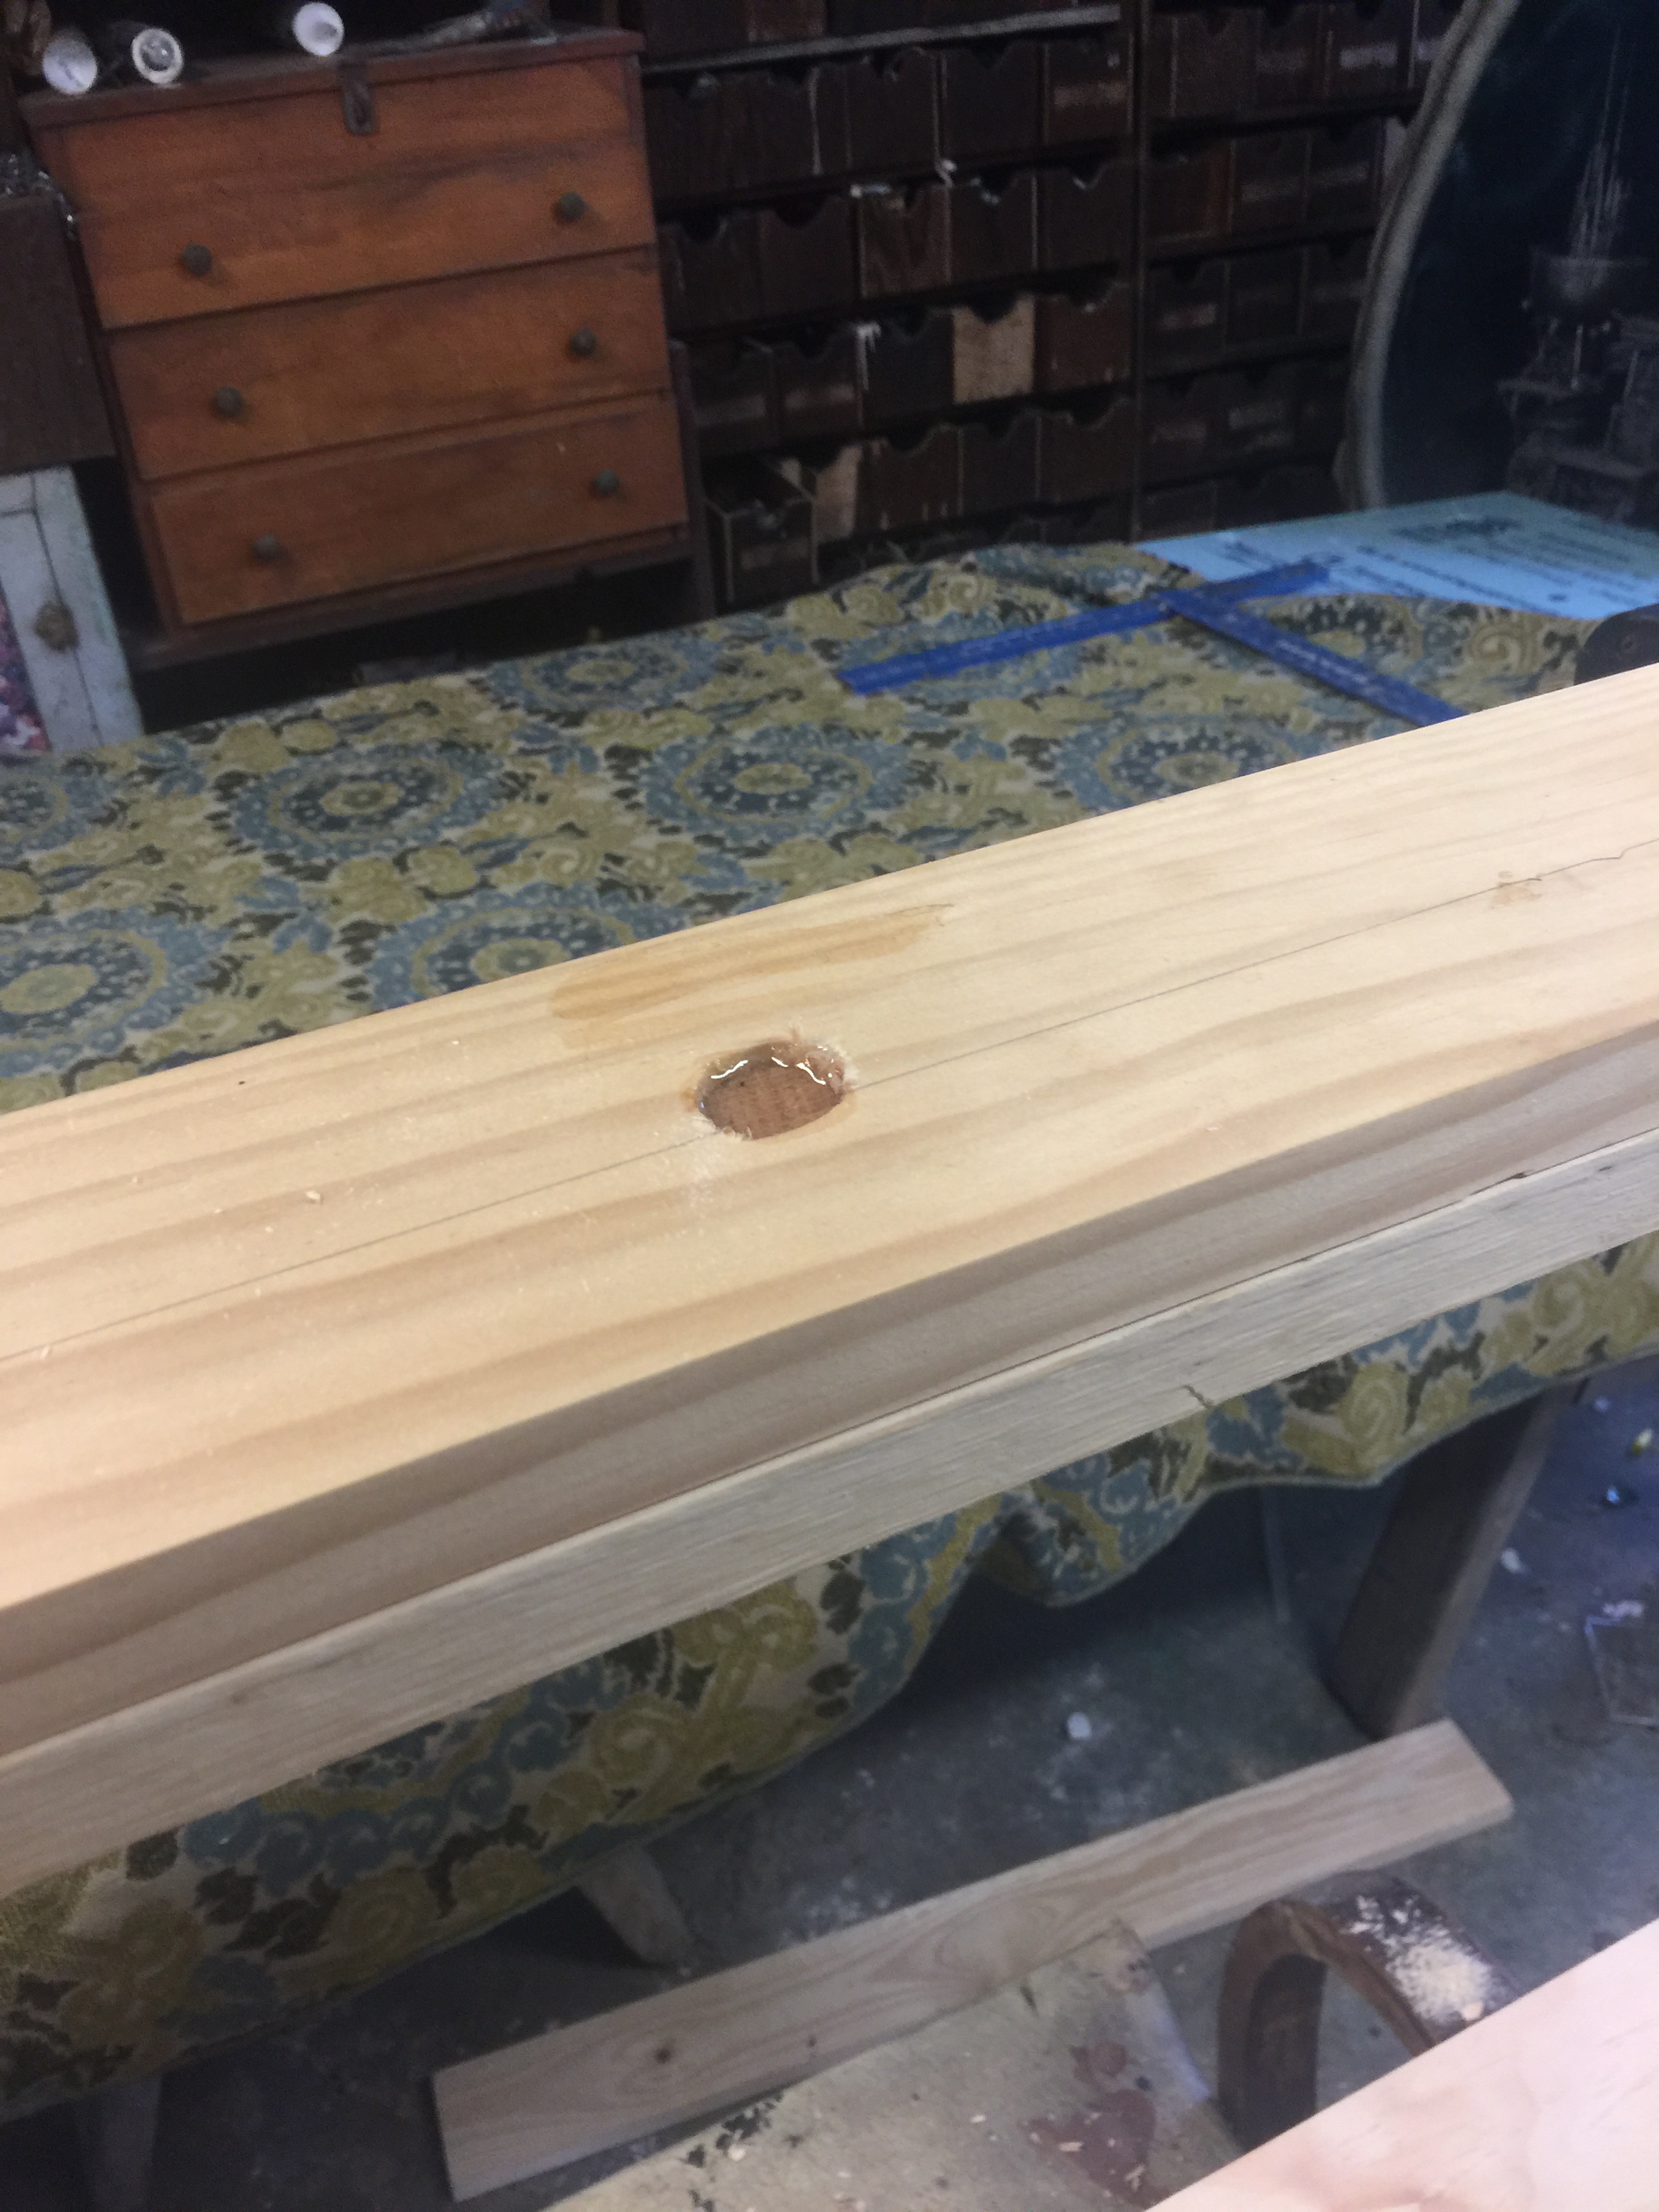
Little epoxy just on the one side. Two part epoxy and some rough surface more than enough, but could also shoots some brads into it if a guy wanted.

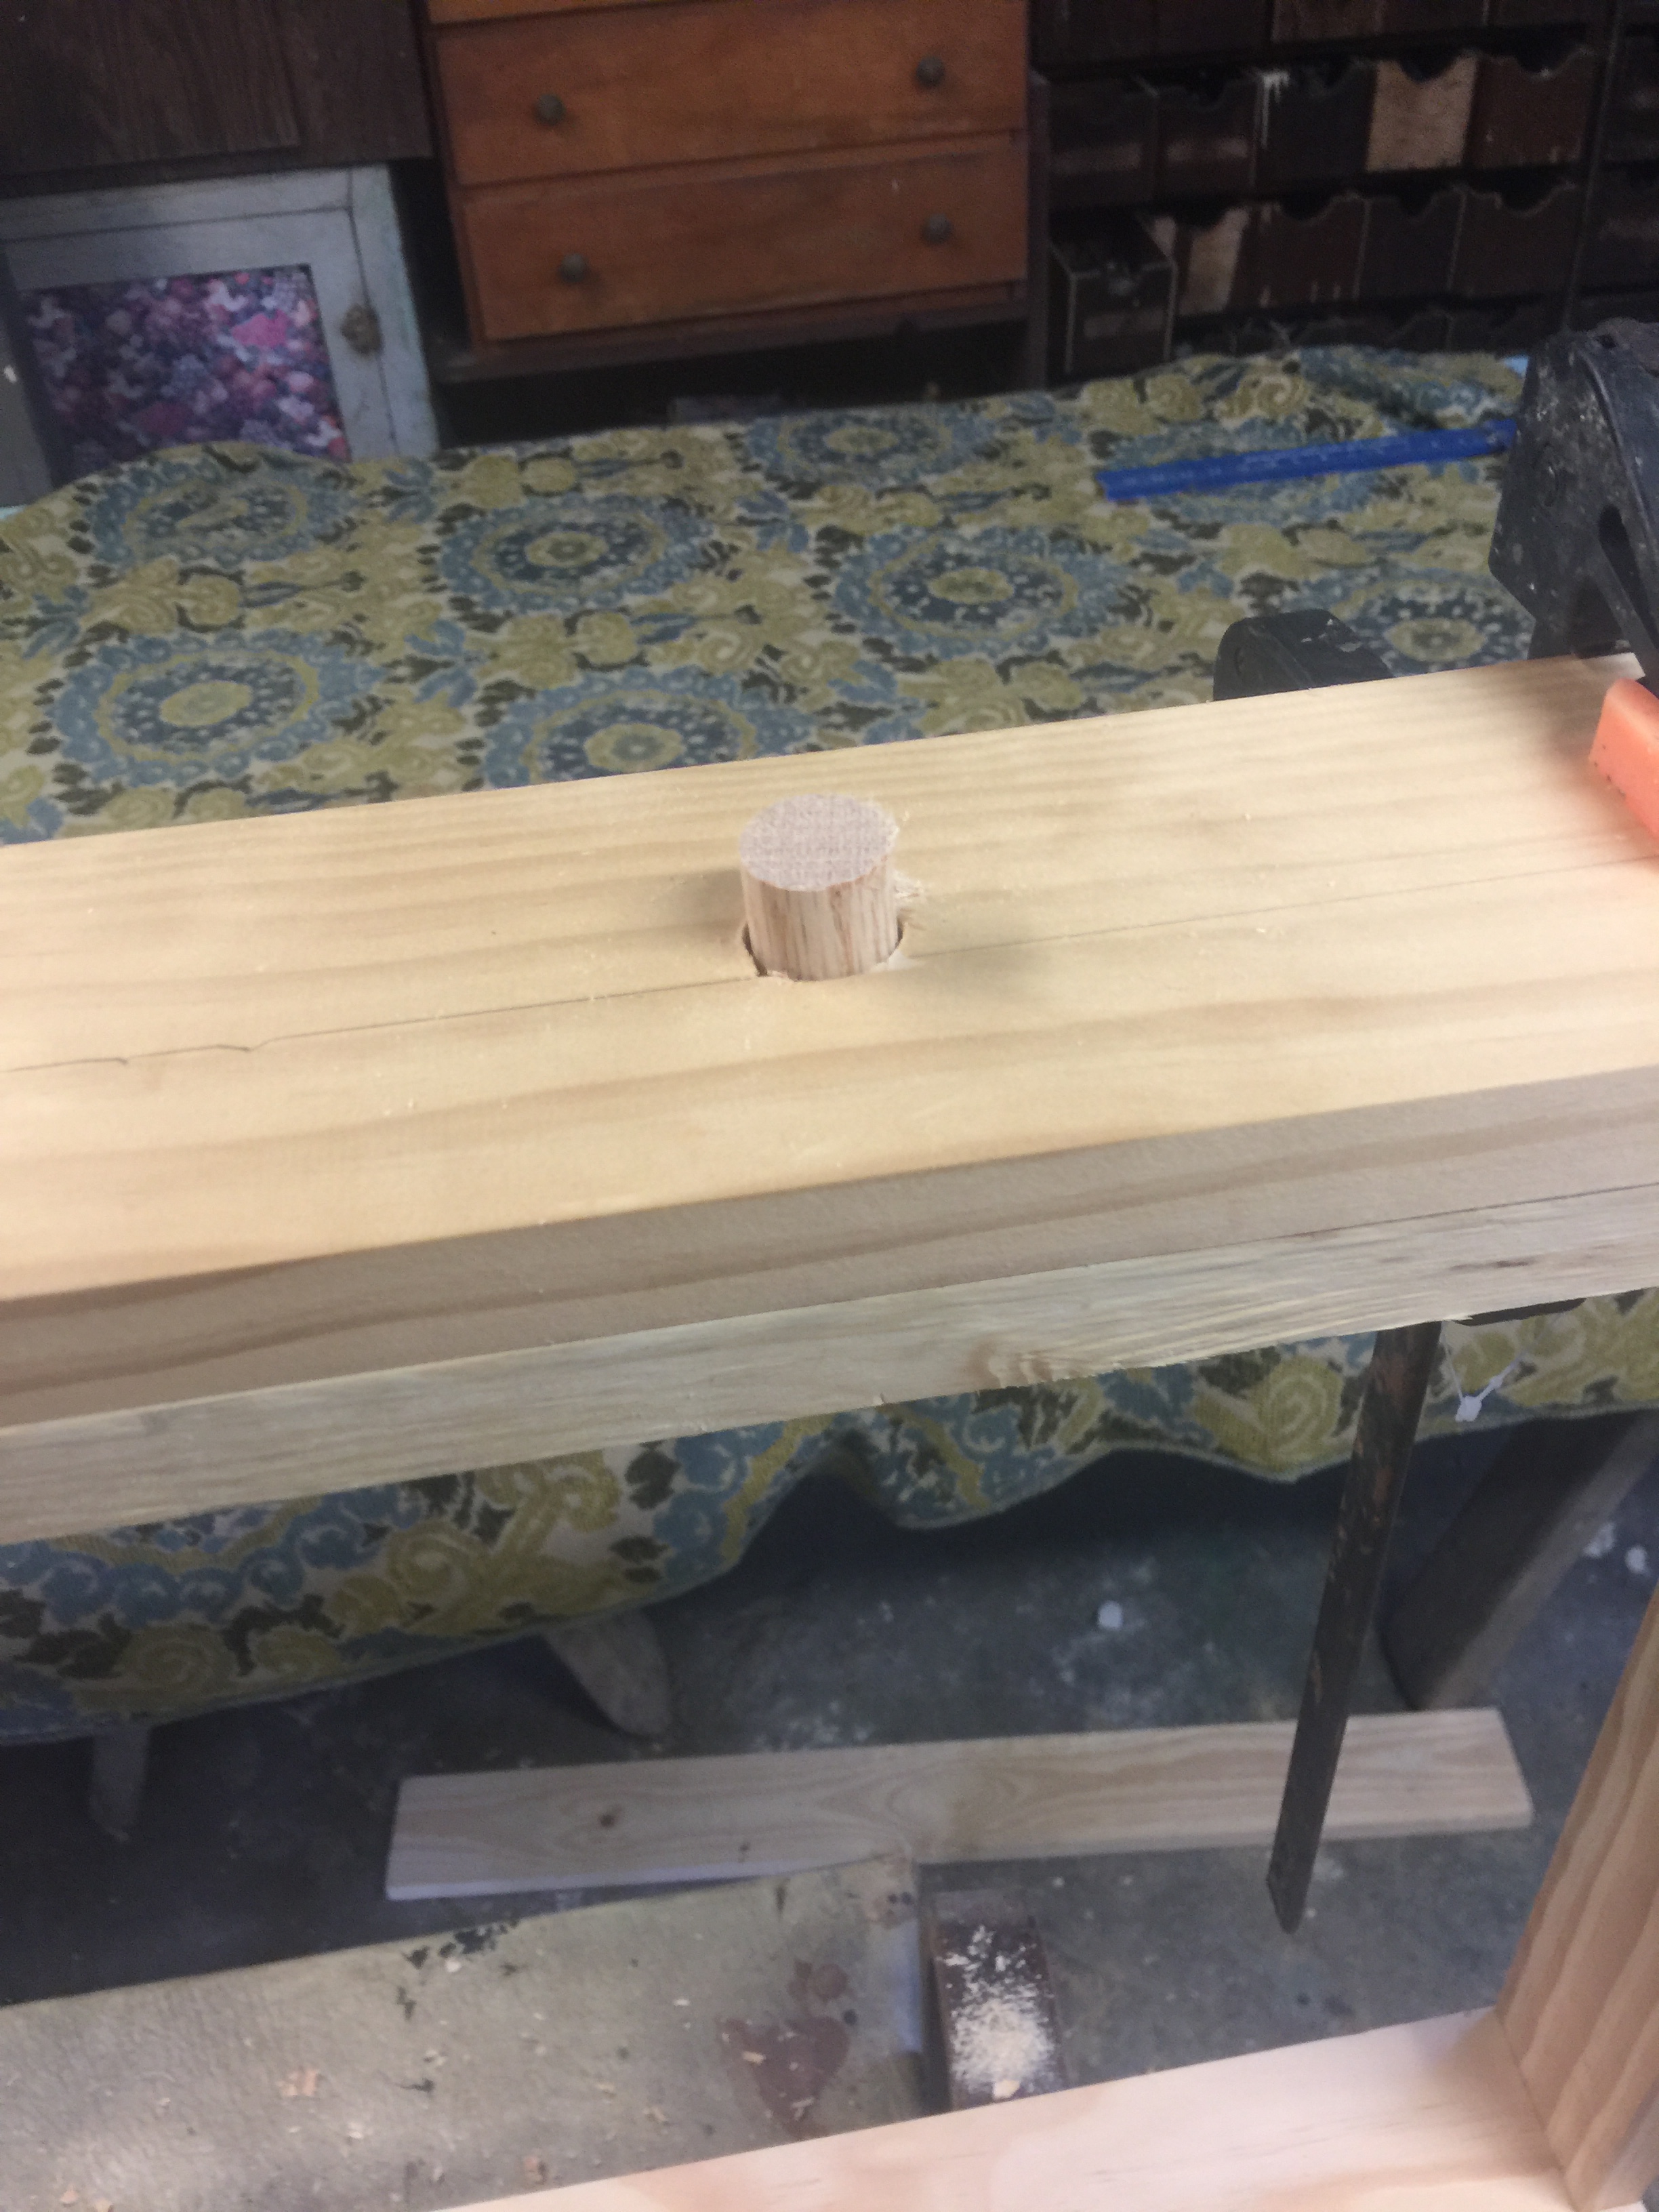
Dowels cut, epoxied and ready, then a little sanding and testing. Afterward this back plate was set aside until I worked on the back.
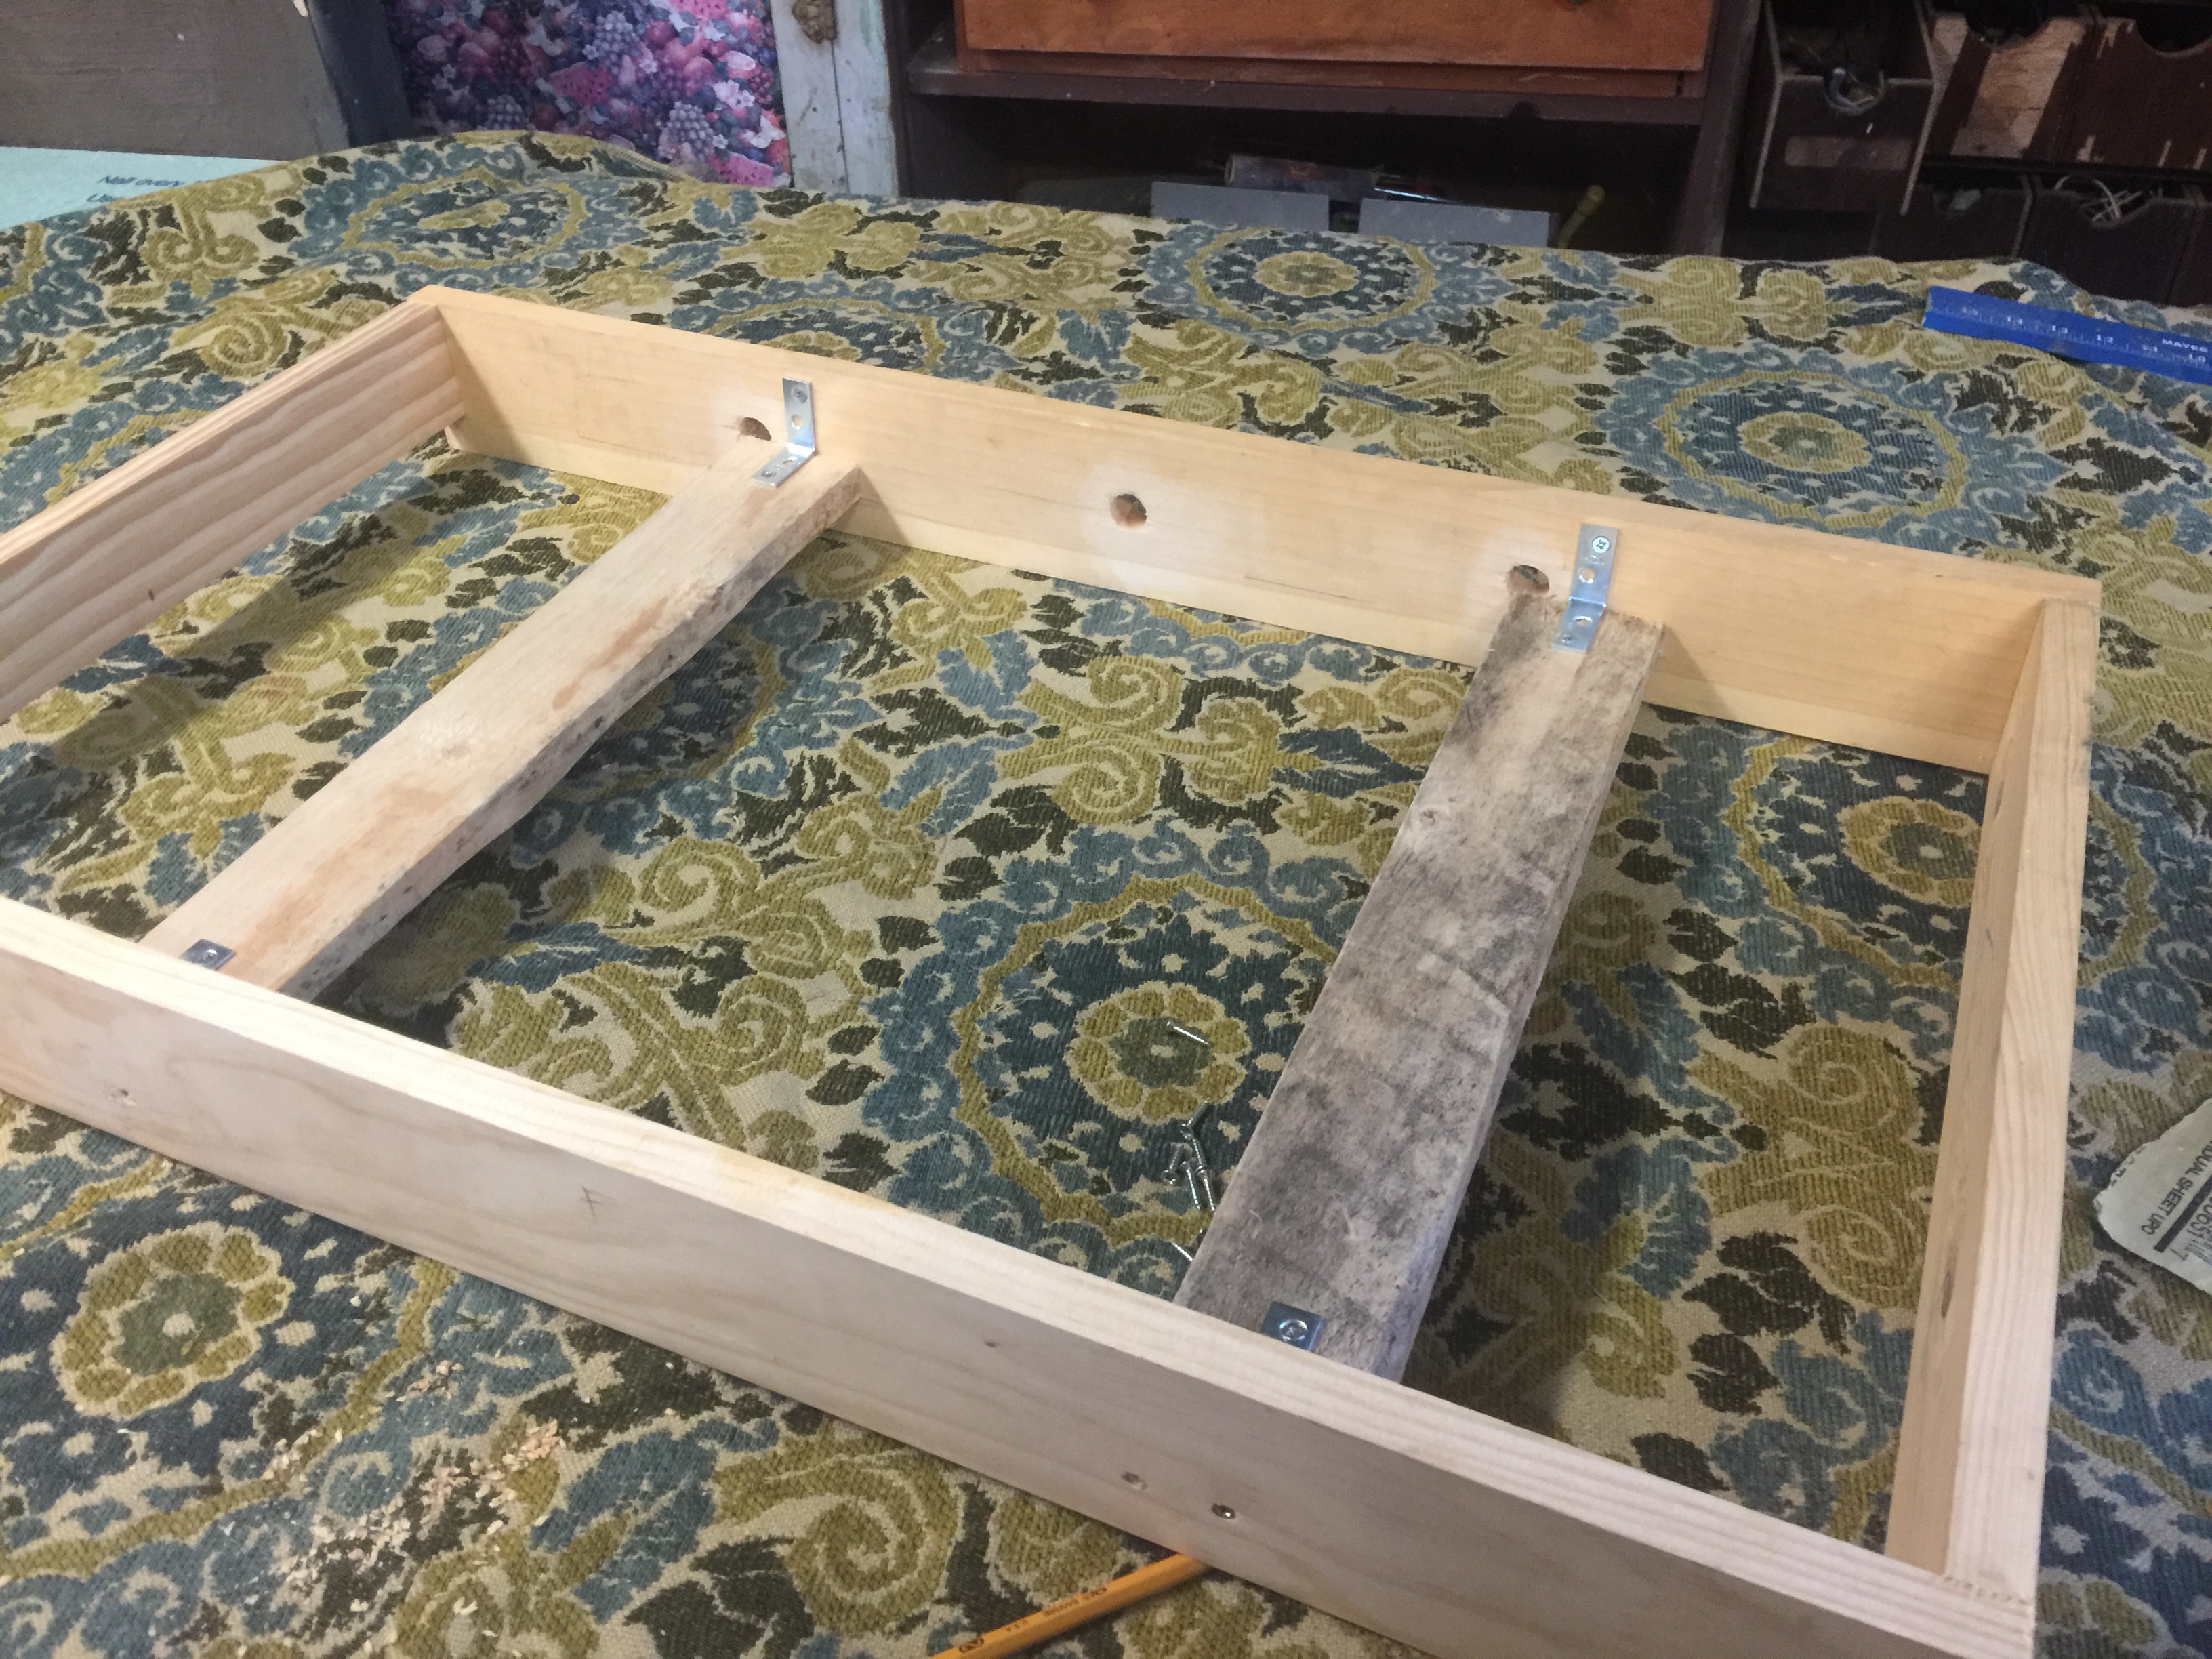
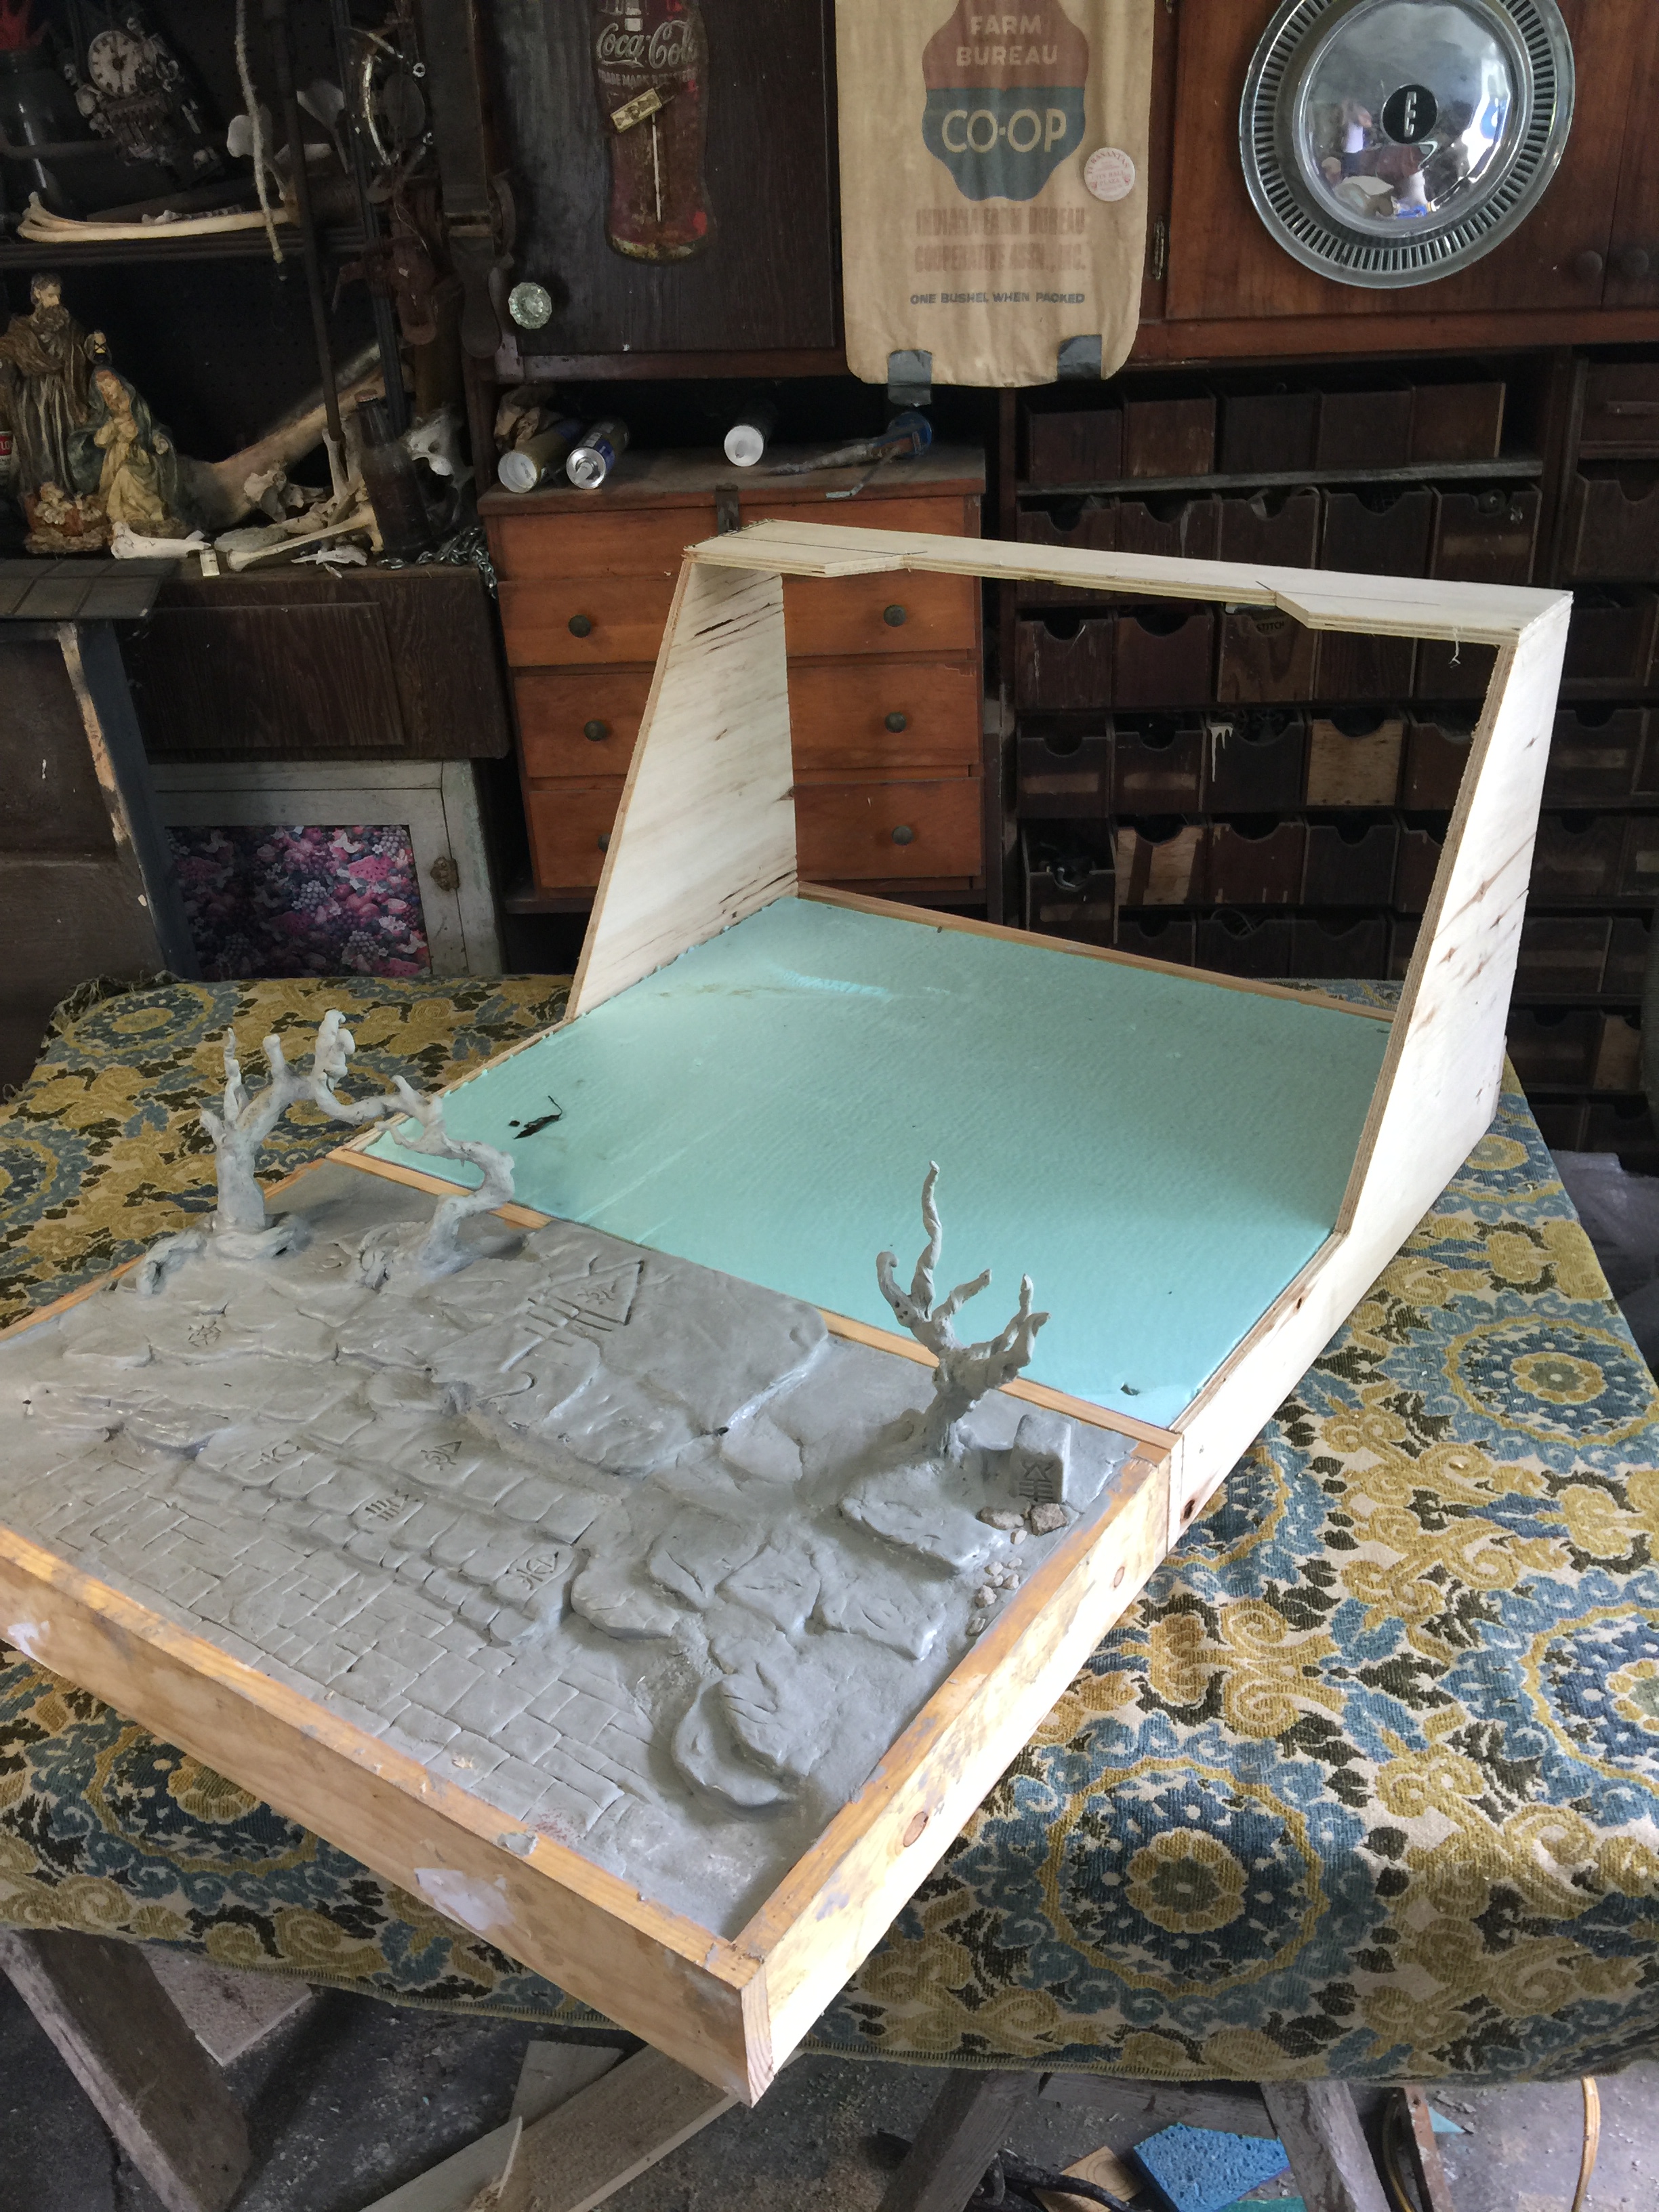
Couple of supports to add more point of contact for the foam and to keep the bottom level when sitting on the cart.
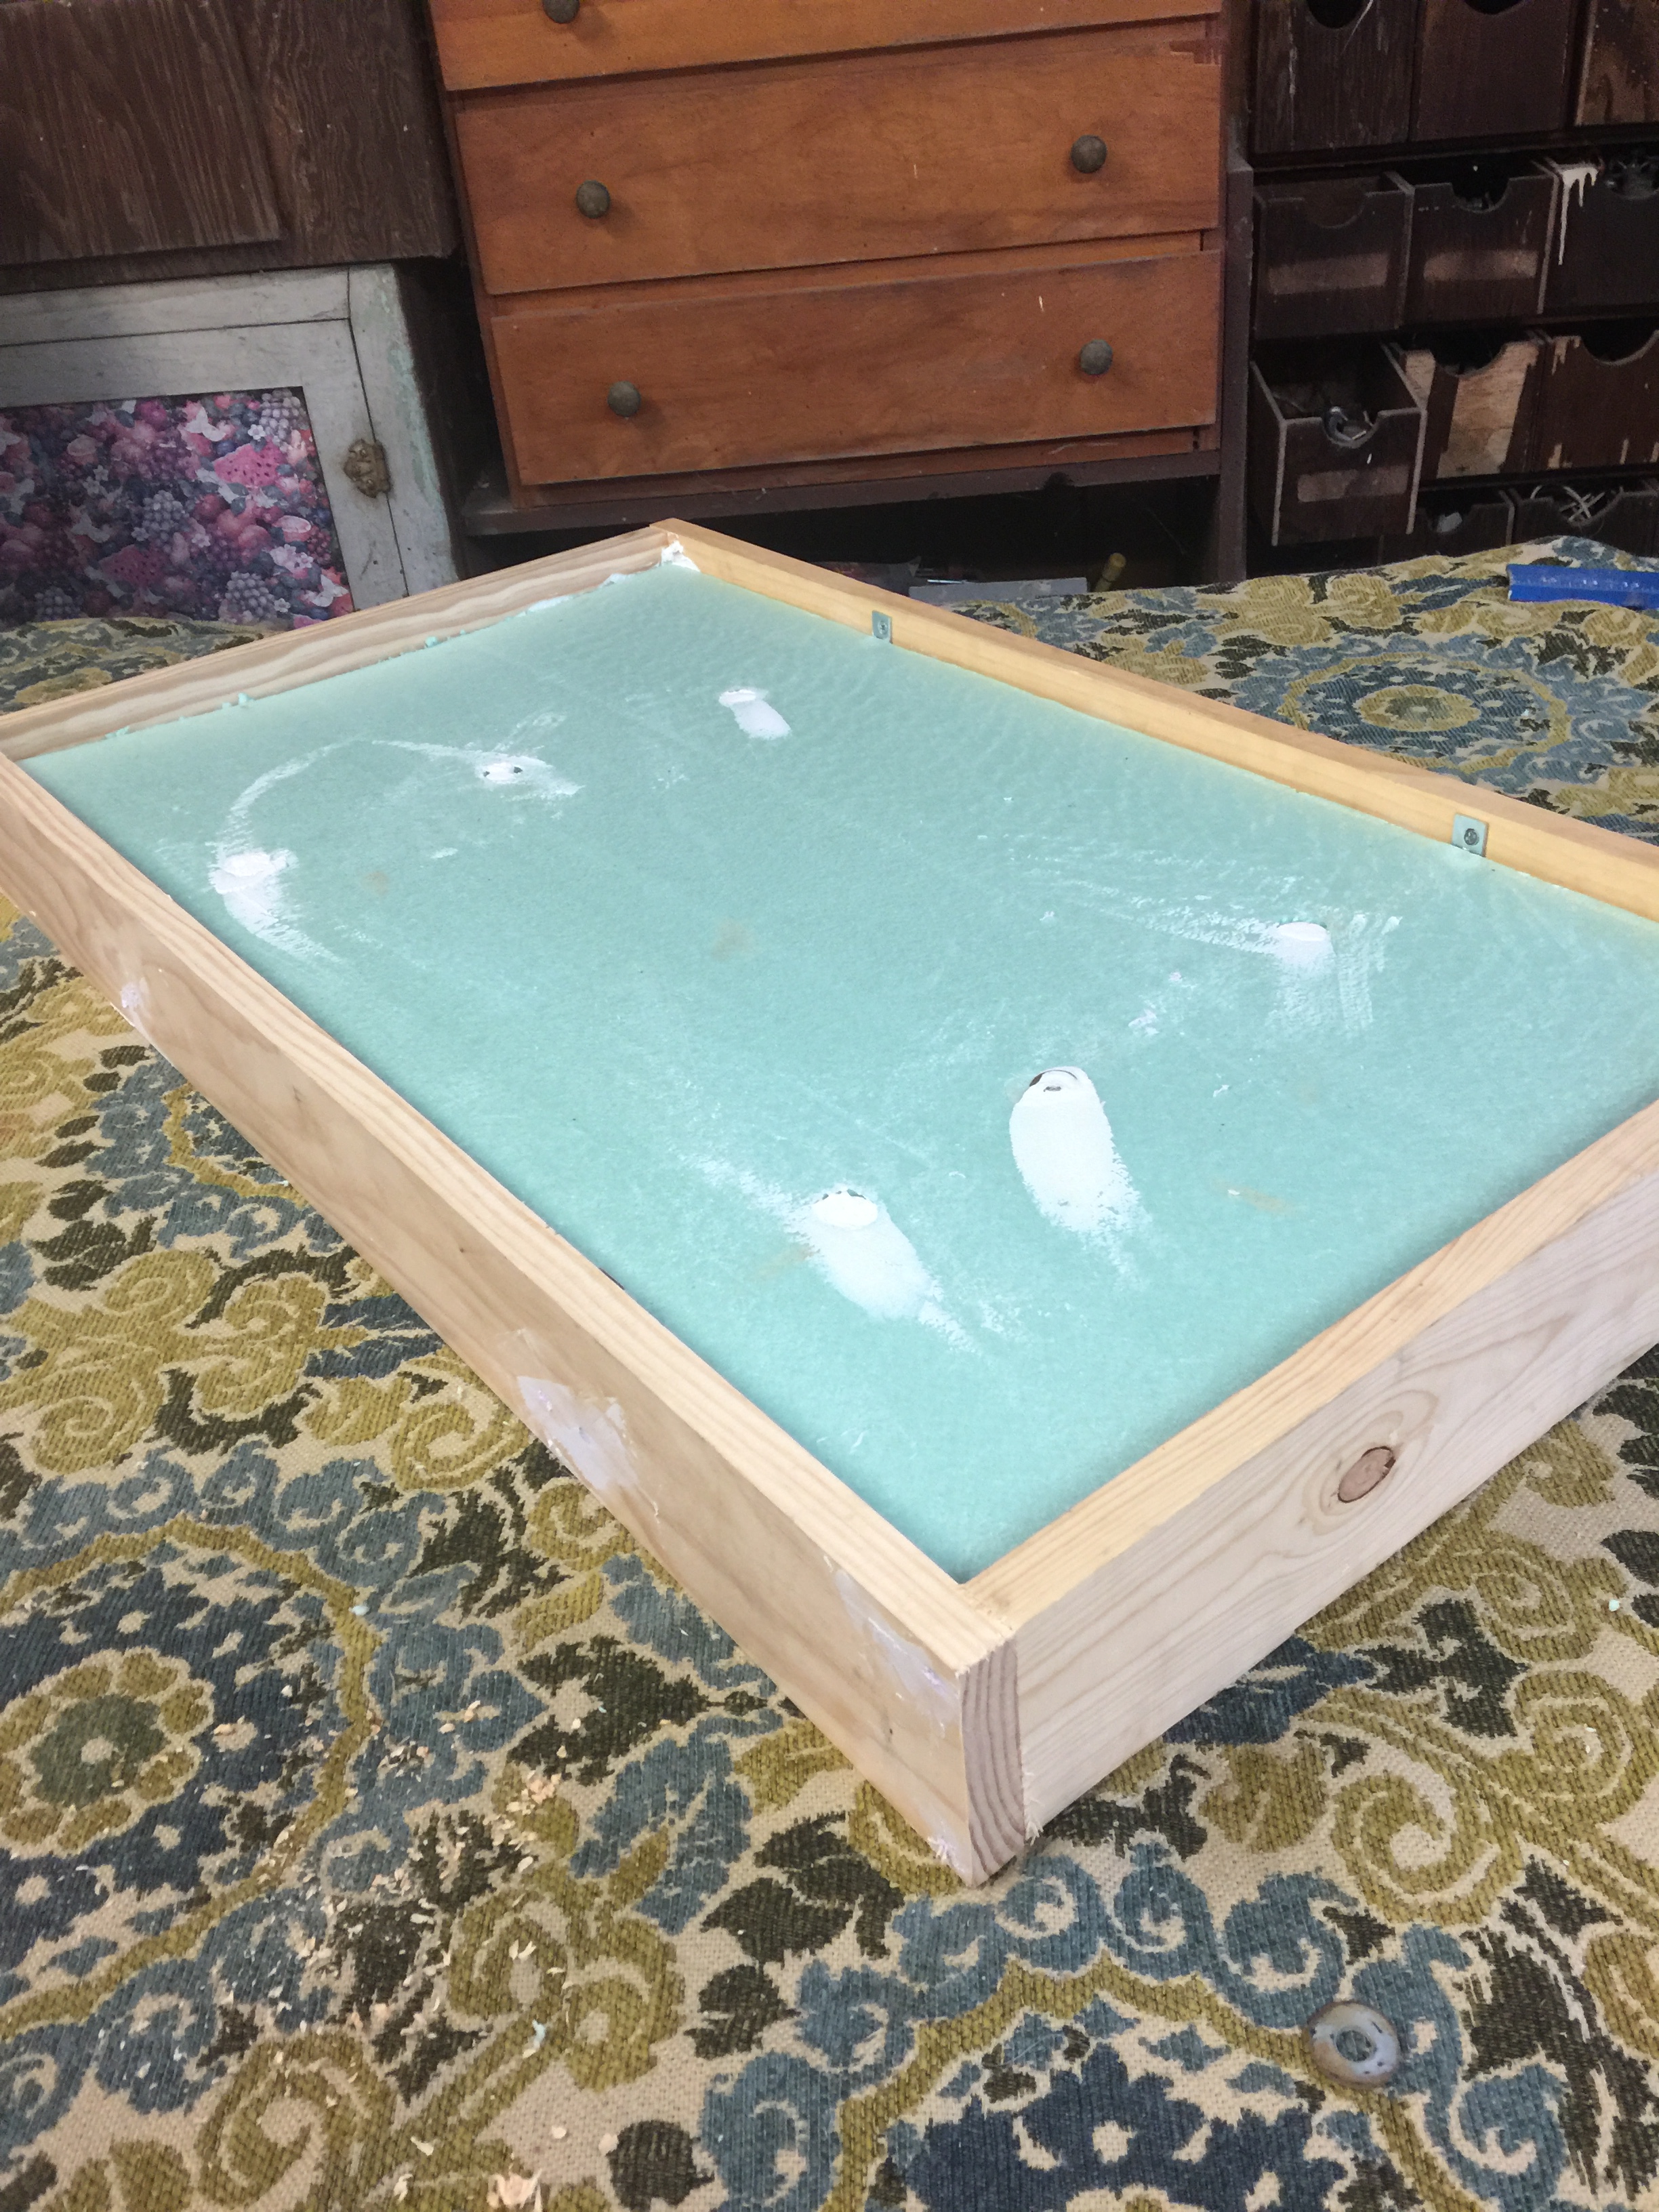
Base layer of foam. Keeps things flat, solid surface to work with, and light weight. While I have made displays for myself that require a few people to move, I certainly keep transport in mind when making a display for a client. Just enough wood for lifetime durability, then fill out space with foam. Handles also added way later after the staining.
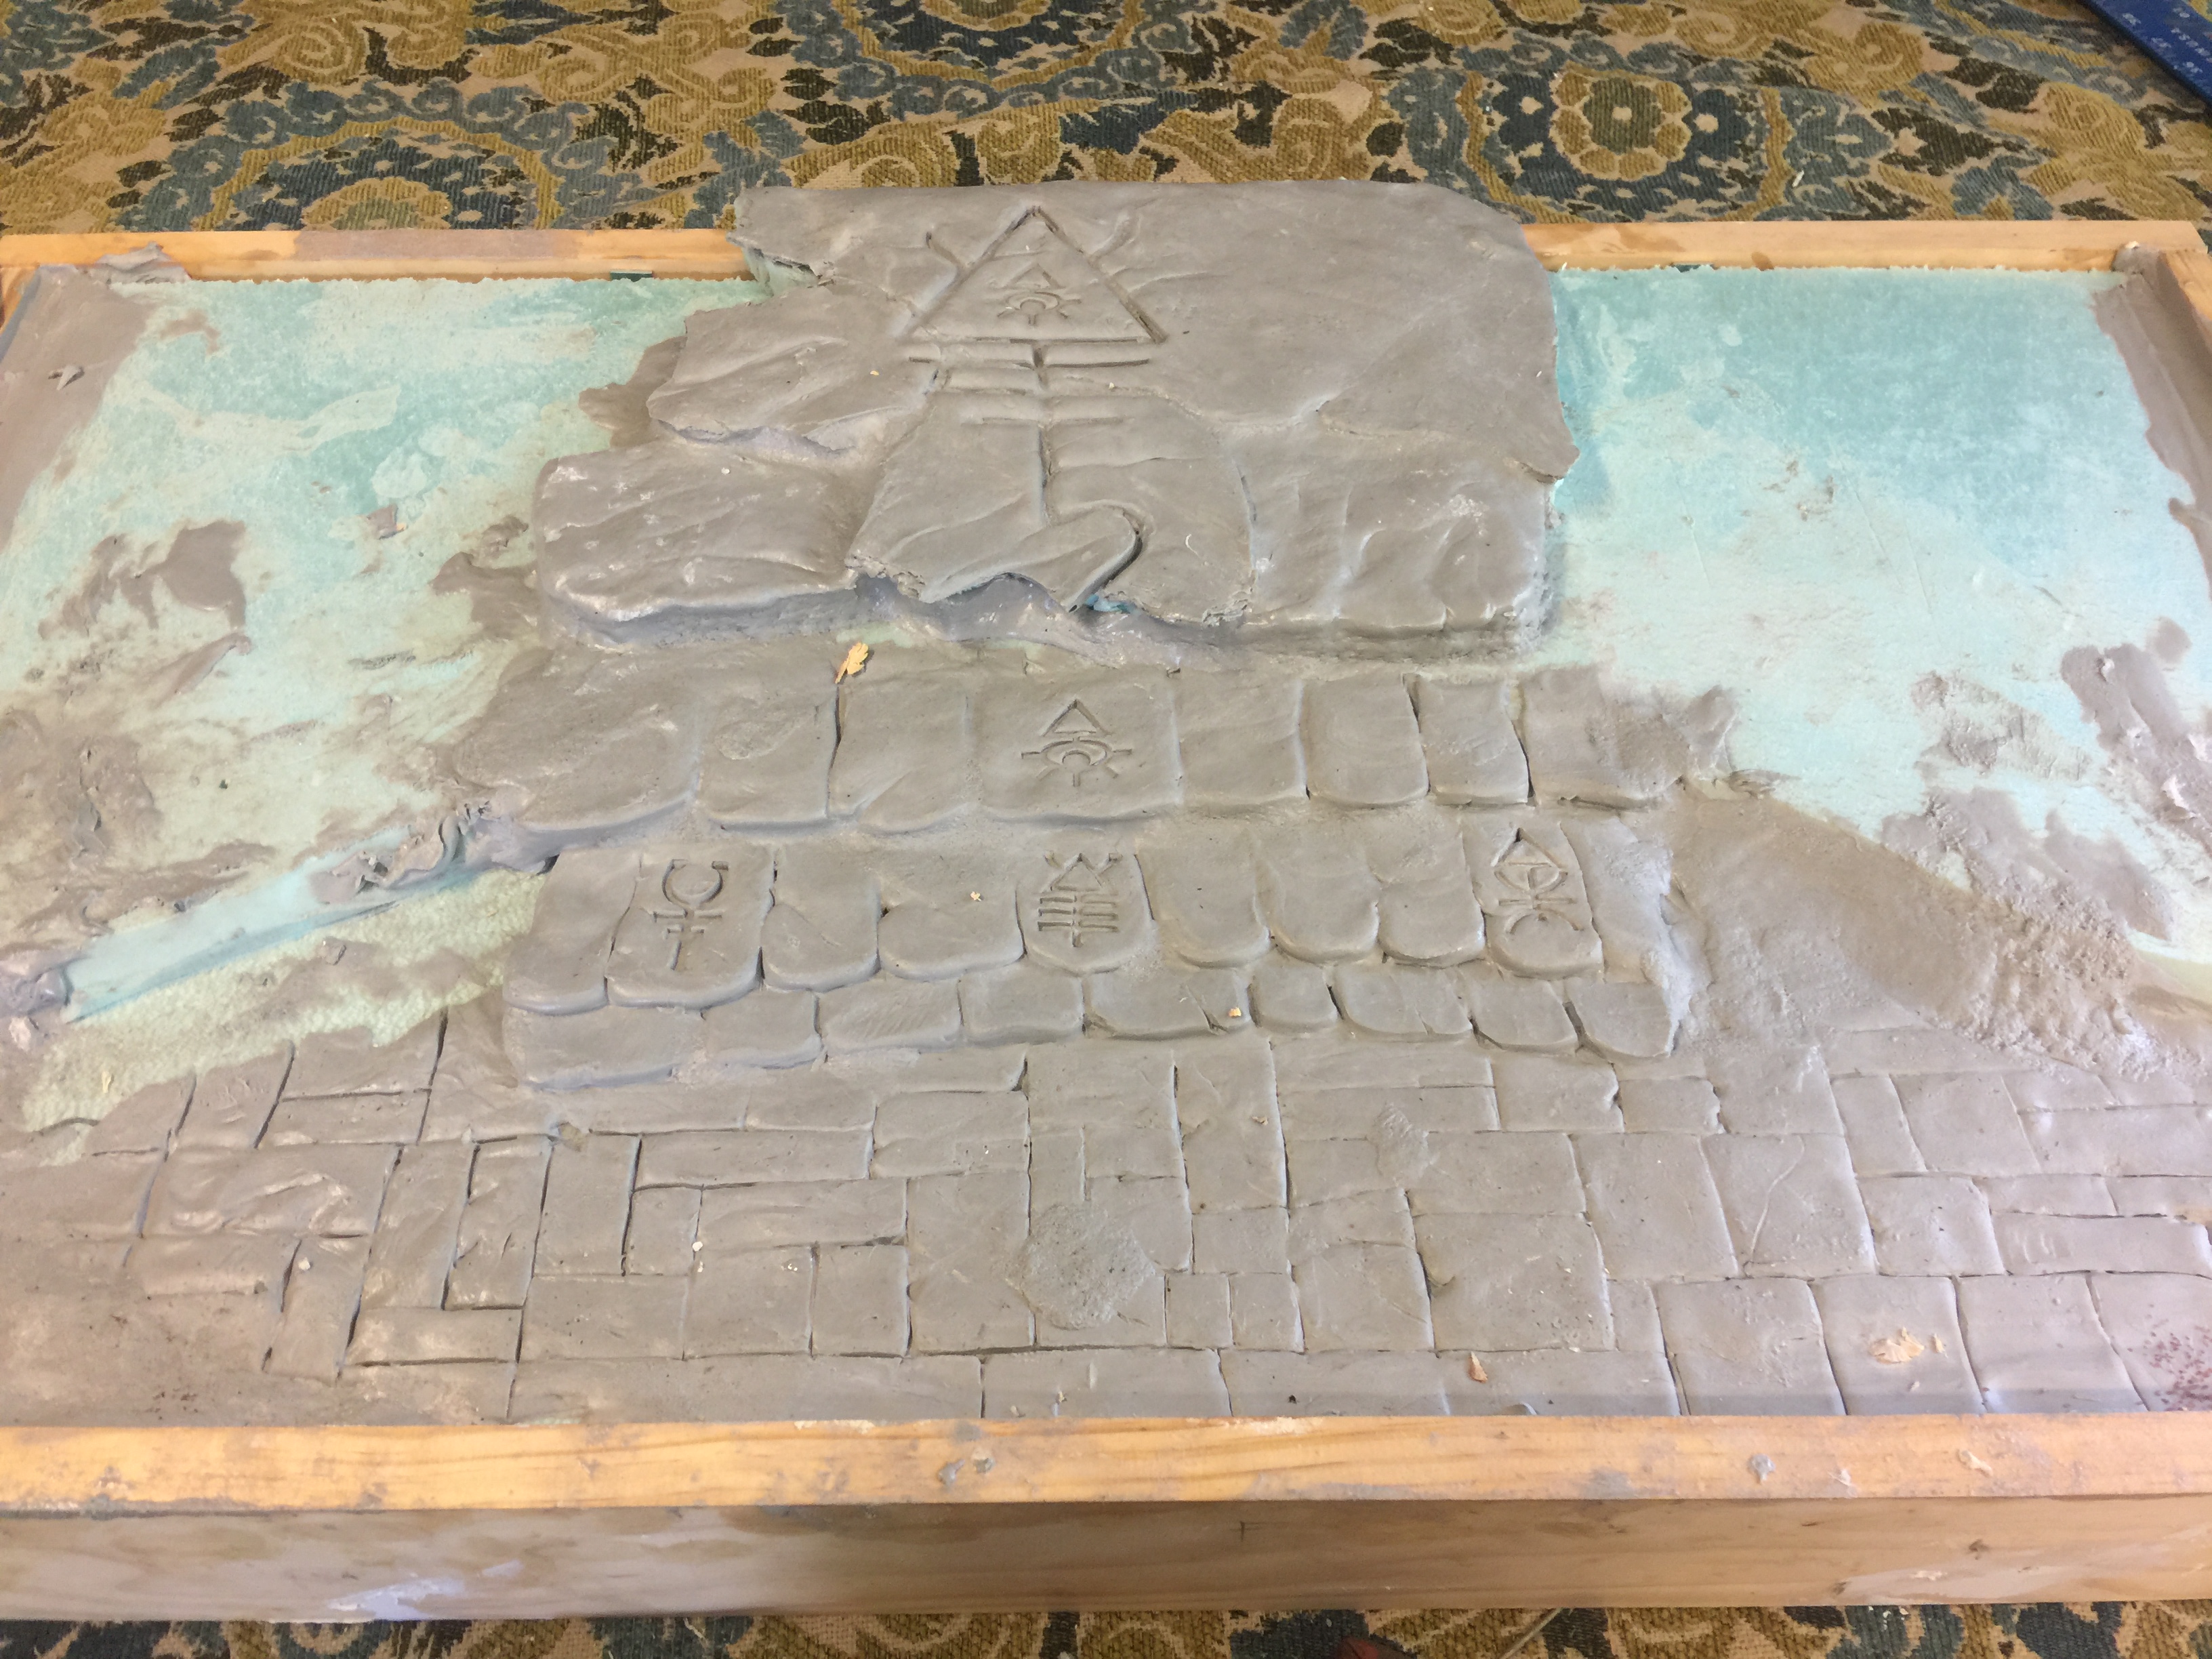
First day of clay on the front half. This smaller display is for regular games, so less over the top but with some stepping structure to help show off models, but not so tall as to get unweidly matching up with the front of the other half.
Couple more days of layers. Got a little excited and didnt get pics of every step. The clay takes a good overnight to dry.
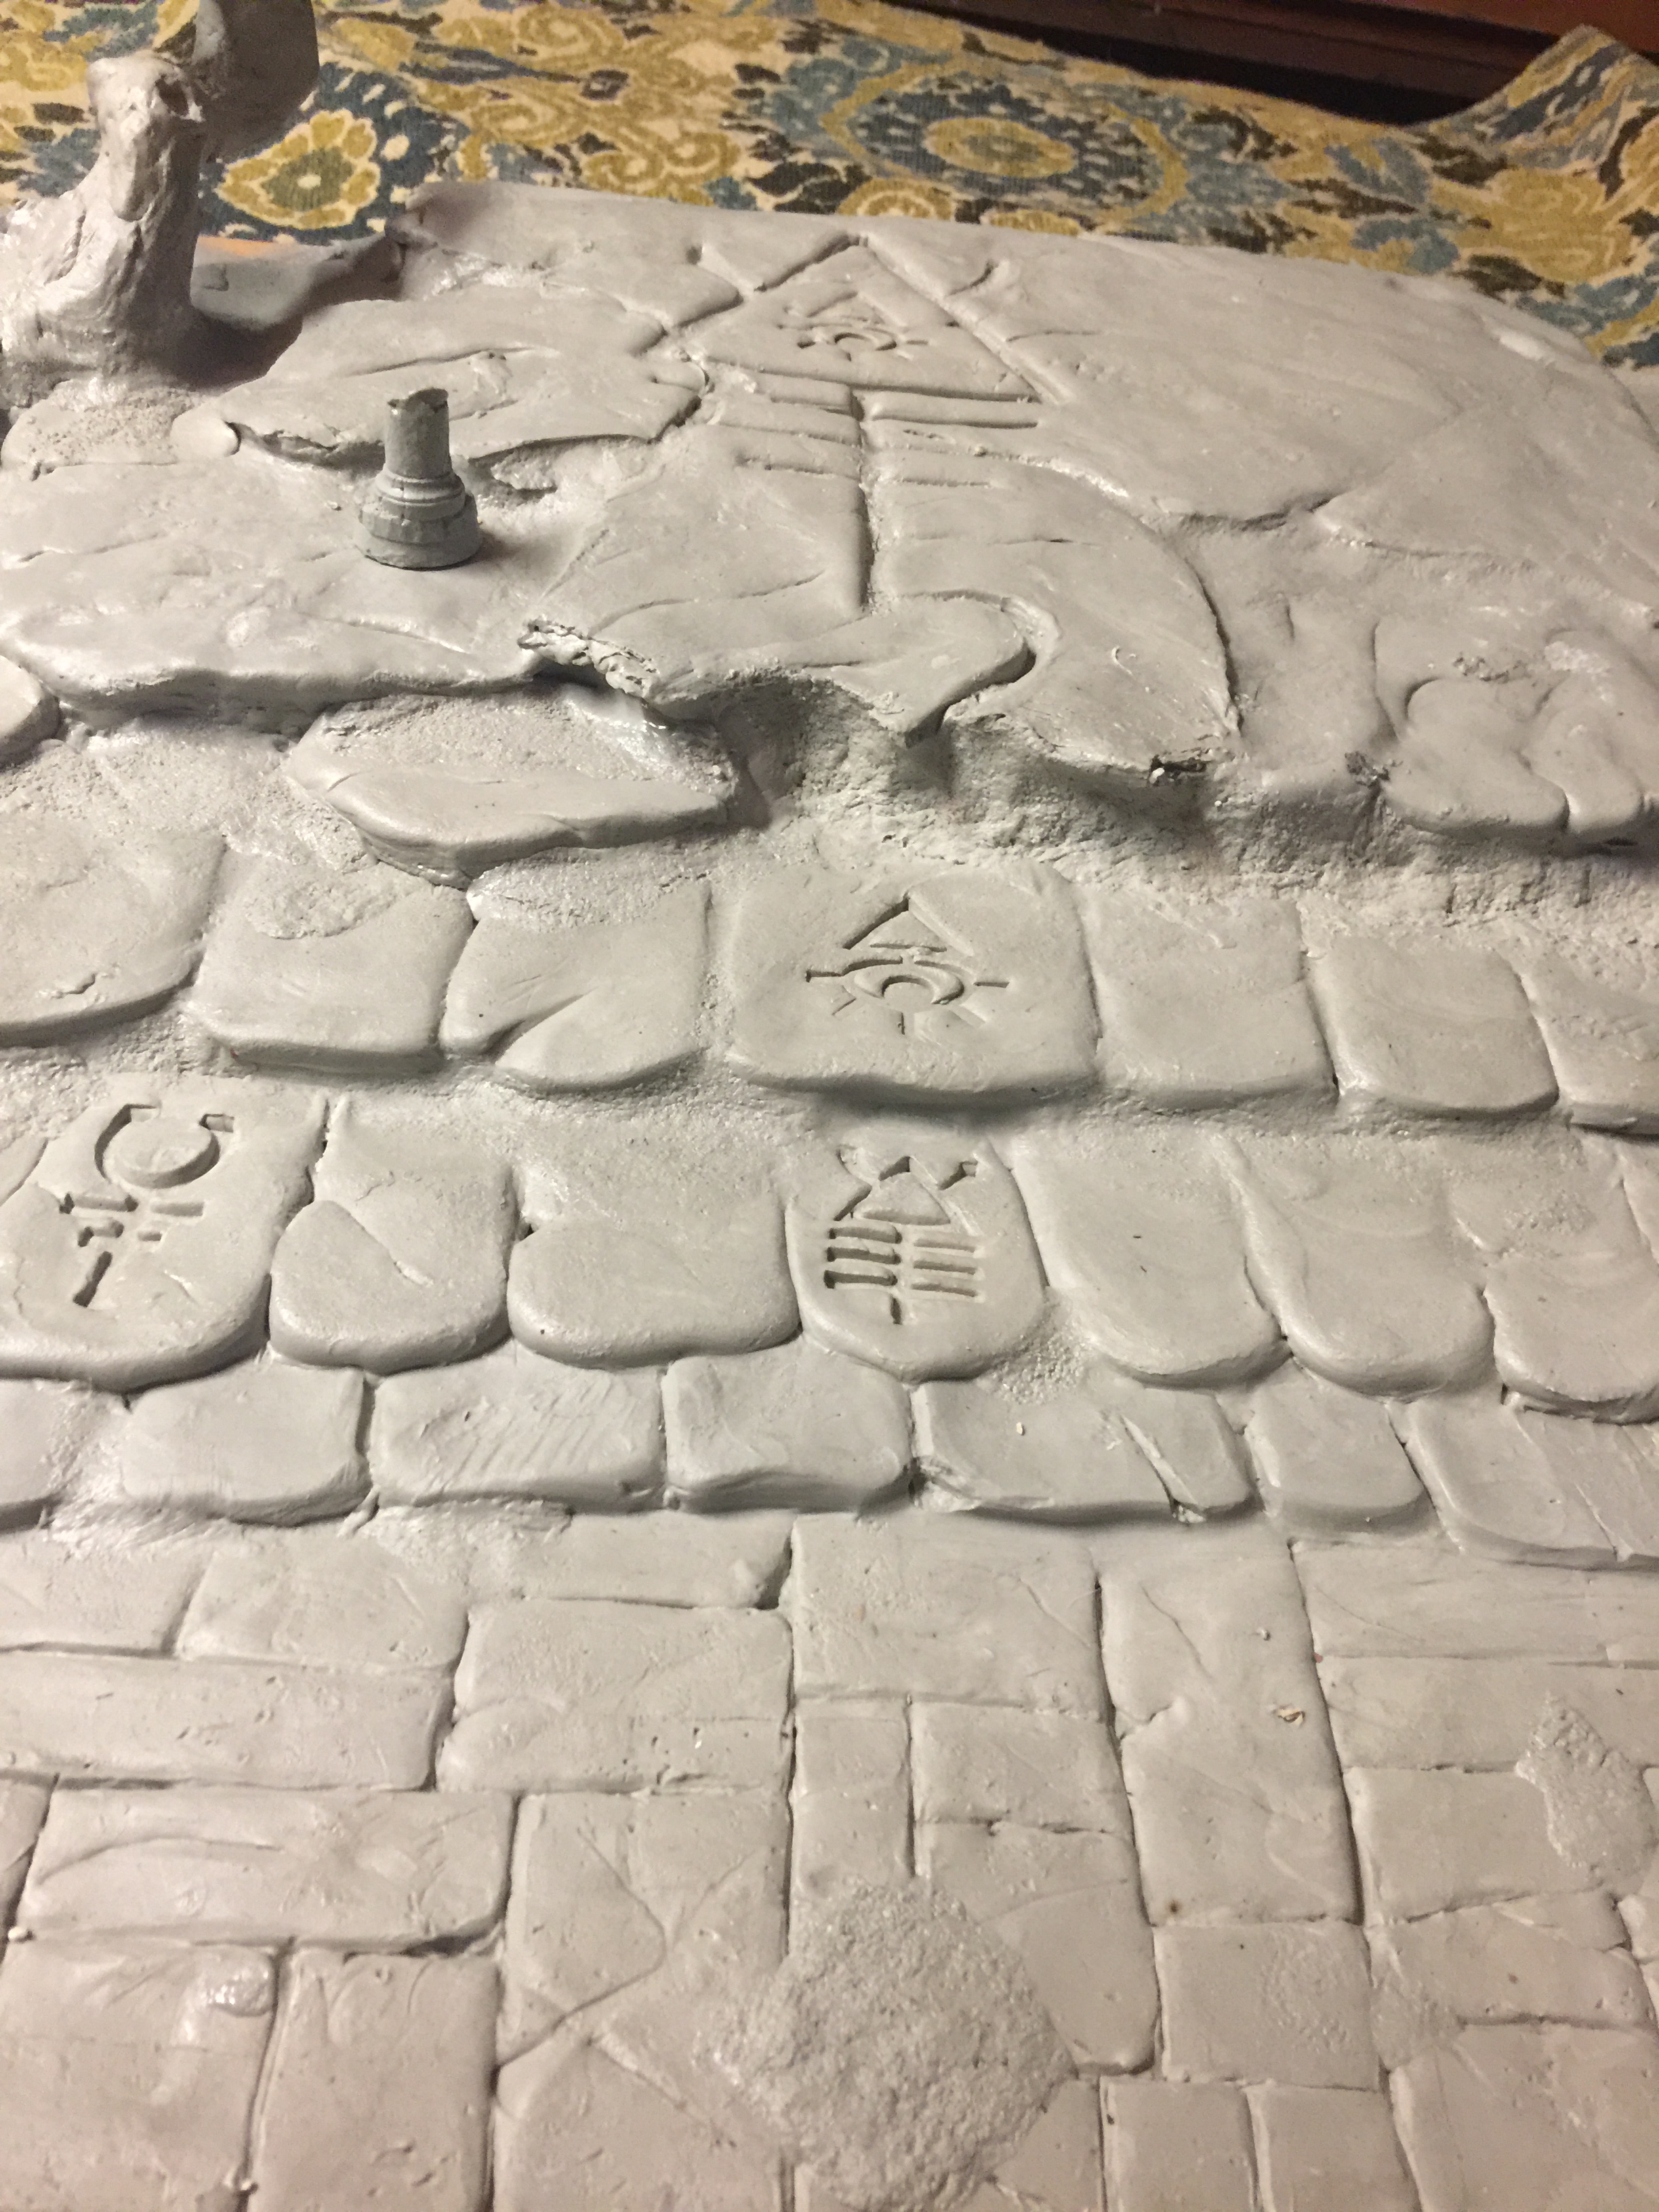
Essentially slowly layering clay in with previously sculpted rocks over and over for a real natural look.
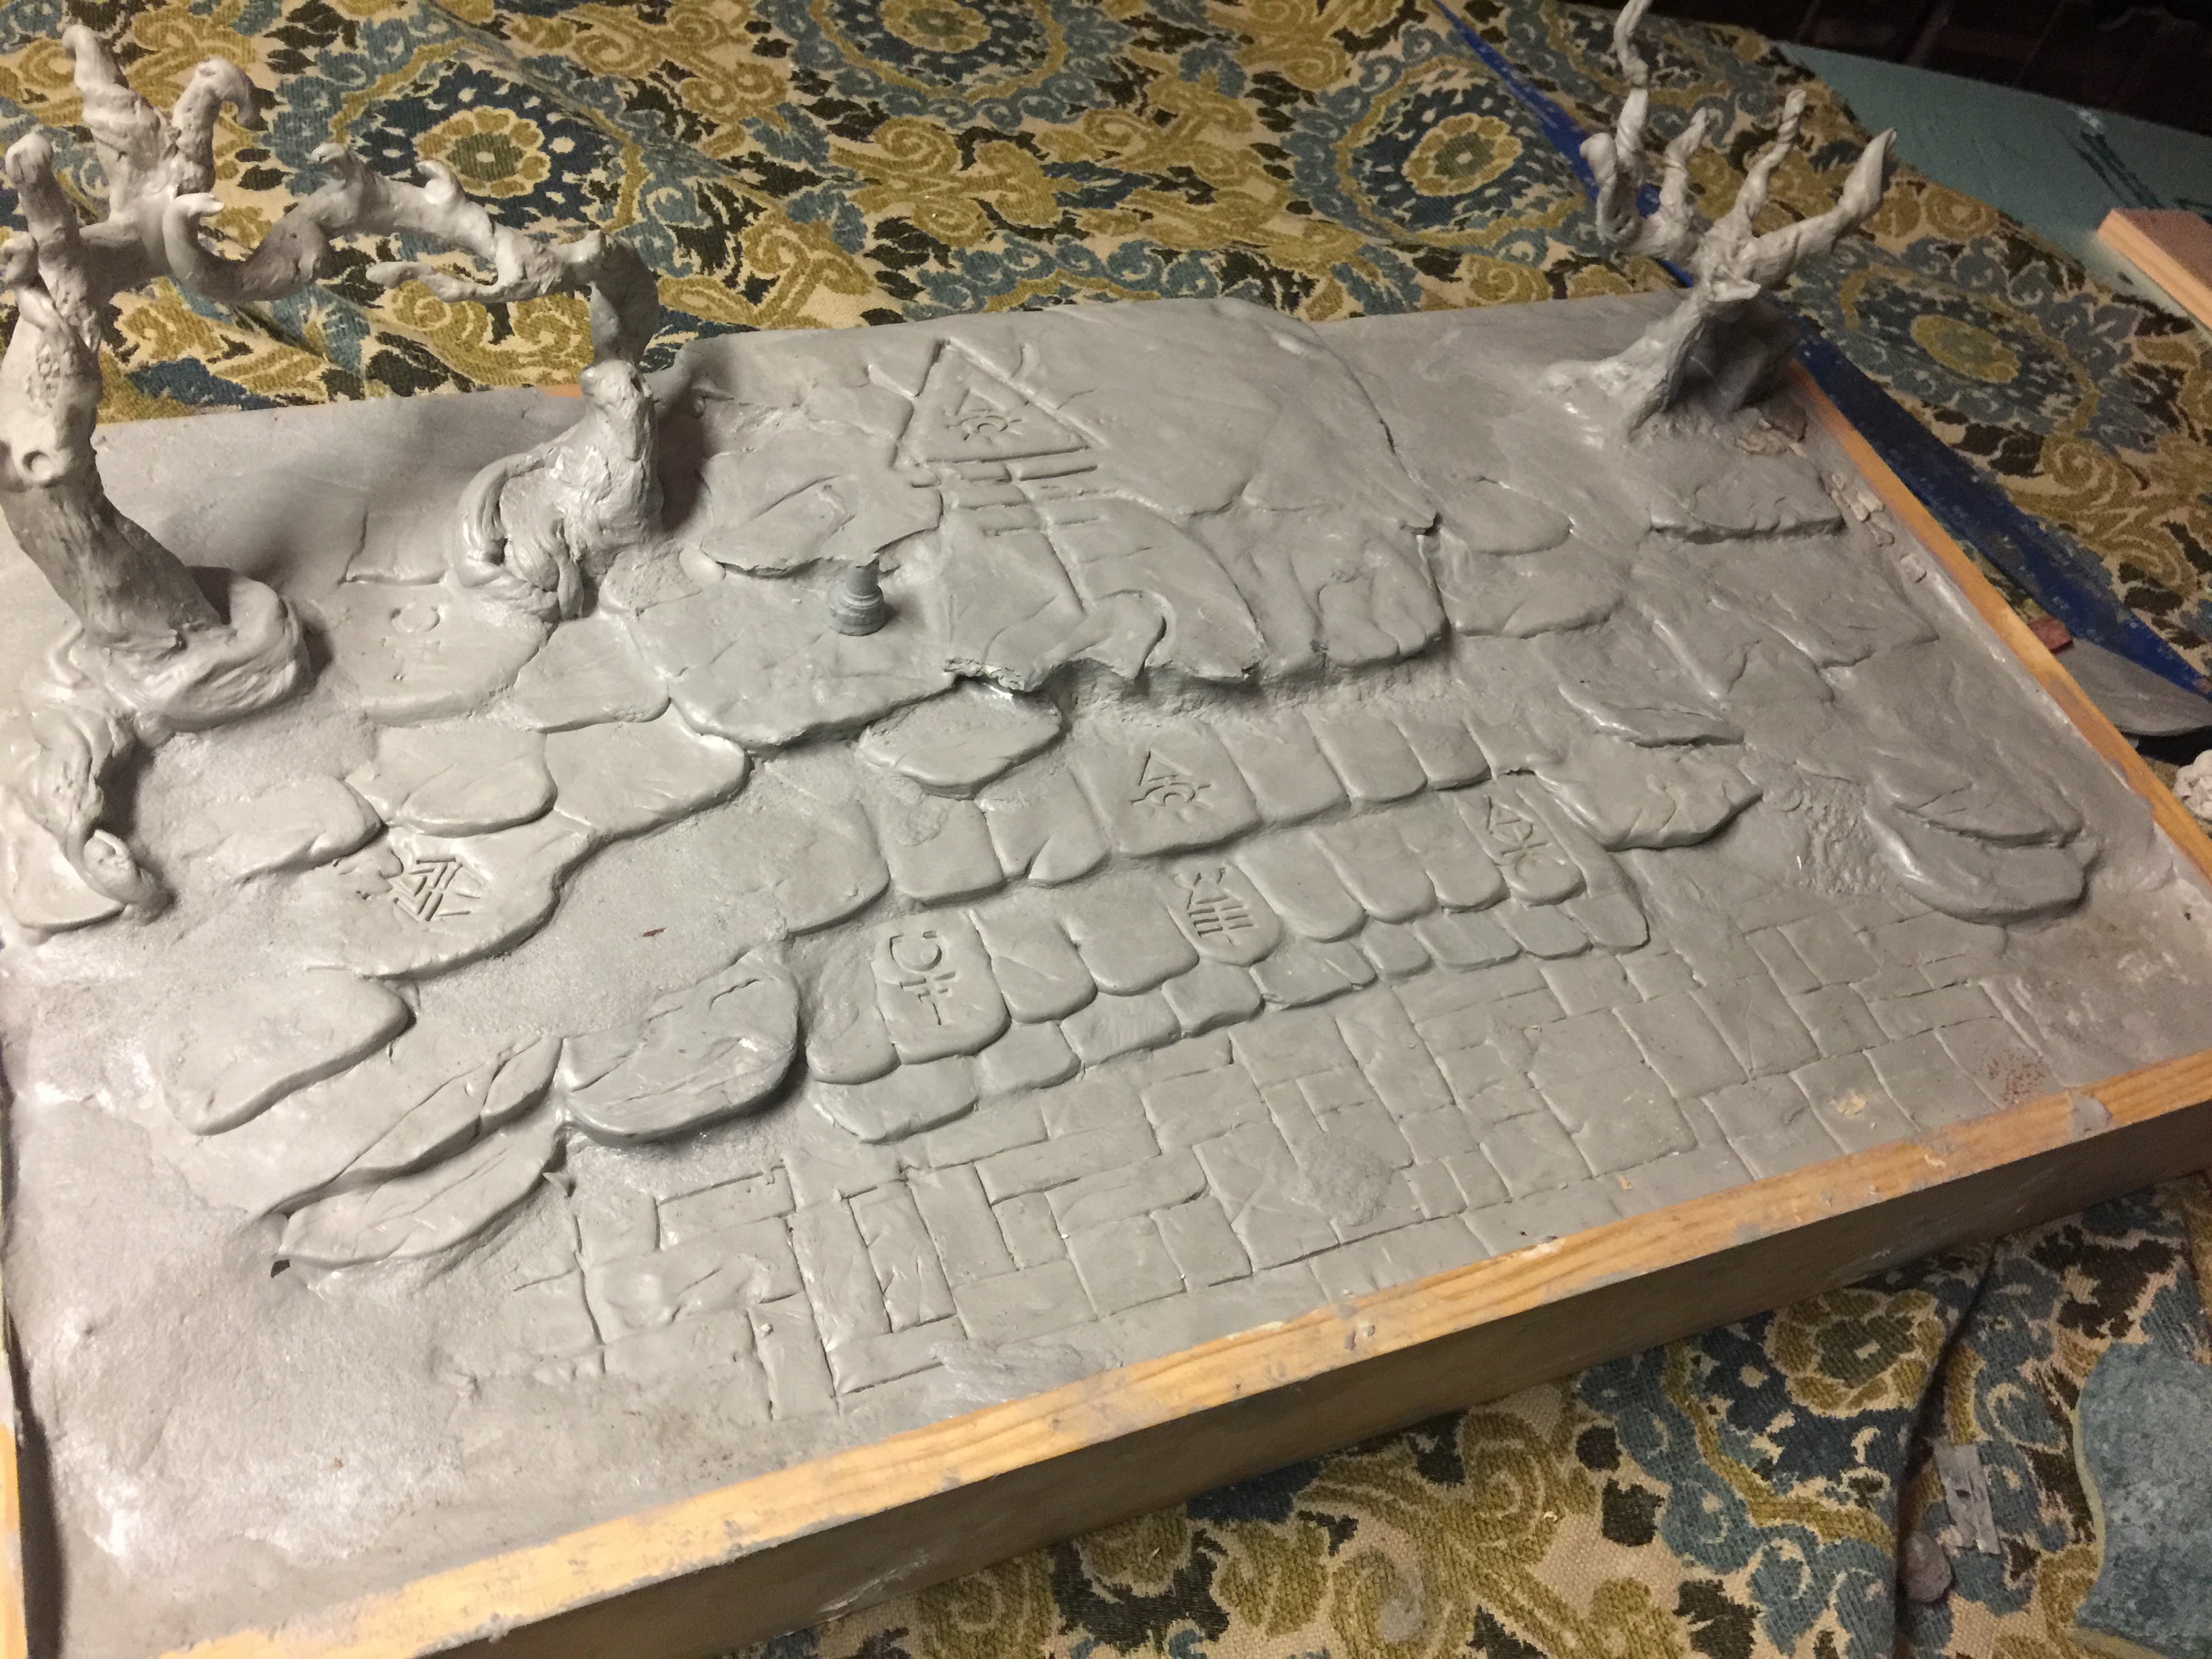
Trees the same way. Slowly building up layers and sculpting over wire frame. When wet the clay doesnt have much structure, but once dry it is rock hard and makes a good base for detail later.
Front half done, time for the back.
Basic structure down and designed to maximize space around strict dimension requirements on the front. Back needs to stay open for future access building the warp gate. This was just me testing fit, and a test run of the latches (although not pictured, removed). The front half was then set aside and only brought back to reference alignment of the ground between the two.
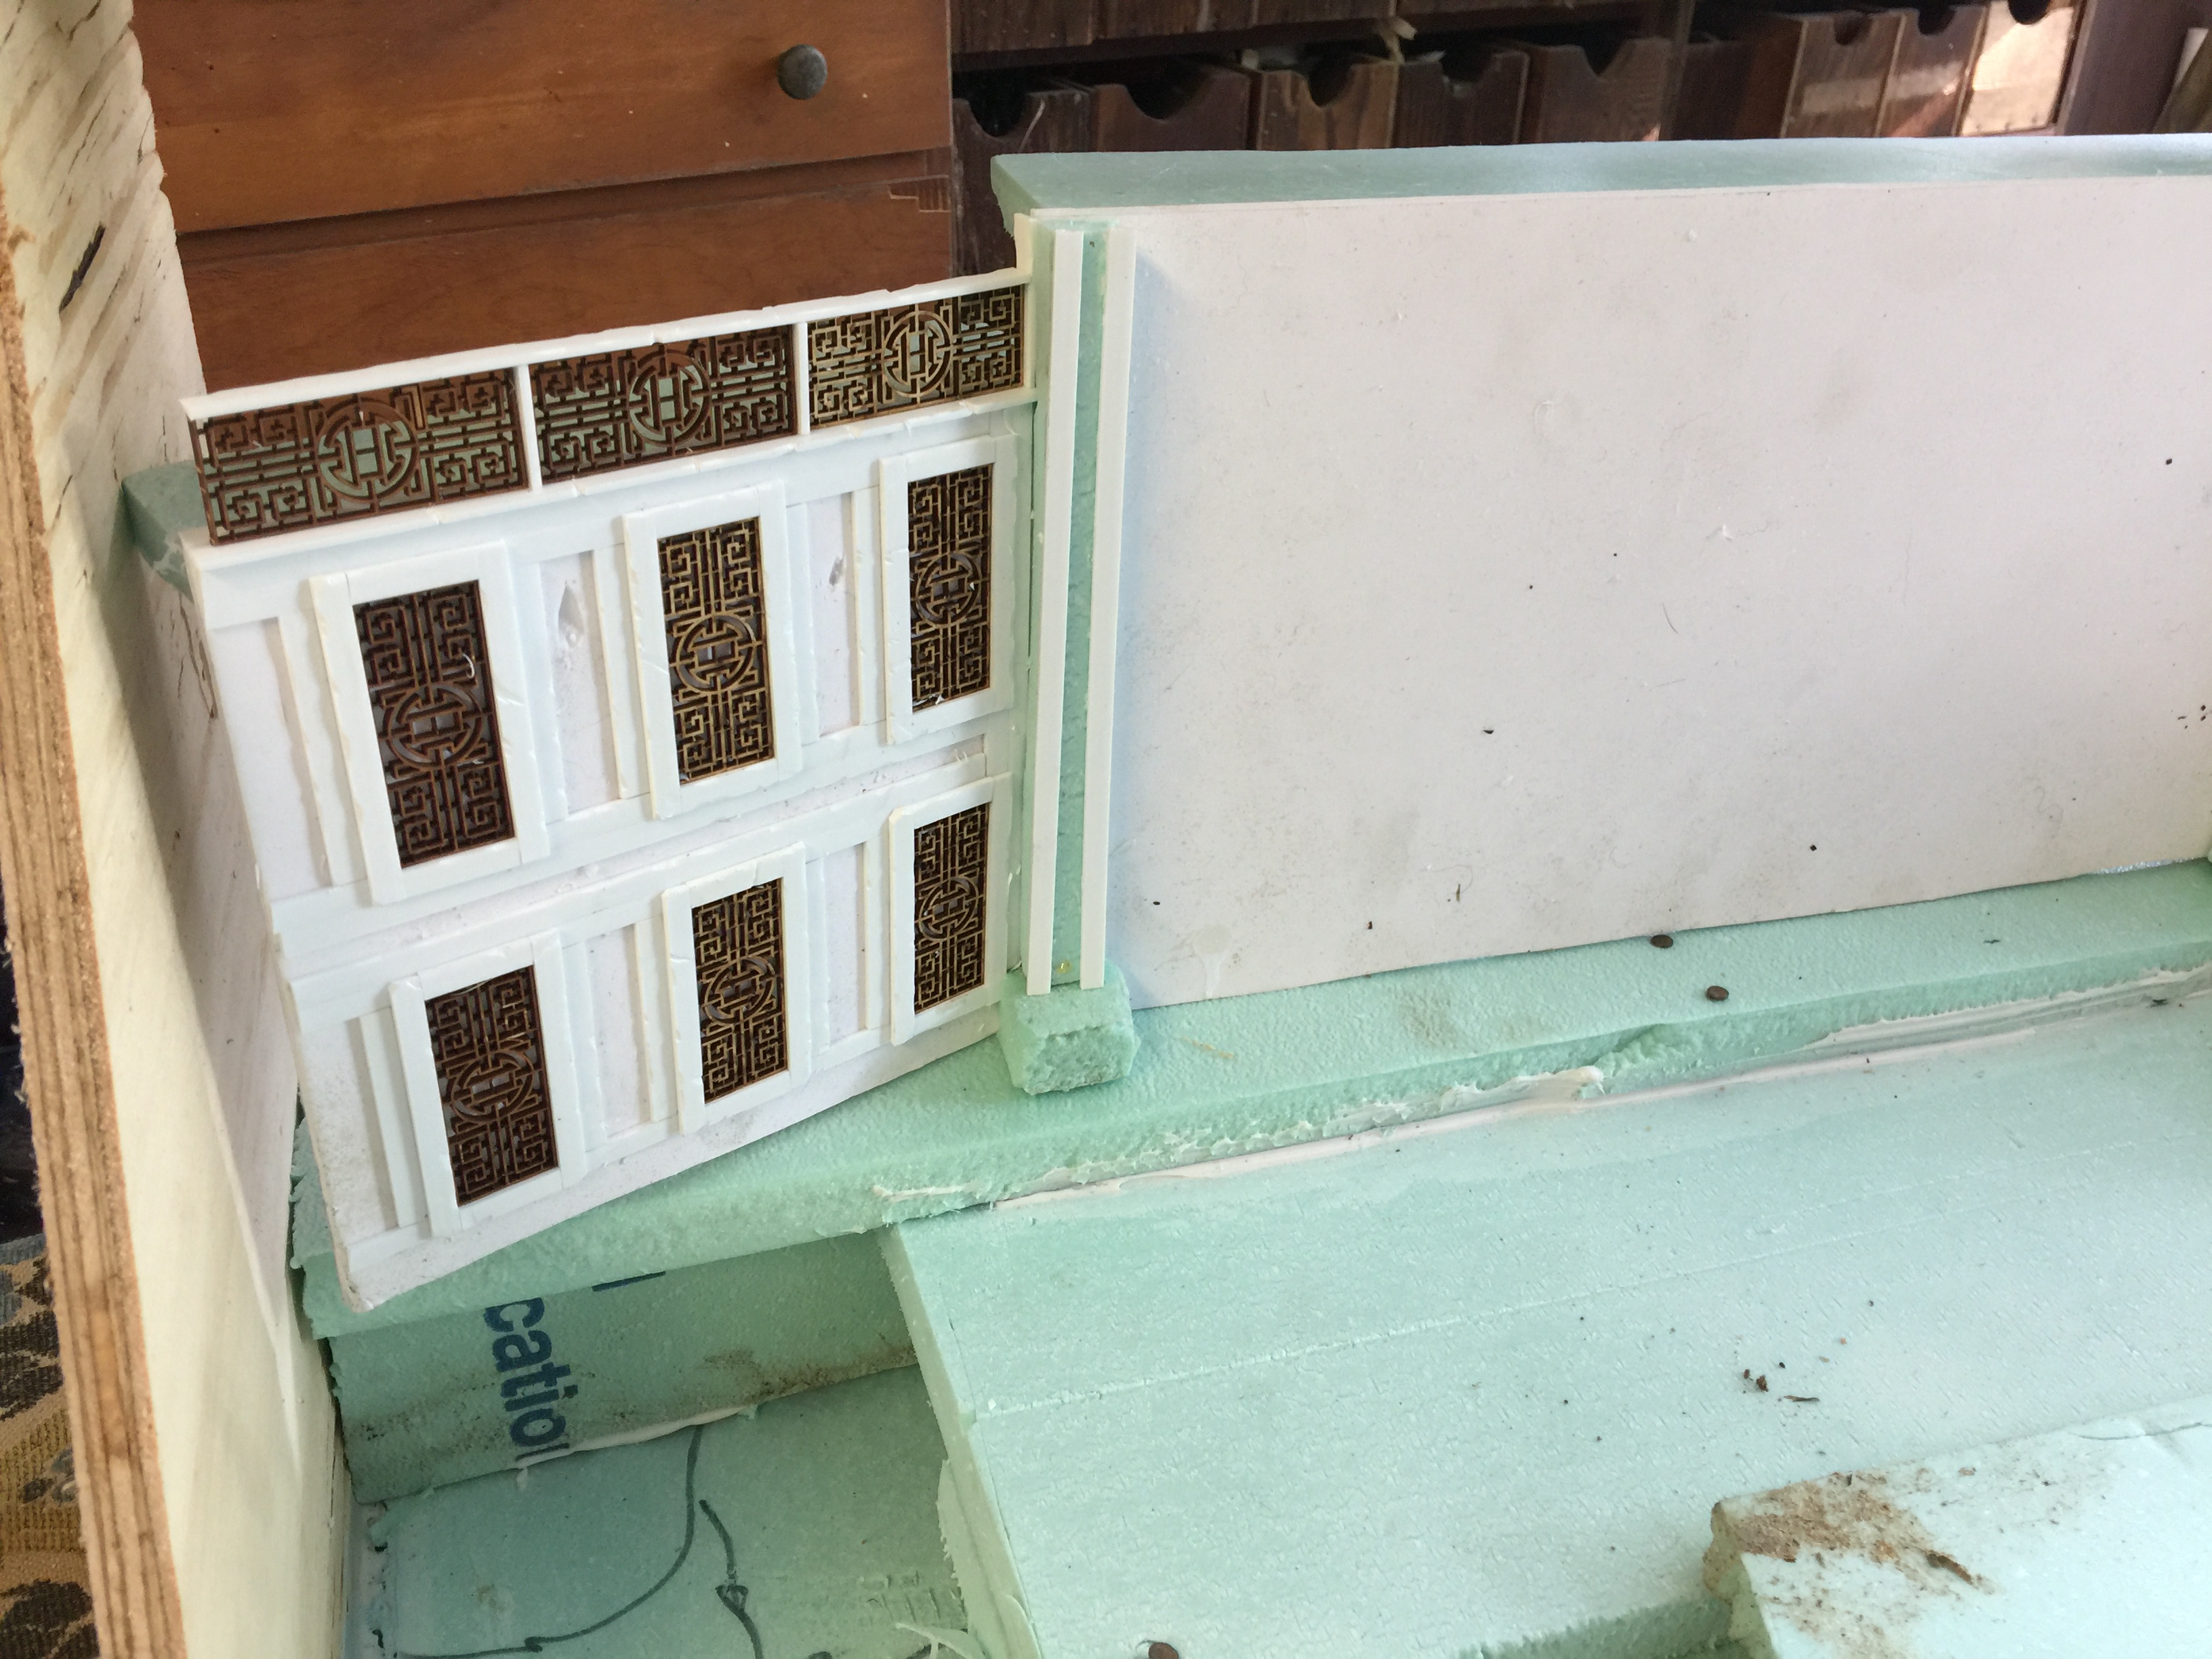
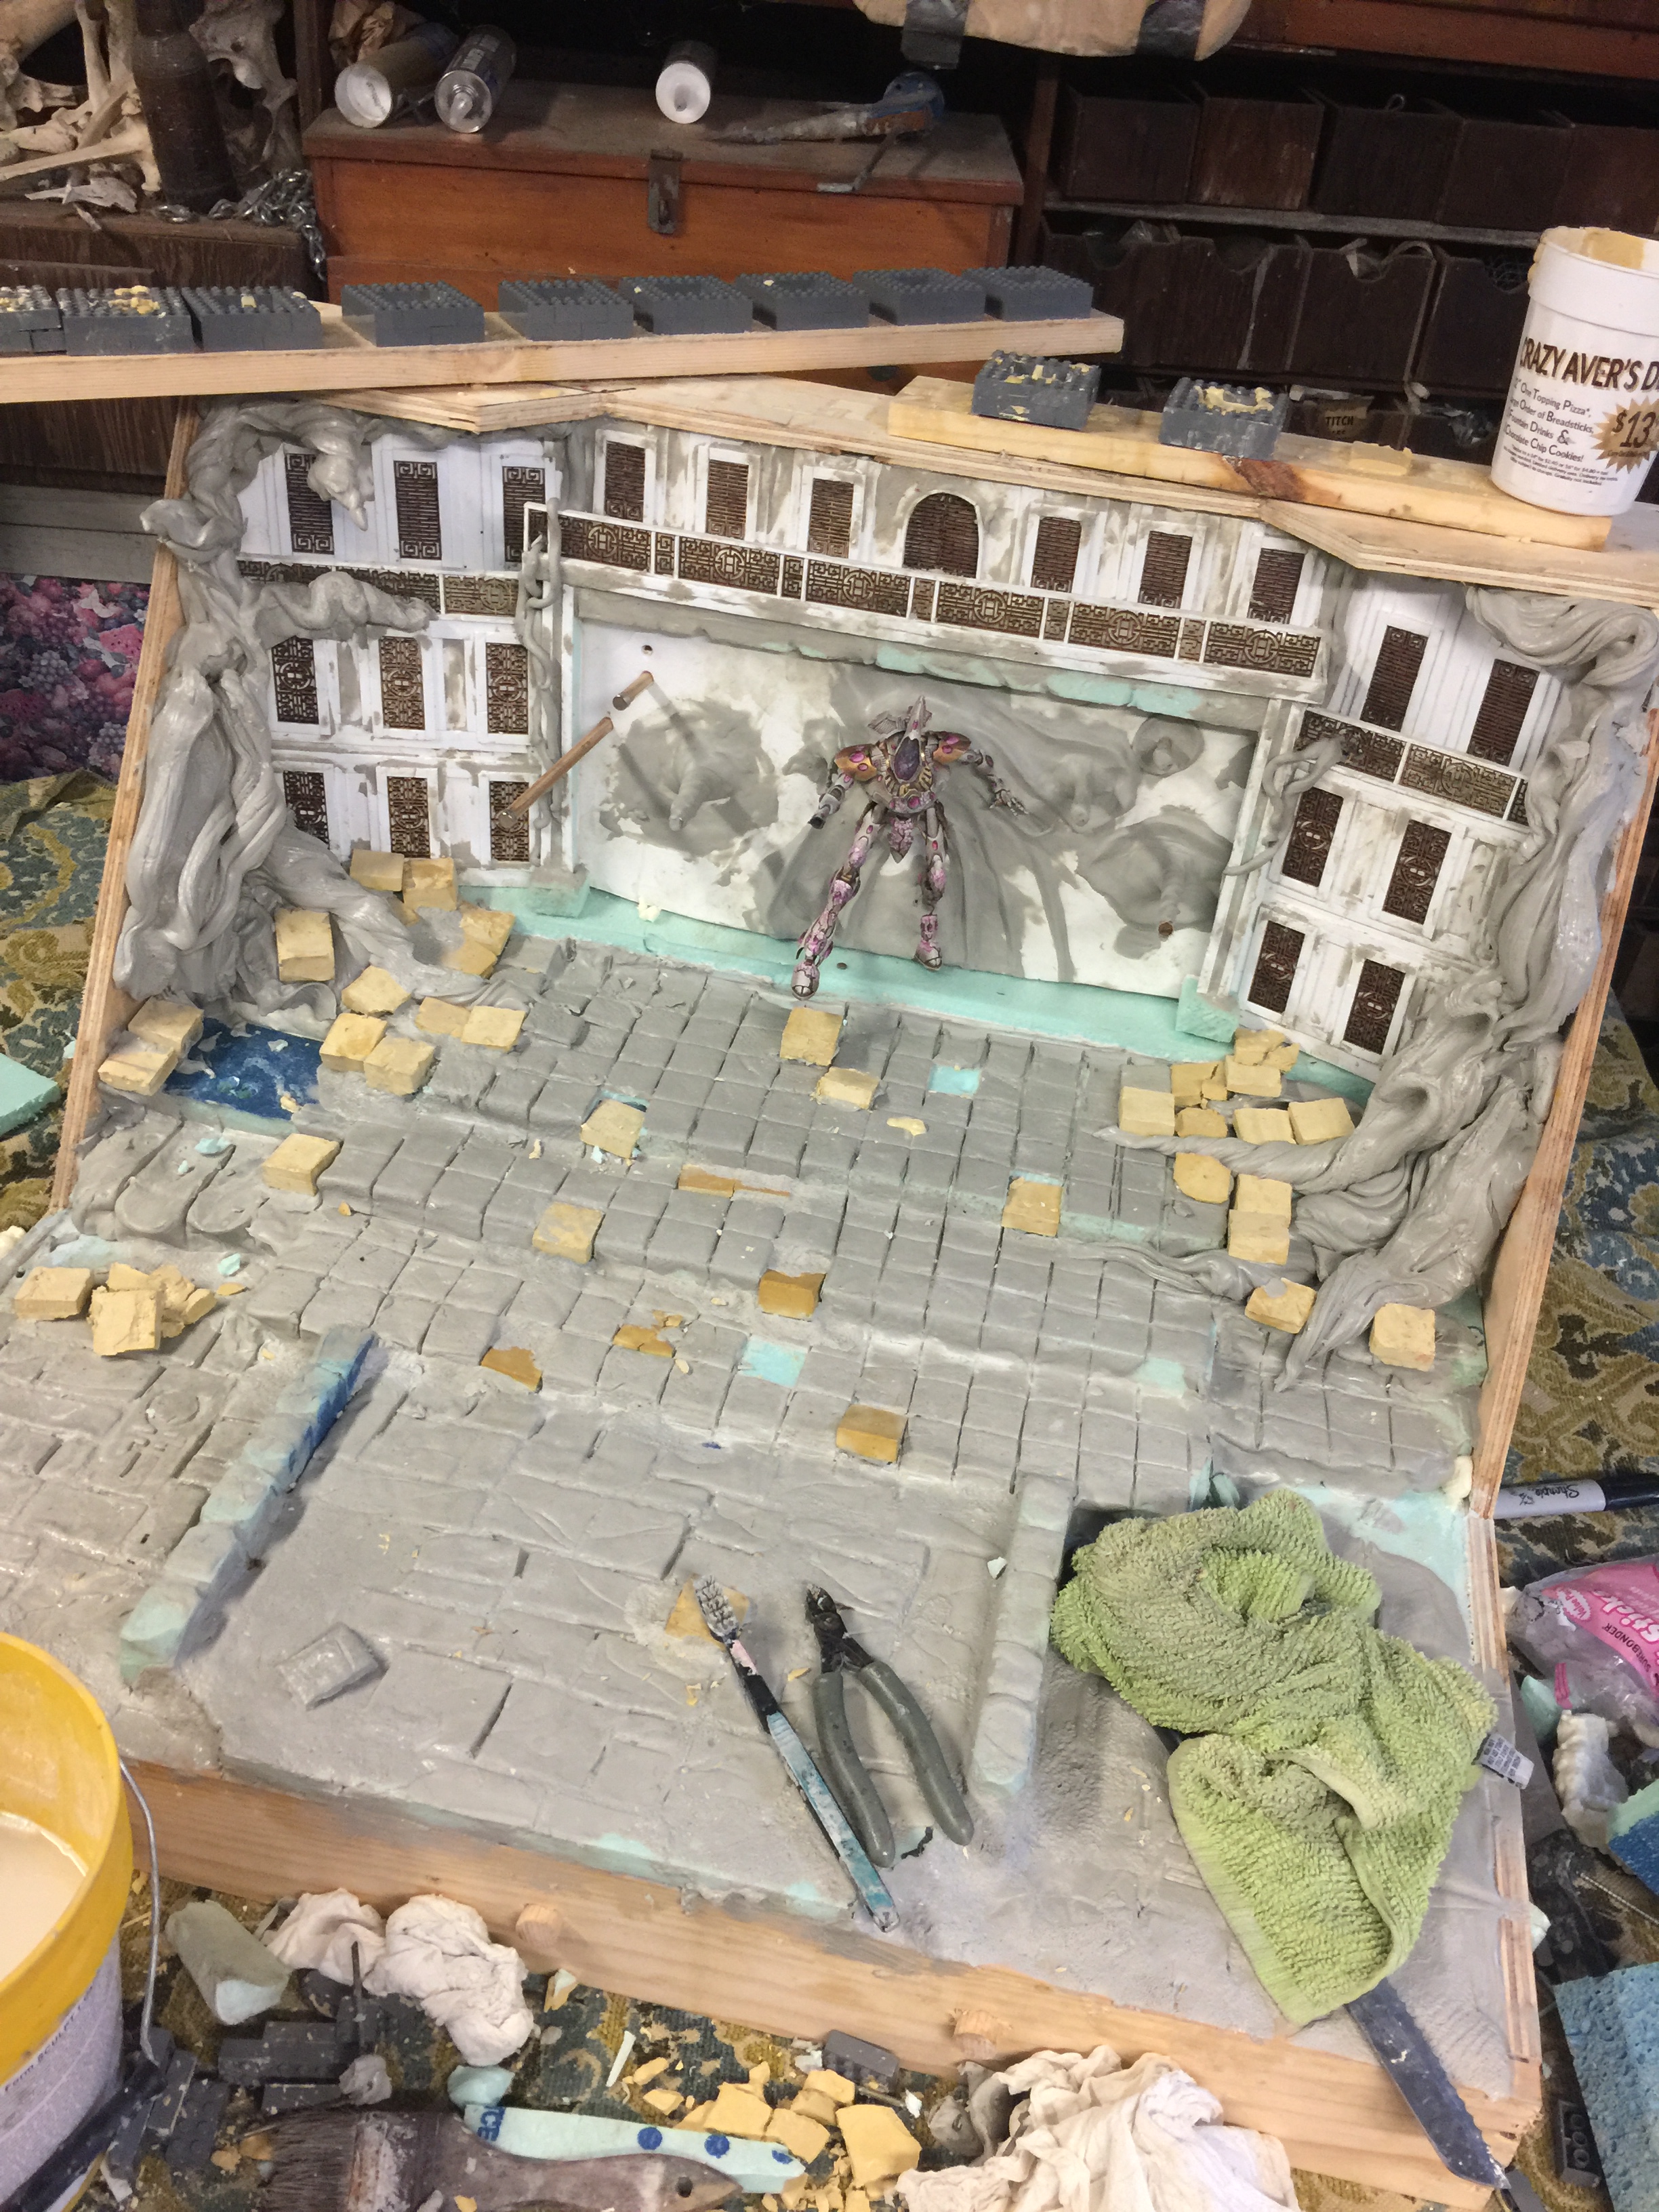
First step after deciding basic structure was to make the back panels of architecture. These nice laser cut panels were done by Ironheart Artisans. I sunk all of these into layers of plastic strip and weathered the heck out of them.
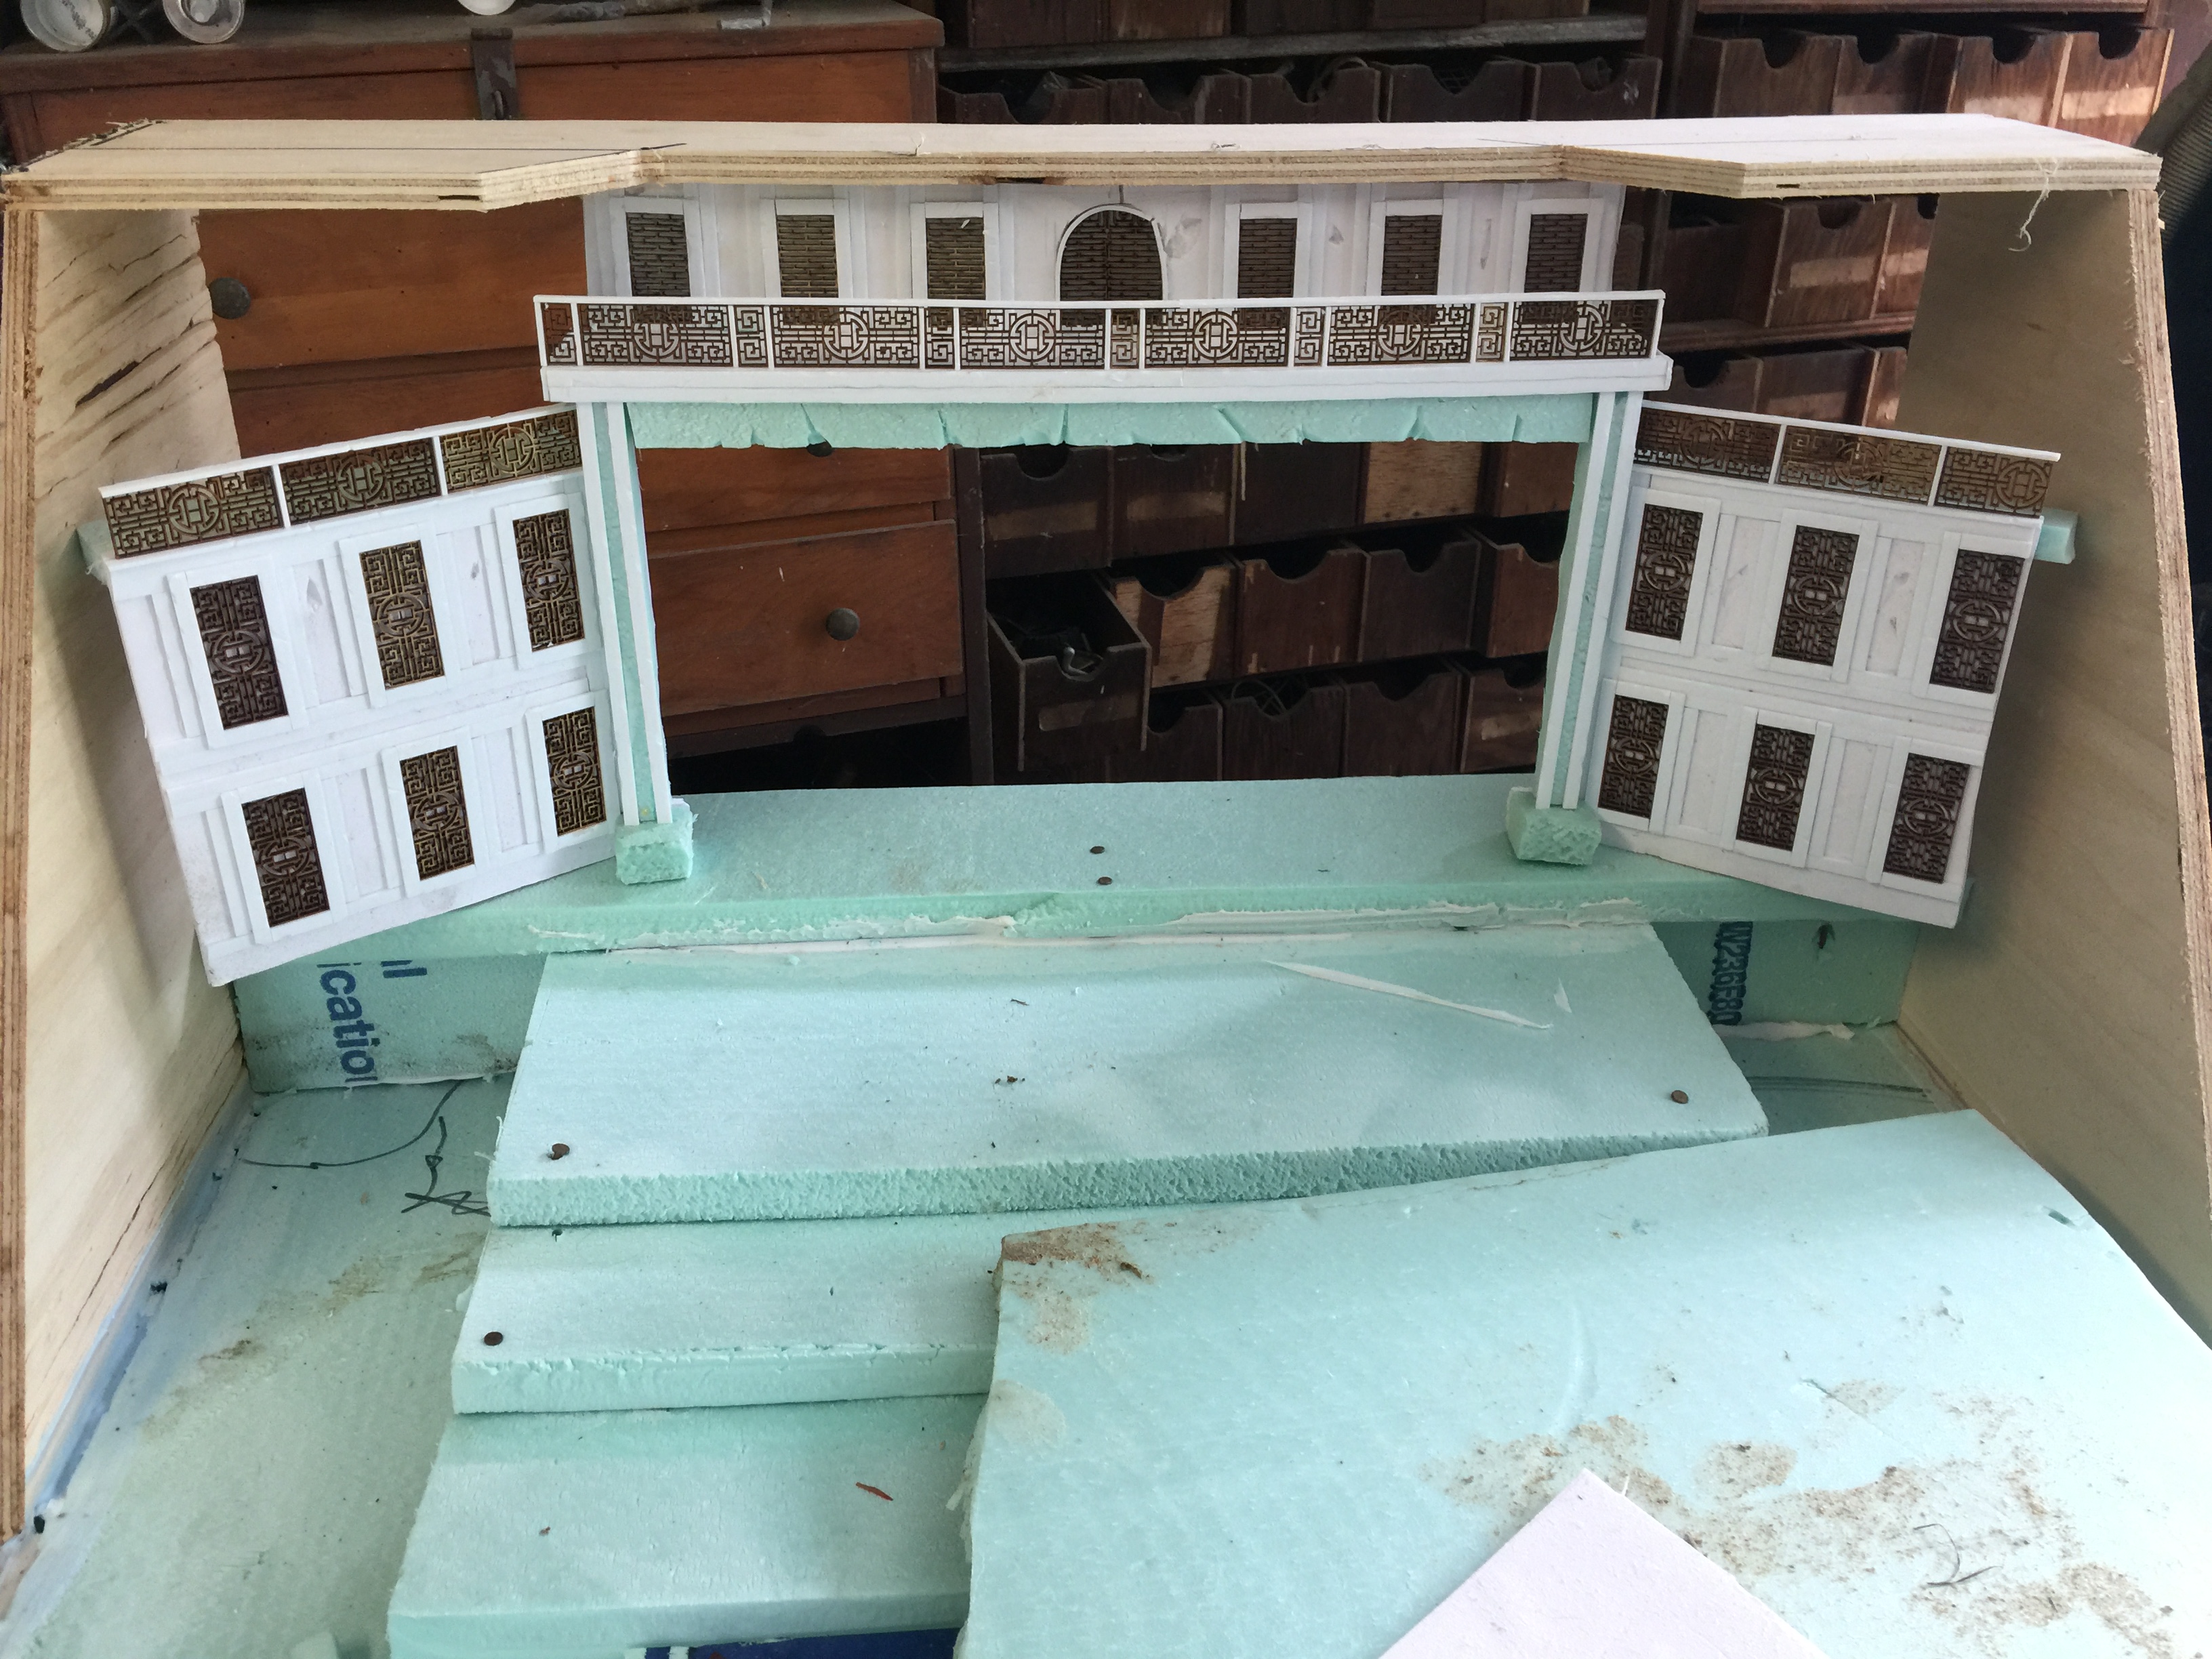
Panels up and gate cut. This is tacked into place for cutting out the rest. No need to be precise on edges as it allows on the fly adjustment of the angles and all spaces would be filled in the back after for support and with detail in the front.
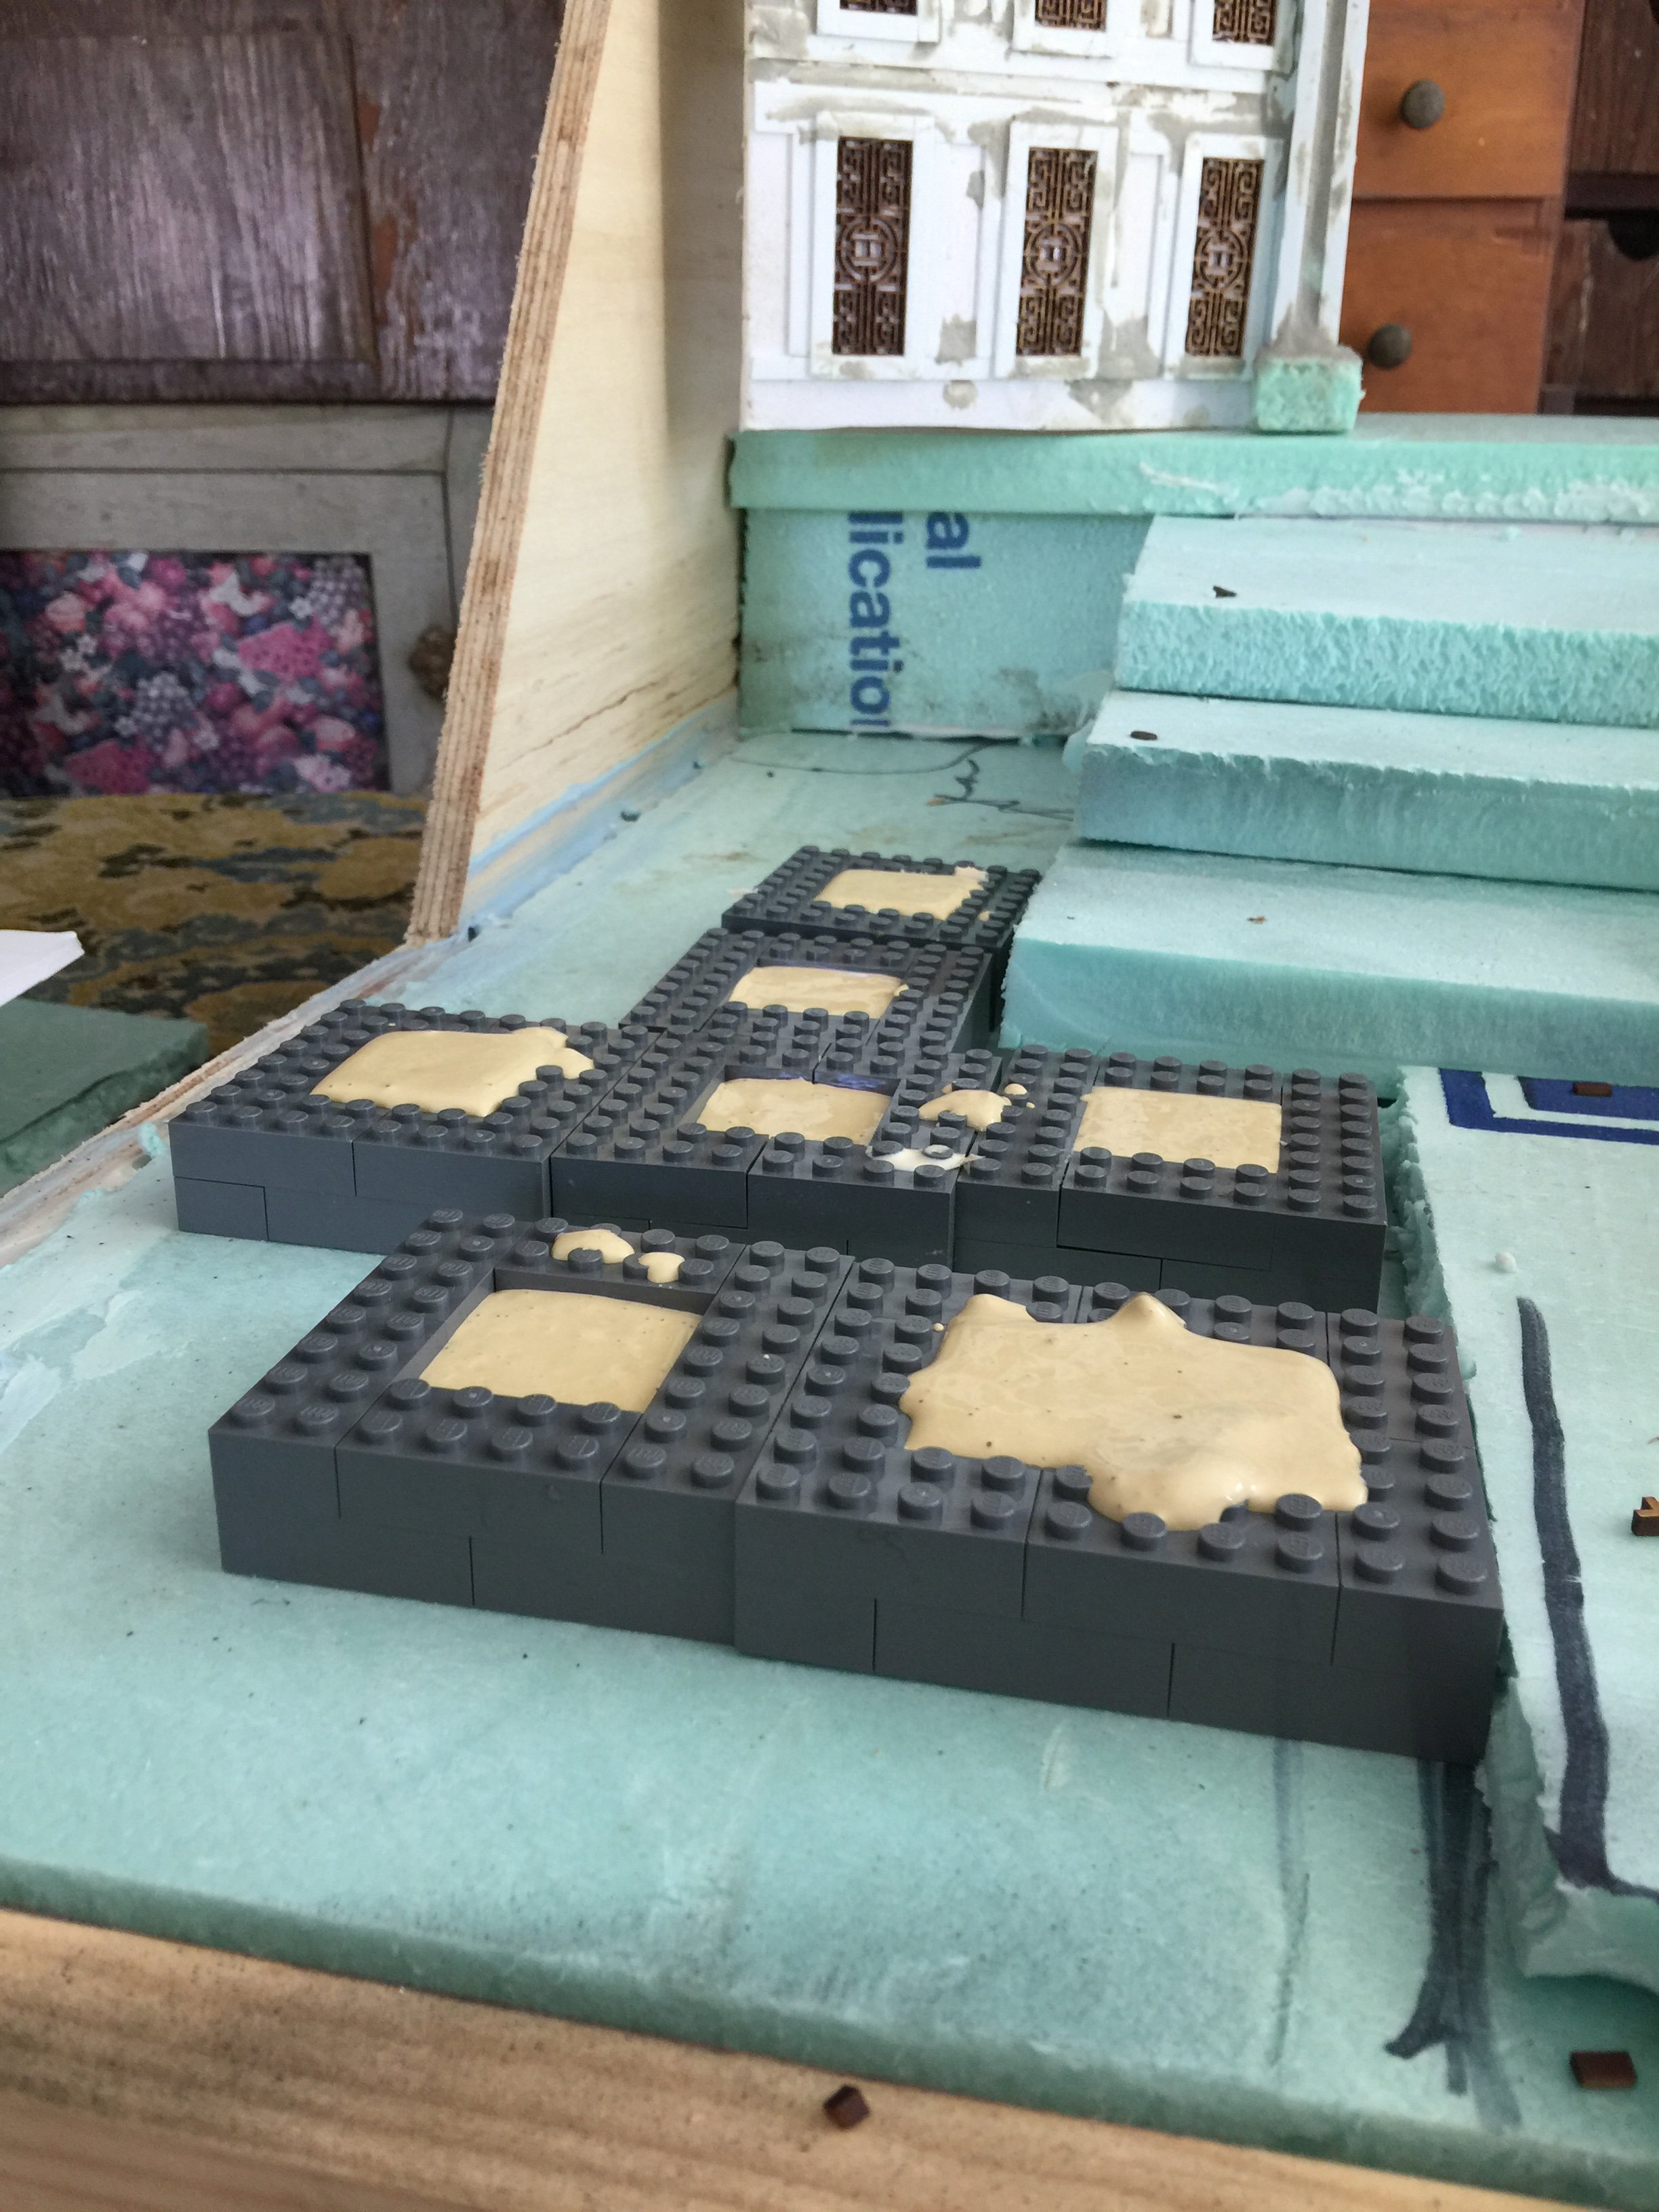
Making a few of many blocks. The sculpted blocks worked great, but wanted quite a few I could place that were already solid, and could be more weathered and destroyed. Allows more layers as well to have a precured step to stick in and then layer around.
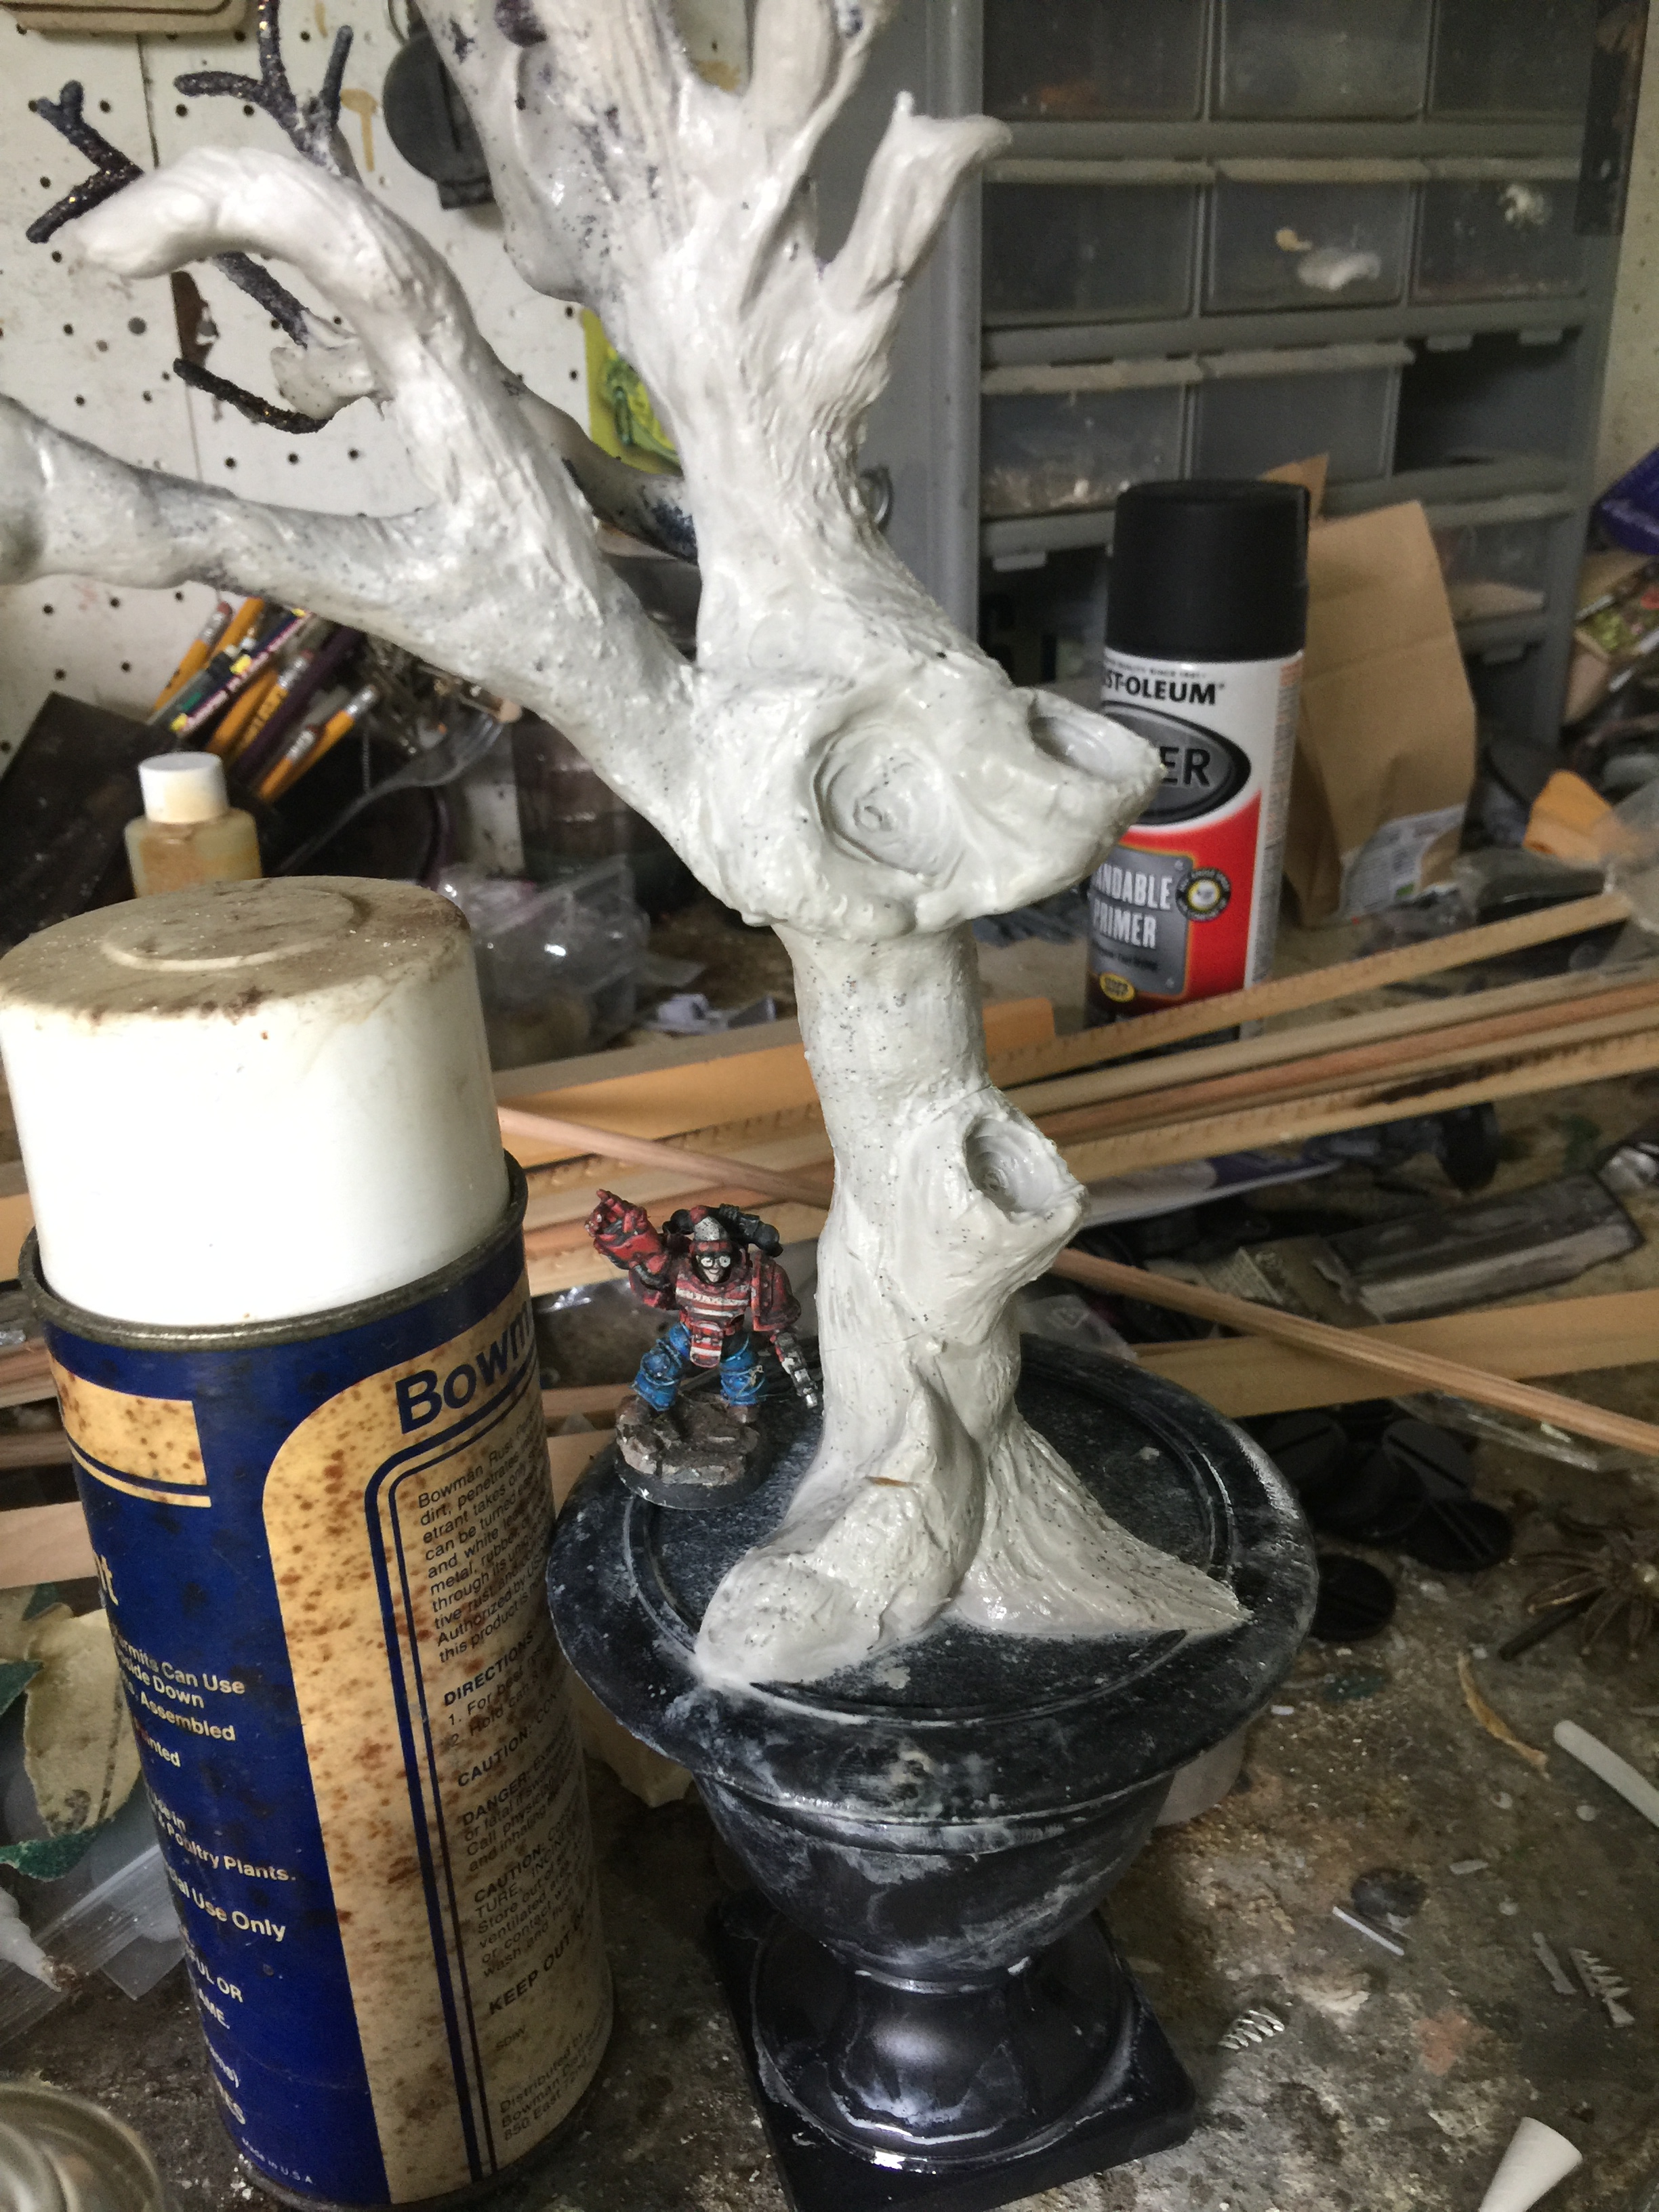
Happy tree. For most of them I used a wire form, but this one I found a sad but very suitable plastic Halloween tree decoration while shopping and gave it a go. Although not much is left of it visually besides basic form. Once the tree was done I hacked off the pot.
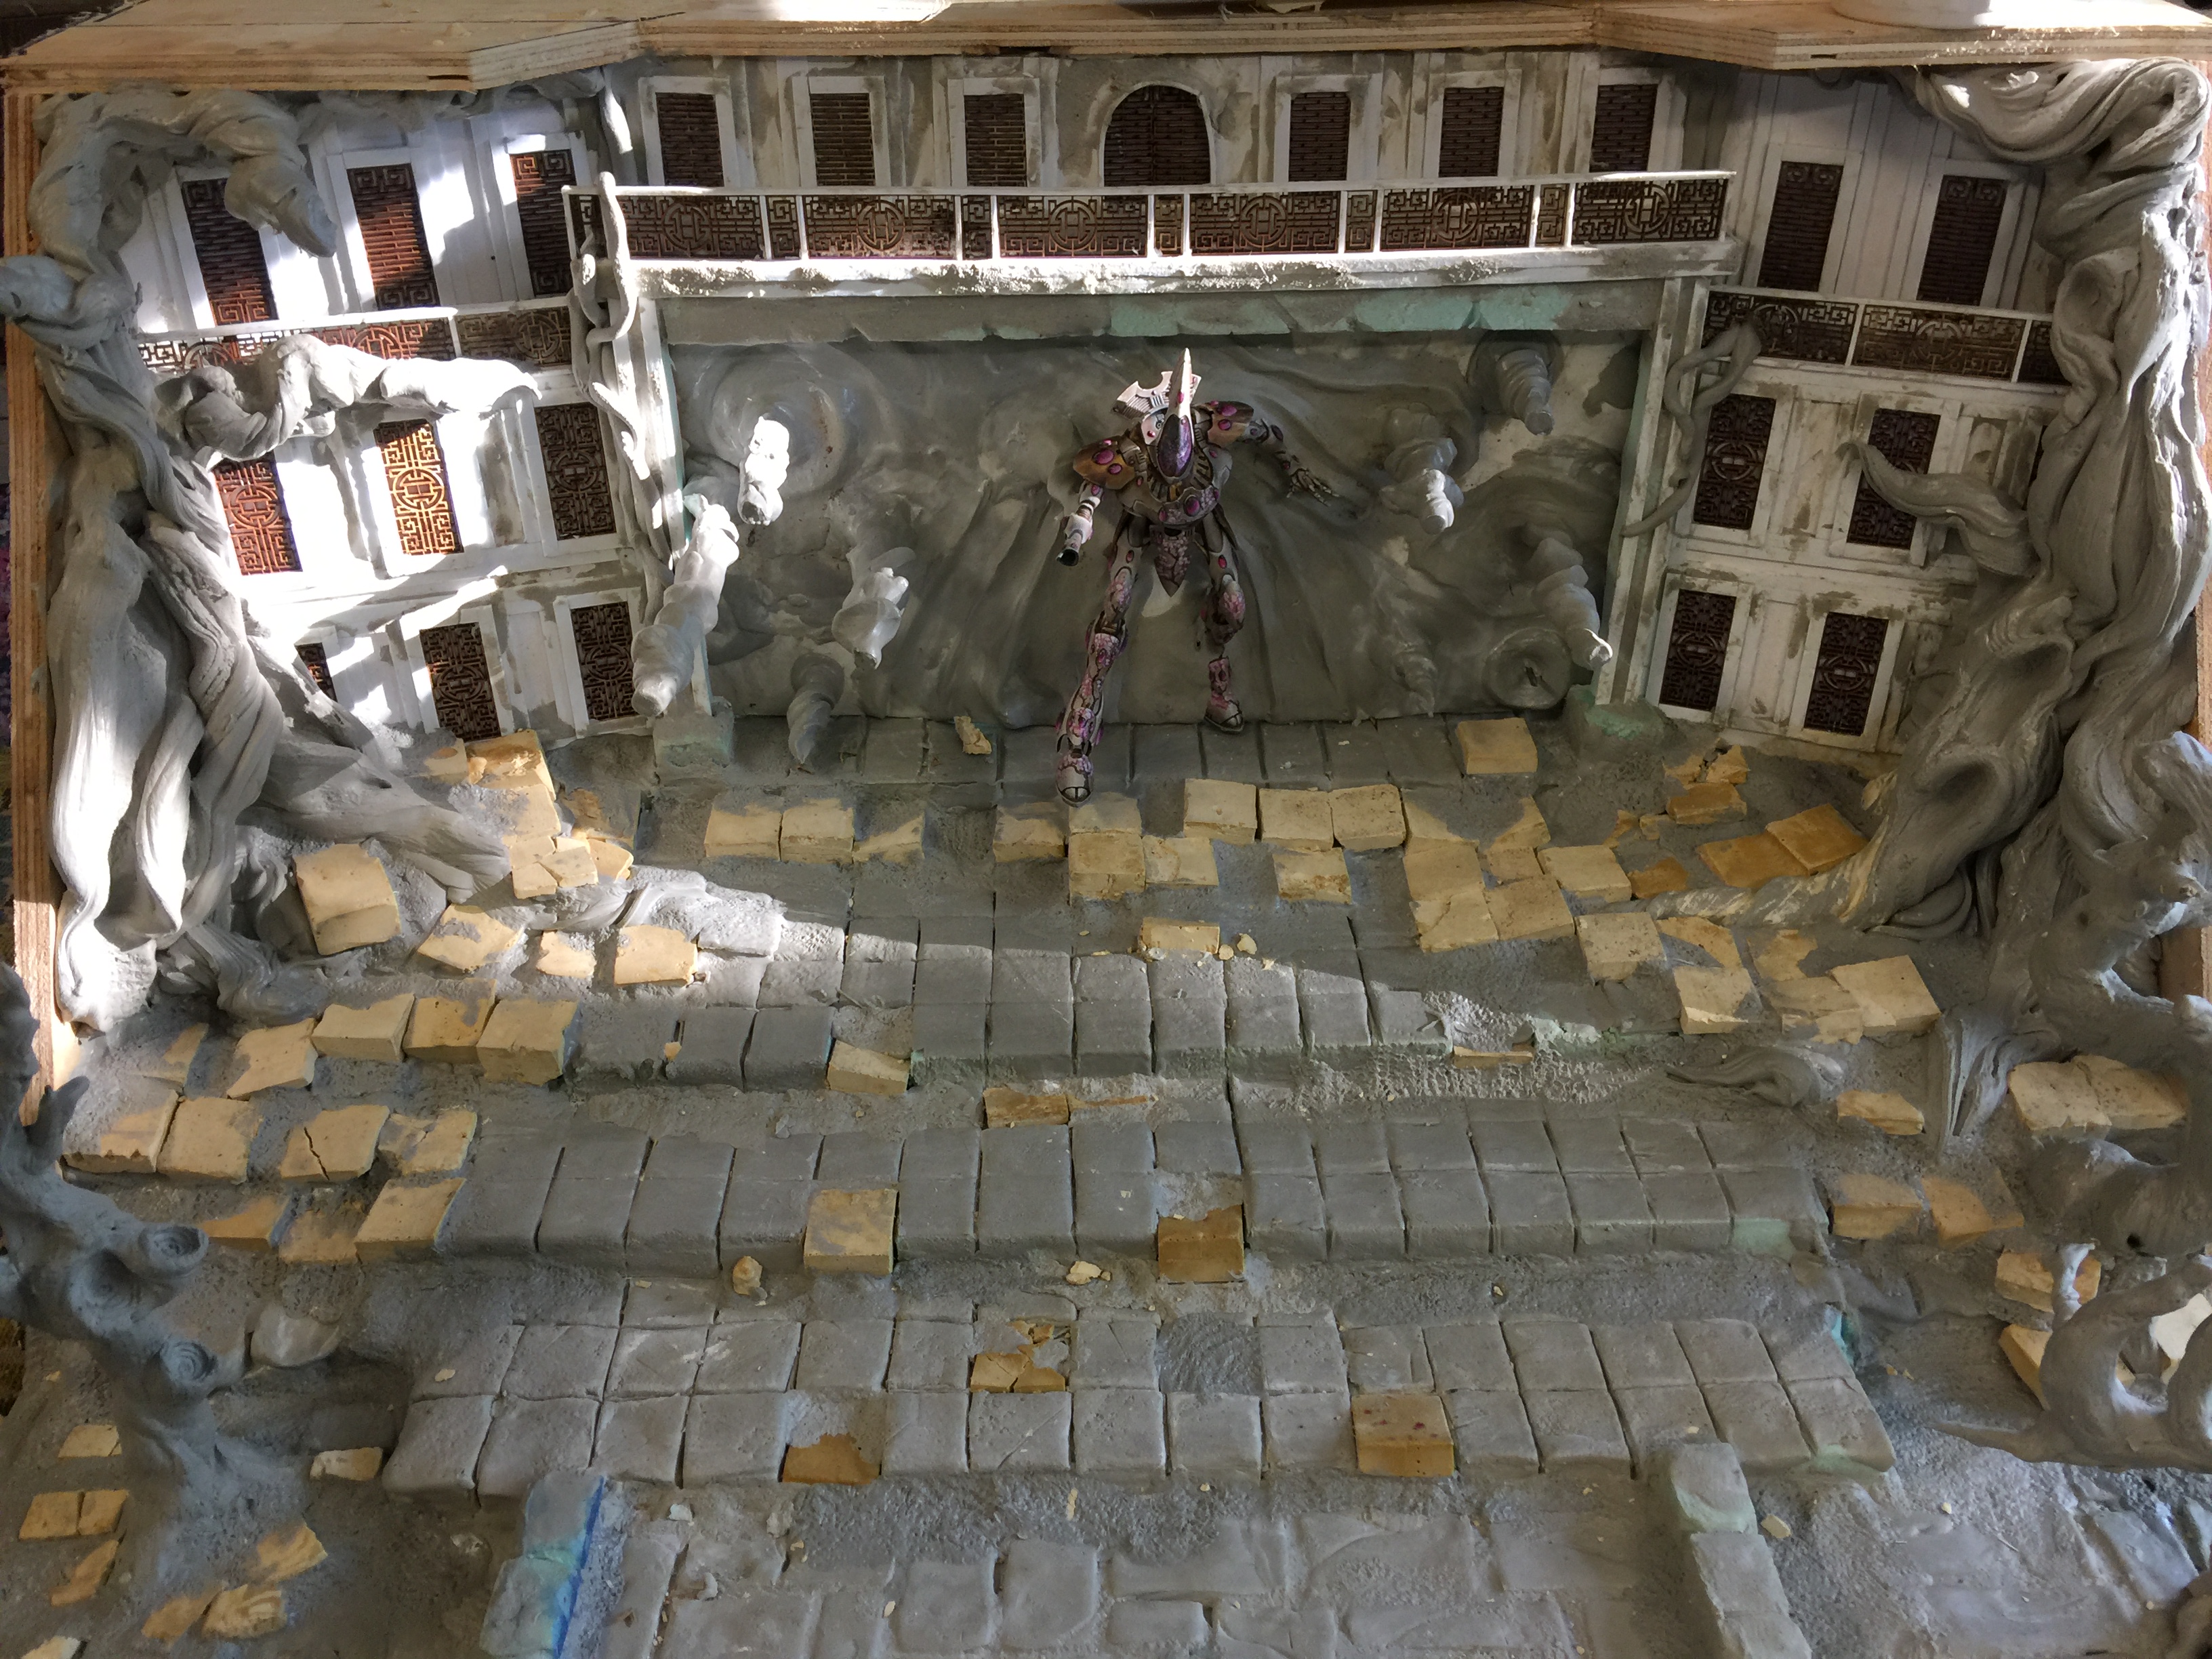
Got very excited and didnt take so many pictures when doing the floor and trees, but there are some close ups coming. Wraithknight painted separately, stuck into a first layer of clay, and then slowly built up around.
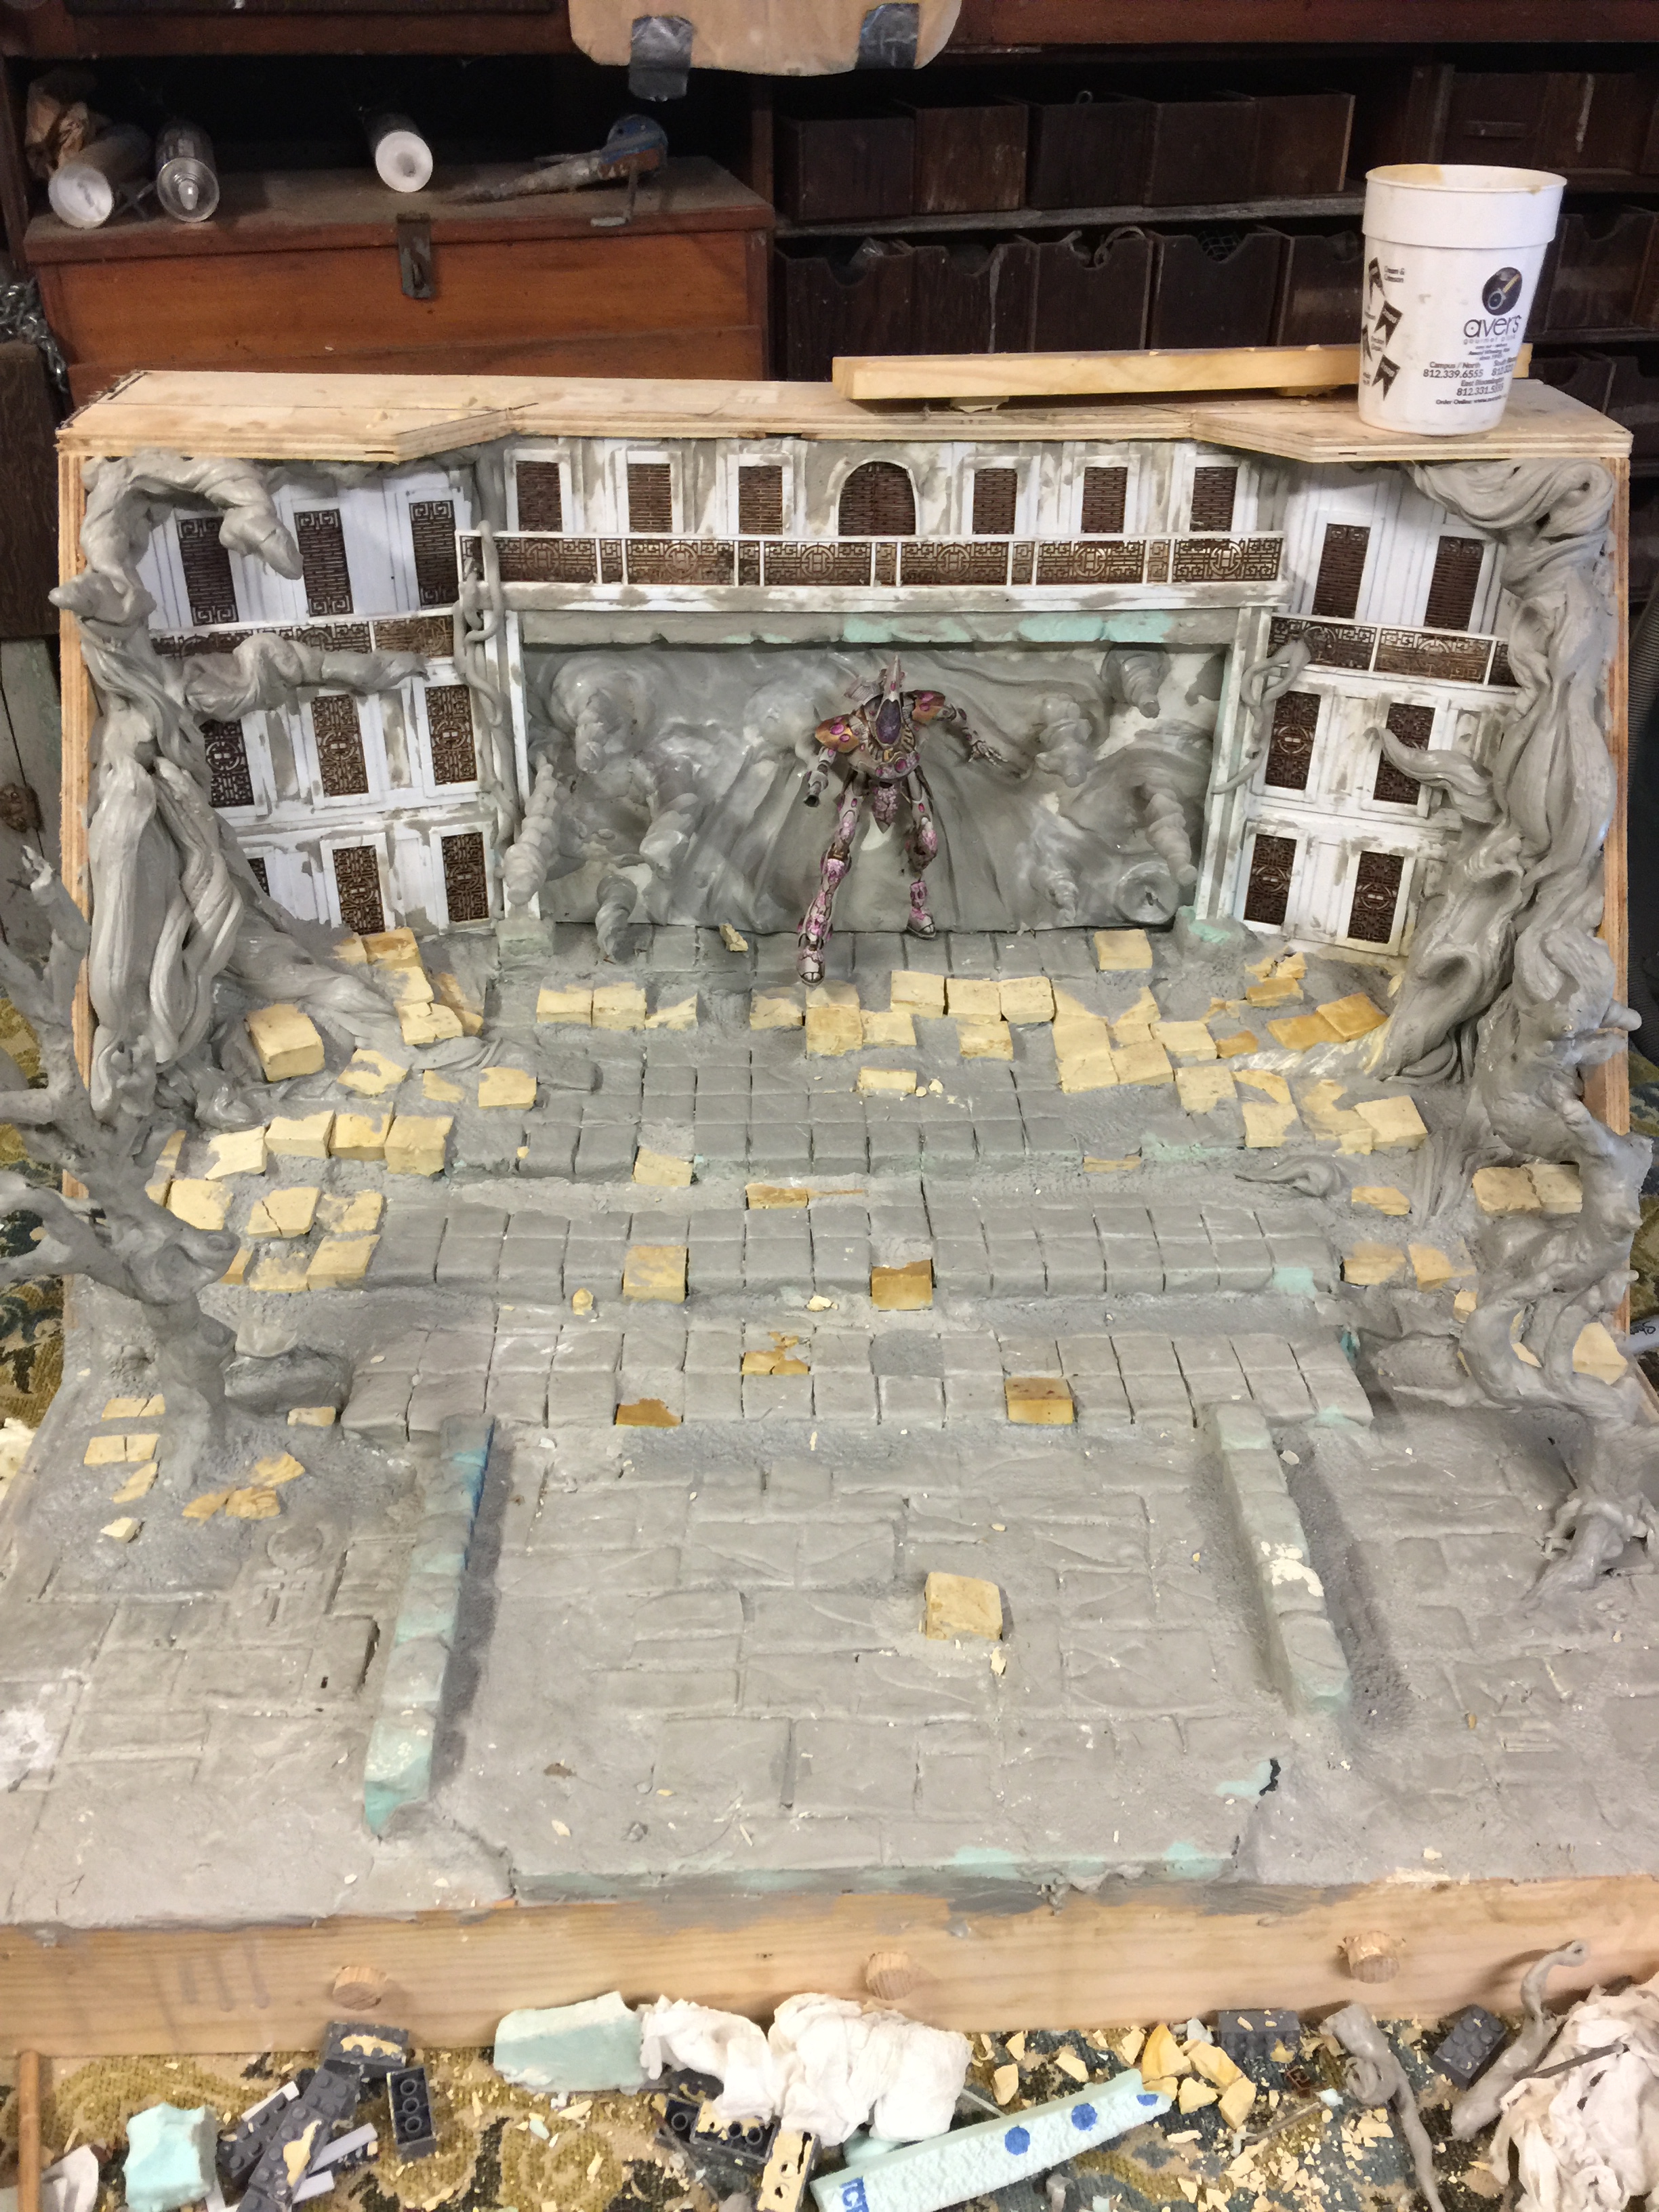
Most of the way there building up layers. Nothing in nature is laid down at once, so a long back and forth of small efforts and amounts make it more natural looking.
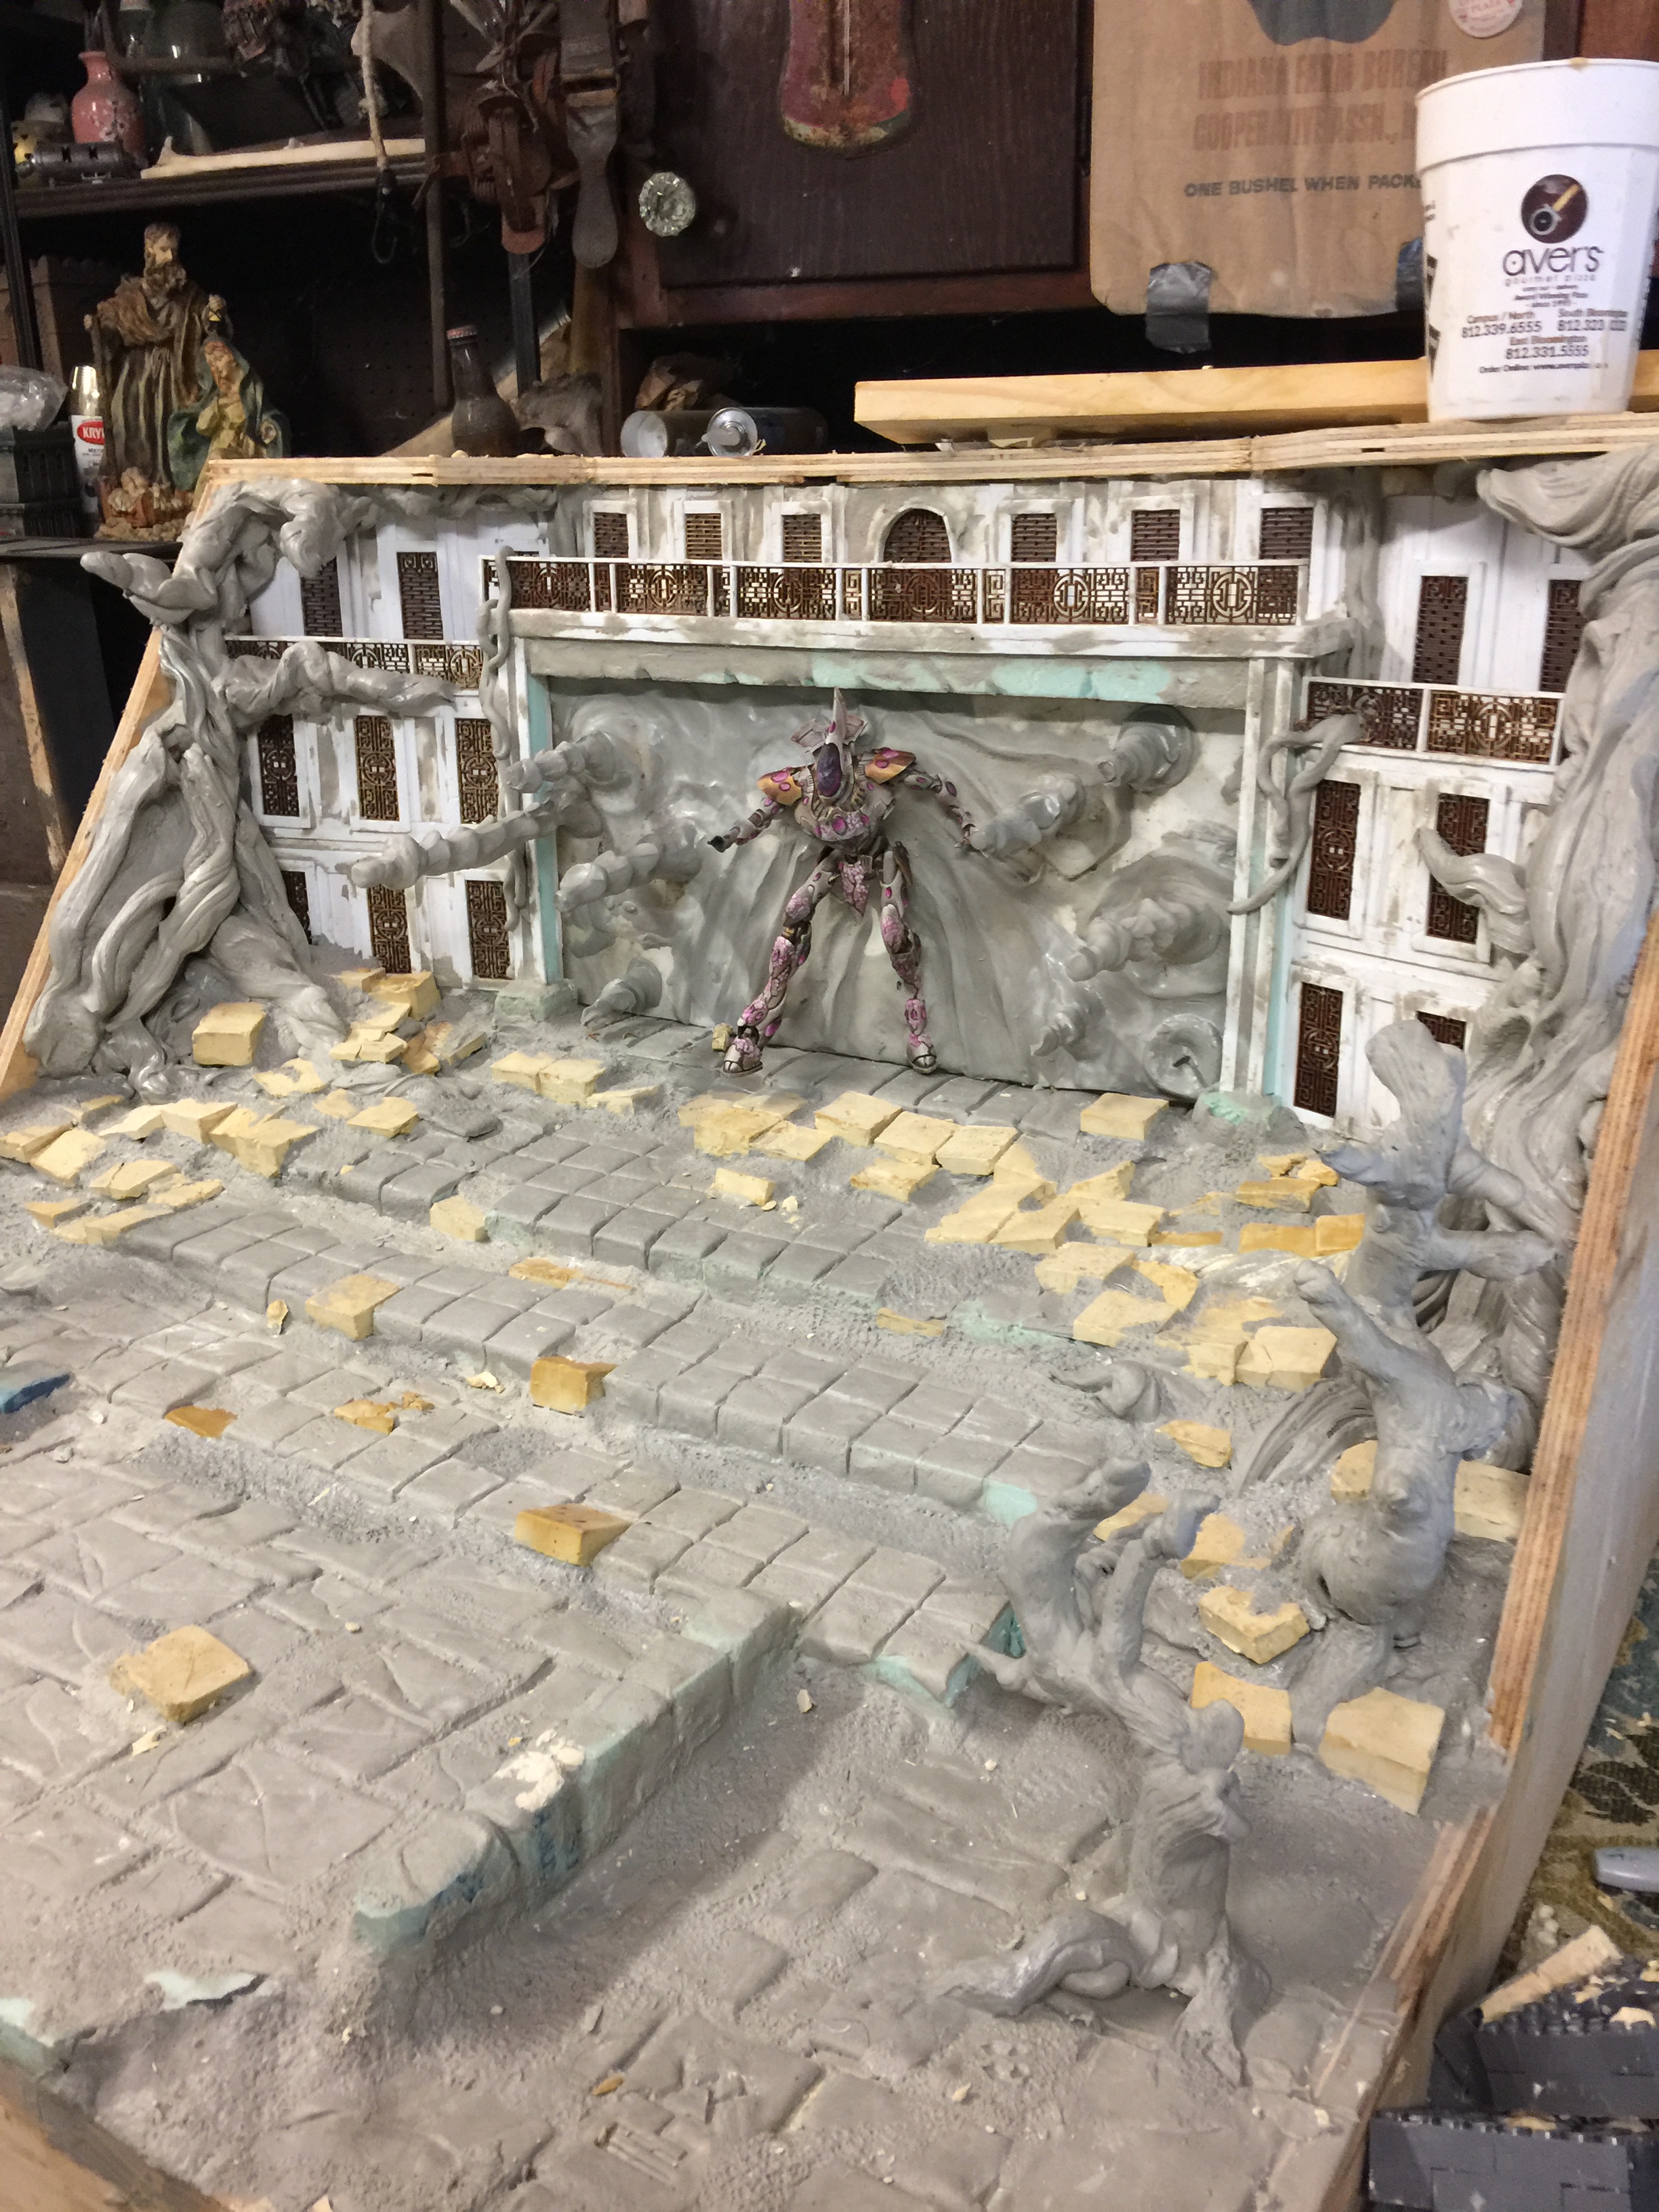
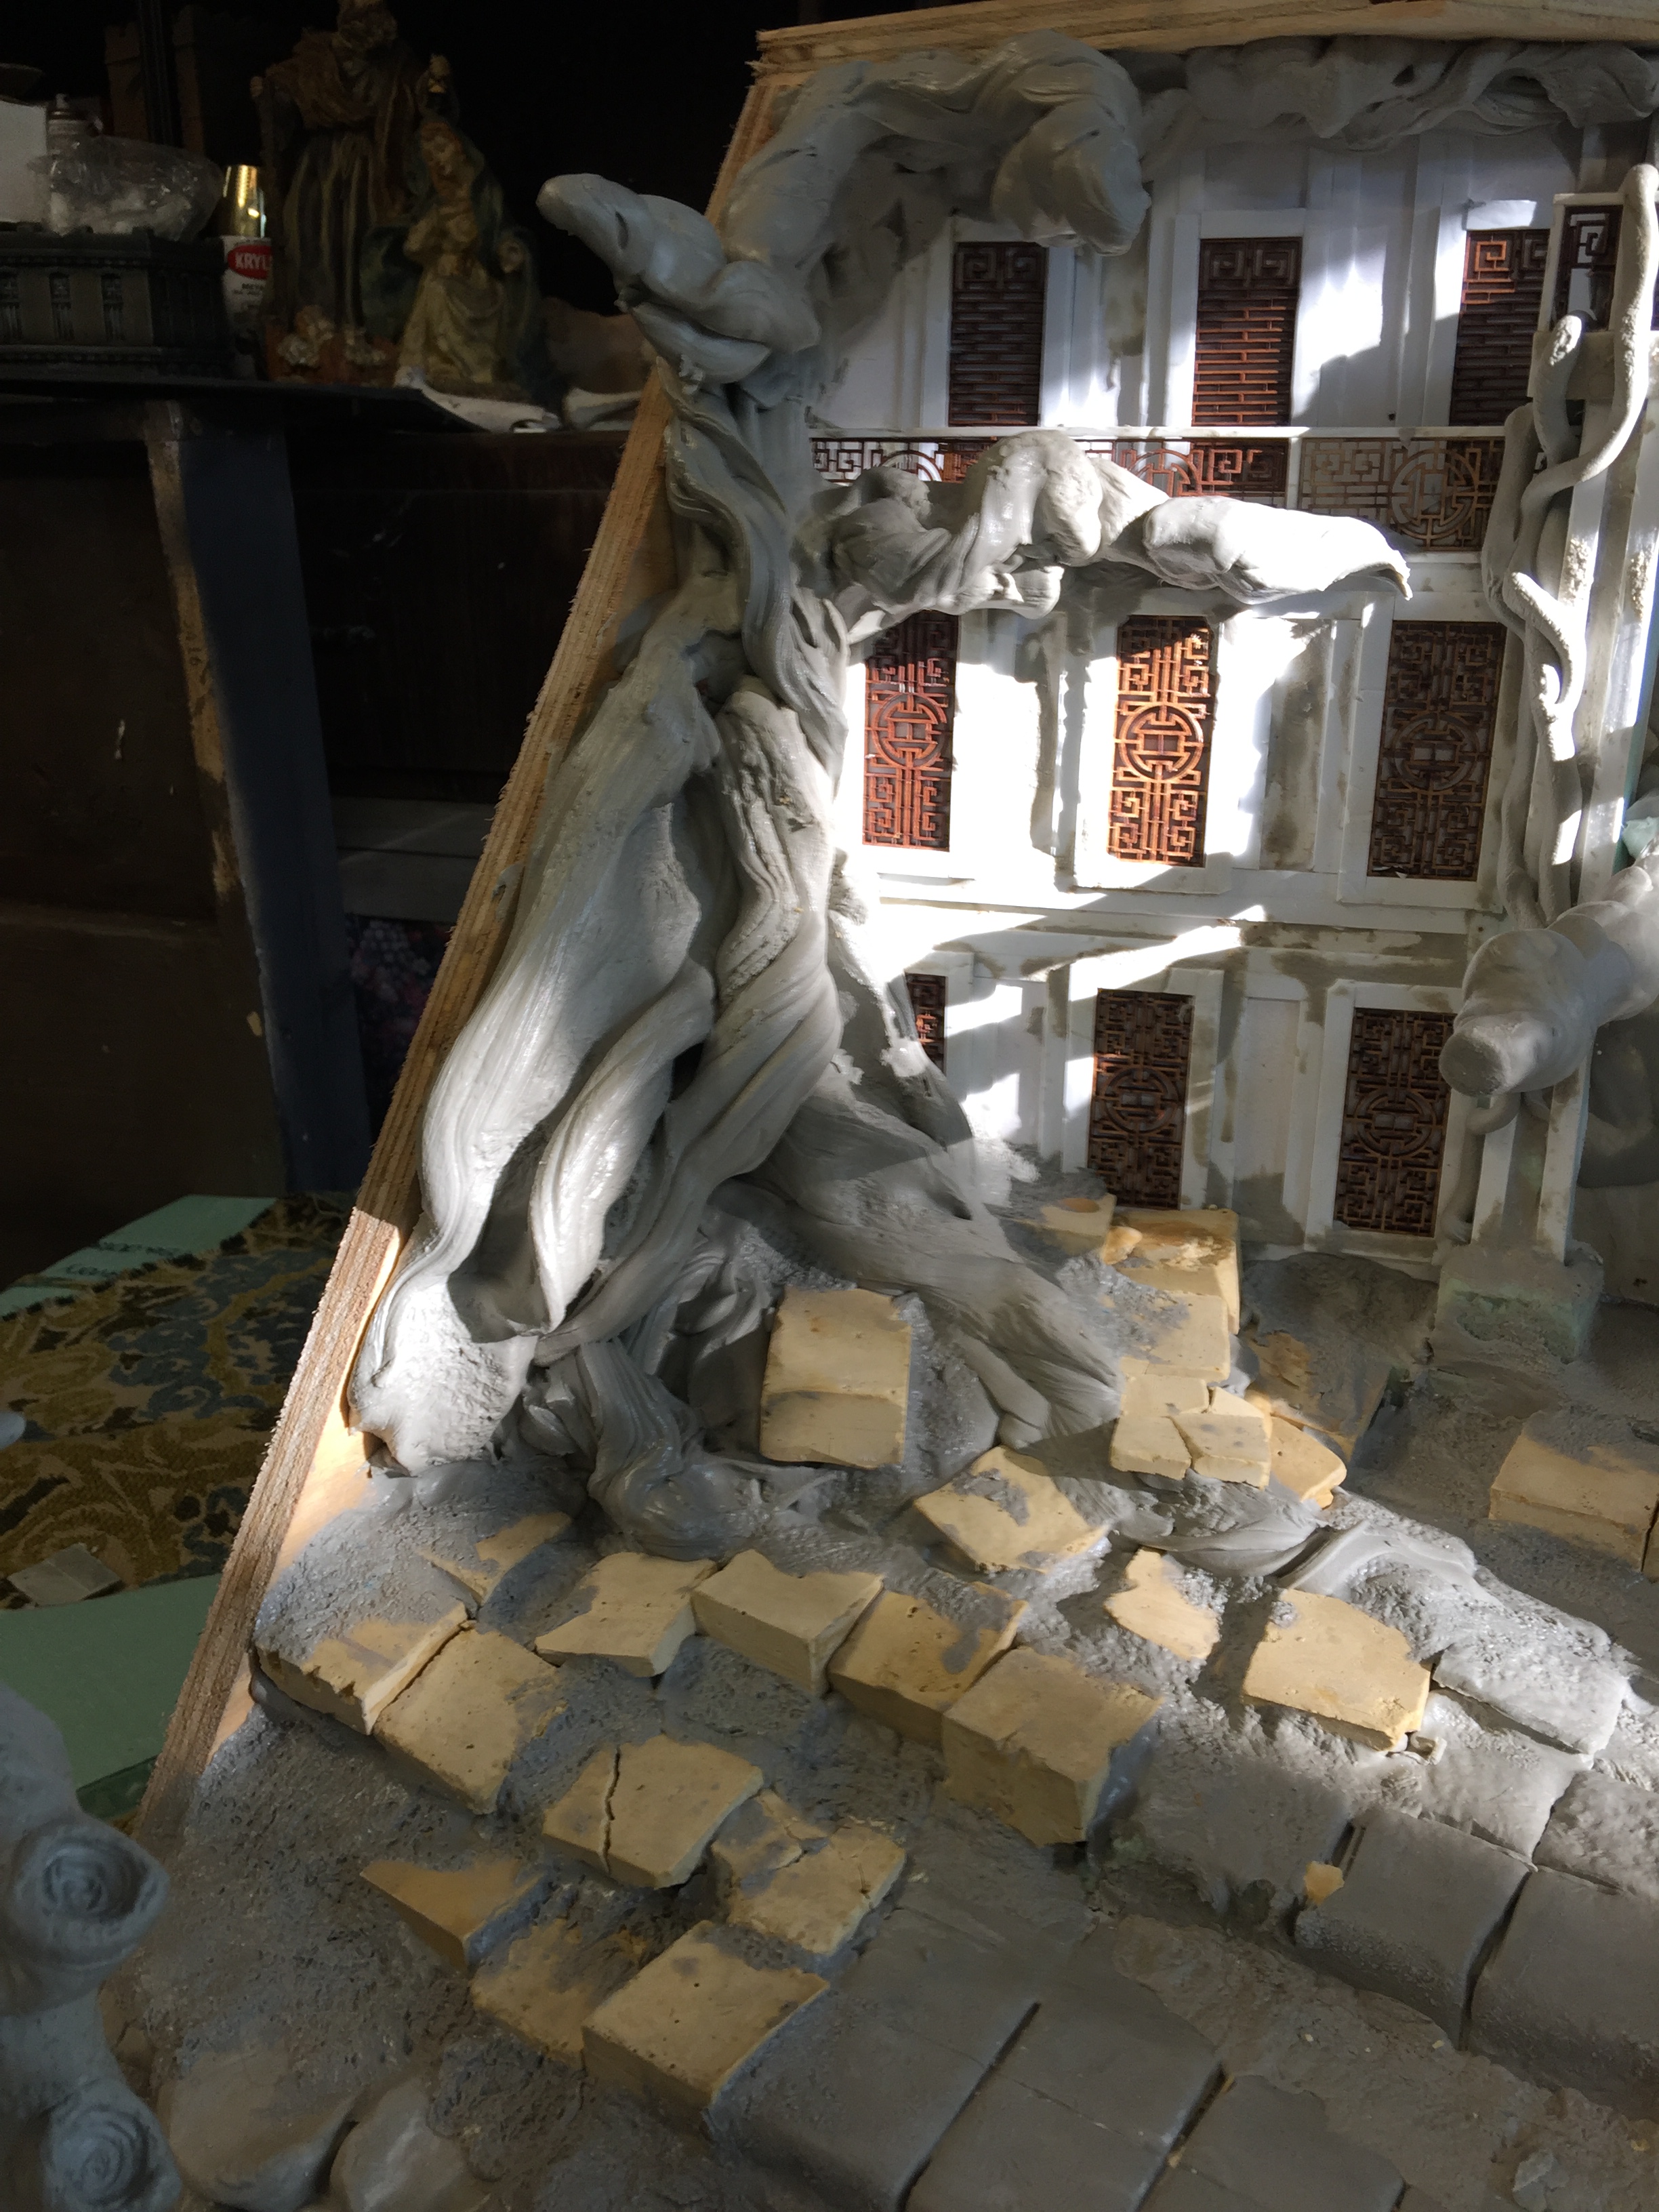
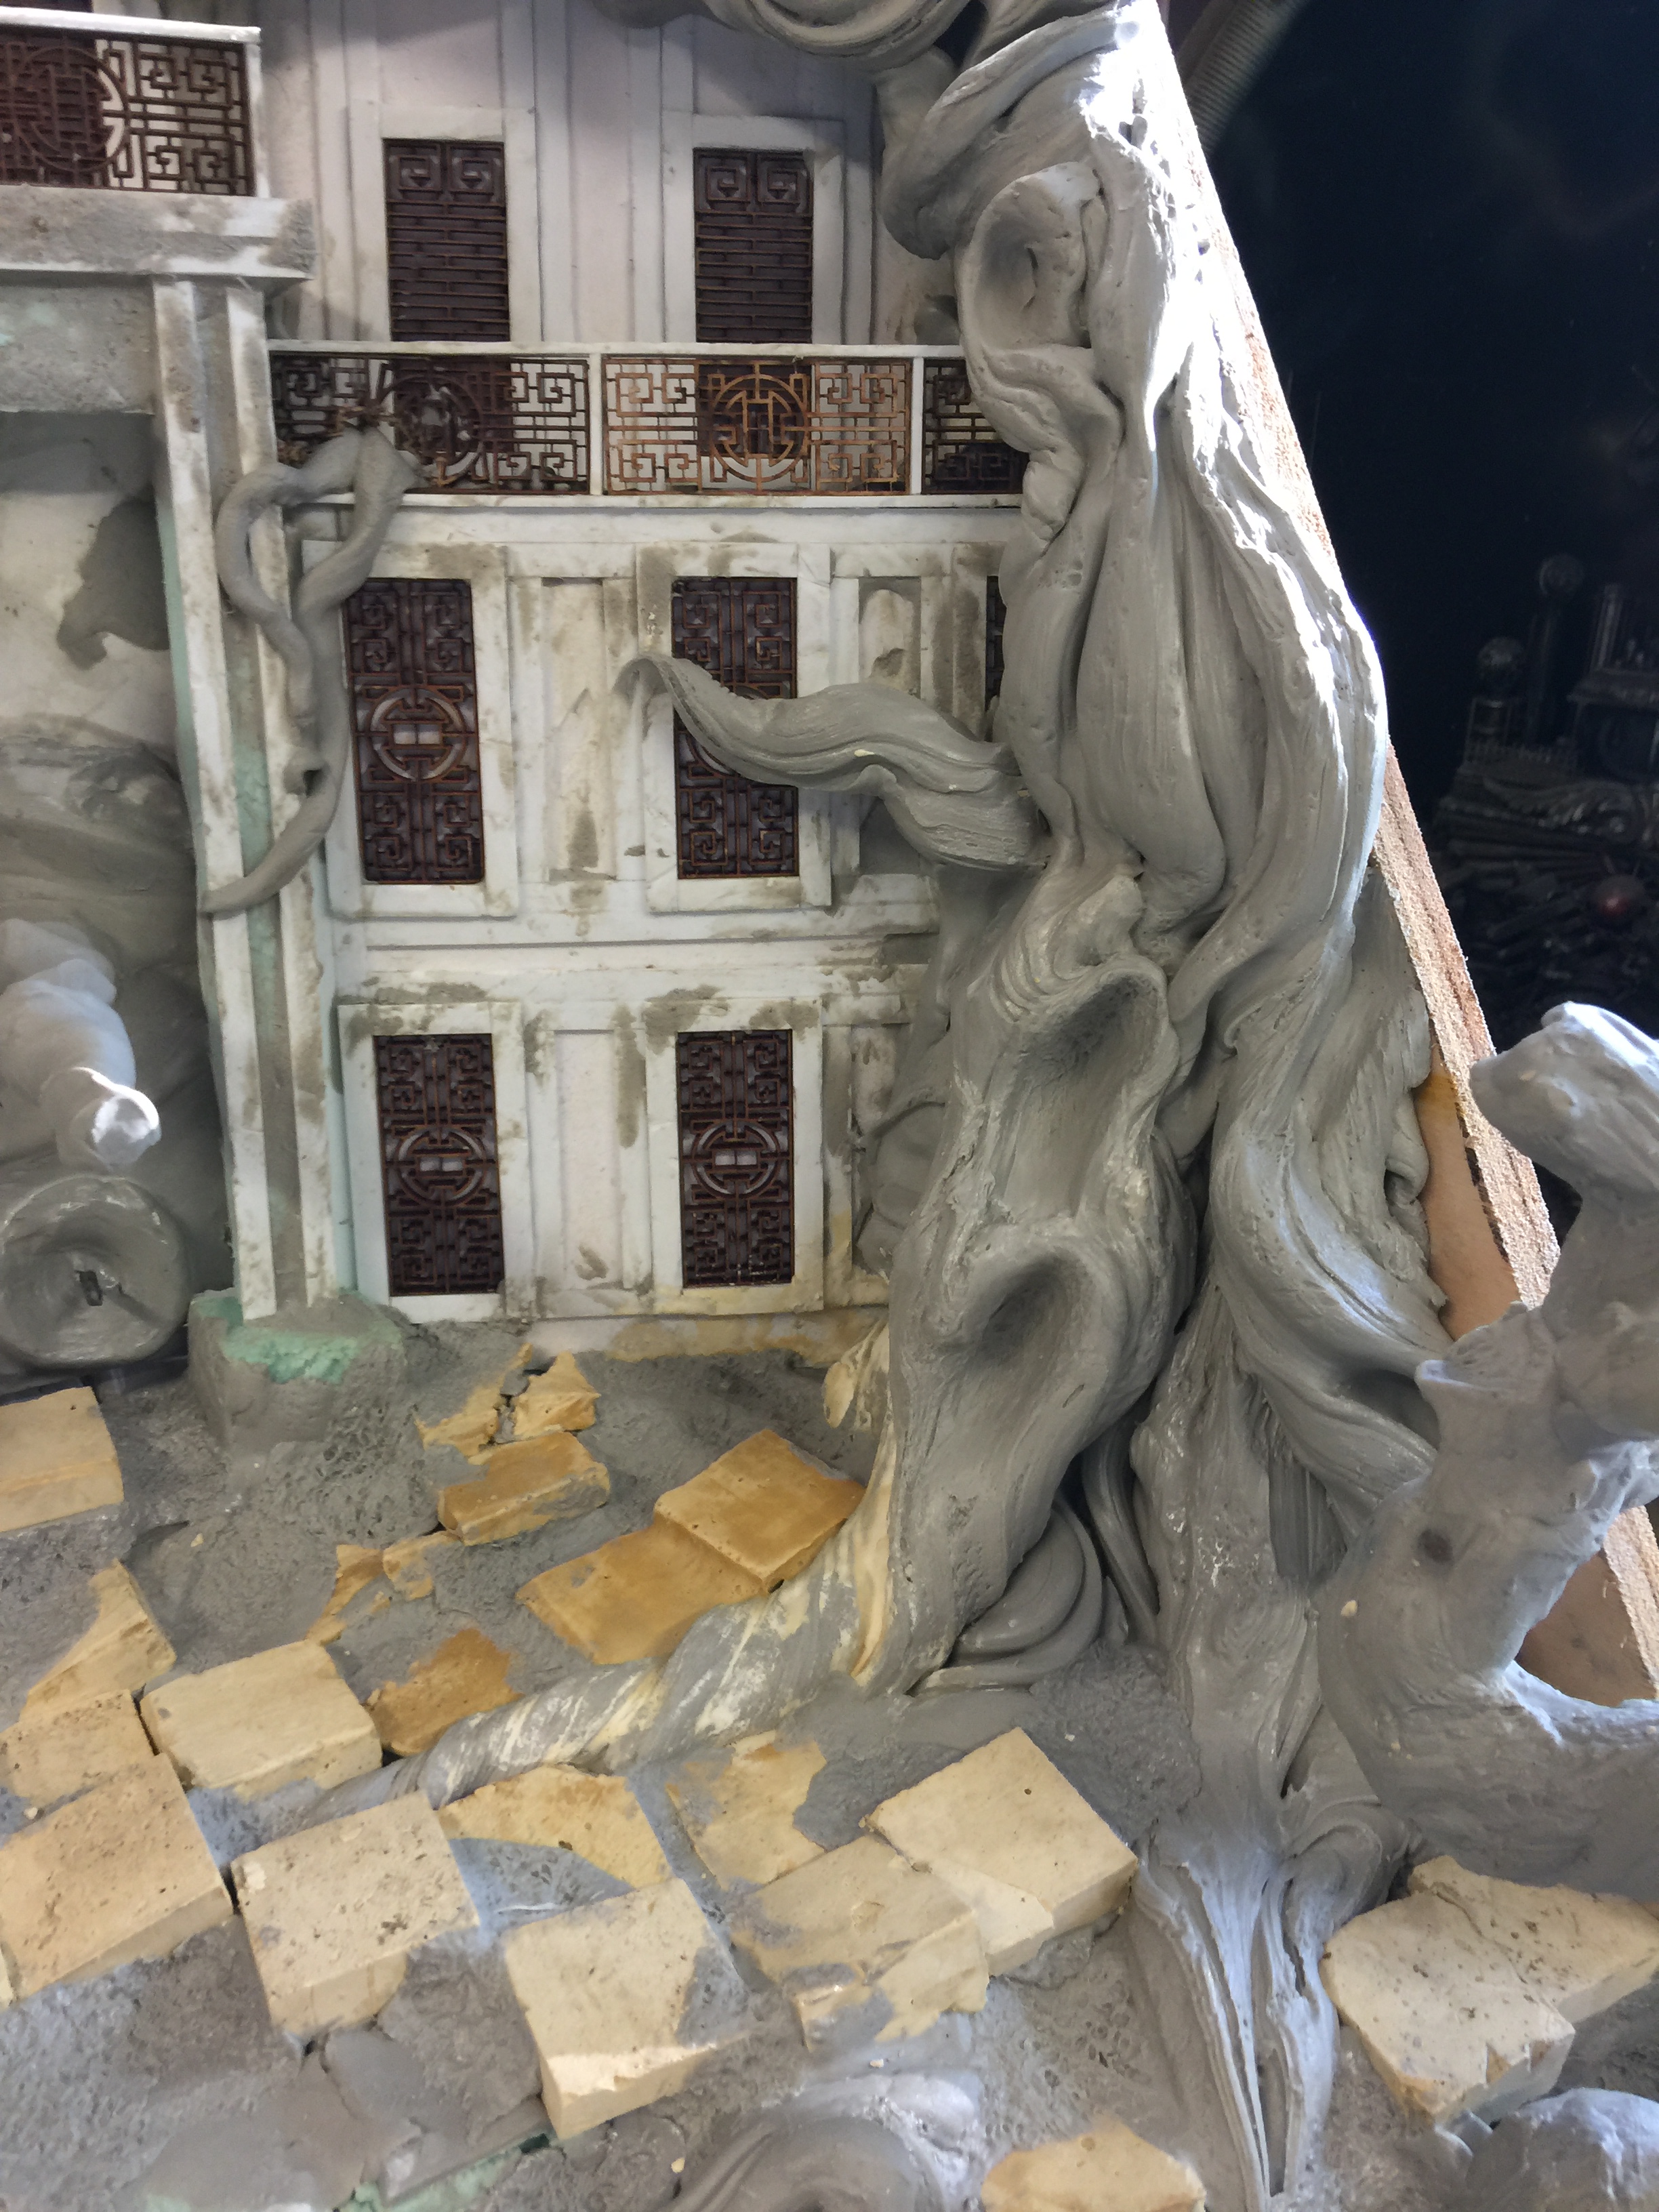
I enjoyed everything on here but the trees were a special sort of fun to make. Really only about 20% of them is sculpted using tool work. Most of it is a lot of playing around with the clay and using it’s own natural qualities stretched and flipped it around, letting it layer and peel. Tools were only used for fine adjustments and a last few details to seal the deal of realism.
And that’s it folks! Will come back soon for a second round going through the painting process, as that is an equal amount of pictures. See you then, and thanks for reading.
As always for more updates, or more images of other projects, feel free to visit me elsewhere: