40K Terrain Project: Wreck Dioramas
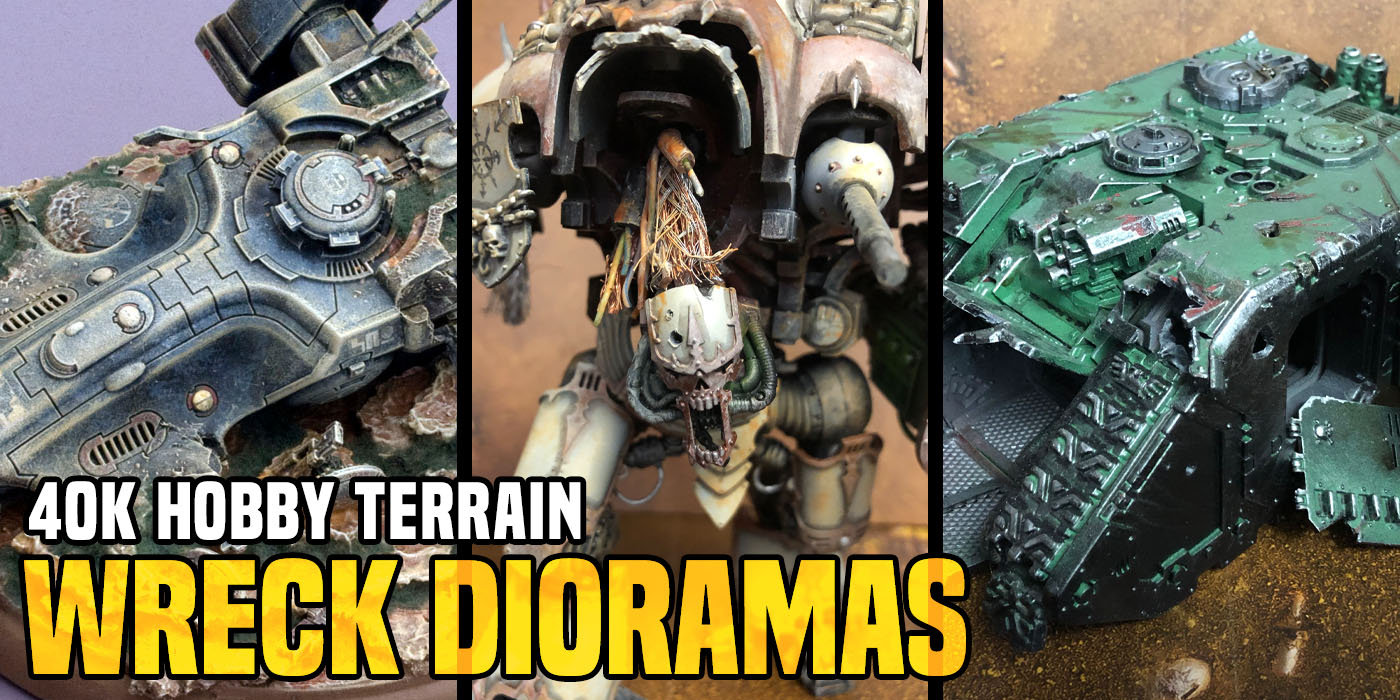

The only thing I love more than building models is making wrecked terrain pieces out of them. Here’s a project everyone can get into!
Hi everybody,
Welcome to Wrecks!
I have a little terrain project for you today. If you’re like me after collecting and painting for several years (decades), you end up with a ton of leftover parts and bits that start to take on a life of their own in your hobby room. There is also the issue of wear and tear from standard play, and let’s face it…accidents happen.
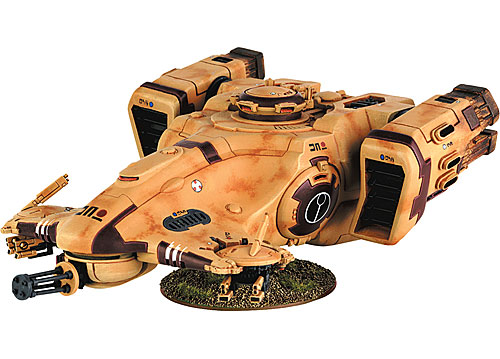
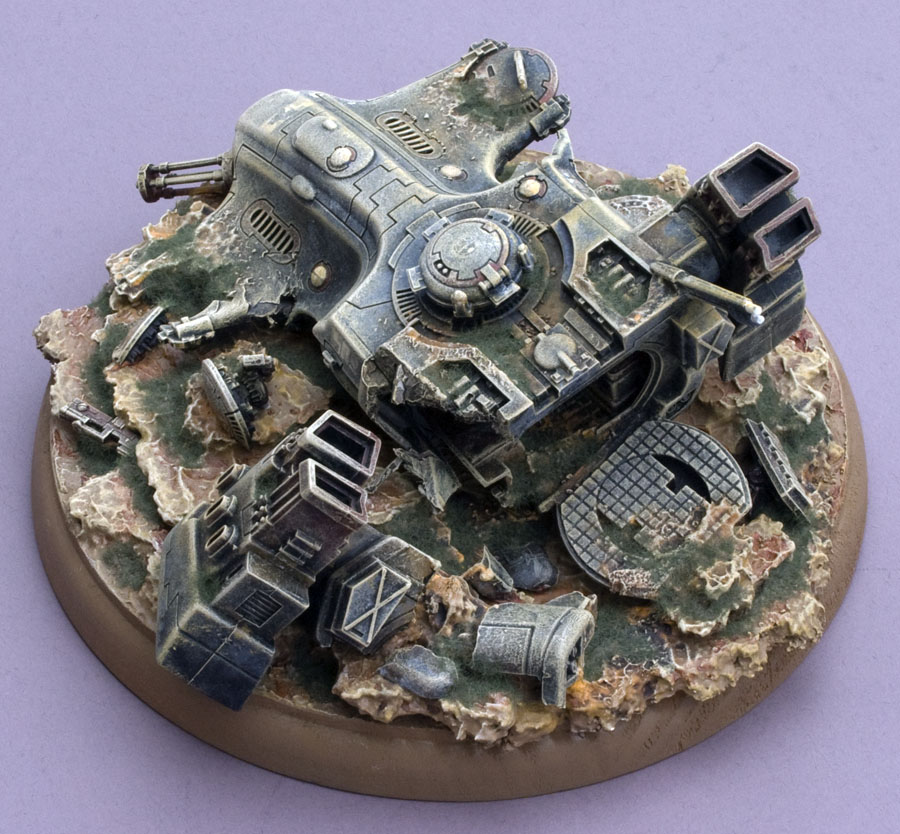
Let me tell you the tale of my original wreck. Years back I had a perfectly good urban painted Tau Devilfish that ended up in a chair and got sat on – crunch – right in the middle of a game! The damage was severe and I just threw it into my bitz box and forgot about it.
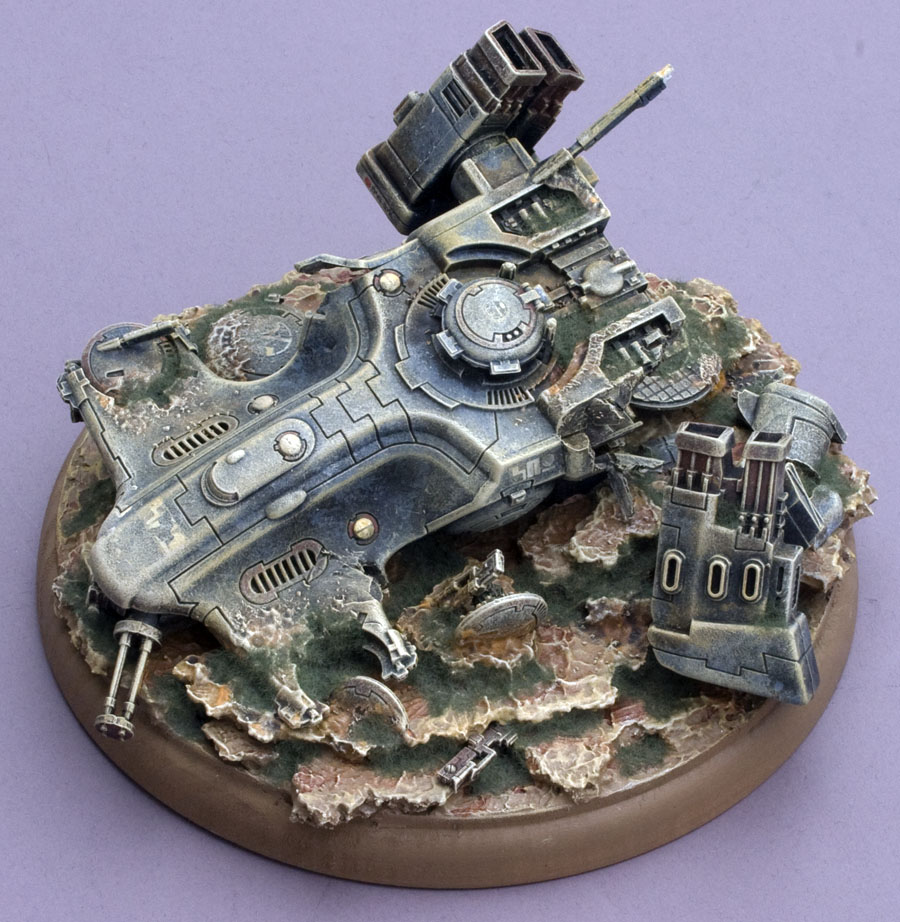
She’s been here for a long time…
 Must have been one hell of a battle.
Who knows what treasures await within?
One day after shifting the pieces around my bits bin for the thousandth time I got some inspiration. I have always been fascinated by images of nature reclaiming man-made items like these. I find something haunting about them. I glanced over at my bitz box and put two and two together… it was off to dioramaville!
 Overgrown temple sculpture, southeast Asia
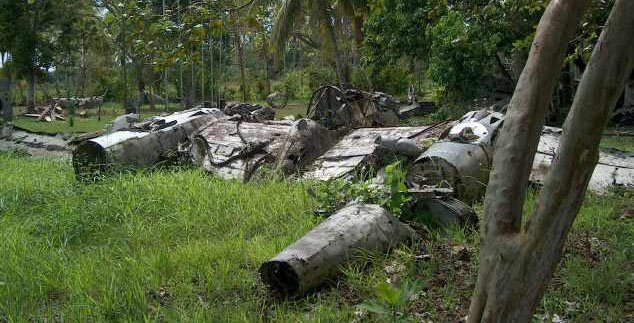 Abandoned P-38 in Indonesia
The thing I really like about doing little dioramas like these is the “atmosphere” they add to your 40k games. It gives you a chance to relax, experiment with painting and conversion techniques in a “safe” way that isn’t going into your tabletop army, and they make great objectives as well.
Building the Devilfish
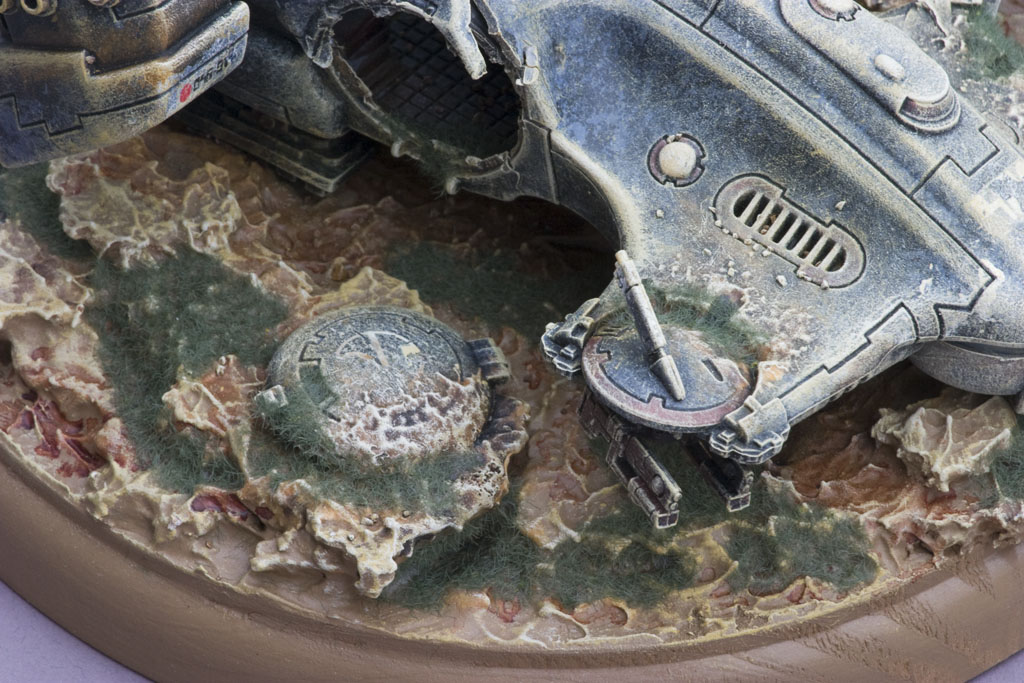
The basics of this diorama are the smashed Devilfish, a $5 6-inch circular plaque, some cork, and a lot of drywall spackle and dry brushing. The project proceeded in several phases of first building up the base, followed by solidly mounting the wrecked devilfish to it with screws, followed by heavy application to the spackle to “embed” the wreckage into the base.
I then did a series of base coats to the terrain, followed by heavy inking and washes applied to both the wreck and the base to tie them together visually. Gravel was glued on and heavy drybrush blending from the ground color up to white was applied in progressive layers to the wreck. The goal was to give it a wind-blasted appearance that looks like it has begun to disappear into the terrain visually. Finally, static grass was applied into a variety of areas of both the base and little recessed pockets of the wreck to give that “reclaimed by nature” effect.
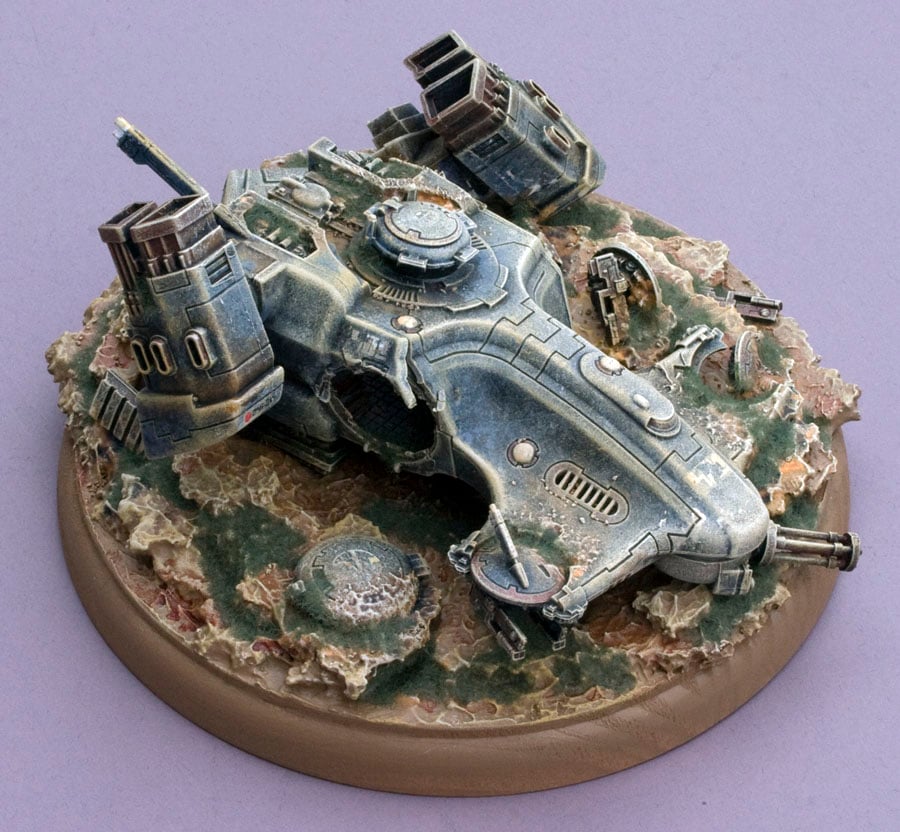
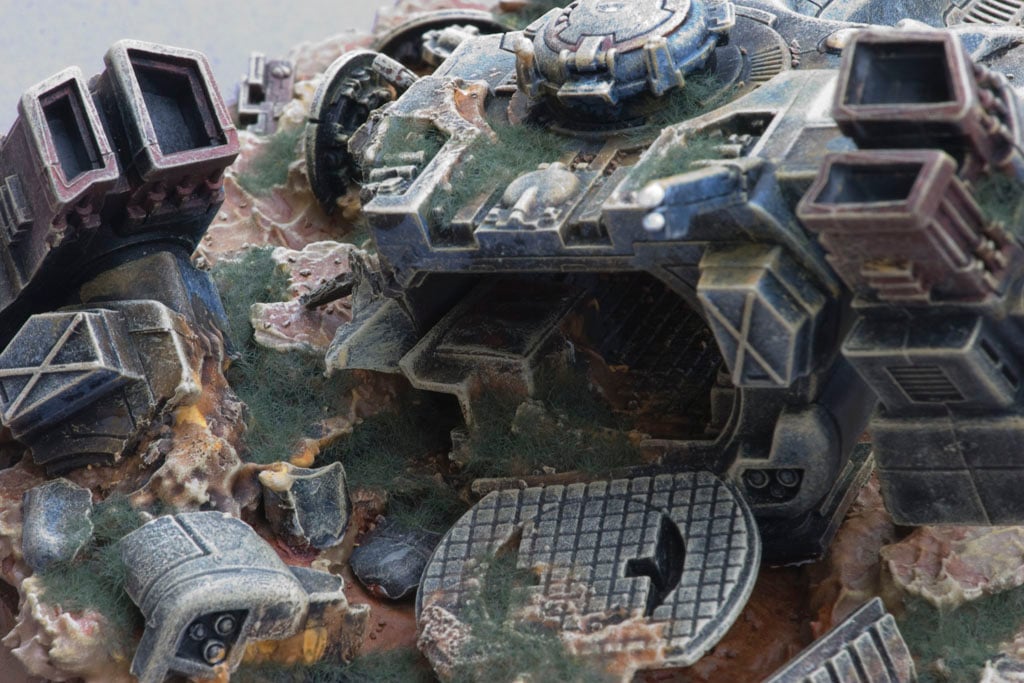
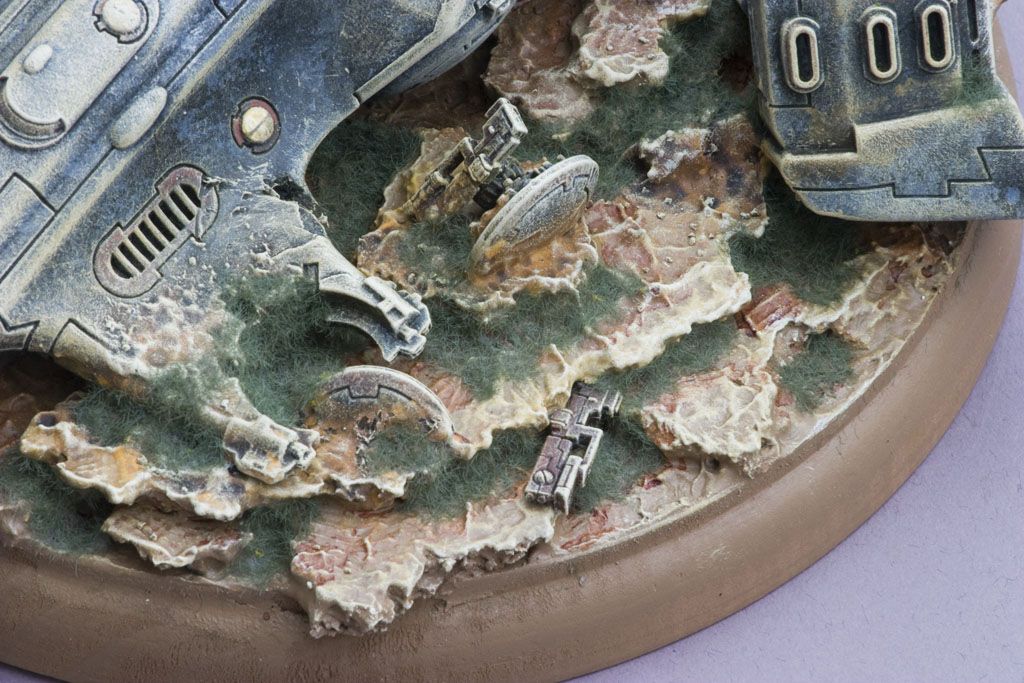
Here are some more detail pics:
The total time was about 2 days including the drying time from the various washes. All in all a quite simple project.
I Didn’t Stop There
Of course, once you really get bitten by the wreck bug it’s hard to stop. I’ve been cranking a few others in my spare time recently.
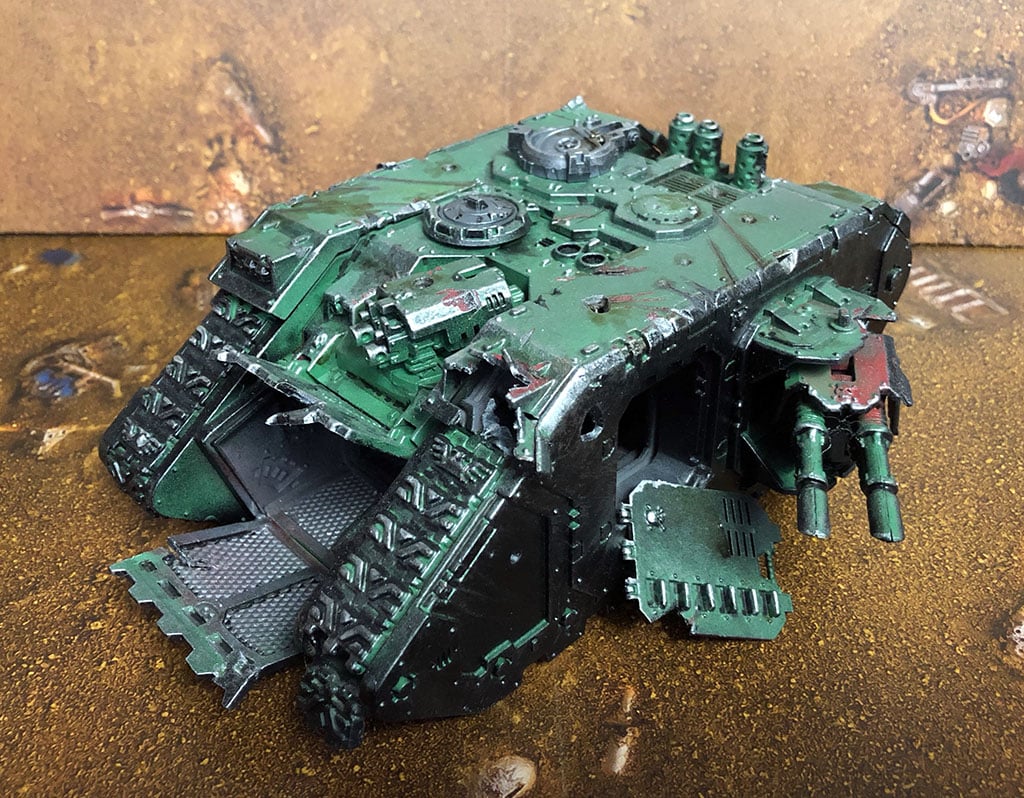 This Land Raider has seen better days.
The Land Raider was in bad shape (that eBay deal was too good to be true), so I wrecked it. This guy got a lot of drill and plier action. I always try to show what “kill shot” took out the vehicle, in this case, a large impact to that front headlight assembly that cut straight through the tank, and blew out the doors.
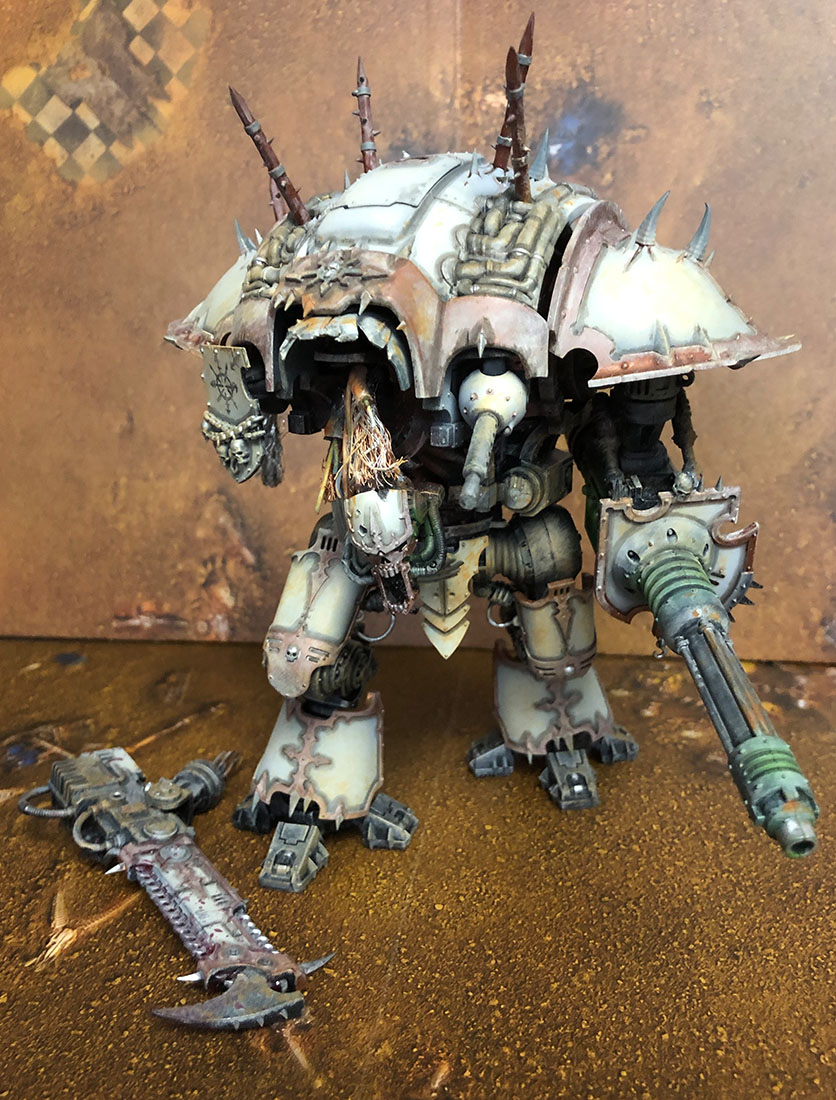 Someone got the best of this Chaos Knight
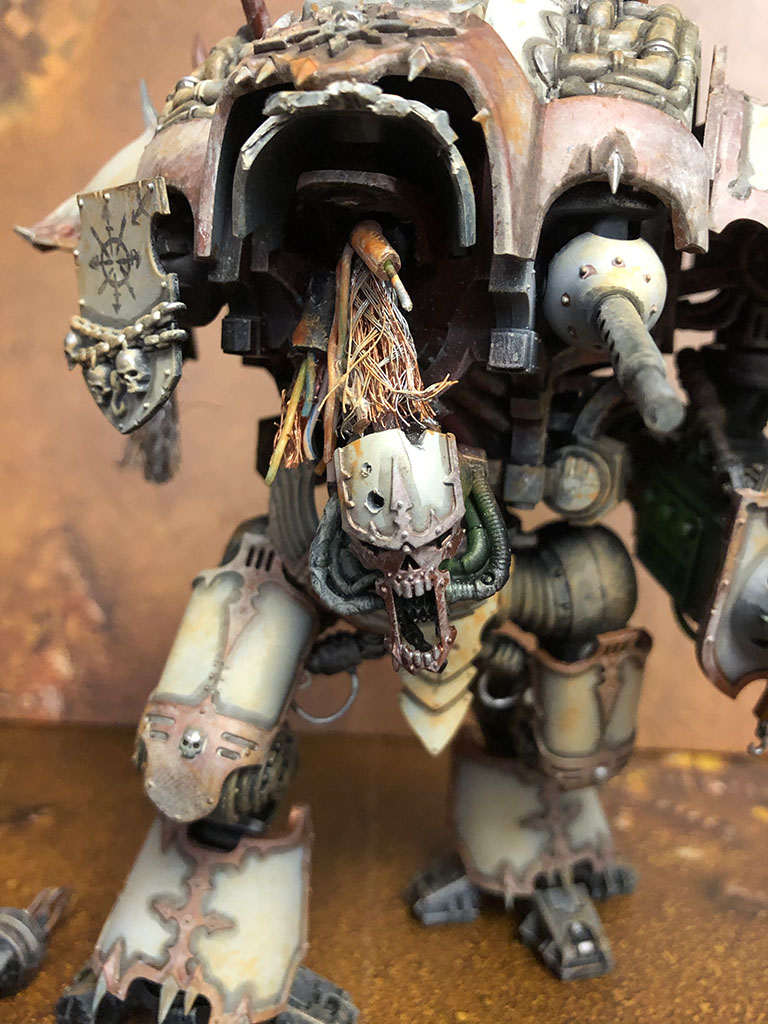 Hanging by a thread
Then I got my hands on this busted up Chaos Knight. I wanted the effect of an ancient machine windblown from some long-forgotten battlefield. I used coaxial cables, speaker wire, and old telephone wire to create the “techno guts” of the Knight that were exposed when its arm was blown off and it’s head almost severed. This one was great fun.
Your Hobby Challenge
If you guys have extra bitz lying around, or that beat-up old kit you’re never going to get around to, and want a little painting diversion while we’re all just waiting around, give a wreck diorama a try. Its great fun and there is something therapeutic about taking drills, pliers and power tools to the plastic to make it realistically “damaged”. You’ll get a real chance to perfect your weathering skills in a safe way. What you learn in projects like these pay big dividends down the road when you dive into your next army.
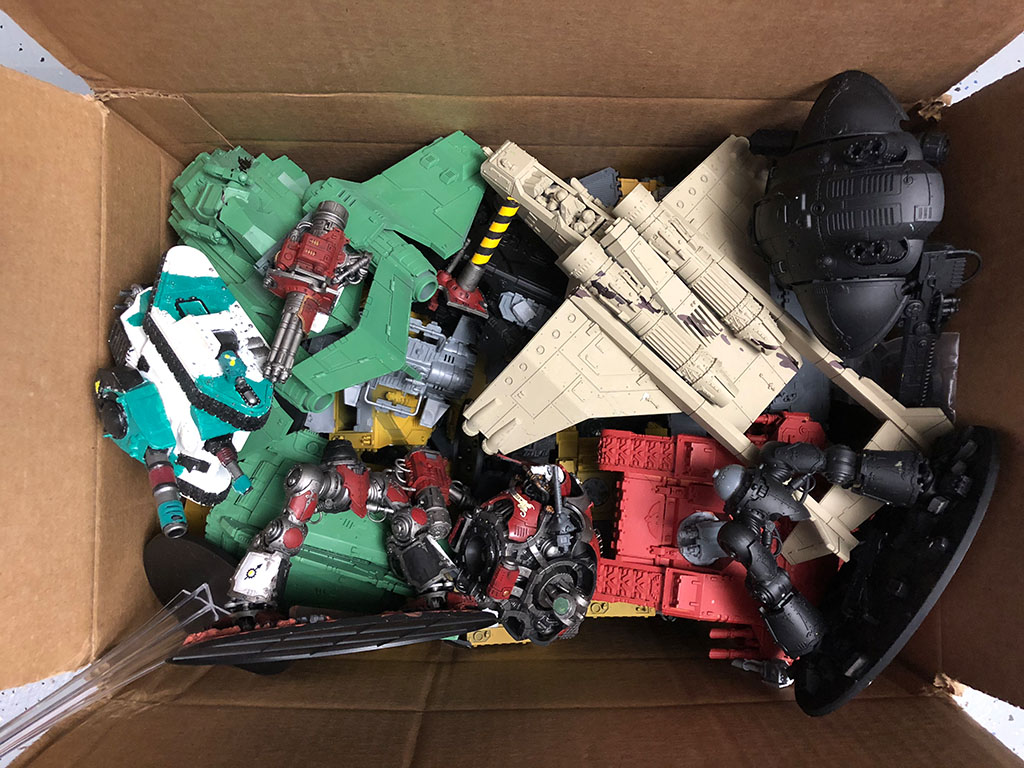 Here’s my box of wreck”raw material”
As a bonus, you get some great characterful terrain pieces for your table.
~What do you think of the wrecks? Any please post pics or email us in the days ahead with your efforts.