‘Warhammer: The Old World’ – Five Tips For Beating Bretonnians
Take a look at how you can beat the dreaded Bretonnians in Warhammer: The Old World. Every army has a weakness!
If you’ve been paying attention to the dreaded “meta” at all, you’ve likely clocked that Bretonnians are a bit of a menace right now. They are, arguably, the best army out there right now, with a lot of tournament victories, and armies that are hard to beat in both casual and competitive play. Now, I won’t say that they are unbeatable, and there are other really good armies out there.
However, Bretonnians are in a bit of an interesting space as some of the tactics that work vs other top armies (i.e., how to manage a dragon) don’t work with them. As a result, I think a lot of people struggle fighting them. Now I’ve a little success playing Brets, and I know their strengths and weaknesses pretty well. So I figured I’d give a few tips on how to deal with them to hopefully help some people out. I’d recommend combining this with my other tips!
5. Deploy With Care
Bretonnians are a very fast and hard-hitting army. While deployment is always important in ToW, versus some Bret armies, a poor deployment can lose you the game almost right off the bat. This is most obvious when fighting Bret Exiles. And it’s important to know what they can do.
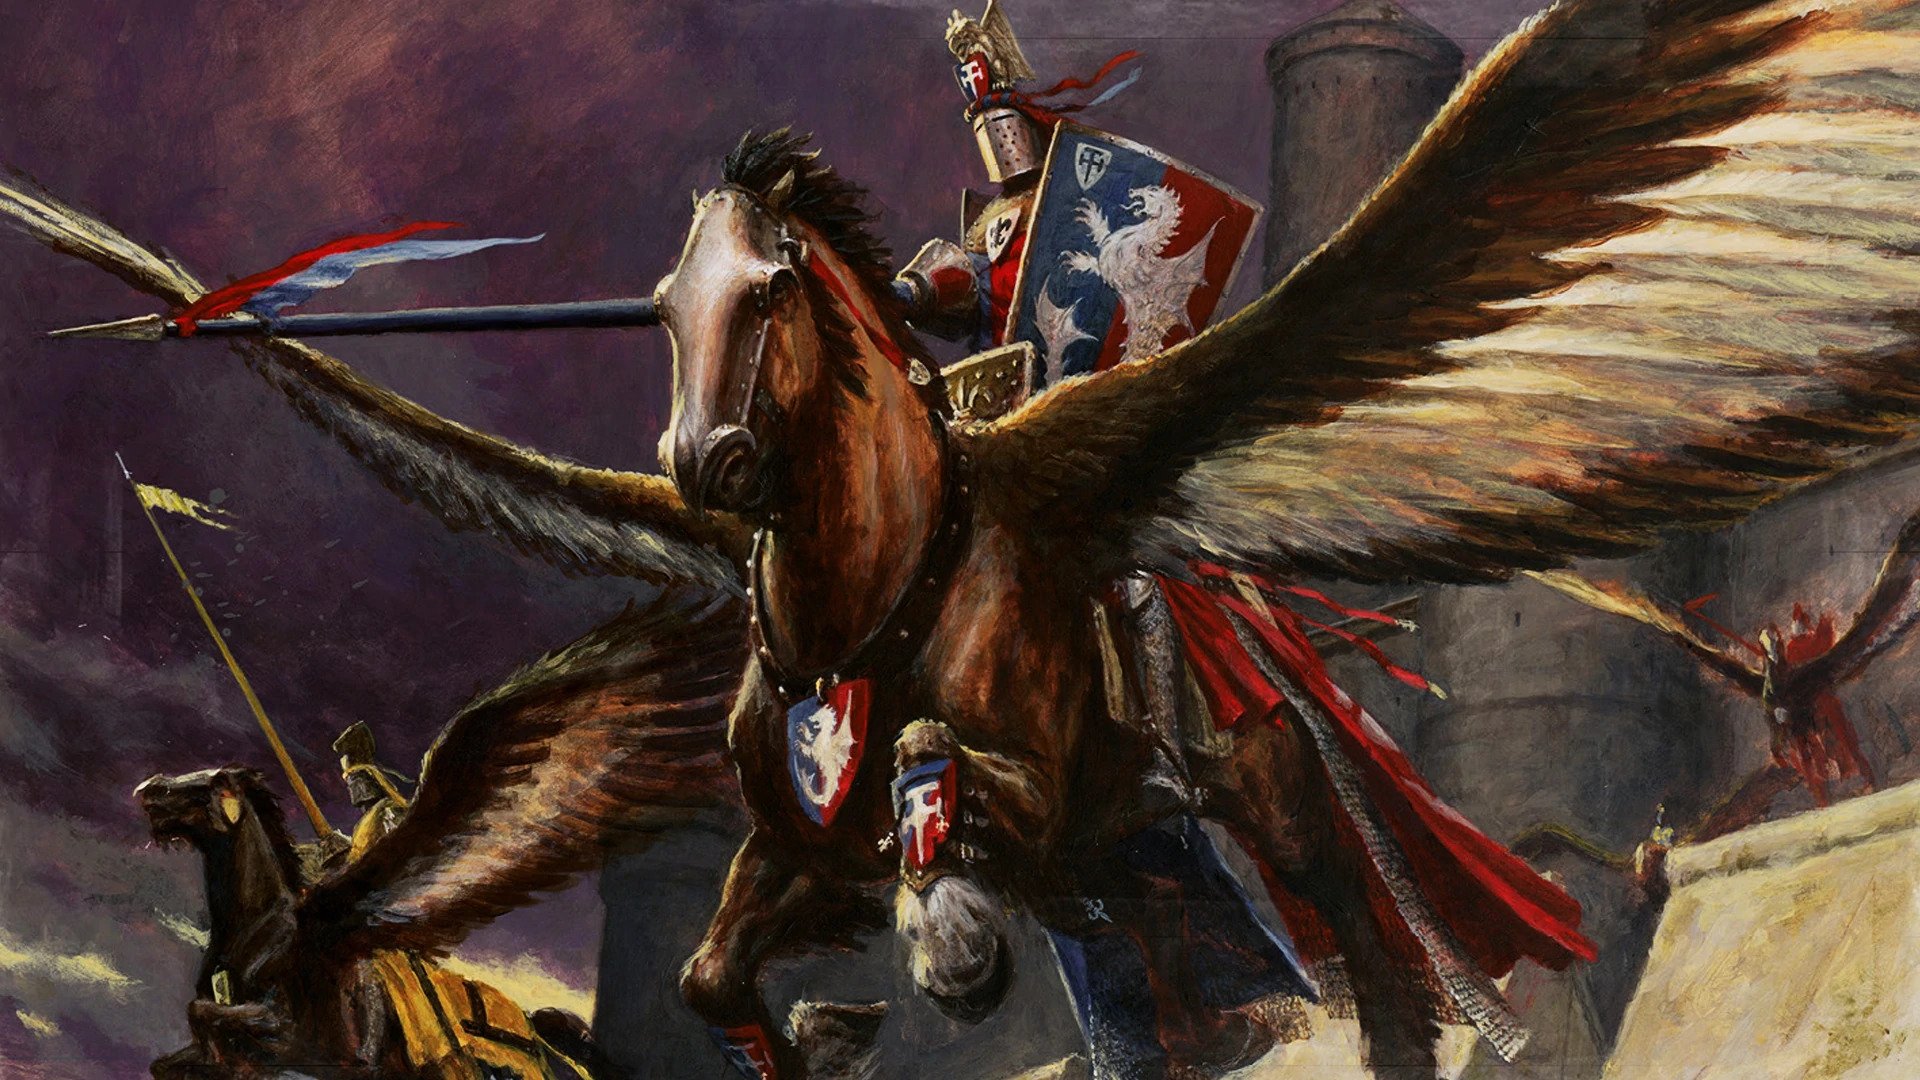
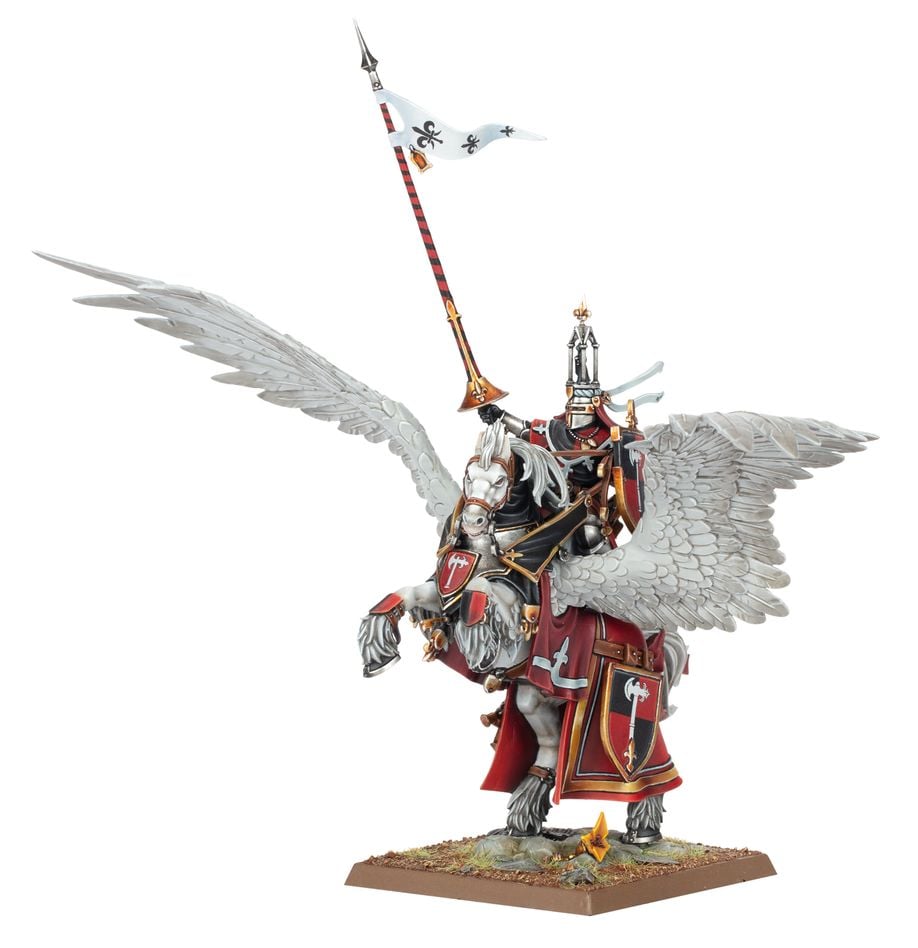
Unlike normal Brets, Exiles do not have to give up going first, and often have very small armies, giving them a +1 to the roll. The big meta move from them is to run vanguarding Pegasus Knights. These guys have a massive threat range. With Vanguard, they can make a 10-inch pre-game move.
They will then be able to normally declare a charge up to 19 inches* away (with an actual charge move of up to 22 inches). As they are skirmishers they have a lot of flexibility in this charge and aren’t going to lose inches wheeling.
This means they will normally have a threat range of 29 inches, and anything in that range has a very good chance of getting charged turn 1 before it can react. If this happens, it can well be game over for you. So this means you need to be very aware of this range, and it is possible to set everything up outside of it. You can also use it to set up a tempting target for the Pegasus, but remember, they hit hard. Managing this kind of deployment is pretty key to dealing with them.
*There are a few ways for them to get a bit longer of a charge range, such as the Virtue of the Impetuous Knight. Check out their list and make sure you know what the threat range is.
4. Run Away!
Sometimes it’s just not possible to set up everything out of the Pegasus charge range. Now you could try to sacrifice a small unit and let it die, but that will grant the Exiles the Blessing of the Lady, which is bad! In these cases, it may be wise to try the age-old and underused tactic of running away.
Now this can be risky, especially on turn 1 with your back to the table edge. You’ll want to take stock of just how far the enemy has to charge, how close you are to the edge, and how important your unit is. But it still can be the right choice to just GTFO and run. Indeed, if the unit is likely to die anyway, having it run off the table is preferable to having the Pegasus Knights kill it, gain the blessing, cause panic tests, and even maybe get in a clutch overrun.
Of course, they do have the option to redirect. And with a re-roll thanks to Veteran (assuming these are Exiles and trying to charge first turn), they will likely be able to do it. But this gives you other options. First, they have to have another target, and it might be a far less favorable one. Second, you can flee again, and a charge can only be redirected 1. So, fleeing twice from a charge at the end of its max charge is almost always going to result in the enemy failing their first turn charge and being left out in the cold.
3. Target The Characters
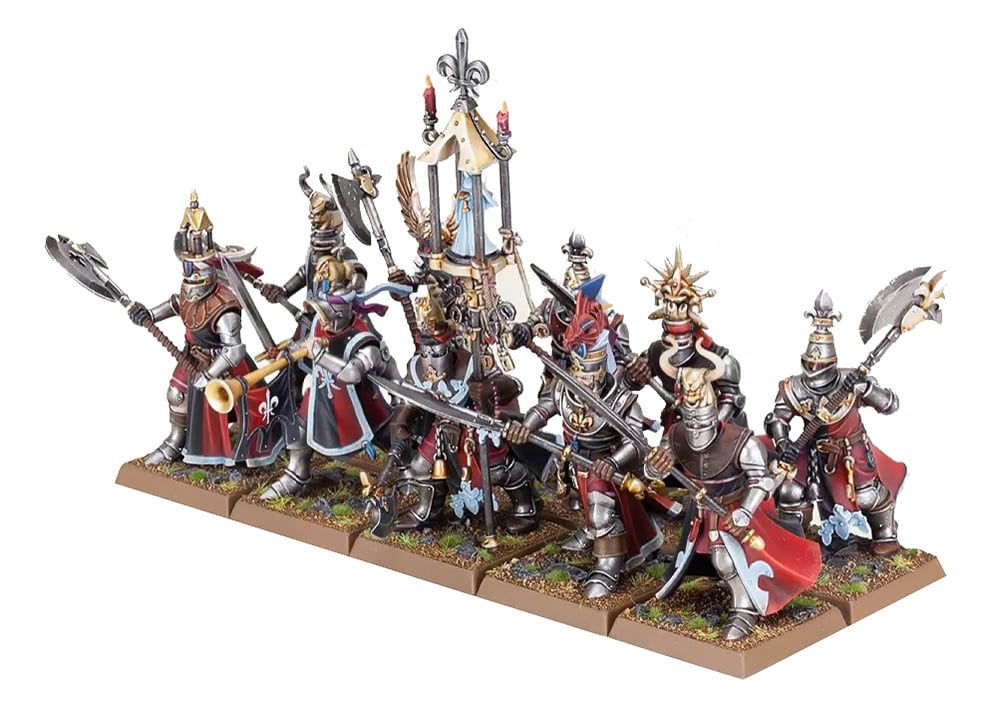
Now your run-of-the-mill Bret isn’t bad. However, the bulk of the army’s power does lie in its pretty over-the-top characters. Most Bret lists max out their hero points, and these lads and lasses are a menace. That means that beating them often revolves around picking out the characters and killing them.
The best ways to do this are with shooting or magic, if we are being honest. Or maybe a dragon. But combat is pretty iffy as they are some of the best around at it. However, they normally aren’t crazy, though, relying on a good offence. While you can make tank-y builds, they won’t get up to Dragon level.
Because of this, they will often hide in or near units, and that can make it seem very hard to shoot them. So you need to work on ways to do that. For instance, with Pegasus Knights, the characters are safe as long as there are five or more rank and file in the unit.
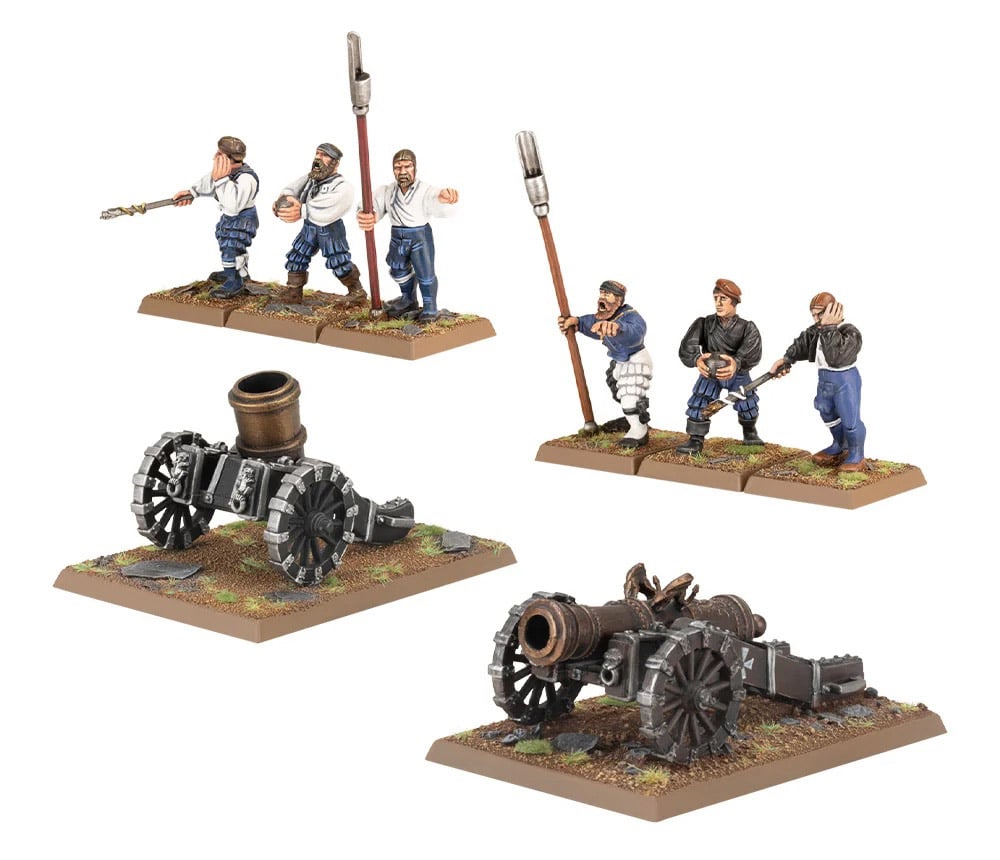
However, you rarely see more than 5-6 strong units of Peg Knights, meaning if you can kill 1-2 of them, the characters can start taking wounds. It also means they lose “Look Out, Sir!” Gunlines can try to use BS firing to get the enemy down to 4 Peg Knights and then throw cannons or stone throwers directly at the heroes. It’s hard, but it can work.
2. Ignore the Chaff
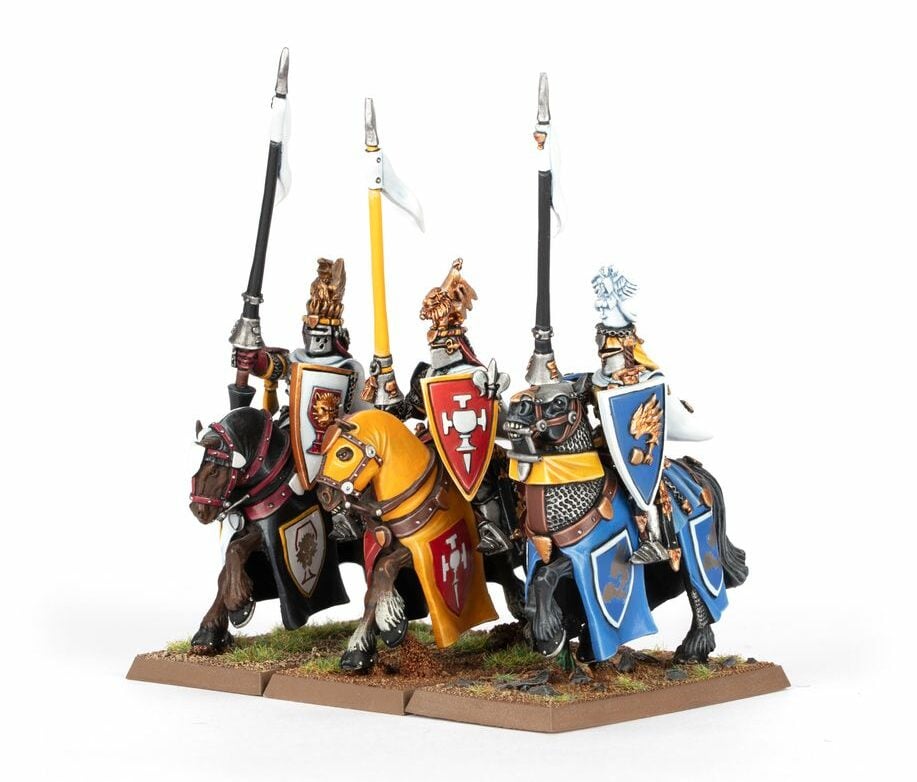
Again, most Bret units are at least decent. However, given the relative power level between them and the top stuff, they often end up more as chaff. The most important units in a Bret army are always going to be the characters and Pegasus Knights. Then (depending on the flavor), Cannons or Grail Knights. Then normal Knights, then everything else.
In a lot of ways, and depending on where the characters are, everything from normal Knights down is chaff. I’ve often won games with most of these units never doing anything. But they tend to draw a lot of attention. Attention often means fire and threat. However, I’d really caution players to ignore them more. Against the meta lists, the fight will be won or lost on whether you can beat the Pegasus Knights and the Characters.
1. Stop The Charge
Brets are really good on the charge. However, a lot of units can lose effectiveness when they aren’t charging. This starts with little things like not getting lances. But they are also hurt by losing extra attacks from furious charge, or bonuses from charging/first round of combat that some characters get. If you can prevent them from charging, or tank a charge and hold their deadliness will drop off a lot.
But this isn’t easy, especially with an army that has a lot of countercharge in it! You’ll want to look for units with shield wall or that are unbreakable, as these are great for stopping the charge. Fleeing terrain, control of the space, and some army rules (such as various Dwarf runes) can all be a help. Now, this can even verge on tailoring your list. But if you are really having trouble with Brets, trying to take units that can do this can be key.
Go ahead and share your tips down in the comments!


