HOBBY: Working with Brass Etchings

A guest tutorial by RedScorpionsGirl
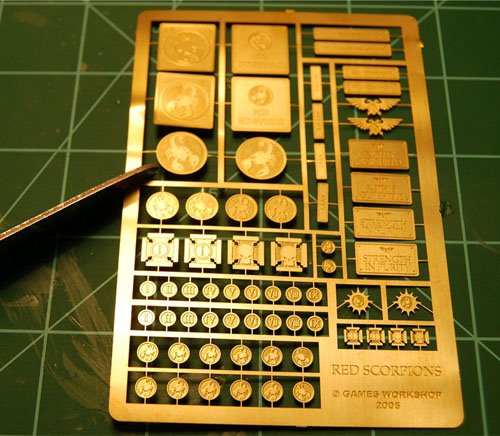
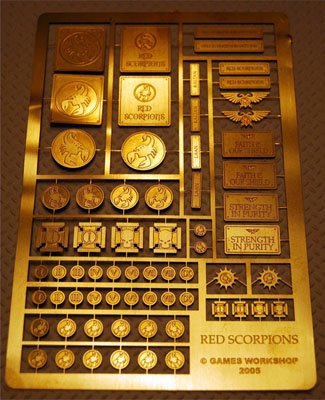
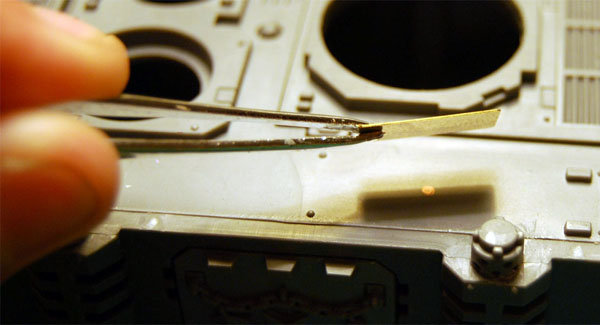
The etches should be trimmed off with scissors, not cut off with a craft knife, clipped off with clippers or some other manner. These small pieces do NOT file well if you try to clean up the attachment points in this manner, and due to the small nature of a good portion of the pieces, a craft knife isn’t advisable either. Using scissors, you have a great deal more control on cleaning up the points of contact (usually 2) without ruining the etch itself.
This gives you an idea of what the finished product will look like, as well as adjust where the final locations will be. If you take the tank and set it on its side, you can set the pieces across the side and evaluate the overall look. In general it is easier to attach the brass to the bare plastic, but have no fear, if you’ve already primed the model, they will attach without an issue. If you are adding them after the model is primed, simply place them where you wish, glue them in place and brush over them lightly with the appropriate paint to match your primer after the glue is dry.
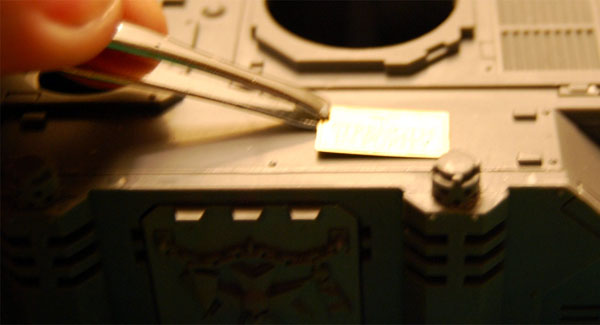
This designates the center of the location for each of the etches you are using. Pick up the etch with a pair of tweezers making sure it is facing the direction you are intending on it. This is referencing the direction you might want the scorpion facing, the way the name plate goes on, making sure the Khorne symbol is right side up and not upside down…etc. Common sense in most cases, but it is something obvious to make sure and touch upon.
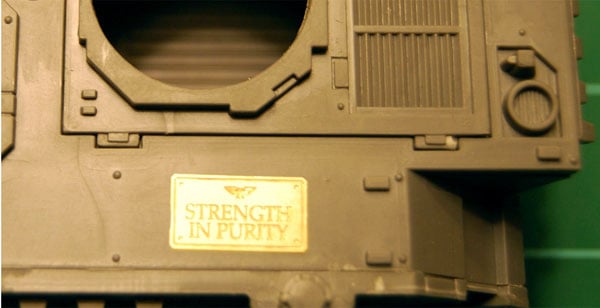
Gently use your fingers in combination with the tweezers to seat the etch. It will adhere almost instantly. I will often cheat and put a drop of kicker/accelerant/insta-set on it to ensure it is seated. Once you are sure of the glue being dry, wipe the area off with a lint free cloth, or paper towel.
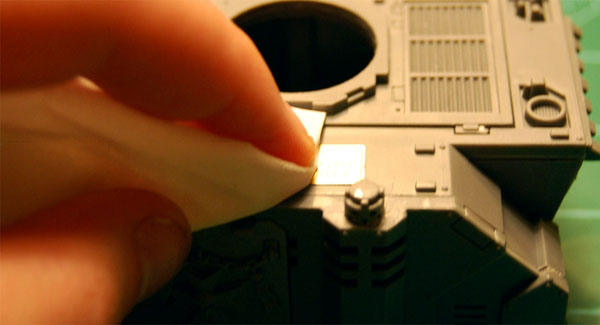
This will remove the oil from you touching the etch as well as any residue from the kicker still remaining, allowing you to have the best results for priming and painting. Prime as normal with light coats so no details are obscured. It is best to do this and once the tank is primed, touch up the area around the etch, and the etch itself with a light hand if need be rather than trying to do it all with the spray primer. Don’t worry if the etches look odd while the primer is still drying, as they have a tendency to look like they are spotty and/or the letters being filled in. Be patient and you will see the transformation when it dries. Once the etches are primed like the rest of the tank, either by brushing on the appropriate primer matched paint if already primed, or in the case of the unpainted tank going through the steps of priming and touching up, paint them as you would any other details on the tank.
~Bigred here, While some of the techniques seen here seem odd, remember that the brass etching used in the example pics is a rather large one. These tips and tricks really come into their own once you get down into the really tiny pieces that require precision glue and tweeser work to get aligned properly onto your model without glueing them to yourself!


