40k Hobby: Blending


Hey everyone. There has been a rather large number of requests for advanced painting techniques, so I’m here to deliver. Today, I’m going to be talking about a technique that I’ve only recently started using to any sort of success. I think it’s a technique that anyone who wants to have a truly amazing looking army must master, blending.
I don’t pretend to be a master at the technique myself, but I did learn how to do it properly and I’m getting better all the time. I have Matthieu Fontaines Master Class to thank for it. If you ever get the opportunity and are interested in improving as a painter (and artist), I HIGHLY recommend attending. There are a few steps to getting this technique correct so I’m going to start with the first.
1. Wet Palette
The creation and use of the wet pallet somehow eluded me until I got the proper instruction at the class. It’s all about the correct amount of water on your plate. You’ll want to use a plastic or some other waterproof material plate that is reasonably shallow to allow full brush access. I use some square plastic plates I found at WalMart.
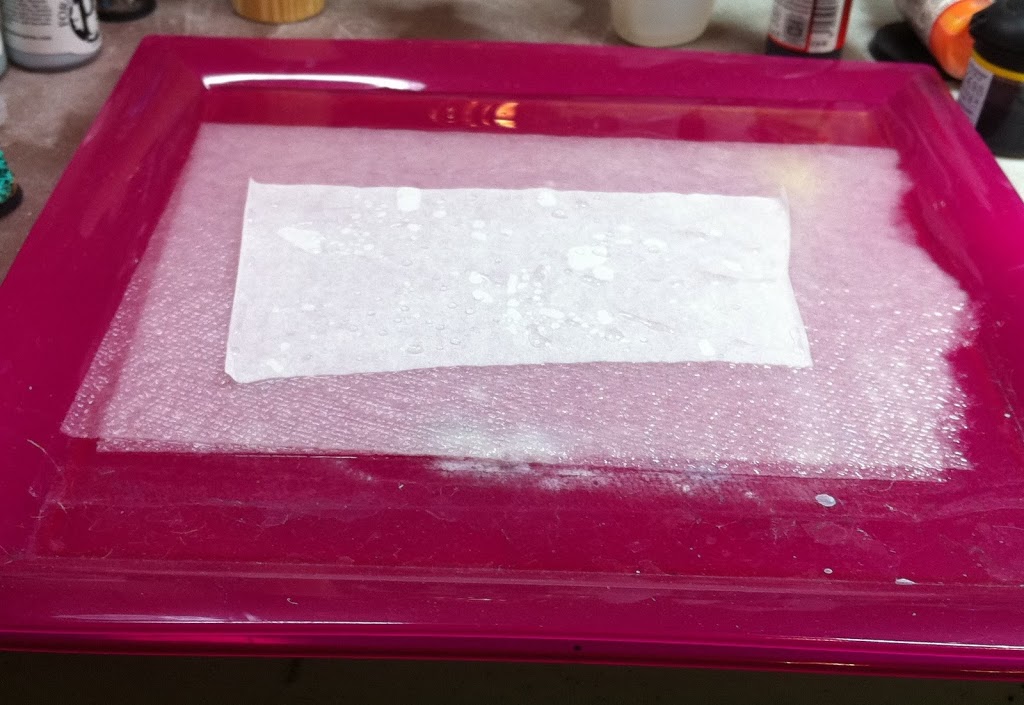
I use a single paper towel folded in half as the base and normal un-waxed
parchment paper as the pallet itself. As far as water level, you should have some standing water around the edges of the paper towel, which should be saturated. The parchment paper will curl when you put it on the drenched paper tower, but you need only flip it and re-place it until it stops curling. This is what gives you the best wet surface for your paints, as well as easy thinning capability.
2. The Brush

I thought I was using the right brush. I thought my brushes were pretty good… I was wrong. I really didn’t even know what a good brush was. Matt cleared that up for me. On his recommendation, a new brush was provided for each of the class participants. The brushes were Raphael 8404 size 0 and let me tell you, they are eye-opening.
3. Use the Side
It may seem like common sense, but its a good tip. When using a brush like this one, you can think about what you’re painting and the best way to use it. Often, using the side of the brush is the way to go.
4. Thin your Paint
For blending, the paint your using needs to be pretty thin. This is what all that extra water on the plate is for. The paint should pool a little when it’s thinned correctly.
5. Take your Time
Probably the most important of all the steps. There aren’t really any shortcuts for this one, you just have to do it. Sometimes this means going back and forth over the blended area making it right.
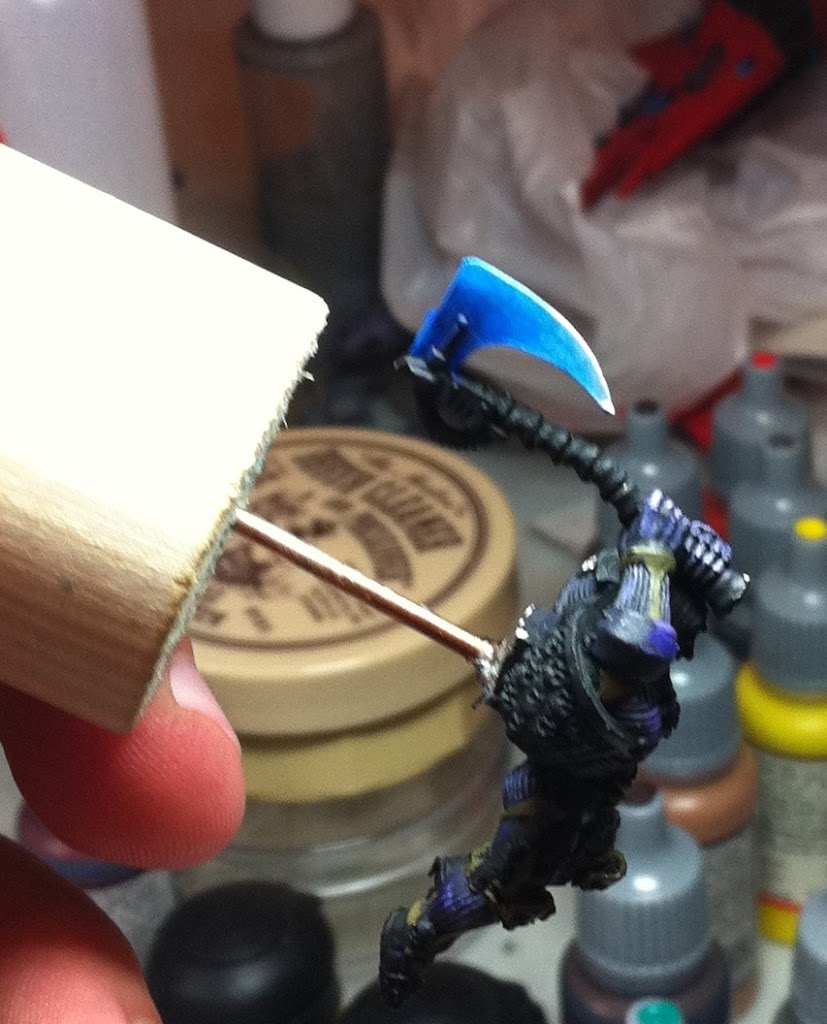
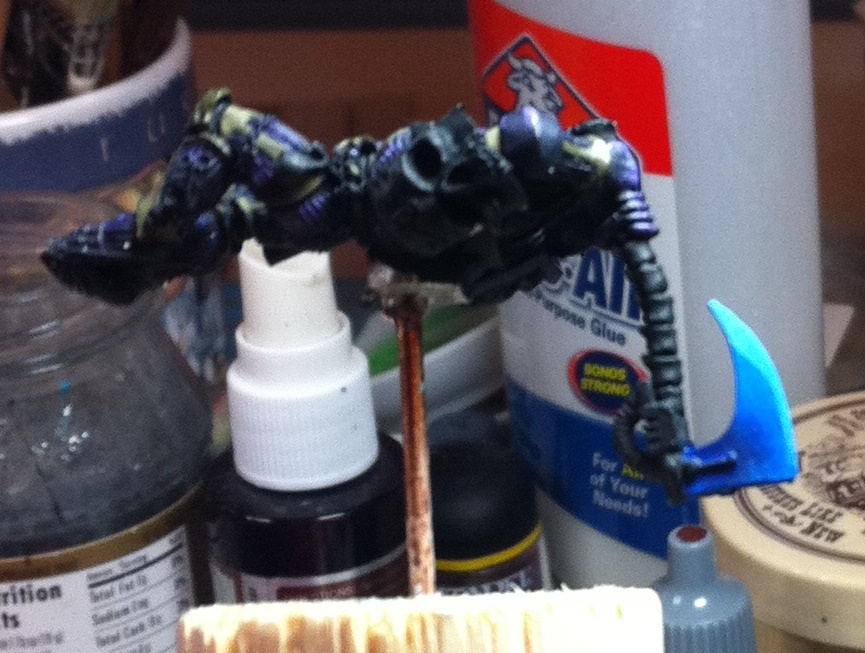
As far as actually laying down the paint, you want to start with a base coat. For this example I’m going to use Darkwynn’s Astorath and his axe. Darkwynn wanted his axe to be blue, so I will be using 4 blues from vallejo.
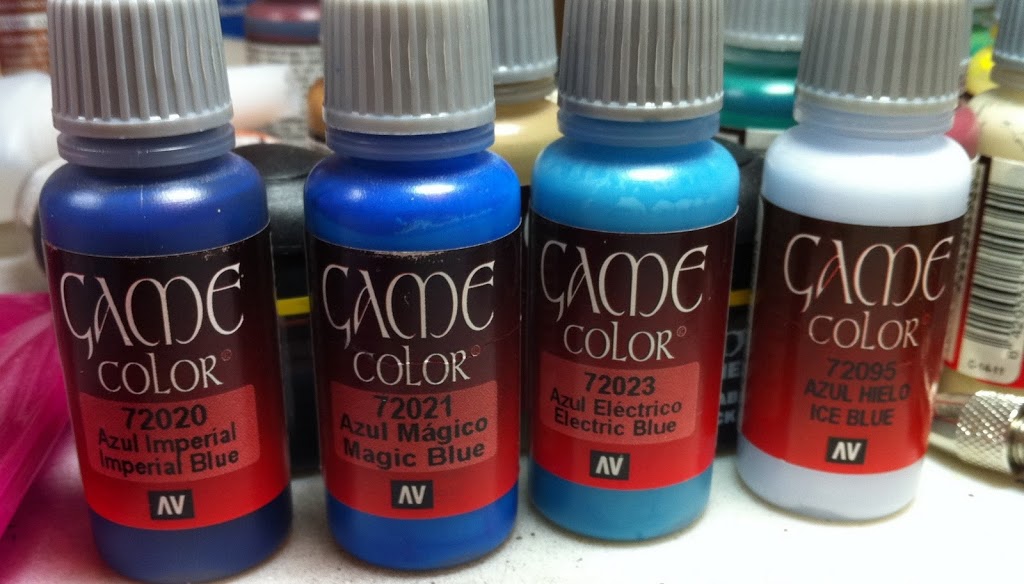
You always start with a base coat, I would suggest using either the darkest of the colors, or the next to darkest. It seems to be the easiest way to get the right effect. For this example, I’m going to use magic blue.
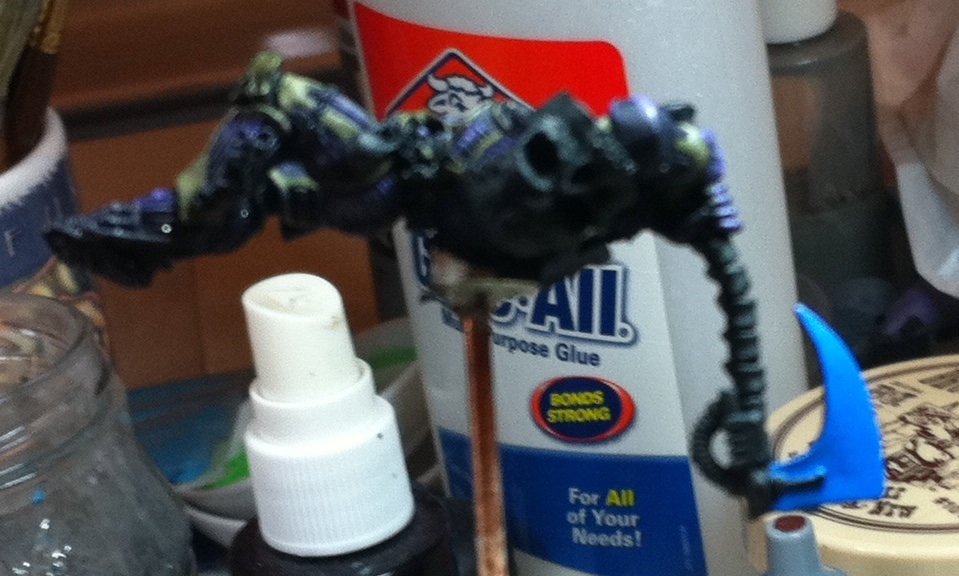
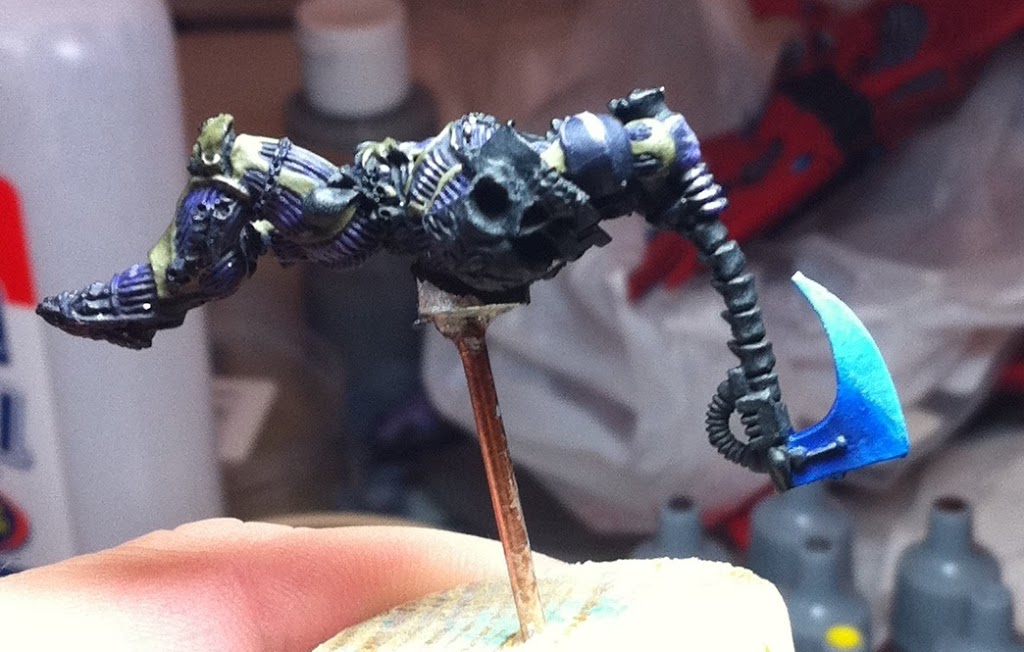
After I’ve applied a good, smooth base coat, I can apply the darkest of the blues to where they should be the darkest. This will be a foundation which I will use to blend the colors.
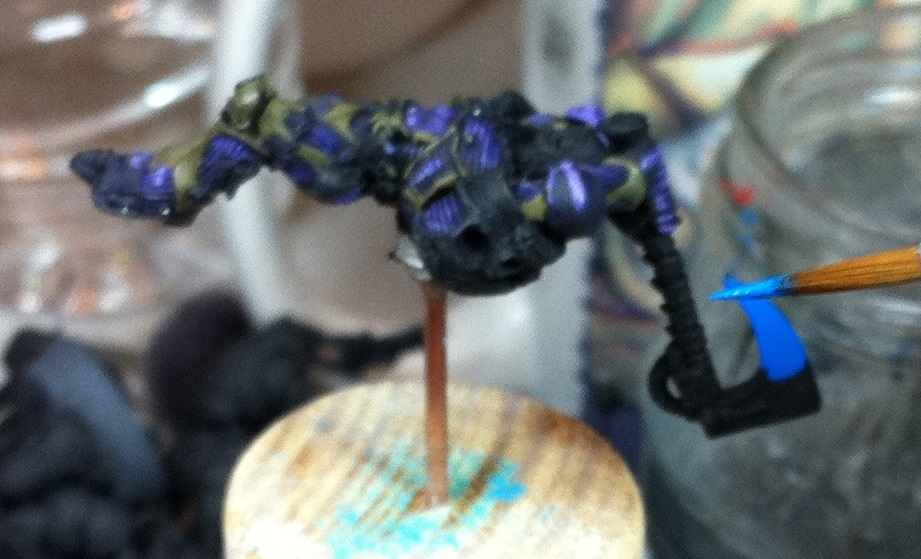
This is where we start the actual blending. In this case because I did the lighter base coat, I will start with the darker color. Thinning the paint significantly…

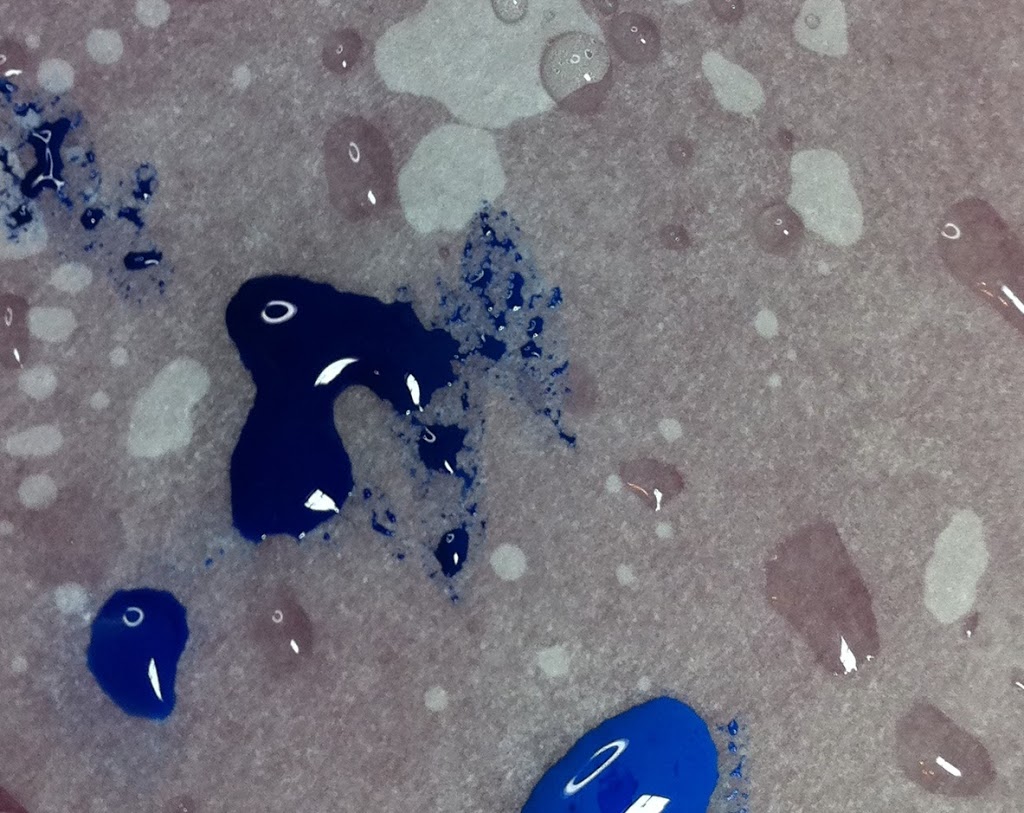
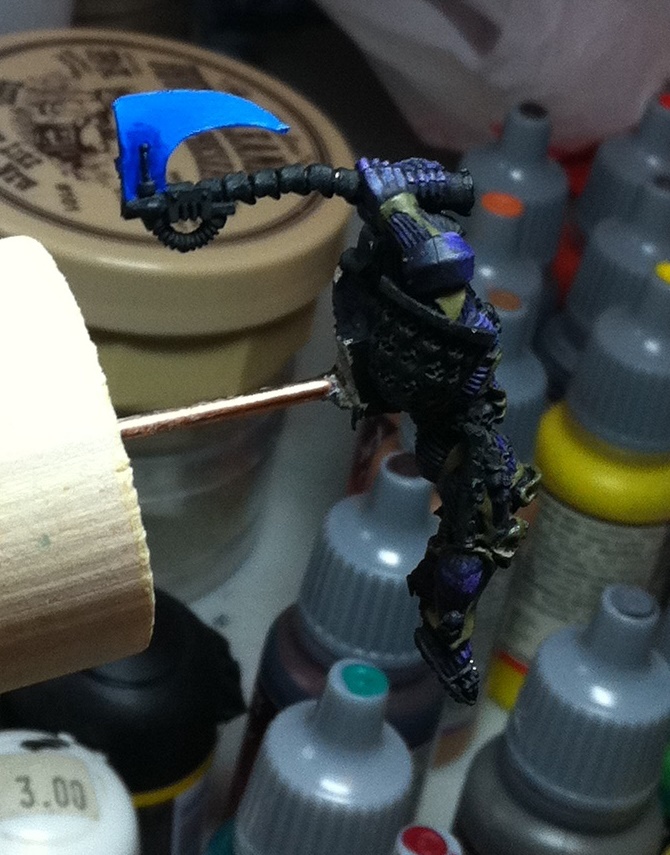
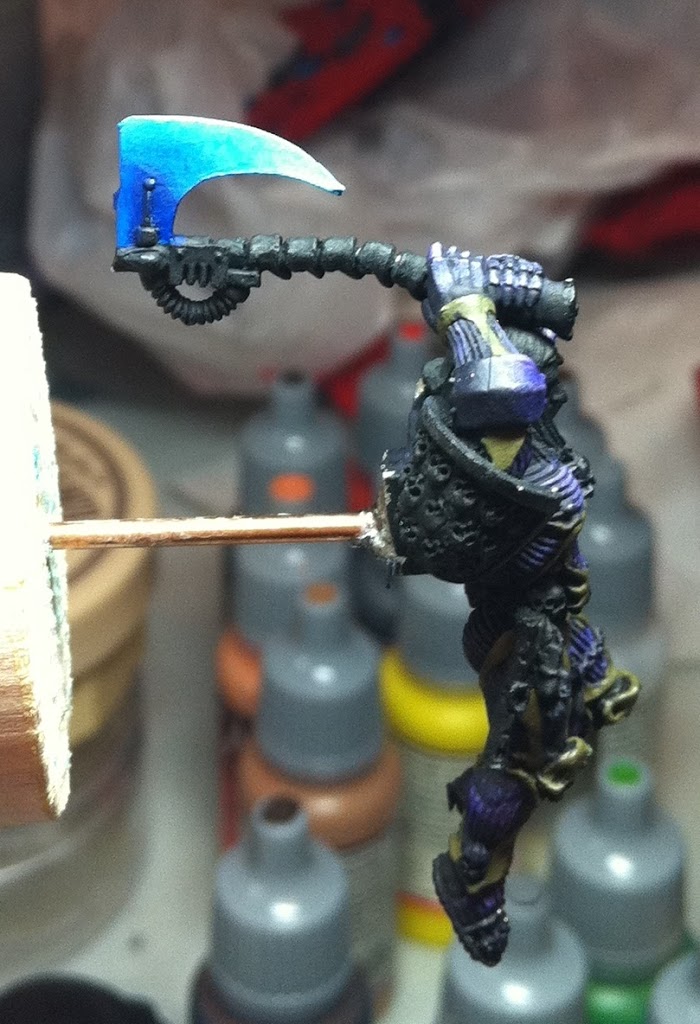
You will need to wipe off the excess paint, then carefully push the pigments from where the base color is into the darker area. On a flat surface like the side of the blade, its easier to use the side of the brush. It’s easiest to think about the process in terms of moving pigments. If you find you have too much pigment still on the brush, or you want to reduce the pigment you can use the soaked paper towel on your pallet or just do what I do and lick the brush.
From there, you basically just continue up the chain of colors until you get to the lightest. Each time I begin a new color, I make an un-thinned line for me to blend in to. Always remember to push the pigment toward this area. I wish I had a good set up for my Mino, I’d like to make this into a video.
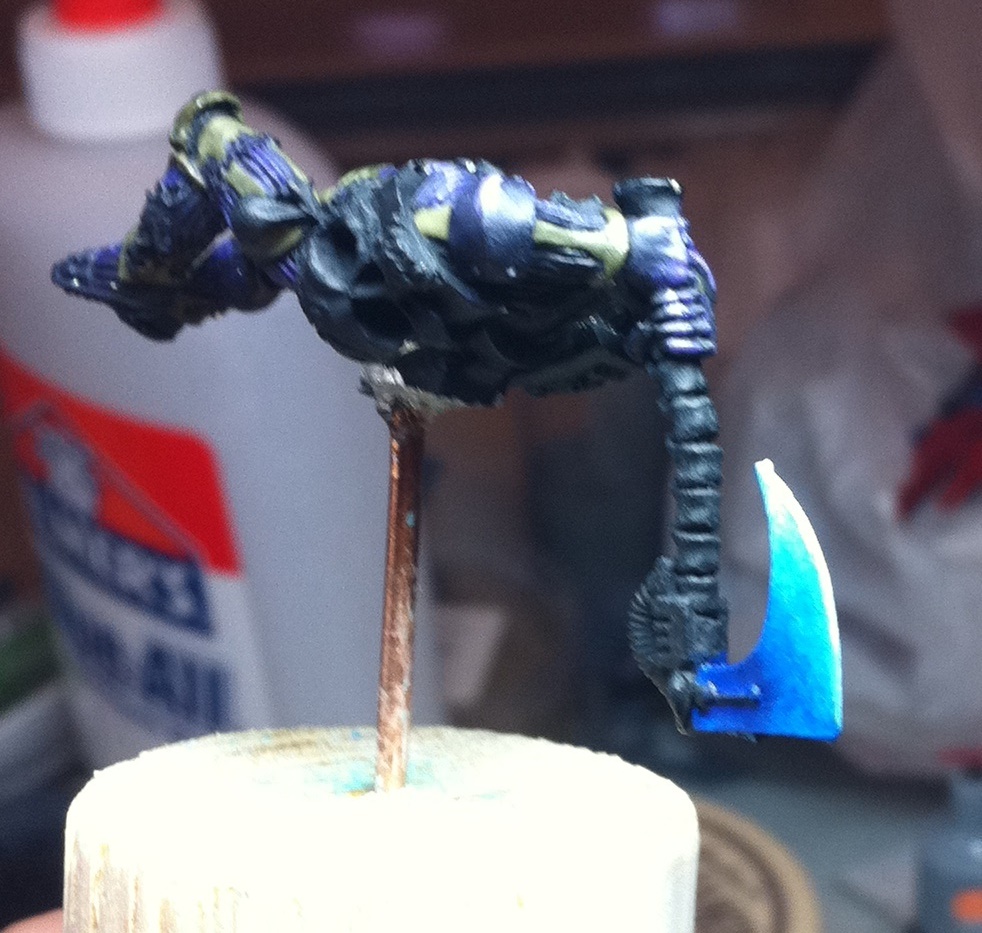
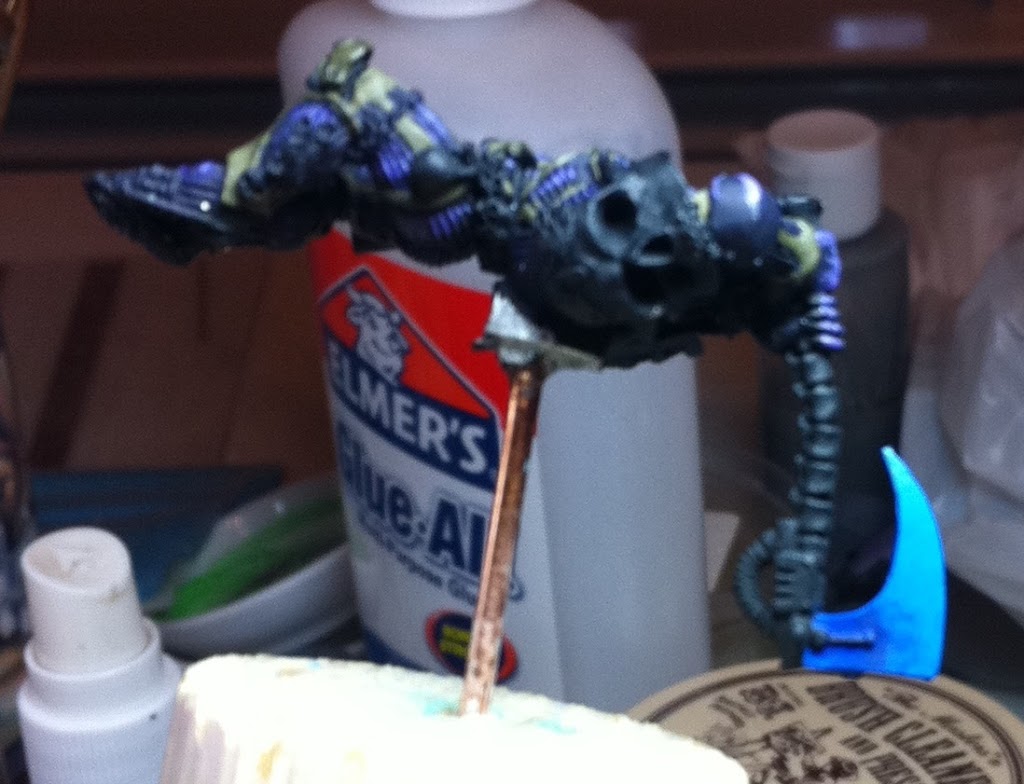
Like Matt said during the class, “Finish this Ogre, then paint 1000 more.” He really wasn’t kidding. Okay so he was sorta kidding, but it does take a LARGE amount of practice and repetition to master this technique. I don’t pretend to have done so, but I’m on my way. I will use blending on the majority of my models in the future. The effect it creates really can’t be matched. Here’s the finished axe.