HOBBY: Painting Cryx Jacks

Cryx is still my faction dujour having painted all the pigs I need for the time being. I was pretty stoked to paint up my first plastic lights and warcaster since I think the new sculpts are welcome replacements for some of my older metals.
As always I like to try to get the metallic areas out of the way first. Lately for my Cryx I’ve been trying to go with more yellow golds, so for this batch I went with purely Burnished Gold. After drybrushing it on over Snakebite Leather, I gave it a wash mixed from Devlan Mud, Asurmen Blue, and Badab Black with some water mixed in to keep it from being too thick.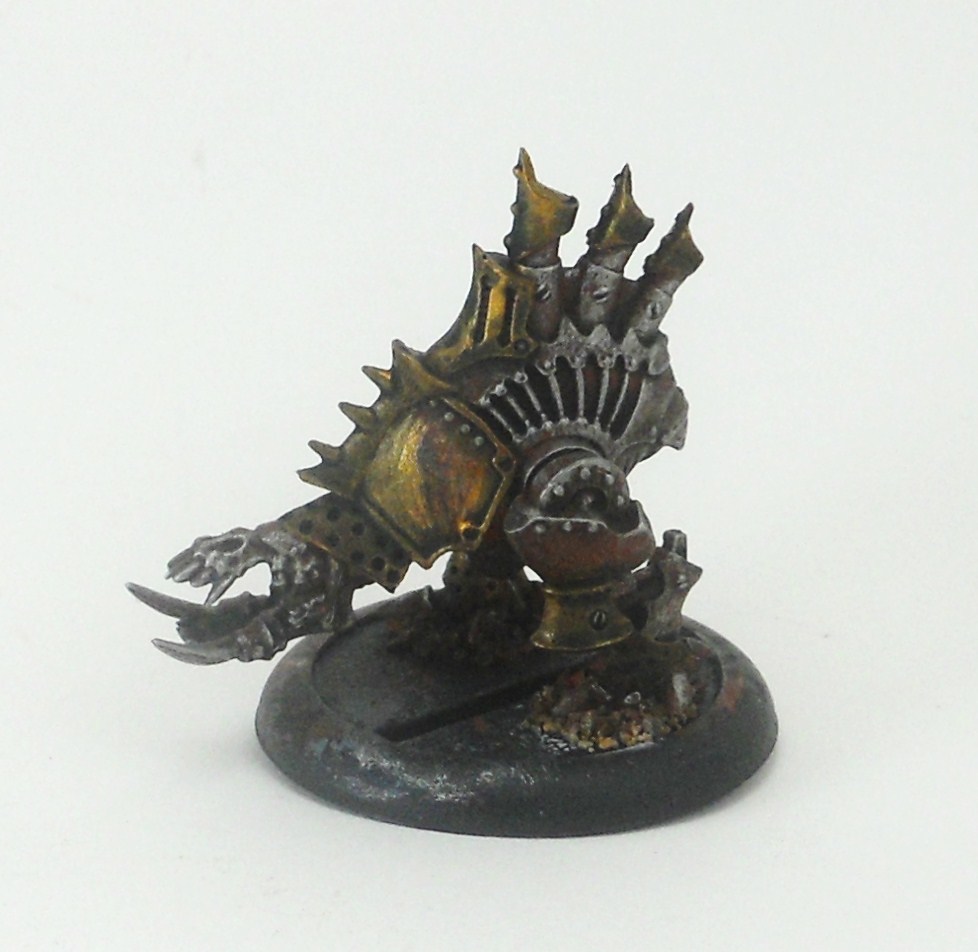
I then built up gold highlights in progressively thicker layers favoring the elevated areas. Finally I painted thin lines of gold on the undersides of certain areas to define them better.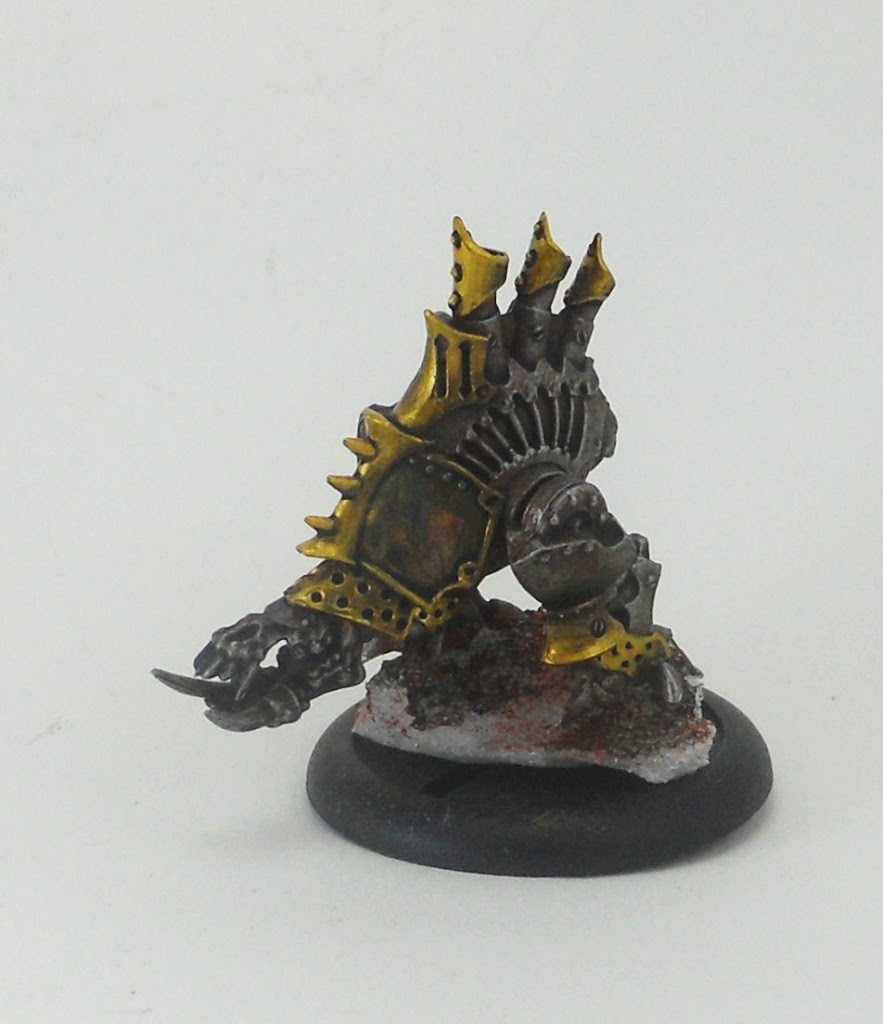
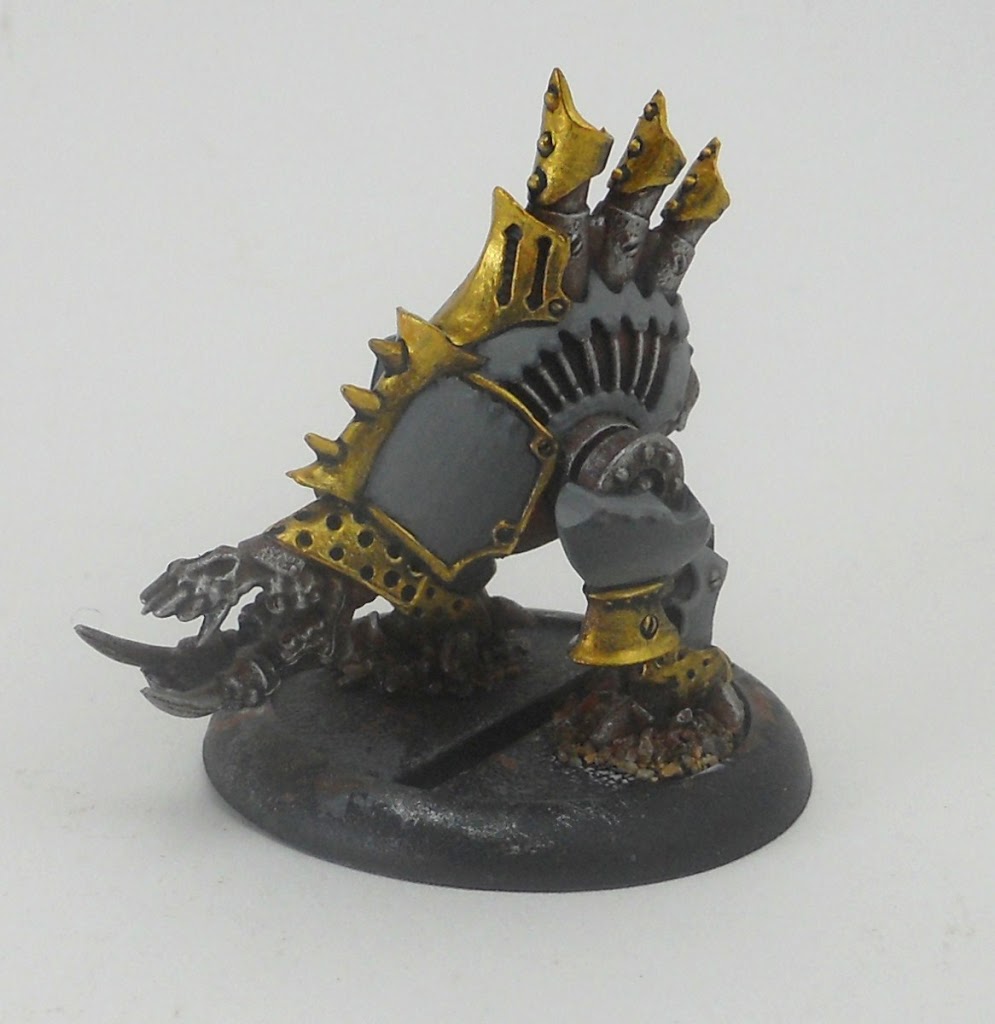
For the gray hulls of my Cryx machines I have several pots mixed up for the highlight layers. It starts with Codex Grey darkened with Chaos Black. More Codex gray and Rotting Flesh are added successively with a very thin layer of rotting flesh being used for the final highlight.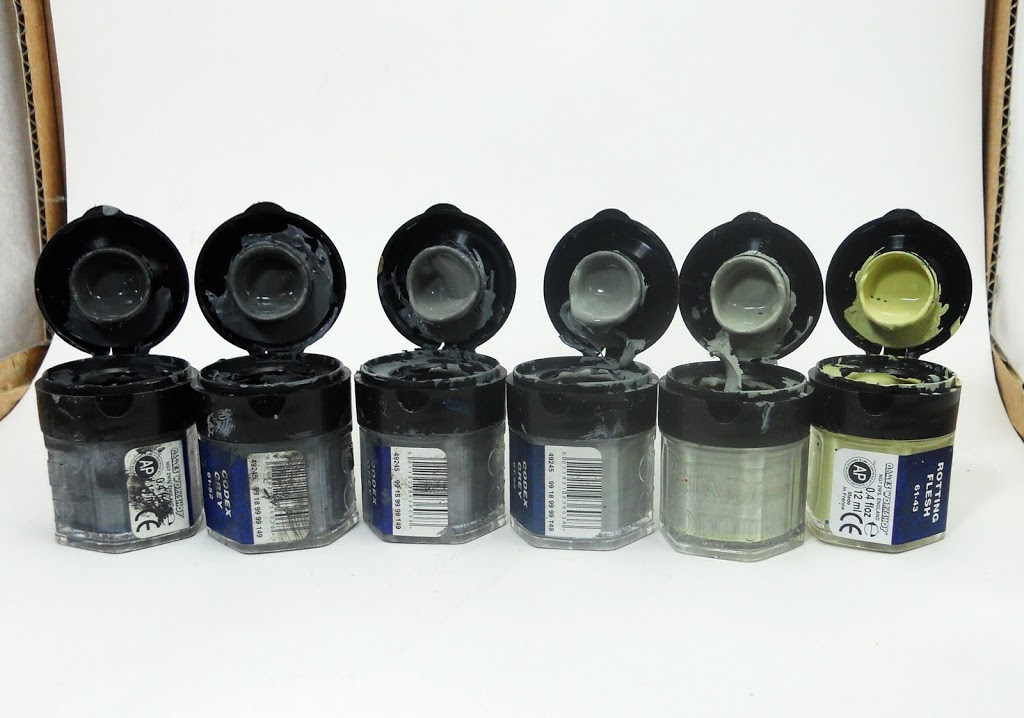 The highlight layers are gradually built up trying to favor a logical highlight source. For the rounded hull plates the highlights grow strongest at a point a little off center close to the top. The more complex plates behind are a little harder to figure out how to define, but you still want to keep the lighter colors closer to the top. Unfortunately you guys are going to get subjected to a little amateur hour here with some of these shots. When you use a camera for long enough you start to trust that when that little green light tells you the shot is in focus, its in focus. So sorry for the blurry pics.
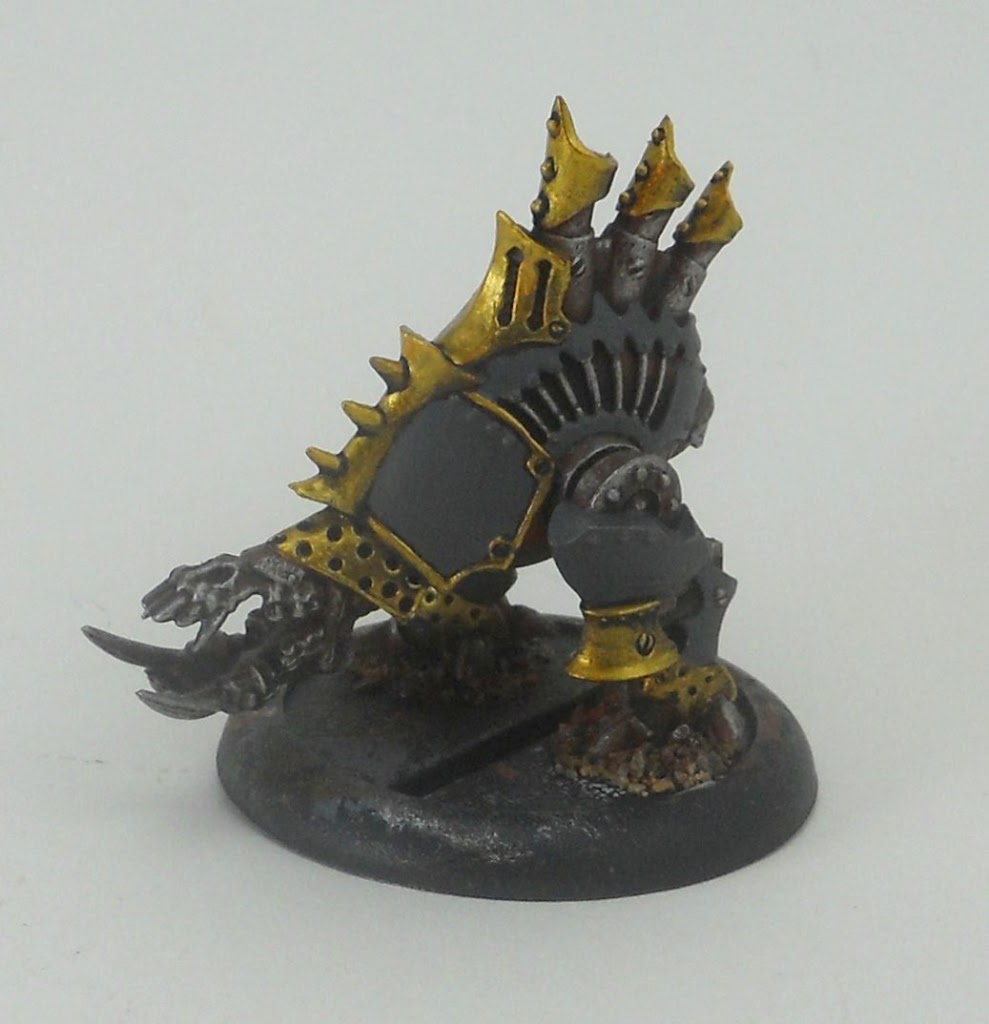
 So after finishing the highlights on the plates, I decided to use a new method I’ve been trying to add some battle damage. Anyone whose been painting for long enough should have a really gnarly old brush around somewhere that only gets drug out for basing so you don’t screw up one of your good bases painting gravel in a hurry. Here’s mine:
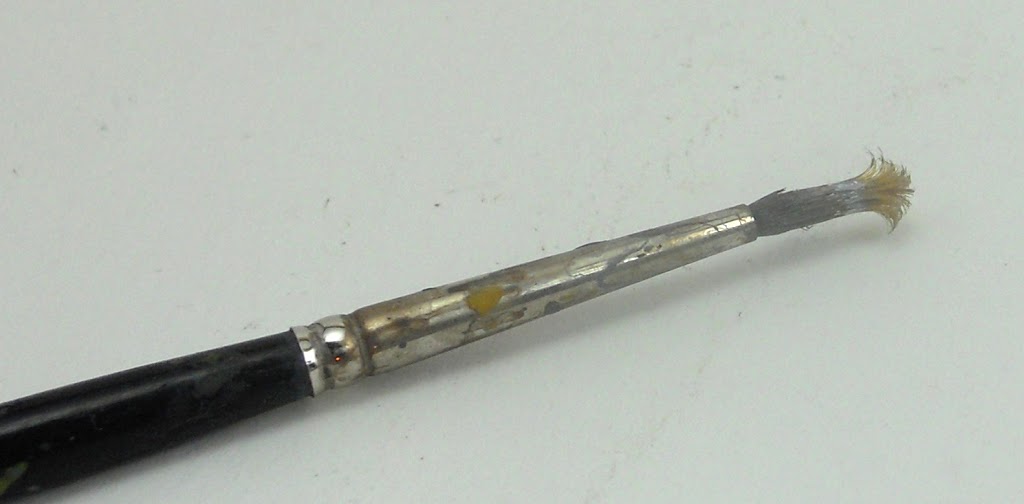 So you take an old brush like this with bristles nearly destroyed and sticking out every direction, and kind of dab it around in your strongest highlight color. You want a good medium level of paint saturation on your brush; enough for it to show up but not so much it globs on. Once you’ve got the right amount of paint on your brush just kind of dab it on giving yourself a lot of little light spots. To mix it up you can always paint on some “slashes” with the highlight color too. Here’s another blurry example pic:
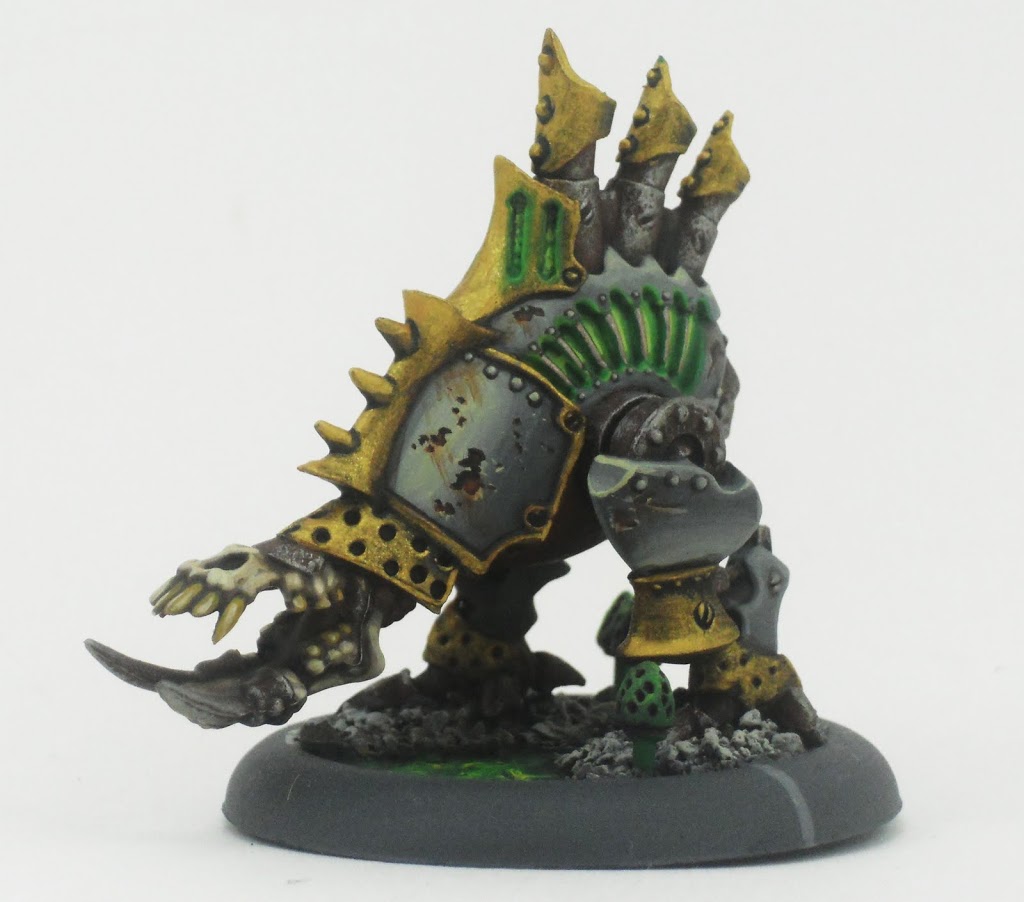
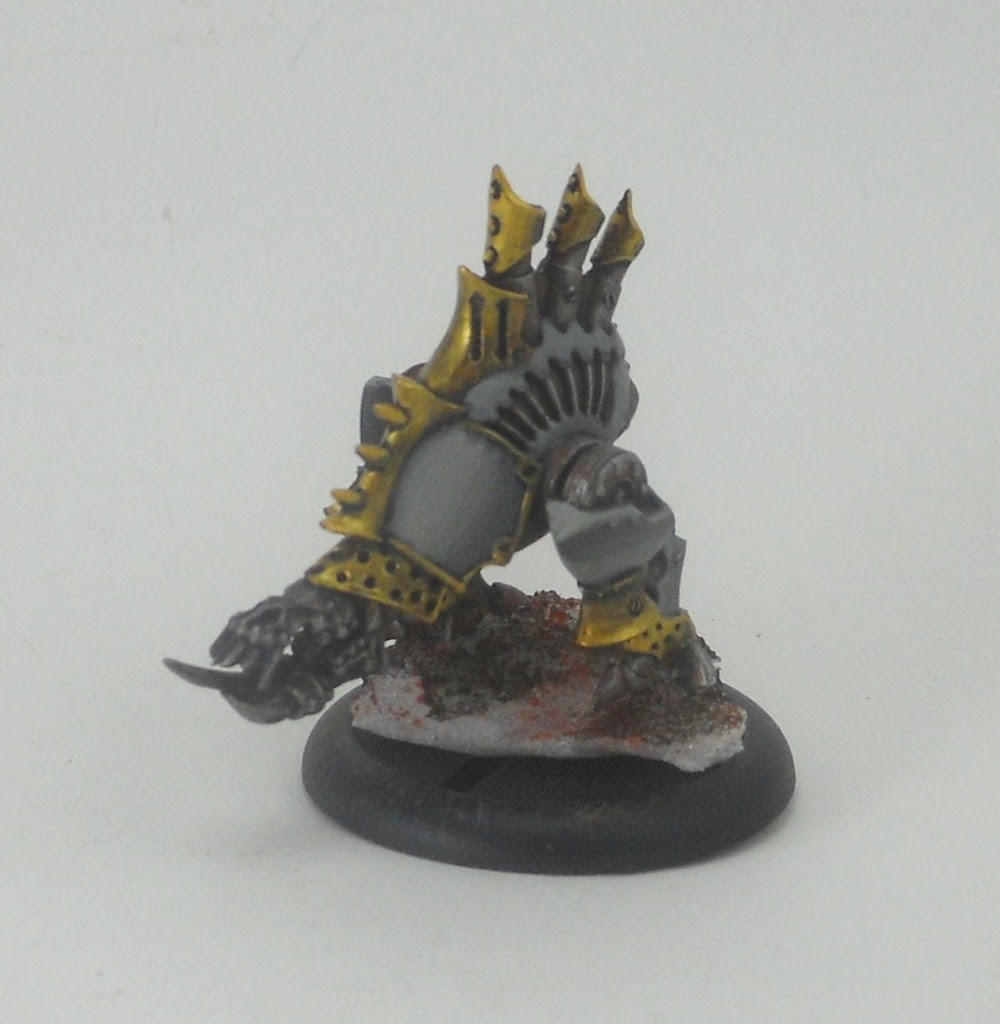
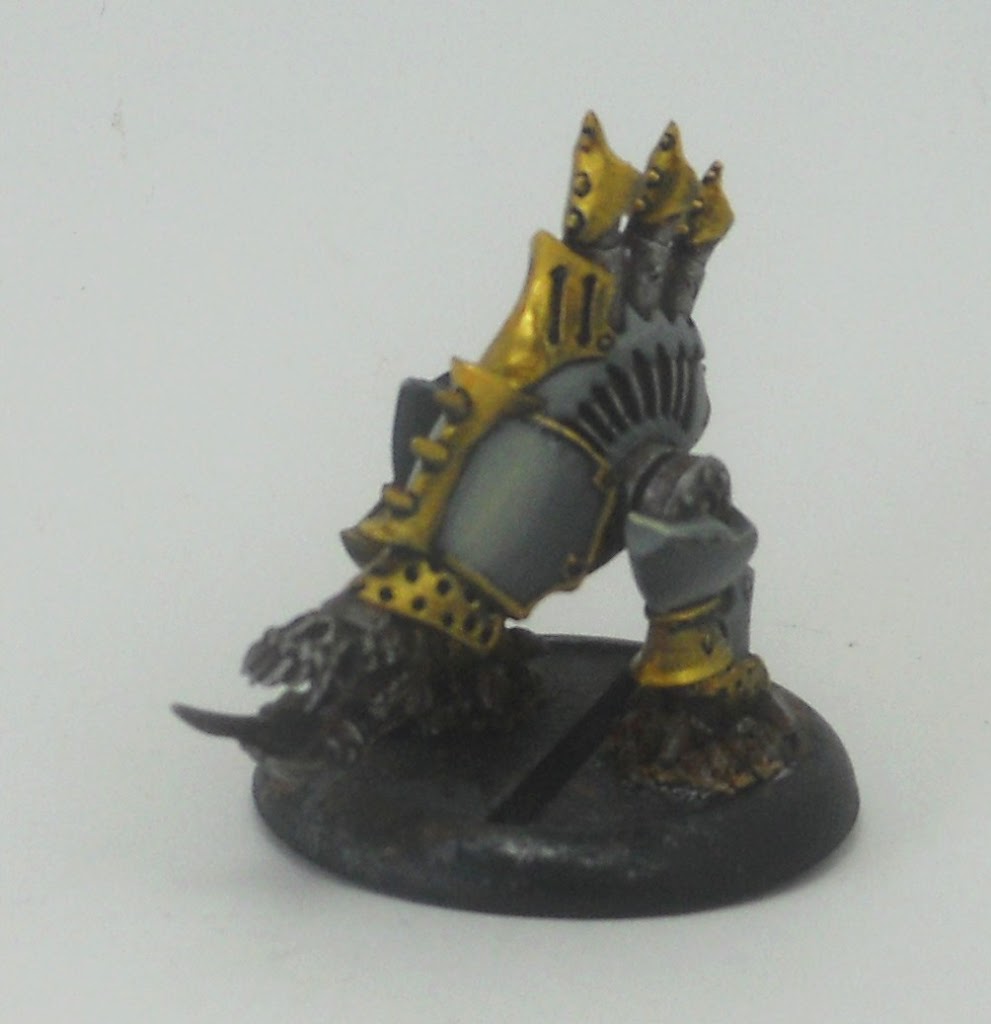
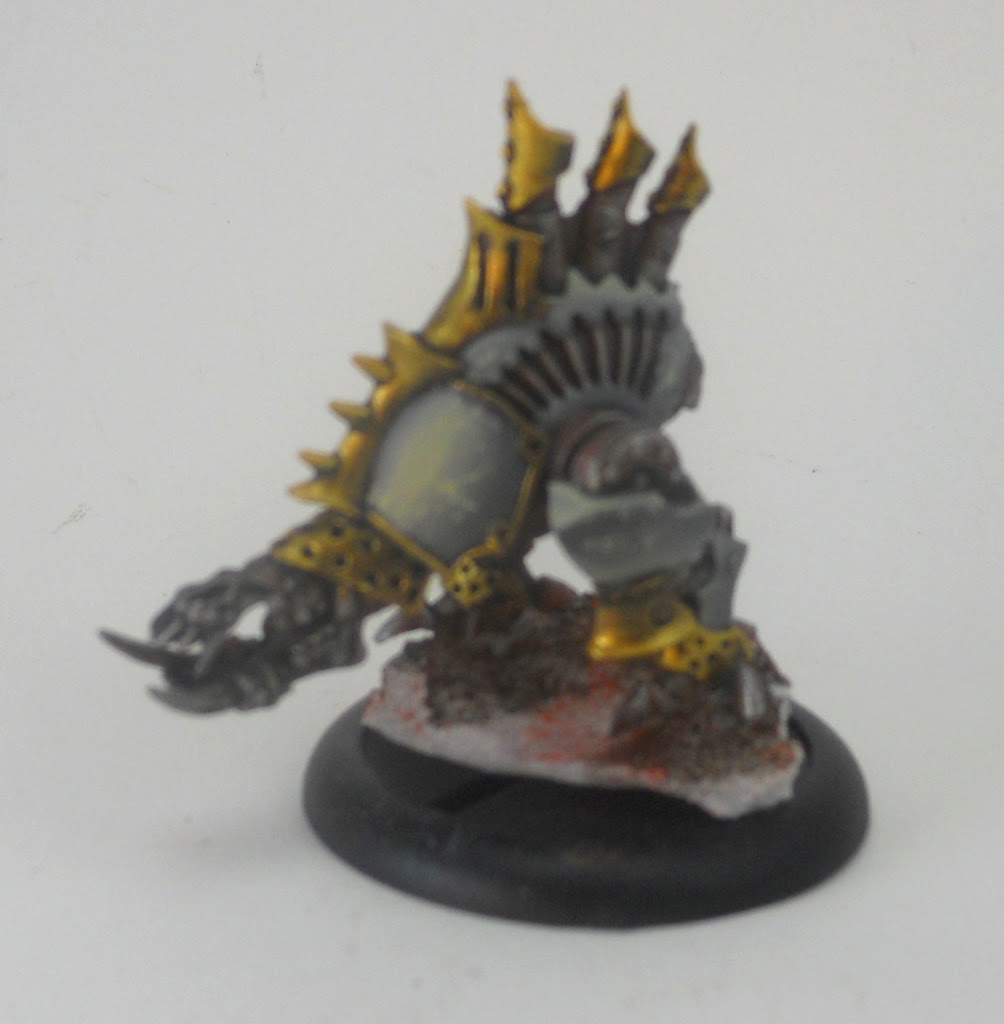 So those little light spots you can just barely make out will become the highlights for the battle damage. Add a dot of whatever darker color you want, Scorched Brown in this case, on top of, but a little above, your highlight spot. You want a thin crescent of highlight left over that will represent the light hitting the chipped paint. I’ve done it this way because its because its easier to add a dark spot over a lighter one than it is to paint a small incredibly thin line under your dent area. Take a look at this shot of the finished Bonejack to see the finished results. This was after some Bestial Brown weathering streaks, Chaos Black shadows, and some rusty fiery orange splotches were added to the initial battle damage areas.And here goes the whole Battlebox (with Malice standing in for the Slayer he replaced):
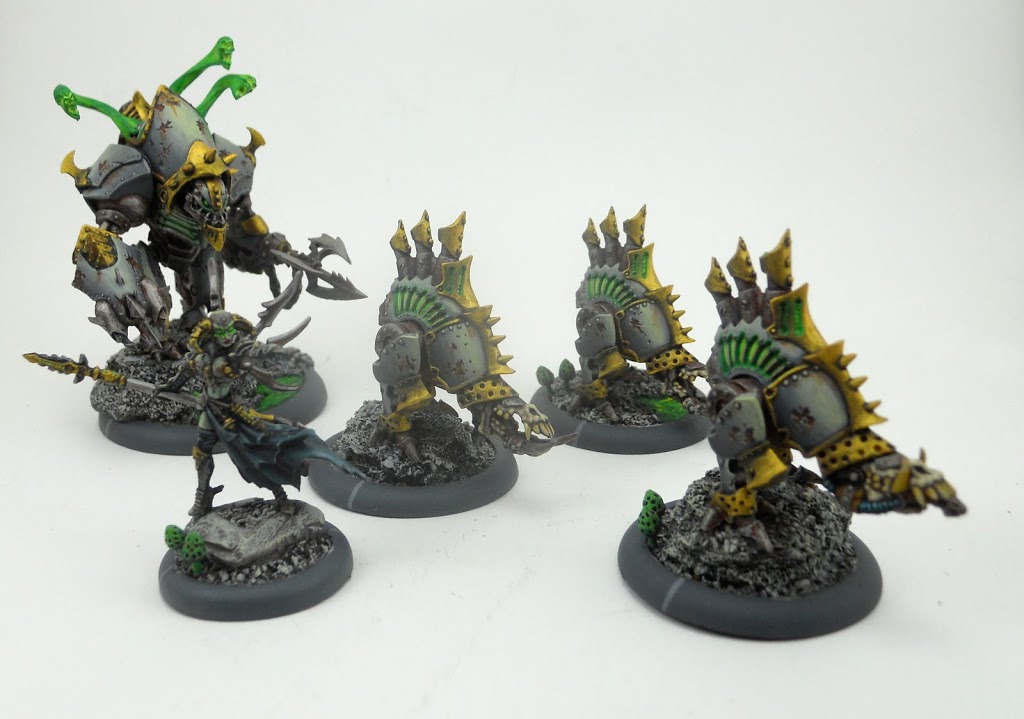
And a nice close up of Deneghra, a perfect sculpt to showcase the fantastic level of detail on the new plastic warcasters.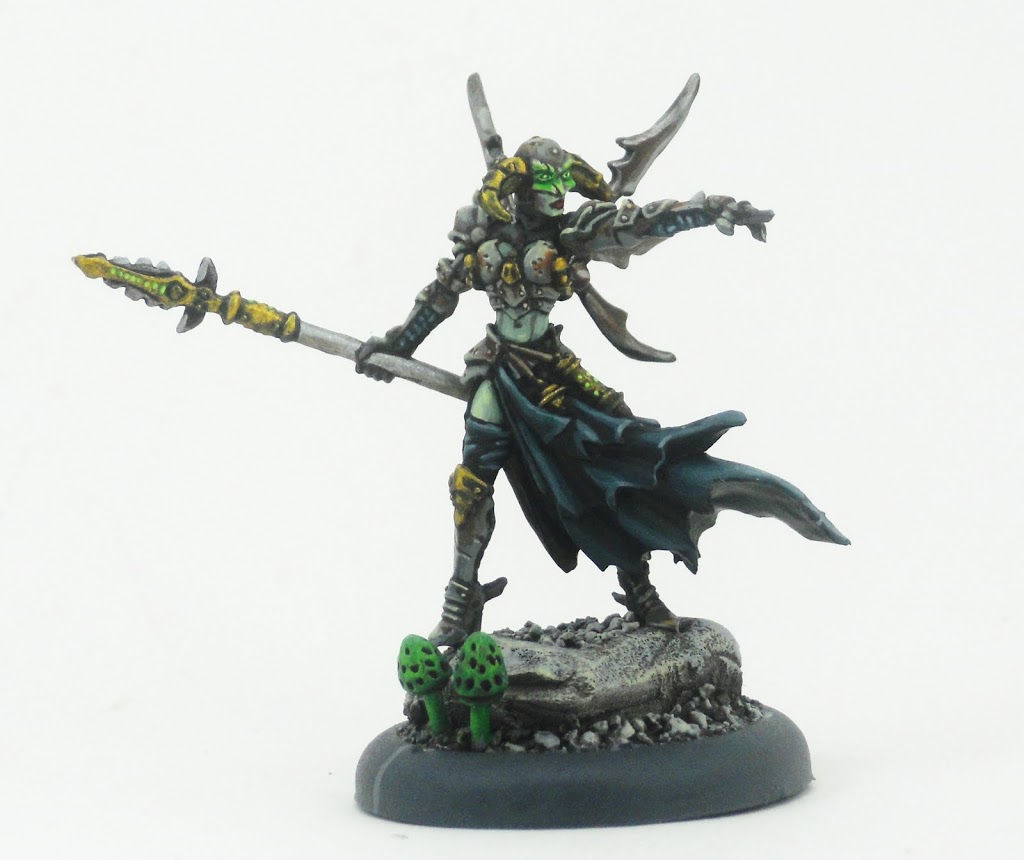 ~ So hopefully that will inspire some of you Cryx players out there. For my next project, I’ve taken a jeweler’s saw to my Blackhide Wrassler to try to make a distinct second pose. Check back soon to see how it turned out.


