Warmachine: More Custom War Hogs

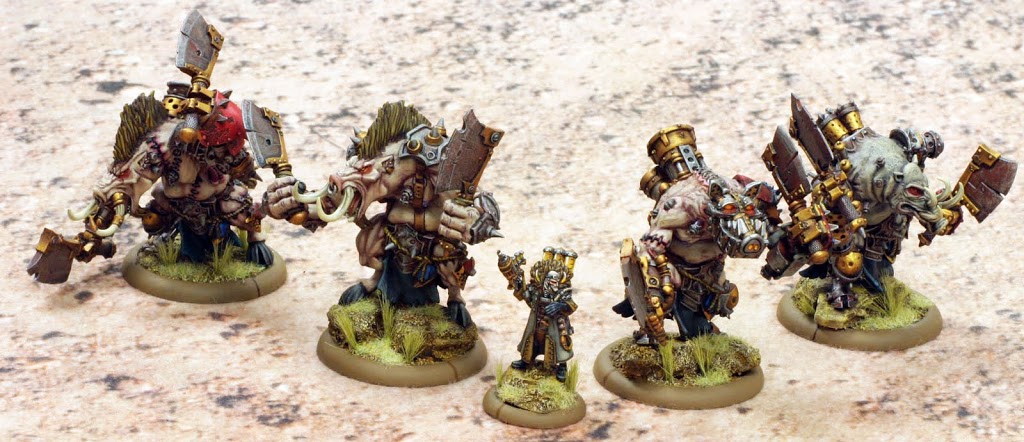
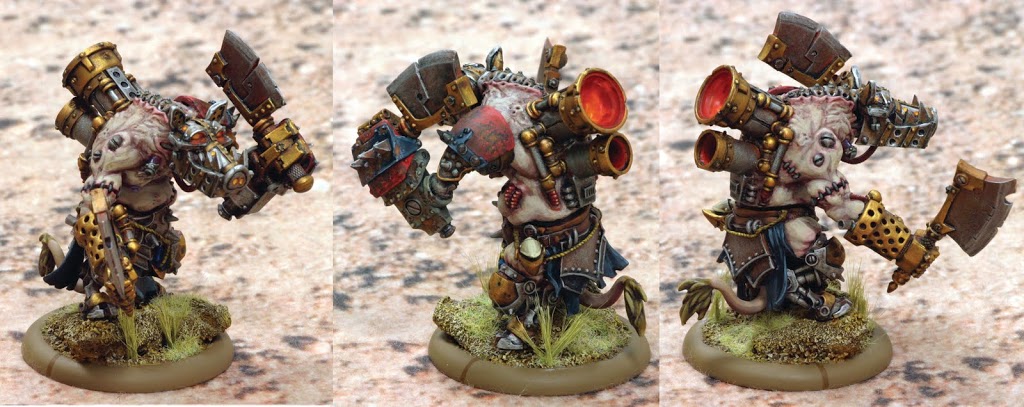
How many War Hogs are too many? Well with Dr. Arkadius’ Tier giving them a 1 point break, I decided no less than four would satisfy. And since I’d already spent quite a bit of time customizing one War Hog, I figured I’d have to go just as all out with the next two.

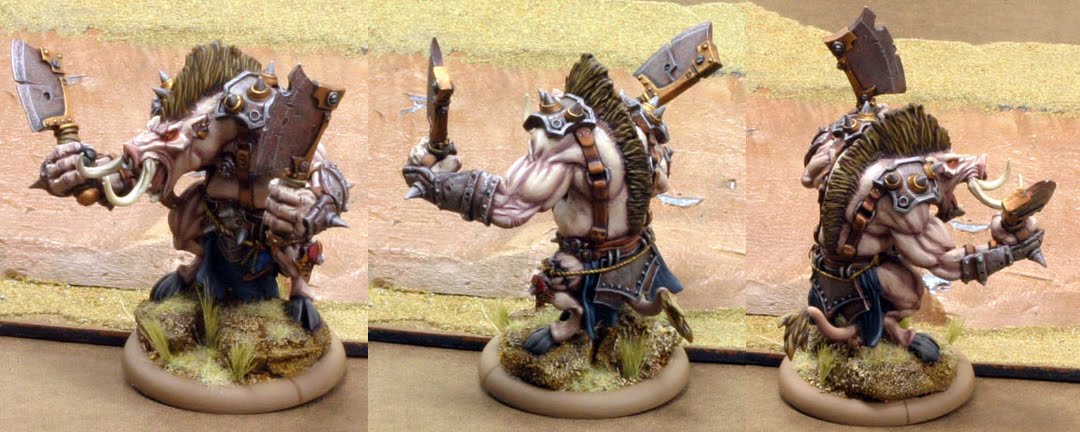
I knew for sure I wanted one War Hog with no mechanikal augmentation. As a man of science it seemed likely that Arkadius would want to keep a purely organic specimen around as a baseline for comparison against the performance of his other beasts. I can imagine the good doctor taking extra time strengthening its muscles to try to see if they could equal the might of those of a warjack.

My first idea was that I would base the model off of something else from the Hordes range, but in the end I decided to use this as another opportunity to practice my sculpting skills. Other than the berserker shoulderpads and a couple of 40k bits, everything on this piece is either scratch built or straight from a War Hog kit.

The first thing I had to do was take a dremel and grind away all the mechanikal pieces from the torso. And let me tell you, there were a lot of those. After maybe half an hour of grinding I finally had a piece I could use. I attached some pinning wire as a basis for the arms.
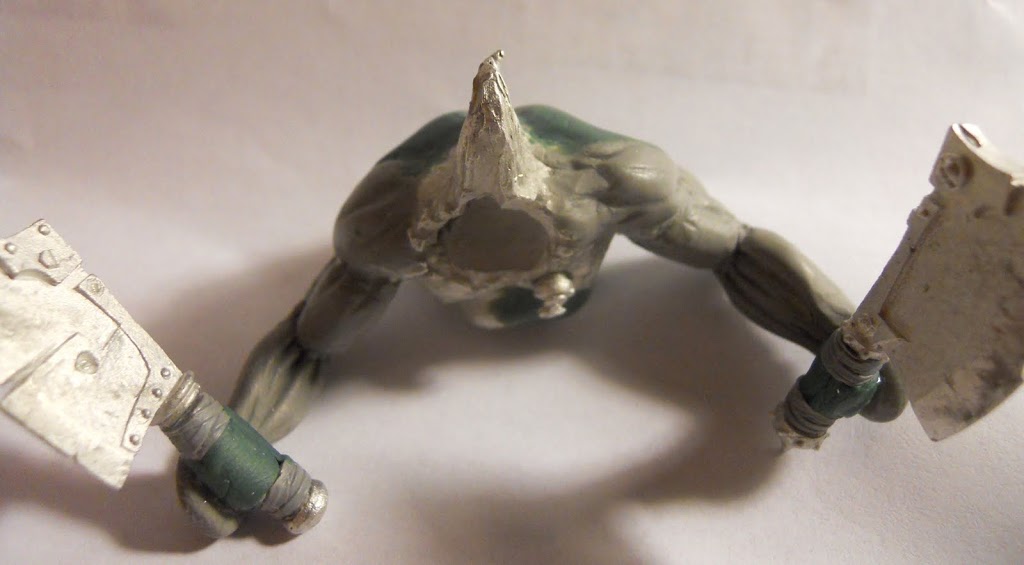
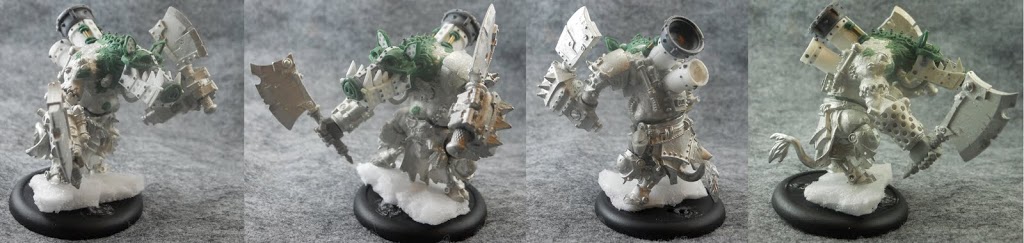
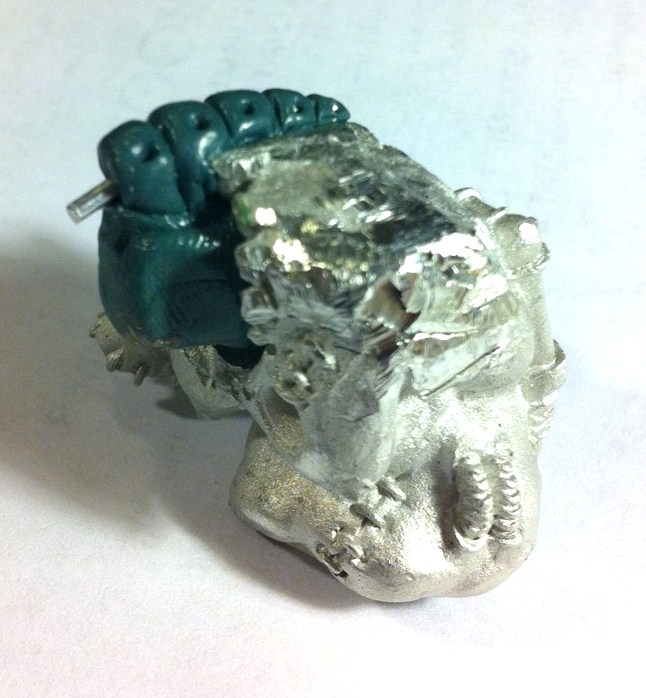
I decided I would try using gray stuff for the first time on this project. I can see why its so popular for sculpting muscles since it ended up being very easy to work with. I kept my Dire Troll Mauler close at hand to have a visual basis to work from. I didn’t make the muscles quite as knotted, or the forearms nearly as thick as the troll’s, in an effort to keep their anatomy just a tad closer to human. I did make them quite over-sized, however, to really emphasize the brutality of this guy. I used the wrapped ork shoota barrels as the handles for the Cleavers since I felt like a wrapped leather look would help the more natural feel I was working towards. Since they weren’t long enough I just used green stuff in the middle area since it would be covered by the hands anyway. After this picture was taken I ended up going back to add more bulk to the muscles a couple times before I decided they looked right.
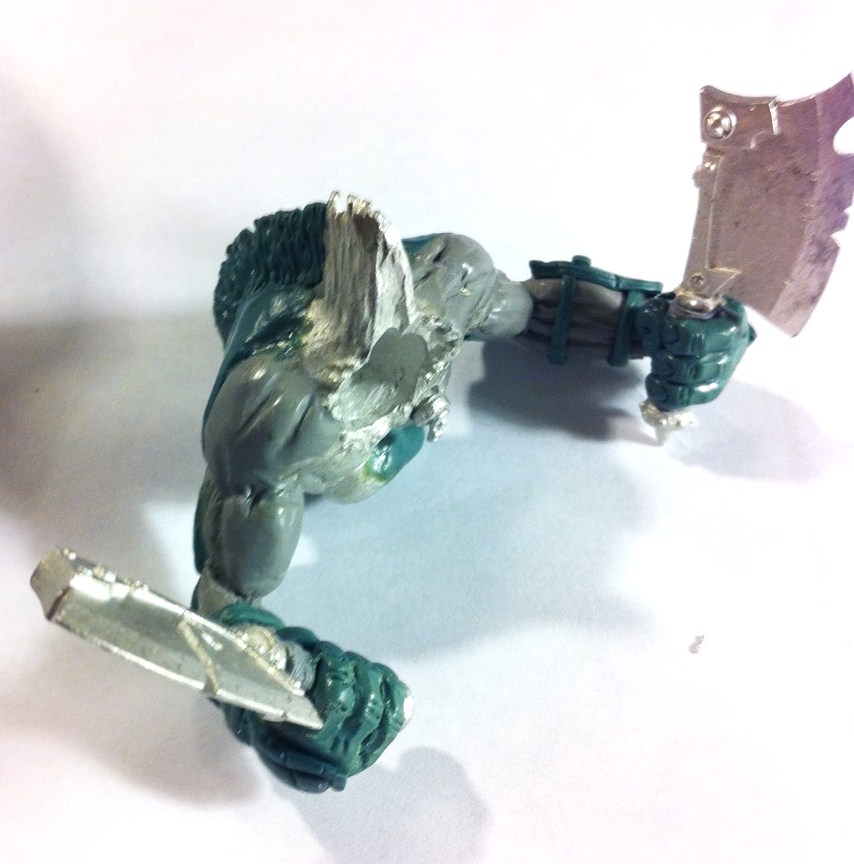
Sculpting the hands was far and away the hardest part of this project for me. I was mostly satisfied with the right hand, but I ended up chopping a large portion of the left one off and resculpting it. The whole process was done in multiple stages, first with sculpting the general shape of the fingers, then adding finer details like the knuckles and fingernails. The armor on the forearms was made with green stuff that had set for a while, as I wanted it a little stiff to help me mold it into smoother plates and minimize the fingerprint marks I left behind. To sculpt the back fur ridge: I first sculpted a thin ribbon of green stuff onto the back solely to act as a supporting structure. Once it cured I added more green stuff and textured it with a sculpting tool to look like fur.
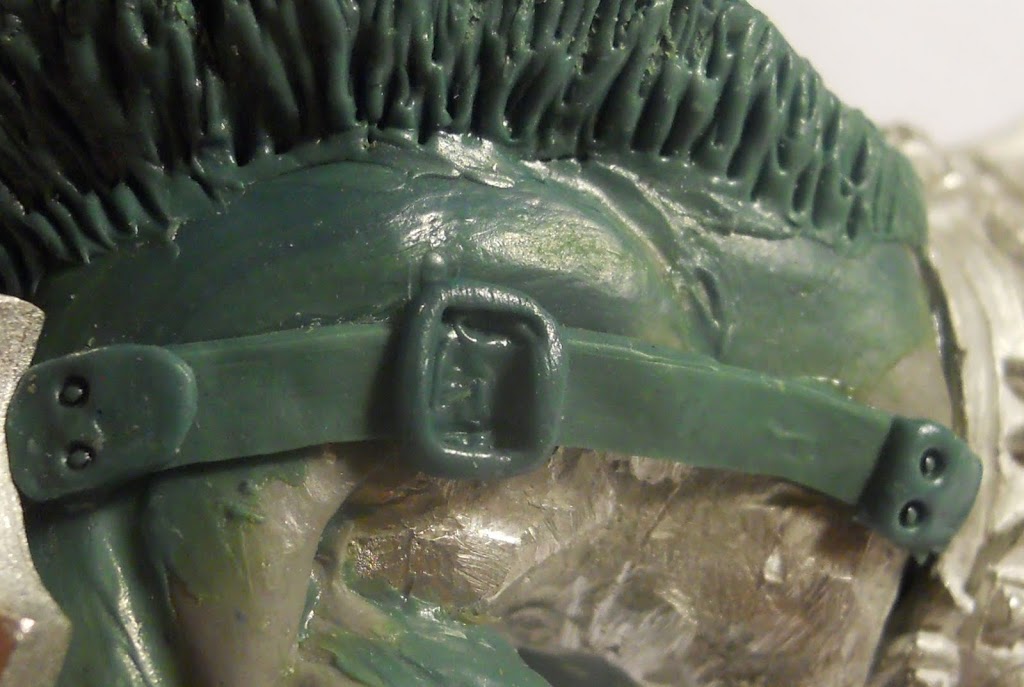
Once I had the muscles and armor looking right, the last step was to sculpt the straps for the shoulderpads. While I wouldn’t put it past Arkadius to rivet them straight on to the beast’s shoulders, I just didn’t think it would look right. To make the straps I rolled out some green stuff into flat sheets. Once it was nearly cured I cut it into strips and glued them into place. More strips were cut out and laid in place before I took a mechanical pencil tip and poked the strips to make the rivets. Some strap was cut away and a buckle was sculpted in place.
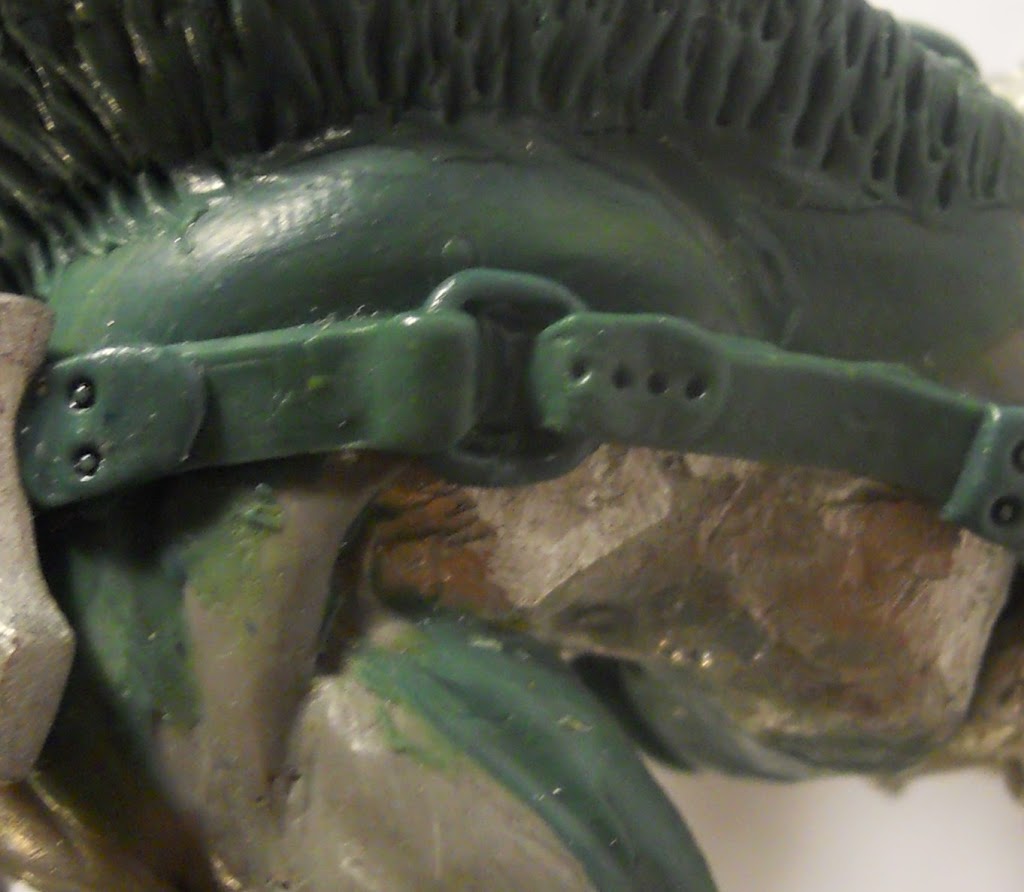
Once the buckle had set I carefully flattened some fresh green stuff over it to complete the strap. The only thing left to do at this point was replace his mechanikal leg. Since I already had another War Hog kit lying around, I sawed off the organic leg from it, rather than scratch build a whole new leg. The plan was to give the next hog two mechanikal legs anyway. After bending the flesh leg a bit to make it look like it belonged on the right side of the body, I filled in the sizeable gap with Green stuff.
For the next hog I decided to go in the opposite route. I decided I wanted to sculpt a completely mechanikal head for this War Hog.
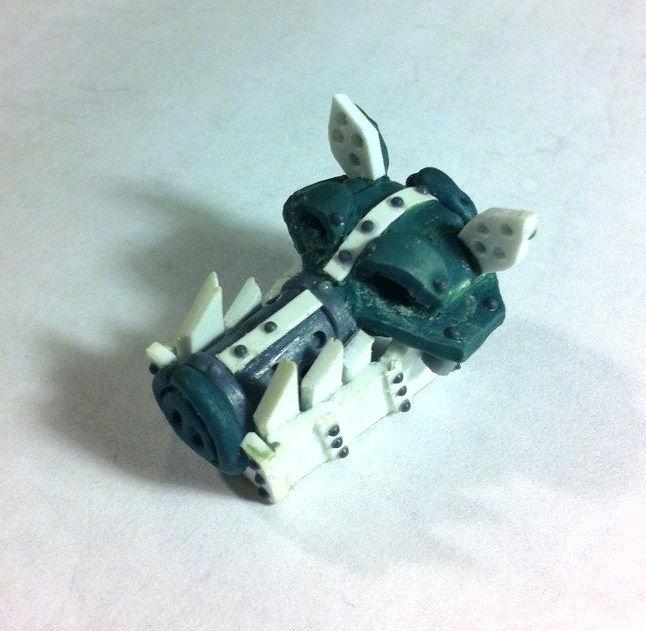
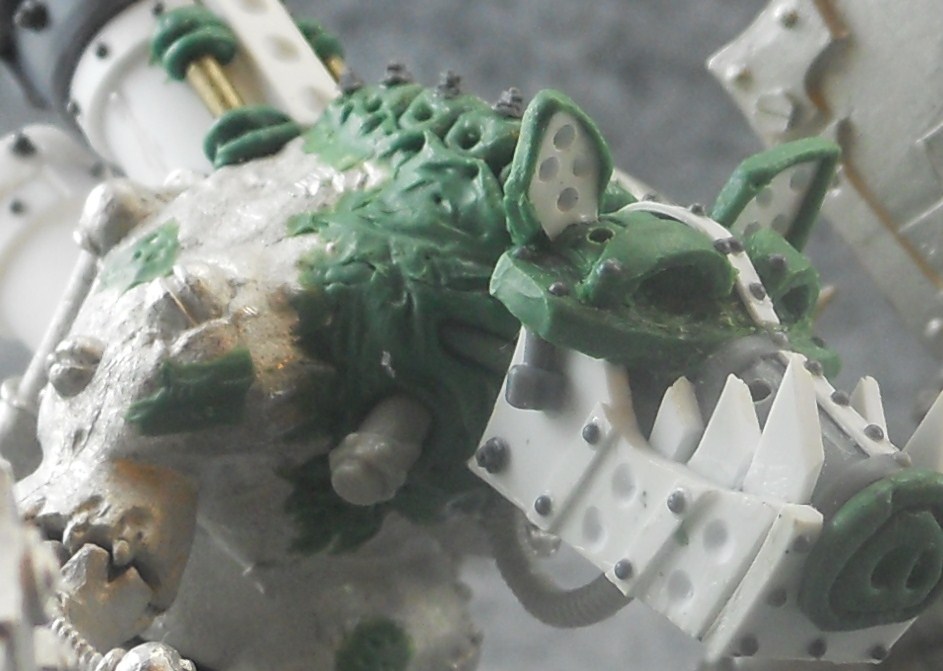
After looking at a few pictures of hog skulls and doing a few concept sketches to make sure I got the look right I just kind of dove in. For the snout I found a nice round piece from the Imperial Guard tank accessory sprue but everything else was done with green stuff and plasticard. A few more alterations were made to the head after this picture was taken. I drilled some holes on the jaw and head to add a little more detail, used green stuff to sculpt ridges around the ears, and replaced that missing rivet. For the most part I’m really pleased with how it turned out, but I guess if I could do it over again I might see if I couldn’t add a bit more expression to it.
Since a mechanikal head on a flesh body was going to look a bit odd, I decided to give him a metal spine in an effort to try to better integrate the two parts. This meant the fur on the back had to be ground off, and the arm join as well, since I planned on replacing the arm.
After the spine had cured I sculpted flesh over the area taking the time to make it look nice and scarred. The flesh area of the neck disappears under the metal jaws. I added some pinning wire and some bits from the Helljack kit to the neck, again to try to visually integrate the mechanikal and organic parts.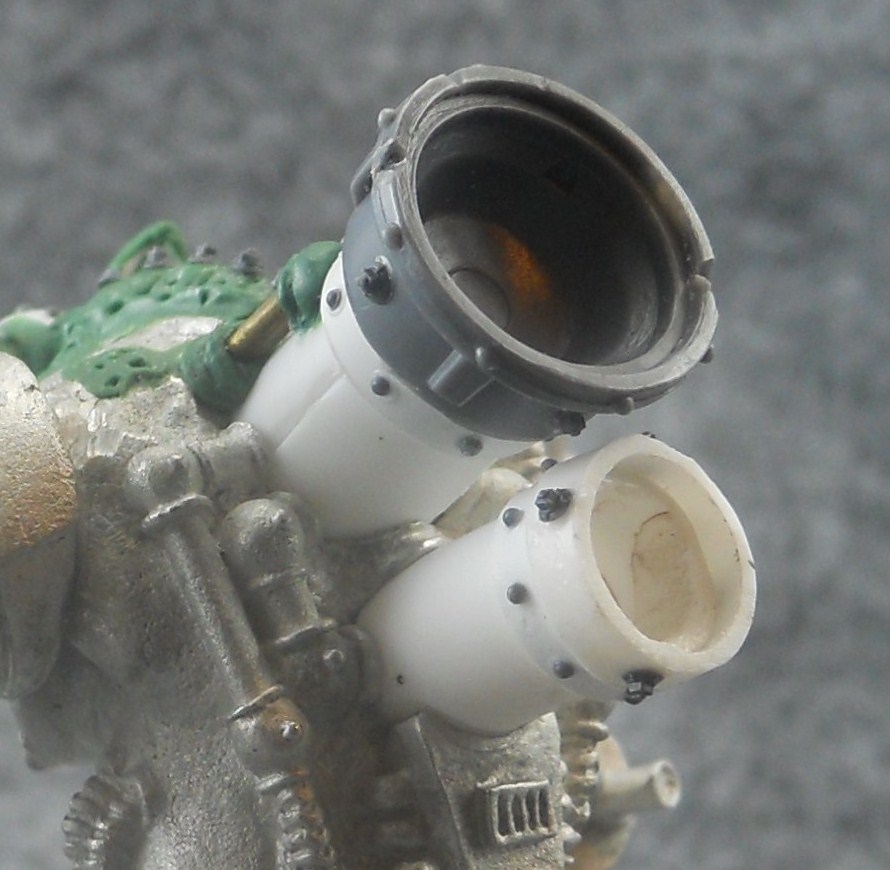
I decided I wanted to give this guy larger smokestacks, which I made out of plasticard tubes. The tube I had just lying around fit perfectly, leading me to believe the original model was made with the same stuff. Some of you may recognize the searchlight from the Imperial Guard vehicle accessory sprue capping the larger smokestack. To embellish them further I just used plasticard, brass rod, green stuff, and more of my faithful rivet sprues. You can buy rivet sprues at your finer hobby stores.
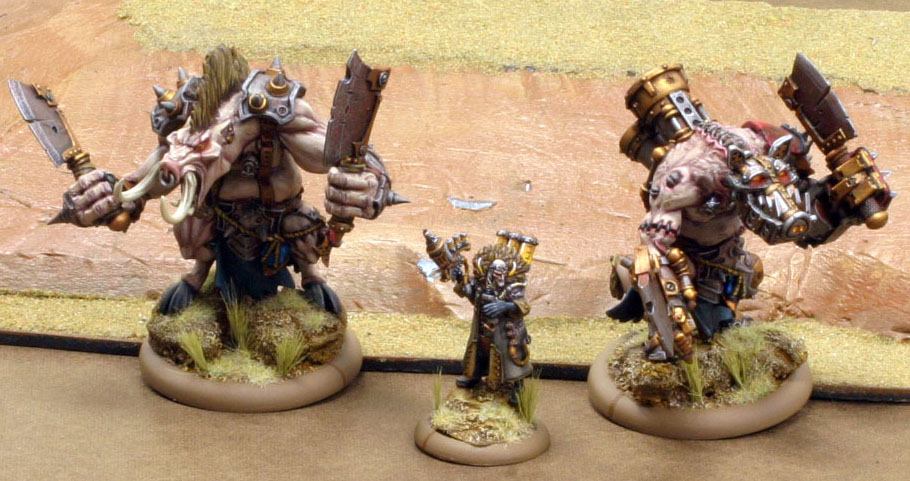
To attach his second mechanikal leg, I just used Gray stuff to copy the stump the original leg attaches to. I replaced his left arm with a Beast 09 arm, since it had the proper bulk, and looks distinct from the Juggernaut arm the stock War Hog comes with. I also replaced the right hand with one from the Protectorate Jack kit. And since he’d lost his Warjack head trophies getting his leg cut off, I gave him a Vanquisher head to tie in a theme that maybe he’d been fighting Protectorate forces.
~ So I’m that much closer to finishing off my Minion forces. But since I’ve been doubling (and in some cases quadrupling) up on some of the Minion units, I went ahead and did some customizations there as well. Pics soon.


