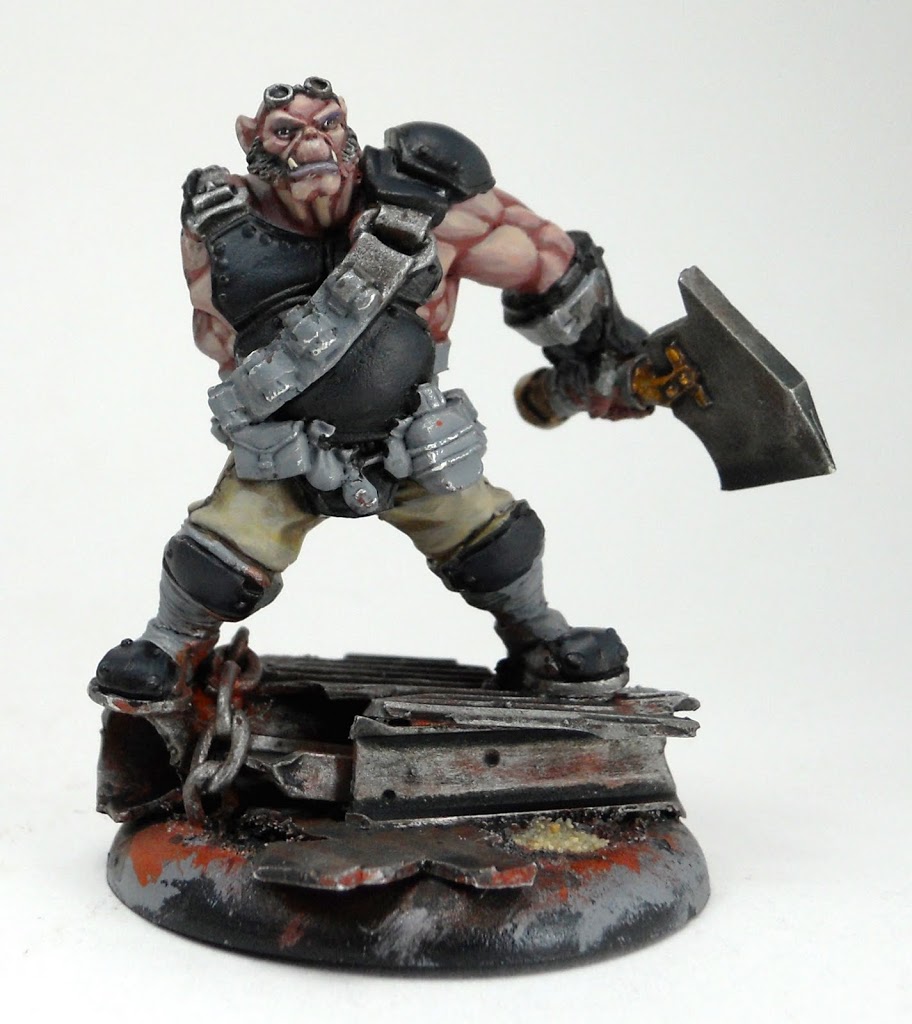
Painting: Ogrun Assault Corps

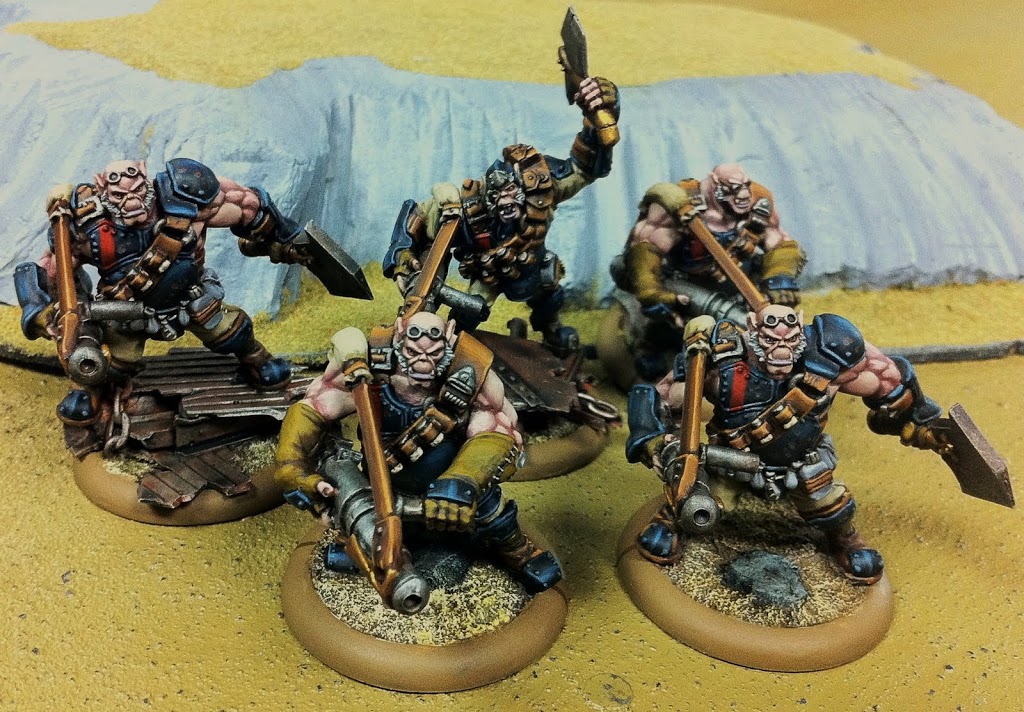
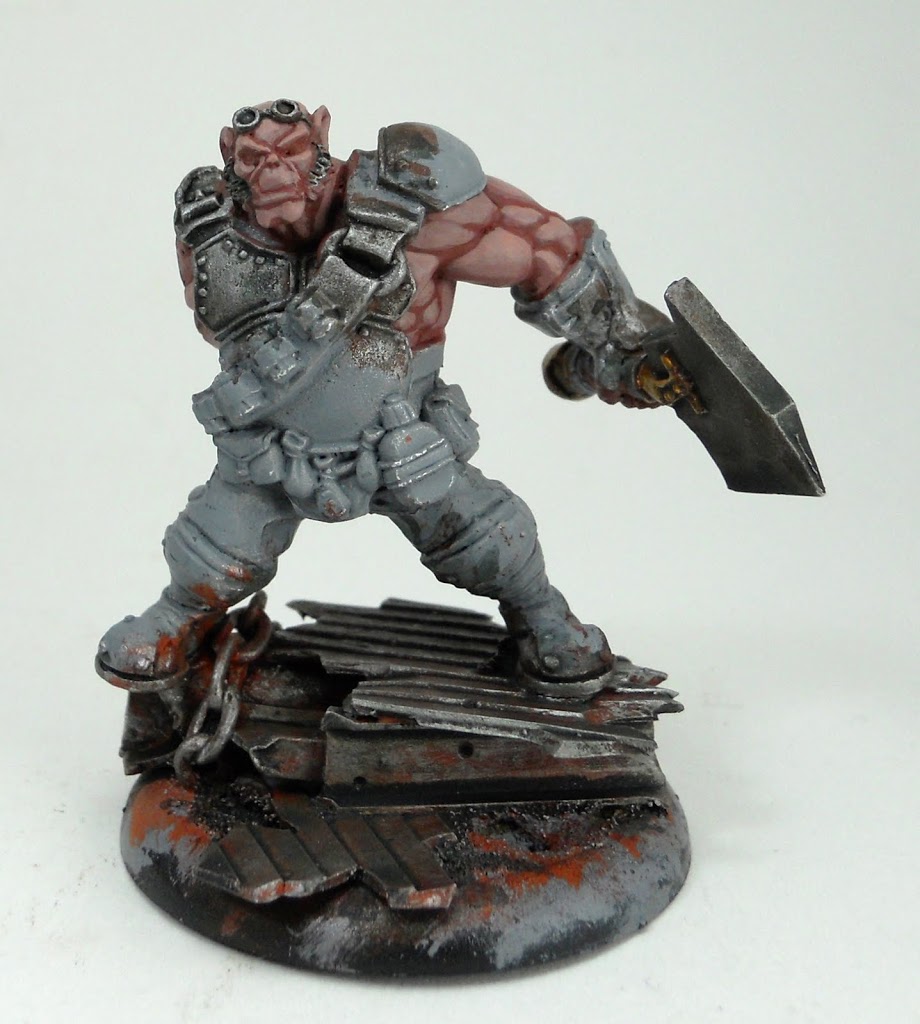
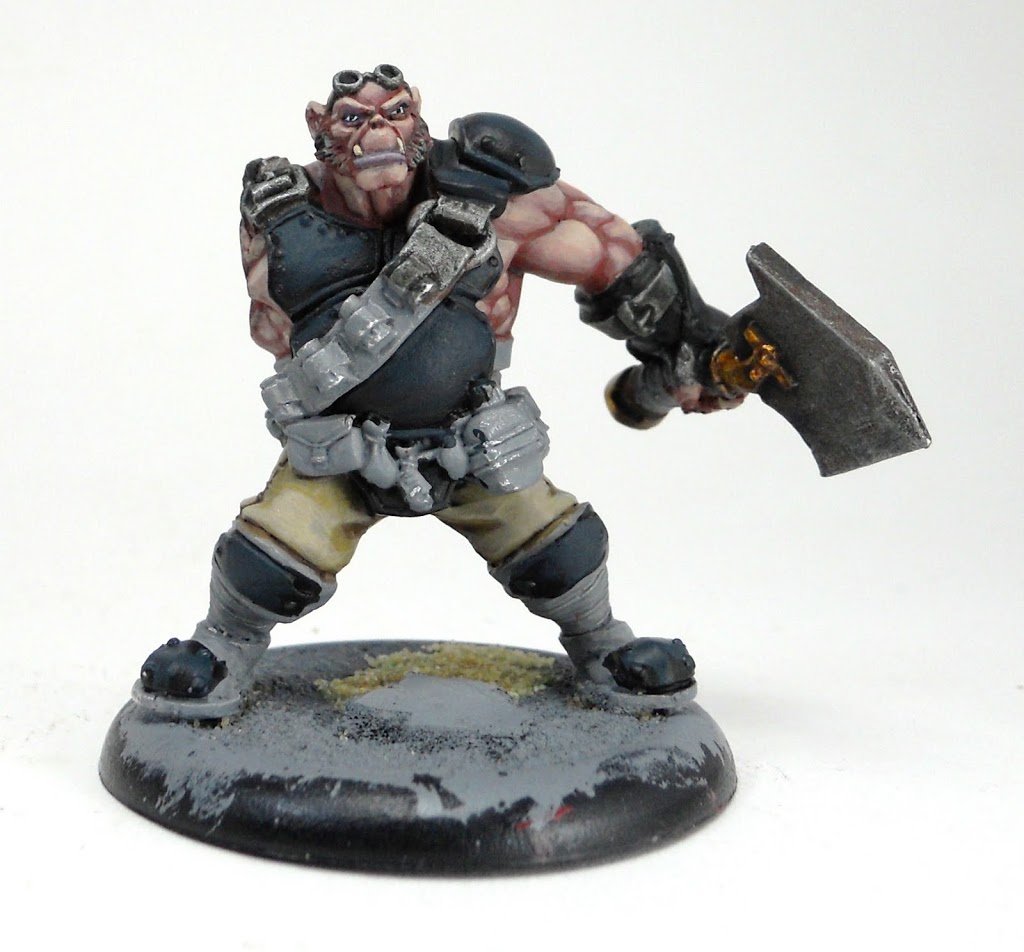
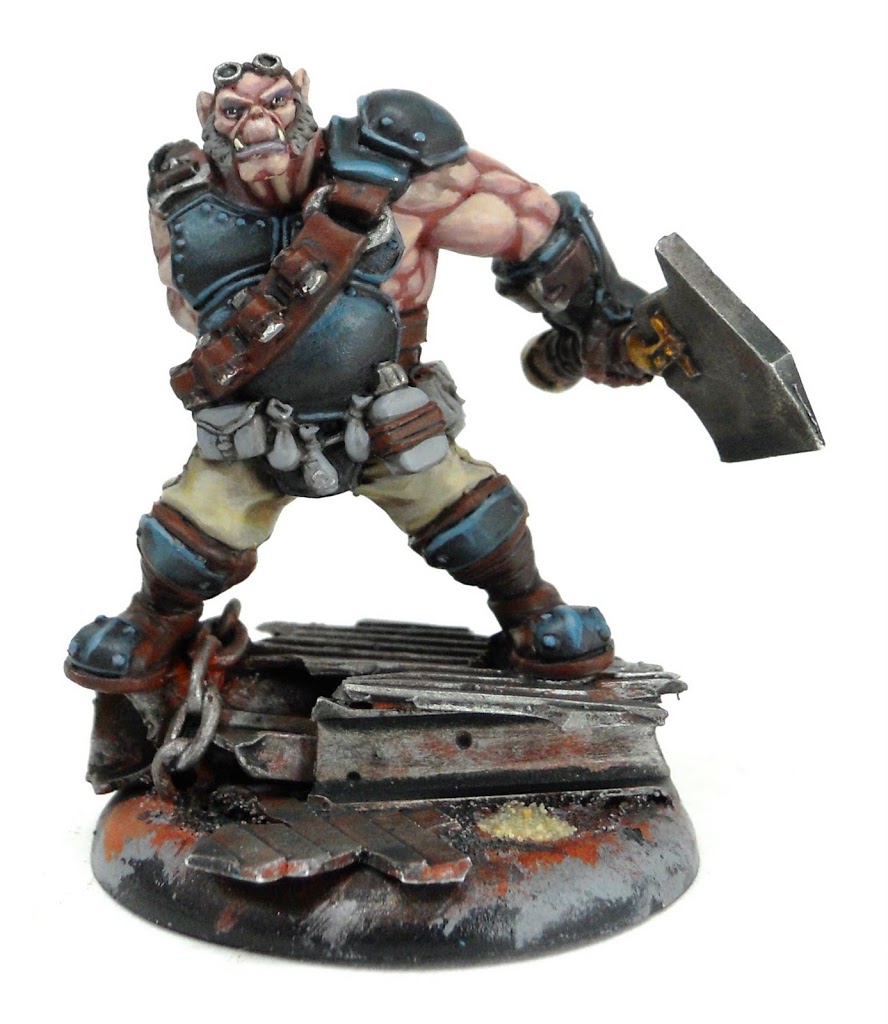
I’ve wanted an Ogrun unit for my Mercenary army for about as long as I’ve had it. The moment I saw the pictures of the Ogrun Assault Corps, I was already picturing them in the color scheme for what I’ve dubbed my “Midnight Searforge”.
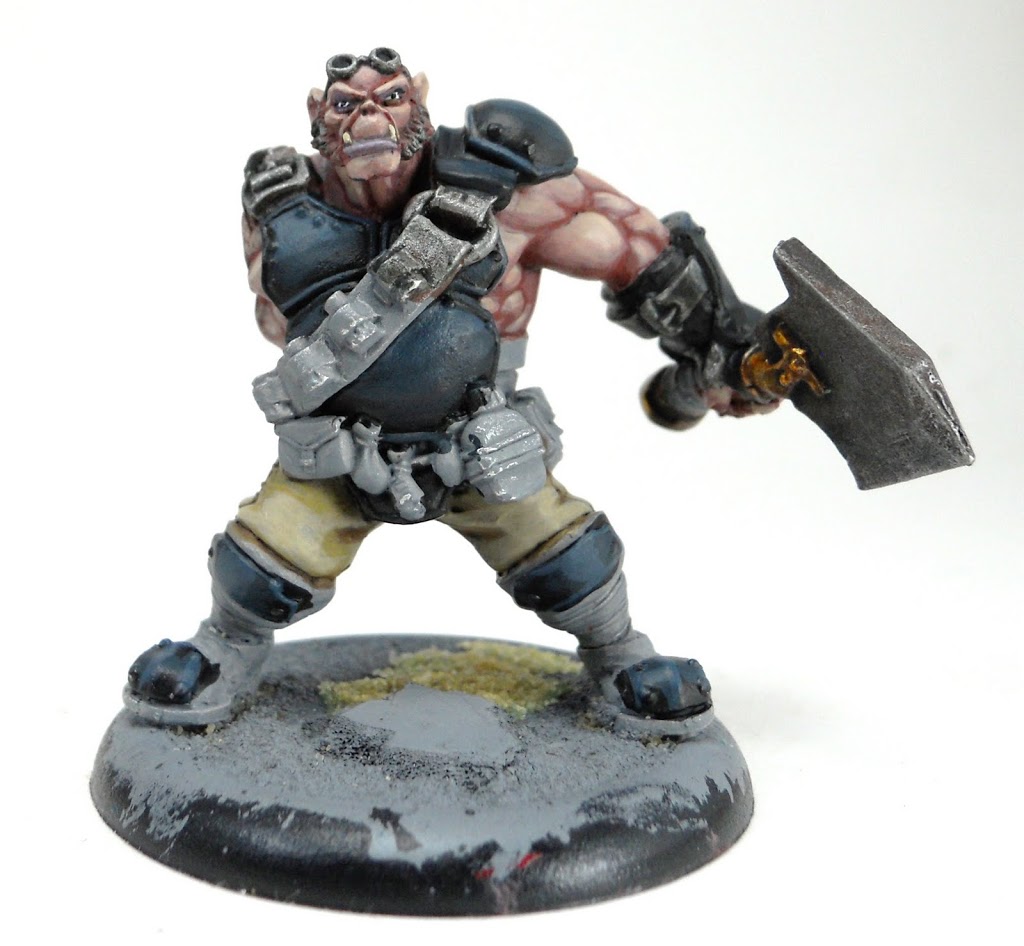
The truth is this scheme was initially developed for my Privateer warjacks, since I was a Talion player before I branched out into all the merc contracts. But while all my mercenaries share the navy blue and red, I’ve always felt it looked most striking on my Dwarves.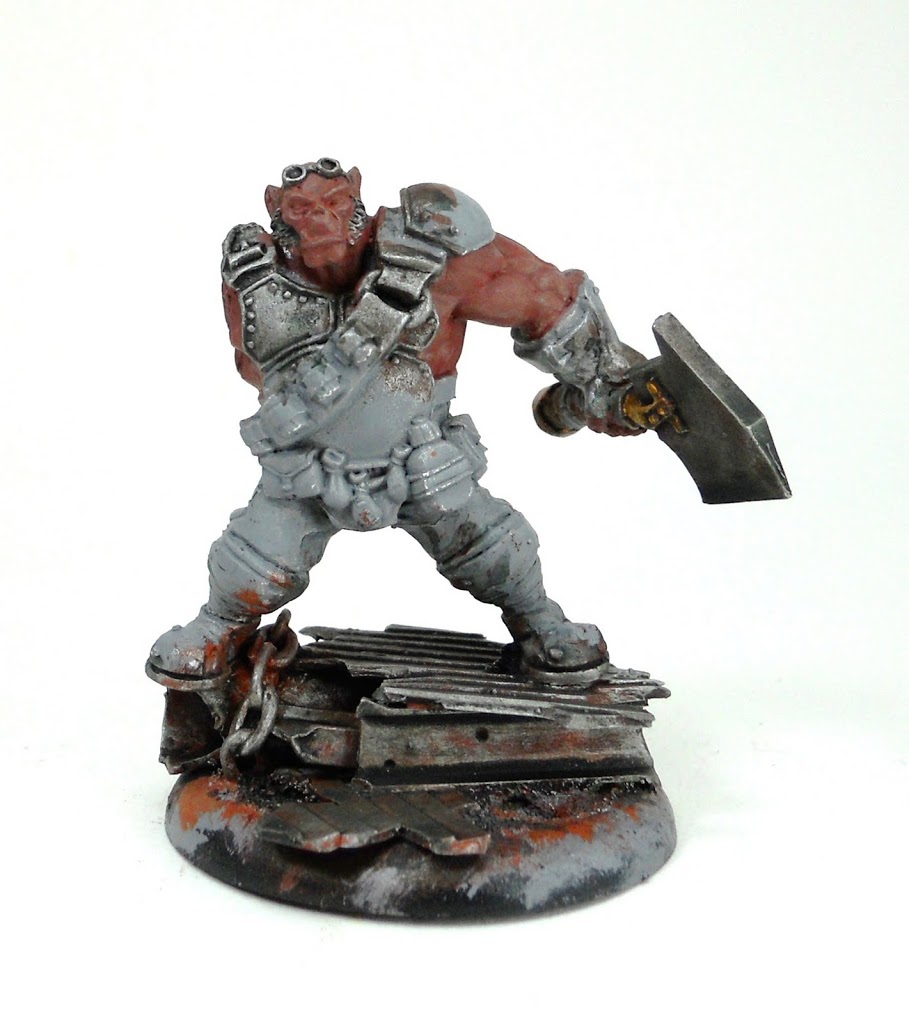 After making the decision to leave the arms off so as not to make it difficult to hit some of the details, I started with the metallics. I like the metal on my merc armies to look aged, but not too rusty, so for the cannon, axe, and other metal bits, I began by using a basecoat of Vallejo’s Dark Sienna (very similar to bestial brown in color). This was drybrushed with Chainmail then washed with a mix of Badab Black, Devlan Mud, Asurmen Blue, water, and some matte medium to make sure it stayed thick. The color of the wash ends up as a dark greenish bluish brown. When applied over the ruddy brown of the Dark Sienna these two colors make the metal areas really pop, and look a lot more interesting than just your typical straight up steel/silver washed with Badab Black.
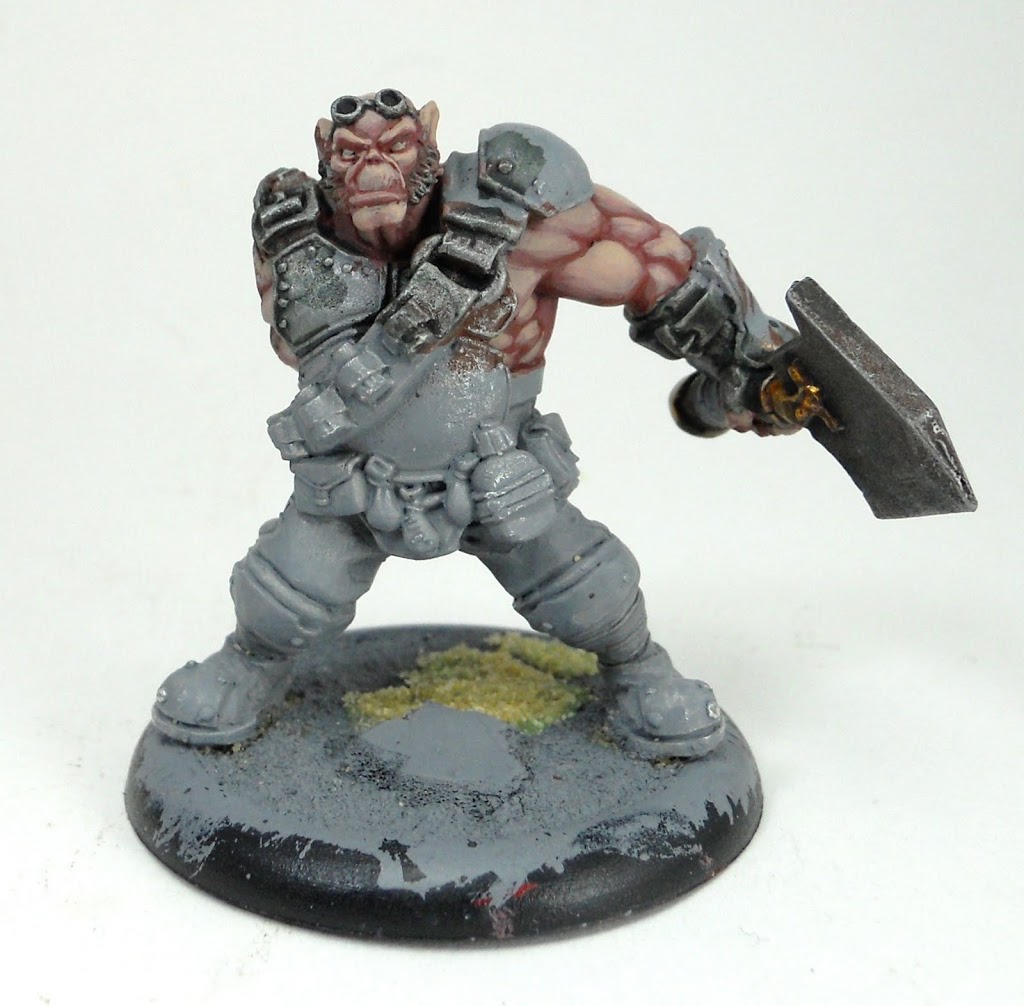
The rusty scenic base I made from plasticard involved my usual technique for painting rusty metal. With the metals done I started on the flesh tones. Its always a good idea to attack the flesh areas early since the face is always the focal point of every mini. To help convey the non-human nature of the Ogrun I decided to use the exact same color palette for the flesh that I had been using for my Farrow.
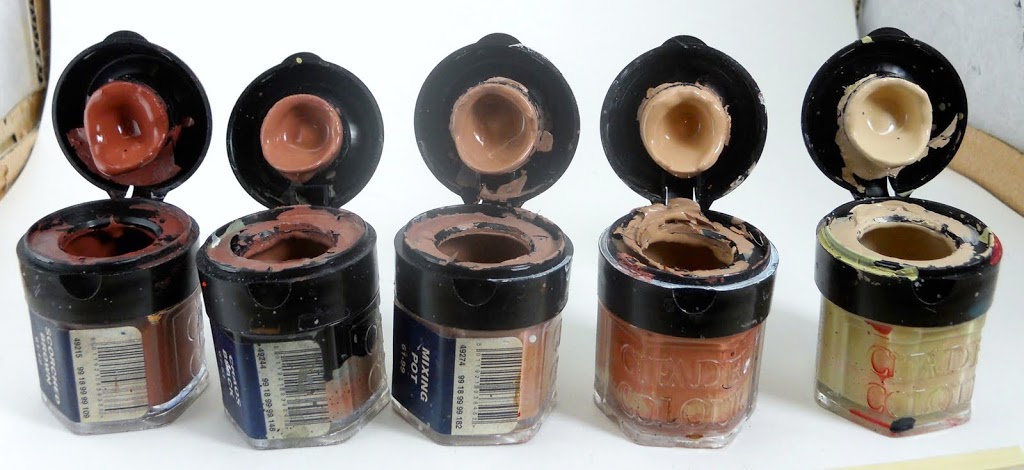 With the colors already mixed, I just gradually moved up to the lightest hue.
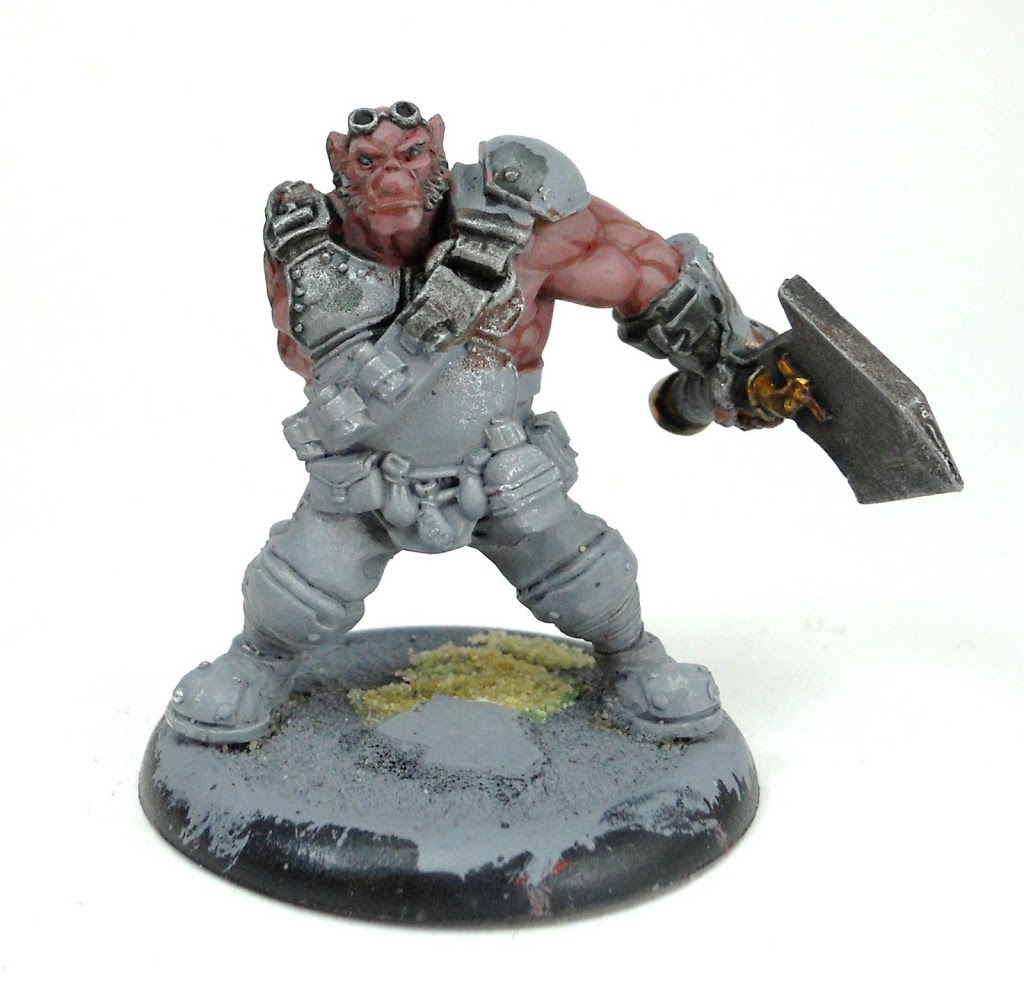
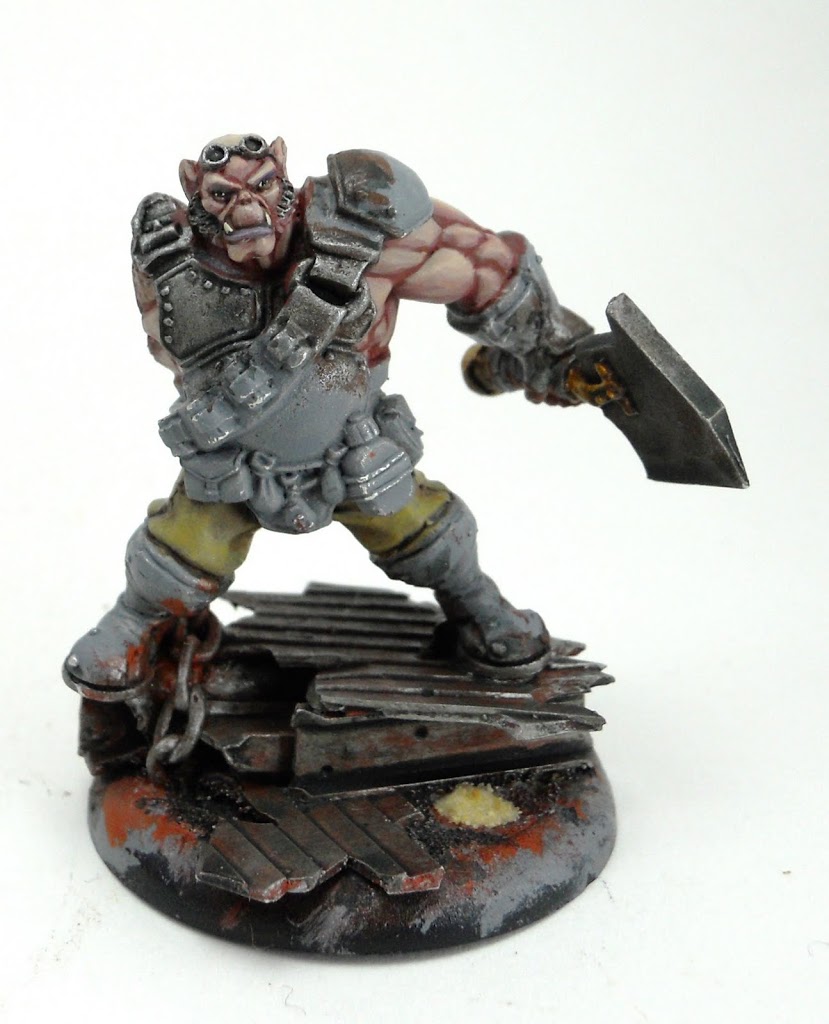 After adding the final skin highlights I went back in and cleaned up the flesh areas a bit, adding some darker shading to the face to give more contrast and bring out the detail. I also reapplyied some very thin layers of some of the darker colors to help blend certain areas a bit more. I used a grayish purple for the lips; the same purple I often use on parts of my Trollbloods. I also added the eyes and teeth, and painted the pants Graveyard earth as the first step in giving them a khaki look.
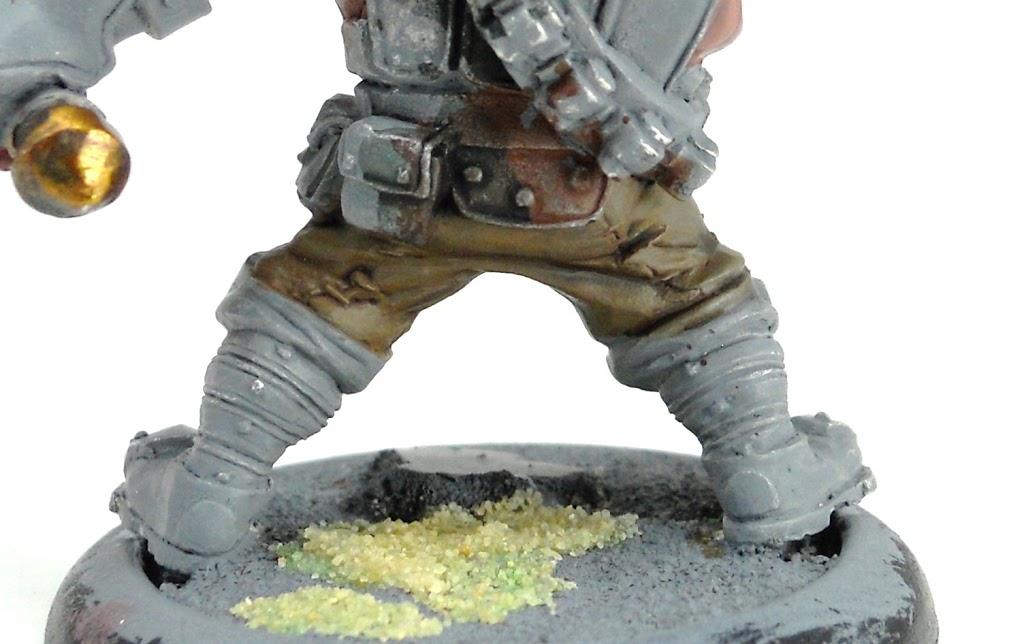 Next, I wash the pants with Devlan mud.
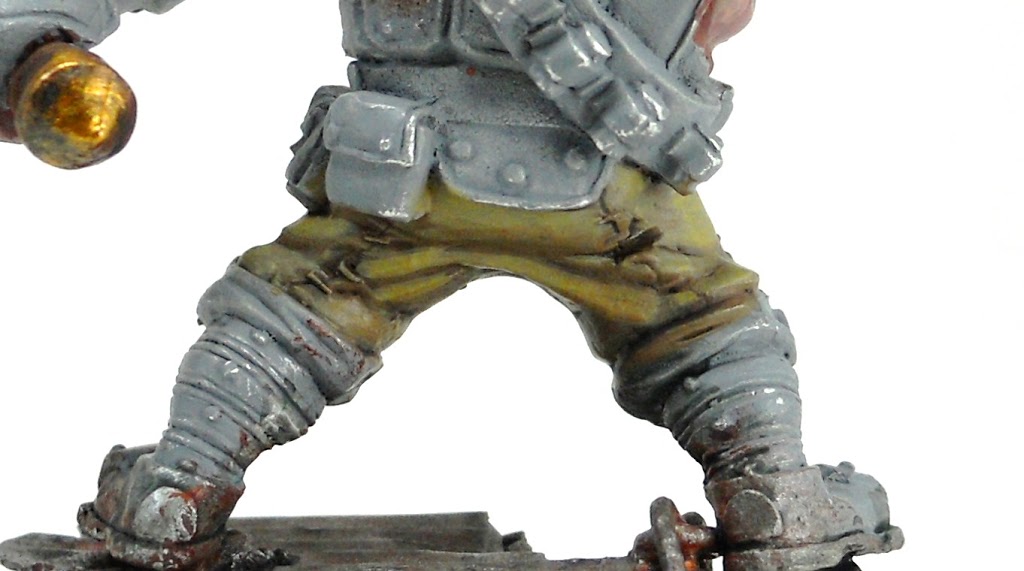 Then they are highlighted up with some Desert Yellow.
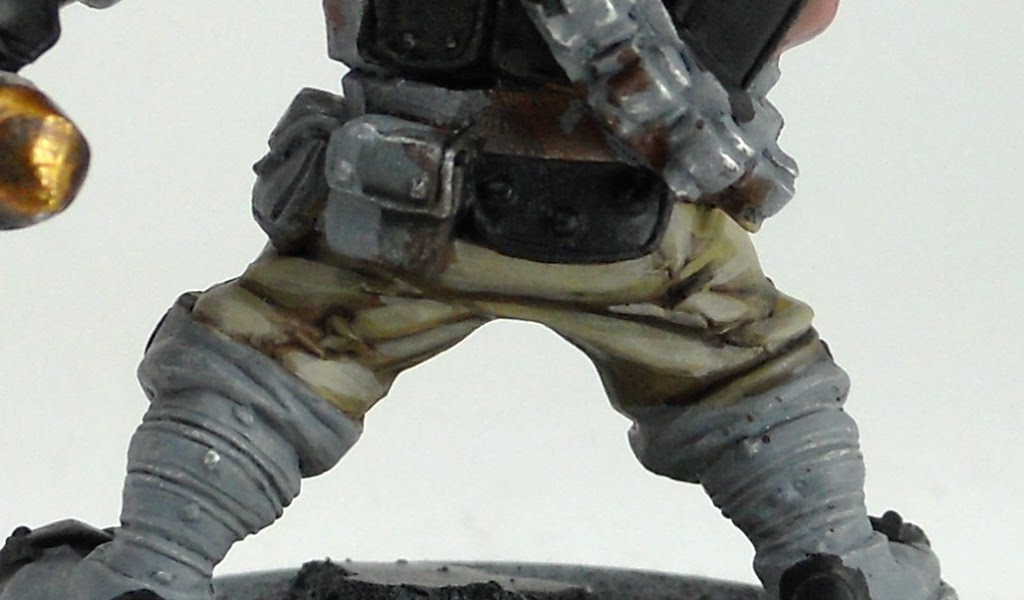
Then Kommando Khaki, and finally a bit of bleached bone for the highest areas. Next up would be the armor.
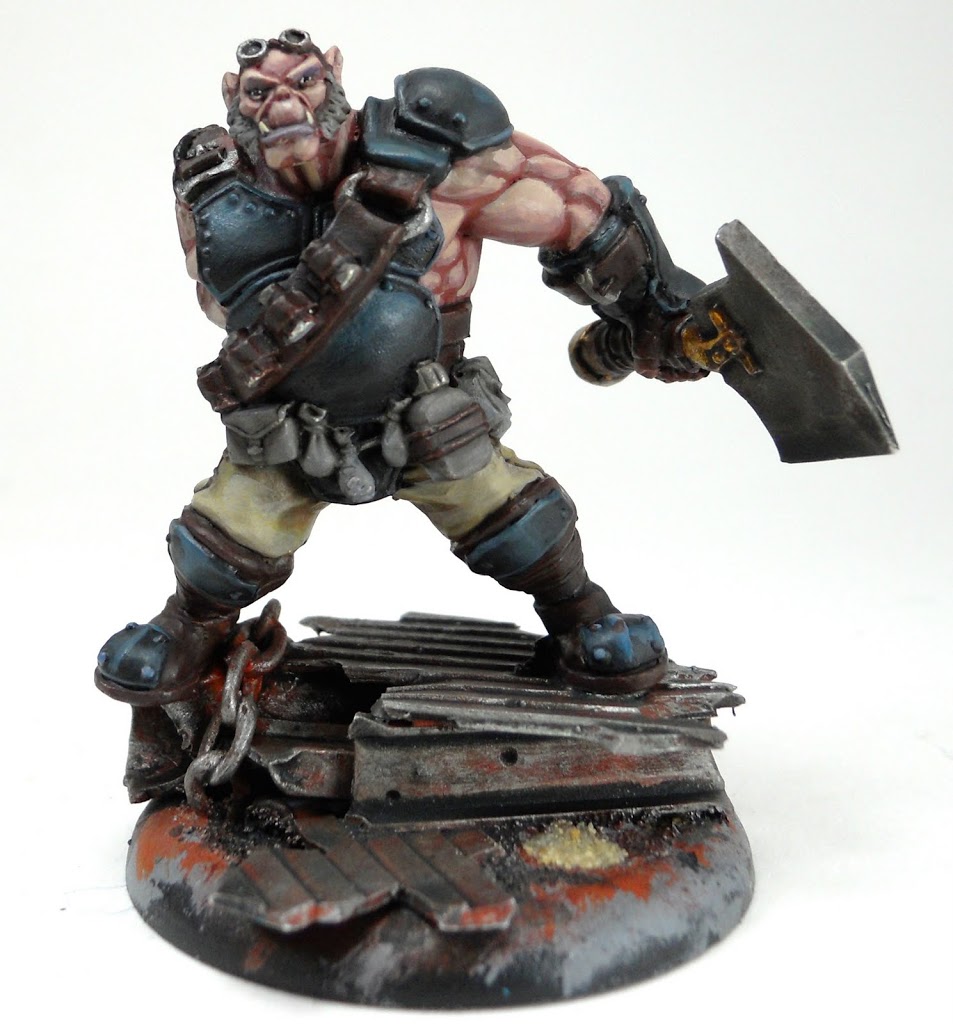
For the blues I also have a highlight set mixed up and ready to go. After a coat of pure Chaos Black, I begin lightening the mix by adding Hawk Turquoise, then Hawk Turquoise and Fortress Gray, and for the final highlight layer a bit of Skull White.
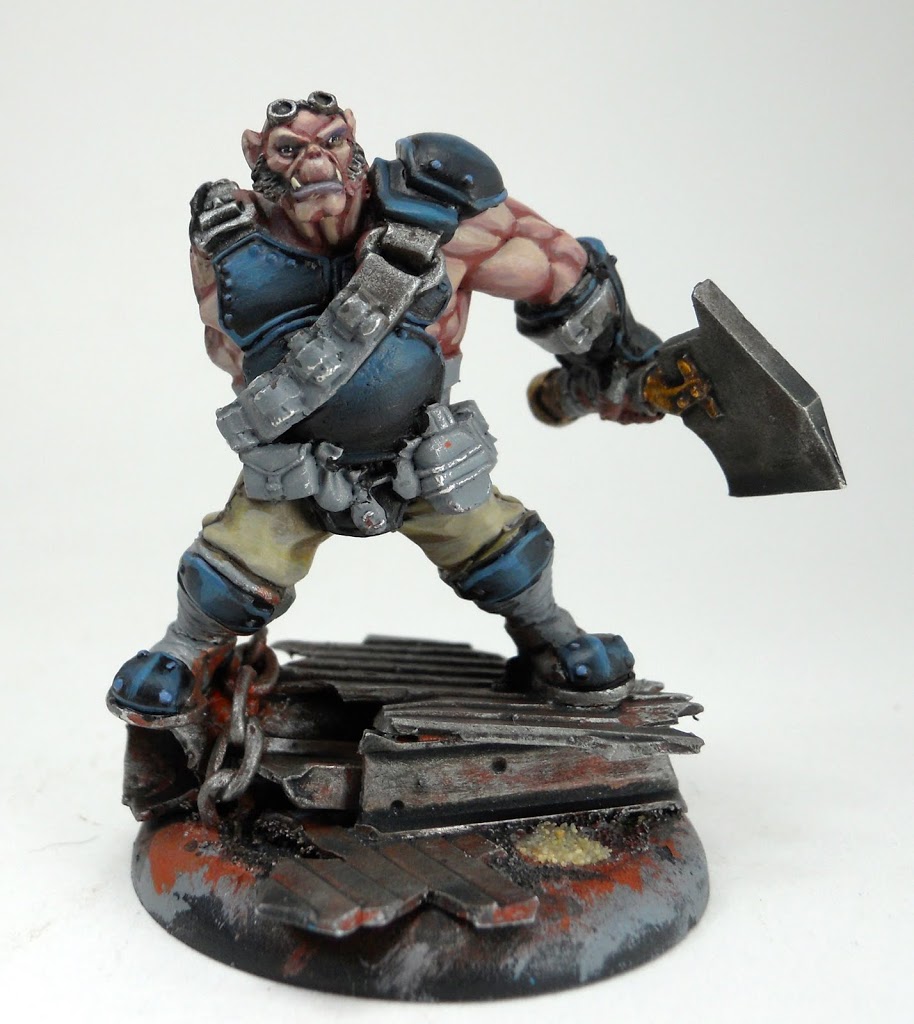
 After I’ve got it highlighted up a bit, I go over the blues with a slightly thinned down Devlan Mud Wash. This basically adds some instant blending, and tones the color down a bit to make it look more natural. Knowing that I’m going to be doing a wash, I also start on all the other areas that will also need one. At this point that’s just about every other area on the mini. The leather areas get Scorched Brown, and all the little pieces of kit (pouches, canteens, etc.) and the sideburns get Codex Gray.
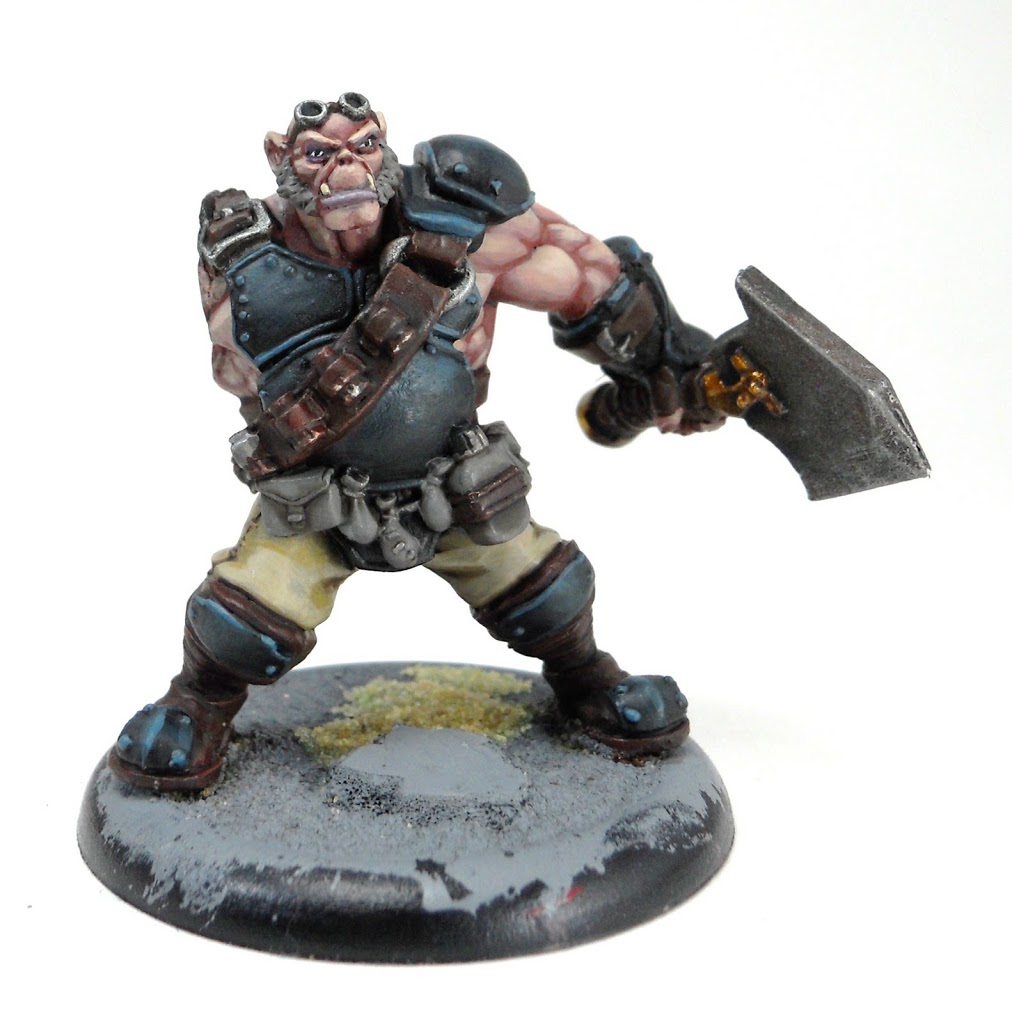
 I very delicately re-apply the final 2 highlight layers to the blue armor. These are only applied to the highest areas and to the rivets. I also get started on the other areas of the mini. I’m going to give this guy two different varieties of leather. For the thicker leather like the straps and ammo belt I apply some Dark Flesh. I start off the other areas of leather with a mix of Snake bite leather and Scorched Brown. I touch up the gray areas with Codex Gray again to bring out their detail more.
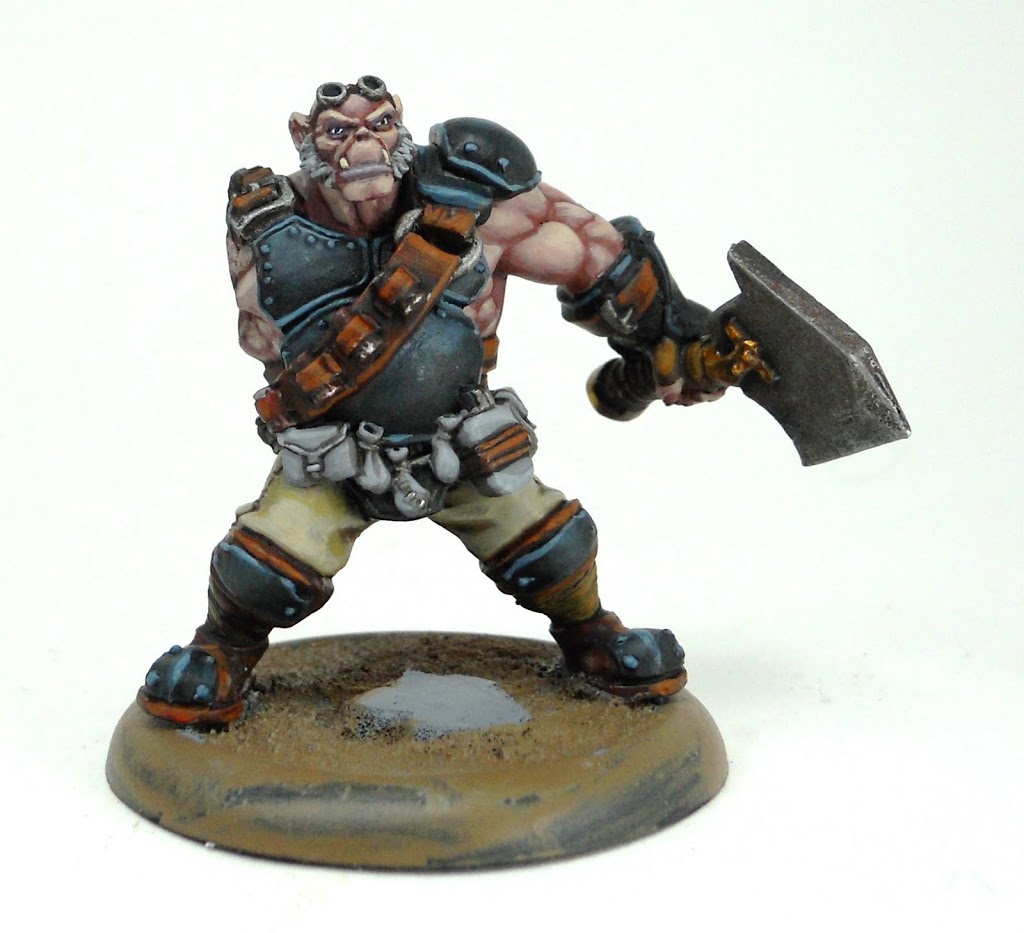 Next, the leather straps get a layer of Vermin Brown over the Dark Flesh. The other leather areas get highlighted with Snakebite Leather. The gray areas get a highlight of fortress gray.
 I finish off the highlights on the leather straps with a mix of Vermin Brown and Vomit Brown. The sideburns also get a final highlight of pure Skull White. And since red accents are part of my Merc color scheme I get those started with Mechrite Red. Even this foundation paint takes two coats to properly cover the dark armor. Then I give the red strip a Devlan Mud wash to shade it a bit.
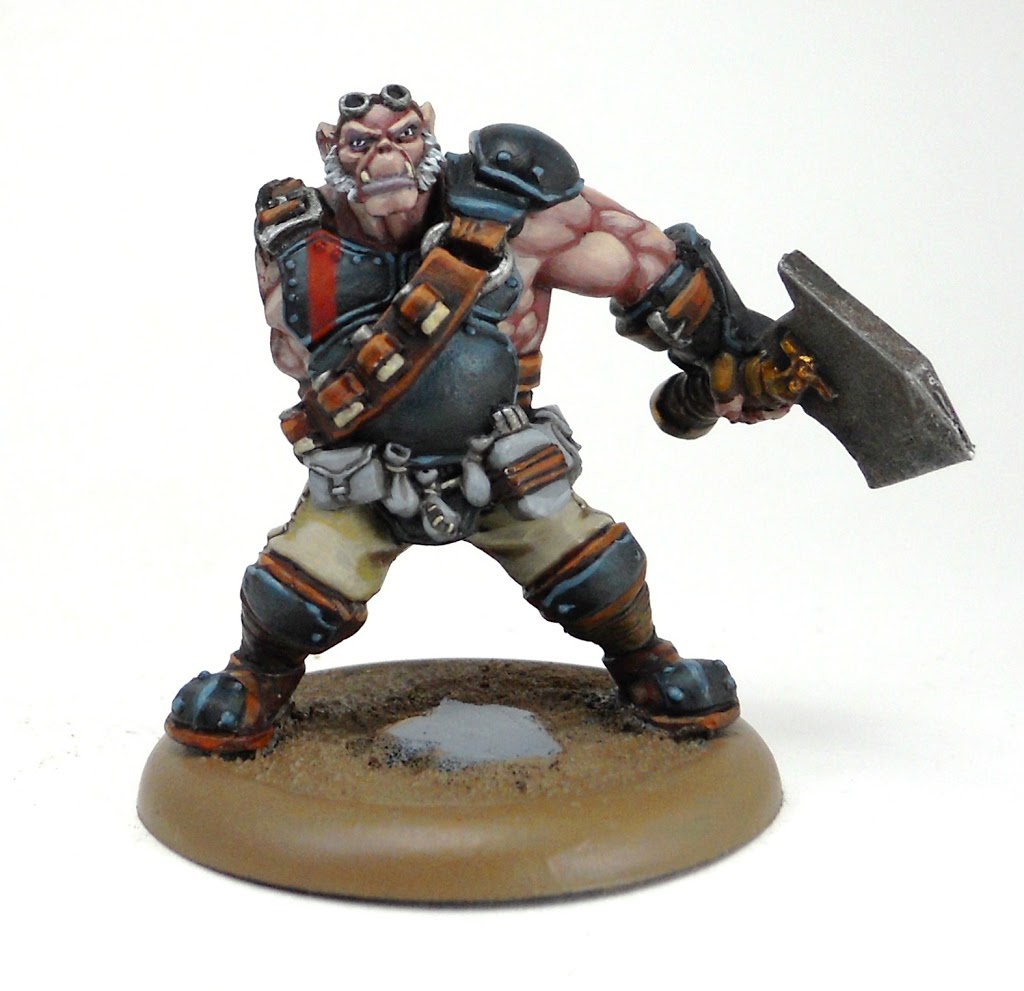 I first highlight the red with Blood Red mixed with Dark Flesh.
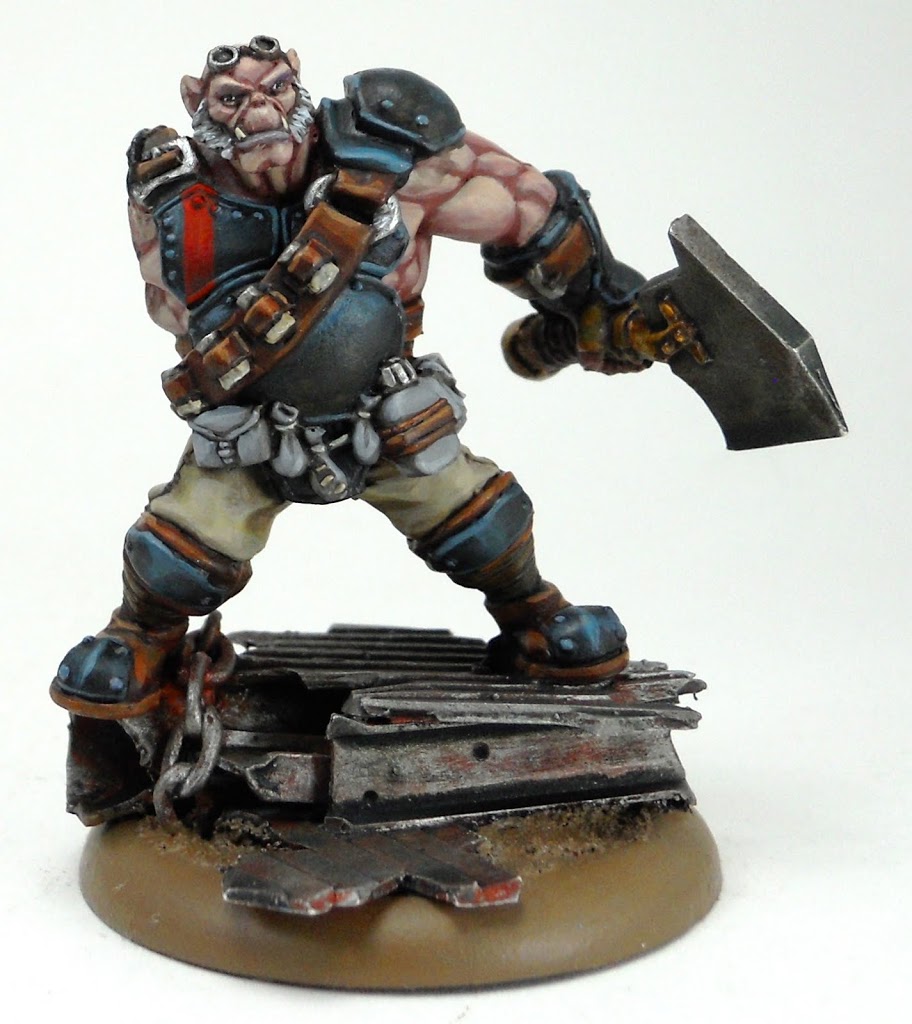 Then with pure Blood Red. Since the Blood Red is very transparent, I build it up in a few layers, getting thicker towards the top of the strip, and on the rivets and raised areas. This allows me to give more depth to the highlight without having to do any actual wet blending or extra color mixing. Now its time to move on to a bit of battle damage.
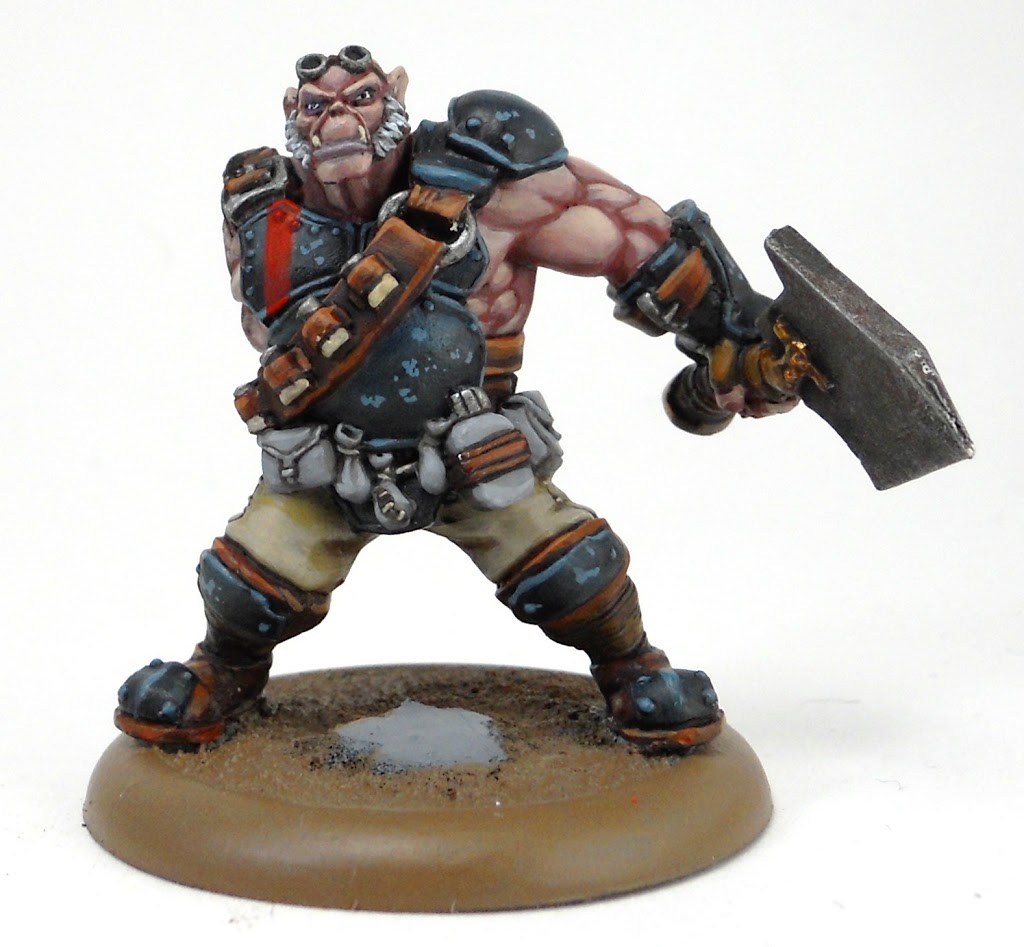 I begin by stippling a few choice areas with the lightest of my blue highlights.
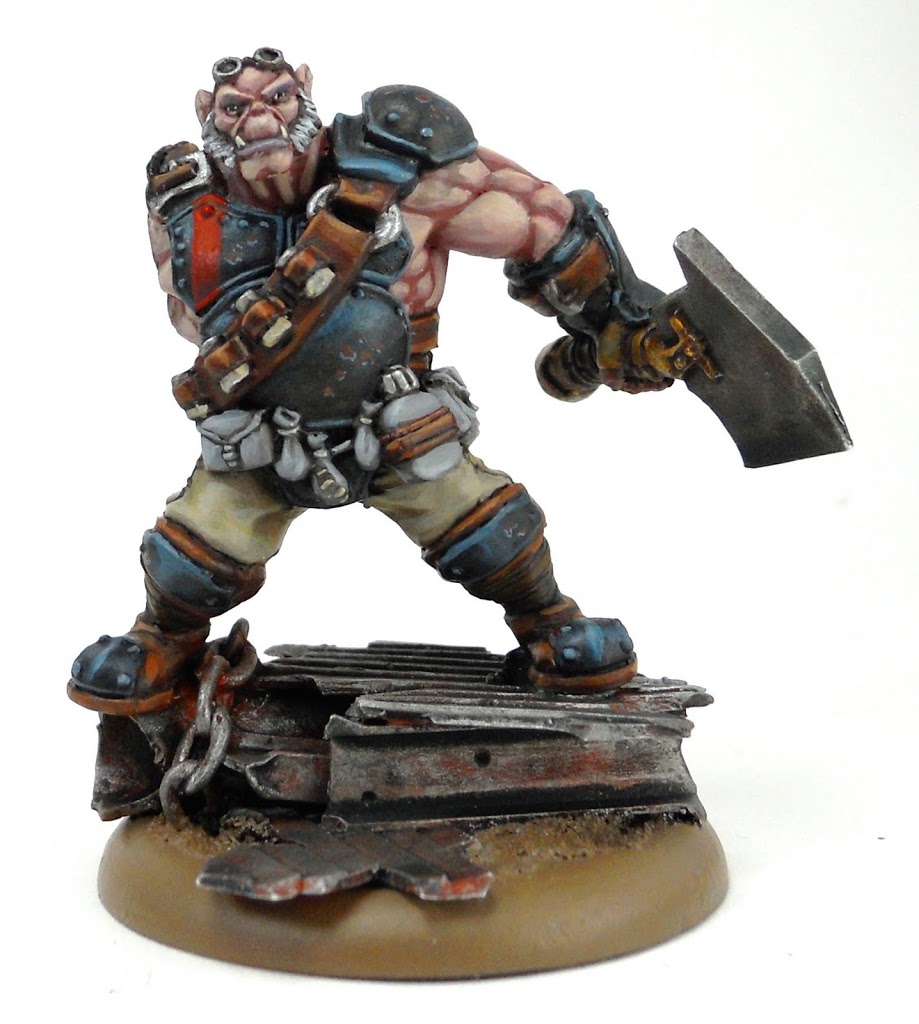
You then paint over those areas with Scorched Brown leaving only the thinnest lines of blue underneath. This represents the light catching on the chipped paint. Finally to add a bit of rust, a very small amount of Vermin Brown is lightly stippled over the Scorched Brown areas.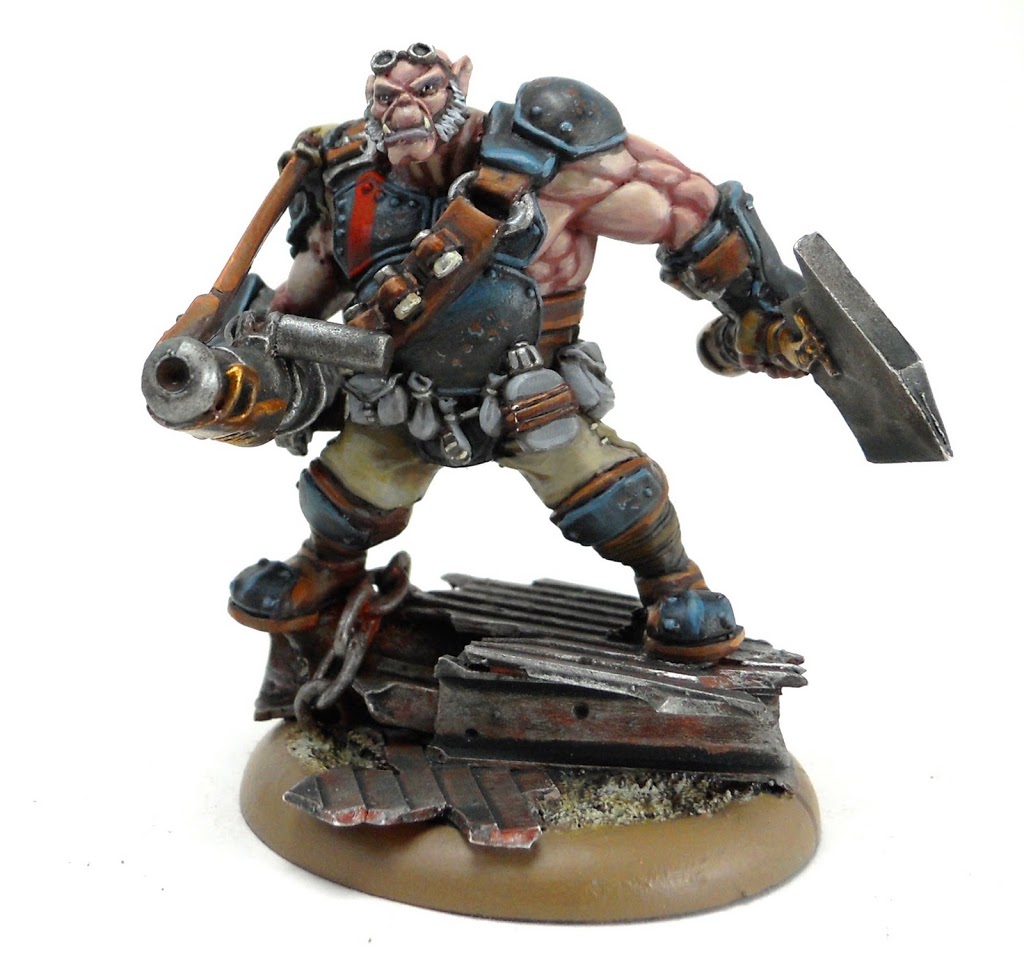 Attaching the arm required a bit of greenstuffing to fill gaps, which meant I also had to go back in and paint over those areas with a little flesh. The last step before I seal them is to mark the front arc with some thin lines painted down the side of the base.
~These guys were a lot of fun to paint. They had plenty of cool little details like all the pouches and the bandoliers. Now its time to put them on the table with Durgen Mad Hammer and have some fun with boosted AoEs.


