FOW: US 2ID vs 326 Infanterie AAR

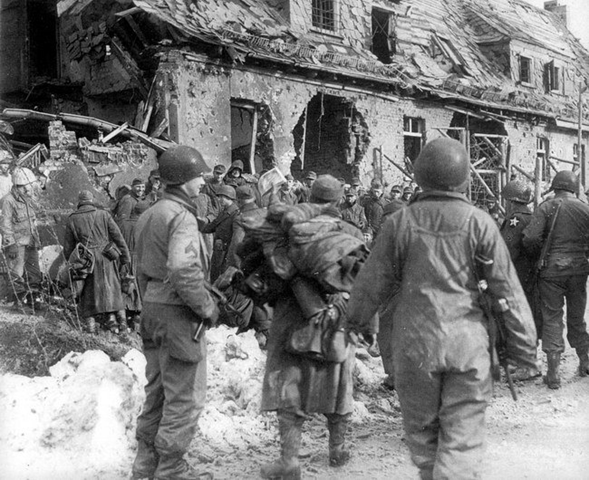
The US 2nd Infantry Division has reached the outskirts of the vital port city of Brest. The Germans here are dug in tight as a tick with fortifications both French and German built.
US 2nd Indianhead Division
|
326 GRENADIERS (Confident Trained)
|
Elite Fallschirmjaeger mingle with battered remnants of once mighty German divisions. Here, one company leads the charge to burst through the German lines and seize the city! Launching from a bombed outskirt at dawn, the Indianheads were eager to prove that they were “second to none!”
The mission is No Retreat.
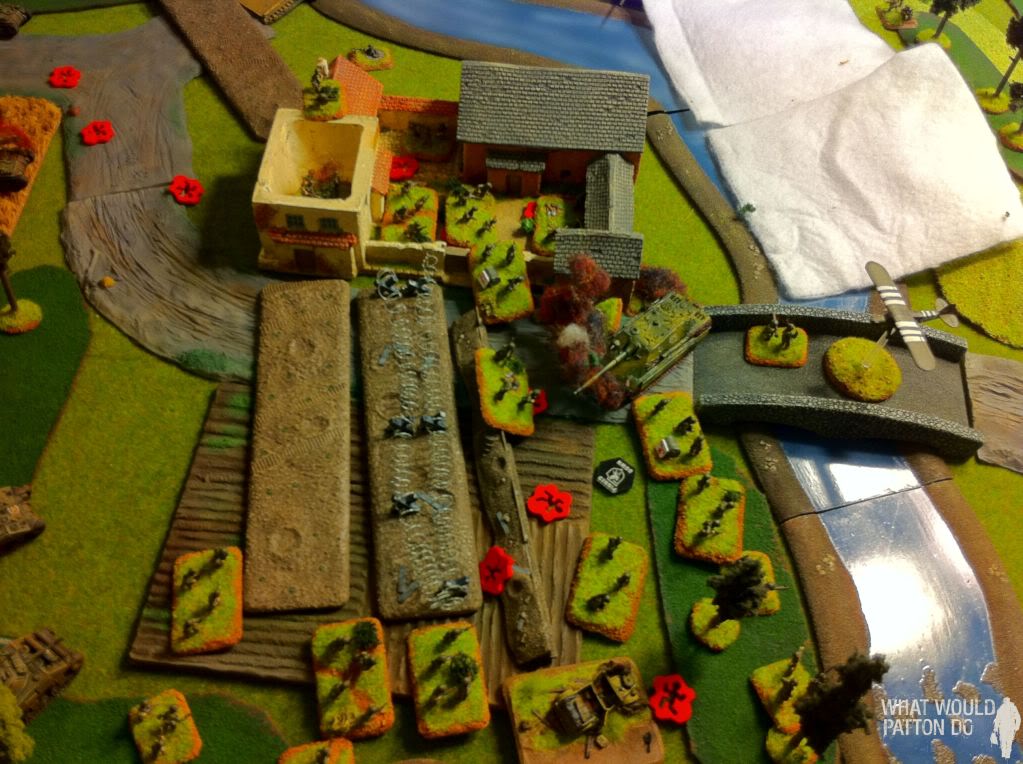
DEPLOYMENT AND TURN ONE
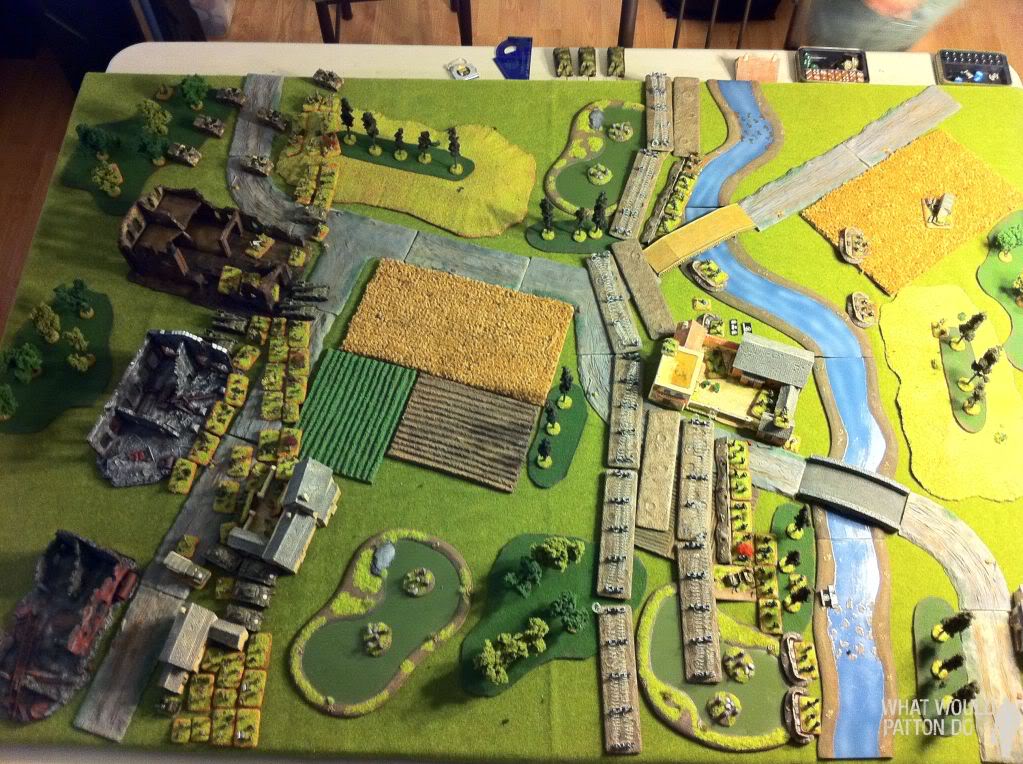
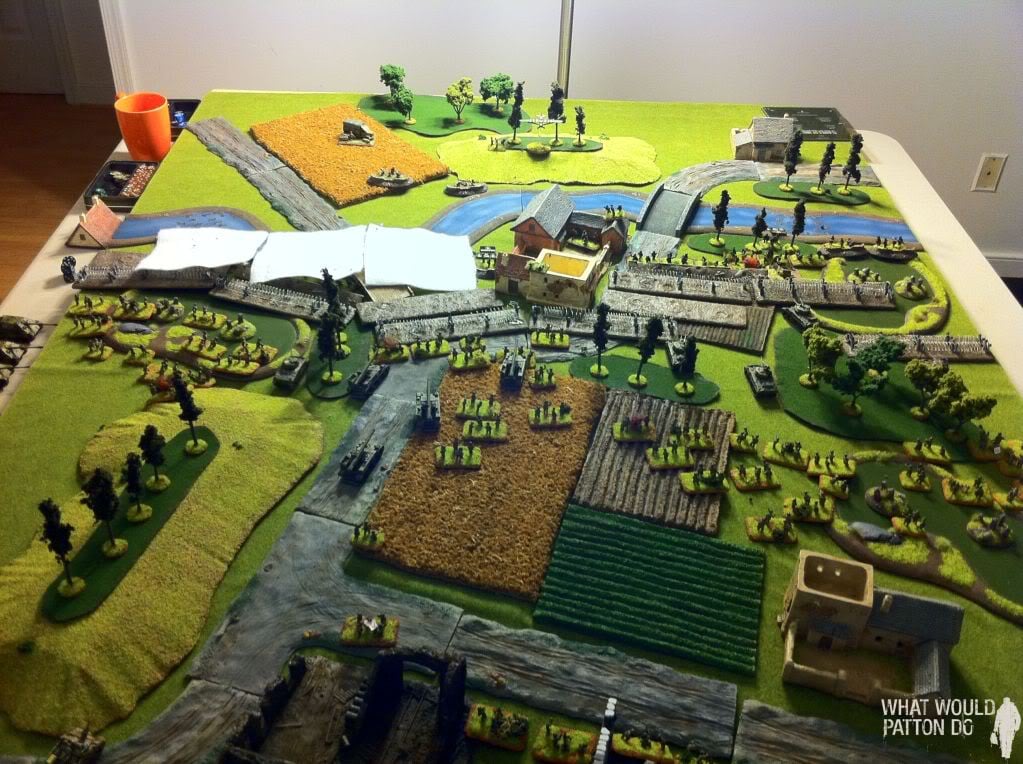
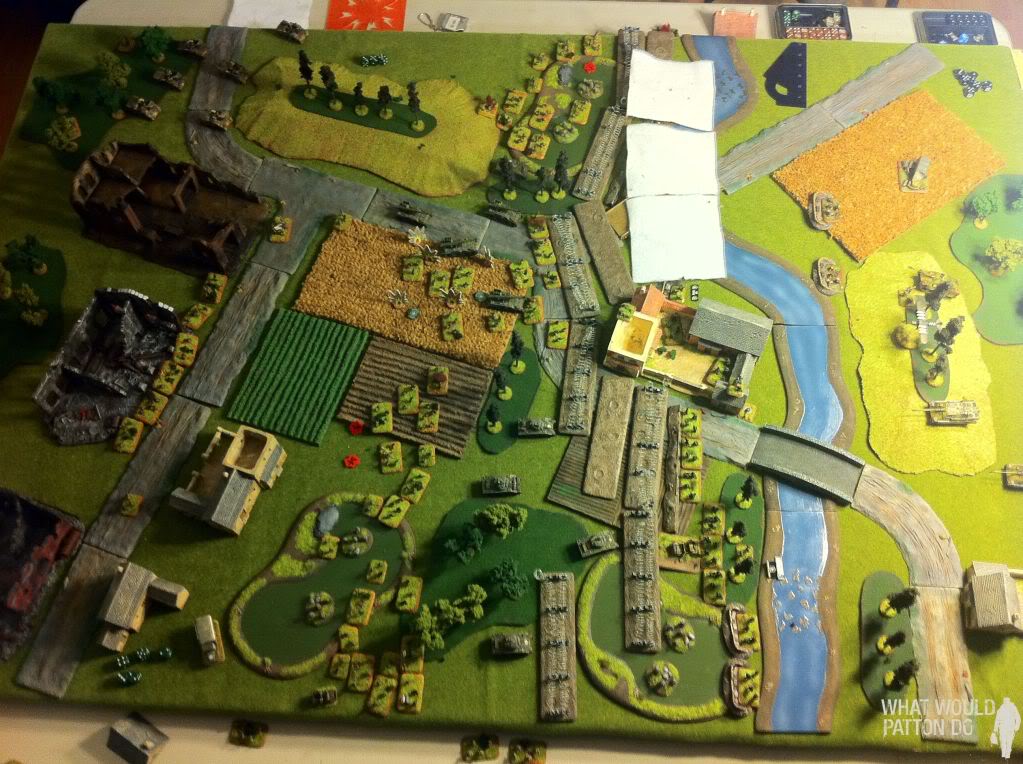
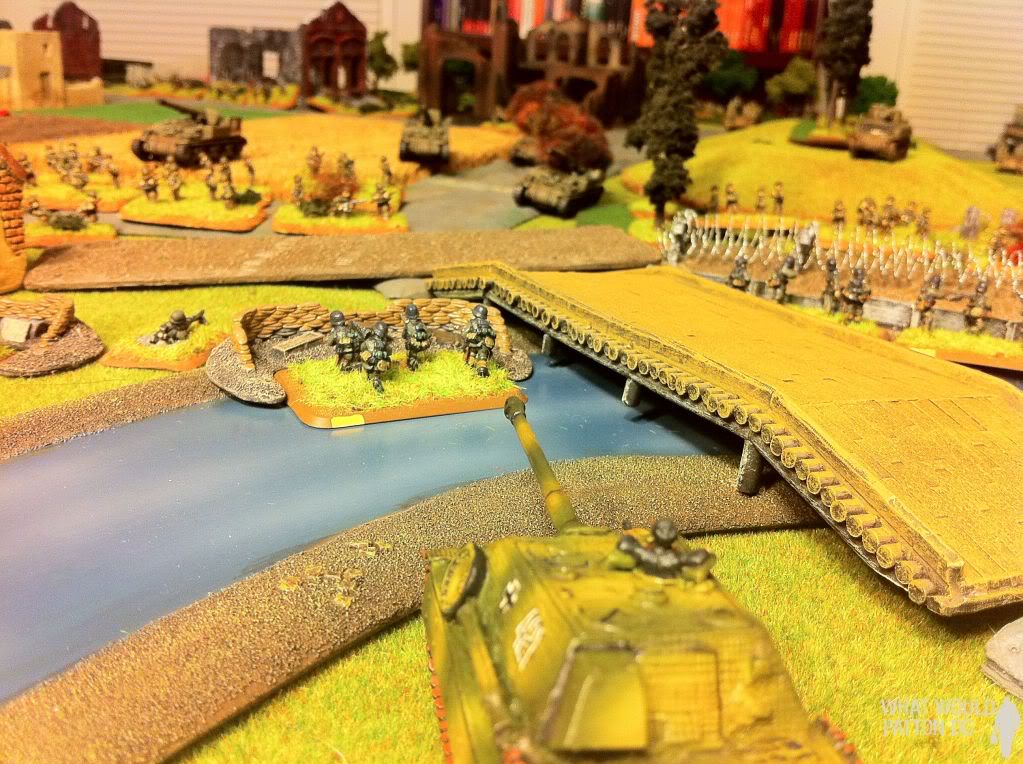
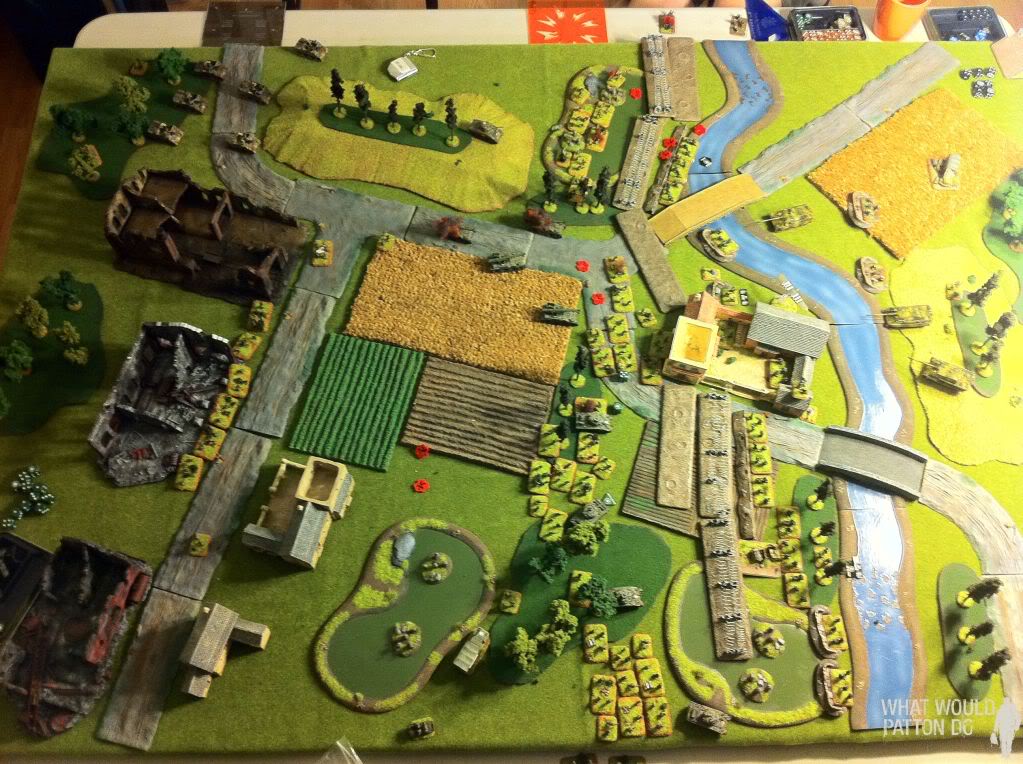
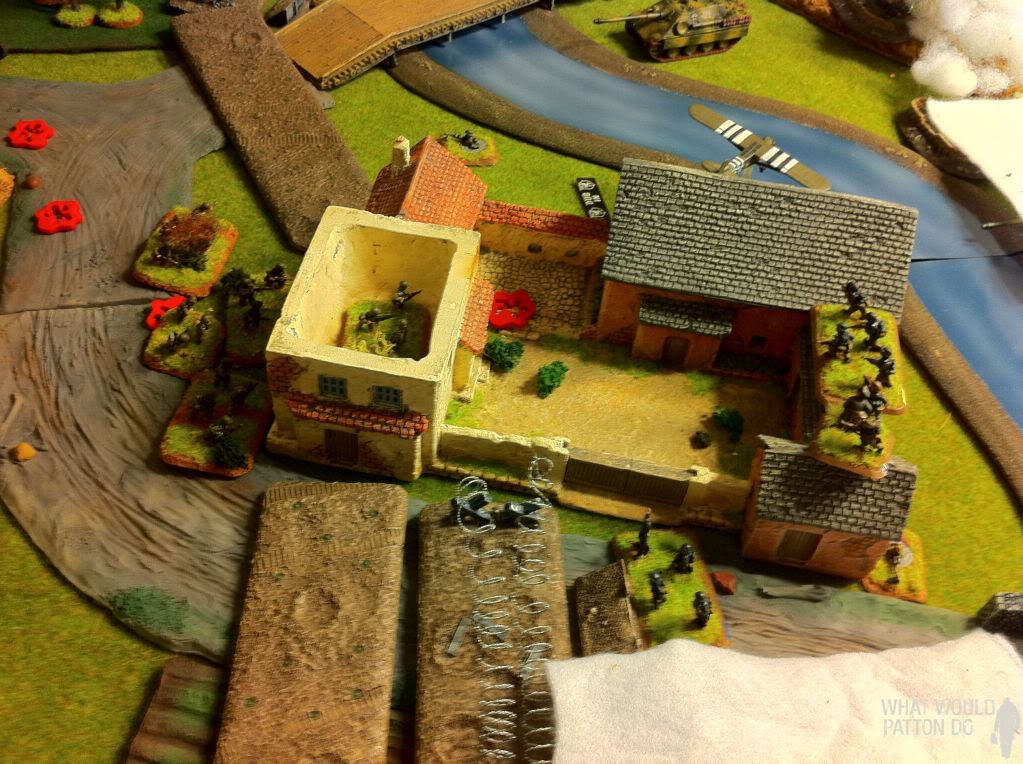
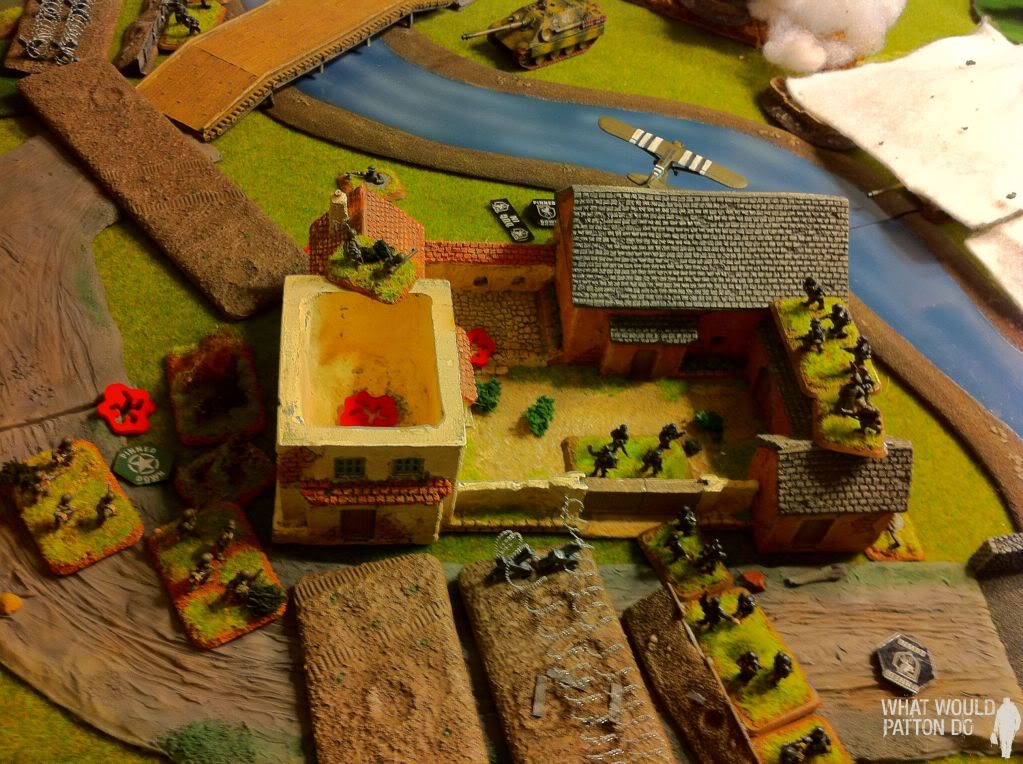
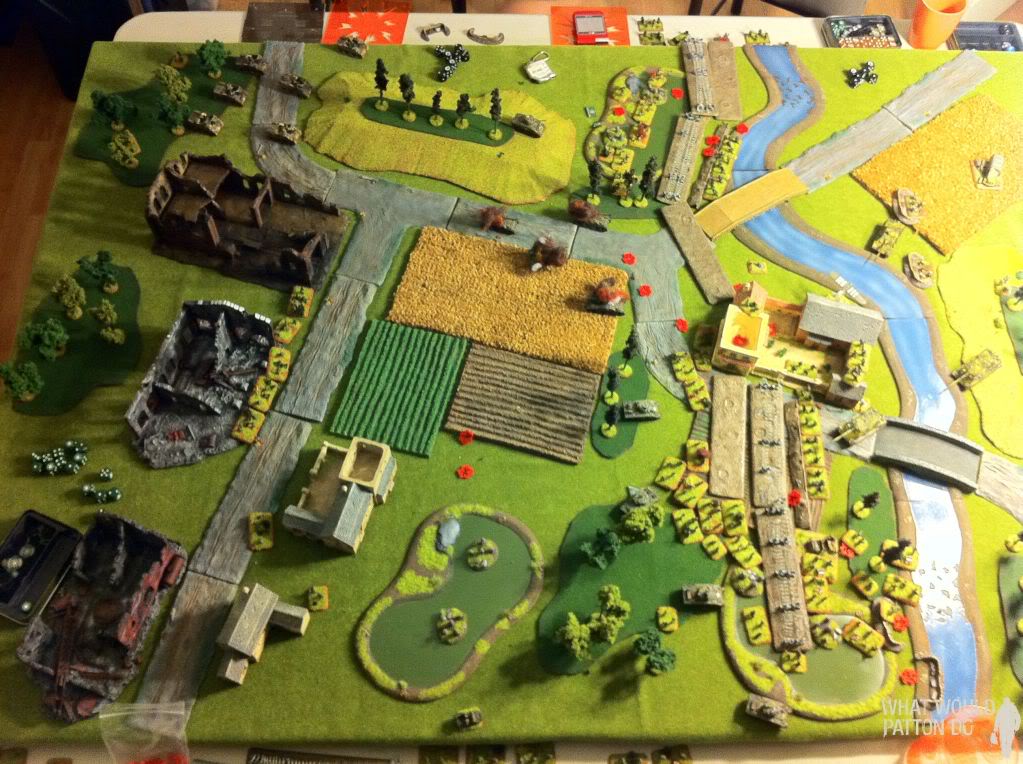
The Germans begin the game with one Grenadier platoon and the Pioneers. Since Brian has to deploy his fortifications, he decide an ambush would be a moot point. His command sets up in the farm house in the center of the board. An HMG tobruk pit is just on the north side of the building, with the 2nd on the southeast side between the building and the bridge. Pioneers are deployed in the south, with grenadiers in the north. The river is swollen and flooded forming low lying marshes.
The Americans deploy everything far forward. From the north to the south: 6 gun Priest Battery, 1st Rifle Platoon, 2iC + Observer Sherman, 155mm SP battery, 2nd Rifle Platoon, 81mm Mortars, 3rd Rifle Platoon, Shermans, Engineers + Company Command.
The Objectives are in the bottom center just behind the wire and north of the marsh. The second objective is in the north-east wheat field.
>>>READ ON TO SEE WHAT HAPPENS!
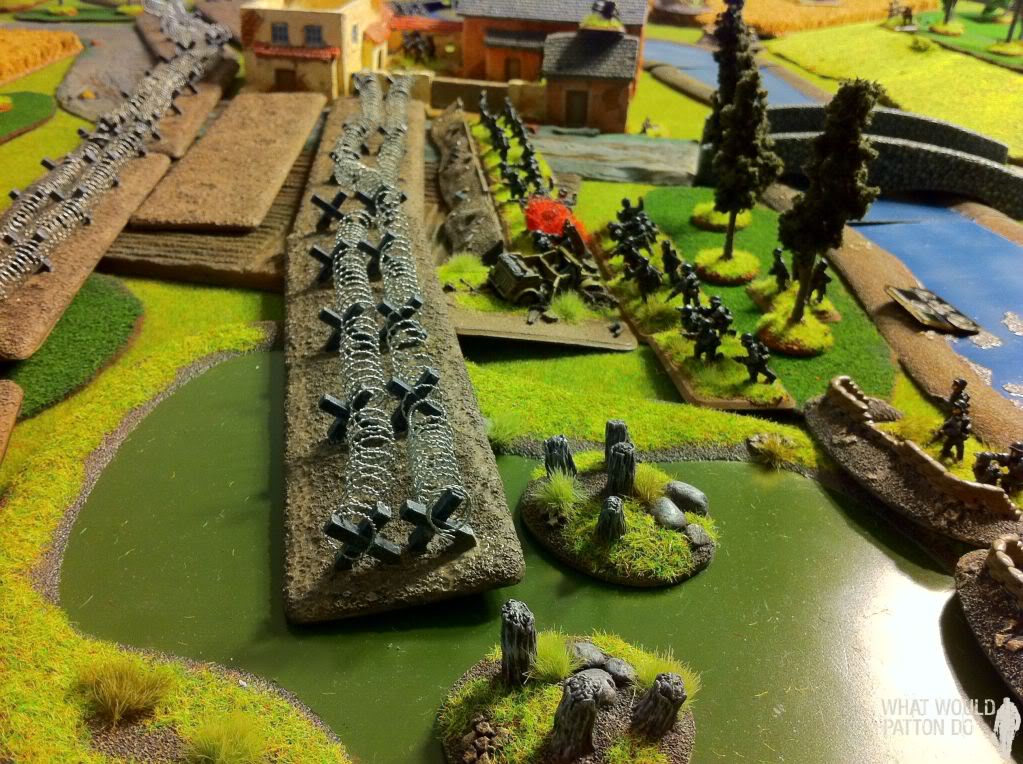
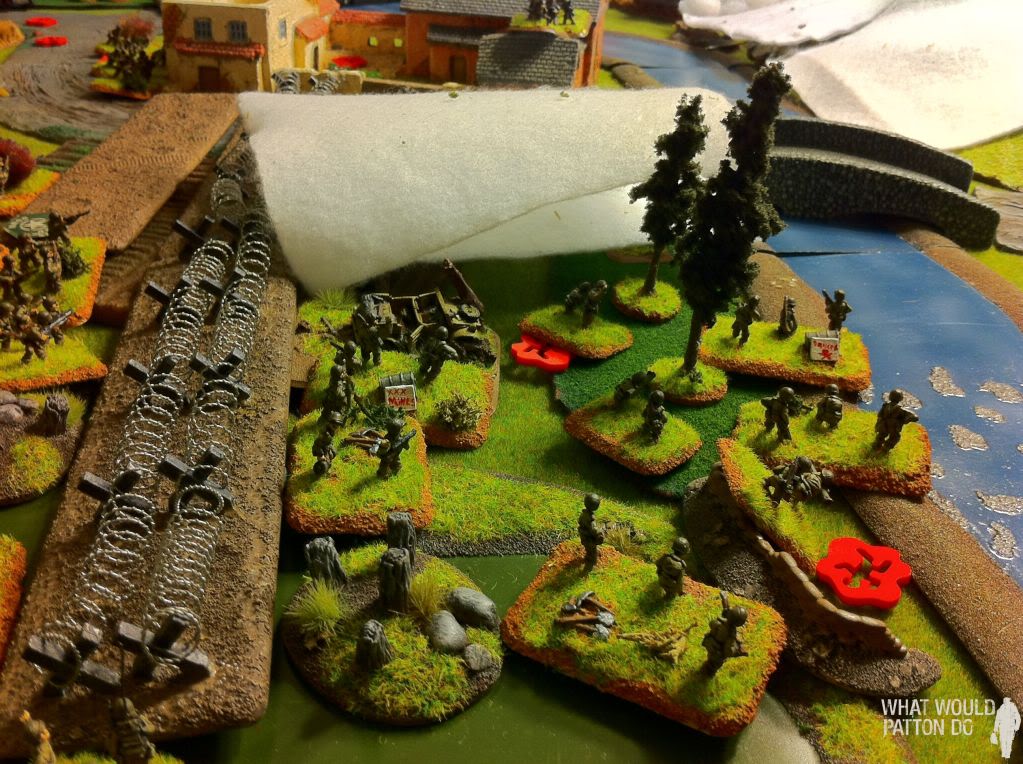
Pioneers wait behind deep fortifications.

Grenadiers with an attached fallschirmjaeger panzerschreck (cool, eh?)

A tobruk pit is sited down the road.
The priests move into position, ready to open up or fire directly if needed!
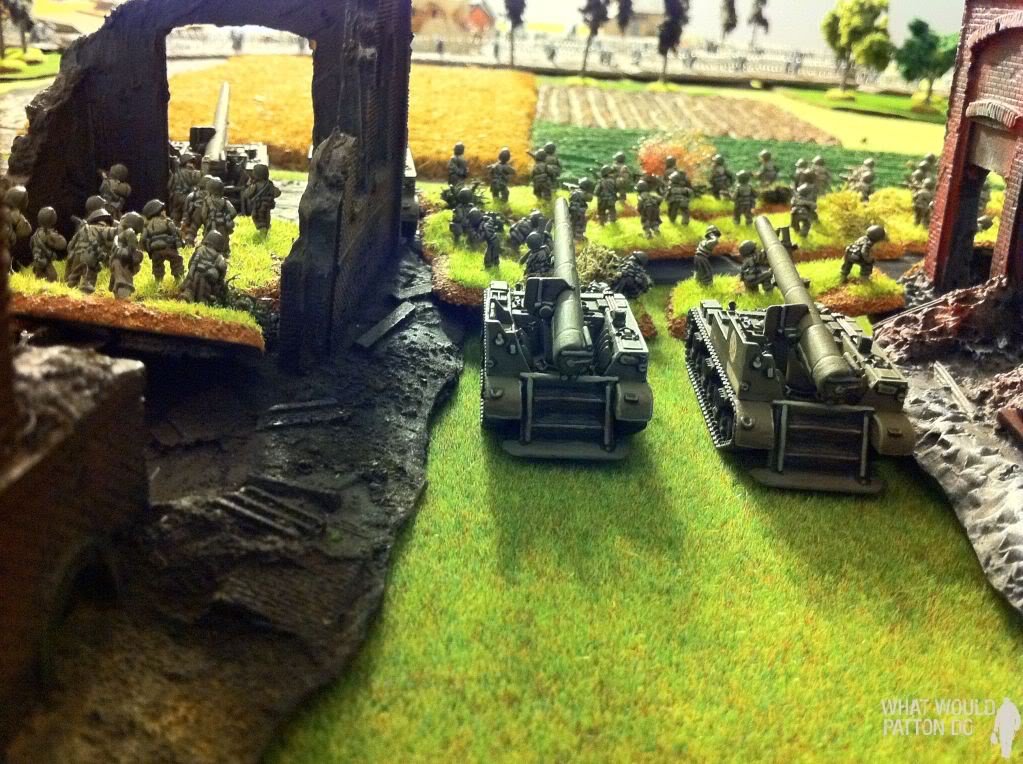
Bohemoth 155s are provided to punish jerry bunkers.
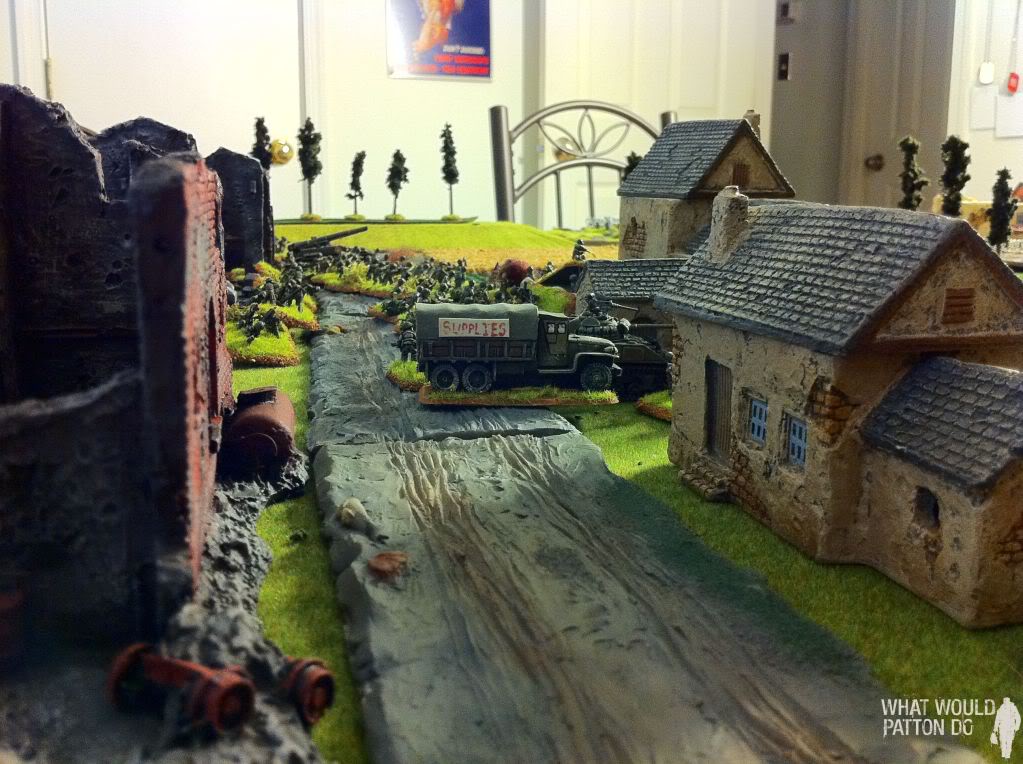
A Supply Truck prepares to assist the 81mm mortars in digging their guns in.
Engineers are ready to gap the line for the Shermans.
81mm mortars prepare to lay smoke where needed.
![]()
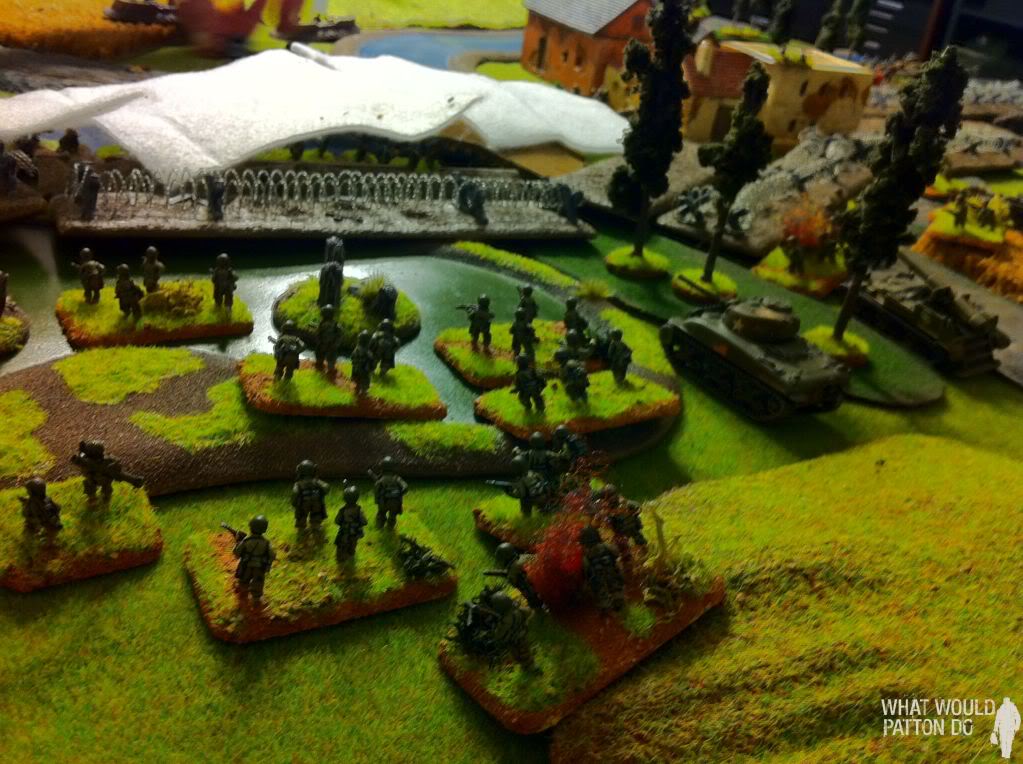
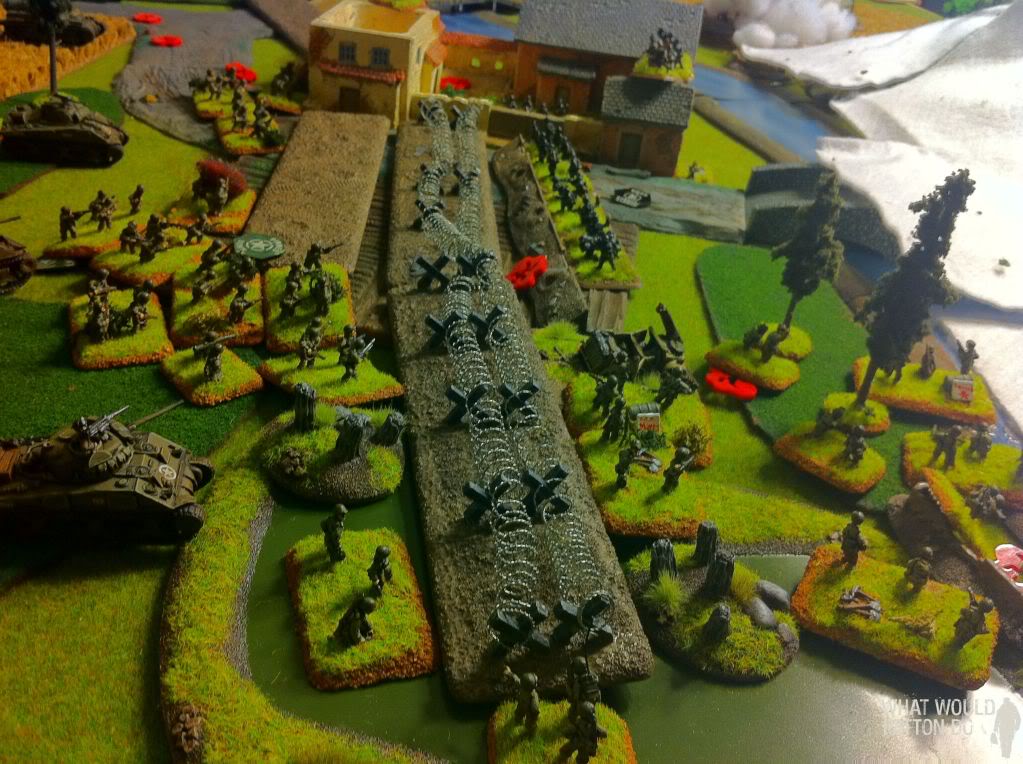
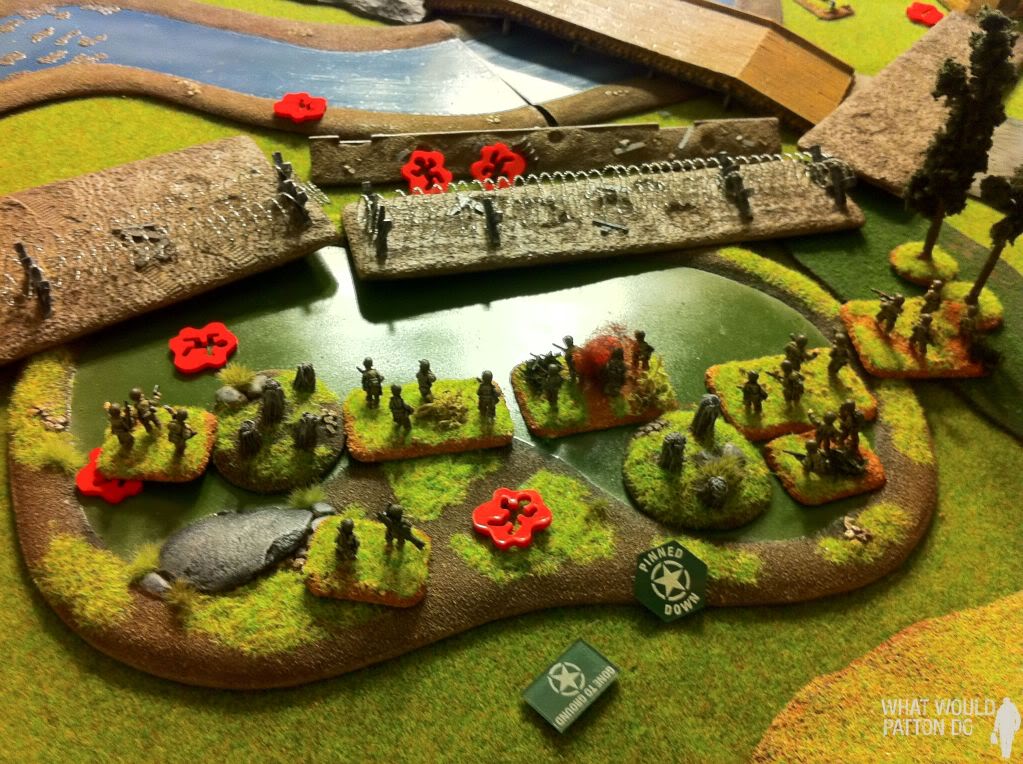
And they’re off! On the American left flank, the 155s roll forward while 1st and 2nd rifle platoon double time in the face of the enemy HMG bunker! The terrain is far less forgiving on the American right. The Shermans race forward to the edge of a wood, but the pioneers and rifles must slog through the fields and swamps. The mortars attempt to dig in, but fail.
![]()
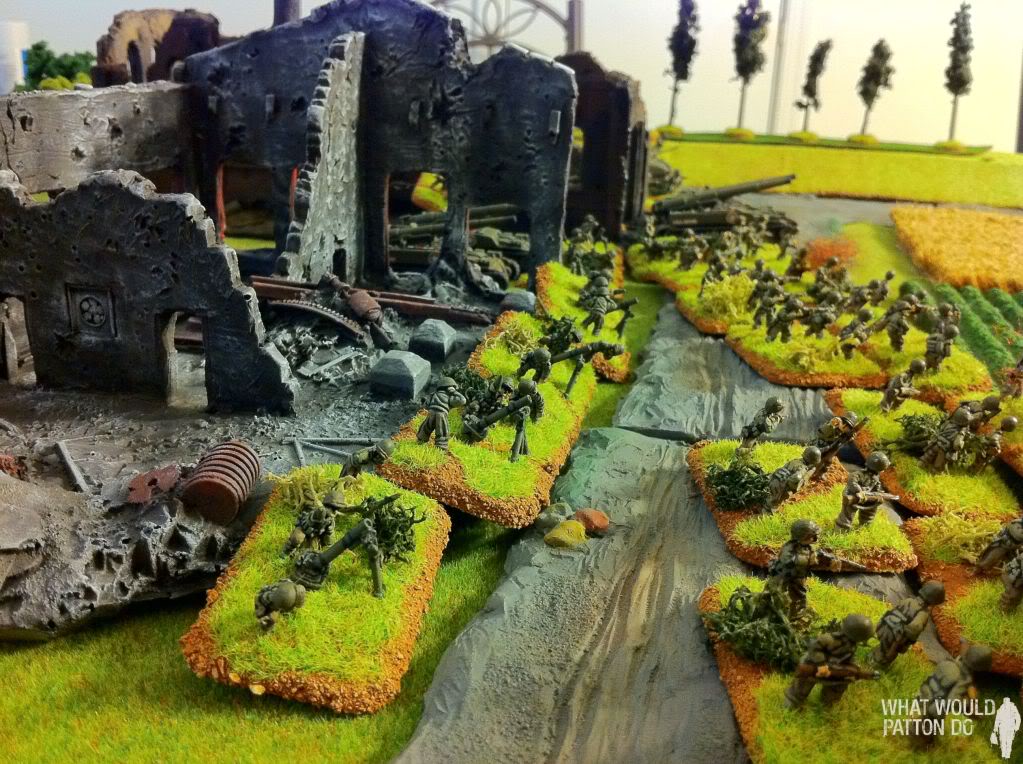
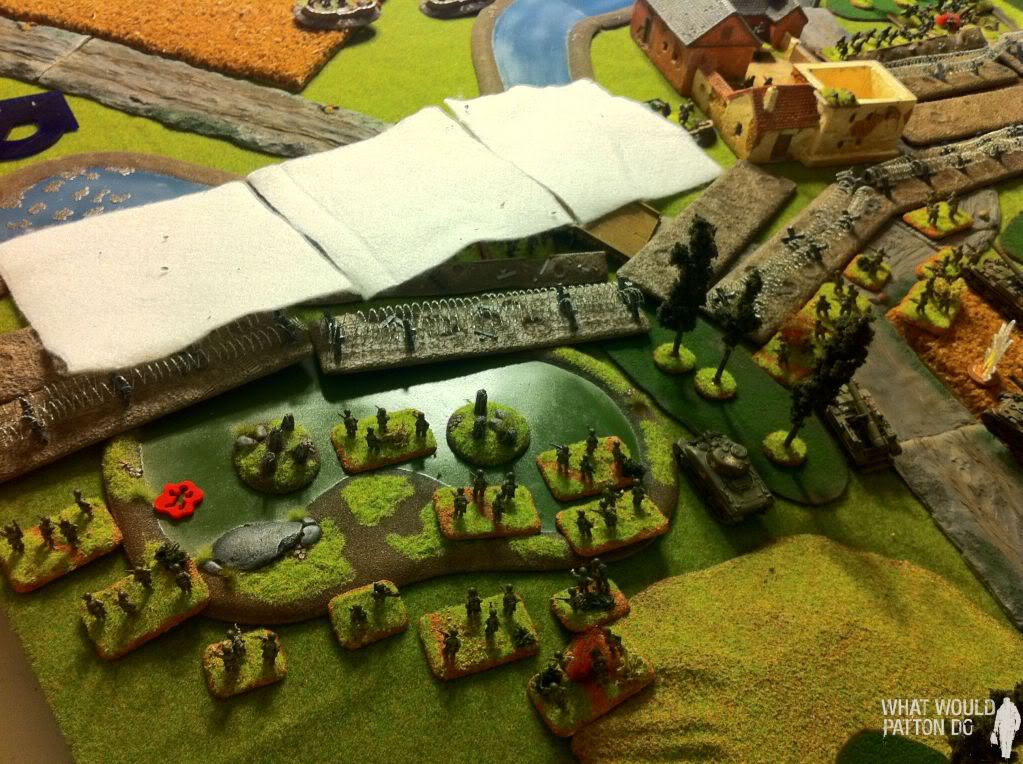
Engineers wade through the flooded marsh.
![]()
1st Platoon lights up the flame thrower- “Get ready! Jerry ahead!”
![]()
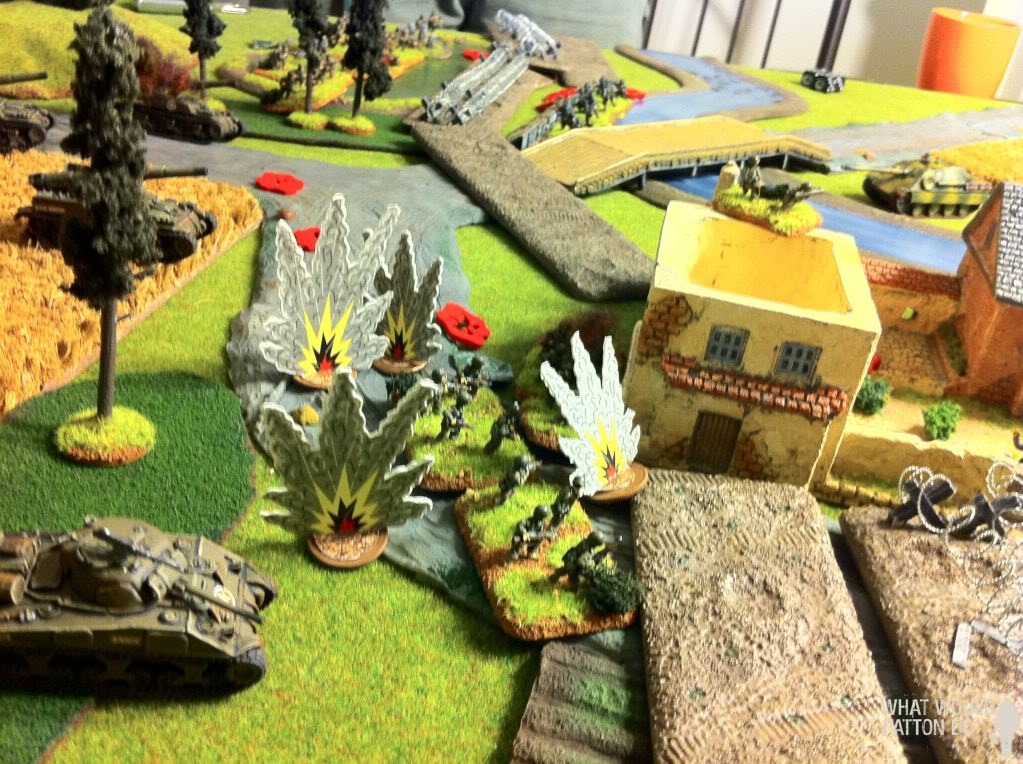
The AOP calls in a mighty smoke barrage from the Priests to shield the GI advance.
![]()
The 155s move up and prepare to fire!
The Germans get no reserves, and hold their fire.
|
|
|
| AMERICANS none |
GERMANS none |
TURN TWO
![]()
![]()
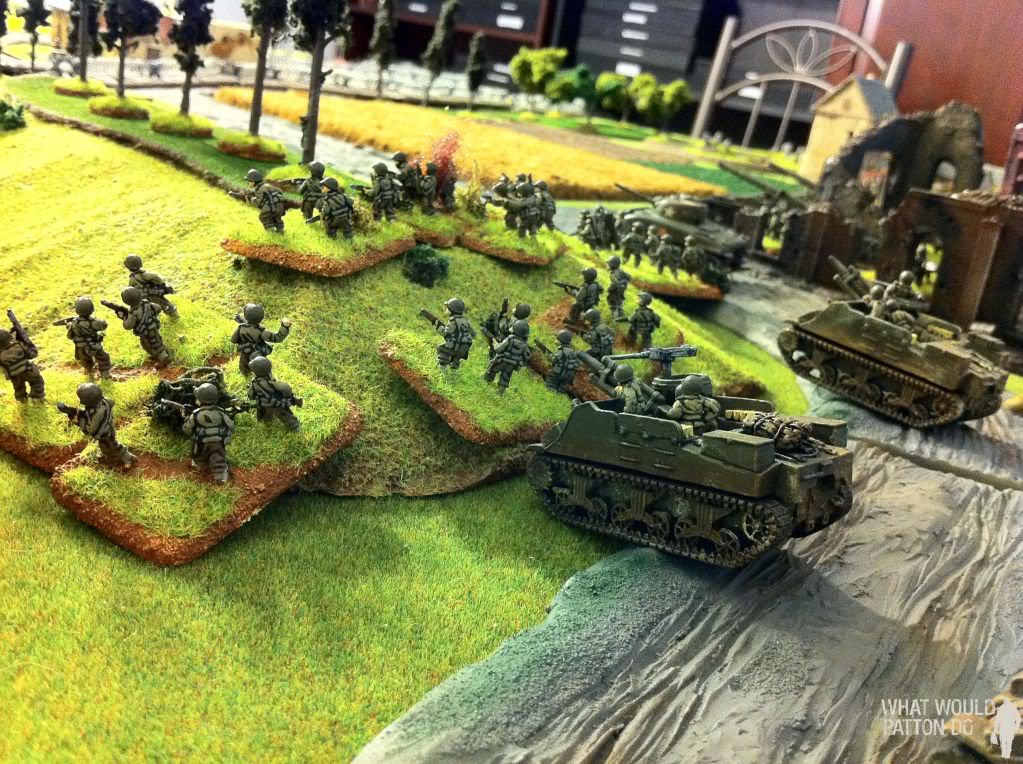
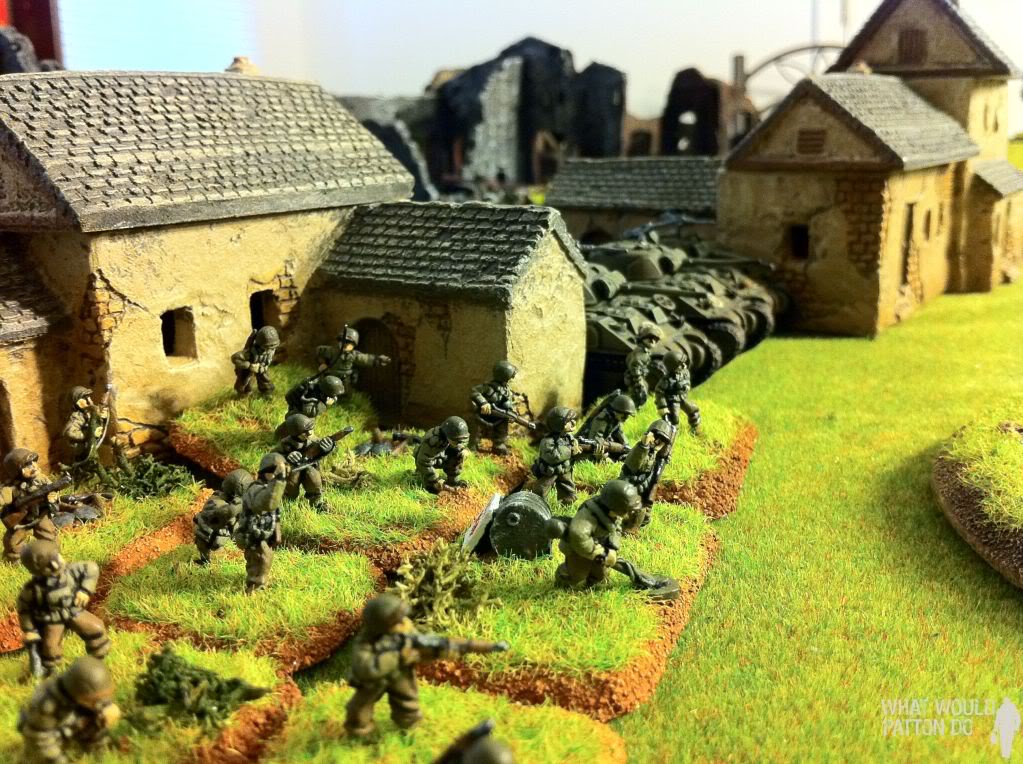
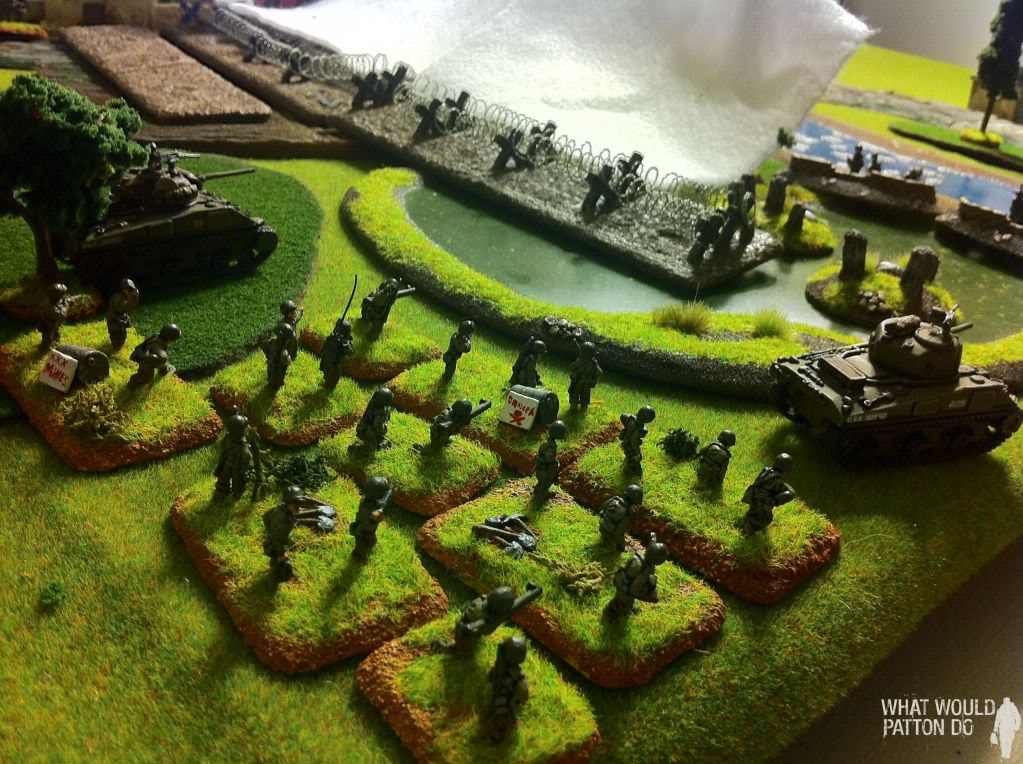
Shermans surge forward to cover the infantry’s advance.
![]()
The 155s set up to fire on the bunker- but the over eager GIs get in their way! D’oh! Stupid mistake!
![]()
1st Platoon nears the wire.
![]()
The US right flank.
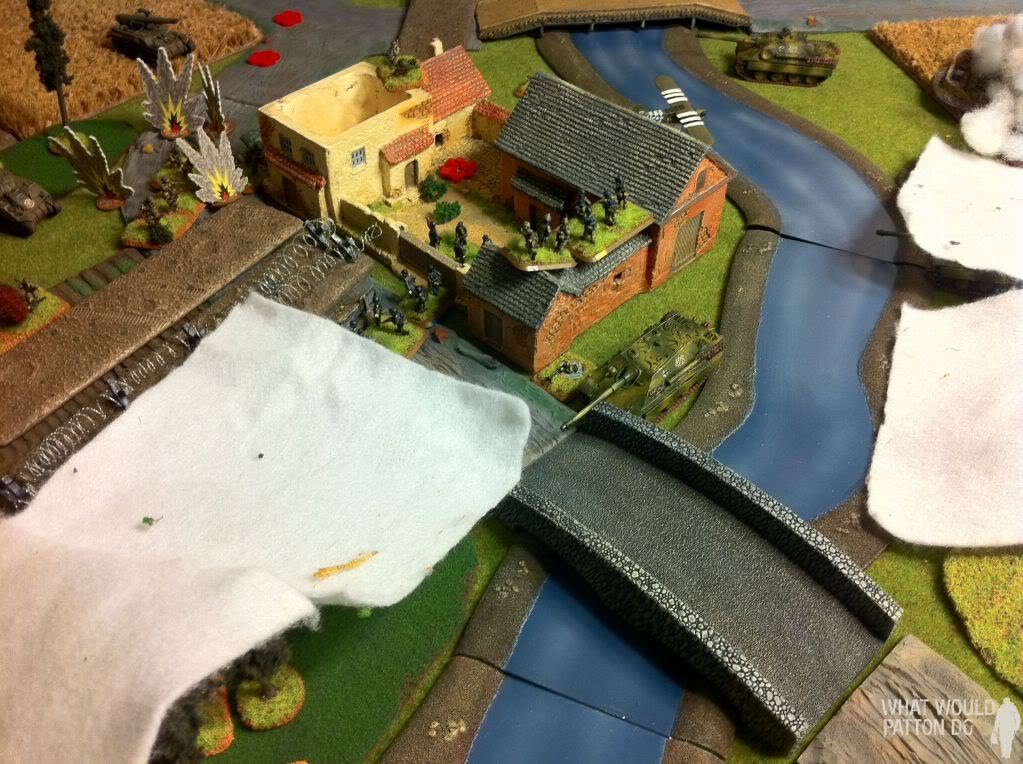
Priests again smoke the German left flank covering 1st platoon and the 155s.
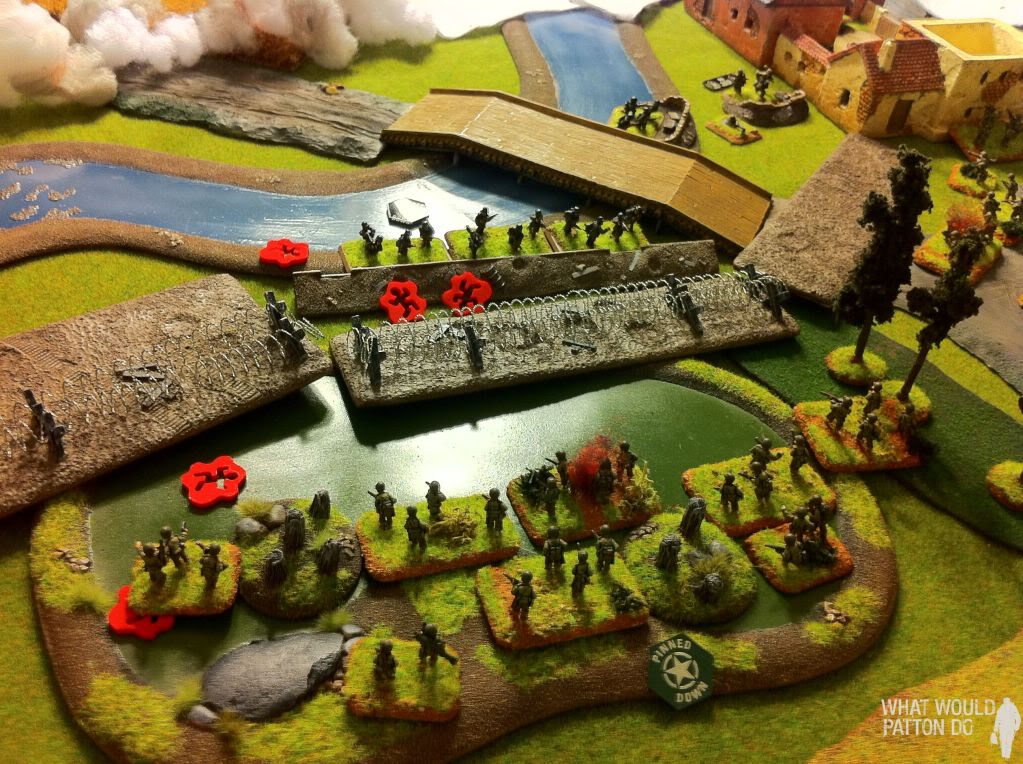
The US advance.
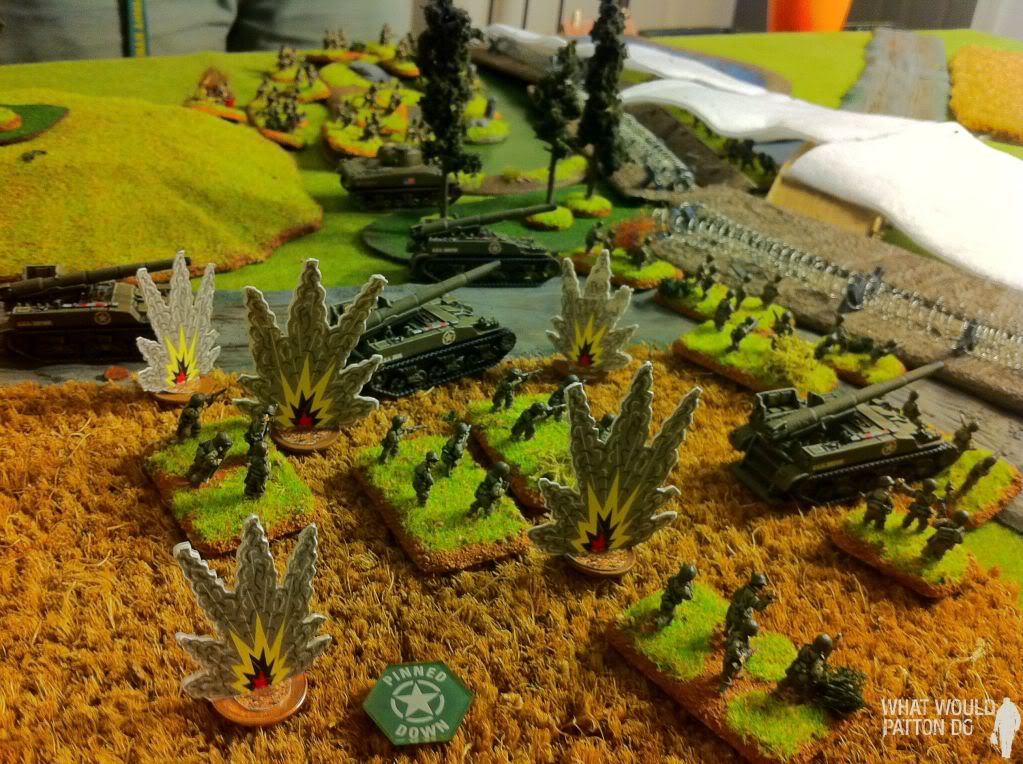
German 8cm Mortars rain down on 2nd platoon, pinning them down!
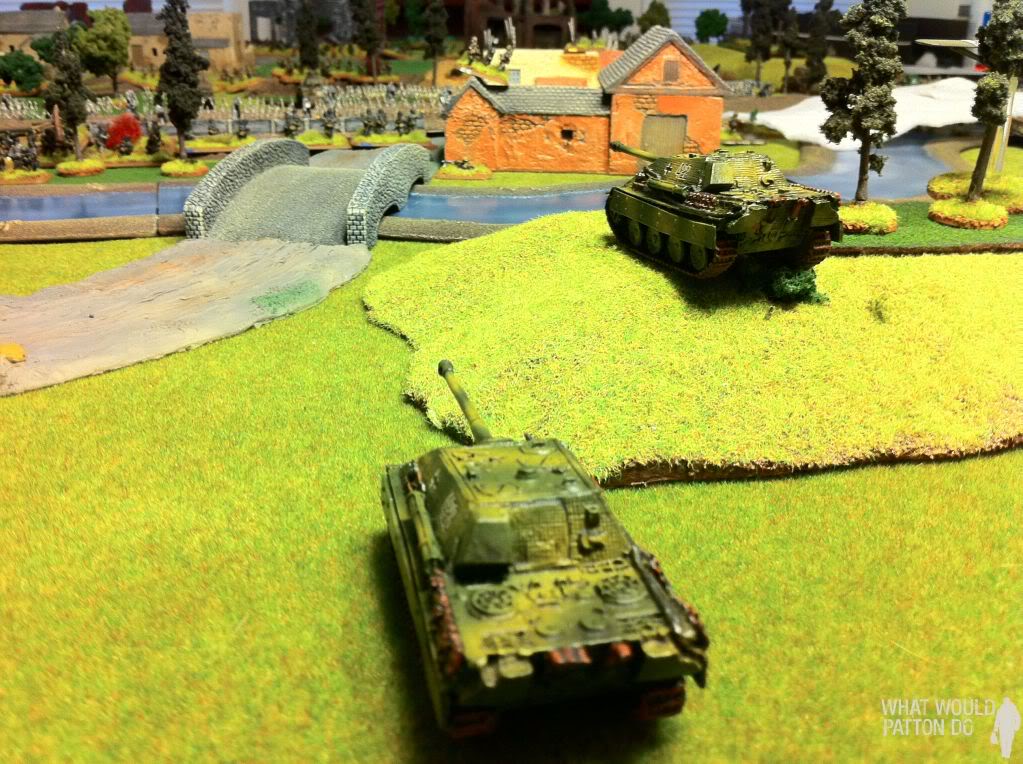
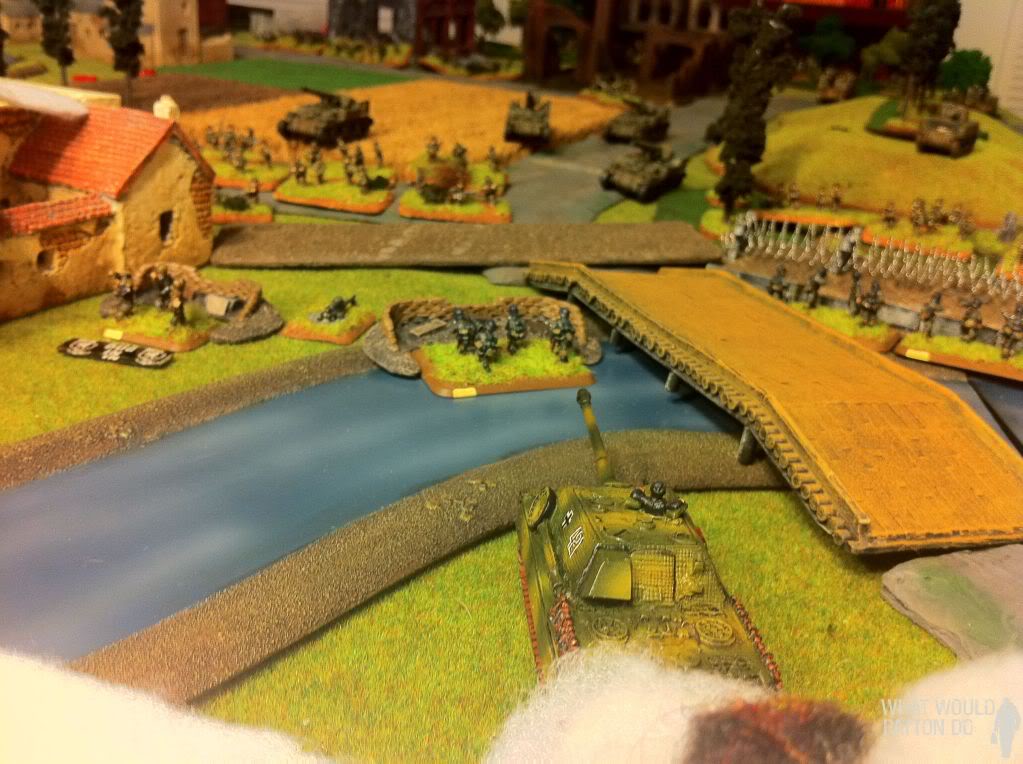
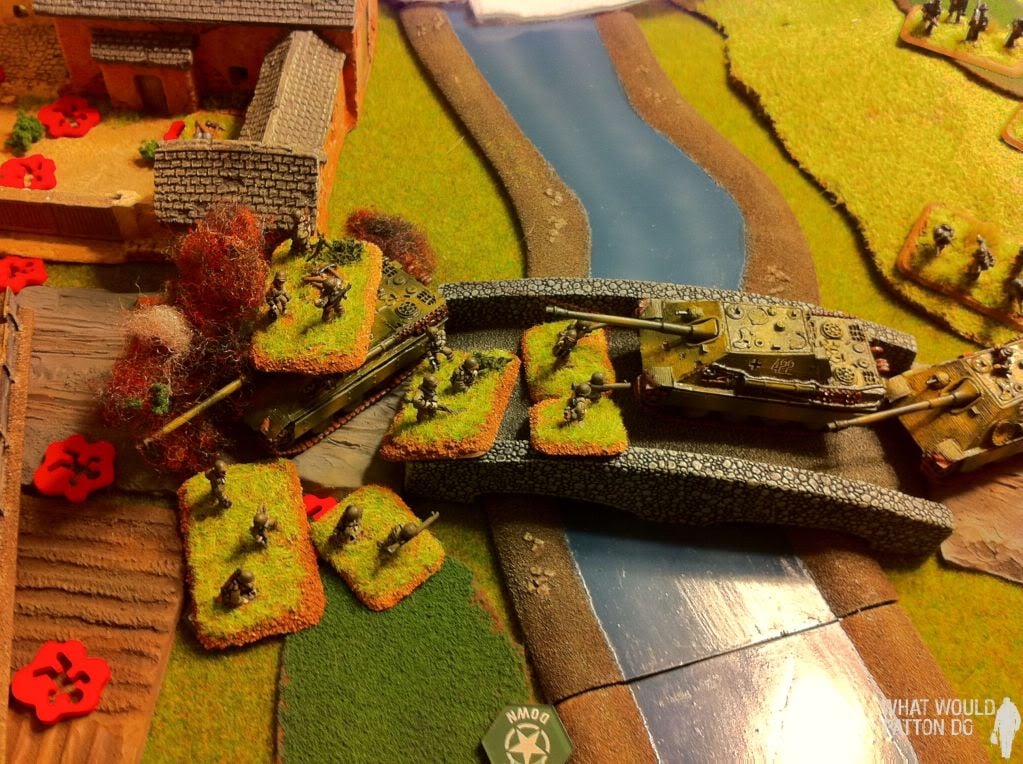
Jagdpanthers arrive from reserve.
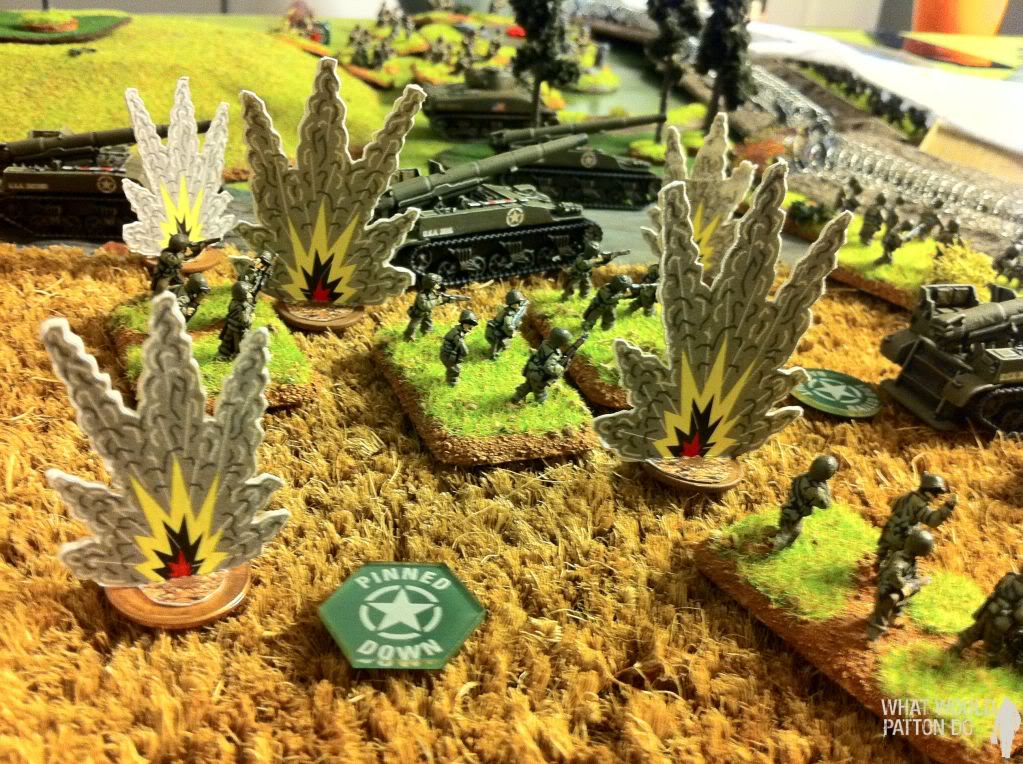
A 155 is bailed by a jagdpanther!
1 stand is knocked out by small arms in 1st platoon.
The German flamethrower team fires at the sherman, but misses wildly!
|
|
|
| AMERICANS 1st Platoon: 1 SMG stand. |
GERMANS none |
TURN THREE
The Americans continue a general advance. The 155s fire on the 1 HMG nest directly in front of it, but fail miserably!
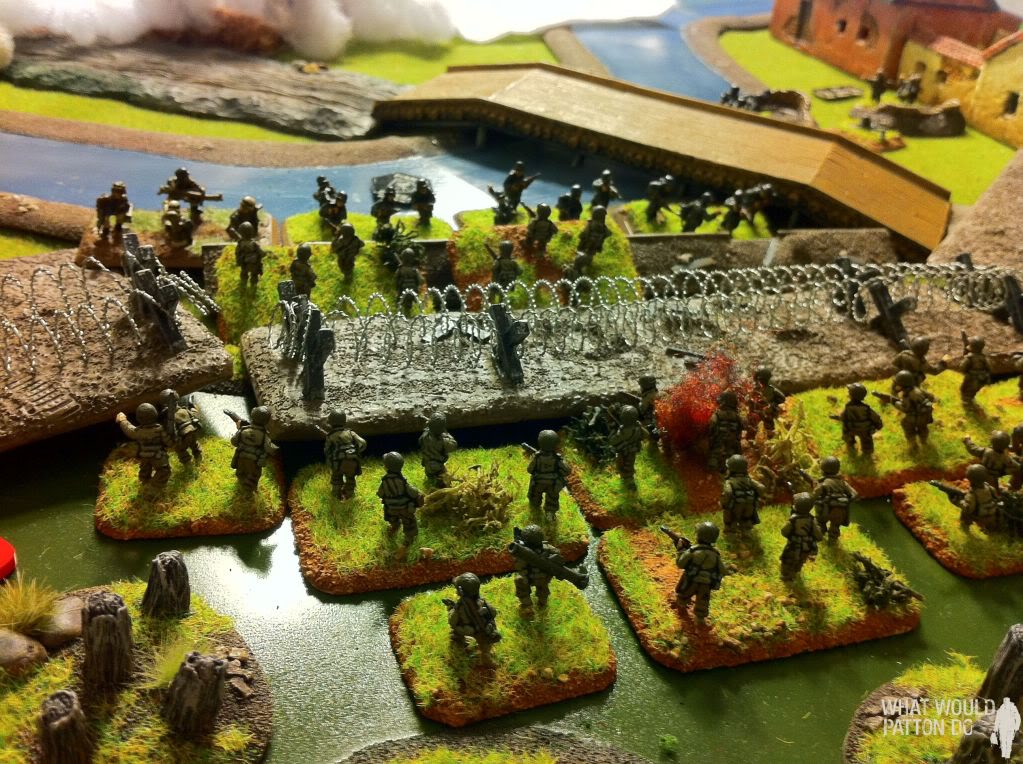
1st platoon reaches the wire and boldly assaults across it! Many of the men get tangled in the wire, but several surge forward.
The assault goes south for the yanks, who pull back.
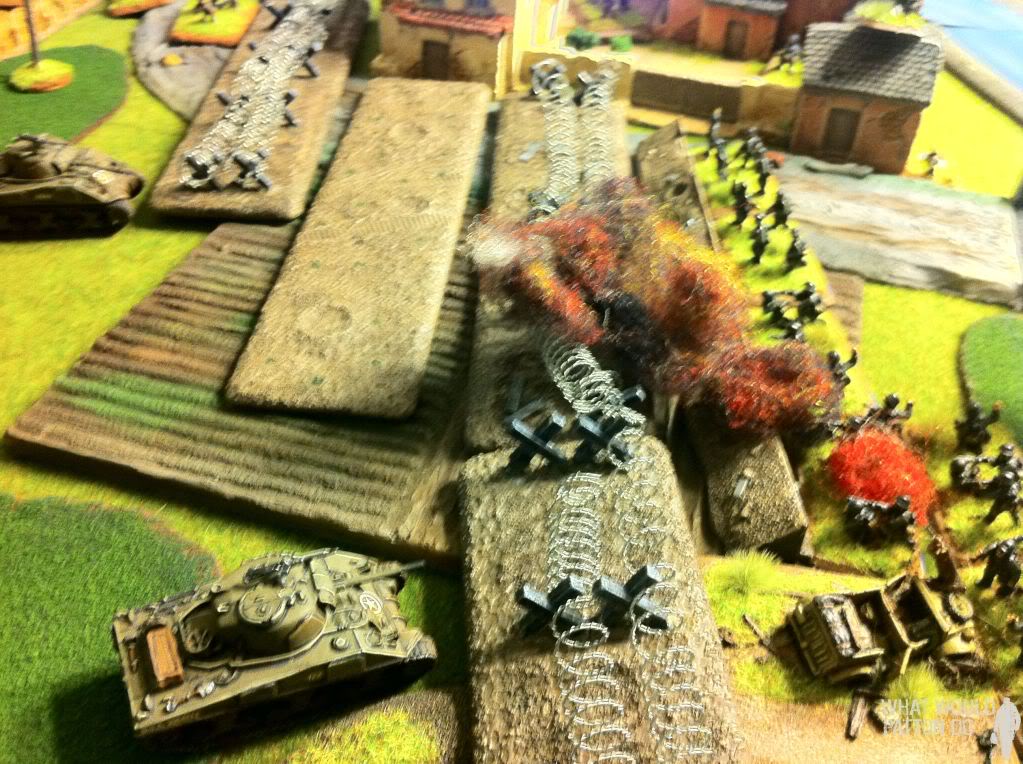
On the right flank, the engineers race forward under the cover of a smoke barrage.
A stationary jagdpanther sites in on the 155s…
With great success. The HMG nest having been left unharmed by the 155s opens up on 2nd platoon knocking out 2 stands.
|
|
|
| AMERICANS 1st Platoon: 3 SMG stands. 2nd Platoon: 2 SMG stands. 3rd Platoon: 2 SMG stands. 155mm SP: 2 155s |
GERMANS 1st Grenadier: Attached Panzerschreck |
TURN FOUR
Again, mortars and priests fire smoke screens across the front. The Engineers assault the pioneers on the American right flank, gapping the fortifications.
Meanwhile 2nd Platoon launches a bloody assault to gain the farmhouse.
Both sides suffer, but the Germans mostly hold the compound.
The US consolidate their victories. Engineers move adjacent to wire to clear the way for 3rd platoon. The remaining German pioneers move down the trench, just within range to contest the objective.
Mortars slam into second platoon, hammering them! The survivors hang in there.
A Jagdpanther stretches the limits of command to reinforce the German’s faltering left.
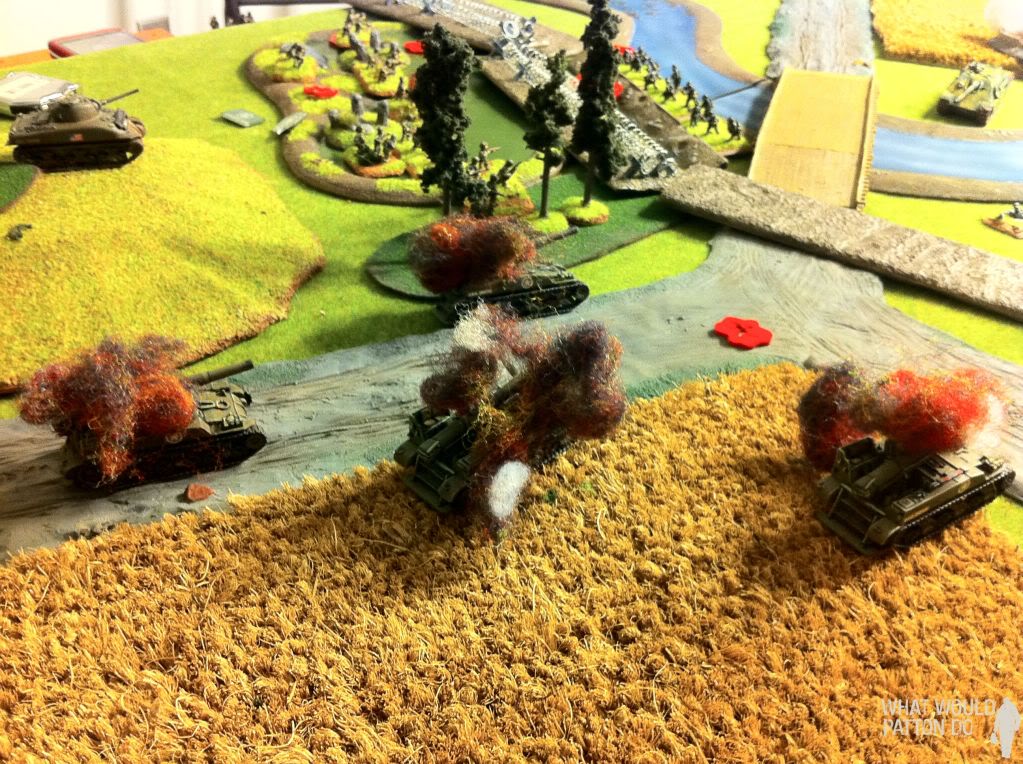
The 155s are completely annhilated by the jagdpanthers. The command and staff team fail their morale in the face of the burning vehicles.
|
|
|
| AMERICANS 155mm SP: PLATOON DESTROYED 1st Platoon: 4 SMG stands. 2nd Platoon: 6 SMG stands. 3rd Platoon: 2 SMG stands. |
GERMANS 1st Grenadier: Attached Panzerschreck, 3 Rifle/MG stands Pioneers: 4 stands |
TURN FIVE
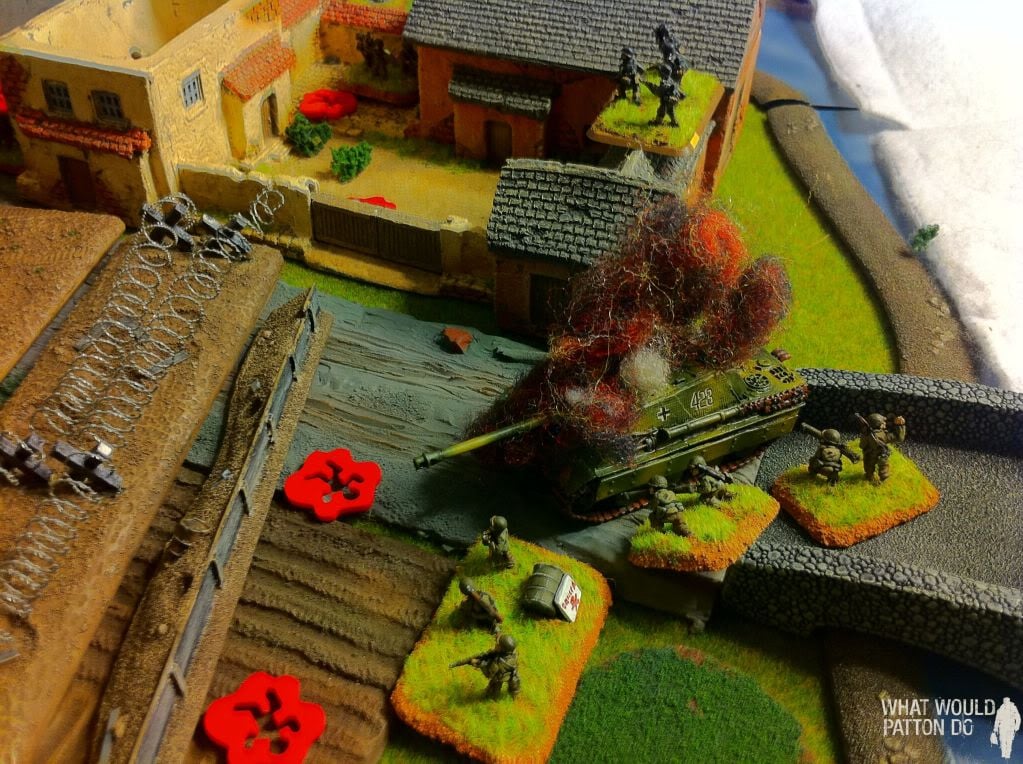
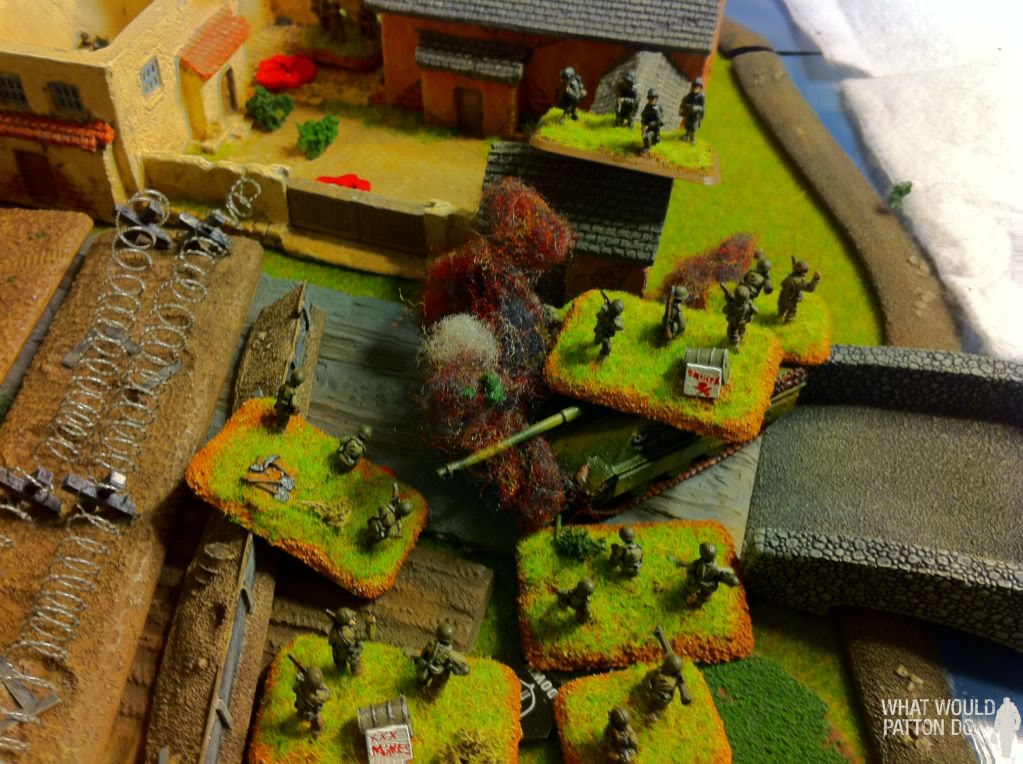
Engineers hook behind the jagdpanther, and in one glorious assault the German pioneers and the big cat are knocked out!
The GIs breakthrough assault the remaining grenadier platoon and the HMG nest!
2nd Platoon reinforces. The farmhouse and objective are now solidly in the US’ hands.
The German grenadier platoon breaks as well! 1st platoon remains pinned down.

A rocket barrage slams into the GI positions (I have no idea why I forgot to get a picture of his armored rockets- sorry Brian!)
2nd Platoon is hammered by the rocket barrage and quits the field.

Under cover of the rocket barrage, the 2 remaining Jagdpanthers move up to assault in a desperate attempt to regain control of the objective. The engineers resolve to hold the bridge.
“You’re gonna get me killed, Sarge!”
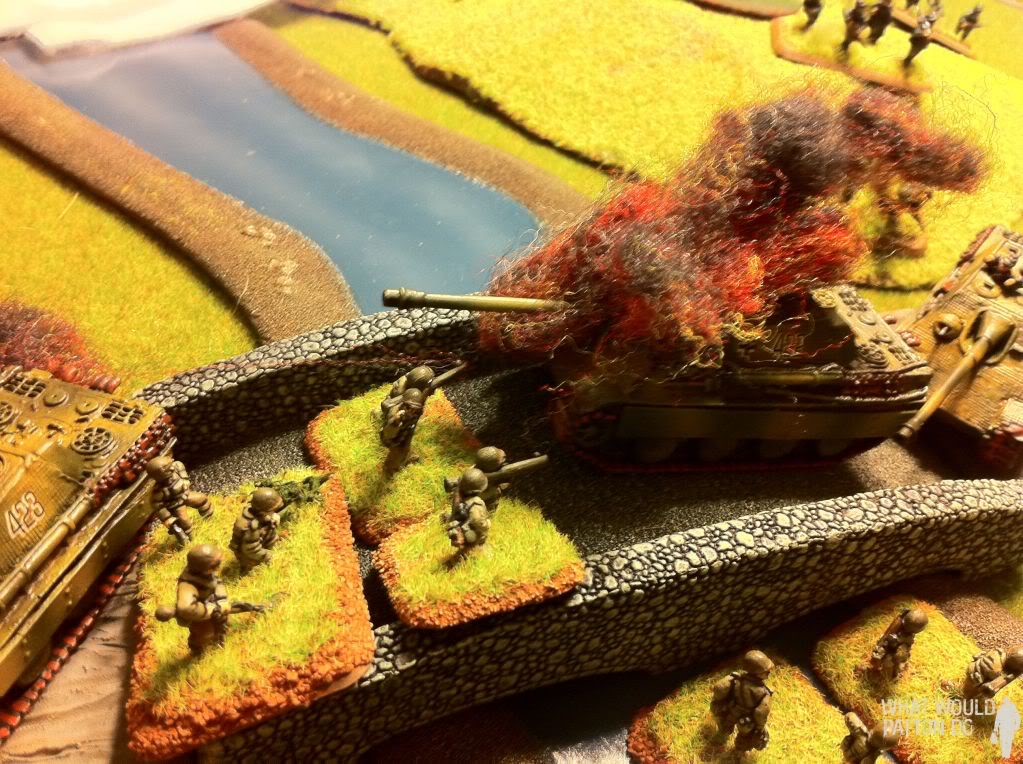
The jagdpanther is taken down by bazooka fire. At that point, the US firmly hold the objective, and the German reserves are just too far away to help.
|
|
|
| AMERICANS 155mm SP: PLATOON DESTROYED 2nd Platoon: PLATOON DESTROYED 1st Platoon: 4 SMG stands. 3rd Platoon: 2 SMG stands. Engineers: 2 Pioneer Stands. |
GERMANS 1st Grenadier: PLATOON DESTROYED Pioneers: PLATOON DESTROYED Jagdpanthers: 2 Jagdpanthers destroyed Fortifications: 1 HMG nest |
With 2 platoons destroyed each, the final tally is 4-3 in favor of the Indianhead Division.