Speed Painting: 35pts of Albino Gators

With careful planning and judicious model selection it’s possible to paint a 35 point list in a long afternoon. Lets go!
I’d like to share my recent experience painting some Blindwater gators to a high level in very little time.
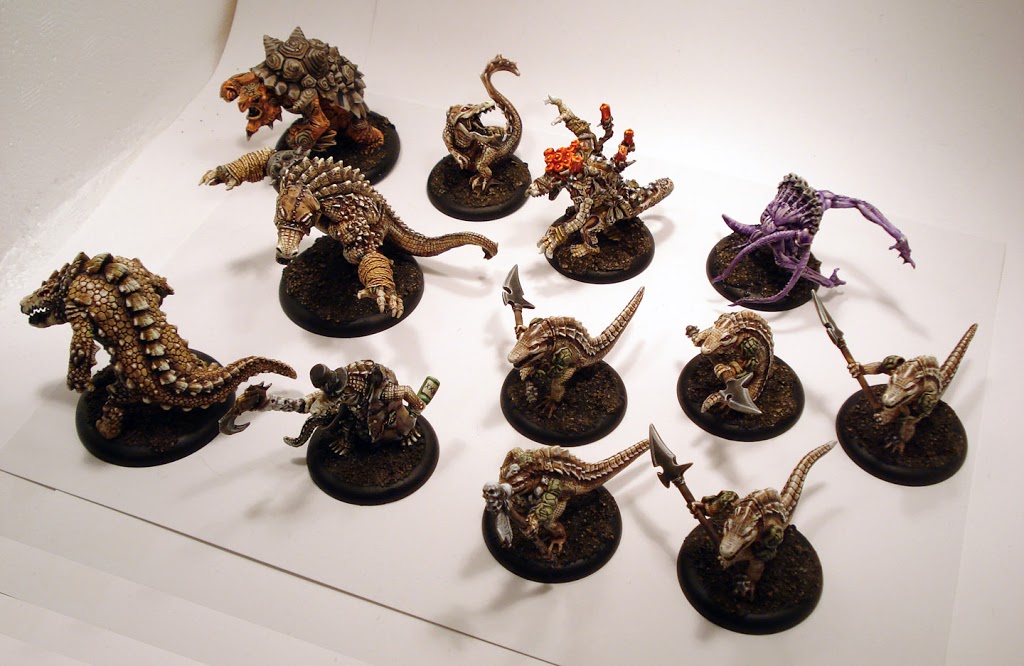
The most obvious way to lighten your load is to build a low model-count army. Mine has only 12 models in it:
-Maelok
-Ironback Spitter
-Bull Snapper
-Wrastler
-Wrong Eye & Snapjaw
-5 Gatormen
-Thrullg
There are lots of fun armies with fewer models. Karchev, Darius, Doomshaper, among others can run lists with around 8 models in them. But the gators are so drybrushable. The other thing working for me, these are not complicated models. They are just naked alligators with pole weapons. A model that has leather straps, chainmail, runes, shoes, etc. is slow to paint. Maelok, the model used in this tutorial is an exception. I didn’t spend much time on his details though. If I end up playing him a lot he may return to the painting table to clean up a bit. No sense in investing a ton of time on them now.
Something to keep in mind, these guys are meant to be played and enjoyed at arms length, not to be entered in painting competitions and scrutinized at 6 inches. Bearing that in mind, it’s important to choose a contrasting palate so these models “pop” off the table. I went with a bright albino flesh on a black muddy base. Here’s a quick albino gator technique.
 1. White primer, when you’re speed painting primer selection is important. I need these models to be bright, using a black primer would mean multiple basecoats.
2. Menoth white base, dip a larger brush in some water, then in the paint pot, and get good coverage on all the gatorskin.
3. Gryphonne sepia, just a light wash on the skin. This step may seem unnecessary but it adds some warmth and complexity to the end result.
4. Devlan mud, aim for the crevices but dont be afraid of getting messy. Try to leave only the most raised muscles alone. I also washed all of Maelok’s details in this step, it helps them blend in and will hide my laziness. His focal point will be the candles.
5. Menoth white highlight, simply drybrush the whole model. Make sure there isn’t too much paint on your brush and everything should go swimmingly.
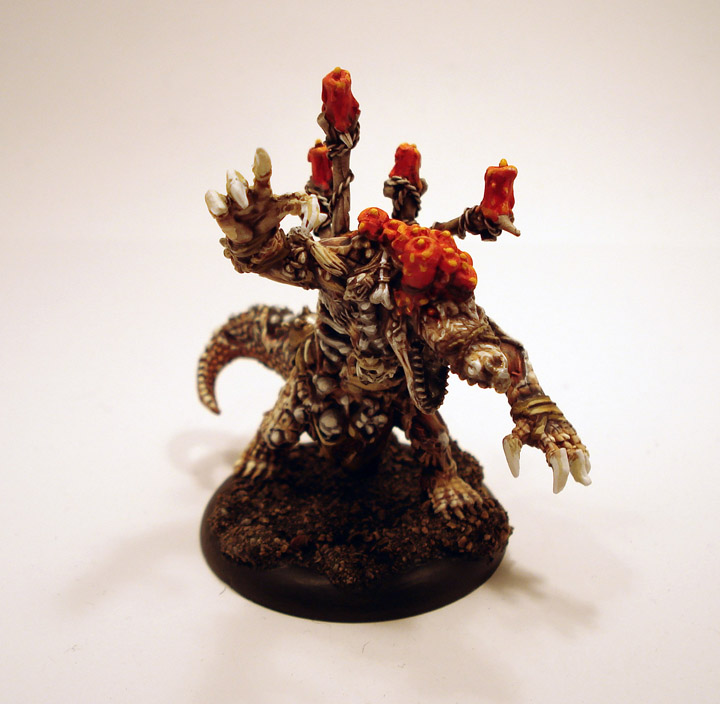
One of the tricks I like to use when painting minis: spend a lot of time on one surface. If you get one, highly-visible element painted well, that quality feel will trickle down to the rest of the model. Even if the rest is just… fine.
I wanted Maelok’s candles to be that focal point. The studio model has cream colored ones, that won’t work here. There would be very little contrast (you wouldn’t really know where the candles end and Maelok begins.) Plus, I want to be able to quickly find him in a group of gators on the table. Red seemed like the right choice, I slightly watered down some Blood Red and went to town. Golden Yellow was reserved for the wick and melting candle tops. Don’t paint a ring around the wick, just hit the highest spots. These glowing candles turned out to be a great focal point.
Basing, the last thing I ever think about. Also something that can become very tedious. With this army I decided to simplify the process. No grass flock, no drybrushing, just GW sand and a heavy coat of Badab Black. It helps the gators pop off the bases and gives them a nice presence on the table.
~Unlike many of my recent painting projects, I enjoyed myself the whole way through this one. It was a quick way to get into a new army. And a less painful way to sate my gamer ADD.


