40K Conversion Corner: Necron Canoptek Wraith

Well another holiday break has borne more conversionary? fruit, lol. Check out my newest Necron conversion, the Canoptek Wraith.
This little guy is quite an combination of bits, as I went a little over the top with it. But fear not- I’m positive there are great substitutes for all these bits out there on the cheap.
Below is how I made my Wraith conversion and the components used, with links back to the Spikey Bits Store (where applicable) so you can see the parts.
Bits Parts List
- Command Barge Armor Plating Set
- Ghost Ark Passenger Harnesses
Optional Bits
- Single Necropolis Knight Model
- Random Dark Eldar Blade Bits
- Command Barge Pilot Foot Plate
- Command Barge Tail Crescent Sensor
- Lychguard Jump Pack Back Torso
How I made it
 As you can see from the bits above, this conversion can get a bit pricey. BUT if you happen to have made any of the other ones I’ve posted and have left over bits, you may just have a lot of these components lying around.
I’ve heard of a lot people not putting the Necron Passengers in the Ghost Ark, so right there are left over arms right off the bat.
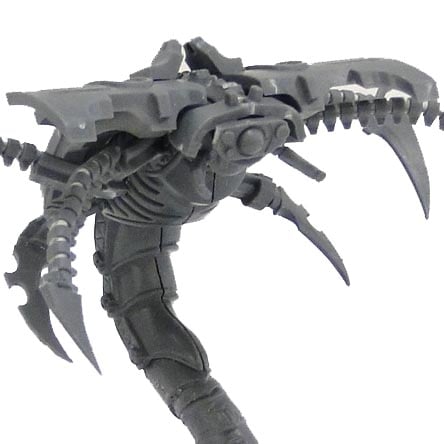
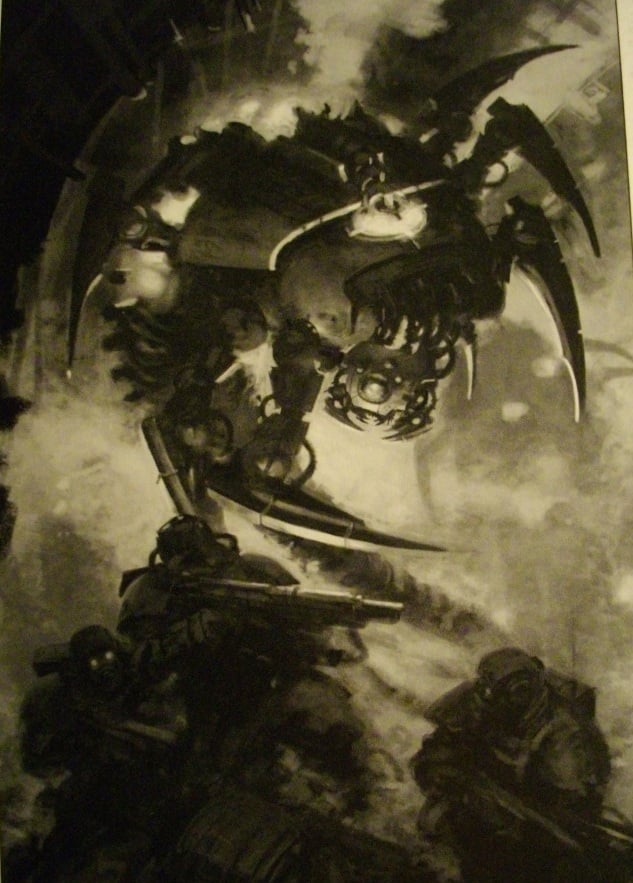
So…I tried to base the model off the original artwork from the codex (which is very inspiring to say the least). I knew I wanted the model to be super dynamic looking, to suprise unsuspecting passersby, noms!
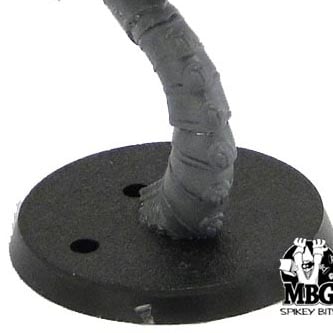
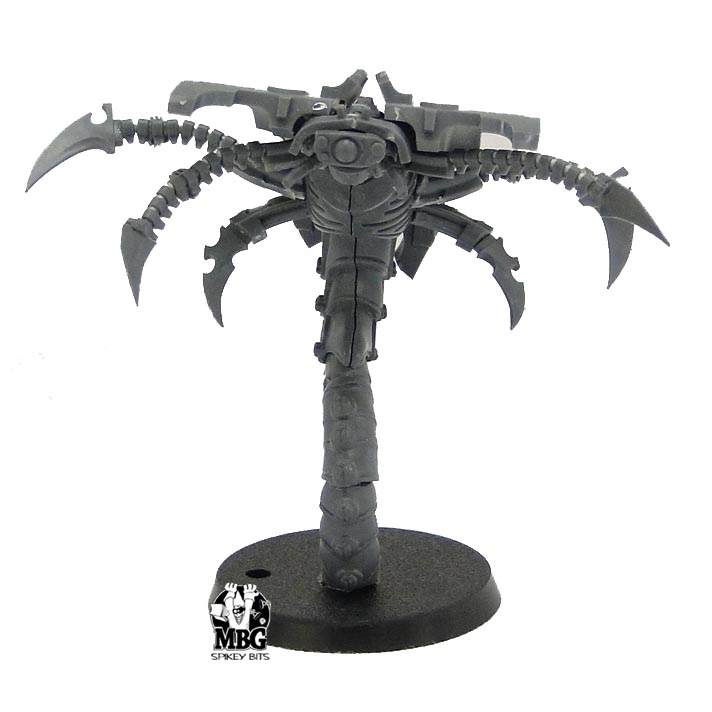
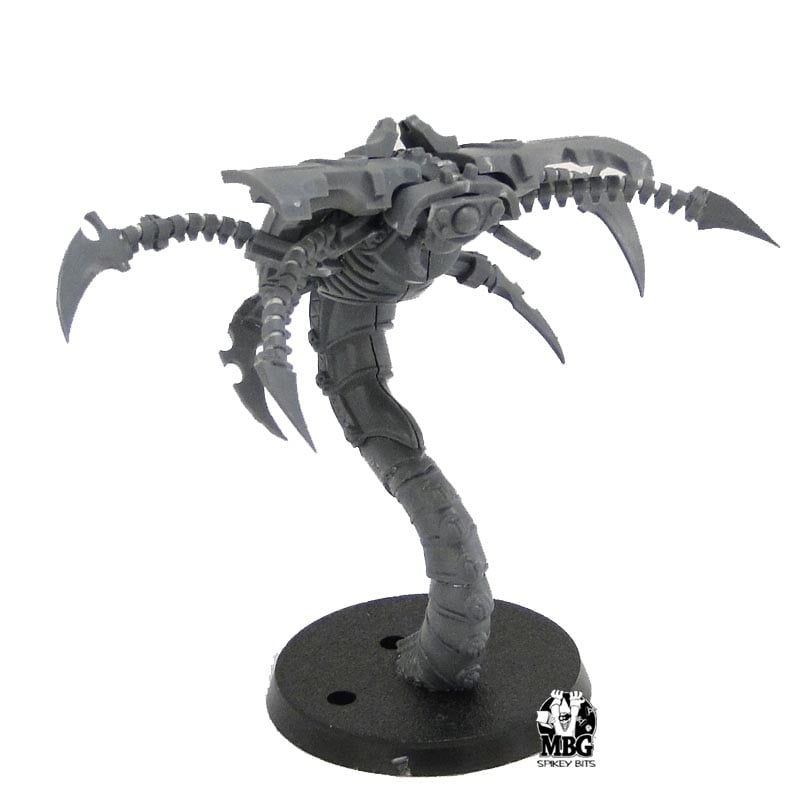
Okay to start off this conversion I just took a single Necropolis Knight and cut it down it’s tail down at about a 30 degree angle so it would sit flat on a base.
Now the model will look like its busting up out of the ground, rawr! I also cut down the little blade thingies on it’s spine, too cause they looked dumb IMHO.
I think the old Wraith models were like $15 each if I remember correctly. If you really want to, the Necropolis Knights may not be a bad to base the model off of…. but you can always use some wire, and PVC tubing cut up for the base torso like Zail did, and it looks just as good.
Then I added the Armor Plates the the back to get a feel for how they would set, and define the rest of the model. I cut down the ends a little so it didn’t look too cumbersome and bulky. The little clips that you are supposed to use to attach it to the hull of the command barge, I just flipped up and used as little dorsal fins on the top of the plates.
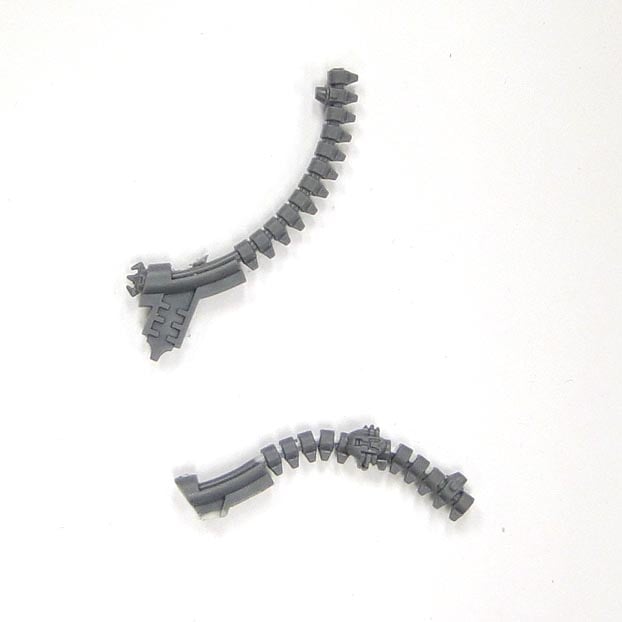
The arms were the Ghost Ark passenger harnesses, cut down length wise depending on where I was putting them on the model. Then I bent them backwards carefully to not snap the plastic to get them to look more dynamic looking.
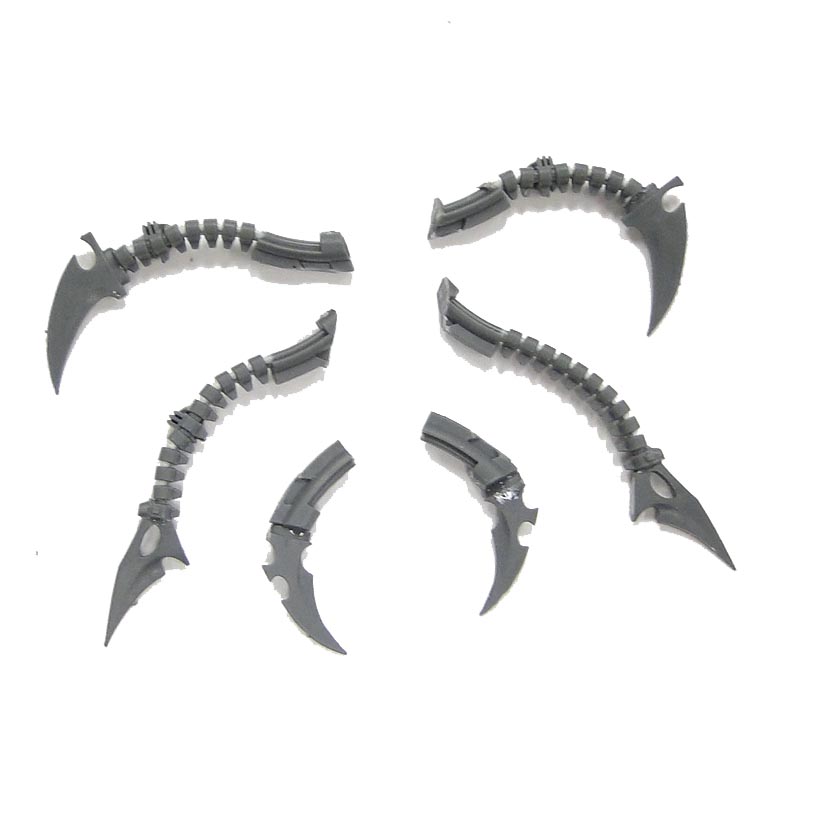 After that I added some random Dark Eldar blades I had in my bits bin. I think they are from the raider but I really have no clue where I got them from, lol. I was going to use the Triach Shields cut down into blades that one of my buds suggested, but saw these and just went with it.
When I get converting I find that when I start second guessing and trying three or four different things out for one single part, I really get bogged down in a project. So now I just try to roll with it, unless it just looks plain stupid, lol.
Then I just added those to the torso, trying to make them look as dynamic as possible, and boom- arms!
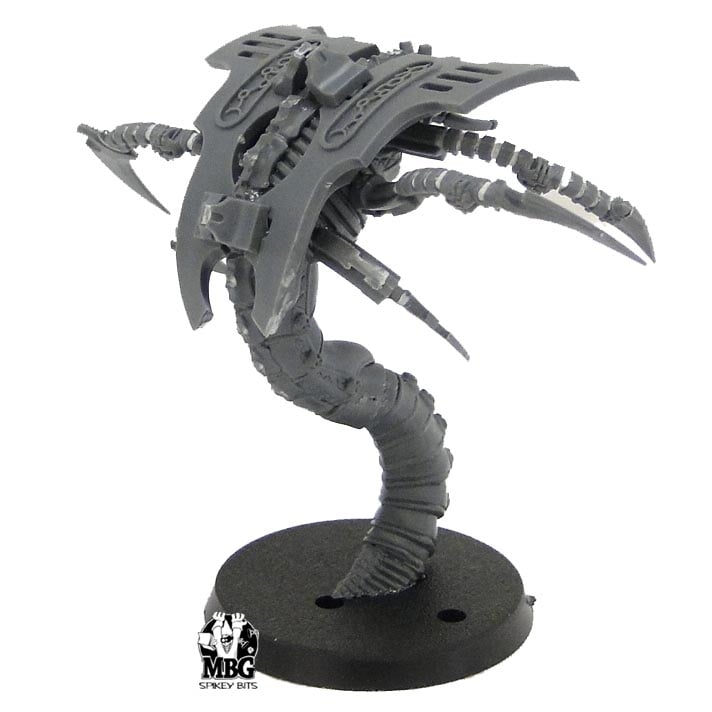
The head was the most complicated part IMHO, as I used four different components for it. Plus all of them had to be sliced and re-positioned as well. No rest for the weary here!
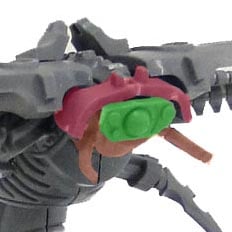
First off I took a Lychguard jump pack, cut it down (towards where the head would have gone), and then mated that flat against the neck of the Wraith. That created a collar of sorts (in orange above) for the rest of the components. I also cut off and re-positioned the antennae to make a set of mandibles for the mouth, too.
Then I capped the collar area with the cut down Barge sensor (shown in green) for the optical face. Lastly I just covered all that with a foot pad from the Barge Pilot (in red).
I think it looks good, but I’m sure there are better bits our there to make a head out of than that what I did, (like left over control panel consoles?) So don’t take that step for gospel as this thing can get pricey fast.
After the head that’s pretty much it for the conversion. If I was going crazy I’d finish up the base like he was busting out of the ground all killer like, fill the gaps with liquid green stuff (see article) and then paint!
Three Sixty below. There are quite a few of them now, I’ve been enjoying the new release!
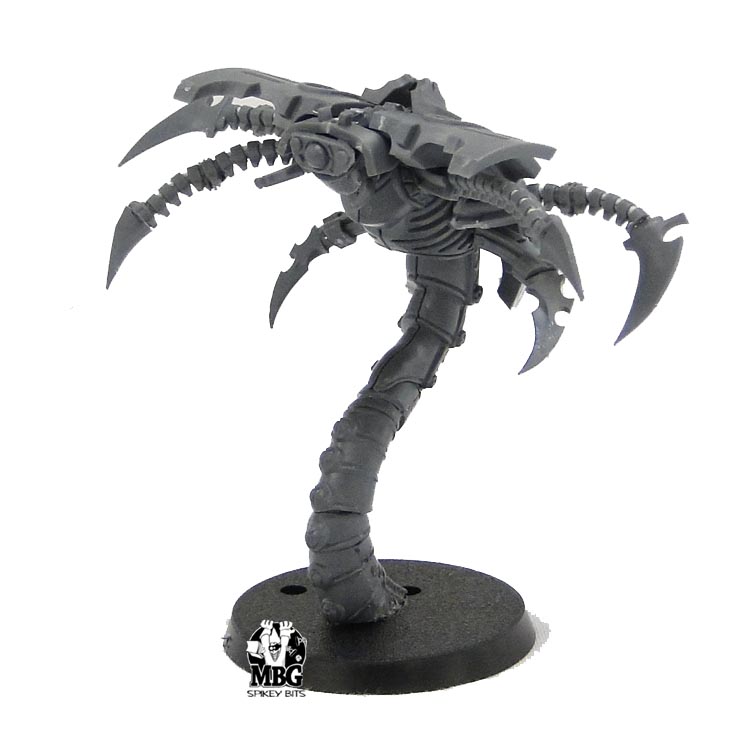
What do you think? Did I hit the artwork on the head, or epic fail? -MBG


