Warmachine: Judicator List Building and Practice

I’ve had some time to try out a few different Judicator lists. Time to share some of my findings.
There’s one substantial shortcoming Protectorate players face, and it has to be factored in to any list they build. The chosen of Menoth are slow. Unlike most of the other factions who can layer massive amounts of SPD buffs with the right caster, the best the Protectorate are ever going to get is an extra two inches. Consequently, Protectorate players find themselves getting charged a lot. The Vassal’s Enliven ability is an easy way for most warjacks to overcome this deficit, but Colossals can’t move outside of their activation. This means that without the proper planning, your Judicator is going to find itself getting targetted for a lot of charges. Now the big guy can take a lot of punishment to be sure, but when we’re talking about an onslaught from multiple enemy heavies a turn, it starts to get a little dicey.
To compensate for this, all of my successful Judicator lists involve some pretty serious tarpitting. The Protectorate is great at this tactic, and are spoiled for infantry choices that are effective in this role. With a bunch of warm bodies to get in the way and block charge lanes, the Judicator can more freely engage its targets on its own terms. In my experience the Judicator is rarely in melee before the third turn. While the rest of my army runs to hold objectives, the Judicator often walks the first and second turn to unleash a devastating volley from its Rocket Pods. In order to keep collateral damage from deviations to a minimum, I usually deploy the Judicator front and center. It activates first, walks and unleashes those rockets. Then the rest of my army surges up, trying to leave enough space to give the Judicator another advance at the start of my next turn; rinse, repeat, Rocket Pods. By the third turn everything’s usually nice and stuck in. The Judicator should have already caused a lot of damage by this point and it can start pummeling heavier targets. Once you’ve taken care of one or two of the more dangerous enemy heavies, you’ve pretty much won. Then you can start mopping up and trying to hold the objectives. Sure, you might have to deal with the occasional trample breaking through to your Judicator, but with the loss of initials inherent to tramples, any heavy doing this will have it’s damage output greatly diminished. So lets look at some lists. I’ve tried to keep the redundancy to a minimum so I can discuss different options.
The Harbinger of Menoth – WJ: +5
– Judicator – PC: 18
– Heirophant – PC: 2
Vassal of Menoth – PC: 2
The Covenant of Menoth – PC: 2
First Mate Hawk – PC: 2
Doc Killingsworth – PC: 2
Lord Rockbottom – PC: 2
Rhupert Carvolo, Piper of Ord – PC: 2
Vassal Mechanik – PC: 1
Madelyn Corbeau, Ordic Courtesan – PC: 2
Choir of Menoth – Leader & 3 Grunts: 2
Sea Dog Crew – Leader & 9 Grunts: 8
– Attendant Priest – Priest 2
Press Gangers – Lass & 9 Grunts: 6
– Attendant Priest – Priest 2
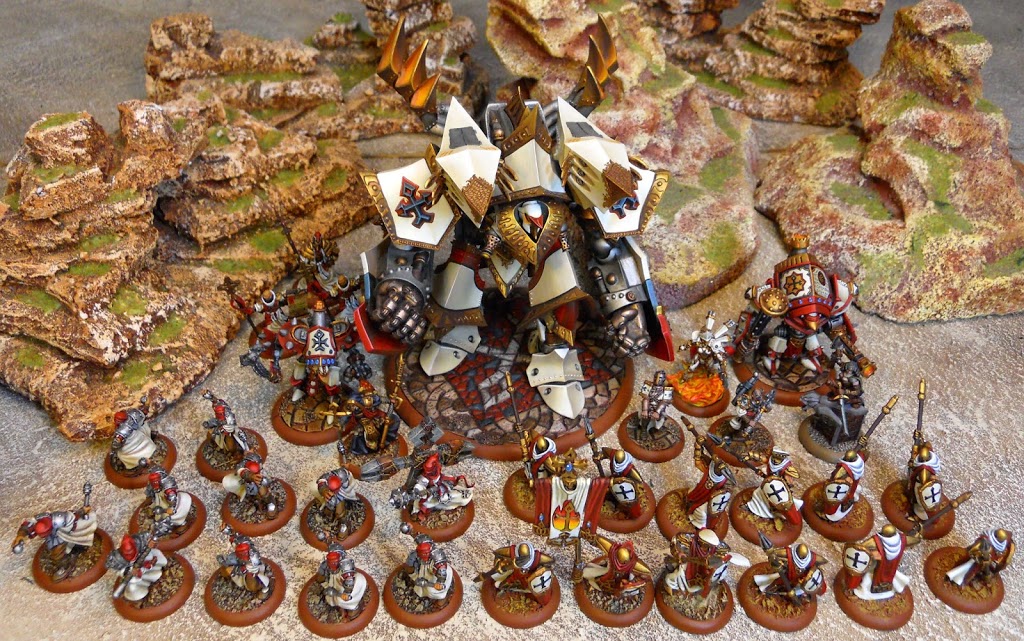
I began my Judicator playtesting with the ultimate tarpit. Here we have Sea Dogs with the usual Tough on a 4+ that can also be kept from Death with Harby’s Martyrdom ability. This list is absolutely demoralizing to play against and brings a devastating psychological warfare component along with it. When your opponent’s best efforts result in no dead Sea Dogs and they have to watch your Press Gangers make more of them, they might start to give up long before they’ve really lost the game. On top of that, Sea Dogs with Harbinger can hit just about anything with the ability to stack Gang, Guided Hand, and Pay Day for attack rolls at Mat 7 with 4 dice. Finally, the Attendant Priests give you some good spell denial with Warding.
But hey, this is a Judicator article, not a Protectorate/Sea Dog article. So why put a Judicator in a Harby list? Crusader’s Call will give the big guy a little SPD boost, although to be honest, the way this list works I’ve never needed it for the Judicator. The Press Gangers and Sea Dogs love it though. Purification can also come in handy since having a Colossal get tagged by Crippling Grasp, Parasite, or any one of the many nasty debuffs out there can ruin your day. In return, the Judicator does great things for the Harbinger. With it’s Reliquary and already devastating offensive capabilities buffed by the choir, this Colossal brings devastation with a negligible focus investment. That means that with a Judicator, Harby can keep most of her focus for healing from all the Martyrdom she’ll be doing. The Judicator’s huge base also gives the vulnerable Harbinger a way to screen herself from incoming shooting. She’s a warcaster that wants to be close to the action so she can keep those Martyrdom’s coming. Now she doesn’t have to worry quite so much about getting shot.
In practice this list has worked very well for me. I won all four of the games I played with it before I moved on to trying other lists, but it was always very close. Of those wins, two of them were by caster kill from Harby herself. Yeah that’s right – if you weren’t already aware consider yourself on notice: The Harbinger is a cold-hearted caster killer. In both cases she was assisted by the indispensable Madelyn Corbeau. I initially took this Mercenary solo for her Advisor ability which increases Harby’s Martyrdom range by increasing her command. However, Intrigue ended up being a fantastic tool as well. This ability gives a Warrior Model a three inch out of activation move if there are enemy models in Corbeau’s command during the Maintenance Phase bringing Harby’s charge range up to a nice healthy 14 inches – 16 if she uses Crusader’s Call. Once she reaches her target she can end them with as many auto-hitting P+S 12 Providence attacks as she cares to buy and boost. Alternatively she can go with a couple of Cataclysms, one of which can be boosted if her Heirophant uses Harmonius Exaltation before she activates. But what does all that have to do with the Judicator? Well you can pull Harby kills like this off in any list, but the Judicator’s huge base sure helps her get close enough without getting shot to death. And those two sprays of his can be great for clearing her charge lanes.
So to conclude here, the list has worked very well, but I can’t help but find myself thinking that the pirates aren’t really necessary. They’re fun, effective, and your opponent probably won’t see them coming, but if you don’t feel like collecting a full pirate module don’t worry. This list will probably work just as well if you swap them out for some Errants and Zealots or TFG – your choice really. And you’ll have some points left over since you won’t need any of those Privateer solos any more.
Grand Exemplar Kreoss – WJ: +6
– Judicator – PC: 18
– Vanquisher – PC: 8
Nicia, Tear of Vengeance – PC: 3
The Covenant of Menoth – PC: 2
Vassal Mechanik – PC: 1
Vassal of Menoth – PC: 2
Anastasia di Bray – PC: 2
Rhupert Carvolo, Piper of Ord – PC: 2
Wrack – PC: 1
Choir of Menoth – Leader & 3 Grunts: 2
Exemplar Errants – Leader and 9 Grunts: 8
– Exemplar Errant Officer & Standard – Exemplar Errant Officer &Standard 2
Daughters of the Flame – Leader & 5 Grunts: 5
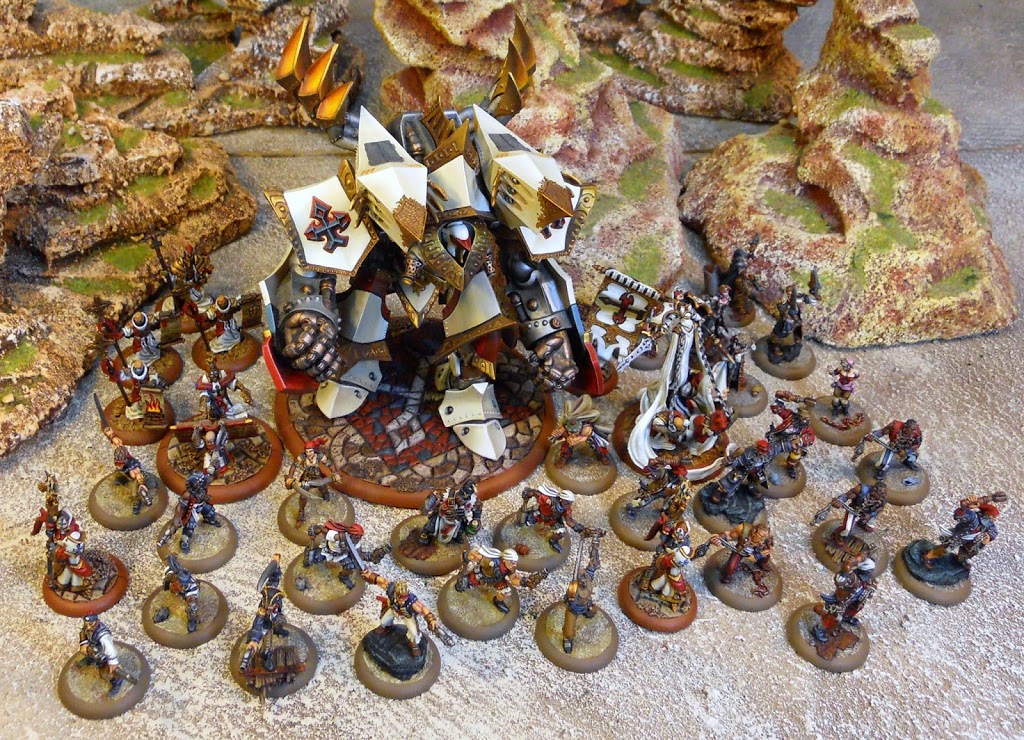
The way I see it, if you’ve got a Warcaster with a feat that gives you auto-hitting melee attacks, and an extra auto-hitting melee attack, why not take him with a model that can swing at P+S 22? With Kreoss2’s Feat and a Vassal, your Judicator can dish out 7 of those. That’s 63 damage on average vs. ARM 20. In other words – enough to one round a Conquest – or two of most army’s heavies. And the auto-hitting part is also great with those Sweep attacks that Colossals can make. Kreoss2 offers more than just a feat to your Judicator with Inviolable resolve bumping its ARM up to 21 and making it a real pain to kill.
For the rest of the army I’ve taken models that go well with the Judicator and Kreoss 2. First, we have one of the finest tarpits in the game: Exemplar Errants. Self Sacrifice on these guys can drastically cut the casualties they take, while making sure that any members of the unit blocking charge lanes stay there. And AD increases your deployment options with them and helps keep them out of the Judicator’s way. Daughters of the Flame have a great dual role in this list. You can put Sacrosanct on them early and send them tearing across the battlefield with their high base SPD. Their above average defense makes them a fairly good tarpit already. With Sacrosanct, if you can bait enemy warrior models into killing them, those models will be knocked down and your opponent’s plans will be that much more hampered. If the Daughters live long enough for Kreoss to use his feat then you just get to tell your opponent to pull up to three living single-wound models in melee range with them. Auto-hitting and auto-damage make for a very rewarding combo. Nicia is in here to add a potentially unexpected caster kill vector. On feat turn she can dish out 3 auto-hitting P+S 10 Weapon Master attacks. I still haven’t pulled off a caster kill with her, but in one game with this list I got some pretty ridiculous rolls and she one-rounded a Warpwolf. The last piece I want to mention is Anistasia DiBray. Her Espionage ability grants models in her CMD an additional full advance and an extra attack – an extra attack that could be auto-hitting on feat turn.
In practice this has sadly been my least effective list. That’s not to say it hasn’t won me games, but its win rate is only about 50%. Pretty big drop from my last list. I think the phrase “no plan ever survives contact with the enemy” was written for this list. Yeah I’ve talked a big talk up until now, but the truth is it’s insanely difficult to coordinate so many things around Kreoss’s Feat. Especially since this list ends up attacking in waves. I almost always find myself having to decide whether I want to use his feat when the Daughters hit the enemy lines, when the Exemplar’s first become engaged, or when the Judicator starts his beat down. I think I could probably bring my win rate up some if I got a little bit better with using Anistasia DiBray. She takes a lot of practice, but as someone who’s had to face her when she’s used right, I can testify to just how devastating she can be.
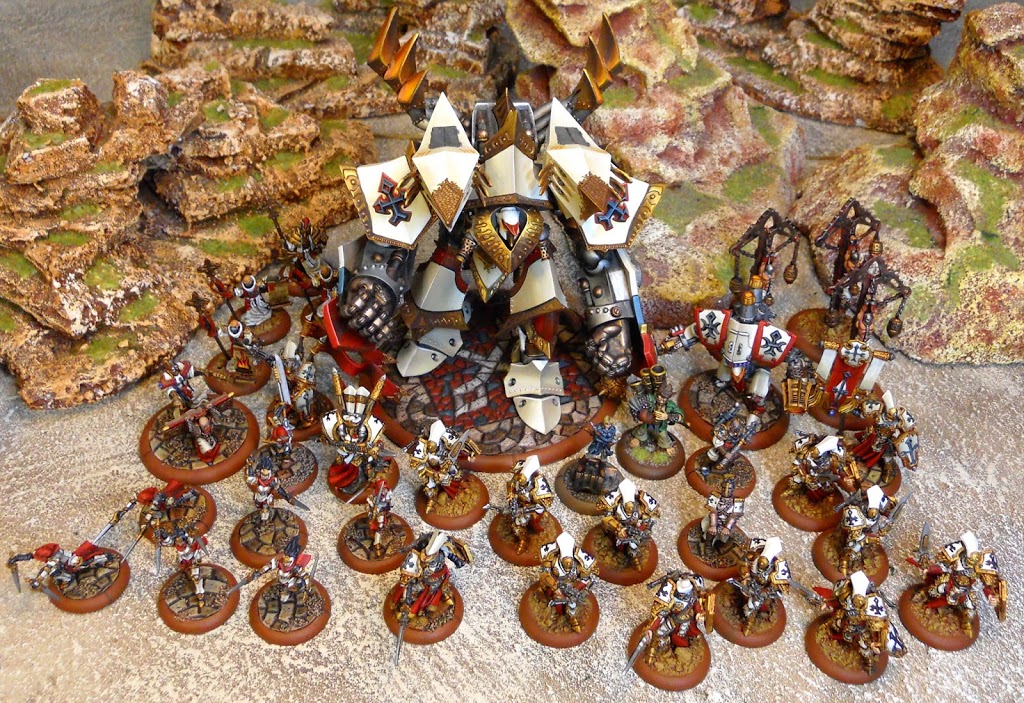
Feora, Protector of the Flame – WJ: +6
– Judicator – PC: 18
– Reckoner – PC: 8
– Repenter – PC: 4
Vassal of Menoth – PC: 2
Vassal Mechanik – PC: 1
Eiryss, Angel of Retribution – PC: 3
Reclaimer – PC: 2
Temple Flameguard – Leader and 9 Grunts: 6
– Temple Flameguard Officer & Standard – Temple Flameguard Officer & Standard 2
Choir of Menoth – Leader & 3 Grunts: 2
Holy Zealots – Leader and 9 Grunts: 6
– Monolith Bearer – Monolith Bearer 2
~ Hope you enjoyed reading this. The floor is yours. What’s your favorite Judicator list?


