HOBBY: Airbrushing Large Surfaces
4 Minute Read
Sep 12 2013

Advertisement
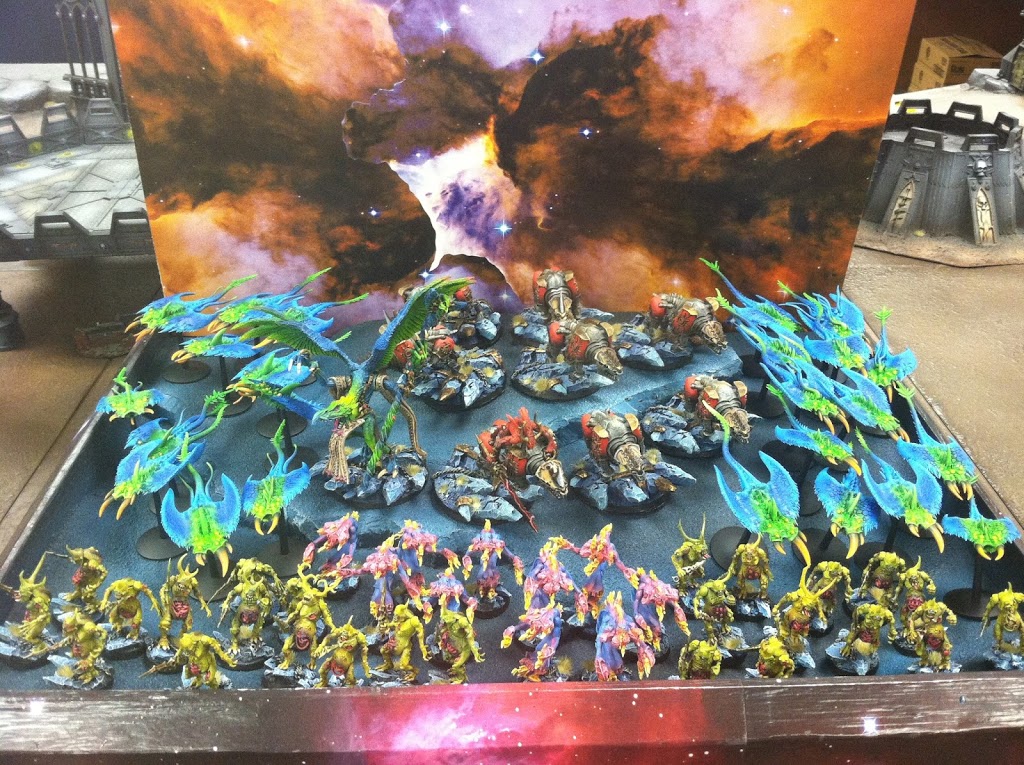 Airbrushing is by far the easiest way to paint large surfaces, and when it comes to wargaming there’s isn’t many bigger surfaces to paint than a display board (or a game table).A few months ago I painted up a display board for my Chaos Daemons, to match their bases and aid me in moving them around at tournaments.
Since I had airbrushed their bases in the first place, it seemed logical to airbrush the display board as well, to tie it all together.
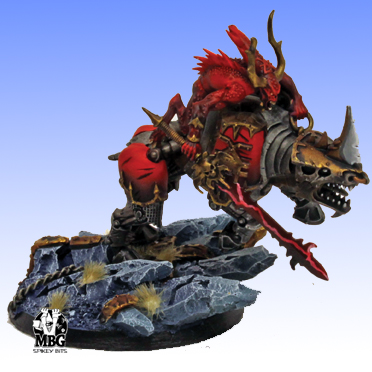
If you read this blog a lot, you may remember my article on airbrushing those bases from awhile ago.
To paint the display board, I pretty much just used the same colors from the above article, but with a little twist.
Advertisement

For this project I used the following Minitaire paints: Raven Black, Snow White (both not pictured), Nautilus Blue, and Troll Hide.
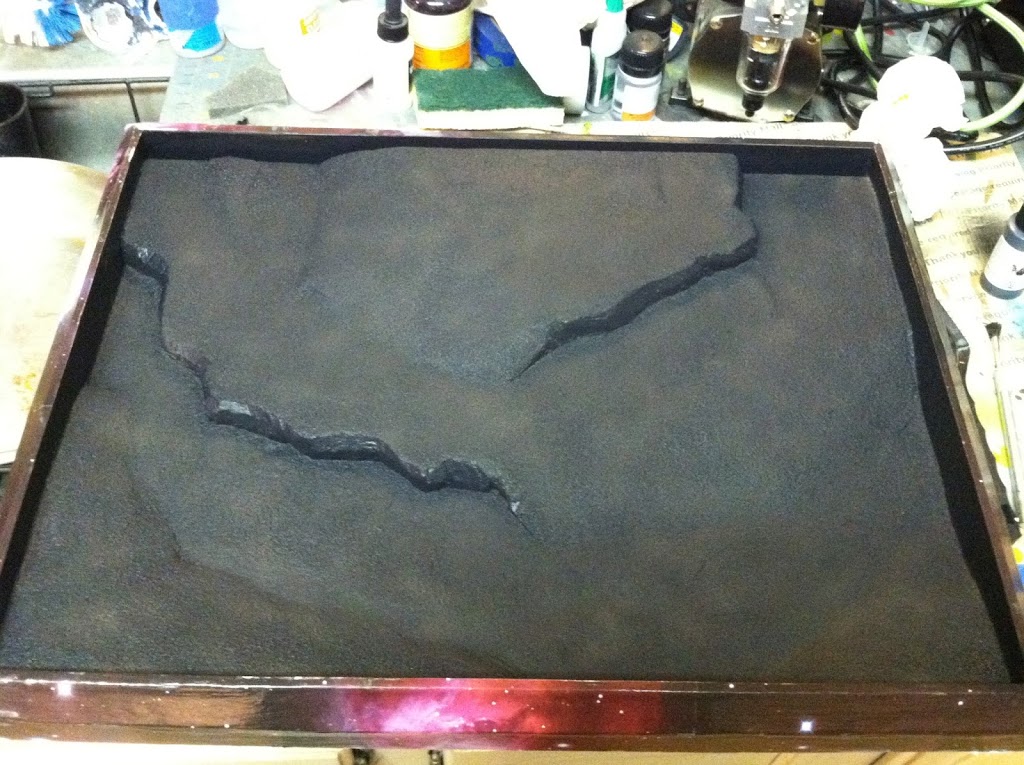
First I started out by carefully basecoating the entire surface of the display board with Raven Black, taking care to not overspray onto the border graphic.
To make the spray pattern bigger, I slid the needle back some (see your airbrushes’ guide on how to do this), and cranked up the PSI on the air to about 40.
This way it took way less time to basecoat the whole thing.
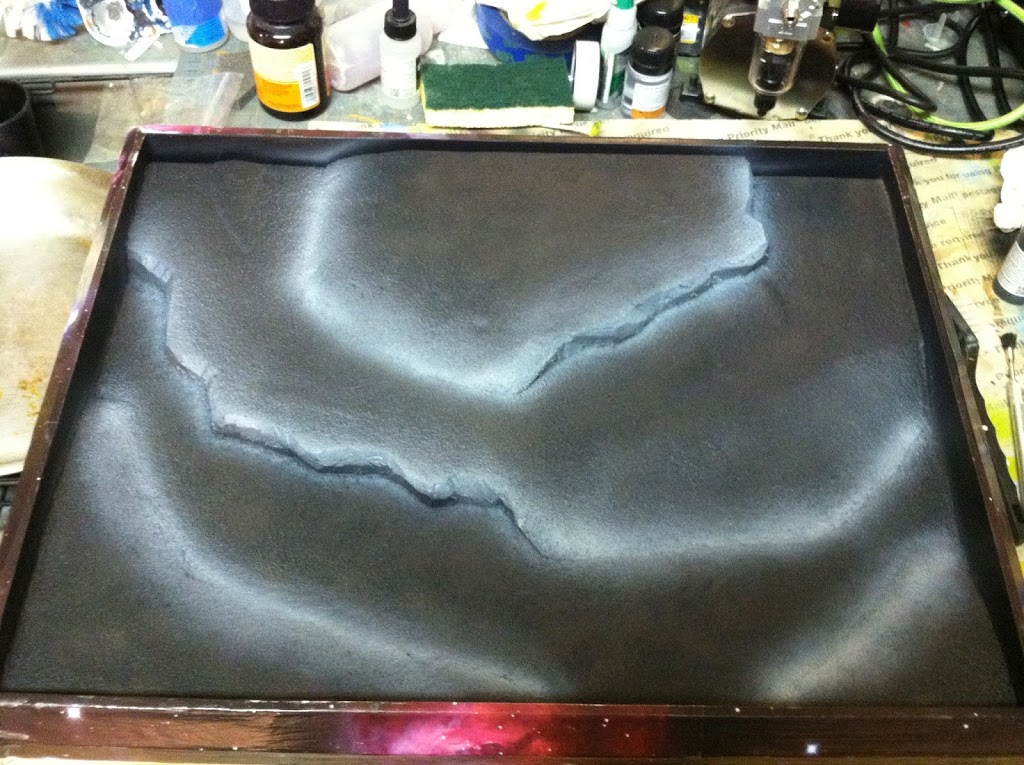
I turned down the pressure on the airbrush to around 15-20 PSI for these blending steps to help get a gradual fade that simulated the ground glowing with otherworldly power!
Then I outlined the slopes and cliffs of the board with Snow White. I like the Snow White as opposed to the Skull White because seems to have either a blue or a grey in it that transitions better with things as opposed the the “starkness” of the plain skull white.
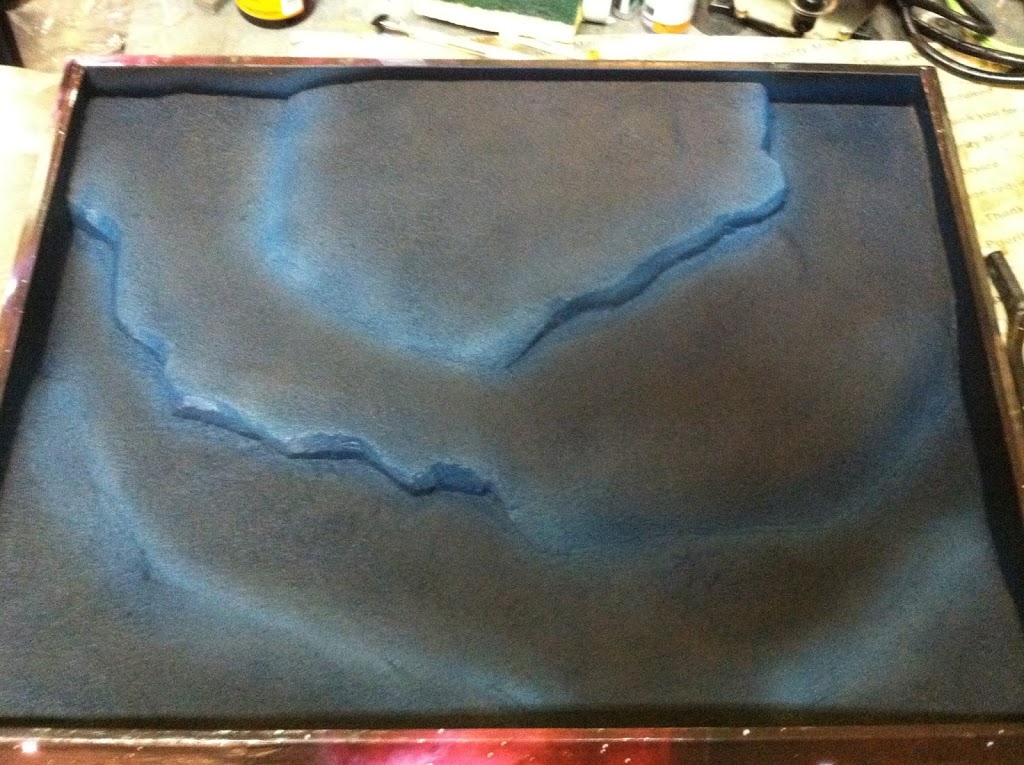
Next I went over the white parts with Nautilus Blue, and since I started with the white first, the blue’s color was not diminished any on the raised surfaces. It also provided a sweet gradient back down to the black where the blue oversprayed past the white.
Then I highlighted the Nautilus Blue with the lighter Troll Hide, taking care to not overspray any areas.
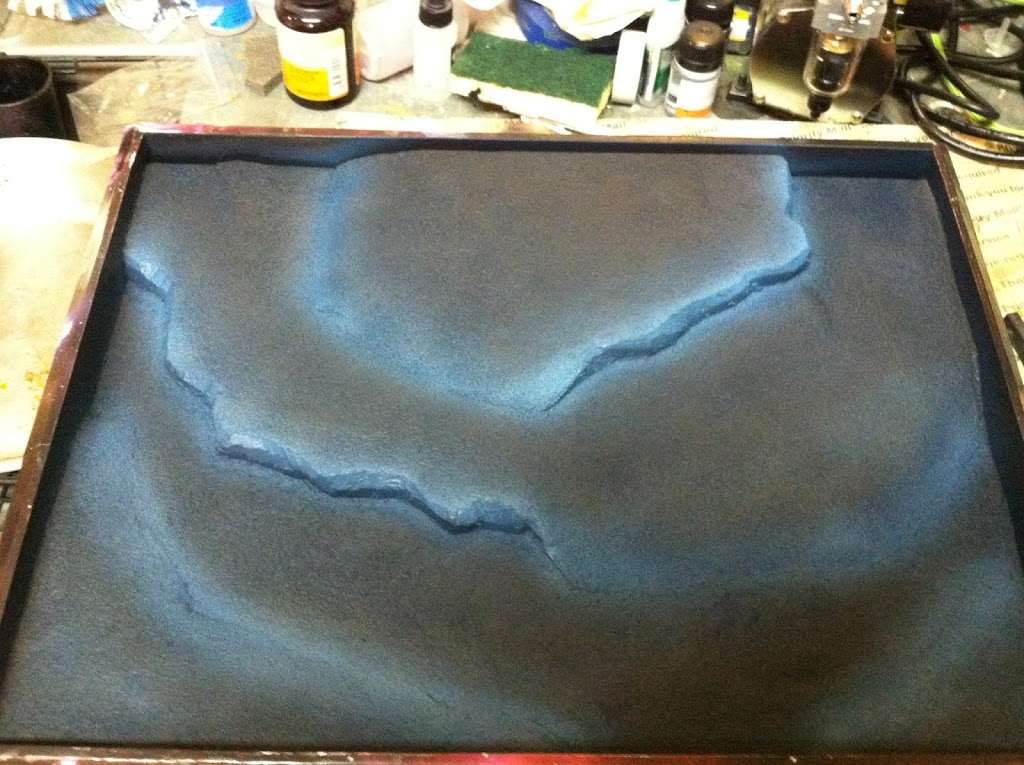
After that I lightly drybrushed the raised edges that I had just painted blue, back with some snow white. When it comes to drybrushing terrain it’s great to use cheap 1″ and bigger brushes from any DIY store like Lowes or Home Depot.
They are super cheap and cover more surface area than any hobby brush could ever hope to, saving you even MORE time to play with your toys!
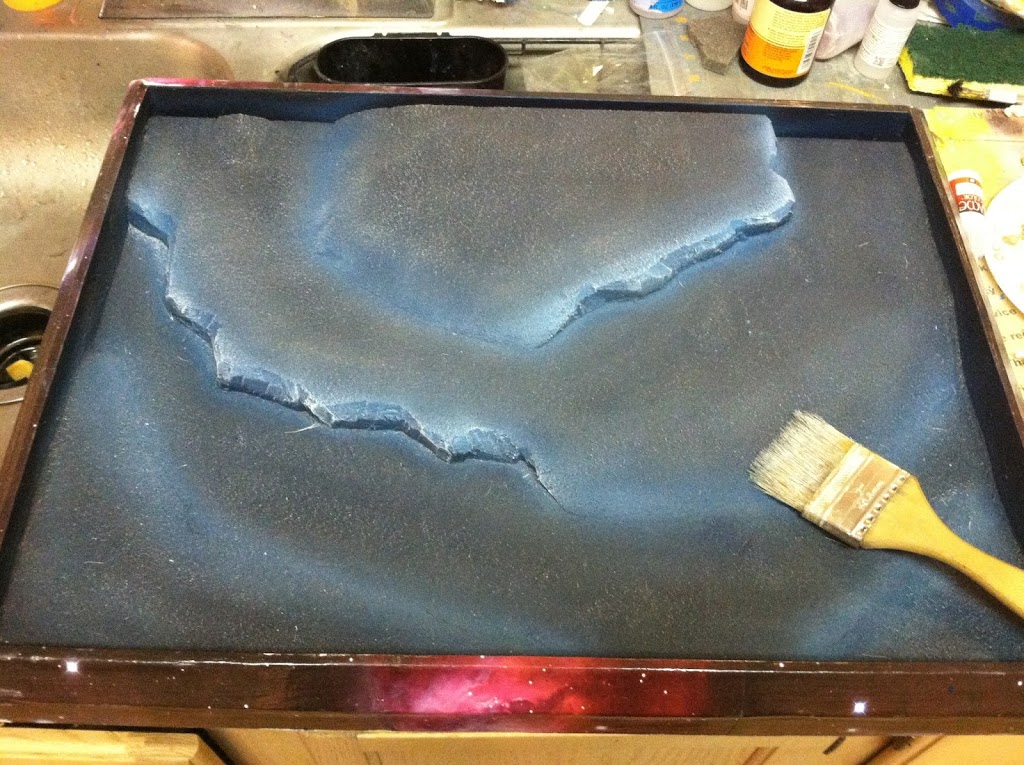
Then I very lightly drybrushed all the black areas to give them a little depth. After the paint dried I used the Gloss Coat to seal the airbrush work, and in this case the whole project itself.
When I work with Gloss and Matte coats in the airbrush, I tend to spray them from distances of 10-12″ away from the model. That way they still from a barrier on the model (to apply wash over, or protect the model in general), but you don’t get the pesky super glossy shine that’s hard to get rid of.
After I finish a whole project (when working with actual models) I’ll repeat the same process, but this time with a matte coat to get rid of the small shine from the gloss coat’s consistency itself, or any washes I may have applied.
Best part is, there is no way applying varnish this way will ruin my model(s) from bad humidity etc, like spray vanishes can.
Advertisement

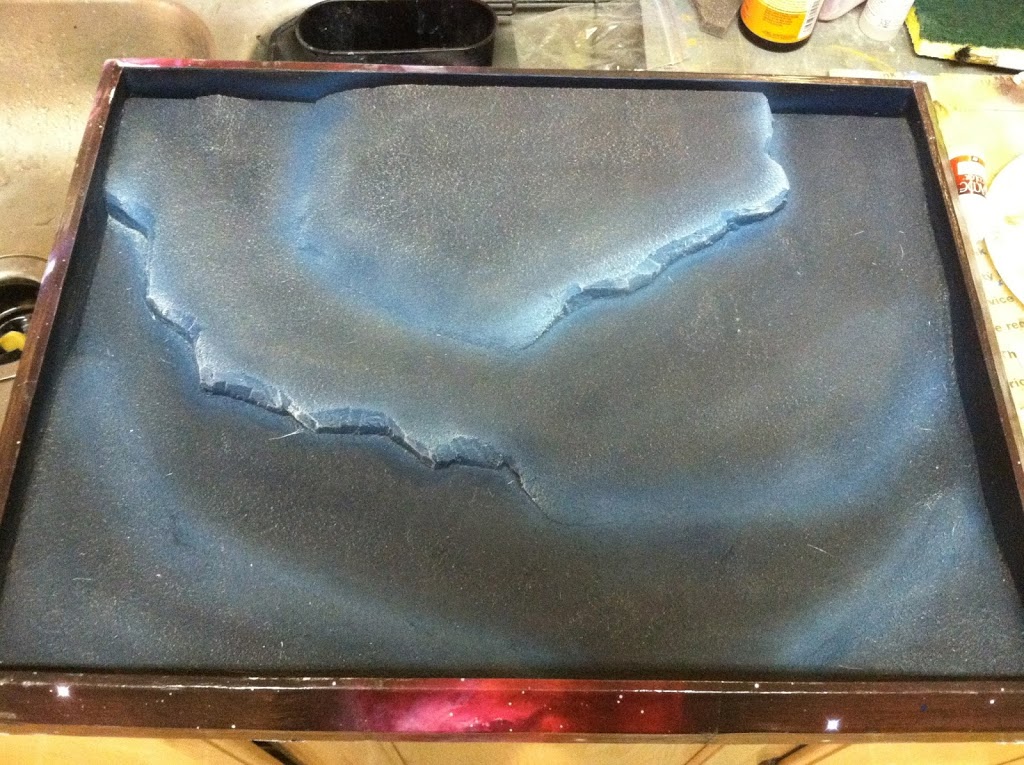
Even still wet, the gloss vanish when applied the way I described, isn’t than shiny for me (see above pic).
Now all that was left to do was add minis and go roll some dice!
That’s about it for this technique, but there is always more to paint! -MBG
Author: Robert B
Advertisement


