X-Wing: Moving Formations, Part 1
Waaaay back in February I wrote three articles on the subject of moving formations in X-Wing on my website. Sounds bland, right? Those pages have been three of the most controversial pages on my site. “Why?” You ask? Read on and find out!
Although this article is ostensibly about moving ships in a formation, the main underlying concern at hand is moving those formation ships without collision. As such, let’s just go ahead and get this out of the way by defining what a collision is in X-Wing Miniatures, and what happens as a result.
From the X-Wing Rules of Play book page 17-
Overlapping Other Ships
There are a few situations that may arise where ships overlap other ships, and they are explained below.
Plastic Bases Overlapping
If a ship executes a maneuver that would cause the final position of its base to physically overlap another ship’s base (even partially), follow these steps:
1. From the opposite end of the template, move the active ship backward along the top of the
template until it no longer overlaps another ship. While moving the ship, adjust it so that the
template remains centered between both sets of guides on the ship’s base. Place the ship so that the bases of both ships are touching.
2. Skip this ship’s “Perform Action” step. Ships whose bases are touching cannot declare each other as a target during the Combat phase while their bases remain touching. As soon as either of these ships moves away (so that the bases are no longer touching), this combat restriction no longer applies.
Important: If the active ship is executing a <Koigoran Turn Symbol> maneuver that causes it to overlap another ship instead treat its maneuver as a <Straight Maneuver Symbol> maneuver with the same speed and color revealed on the dial.
Plastic Figures Overlapping
Some ship figures extend beyond the edge of their base. If this part of the figure would touch another figure or obstruct its movement, simply add or remove one peg from the base to prevent this situation and continue moving as normal.
Ok, so long story long, it doesn’t matter if the models overlap, it matters if the model’s bases overlap. Secondly, if you do manage to pull a maneuver that causes you to overlap another ship, you lose your Action for the round even if that ship later moves away from you and move your ship’s base back along the template until you’re no longer overlapping. Thirdly, if the ship you overlapped doesn’t move away (you’re still touching it when Combat begins, in other words), neither of you can shoot each other though you’re free to shoot any other ships that fall into Range and Firing Arc.
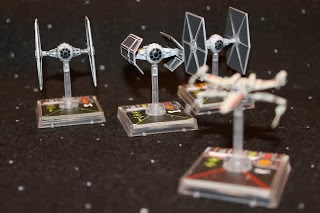
One of the inherent difficulties of using a formation where your ships need to stay close together (usually to benefit from Swarm Tactics, a “giveaway” ability like Garven Dreis, Dutch Vander, etc. or Squad Leader, or Howlrunner’s area-of-effect reroll ability) is moving all the ships around so they don’t run into each other. TIE Swarms are especially dependent on this.
(*Note that just because you lose the ability to Perform Action, doesn’t necessarily mean you can’t do any Actions during that game round. If someone has an ability that passes you an Action token, Squad Leader, etc., you can pull an Action even if you’ve been in a collision.)
You may have played as or against a TIE Swarm player especially who tries to be courteous and simplify his movement by moving one ship with the template then moving the TIEs next to him by hand without using the template; holding his formation intact.
Does that time-saver accurately depict what happens when moving using the templates though or is some error incurred in that process? What moves actually are permissible when moving as a formation besides just flying in straight lines? I decided to find out.
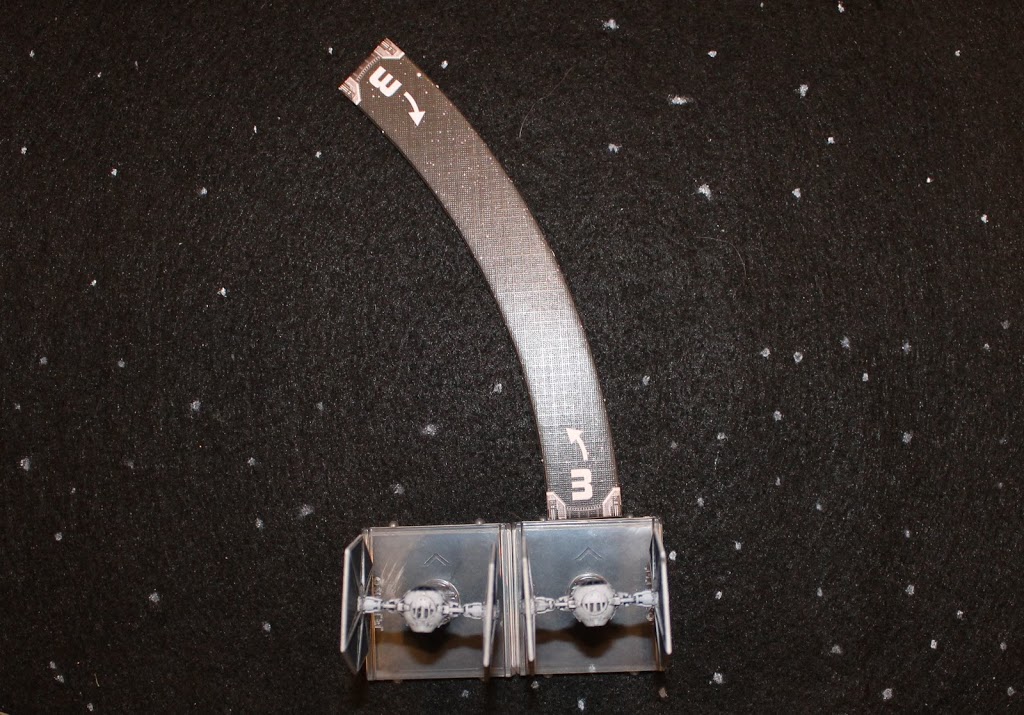
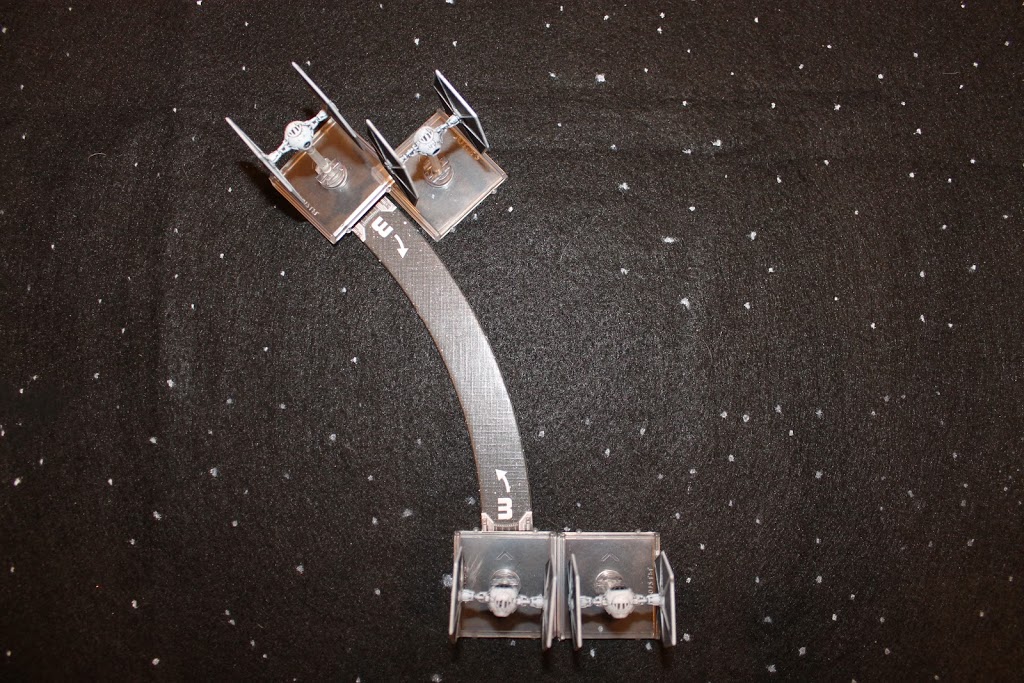
In the picture above I’ve got two TIEs right next to each other. Both want to pull an easy 3, or to put it in the proper terms, a Bank 3 Left maneuver.
Will they overlap or will they stay right next to each other? Let’s find out!
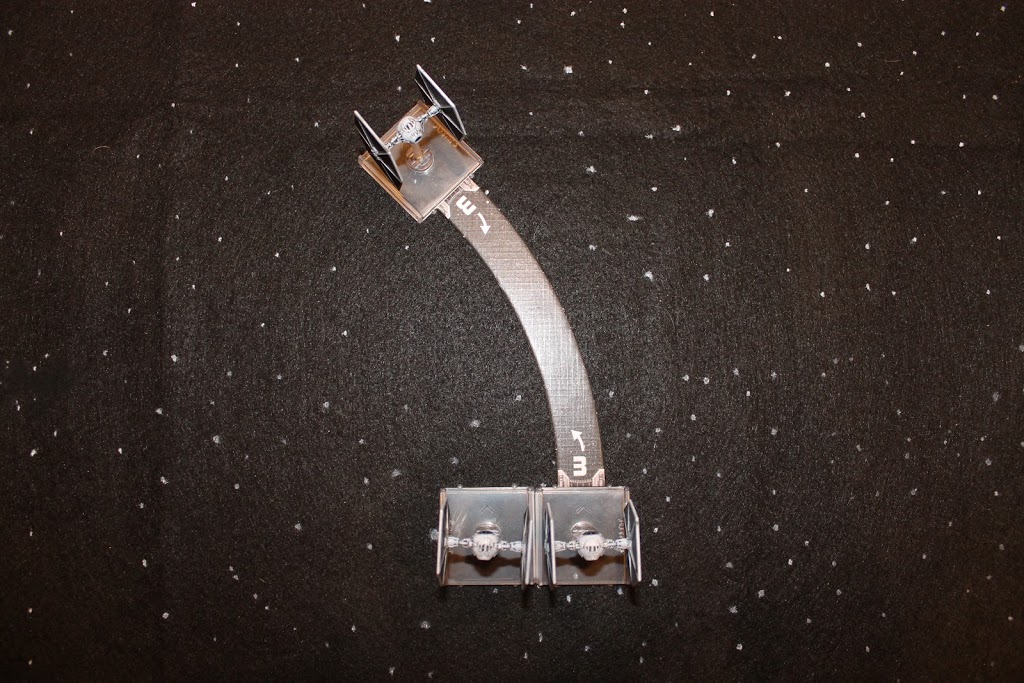
So the TIE on the right has performed the maneuver. If you’re confused as to why I now have three TIEs on the board, don’t be- I’m just trying to illustrate that the template hasn’t moved or been bumped or anything – it’s right where it needs to be.

Here you can see I’ve removed the maneuver template from the right side, but didn’t remove the moving TIE- everything is still in its original position and the post-move position, again to illustrate that no unintended accidental movement has occurred. Now the movement template is on the TIE on the left as he too wants to execute a Bank 3 maneuver.
So the second TIE completes his move and everything is cool, right? Uh, oh! Hold on a second! Let’s zoom in there…
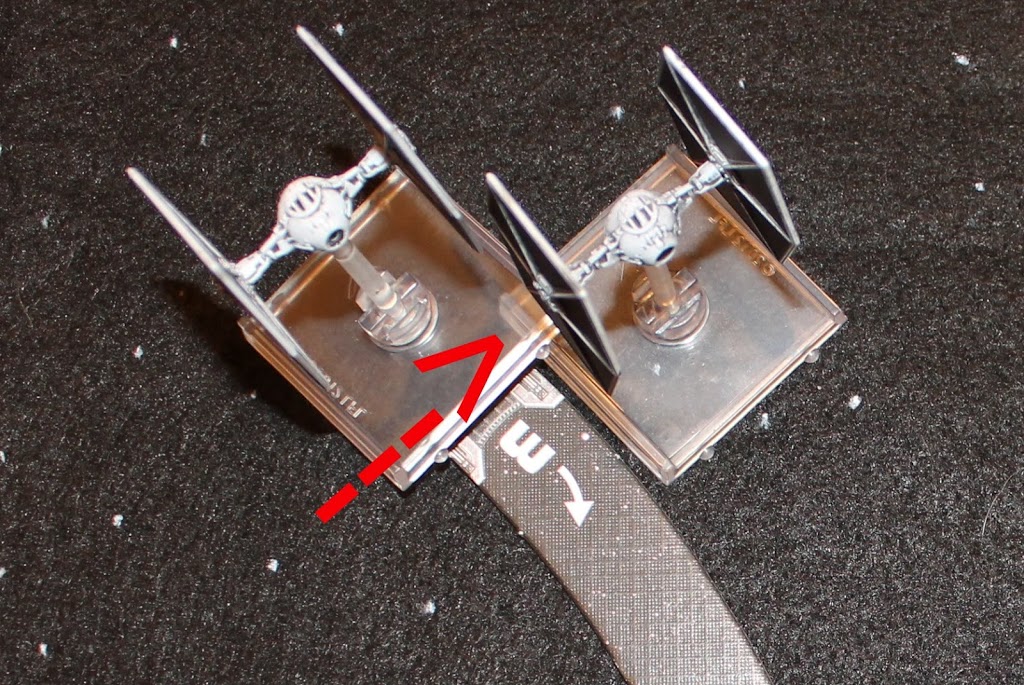
We’ve got an overlap!
So, to answer my two original questions, no- if a player declared an Bank 3 for both of these ships, moving one then placing the second right next to it by hand without the template would not be accurate, and no- this would not be a permissible, advisable move for two ships flying in formation because it results in overlap which incurs lost Action in the ship that moved second.
Why does this happen? It’s relatively simple if you stop and think about it for a moment, but not entirely obvious (at least it wasn’t to me- I’ve seen player after player at my club move one ship and drop everyone else in the formation next that that first ship and never called them out on it)- because it’s a curved, not straight shape the distance along the inside is shorter than the outside because the template ends in a square end. Don’t believe me? Look closely at the pics. Click on them, zoom in. If you still don’t believe me, pull your stuff out and try it yourself.
But wait, maybe that’s just some strange permutation of the Bank 3 template that I’ve decided to make a big deal out of because it’s a slow day, right? If the number was different that wouldn’t happen. Or maybe if I’d have picked a Turn instead of a Bank. Yeah. A 3 Turn and they definitely wouldn’t collide, right?
If you want to get into X-Wing Miniatures but don’t know your Evades from your Target Locks, by all means, stop on by the hippest pilot bar in the galaxy- TheMetalBikini.com. We serve all kinds (yeah, even droids- they’re the best tippers), and have a whole bunch of articles from breakdown summaries of every single card released so far, to tactics articles, to our Bikini Battle Basics new player guides- all served up with a heapin’ helpin’ of my own personal brand of slang and humor. Can you dig it?


