40K HOBBY: Da Ork Kopta Karrier

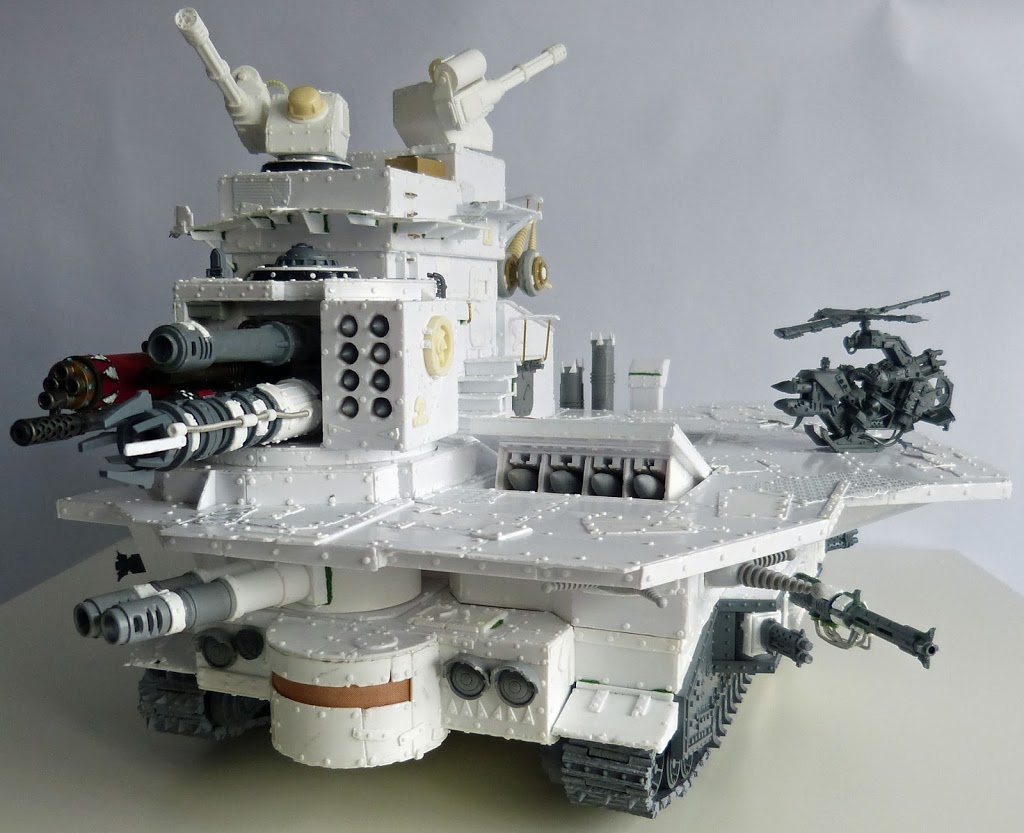
Behold Da Kopta Karrier – an example of how my earlier tutorials and guides on Bell of Lost Souls could be used to produce a monster…
It’s been a while since I’ve done an article for Bell of Lost Souls and I thought it was about time rectified this. After a couple of articles devoted to Nurgle (all hail the Bloated One) I decided it was time to return to the the Ork fold and do a follow up article to my earlier ones. My earlier articles dealt with how I went about looting vehicles and covered a step-by-step guide to this process, these can be found with these handy links… One Meks Guide, One Meks…Part 1, One Meks…Part 2, One Meks…Part 3.
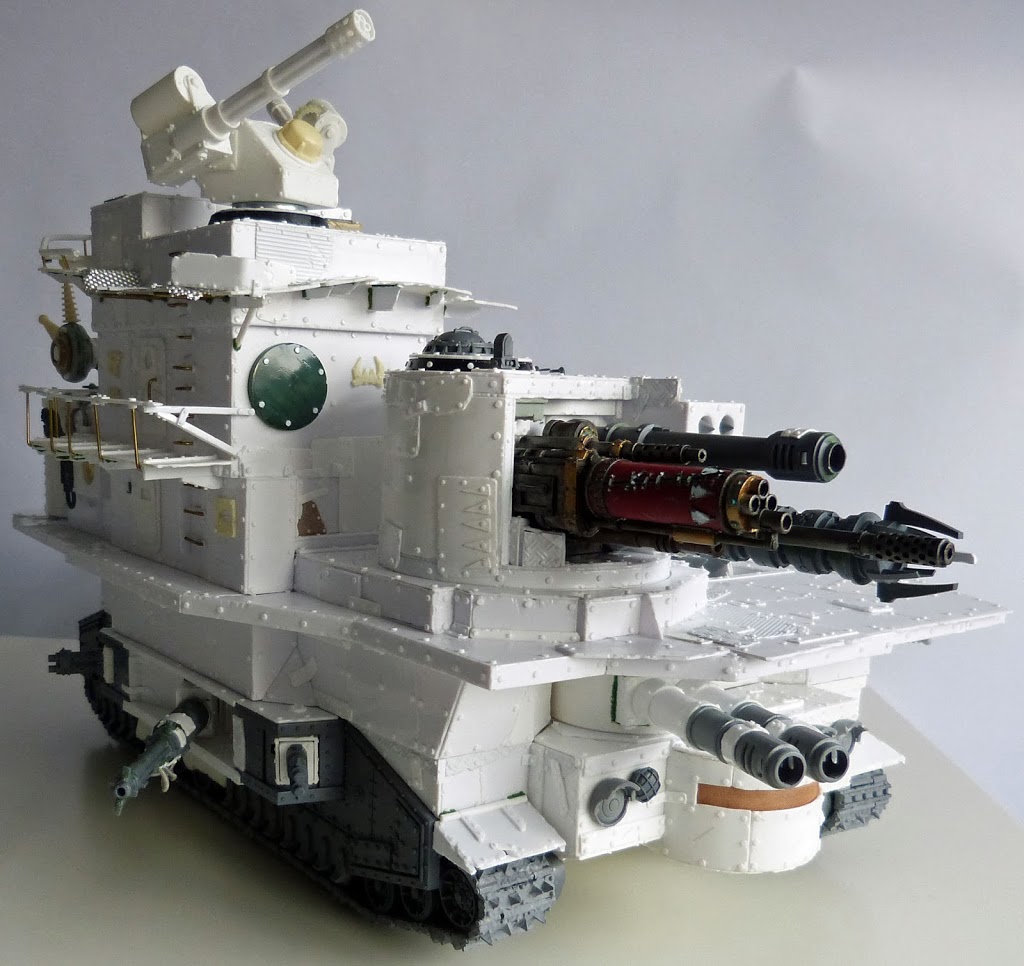
 The starting point was to end up with a vehicle that could transport and launch Koptas from a flat deck, would have plenty of guns including a Deff Arsenal and include some sort of superstructure on the flat deck. As a bonus it would have some internal detail incorporating to a lift of some kind. Basically we needed a Helicopter Aircraft Carrier. But for Orks.
 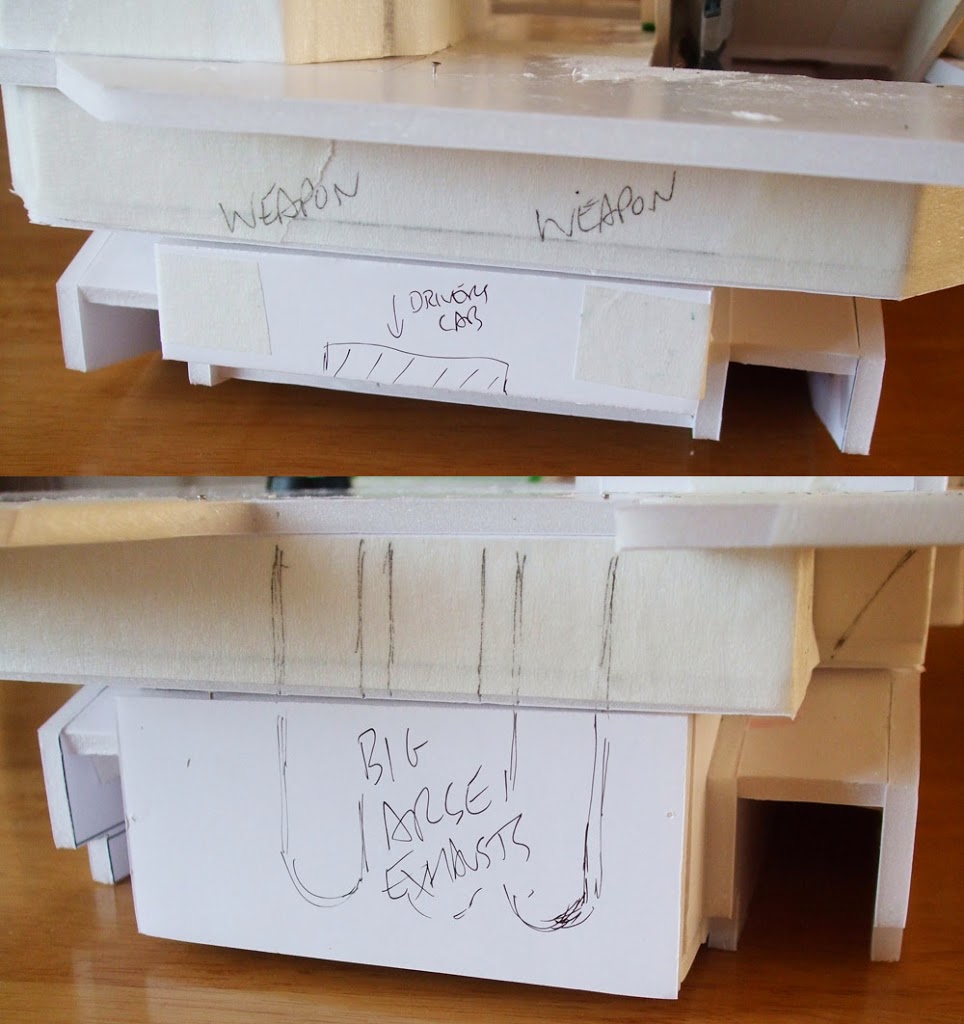 With such a large and involved build I started with sketching things out before moving onto a mock up. In the earlier articles I discussed how while in many situations a mock up may not be needed it can be of great benefit to get the basics sorted – sizes and rough positions, it gives you a direction in which to set. On this occasion I built the whole thing out of foamboard, this allowed me to easily chop and change until I had something we were both happy with.
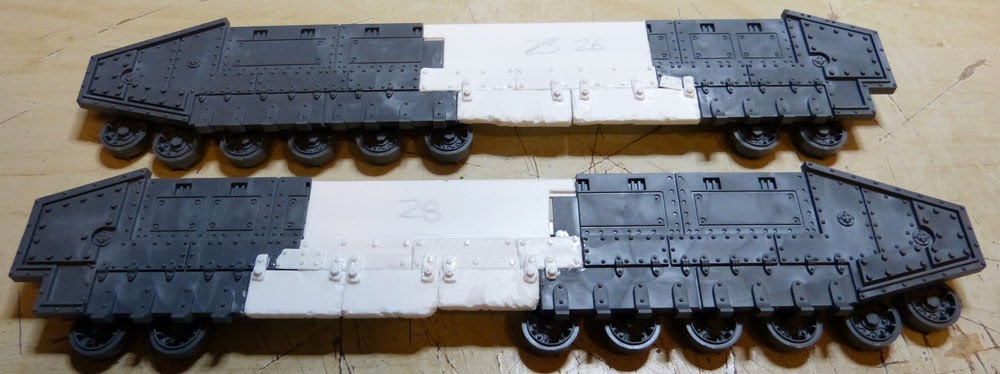
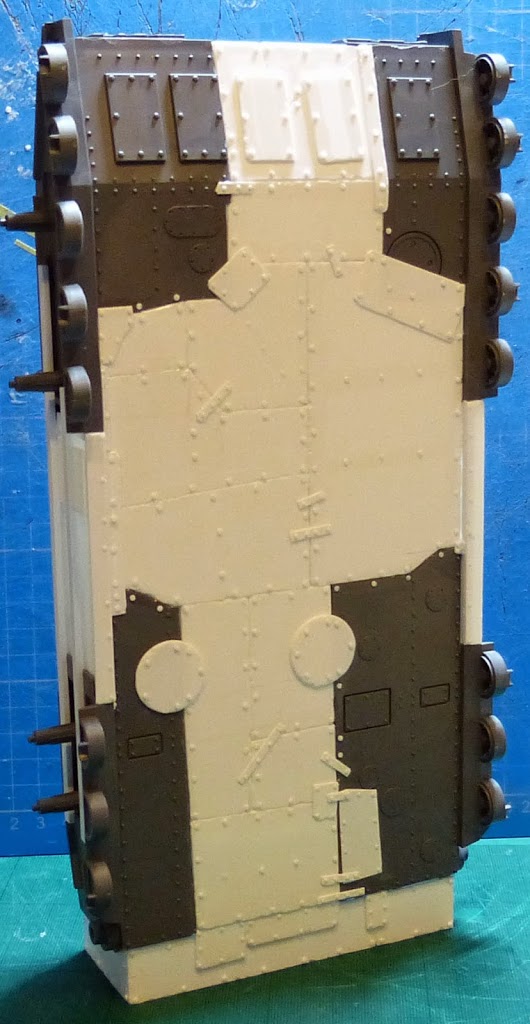 Then the cutting began. An unbuilt Baneblade (or Shadowsword, I can’t remember which) was used as the base vehicle. The floor panels were cut into quarters while the track units were cut into two sections, the hull could then be lengthened and widened using lots of styrene.
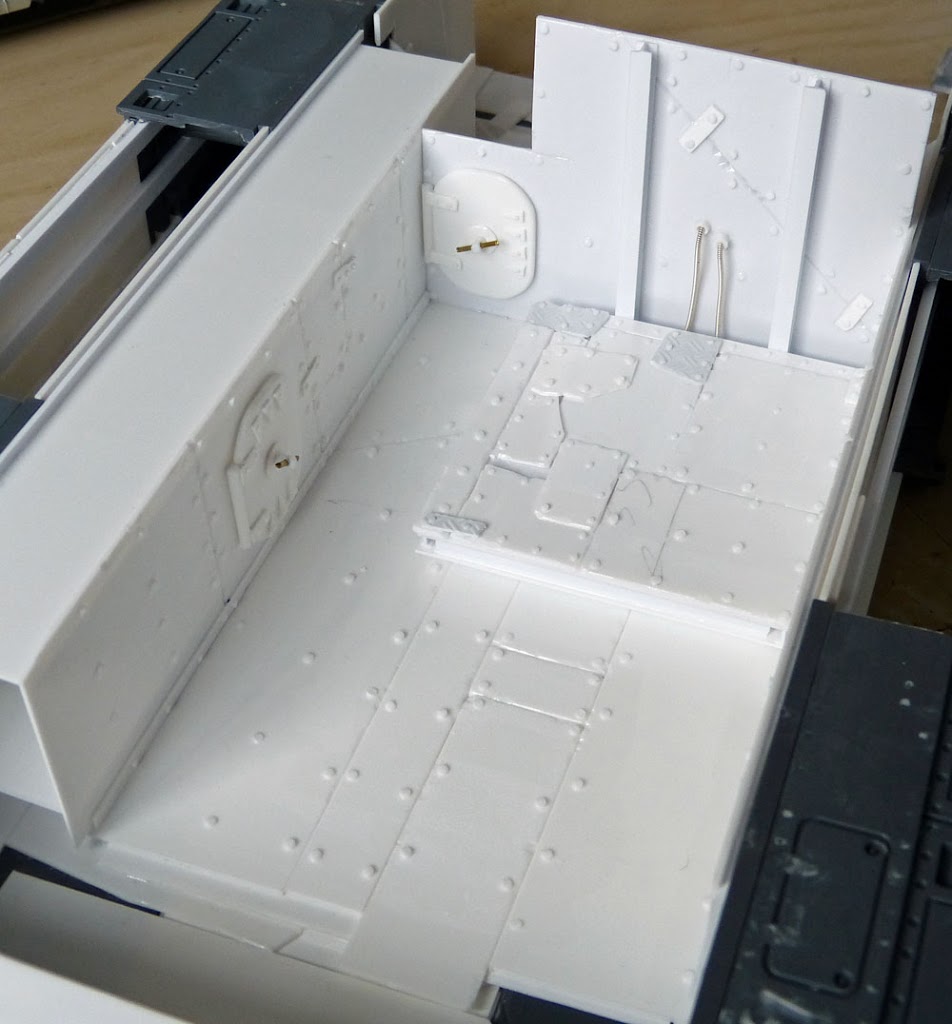
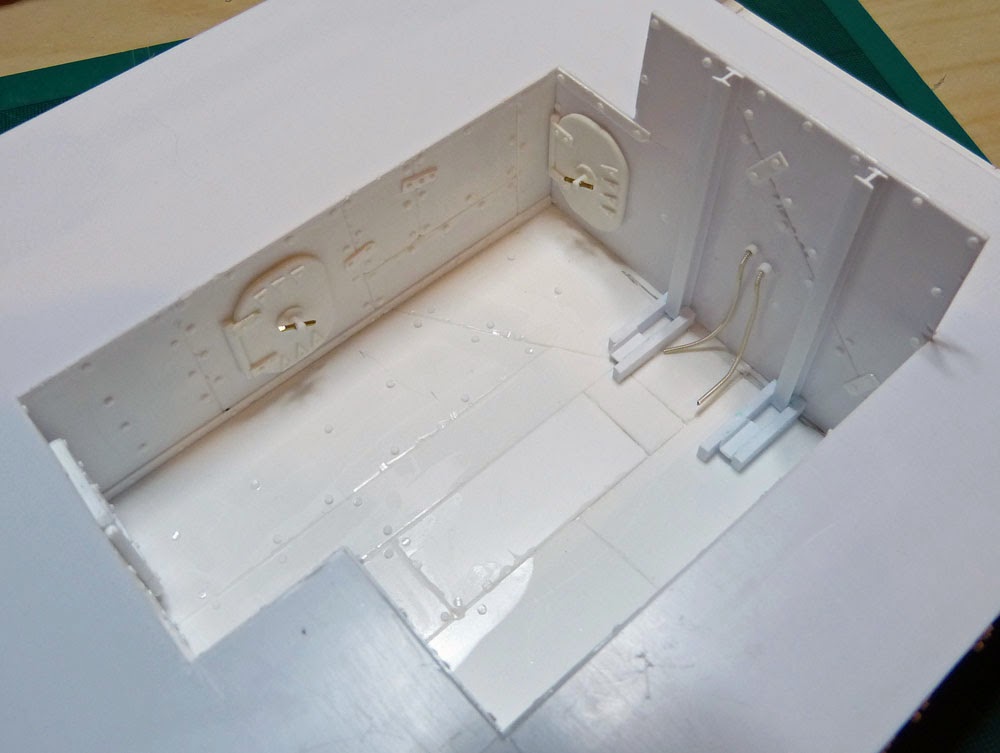
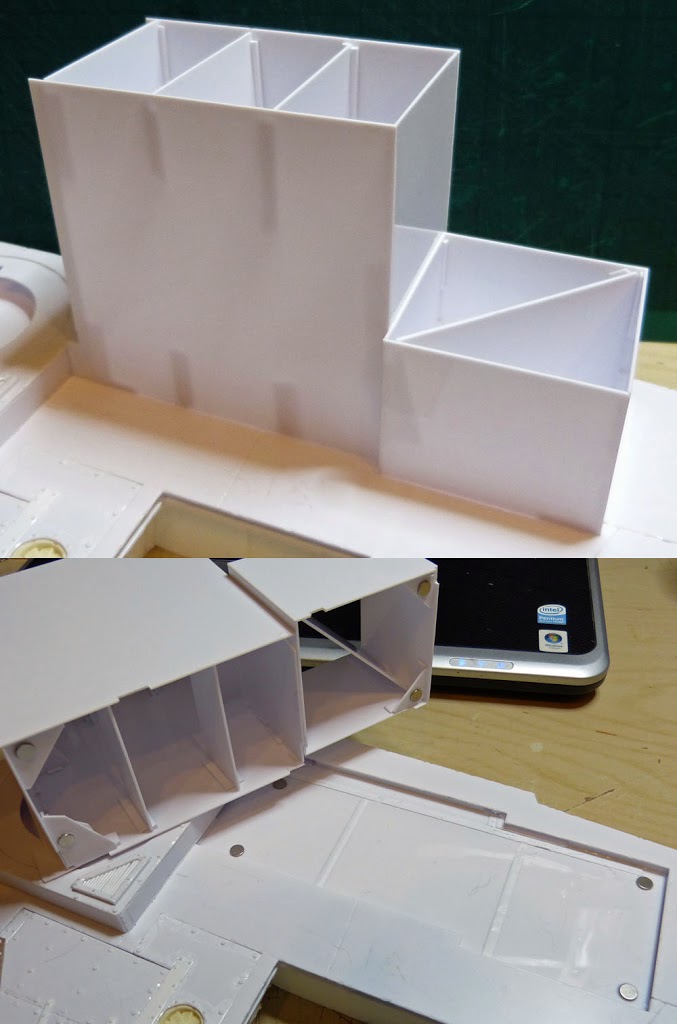
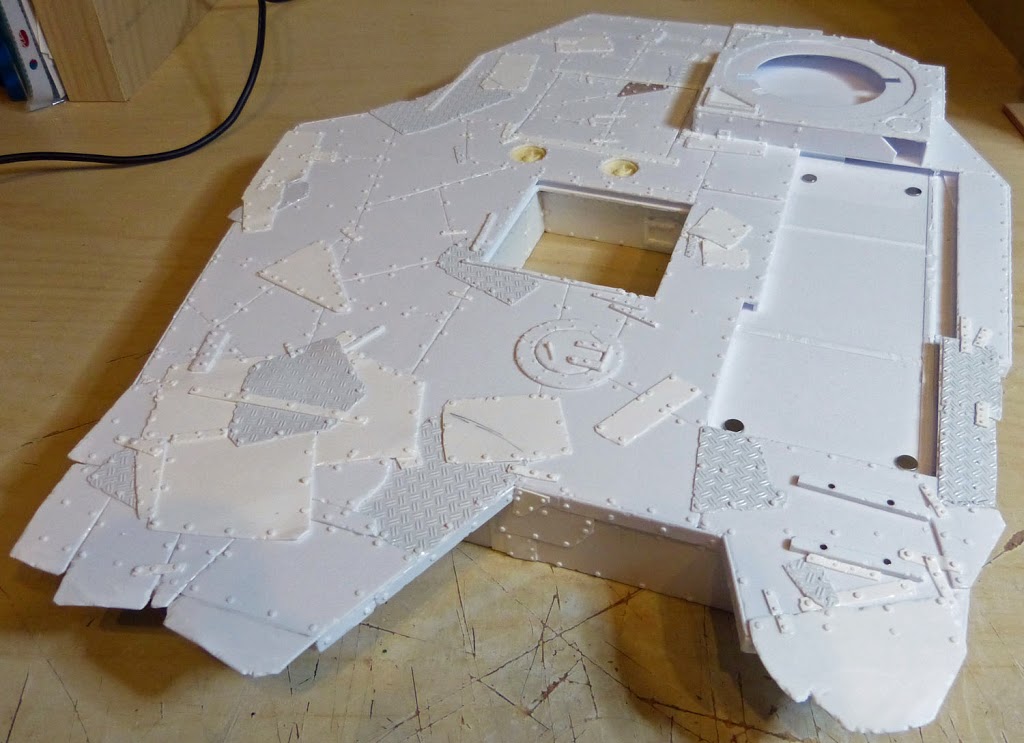
 Once the basic internal layout was done I was able to begin the under deck structure, the lift shaft runs up through the under deck area and up into the deck itself. The piece you see below was to form the ‘core’ of the under deck, it was used as the internal skeleton to which the rest of the under deck was built upon. Except for possibly a small area of styrene at the front none of what you see below would be seen on the finished build.
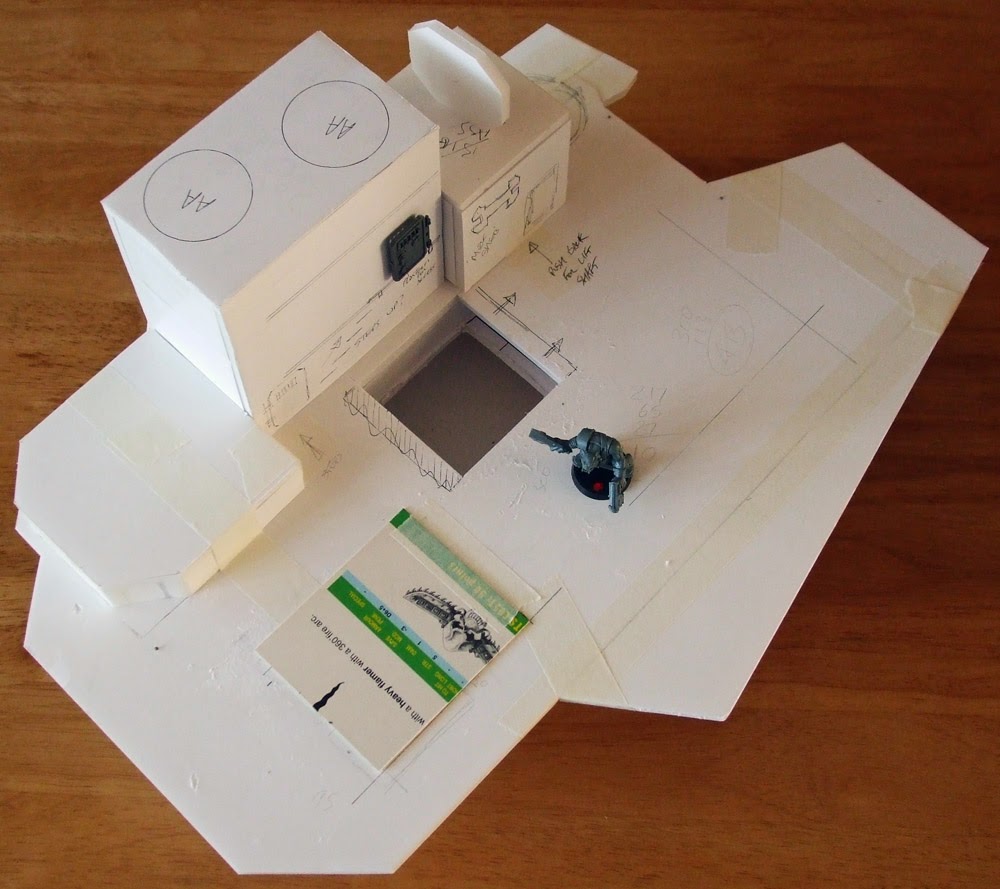
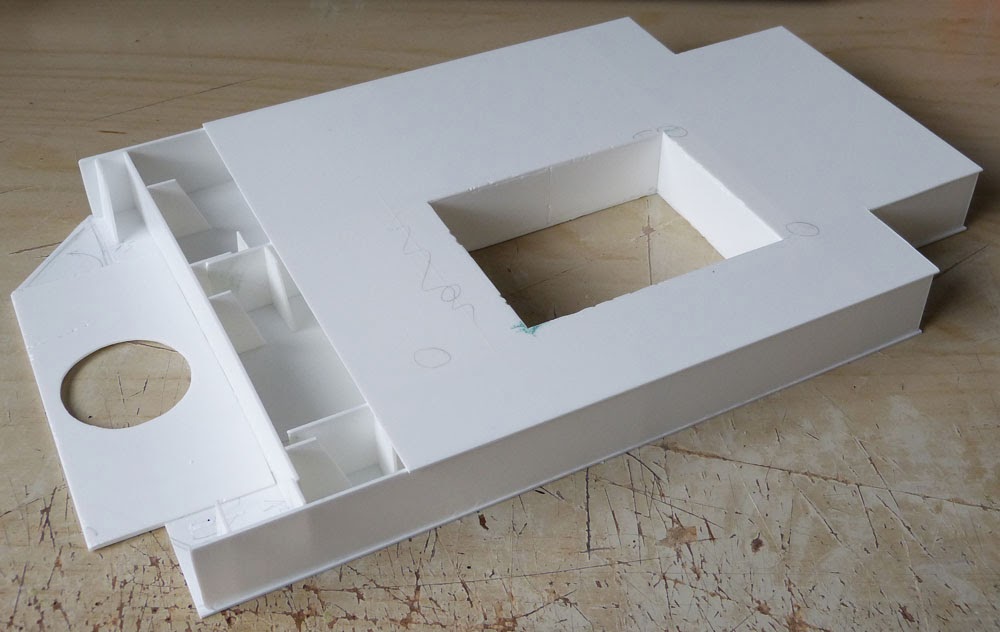
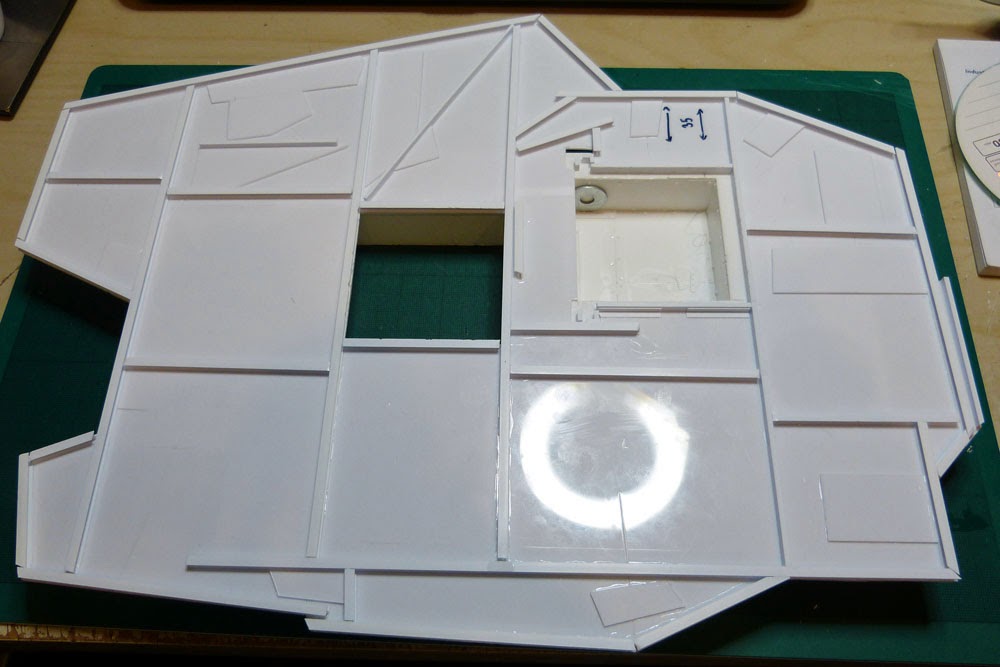
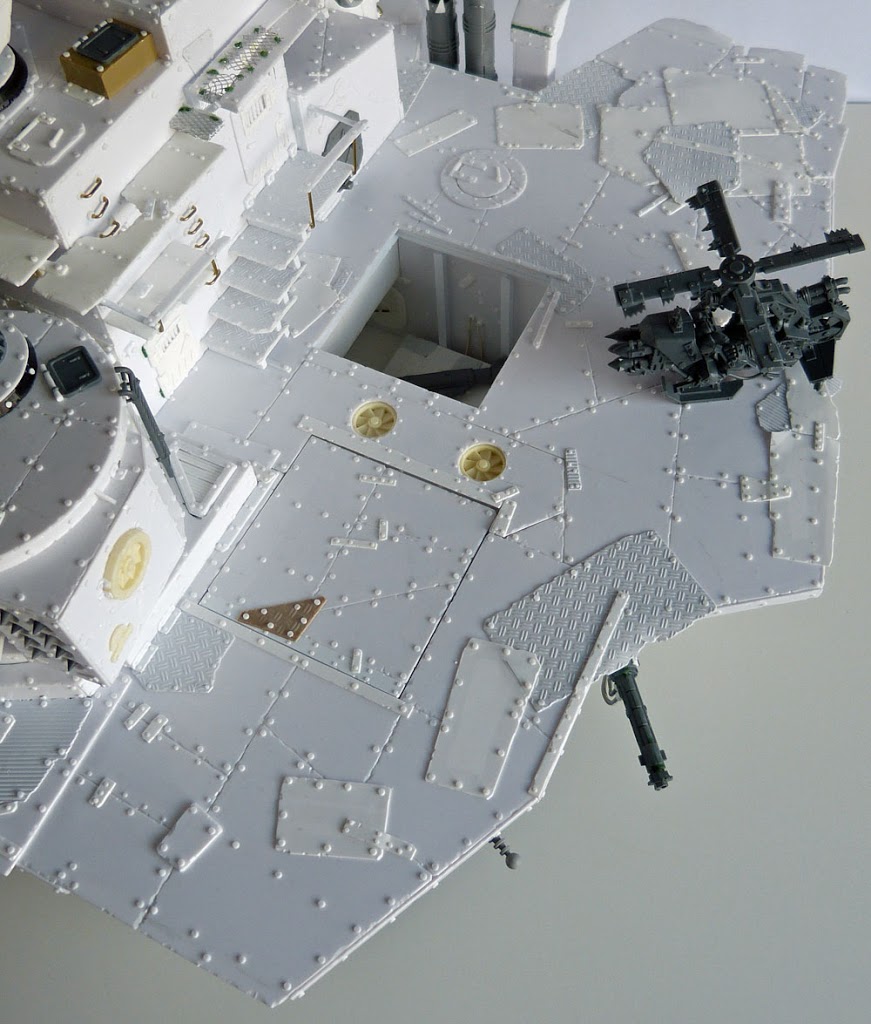
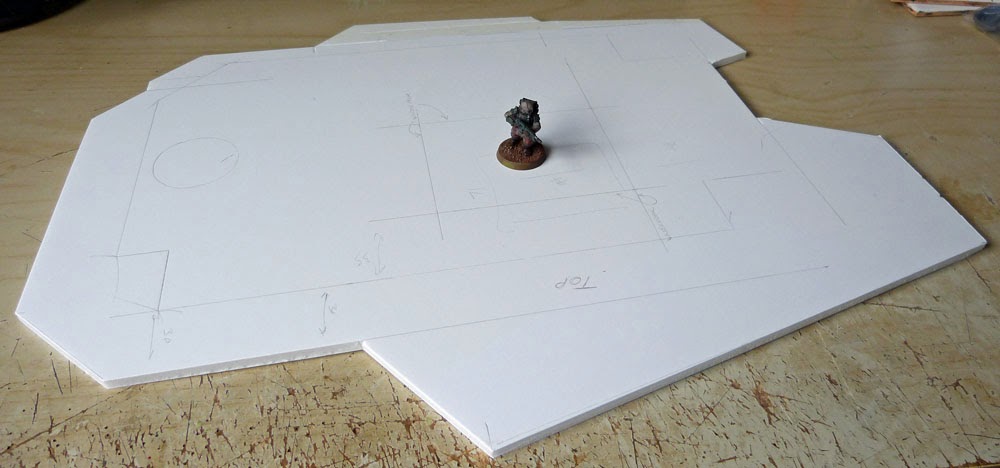 The Karrier deck was the next part to be started, this was going to be attached to the under deck structure and form one large removable section allowing both access to the internal area and helping with storage & transport. A mock up was first cut from foamboard to allow me to refine the size and shape of the deck before I started cutting styrene. As well as to accurately position the lift shaft and the Multiple Rokkit Launcha.
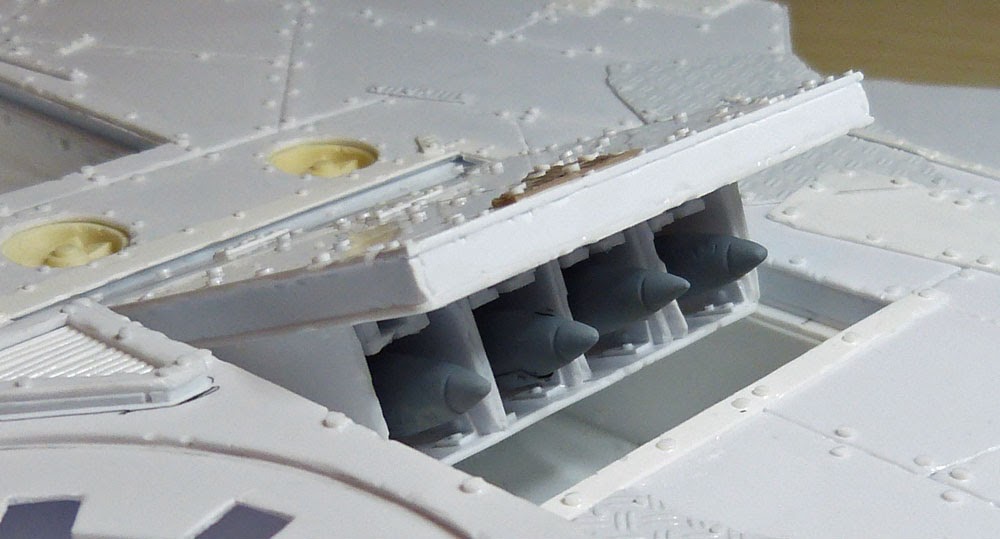
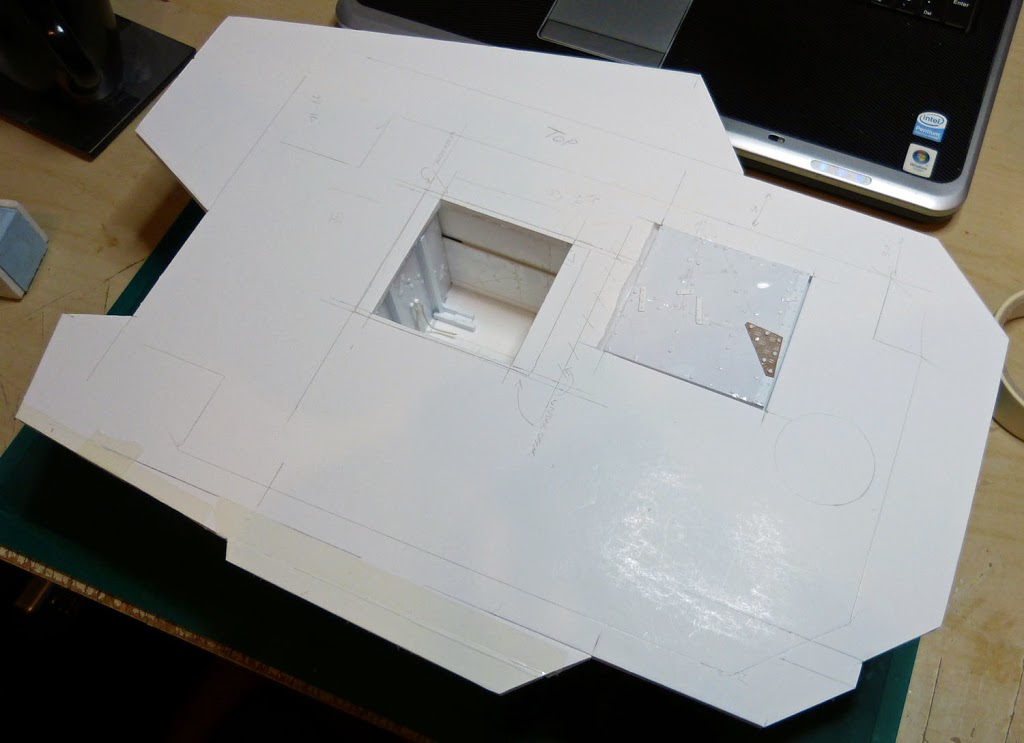
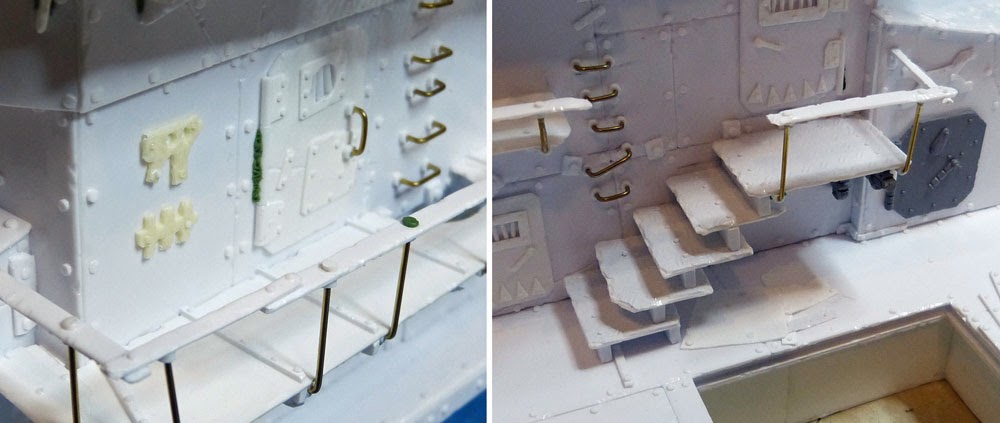
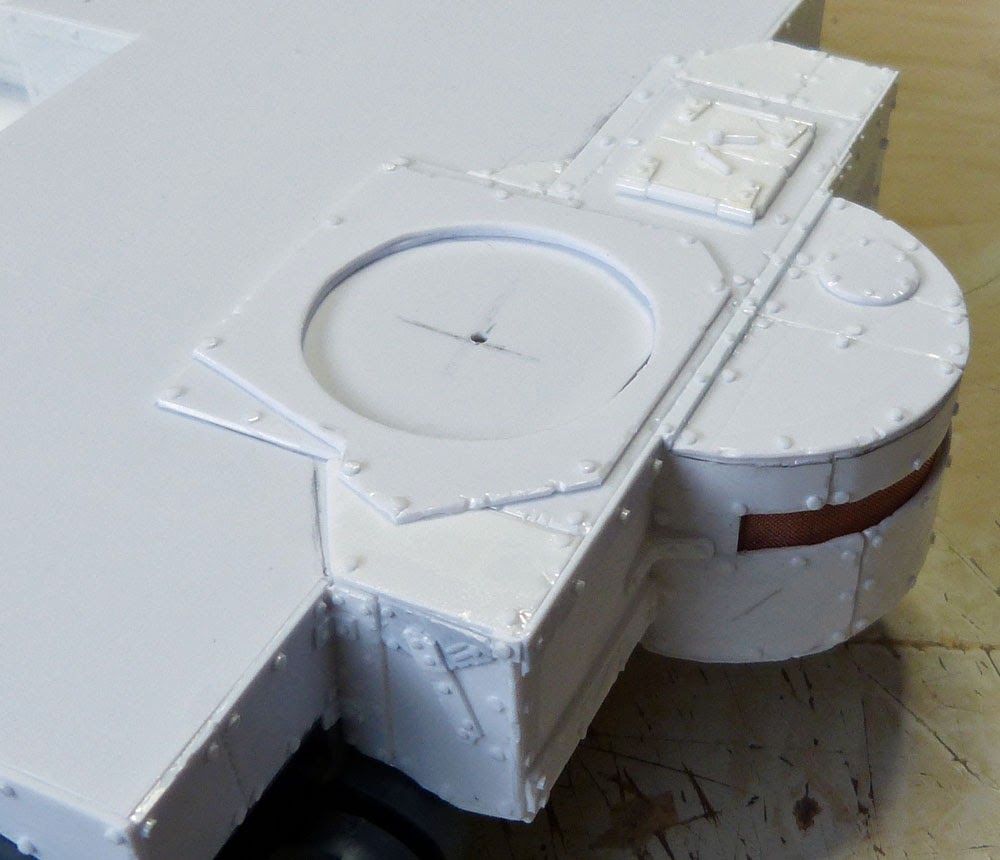 The build now progressed by working alternatively on the internal area, the under deck section and the underside of the deck. All of these areas needed to work together with each influencing the design and detail of the other. I couldn’t simply work on one and decide it was finished then move onto the next part. The build had to stay fluid; I adapted the design as I went letting things develop organically incorporating new ideas and changes of heart.
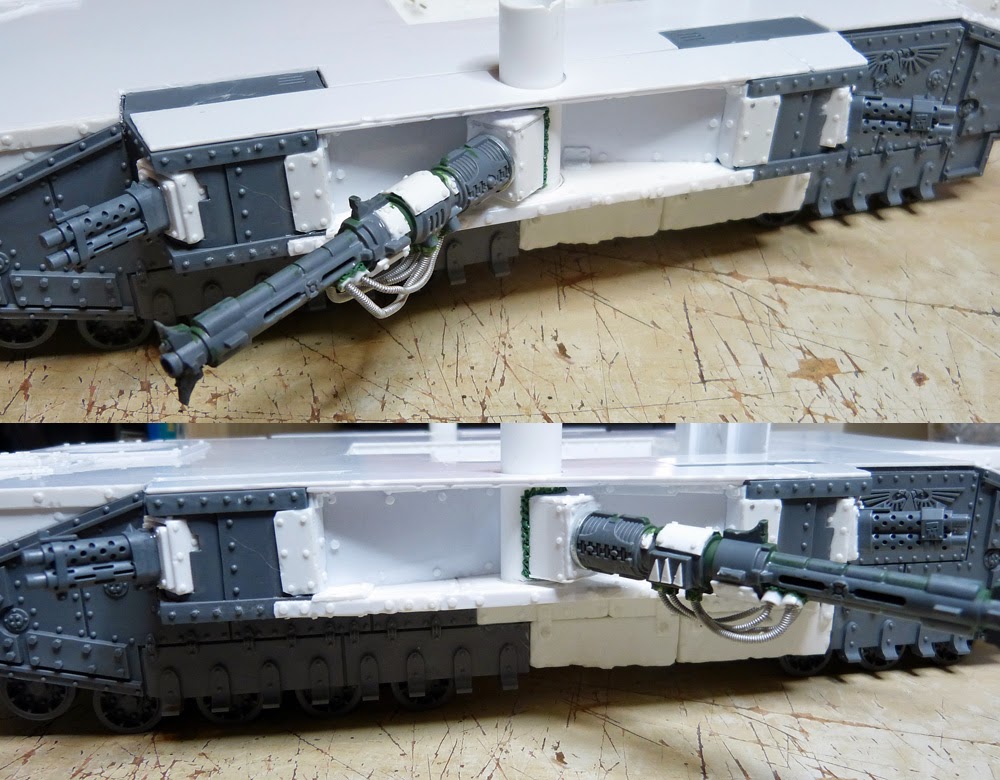


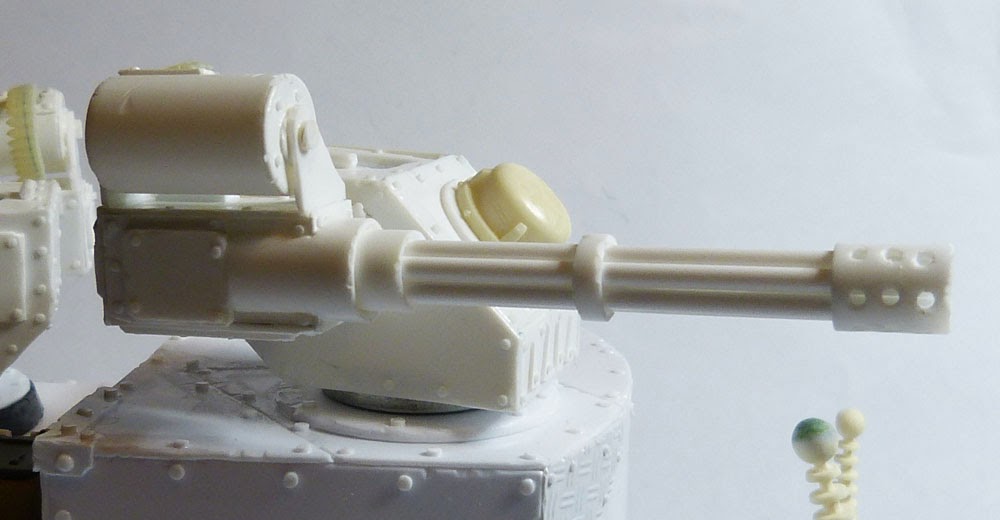
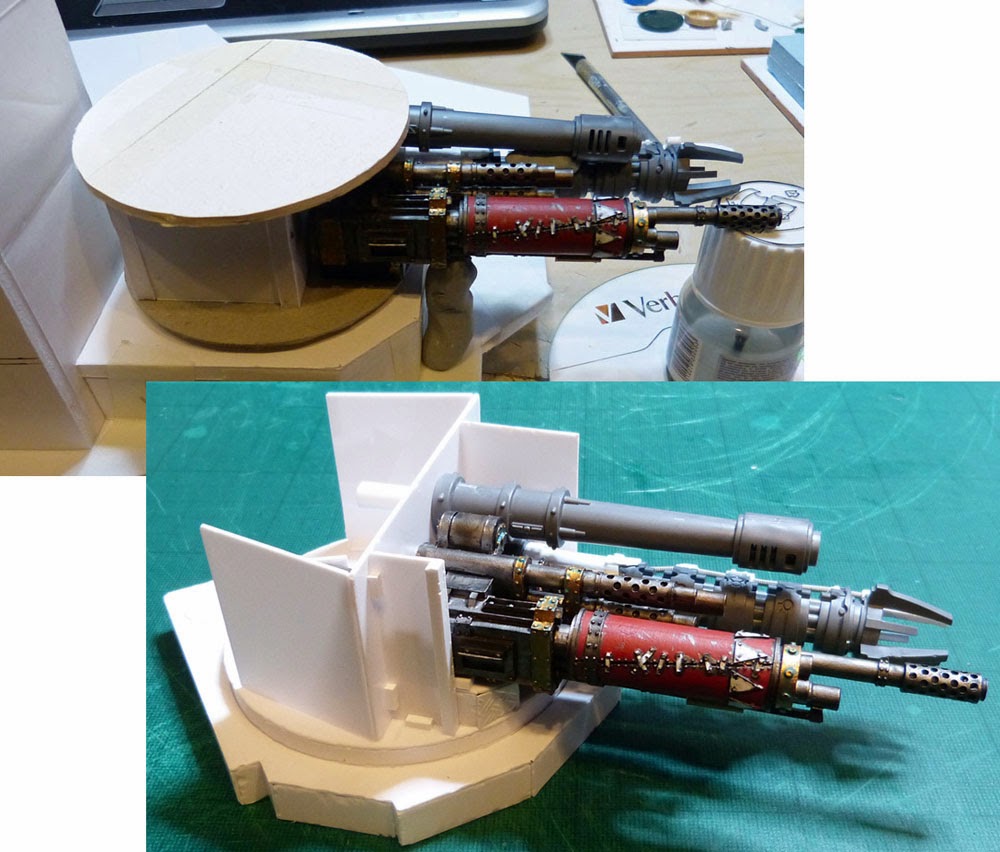 I began with the Deff Arsenal. This needed to be big enough to handle enough firepower to justify the name, but the larger it was the less room I would have to get the superstructure in. To get the right size I did a quick mock up from card with the aim of getting it big enough for all the guns but not so big it caused problems. Once happy I built the proper version along with its base.
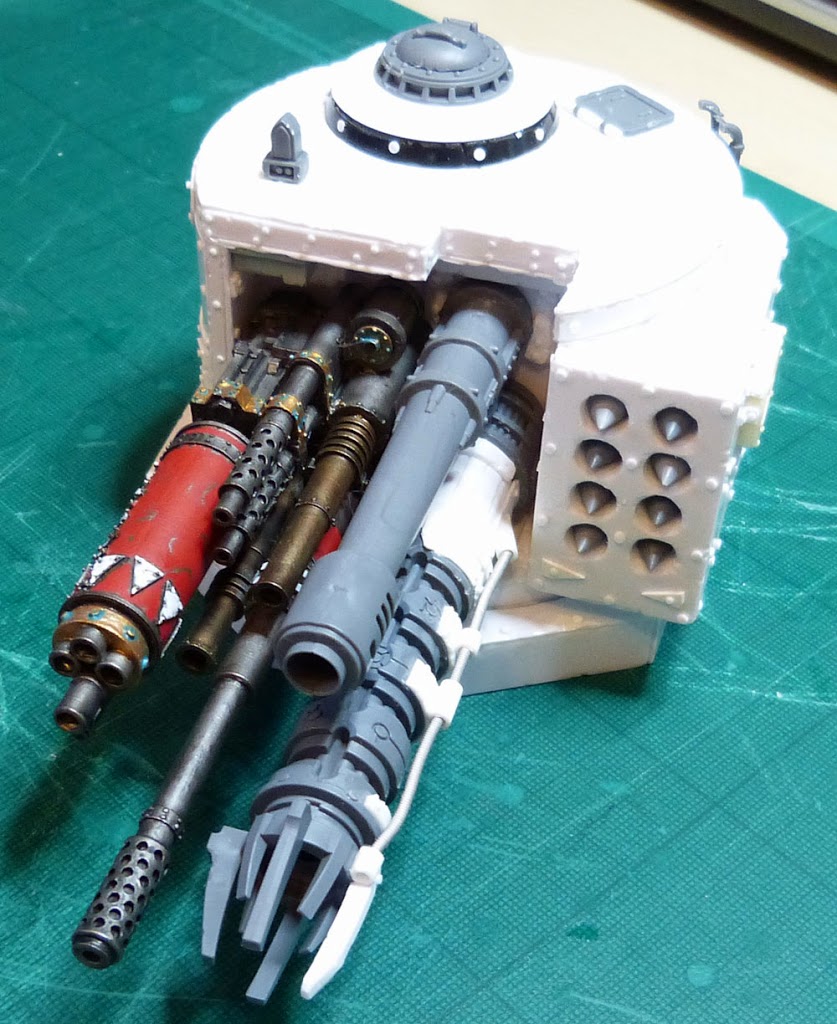
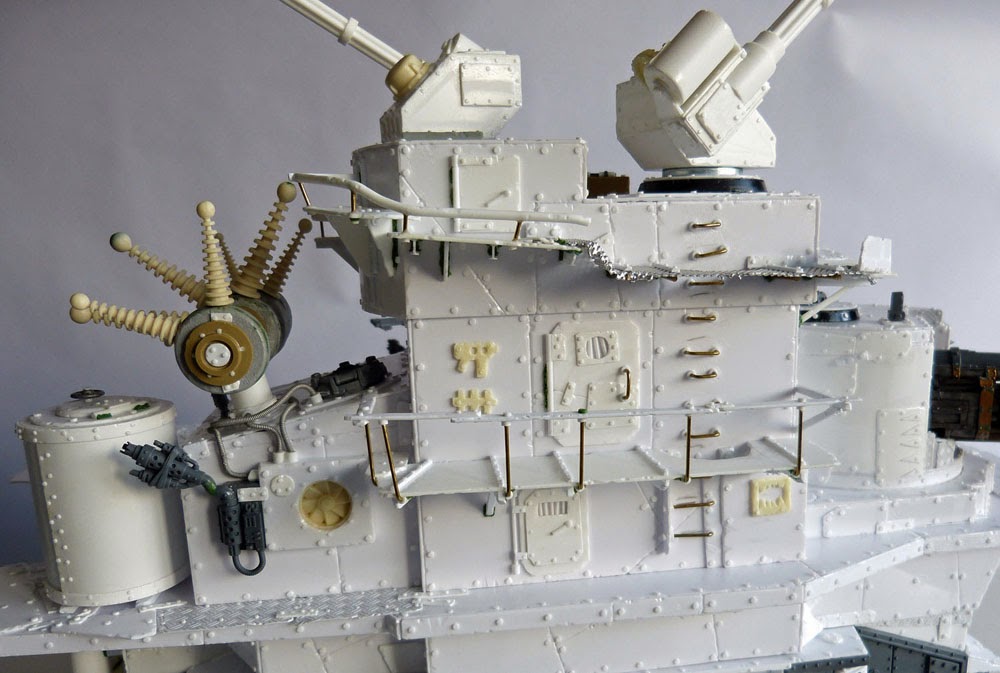
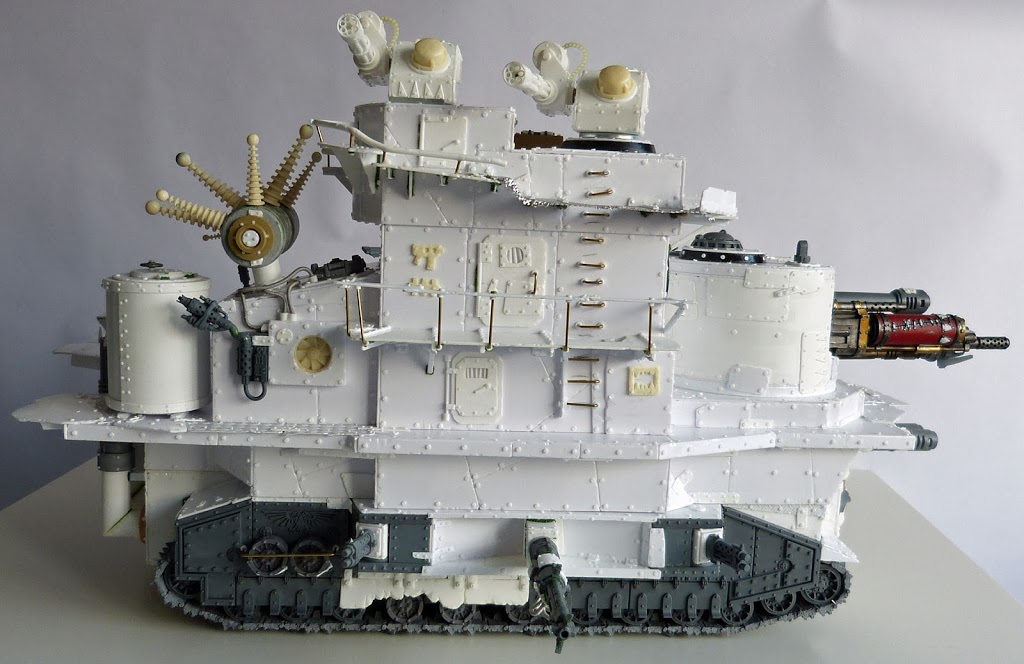
 With the deck plated up the superstructure could then be finished off. I split the main section into three levels, a Krew level (for Da Boyz) at the bottom, a Kommand level (for Da Nobz)above and then a Grot level (unsurprisingly for the Grots) at the top. The Grots were squeezed into this top level as they were to man the AA gunz on the roof.
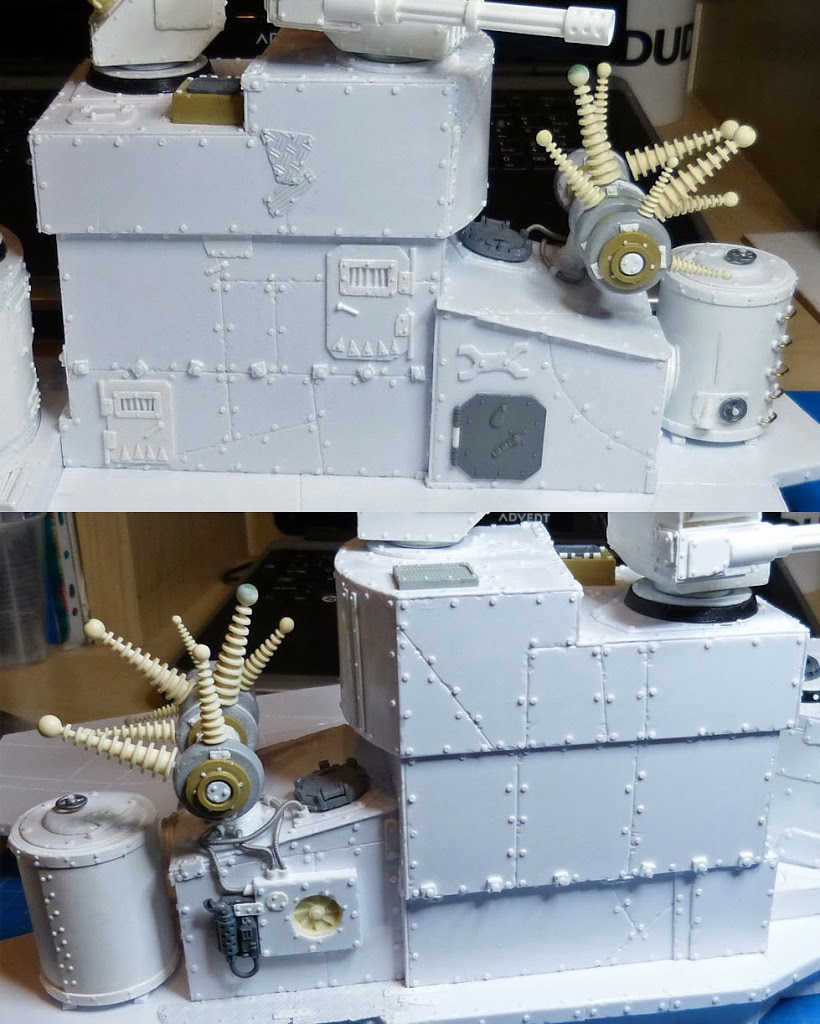
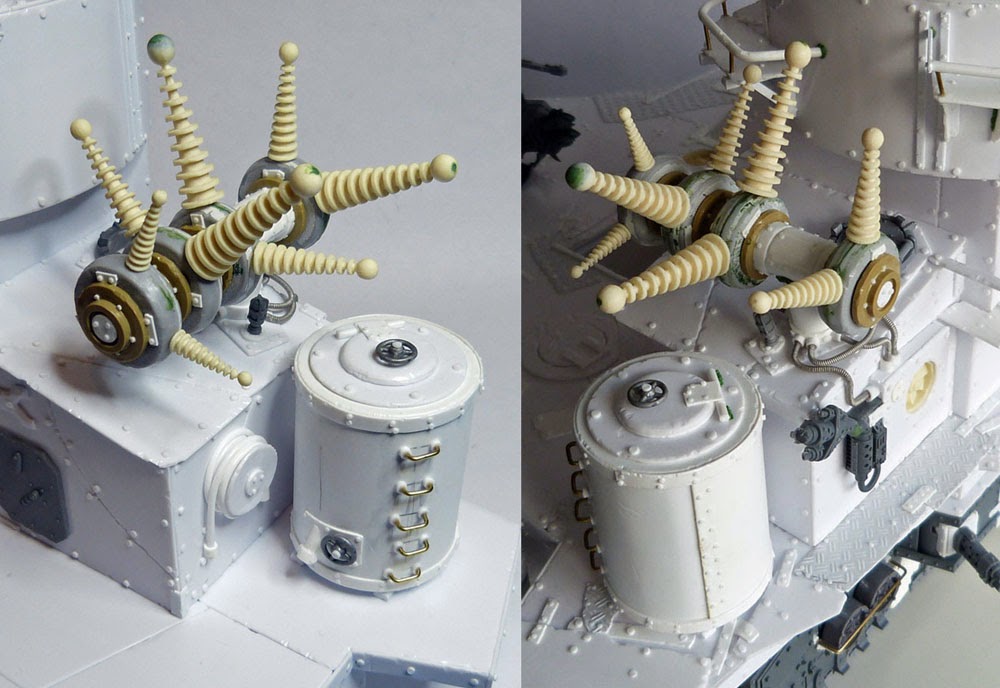
The Mek shed gained a KFF mounted on the roof and a fuel tank for refuelling the Koptas at the rear (along with a hose) Both the KFF and the tank is magnetised.

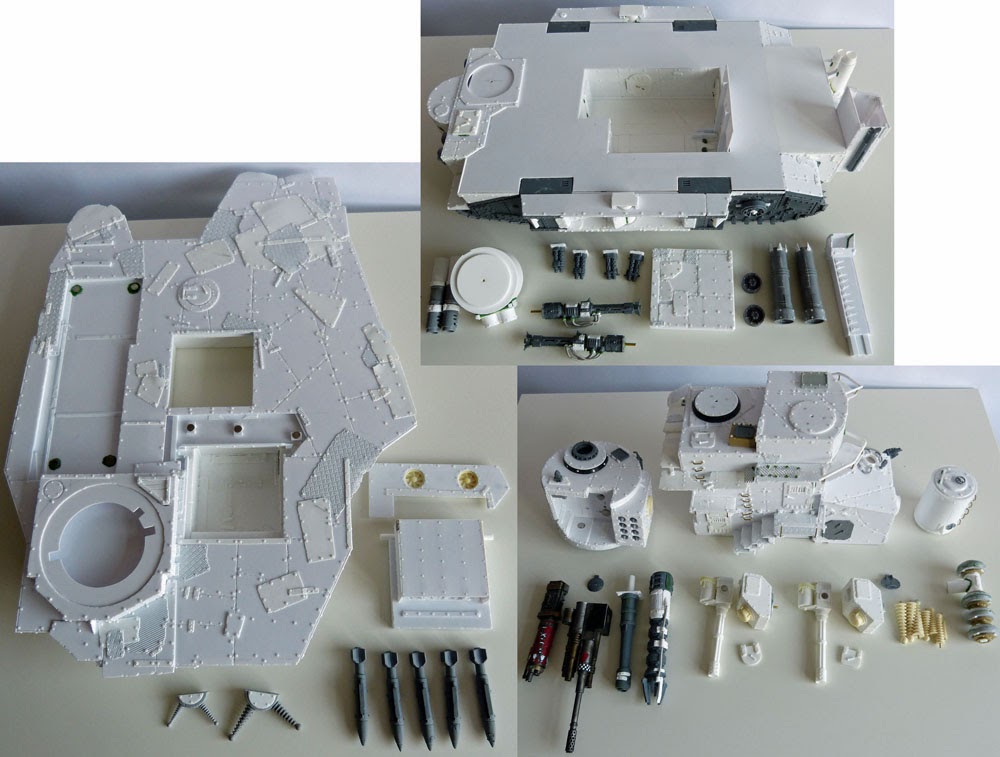 |
| The break down of components. |
Width: 312mm (12.25″)
Height to top of Superstructure (not including AA Guns): 225mm (9″)
Total Weight:1.72kg
Total Number of Parts:49
Total Number of Rivets Added : 6174 (yes, I kept track)


