Warmachine: Painting the Gobber Tinker pt. 2


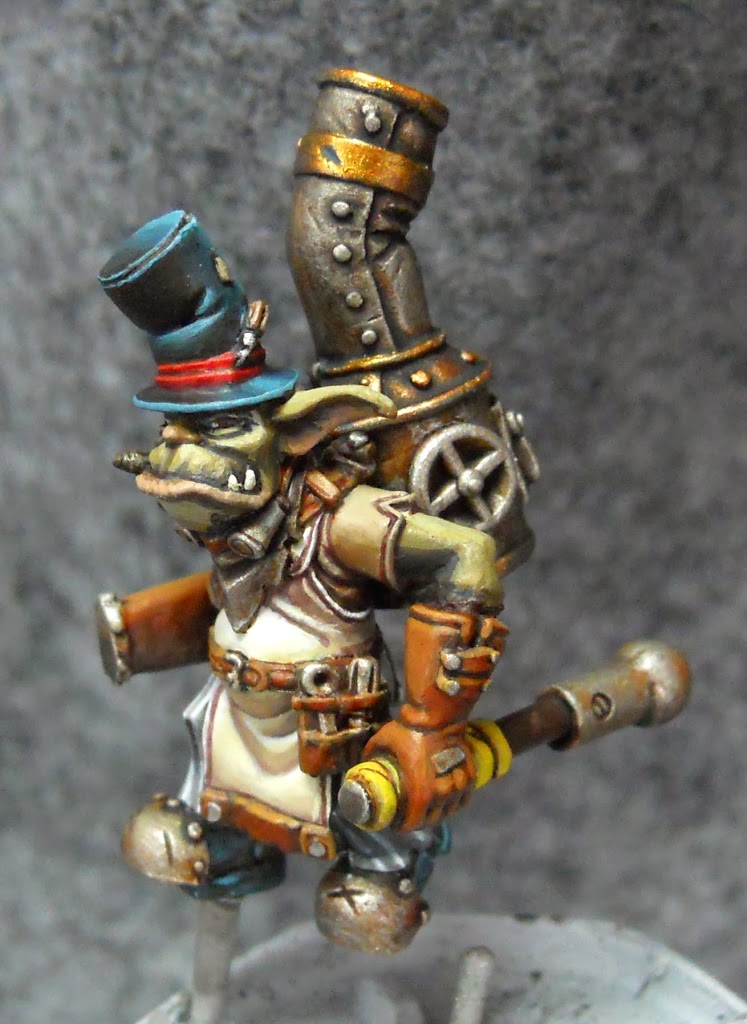
In the last article I’d just finished up the apron. The next step is the grips on the handles. These are painted Sulfuric Yellow, then washed with Agrax Earth. As usual I’m using formula P3 for my paints, and GW for my washes.
The grips are touched up with an application of more Sulfuric Yellow, leaving only the crevices between the straps dark. Then I begin all the leather areas with Umbral Umber.
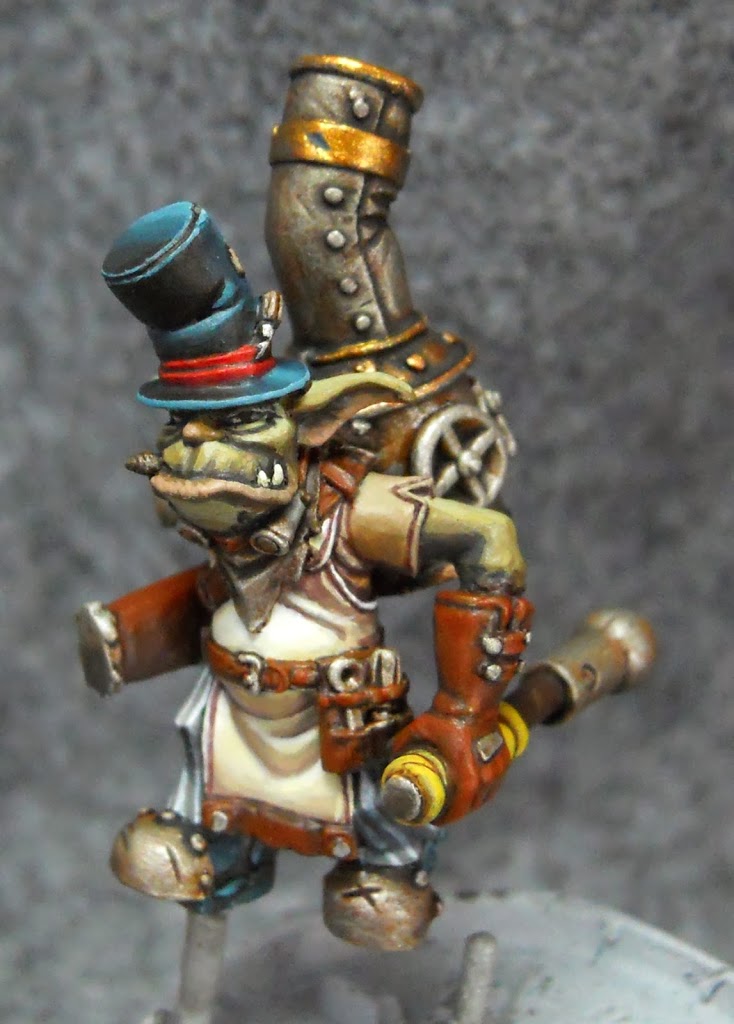
Bloodstone is used to highlight the Umbral Umber.
Then a little Rucksack Tan is mixed into the Bloodstone for a final highlight. Then I carefully line all the crevices in the leather with a mix of Umbral Umber and Exile Blue.
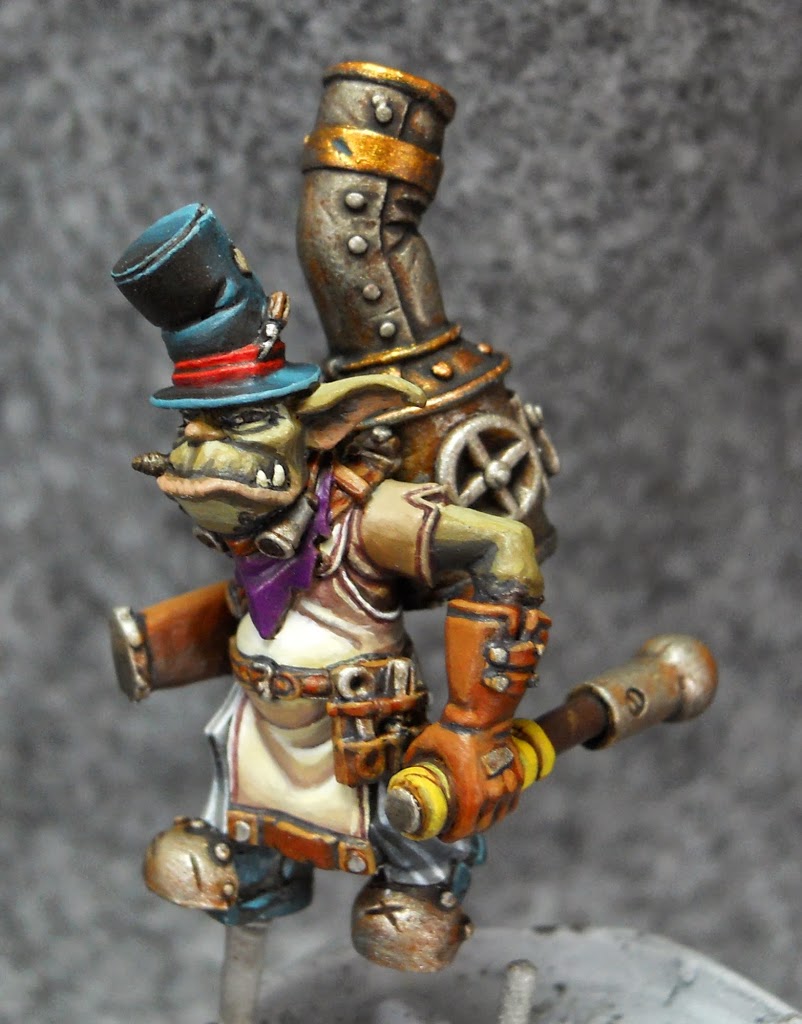
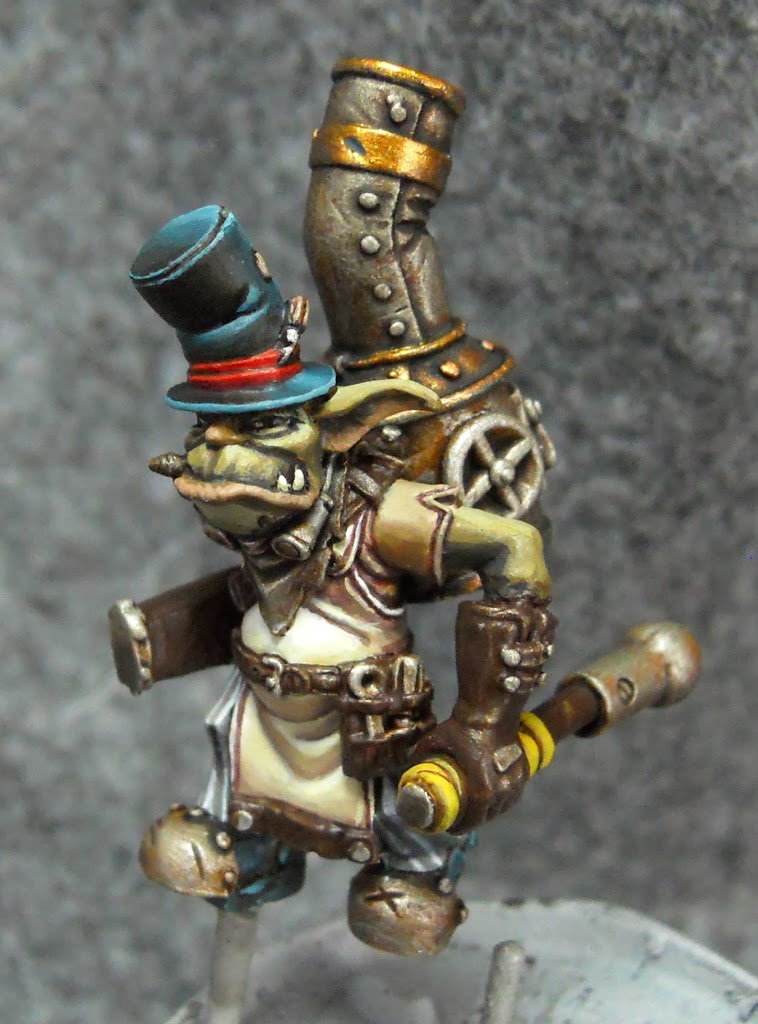
Next I move onto the scarf. I decide to use it to add a little more color so I paint it with some Beaten Purple.

I mix some Rucksack tan in with the Beaten Purple for a highlight.
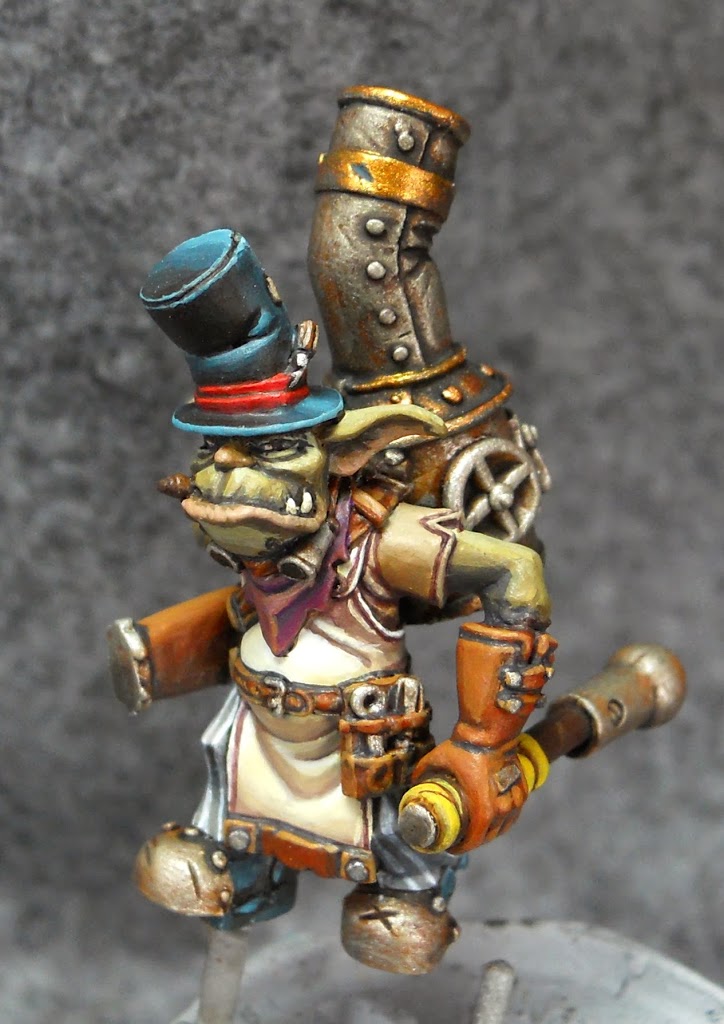
And to shade it I use the same Umbral Umber/Exile Blue Mix I used on the leather. I keep a pot of this mix around since I use it so much.
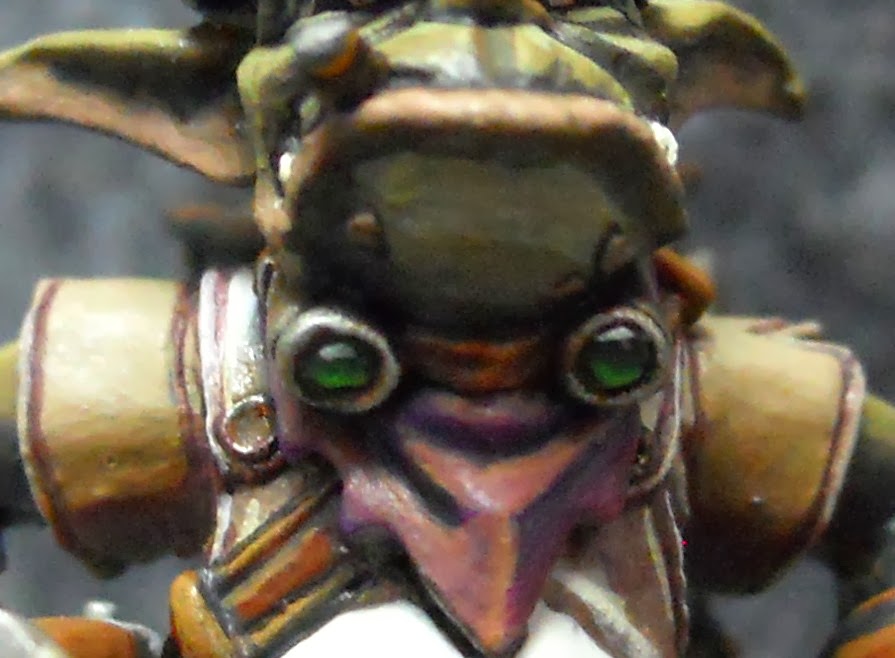
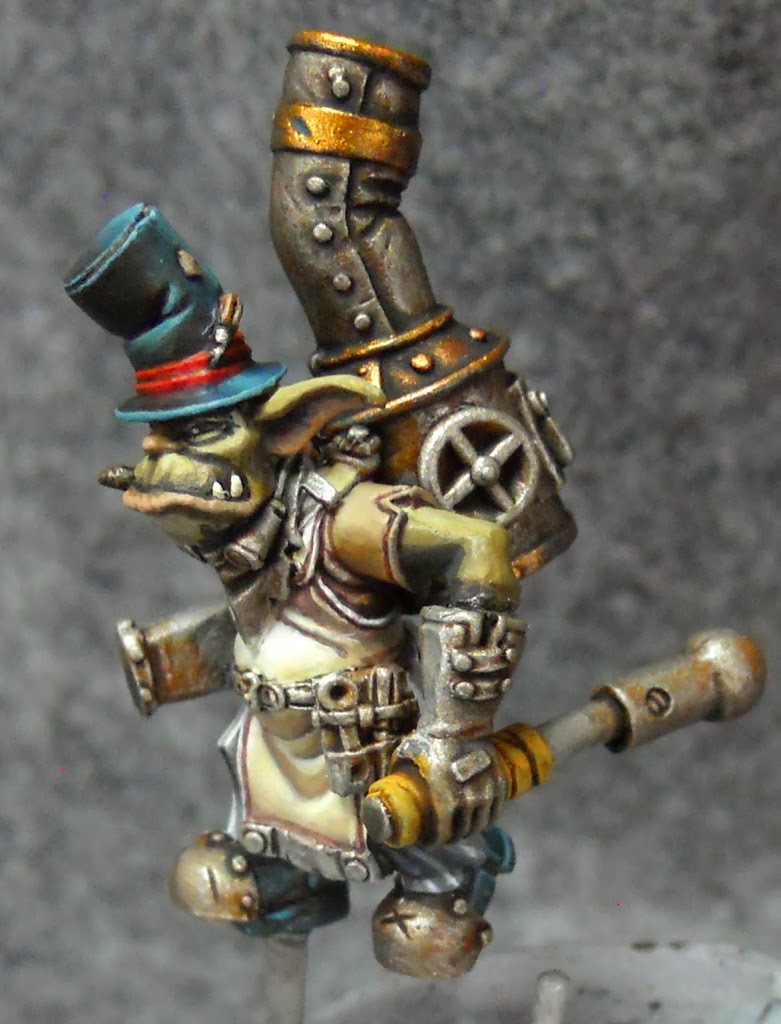
I paint the goggles using a pretty standard gem technique. The light green on the bottom is Necrotite Green, blended up into Gnarls Green, then into Thamar Black/Bloodstone mix. As always I use a toned black rather than a pure out of the pot one. I feel like that bit of added warmth really makes those colors pop.
If you look closely you’ll also notice I finished off the cigar. First the whole thing is painted with Umbral Umber. Next the outer half of it is painted with that same warm black. Next the tip is painted with Heartfire (a warm yellow) leaving a small ring of the black. Next some Ember Orange is applied leaving a small ring of the Heartfire. Then its Bastion Gray leaving a ring of orange. Then the Bastion Gray is stippled with a little Trollblood Highlight (a light Gray) to give the appearance of ash.

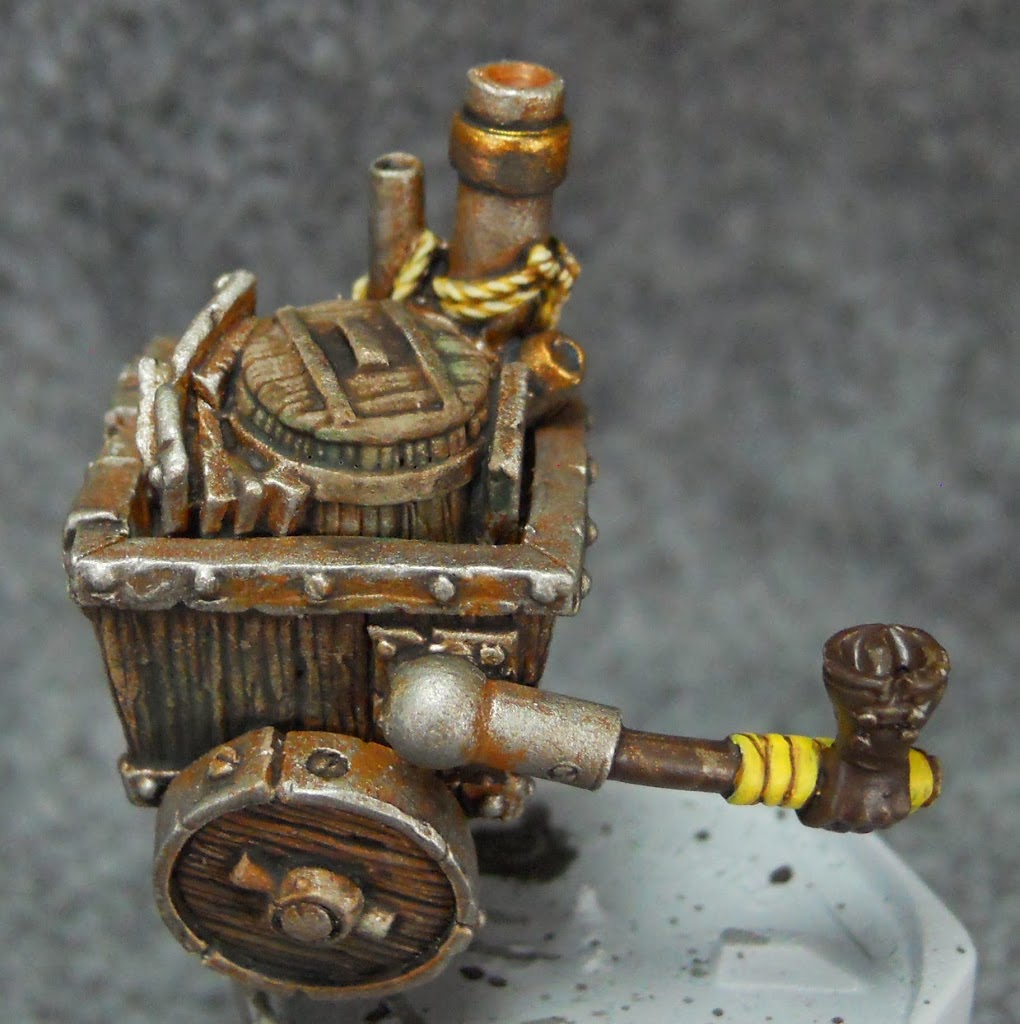
The last step to finish up the gobber is to paint the handle he’s pulling there with Hashut Copper. This is done with the same method as the copper in Pt. 1. I had initially planned to paint it with a wood grain, but when you see the cart I think you’ll agree that there is enough wood on this mini.
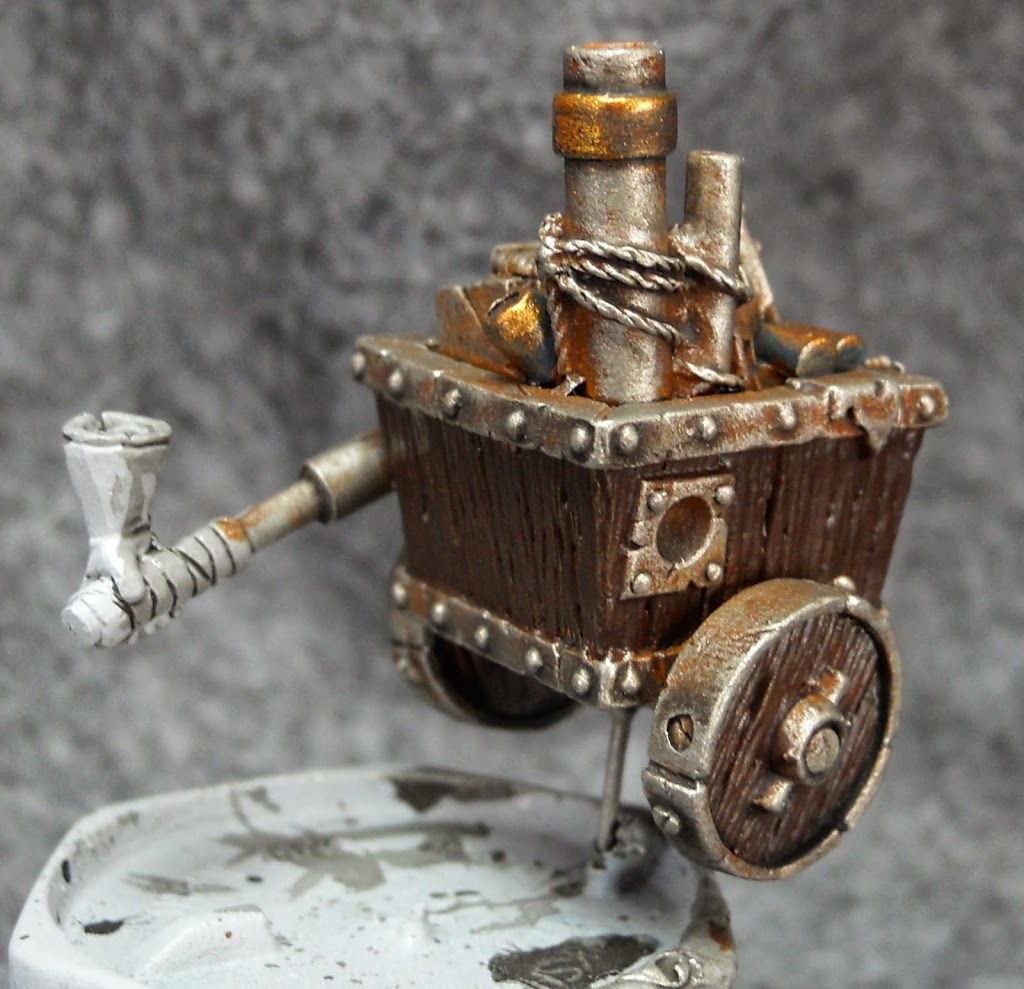
And here’s the cart. Follow the instructions on the metal from the previous article for all those metal areas. Then paint all the wood with Umbral Umber.

The Umbral Umber is drybrushed with Bloodtracker Brown.
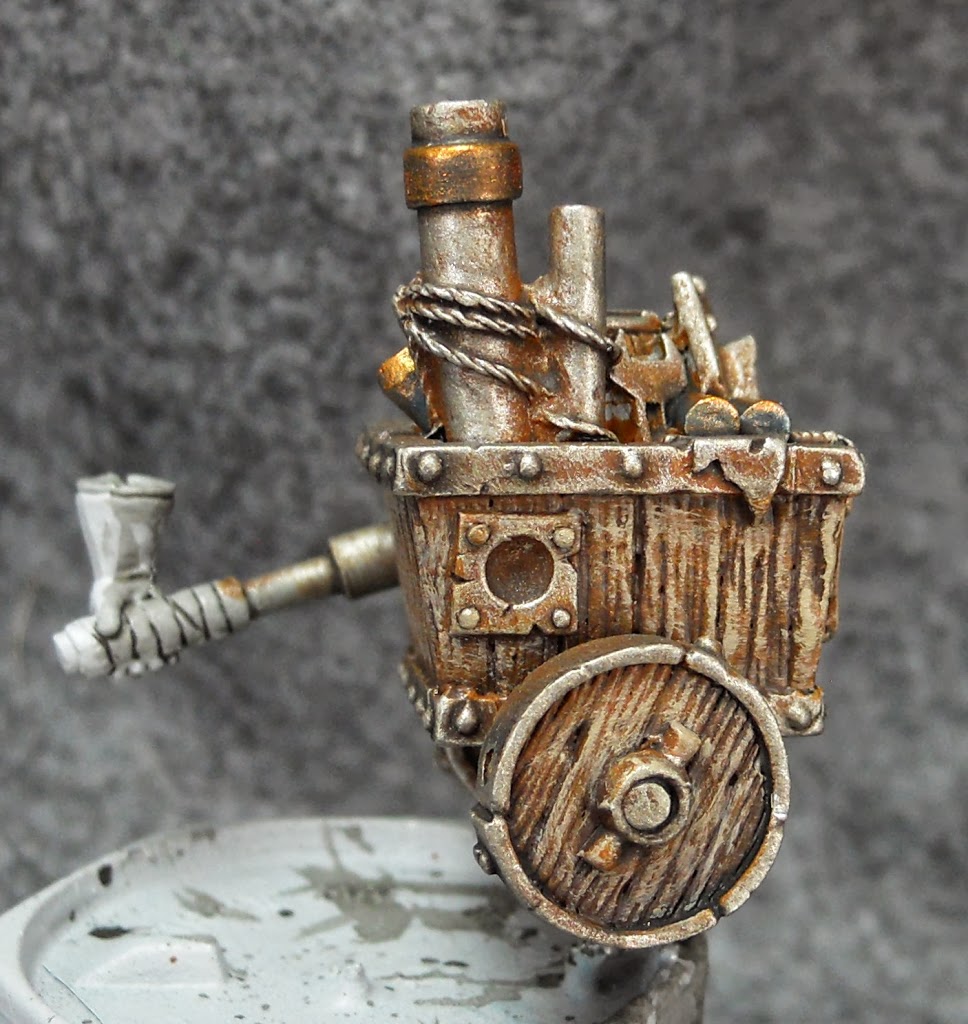
Then with Menoth White base – a little less vigorously this time.
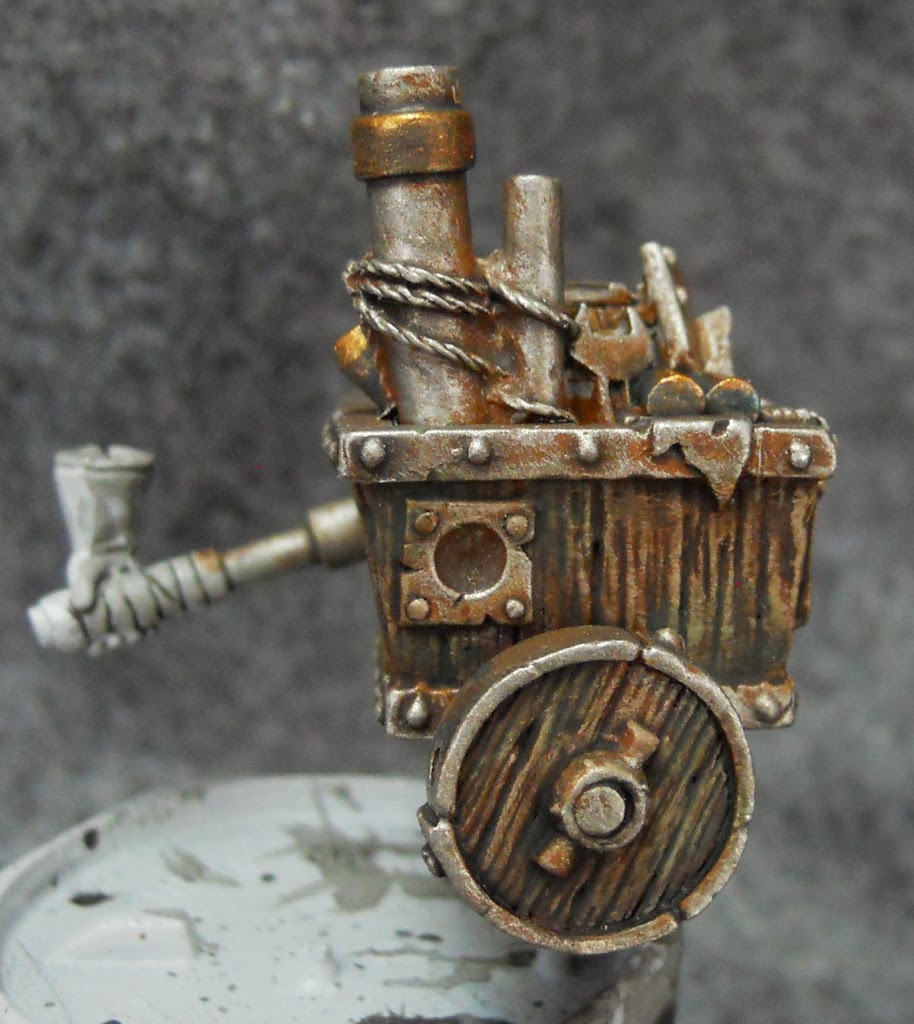
Then its time for an Agrax Earth wash. While the wash is still wet, I thin down a little Gnarls Green with water, and dab it onto the still-wet Agrax Earth in a couple of places to add a weathered feel. When everything dries it blends itself together nicely and kinda looks like some algae or something has been growing on the old wood.
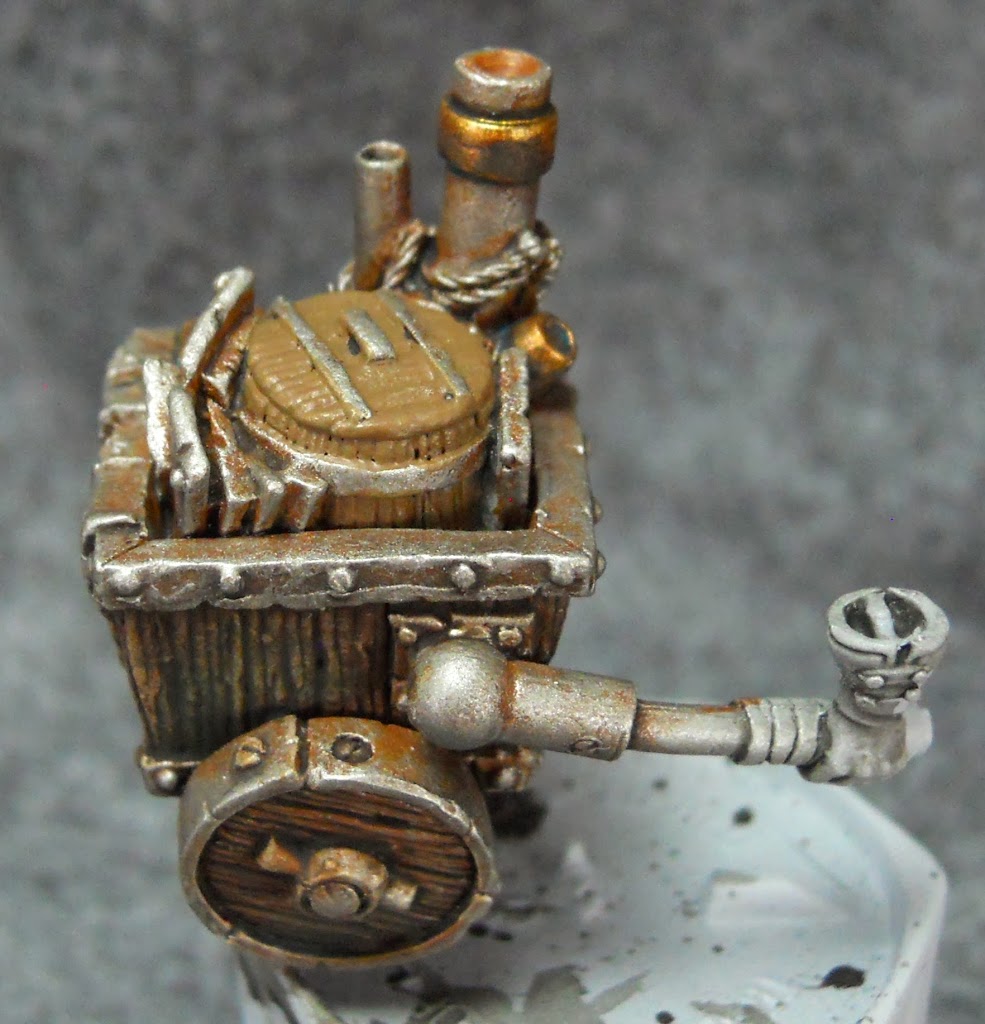
I wanted the crate to feel like it was made of slightly different wood. I started it off with a basecoat of Gun Corps Brown.
This is drybrushed with Menoth White Highlight which then gets the same wash treatment as the rest of the wood. Well I guess they don’t look that different, but hey, at least its done.
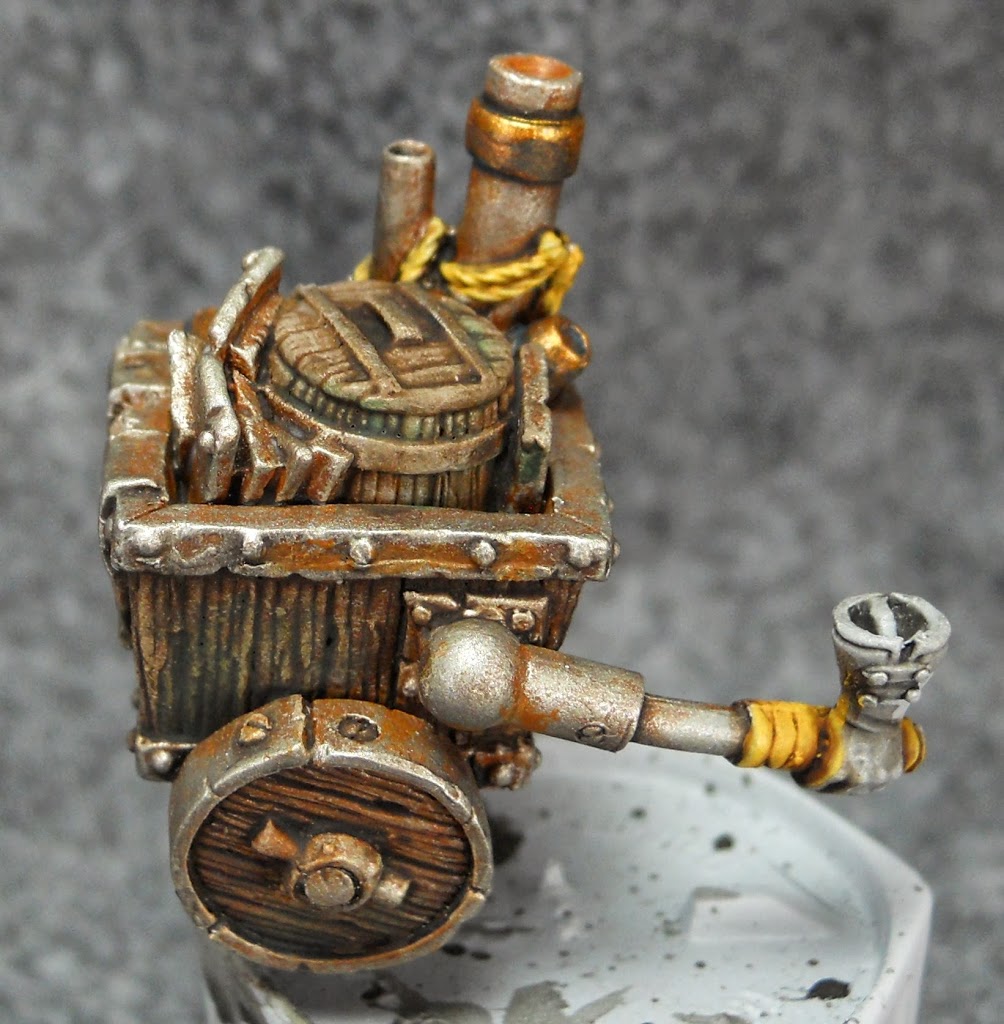
I also do the rope at this point, starting it off with Sulphuric Yellow and washing it with Umbral Umber at the same time as the rest of the wood.
Menoth White base is used to finish off the rope. Meanwhile, you can see I’m working out some of the same steps I did on the gobber himself. I did, of course, paint the Gobber and the cart at the same time.
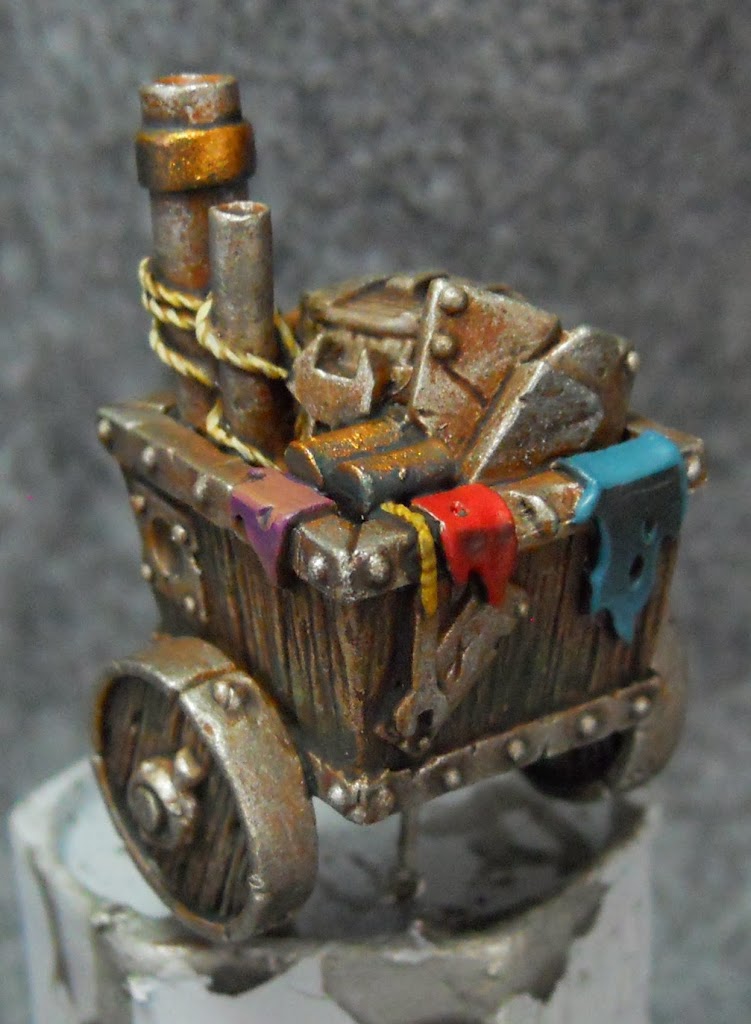
The last part of the cart were the bits of cloth hanging outside the back. I guess these are probably supposed to be greasy rags he uses to wipe his hands or something like that. But I wanted to add some color. Some more off white is really not what this model neecs. The techniques for these rags are the same as the colored areas on the rest of the model. The purple is shown above, and the blue and red were covered in the last article.
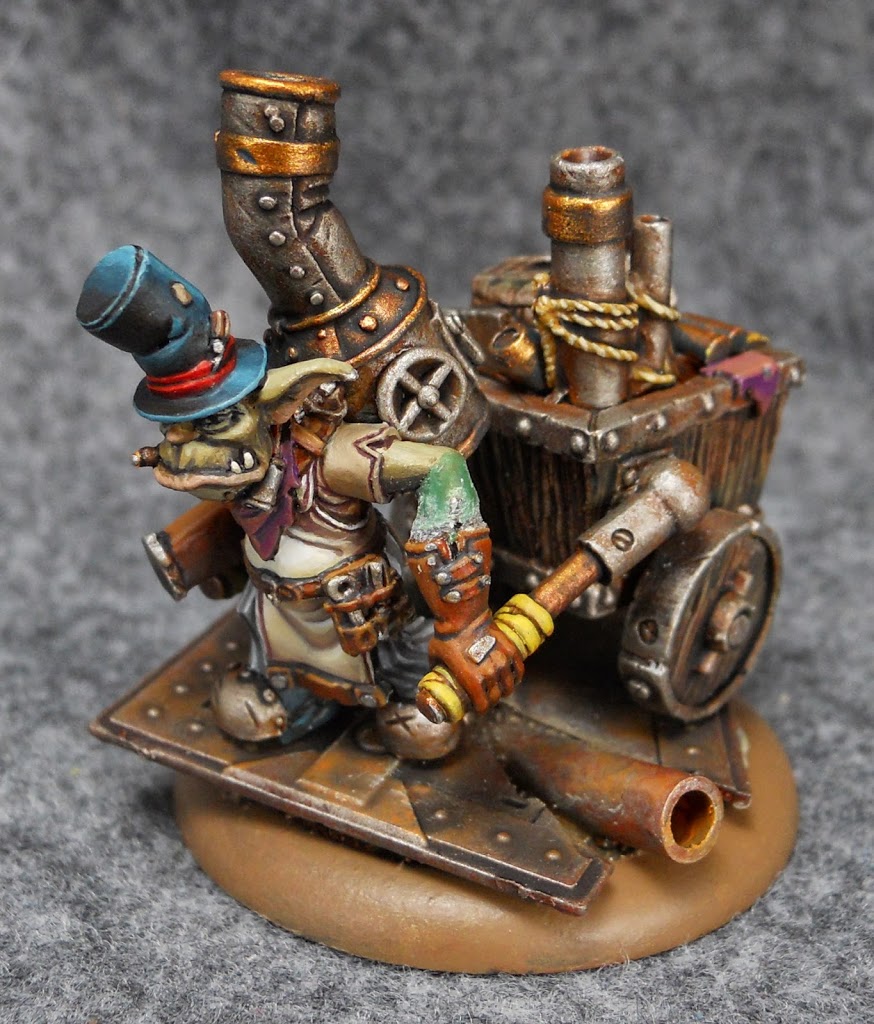
Joining the two pieces was kind of a pain. Whenever I got one arm lined up, the other would break lose or fall off. In the end, despite pinning the two pieces, I was stuck with a pretty big gap between the arm and glove that had to be green-stuffed.

But after painting that green stuff, the guy is pretty much good to go.
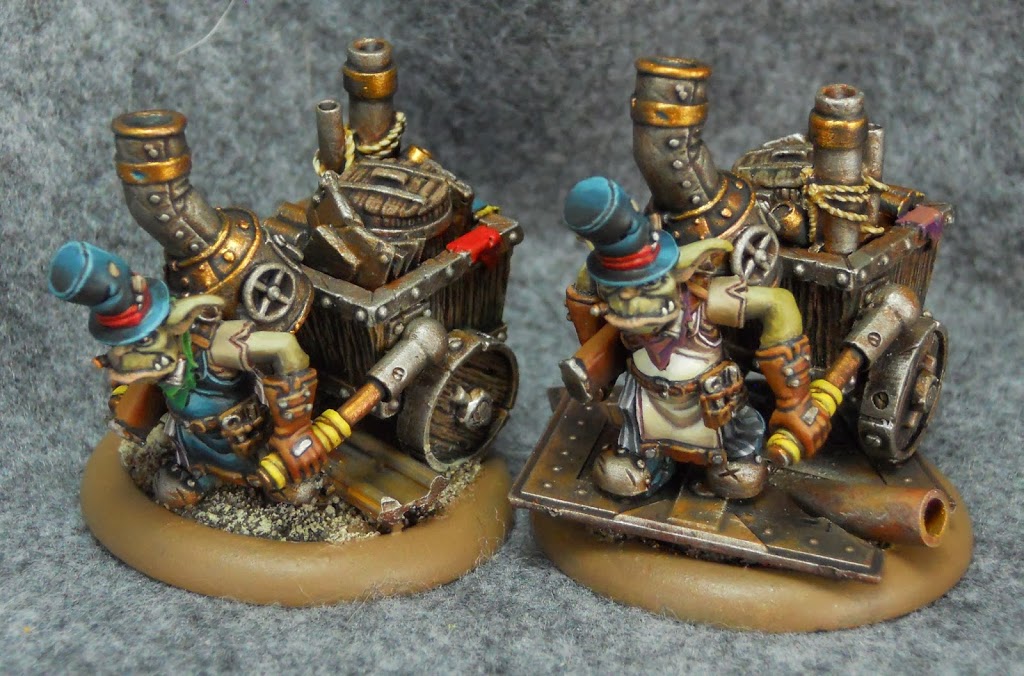
His twin went together a little easier. In retrospect I kinda wish I’d done at least a little conversion work to the other one. It probably wouldn’t have been too tough to snip off the top of that top hat and file it down into a bowler. Maybe one of you guys should give that a try.


