HOBBY: Painting Trollkin Warders (and Champions) Pt. 2

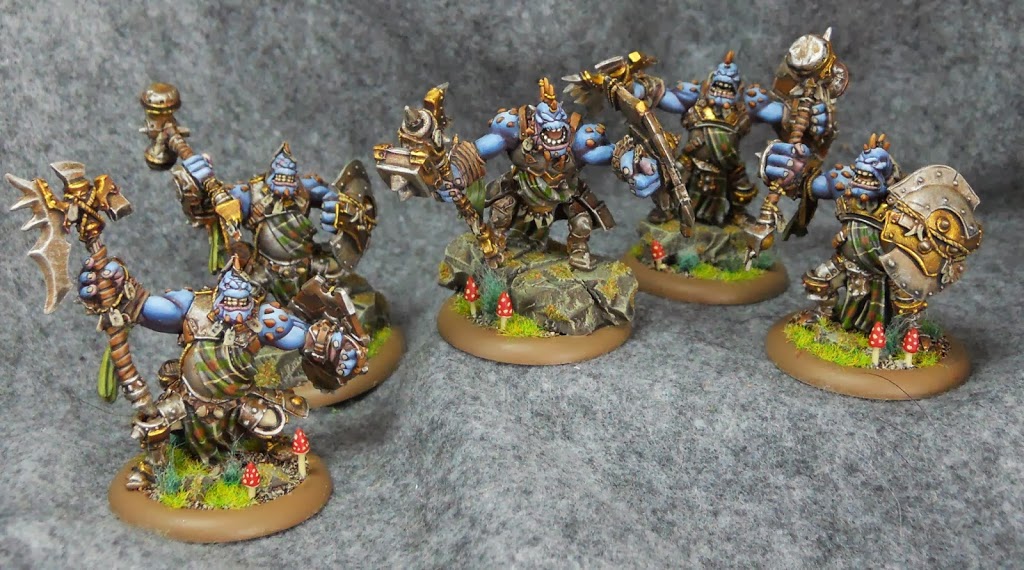
Break out your paintbrushes folks. Let’s finish off these Trollkin Warders
First off, catch up with part 1 here. Ok, good – let us continue.
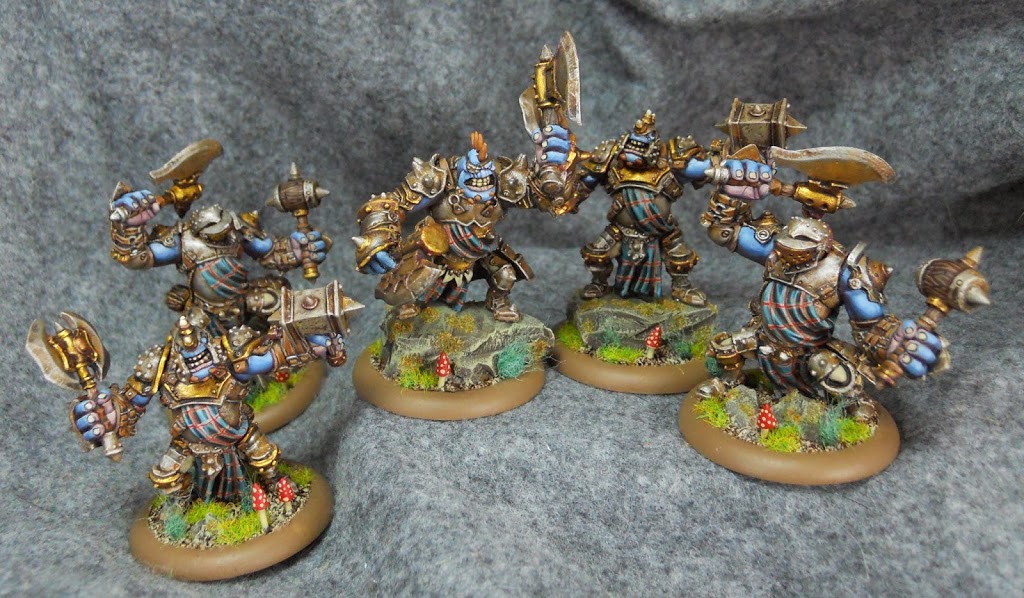
And these Champs.
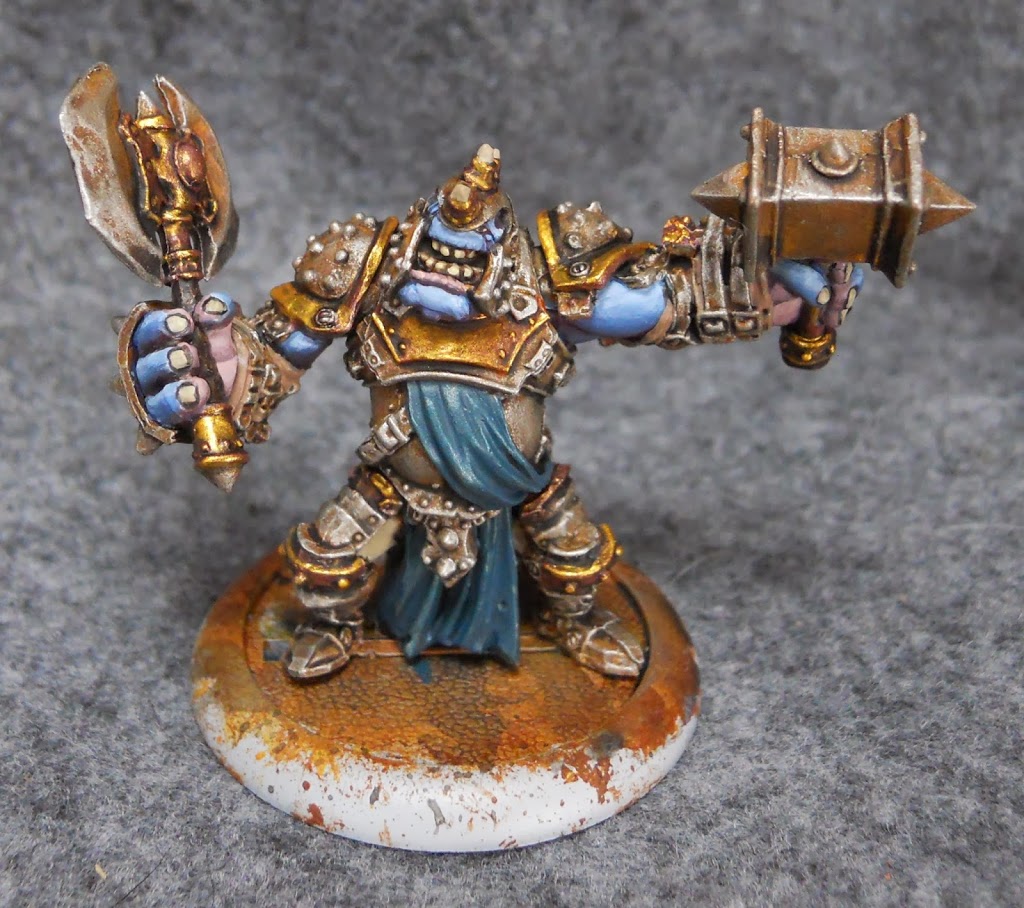
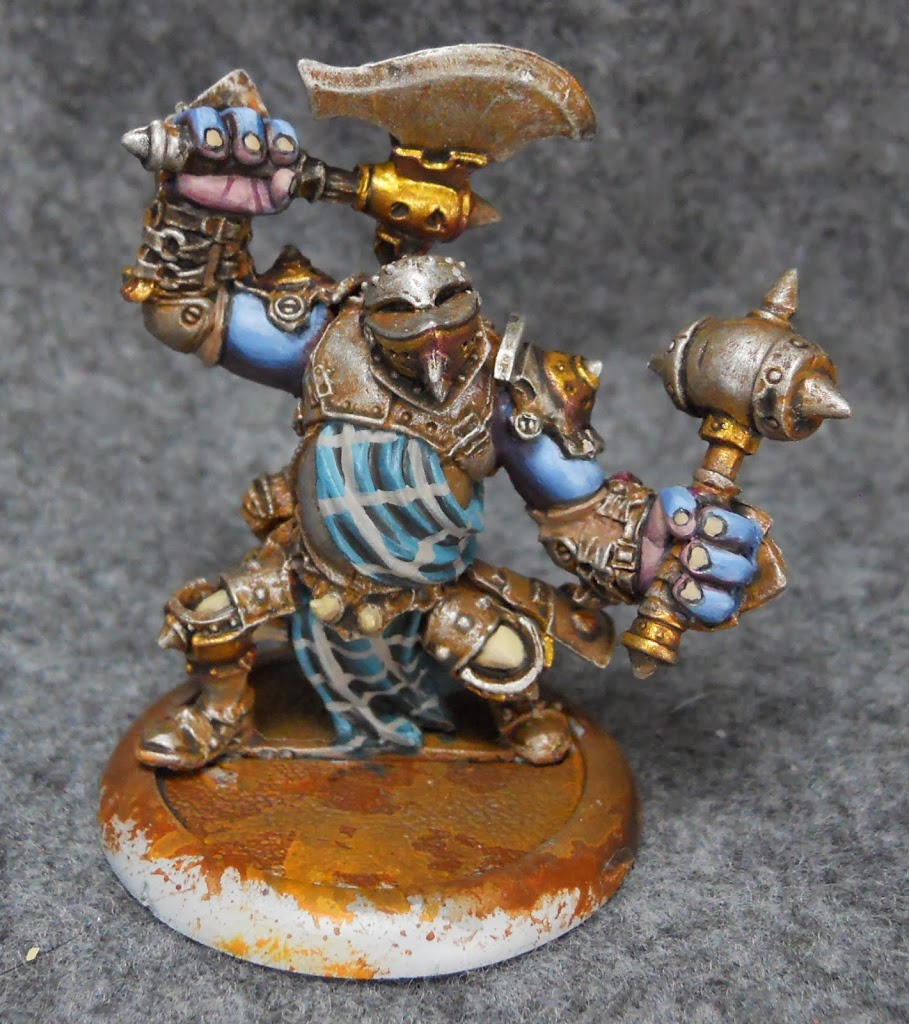
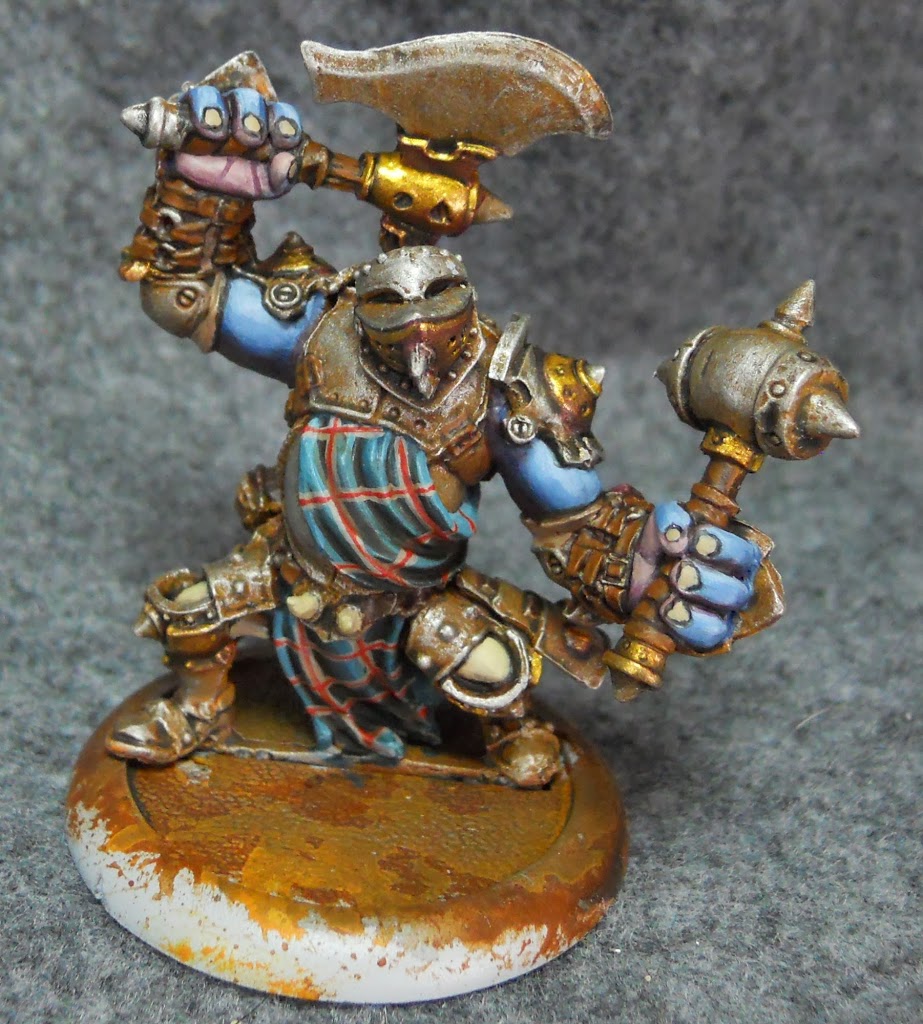
I left off last time with this guy whose tartan I’d just painted Coal Black.
The Coal Black is highlighted with Trollblood Base (this is the official name of the color and not actually the color I use to base my Trollbloods).
Then the Tartan is shaded with my toned black (see the last article for more on this).
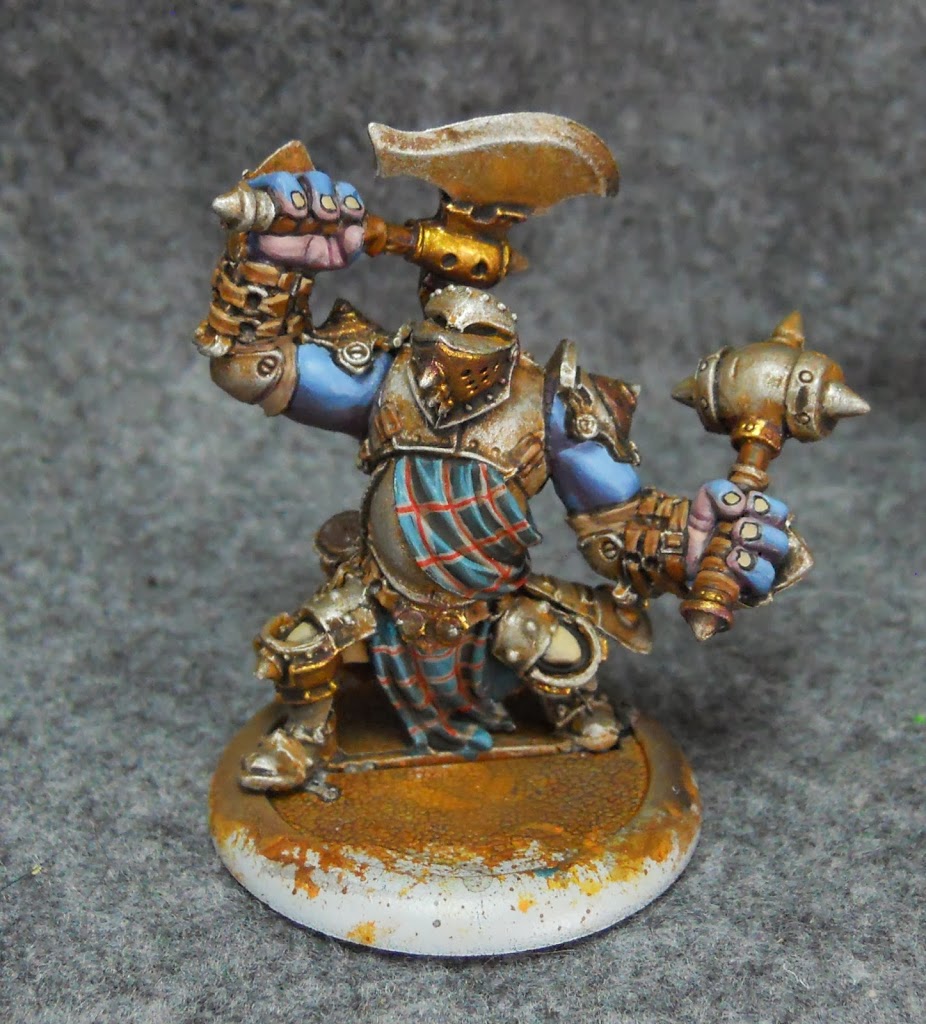
For no particular reason, lets switch to this other guy as I finish off the tartan. I begin on the pattern with crossed bands of Trollblood Highlight (again official name, not the color I used to highlight these Trollbloods).

Then I carefully add another thin stripe of Skorne Red inside the Trollblood Highlight bands.
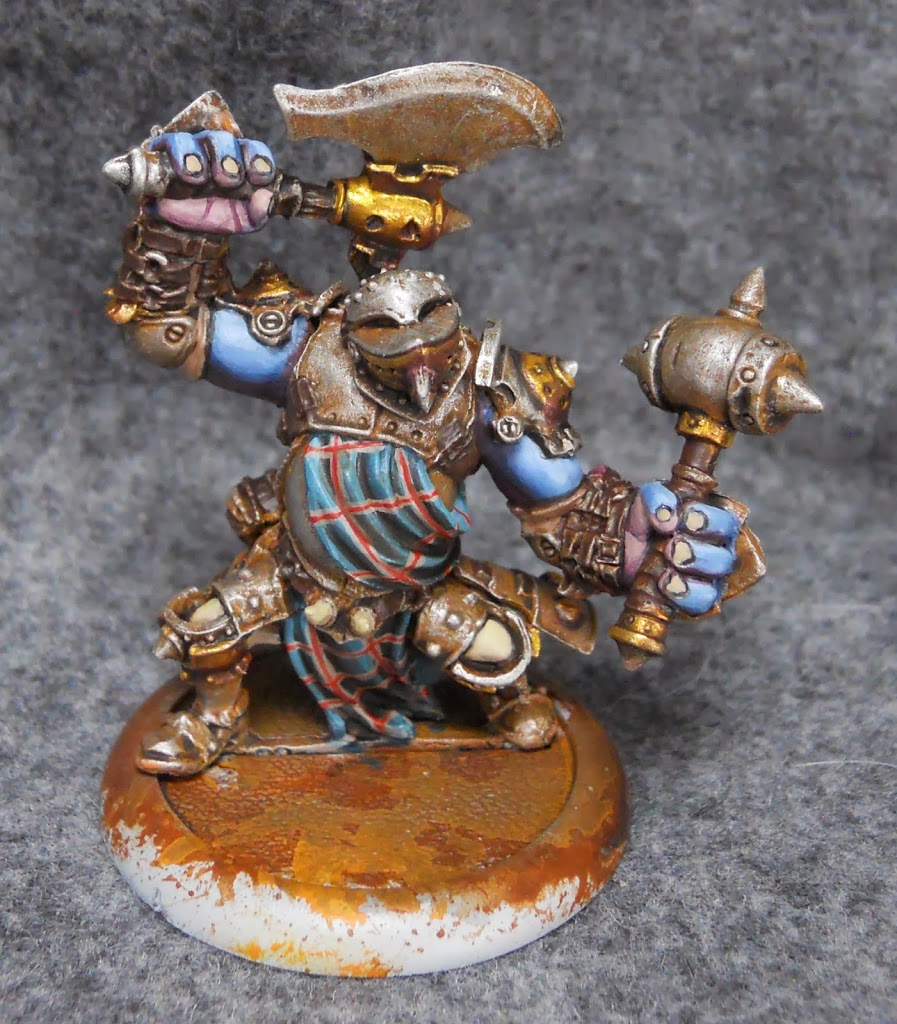
Then I take some Agrax Earth and apply it to the recesses in the fabric to add some shading.
With the tartan completed I begin work on the leather. All the straps and similar areas get a basecoat of Umbral Umber. All the wood areas do as well, although I won’t begin to work on them until just a bit later.
Bloodstone is used to highlight the straps.
Followed by Bootstrap Leather to brighten it up a bit. To get a really strong highlight along the top edges of some of the straps, a little Menoth White Base is added to the Bootstrap Leather. Then, for some final definition, I add lines of that Umbral Umber/Exile Blue mix to all those crevices between the straps and anywhere else that needs it.
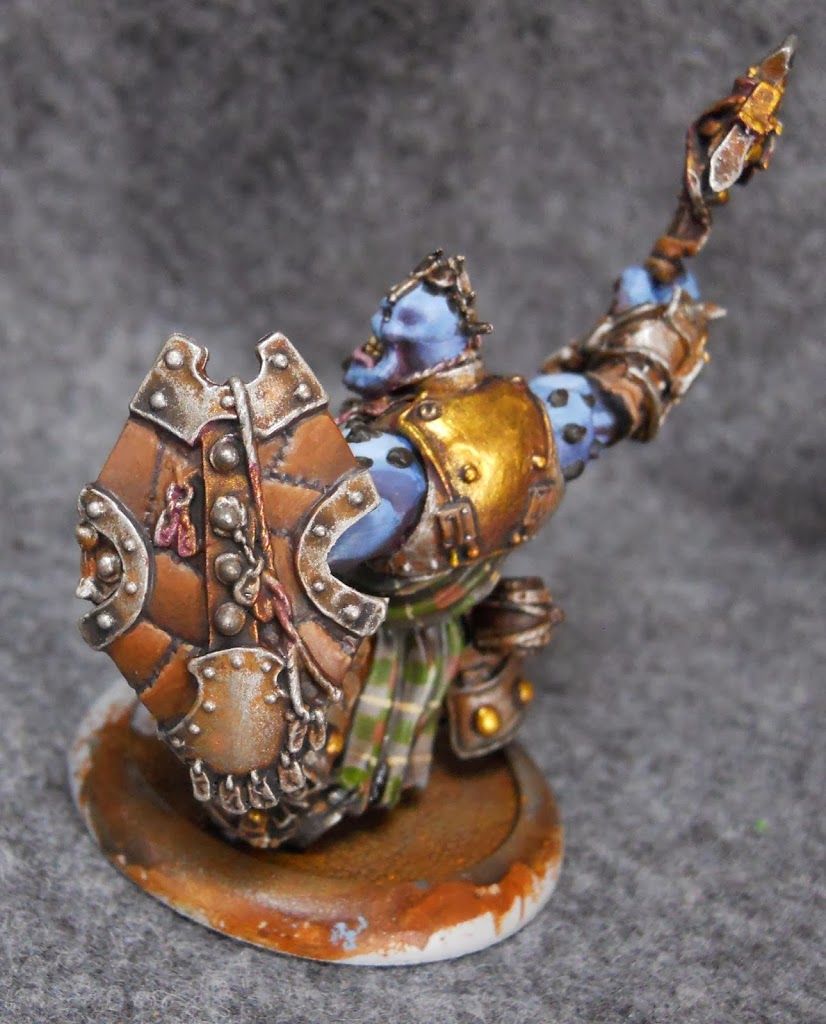
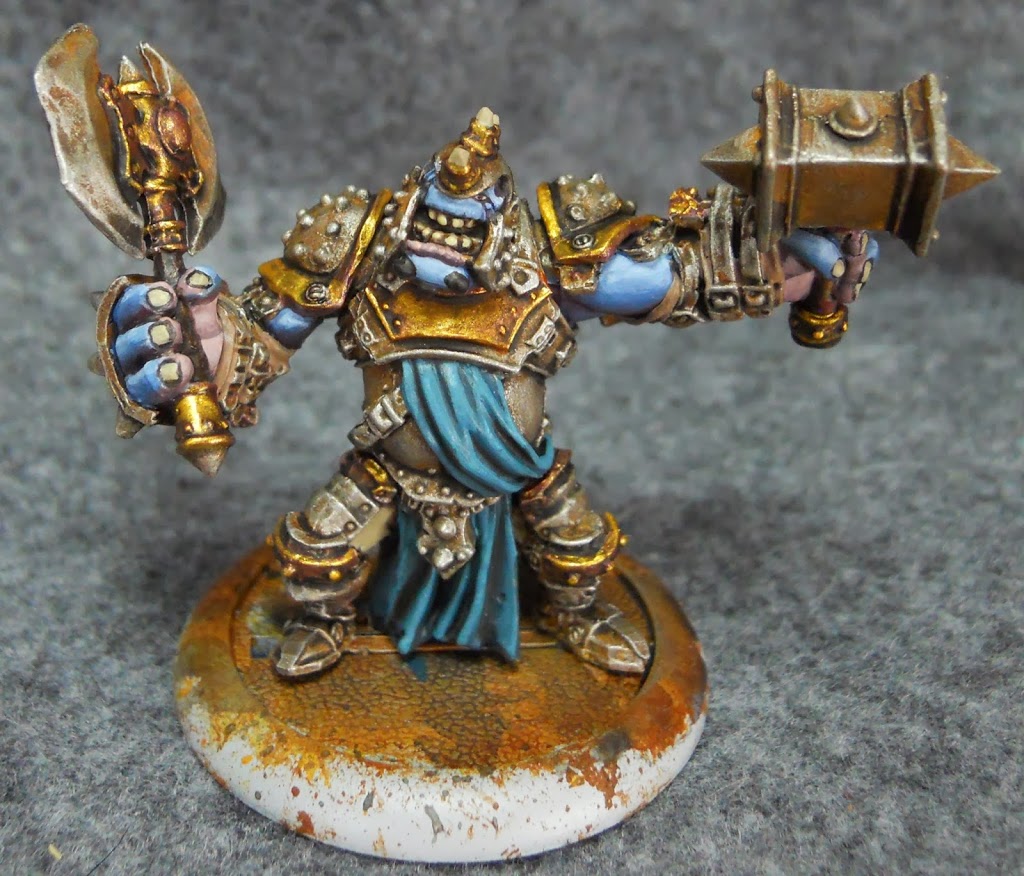
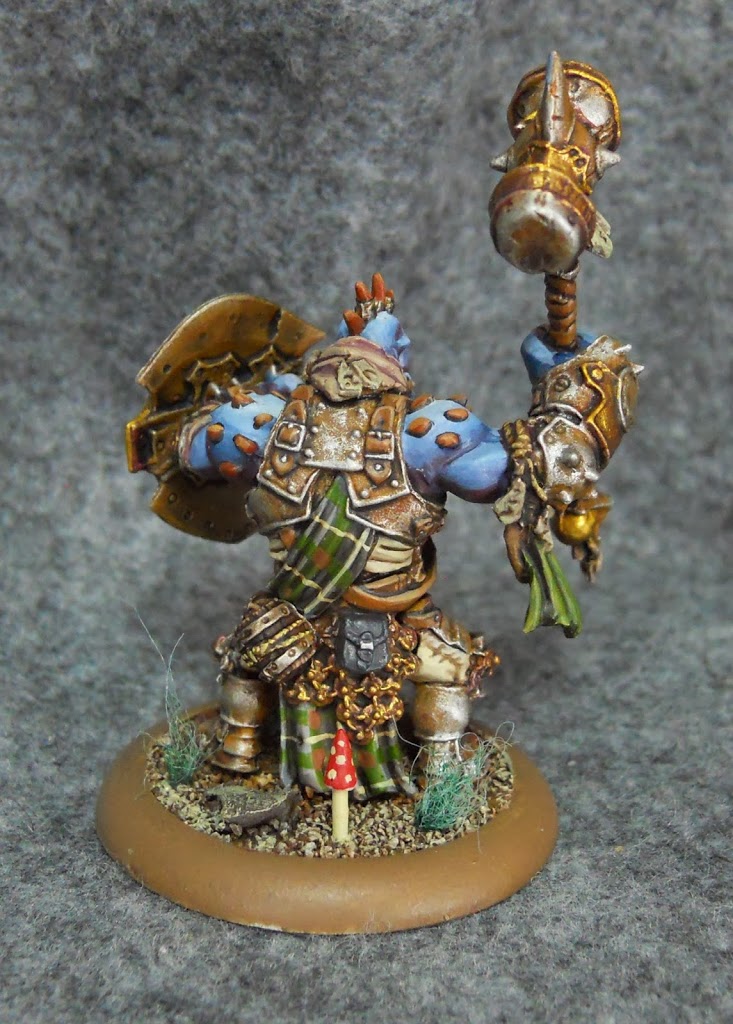
The back of one of the Warder shields is probably the best place to see the leather.

Were getting close to the end now. There are a lot of places on this guy that I want to wash with Agrax Earth right before the end. I’m going to try to paint all of them and then wash everything all at once. All the ropes are painted with Gun Corps Brown as are the various fangs that dangle off these guys here and there. The Warders are also covered in these cool little runestones and these are all painted with Bastion Gray.
Also – yes the Warders do have different tartans from the champs. For more about painting tartans you can check out this article and this article.
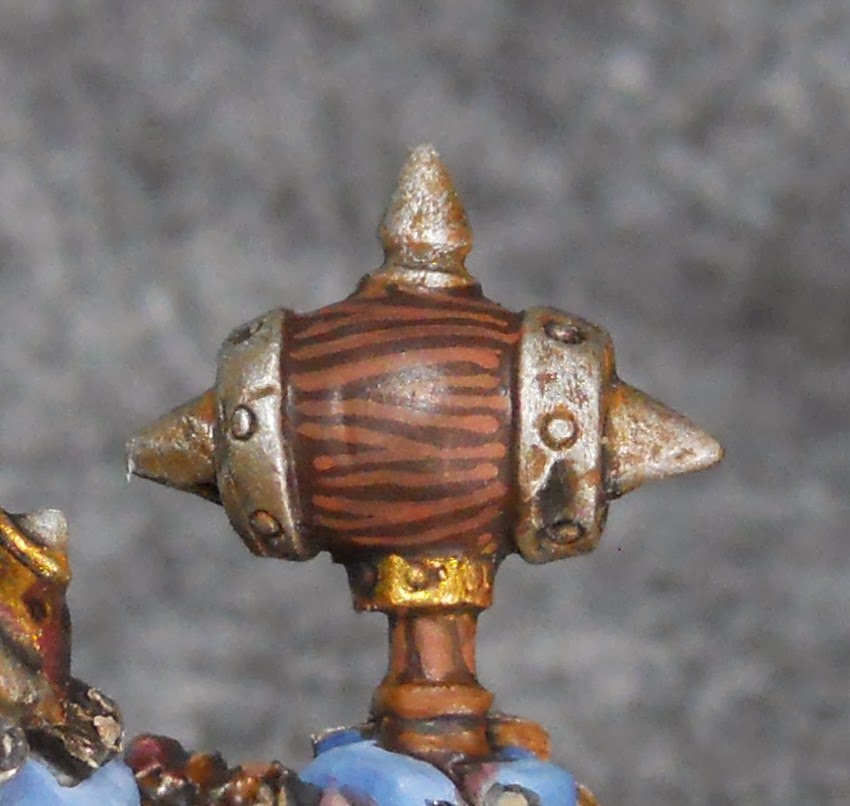
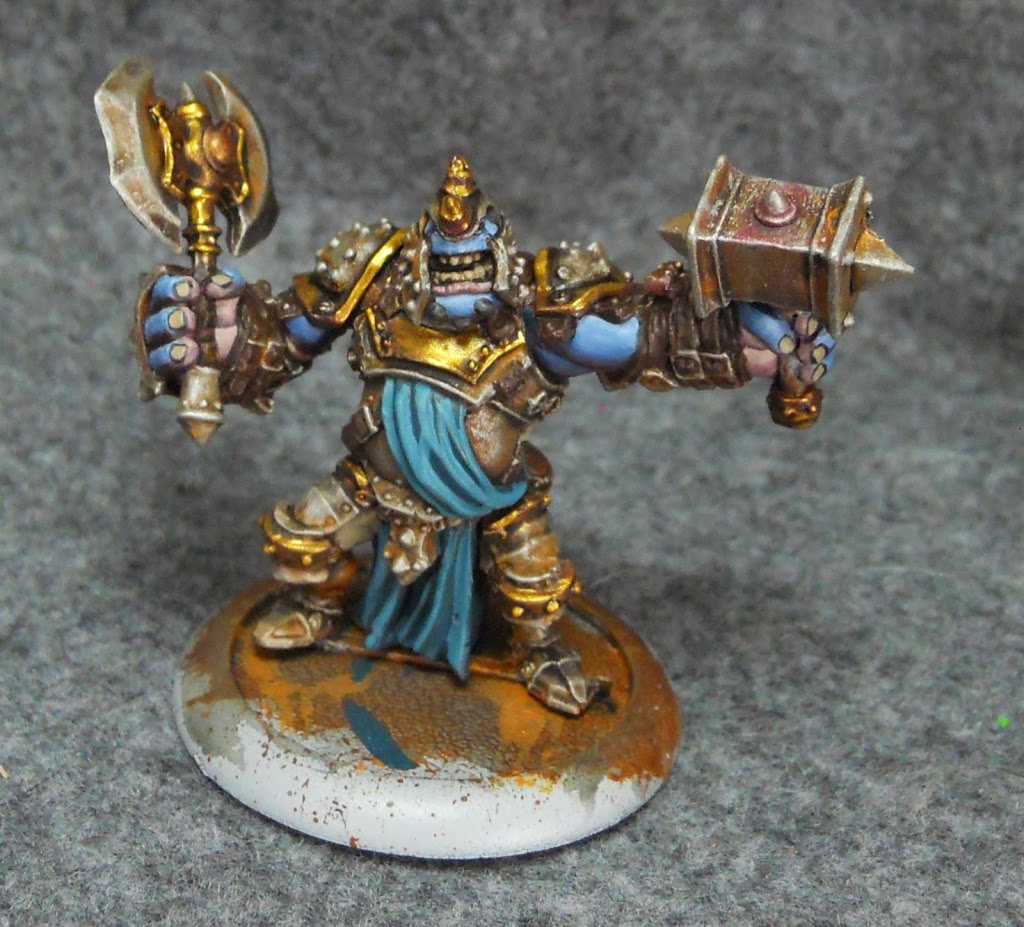
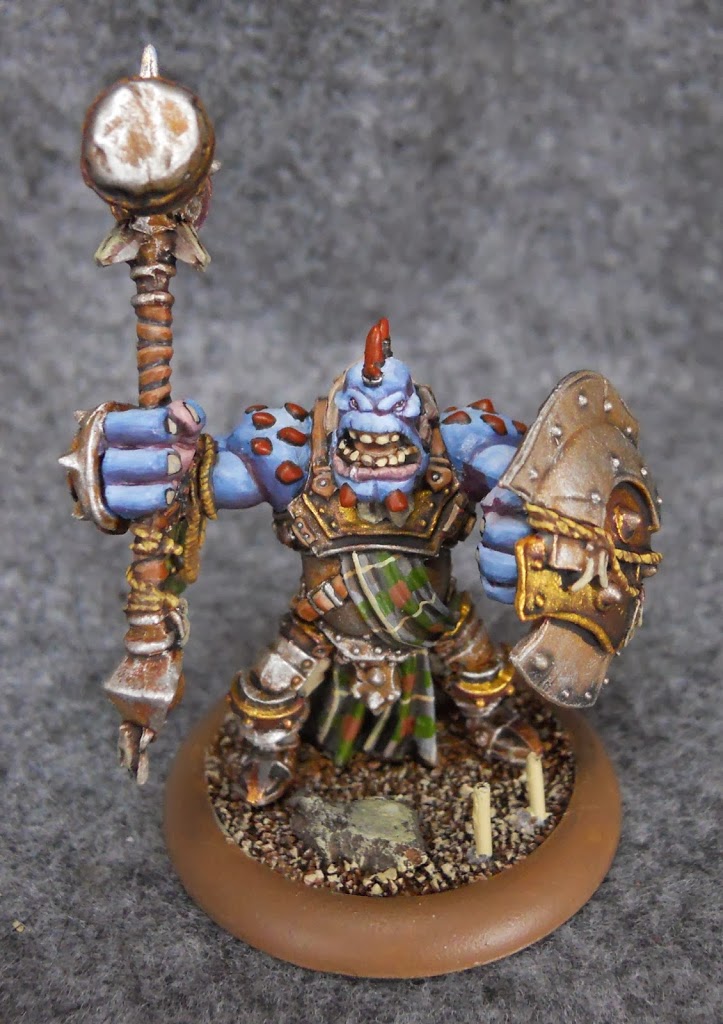
I also finish all of the wooden areas at this time. While this hammer could have been left simply as metal, I like the idea of a big heavy wooden mallet that’s capped at both ends with something sharp. I add lines of Idrian Flesh over the Umbral Umber basecoat.
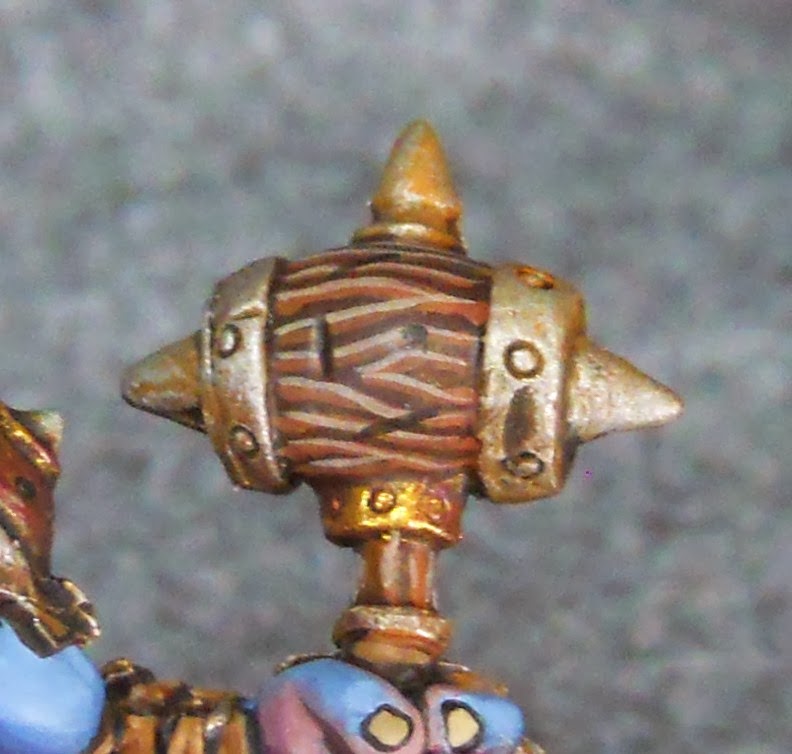
Then a second set of Hammerfall Khaki lines are painted over the top of the originals. There’s a dent sculpted into the hammer and I paint some of my toned black into that recess. I add a couple more imperfections to the hammer with the same color.
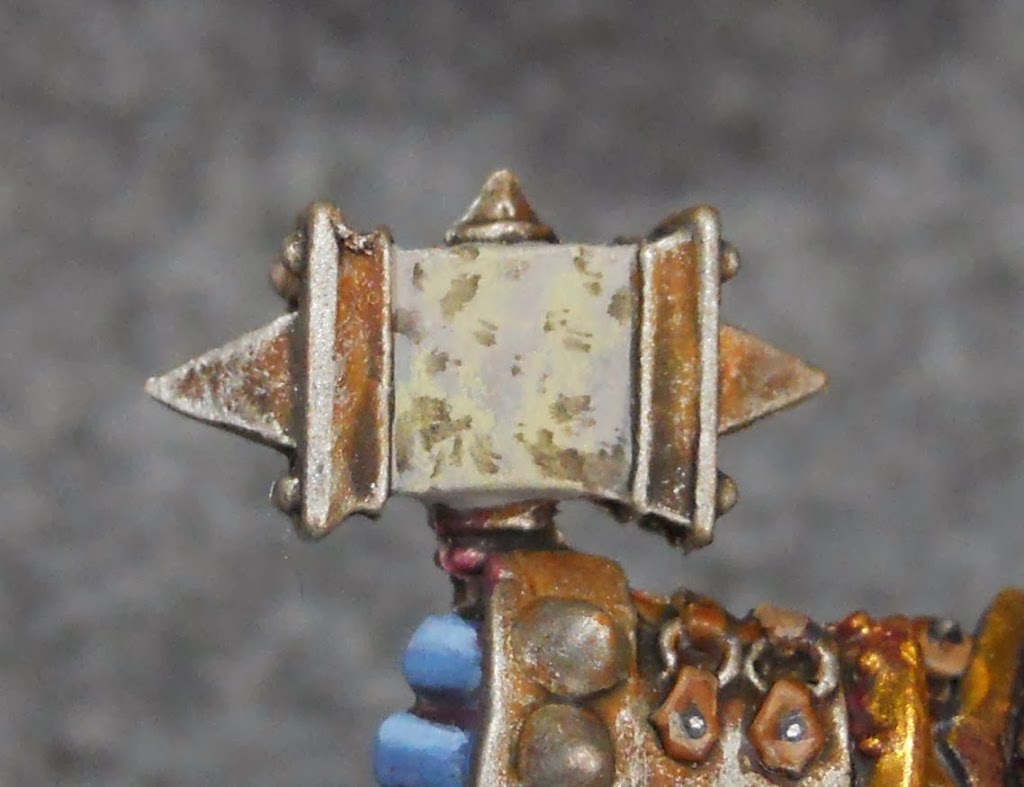
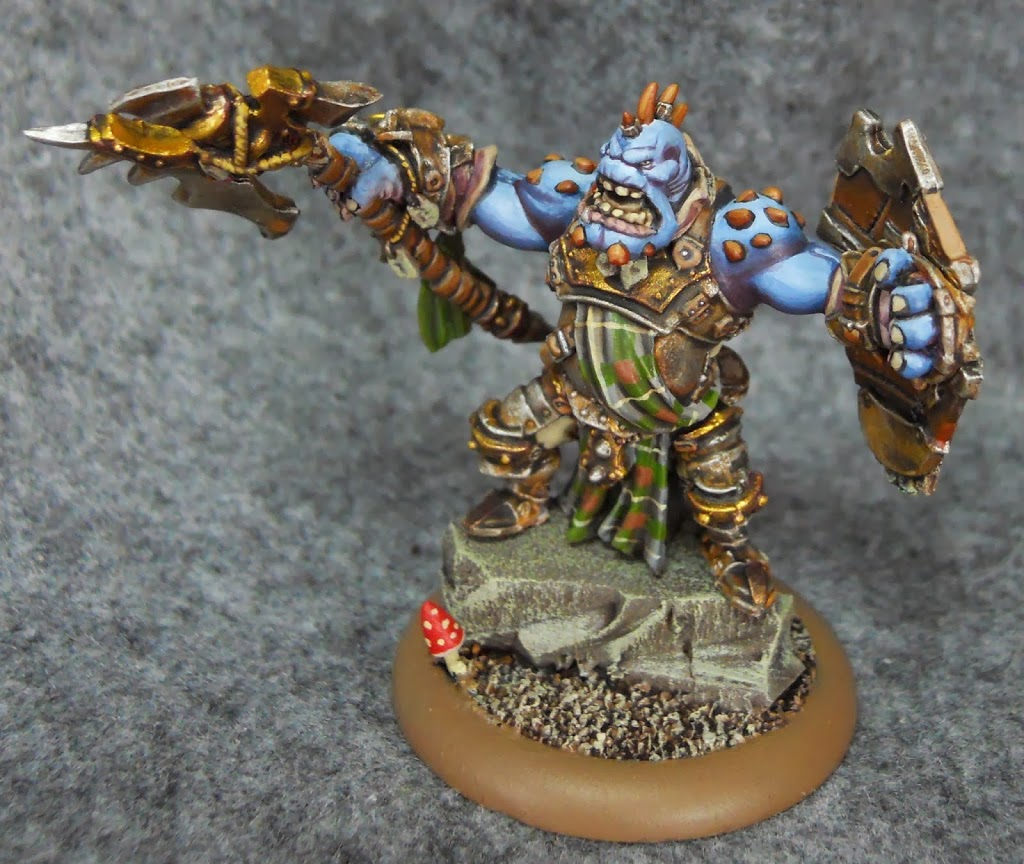
The other hammer is going to be made of stone. I stipple some Thrall Flesh over the Trollblood Highlight basecoat, then do a more gentle stippling of the toned black over the Thrall Flesh.
Then I wash all the stones, teeth, rope, and wood with Agrax Earth. While this wash is the final step for any wood areas as well as the stone hammer above, not everything is done yet. The teeth need to be picked out with Menoth White Base. Meanwhile, all the twists in the rope are highlighted with Sulfuric Yellow. Finally, all the little runestones are drybrushed with Thrall Flesh. Do this last bit very carefully or your likely to cover up the little runes etched into them. If this happens you can always add little lines of Umbral Umber or whatever else to make them stand out again.
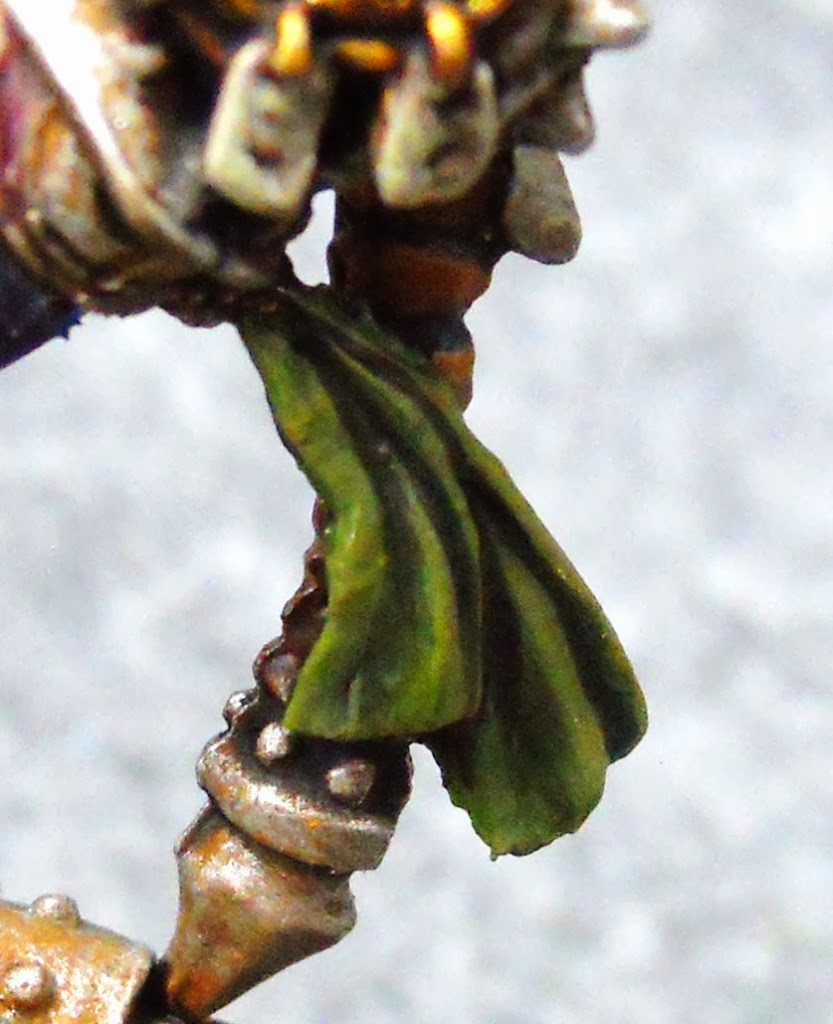
One last weird detail that all the Warders have are these ribbons hanging off their wrists on all their weapon arms. I paint these with Ordic Olive to match the bands on their tartans. This is shaded with my toned black and highlighted by mixing some Rucksack Tan in with the Ordic Olive.
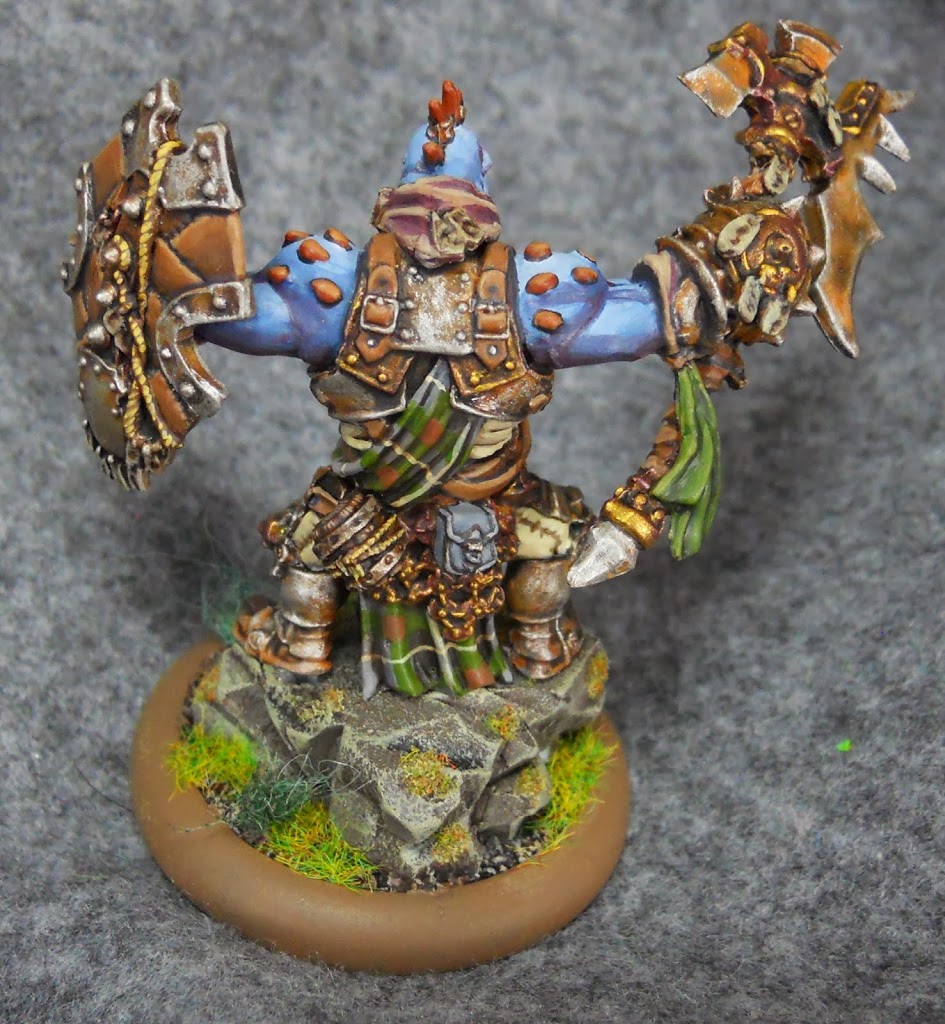
Its on to the final stretch now. All those quills and knobs that were begun so long ago are now painted bloodstone – with extra care given to leave a thin little line of that dark undercoat showing around the edge.
You’ll also notice I’ve started on the base. I usually don’t save basing until the very very end. There are lots of drying steps involved with basing. First the glue you used to adhere the flock has to dry. Then whatevery color you end up painting the base has to dry. Then if you’re like me you’ll want to wash the flock and you’ll have to wait for that to dry. Then you have to paint the mushroom stalks and wait for them to dry. OK – you only have to do that if you’re a complete nut like me.
This means that as you start to get towards the end of a painting project, if you can remember to begin basing before you go to bed for the night or right before you take a video game break, then the stages will be dry whenever you’re ready to go back to painting again. It won’t be quite the obnoxious chore it is if you save it all til the end.
Back to the quills, etc. The Bloodstone is highlighted by blending in increasing amounts of Rucksack Tan.
I also paint the mushrooms. These little guys are made out of Sculpey. They start off with a Menoth White Base basecoat. The caps are painted with Skorne Red leaving a little Menoth White ring around the bottom. Then I give them all little spots of Menoth White base.
I remember having all these little mushrooms on my bases seemed like such a good idea seven and a half years ago when I was painting my brand-spanking-just-bought-at-a-midnight-release-event-new Trollblood Battlebox. It was easy enough to put tiny red fungi on the bases of just four models. Now with a Troll army numbering well over a hundred pieces I kinda regret ever having had the idea. Oh well I guess it does make them look distinct.
And just when I thought I was done, I noticed that two of the four trooper torsos have these little pouches on their backs. I base these with my Umbral Umber/Exile Blue mix.
And then blend in increasing amounts of Trollblood Highlight as, well, a highlight.
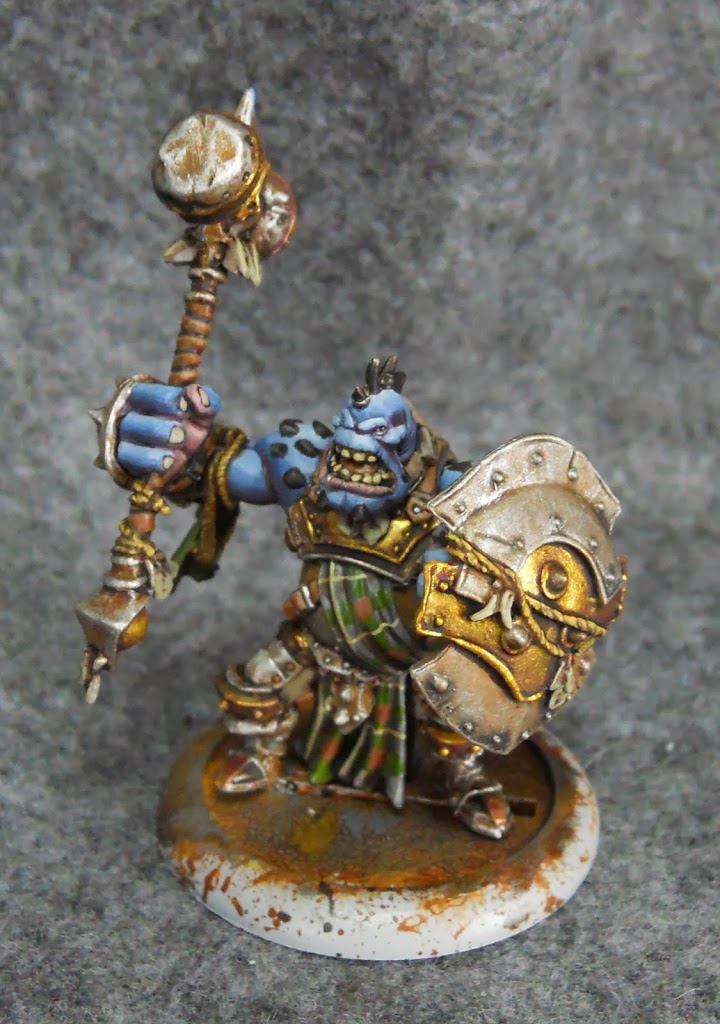
And now, they’re finally done.
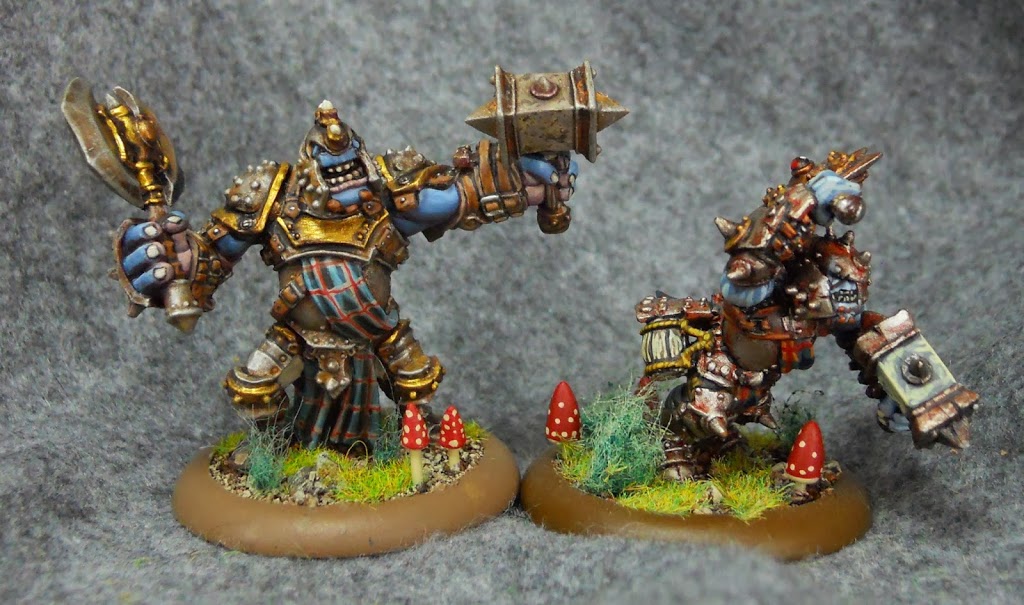
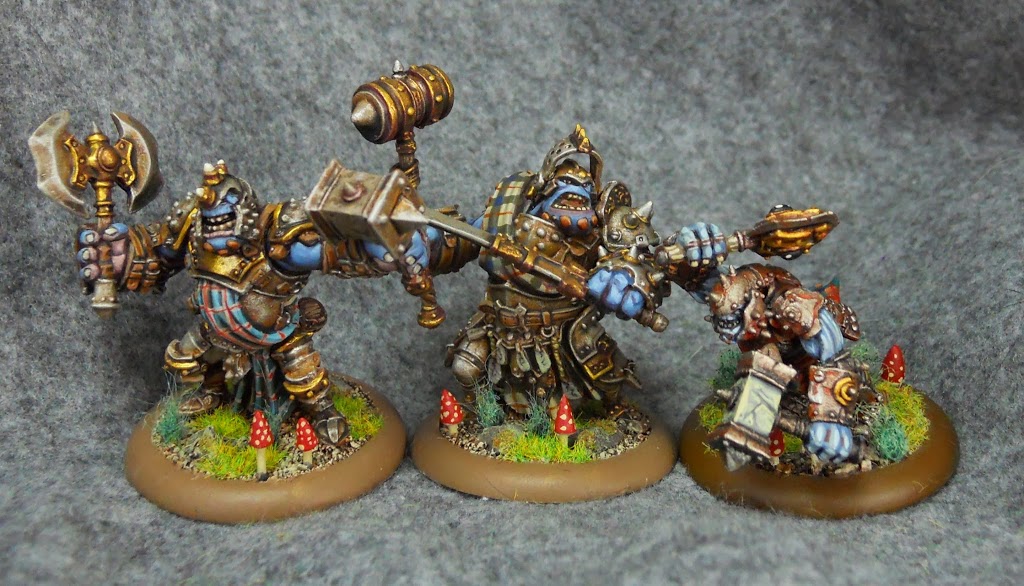
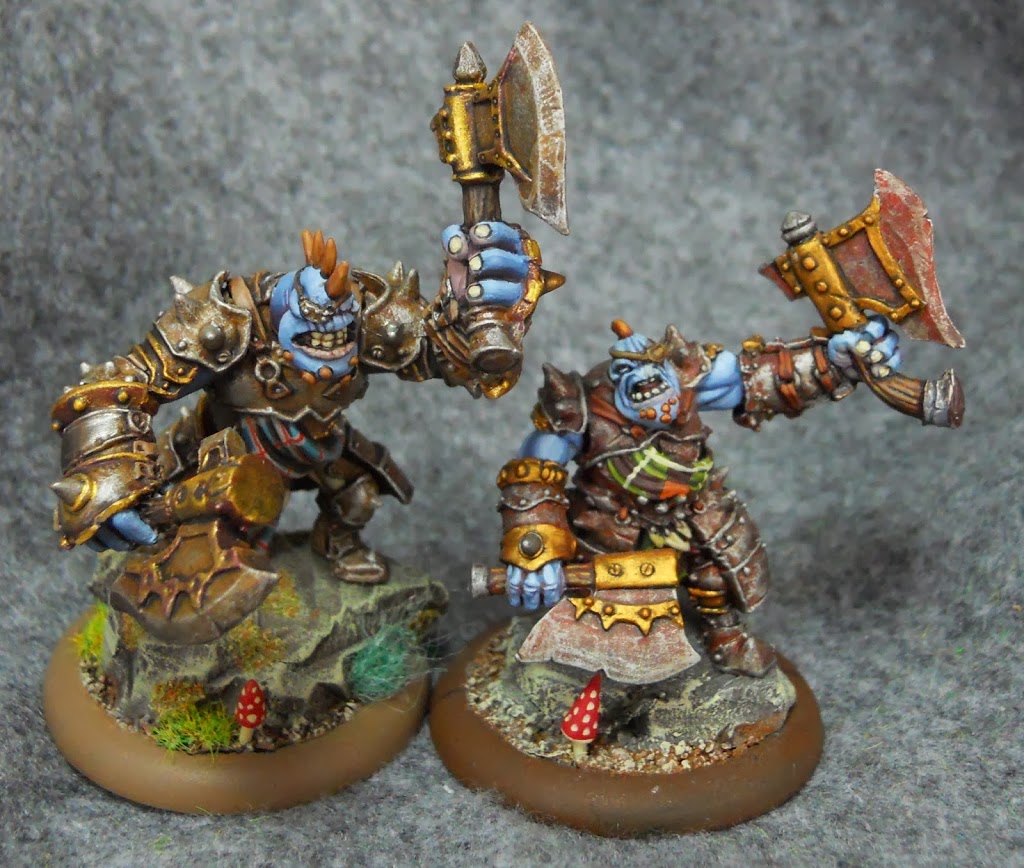
And that means we can finally compare the new champs to the old. Man, the new ones are so much bigger it’s like they’re not even the same species.
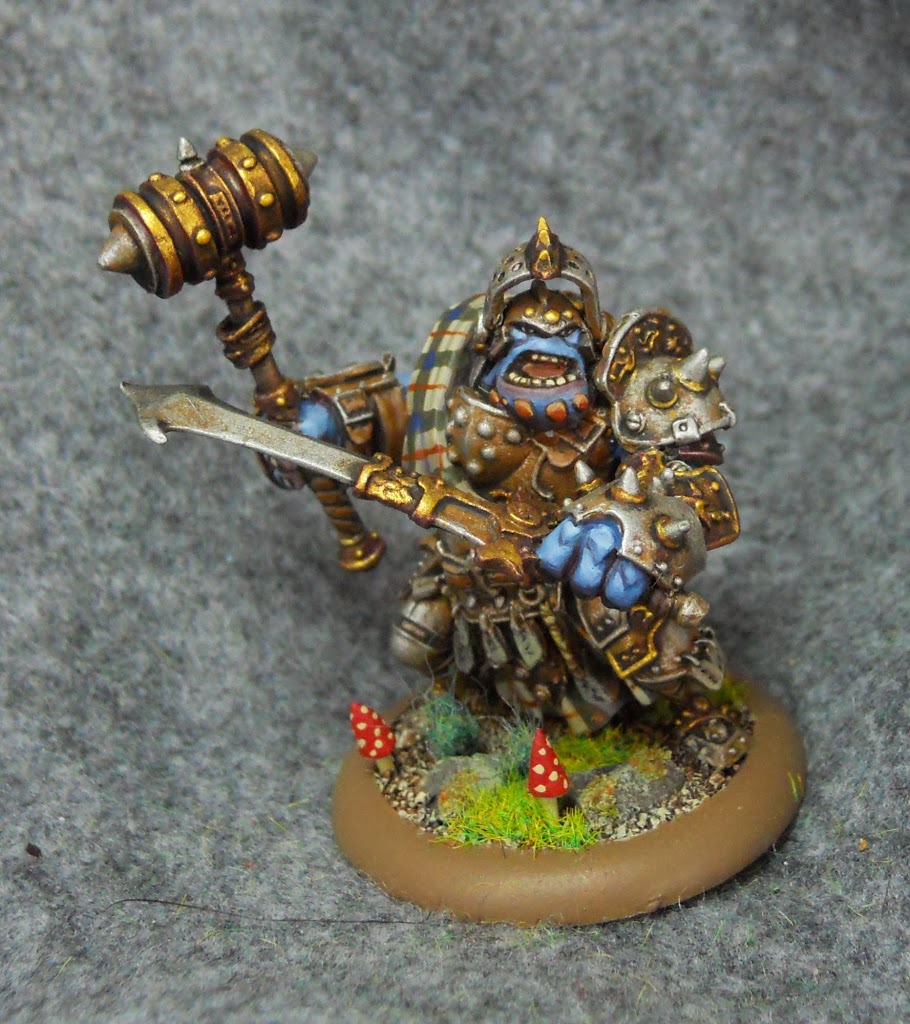
It seems even more pronounced with the leaders. Yes I did give the new leader a larger scenic boulder to perch on, but he’s crouching. The old leader, on the other hand, is standing completely upright.
Of course while you have your Trollblood paints out, it wouldn’t kill you to also paint up the new Fennblade Kithkar. Quite the little killing machine this guy.