X-Wing: Sample Game Writeup Part 2
8 Minute Read
Feb 12 2014
Advertisement
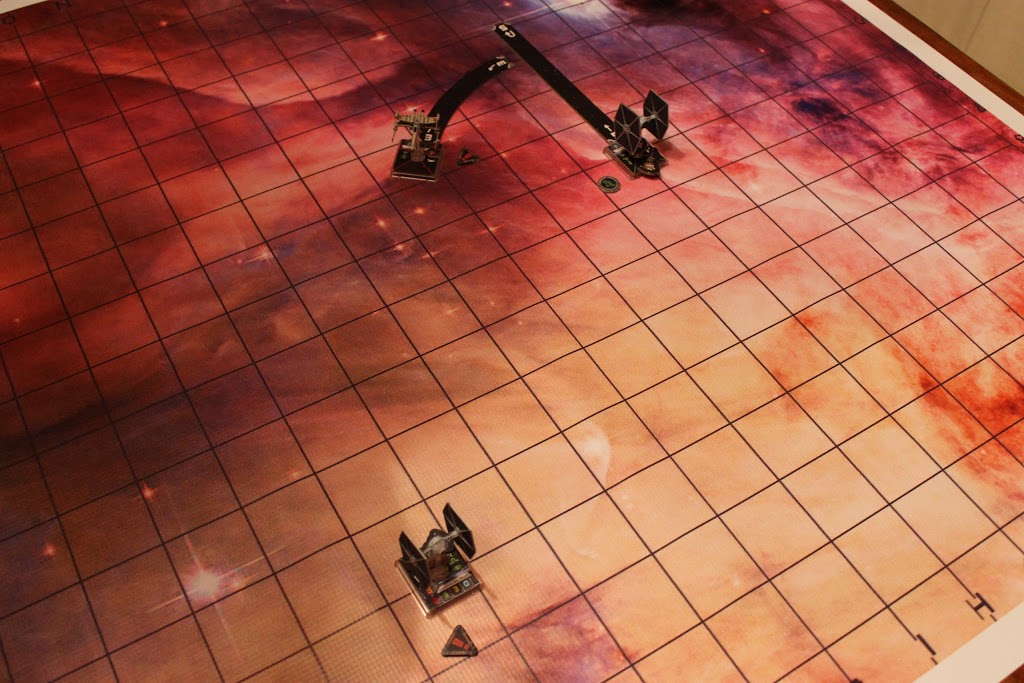
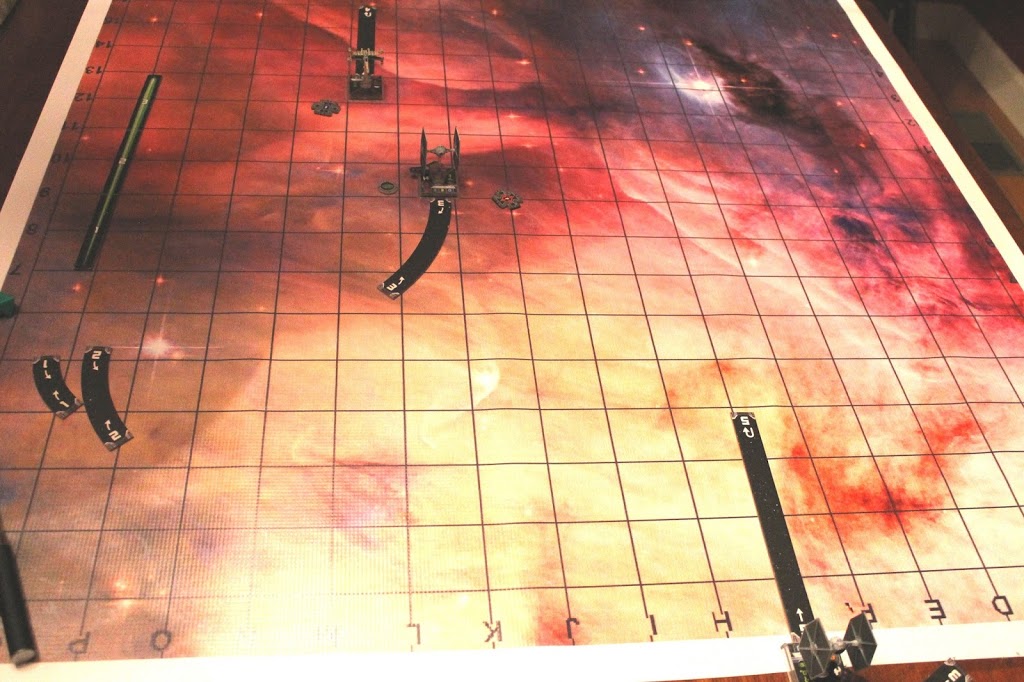
Ok, so when we last left our sample game, we saw the satellites scanned as well as the first few shots fired. BC had stuck my Black Squadron TIE with a critical damage card, I’d burned off one of the shields on his Red Squadron X-Wing, Obsidian TIE was making a run for the border.
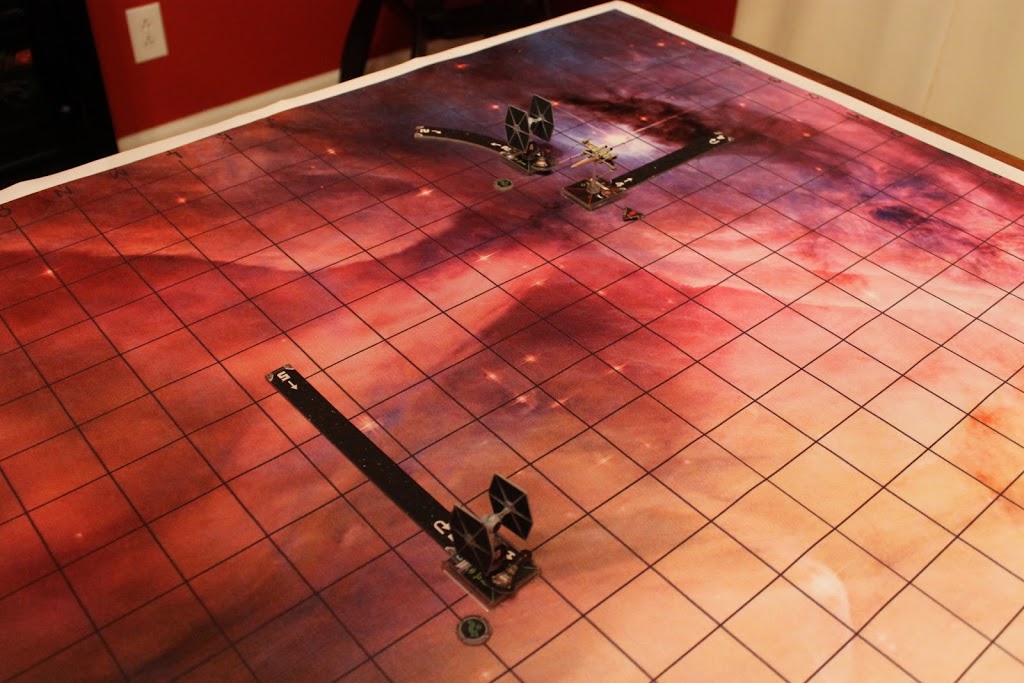
After we selected our maneuvers, Obsidian unsurprisingly floored it revealing a Straight 5 and also unsurprisingly selected Evade as his Action. That was a no-brainer, really. Recall that all I have to do to win this thing is get one of my TIEs off the board after scanning those satellites.
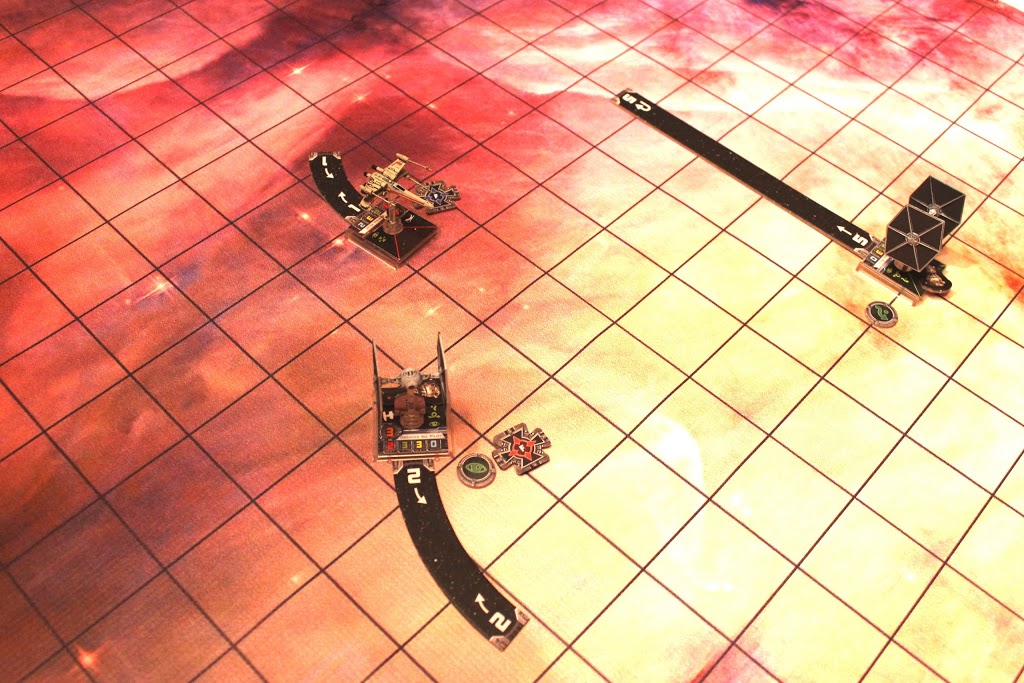
Black Squadron’s maneuver was going to take a little more finesse. First, I’d incurred a Stress token since my last maneuver had been a red maneuver. Now, there’s nothing saying that you have to immediately get rid of a Stress token once you get it, but you do lose your Perform Action step while you’re actively Stressed, so I do not make it a habit to fly around Stressed if I can help it.
Not only that, but I’d just been stuck with a face up Damage card that would Stress me if I pulled a Turn at any speed. In the rules, it says you can’t perform any Stressful maneuvers if you’re already Stressed and if you do, your opponent gets to pick which maneuver you perform from your dial. So not only should I be pulling a green maneuver, I need to be pulling a non-Turn green maneuver, and last, I had to pick something that wasn’t going to crash me into BC because I was going to move before him. This really only left me a couple of options, and since I did not want to end up on the business end of BC’s Red Squadron at Range 1, I opted to punt and pulled a 2 Bank to the right, then selected Evade as my Action.
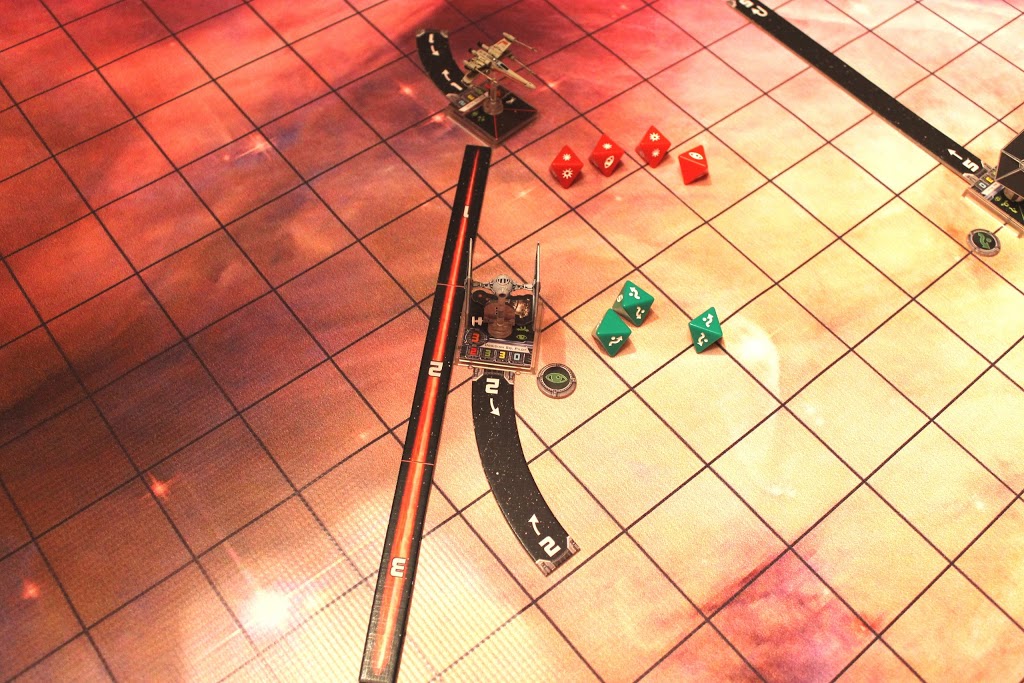
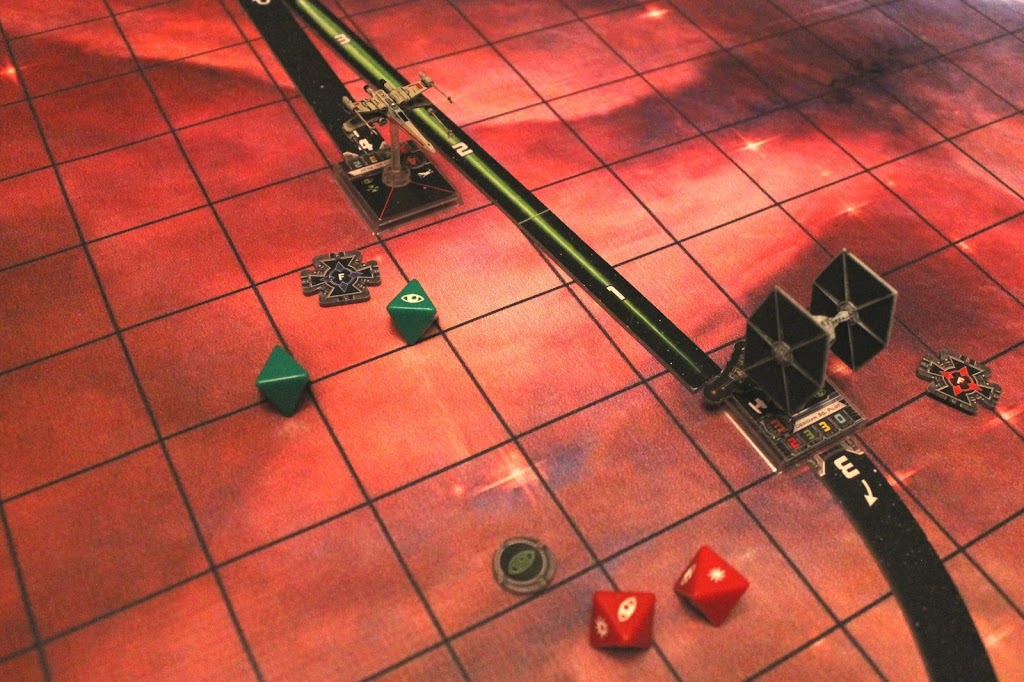
This ended up being a pretty lucky guess as BC opted to think outside the box and pull a Straight 4 even though he was still Stressed from his own K-Turn last turn. You can see exactly how that turned out in the image above- Black TIE had Red Squadron at Range 1 dead to rights and as such, opened fire on the X-Wing.
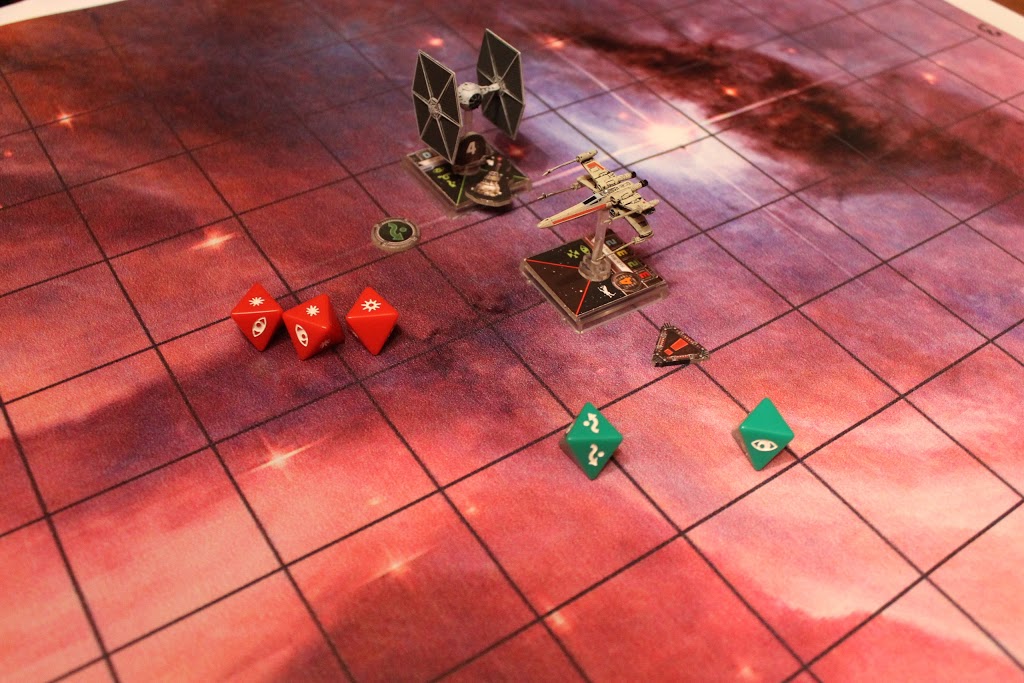
The Attack value on a TIE Fighter’s primary weapon is 2, but being at Range 1, I received an extra Attack die. I rolled and ended up with a “crit” and two “hits.” BC grabbed his 2 green Defense dice since his X-Wing’s Agility is 2 and rolled a wavy arrow and a blank. As I mentioned before, in X-Wing Miniatures, you mitigate “hits” before you mitigate “crits”, so BC was left taking a “hit” and a “crit” as damage from the attack. This bros before hoes, I mean, hits before crits thing also applies to shields, so Red’s last shield failed under the “hit”, while the “crit” went against his hull, causing him to not only draw a Damage card, but also to flip it face up and observe the card text. His Agility was lowered by one permanently, but the card gave him the option of attempting to remove it in the Perform Action step in lieu of performing an Action by rolling a “hit” on an Attack die (there’s several Damage cards with this type of mechanic).
As Obsidian was out of Range of Red’s guns, we moved from the Combat Phase to the End Phase, removing tokens that weren’t persistent and we were back to spinnin’ wheels.
I knew I wanted to get Black Squadron out of there- only having two Hull left with an X-Wing breathing down his neck wasn’t a place I really wanted to be in, especially with that face up Damage card limiting my movement. I knew I was going to pull a straight 5 with him and there wouldn’t be much to worry about as BC still had his Stress token. Of course, that didn’t stop me from playing it safe and declaring an Evade Action. Obsidian though… hmmm. I was pretty sure a Straight 5 would take him past my board edge and end the match, and well, I wasn’t quite done playing yet. I had Obsidian pull a 3 Straight K-Turn.
“You sure you want to do that?” BC asked.
“Ah, what the hell, right?” I replied lying a Stress Token beside him.
“Ooooook.” BC said, revealing a 3 Bank left, a white maneuver that caused him to retain his Stress Token for at least one more round and denying him an Action.
As no one had valid targets, the Combat Phase was foregone and we started picking up tokens in the End Phase. It was time to spin wheels again.
Obsidian hadn’t been hit yet, so I decided to have him move in on Red to Attack. Black was going to continue straight lining it towards the board edge as insurance in case BC managed to one-shot Obsidian. It was sort of the opposite line of thinking I employed at the start- now Black was going to escape with the satellite intel regardless of whether Obsidian could manage to take out the critically damaged X-Wing.
Obsidian pulls a 2 Bank to the right and as I’m hoping for him to smoke Red, he declares Focus for his Action. BC had Red come around square with a 1 Bank to the left, a green maneuver for his X-Wing so he was able to pick up that pesky Stress Token from the table and Target Lock the rapidly closing Obsidian TIE.
Once again, the Combat Phase was upon us.
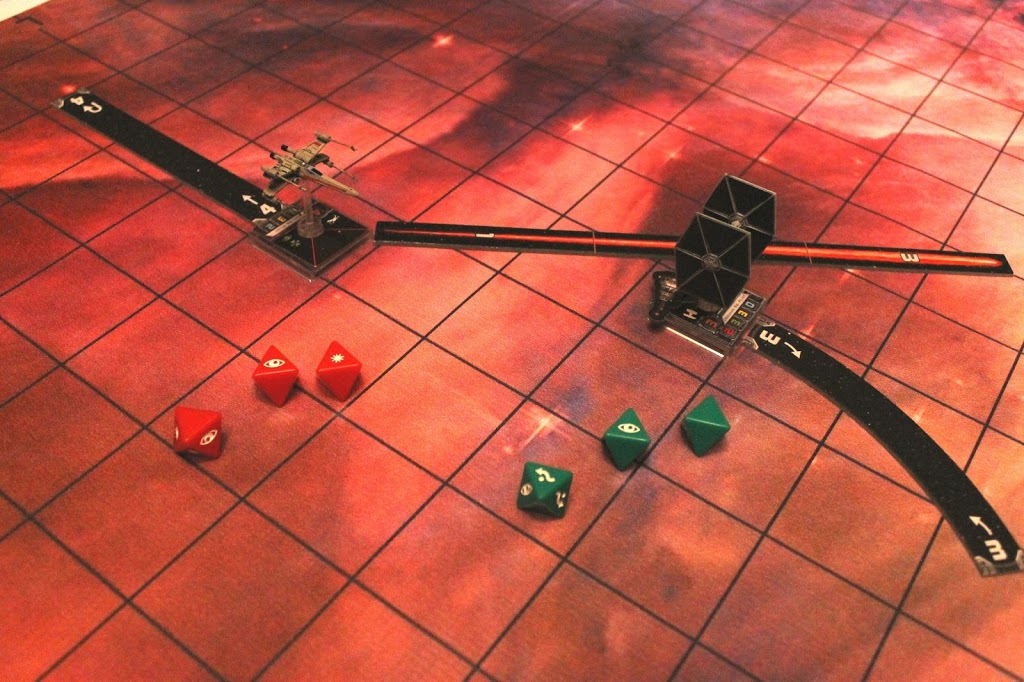
Red had a higher Pilot Skill than Obsidian, so he would fire first. BC checked range and found Obsidian to be just a bit outside of Range 1 from his X-Wing. He picked up his 3 Attack dice and rolled a “hit”, a Focus symbol, and a “crit.” Wanting to try to get Obsidian off the board, he opted to spend his newly acquired Target Lock token and re-roll the Focus result. End result? Two “hits” and a “crit.”
I picked up my three green dice and threw them- two wavy arrows and a blank. Had I rolled a Focus, I could have spent my token, but a blank result I could do nothing with. My wavy arrows got rid of the two hits, but the crit went on through, and I picked up my Damage card and turned it face up. Bastard! It was the dreaded Direct Hit card, which counts as not one, but two hull damage! My Obsidian TIE had gone from perfectly unmolested to on its last legs in just one volley of shots from an X-Wing.
Still though, he wasn’t dead. Time for me to return fire. I picked up my two red Attack dice.
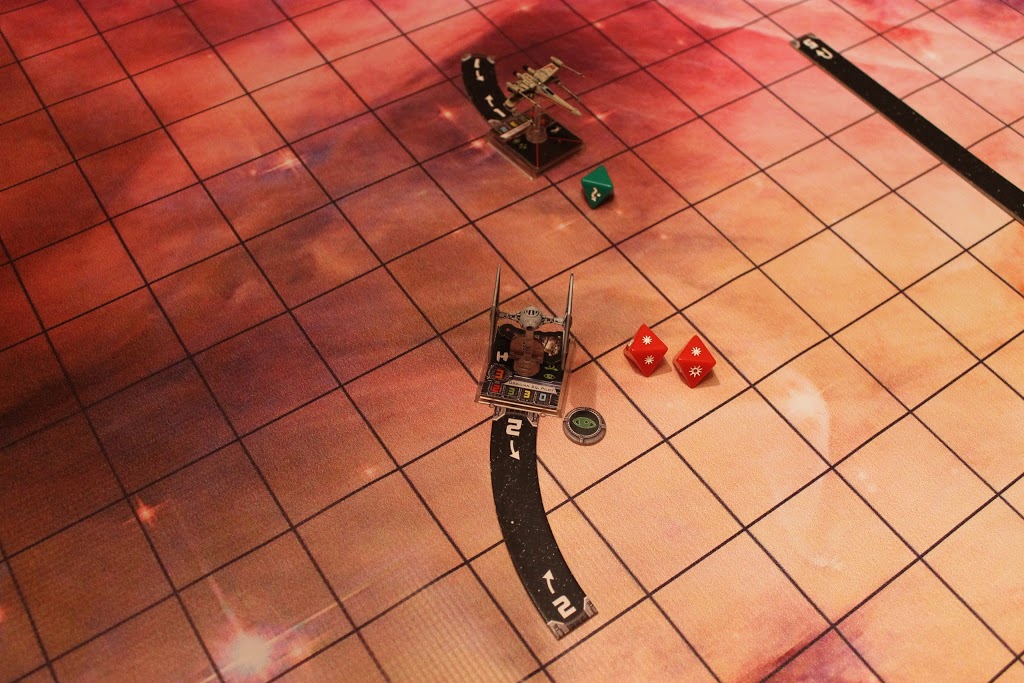
Two natural “hits”, no Focus needed. BC grabbed a single green defense die (remember- his X-Wing usually gets two, but that face up Damage card lowered his Agility value by one) and rolled a blank. The two hits went on through and Red Squadron Pilot exploded.
Per the scenario rules, as we entered the End Phase of the game turn, I removed the Action tokens from my TIEs and BC dropped a brand-spankin’ new Rookie X-Wing on his board edge.
As we spun wheels, I asked BC if he wanted to keep playing or not. It was getting late, and we’d done a lot of talking during the match, so he said we needed to wrap it up. With that, I picked a 5 straight for Black TIE which I was confident would take him off my table edge, triggering the win condition for me. With that in mind, I figured I’d get Obsidian in another fire fight. I needed to turn a little to get Rookie X-Wing in my firing arc, so I picked a 3 Bank to the left to cover the most ground possible. BC set Rookie’s dial and we began revealing our maneuvers.
As Rookie X-Wing is only Pilot Skill 2, he now had the first maneuver. BC revealed a Straight 4 which put him within Range 3 of Obsidian, so for his Perform Action step, BC chose to Target Lock. Obsidian revealed that 3 Bank Left and declared Focus, hoping to maximize his Attack. I didn’t declare an Action for Black TIE as his Straight 5 took him off the playing area.
As the Combat Phase started, I picked up my Range Ruler (sorry I’ve forgotten to include it in so many of these pictures- I was more focused on taking pics of the dice results for some reason) and found that Obsidian was Range 2 from Rookie. No extra die for me, I grabbed a couple of red Attack dice and rolled.
I rolled a “hit” and an Focus result. I opted to spend my Focus token and turned the eyeball into a second “hit.” BC grabbed two green defense dice and threw a blank and a Focus. Both of my hits landed, overloading the Rookie X-Wing’s deflector shields.
Now it was BC’s turn to fire back. He picked up his three red Attack dice and threw them.
I don’t remember what his first roll netted him, but he did spend his Target Lock to re-roll his blanks and eyeballs. The picture above is the after picture, in other words. He managed a single hit. If I blew my roll however, it would be enough to send Obsidian to hell as he only had one Hull left, so when I rolled a single wavy arrow on my Defense roll, I was happy that Obsidian had managed to cheat death and would survive the match!
So there ya go. Fun, huh? An especially eagle-eyed reader noted when I ran these articles on TheMetalBikini.com that we’d screwed up the satellite placement. I’d not really paid attention and BC read the scenario wrong or something, so if you’re curious, yeah, we screwed that up.
Author: Clint Weisgerber
Advertisement


