GCT Studio’s Bushido Pt. 2
In Part 2, I’m going to briefly go over gameplay in Bushido.
Foremost, Bushido is a skirmish game, typically played with five to ten models. Characters are the focus of the game. There are nameless rank and file troops, but army composition rules restrict you to one card of each type, and there are rarely more than two models on a card. For example, a Savage Wave player has access to four different types of Bakemono cards, with two models per card, meaning they are restricted to at most eight of these little guys. And since they’re four points each, taking that many already puts you well within sight of 55 points; the highest level for tournament play. Of course a starter set has around 36 points and these are just fine to play with on their own.
Once you have your warband assembled, the next thing you need to understand about Bushido is Ki. This is the resource used in Bushido represented by tokens you spend for all sorts of different uses. Each model has two numbers to represent its Ki stat. One is the number of Ki tokens it generates each turn and the other is the maximum amount of tokens it can have at a time. Most models have at least one stat that they can increase by 1 with a Ki Boost. Some can even give a little boost to their movement. Which stats, and how much Ki it costs to boost them vary from model to model.
While this is quite helpful, the most interesting use for Ki is probably to spend it on Ki feats. These are special abilities a model activates by spending Ki. With the exception of animals, every model has access to some kind of Ki feat. These effects are as varied as you might expect and include things like simple boosts to damage, access to skills not otherwise available to the model, summoning other models to the battlefield, or crippling enemies with dark energy.
The small scale of Bushido doesn’t get in the way of some really exciting combat. The designers have done a good job creating a system where you really get the feel of two models squaring off in an epic duel. It’s not the most intuitive system, but it works quite well, so bear with me for a second here.
A model’s Melee Skill represents the number of dice it rolls in combat. Lots of things can modify this number like being exhausted or outnumbered. Additionally, many models have access to powerful combat abilities that they may need to spend dice to activate, so a high melee skill is very important. Of course sometimes these abilities are free.
You’ll need two different colors of dice – one for Attack and one for Defense. When two models fight they get out their dice, and decide how many of them they will allocate to Attack and Defense. This is done secretly, as is choosing whether or not to spend dice on those combat abilities I just mentioned. Once everyone has their dice how they want them, they simultaneously announce which combat abilities they were using, if any, and roll. Find the highest Attack die you rolled and add 1 to that result for each additional Attack die you rolled that isn’t a 1.
Ok if that seems a little confusing it’s not your fault. This is best explained with an example. So lets say my model had a Melee Value of 4. That means I get four dice. I really want to kill the model I’m attacking so I put three of my dice in Attack and only one in Defense. I roll a 5, a 4, and a 1. My attack total is 6. The highest die I rolled was 5. I add that number to the number of other dice I rolled. I rolled two dice, but 1s are never counted. 5 (the highest number I rolled) plus 1 (number of dice I rolled that didn’t come up 1s) equals 6. If I’d rolled a 4, a 2, and a 2, my result would have also been six. In this example my highest roll was 4 plus two more rolls that weren’t 1s. Sixes after the first count double so a roll of 6, 6, 1 gives you a score of 8. You can only count a maximum of three dice to your total, so rolling more than three is really just insurance against rolls of 1. So a roll of 5,4,4,3 gives you 7 since the fourth die doesn’t count to the total. I know it can seem a bit confusing at first but I’m betting at this point you’ve already got it pretty much figured out.
Your Defense total is calculated the same way. Lets say my opponent’s model – the one I really wanted to kill – had a melee skill of 3. My opponent really wants their model to live. They allocate all of their three dice to defense. Well I’ve already wasted one die on an irrelevant defense roll. Will it get any worse? They roll a 4, a 2, and a 2. Our scores are matched. But fortunately for me, ties go to the model who rolled the most dice, giving precedence to models with higher Melee Skills.
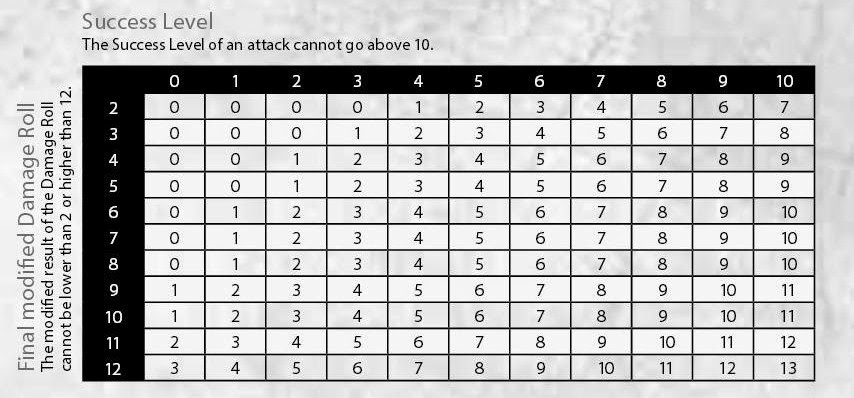
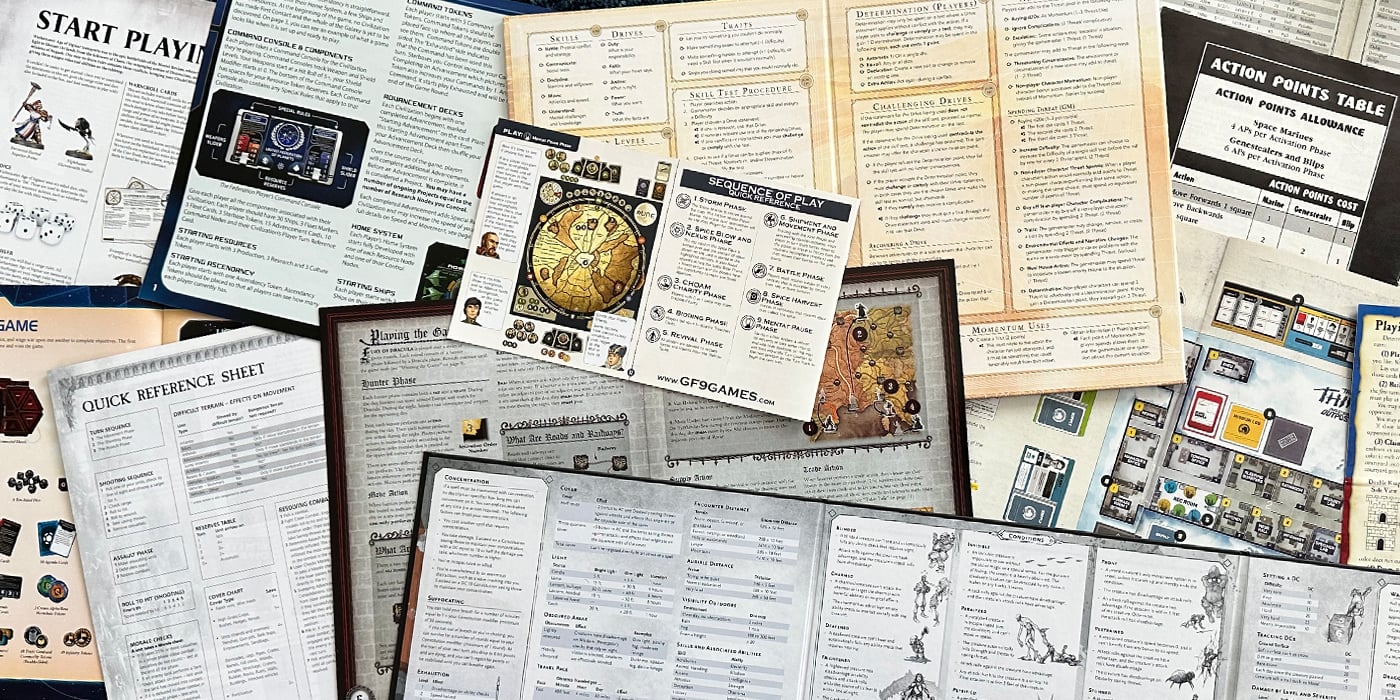
Now all I need to do is see how damaging my hit was. There’s a chart for this. Normally I’m not too keen on charts, but the guys at Bushido were good enough to also put one on a card. As long as I’m not always having to flip to that one page the chart is on I’m ok. The chart compares success level (how much your Attack total exceeds your opponents Defense total) to whatever you roll on 2d6 (plus or minus any modifiers you might have). Because I tied with my opponent’s Defense, my success level is zero. I’m gonna have to roll pretty high on this chart. Fortunately I roll an 11, which in the zero column inflicts two wounds. Models usually have several wounds, so it’s unlikely I’m going to kill my target unless he’s already in really rough shape.
Now my opponent didn’t roll any attack dice – this time. If they had, we would repeat this step comparing their Attack roll to my Defense roll. Unless of course that two damage was enough to kill them. So it’s quite possible for models to injure each other in a melee exchange. Now, the fact that we resolved my attack roll first means that my model must have been the active one. If the model I was attacking isn’t exhausted, it will get to retaliate when it activates later in the turn. So these two models may fight an entirely new combat when my opponent activates the model I just initiated a combat with.
Once your models actually hit the table, combat will get even more interesting. In my example I didn’t even consider things like Ki Feats that can add to your damage, or force models to re-roll dice. Then there are those combat abilities I mentioned earlier – the ones you sometimes have to spend dice to perform. These are things like Slam Attack that will send models flying or Combo Attack to represent a flurry of small blows. Lots of models also have abilities that trigger on successful defenses like Counter Attack Defense which will give you a chance to make an attack if your successful defense total was high enough. Even if your model isn’t the active one there should still be some important stuff for you to do.
“But wait” you say. “Go back a bit. You were saying something like “if the model I was attacking isn’t exhausted…” What’s exhausted?” Well that’s all part of model conditions. Bushido is an “I go, you go” game. I activate a model, do whatever I’m gonna do with it, then you do the same. But Bushido adds another level of complexity. By default a model is Rested. When you activate a Rested model it may perform a Simple or Complex Action. If a Simple Action is chosen a Rested model becomes Tired. Tired models can activate again, but when they do so they may only perform a Simple Action. A Tired Model performing a Simple Action becomes Exhausted. A Rested model performing a Complex Action also becomes Exhausted.
Simple Actions are… simple: Walk, Run, Attack in Melee. Some Ki Feats are also simple actions. Complex Actions are things like Charge (move at double speed then make a melee attack) or Focus (gain Ki tokens equal to your lower Ki stat). Of course there are complicated Ki Feats as well. Additionally some scenarios may call upon you to perform a Complex Action to complete an Objective.
Obviously this article doesn’t begin to cover everything, but I feel like I’ve hit the important parts; the parts that are really unique to Bushido. Most other aspects of the game should be pretty obvious. Movement in inches. Terrain halves movement, and inflicts penalties on models shooting into it. Shooting is resolved like melee, but the attacker must roll above a set difficulty score determined by what range band the target is in rather than against an active defender. The Bushido Rulebook has six missions, which you are supposed to use instead of just killing one another. Bushido tables are small: 2′ x 2′.
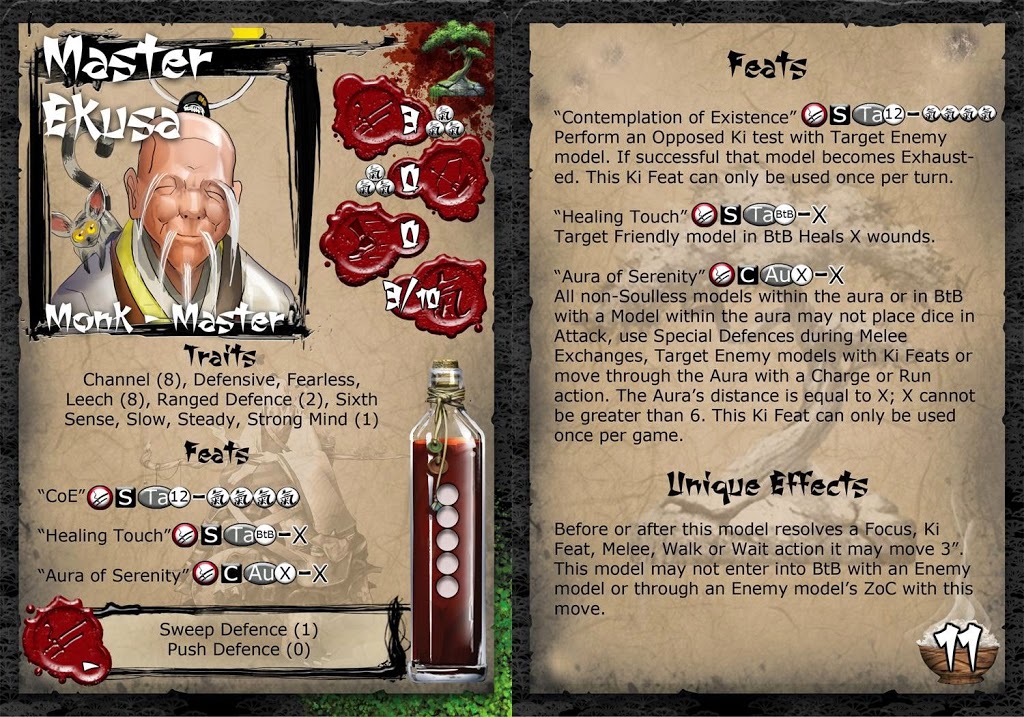
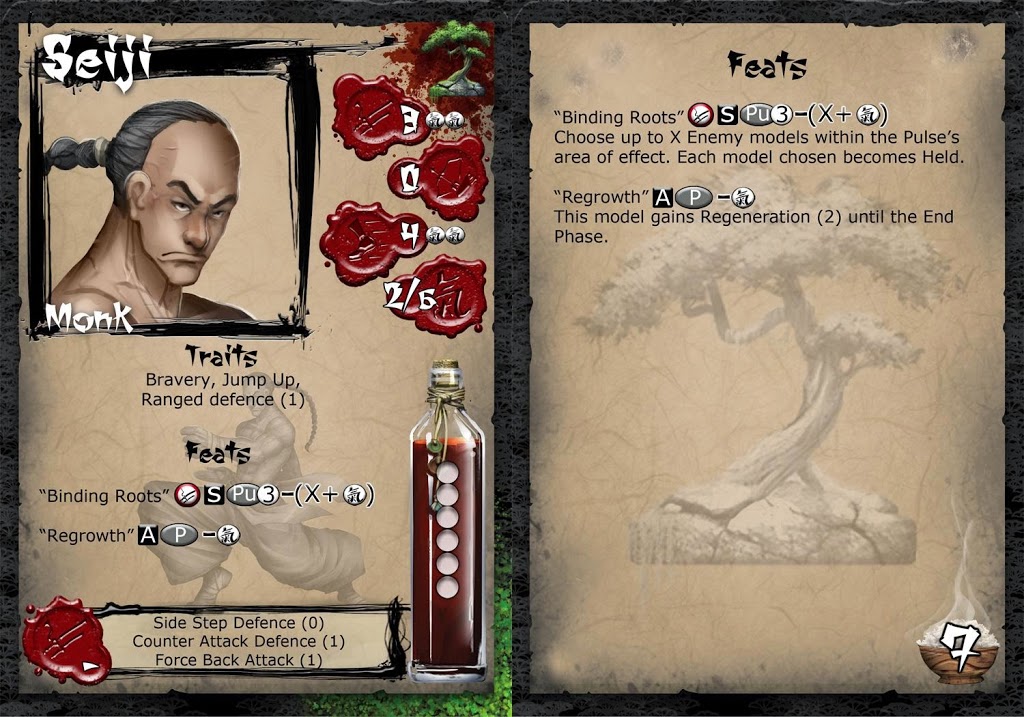
So if Bushido sounds interesting to you, you can download the core rules for free, and every model’s card (like the ones I’ve shown here) can be viewed on its page in the Bushido store. If you live stateside there are a few online stores here that carry Bushido. FRP Games, Coolminiornot, and Fantization are three that I know of. There are bound to be more, but it’s tough to keep up with all the online stores these days. You can even find some of the minis on Amazon.
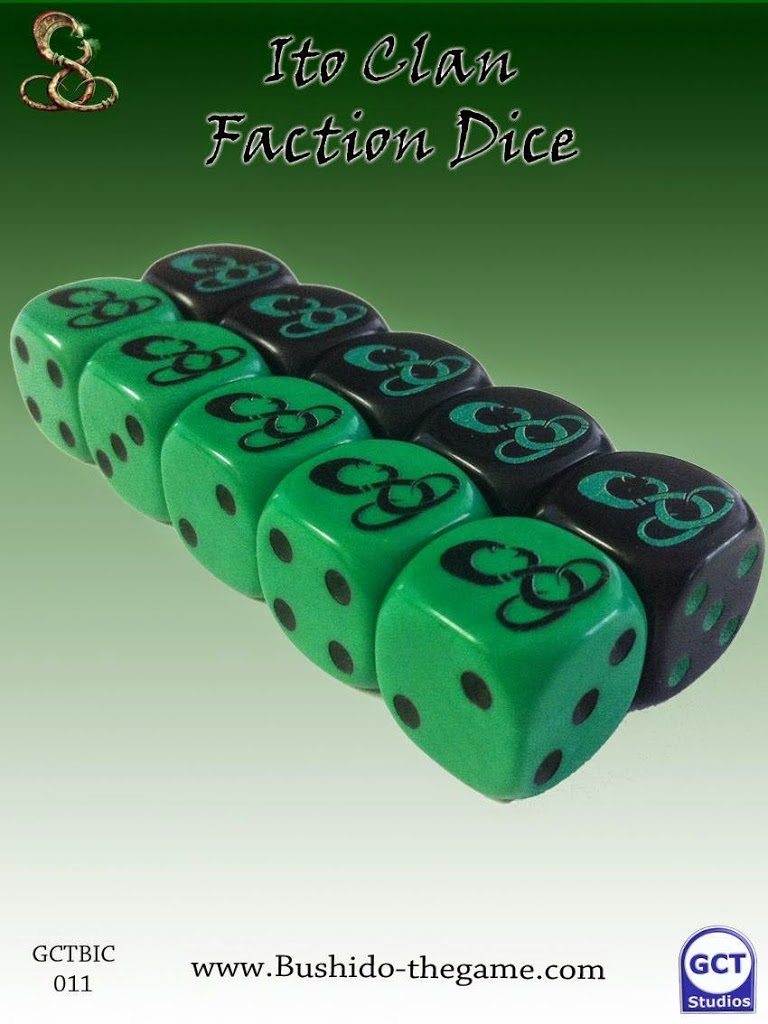
~I’ll be back soon to do unboxings for the Ito Clan and Temple of Ro-Kan starter sets.


