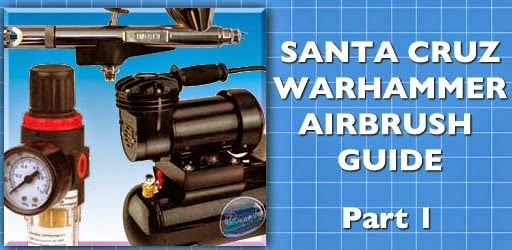
SCWH Airbrush Guide Pt. 1
6 Minute Read
Nov 30 2014

Advertisement
The airbrush can be an invaluable tool for hobbyists, but it’s easy to forget that it’s part of a larger system. While airbrush recommendations and theory can be found on most of the hobby sites, the rest of the system seems to be the subject of some neglect. I’d like to focus on the basics and how to select your first (or perhaps an upgraded) compressor. I’ll talk about airbrushes and advanced theory in a later post if there’s interest, but for now let’s focus on what has been clearly neglected in most airbrush starter guides: The Compressor. I’ll explain what elements you’ll want to have on a compressor and why, then show a comparison between a bargain model and a premium kit.
Let’s get started, the first element is the Compressor.
This is simply the pump that is pushing air towards your airbrush. Already we run into the first problem: almost all pump mechanisms pump in pulses as they recharge and discharge the air into the system. While this isn’t a problem for most tools, your airbrush will be negatively affected by uneven airflow. This has to do with the physical properties of liquids and their resistance to being compressed. As pressure pulses along your hose line to your airbrush, the rate at which you aerosolize your paint will vary accordingly. Long story short: you’re going to be seeing some splatter that you wouldn’t normally have with even airflow.
There are some advanced piston pumps that can provide nearly even flow, but they’re expensive and even they will be a poor substitute for an air reservoir/tank.
To get around the uneven flow of air we need to add an Air Tank to our system. By collecting the air that the pump is pushing, and holding it in a larger reservoir, we can flow off of that tank without getting the repeated pulse of pressure that the pump will be creating. This also has some other benefits of reducing noise (the pump won’t be running the entire time you’re spraying) and extending the pump’s life by giving the motor a break in-between tank fills.
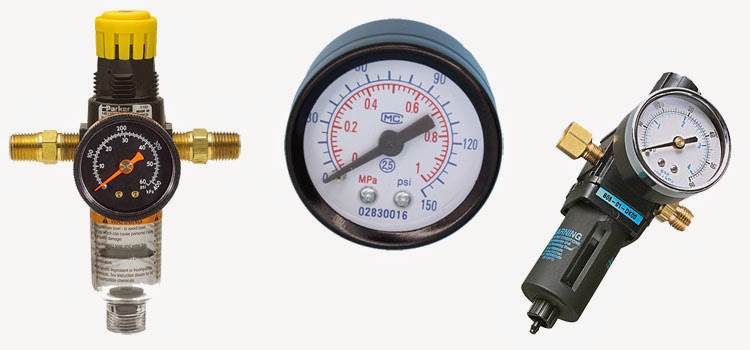
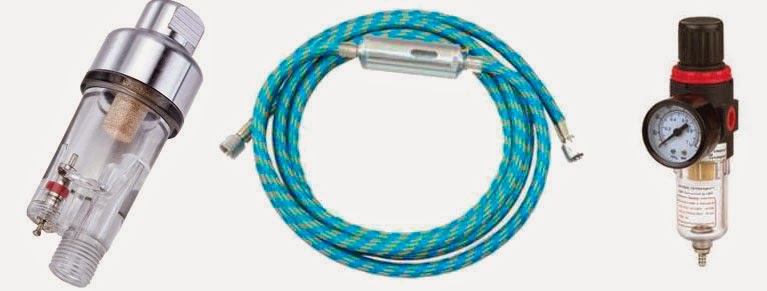
Rounding off our shopping list of stuff that needs to be in-line before the air gets to the airbrush are a Regulator and a Moisture Trap. Different paints and applications will work best at different psi’s, a regulator will allow you to flow off of your tank at the psi you set it to. Without one you’ll be flowing at whatever PSI happens to be coming out of your pump or is in the tank at that time which will be way too much.
Your pump will be compressing air that it’s sucking out of the room it’s in, and that air will have some humidity, which means a risk of water in your air line. The airbrush is designed to add paint to a pressurized flow of air and aerosolize it. When a drop of water comes through instead of that air then you get splatter.
Both the regulator and moisture trap are usually built into the compressor, but even if they’re not, you can buy them as accessories and attach them inline to your compressor.
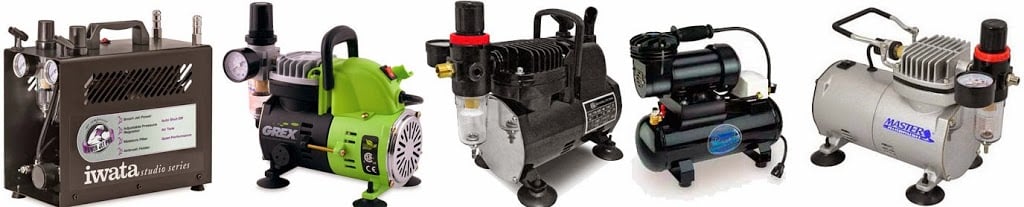
Compressors and Price
With those basic four elements you’re on your way to good airbrushing, but a quick look at your options on the market will show some dramatic range in prices. What do you get for spending more money on a compressor?
It could be a lot of things; larger air tanks, faster, higher quality, quieter, and stronger air pumps that could potentially power multiple brushes.
It could also be purely cosmetic, a fancy cowling for the compressor, or a carrying handle, or perhaps cup holders?
So enough theory, how do your actually select a compressor that’s right for your needs?
By taking a close look at the stats that are (usually) listed for the compressors you’re looking at.
For example if noise is a problem, find out at what db range the compressor operates at. Keep in mind that your refrigerator operates at roughly 40db and a normal conversation will be roughly 60db. The db scale is logarithmic and for every 10 points the sound increases the sound will be 10 times louder. ‘Silent compressors’ should be around 55db or below, but expect to pay a lot more for the quiet.
Compressor Showdown
One last example before I move on:
In one corner we have the entry-level compressor that has the four basic elements that I’ve covered above, in the other corner we have a similar compressor from Grex.
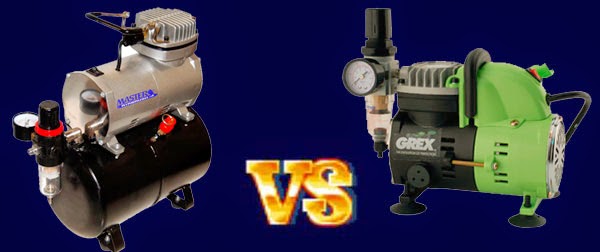
The Grex compressor has an MSRP of $239 but you can find it for around $180 (at the time of writing). The TCP sells for 99$ so roughly half the price.
TCP Grex
Price $99 $244
HP 1/5 1/8
Displacement 25L/min 20L/min
Noise 59db 55db
Weight 11.5lbs 11lbs
Tank size 3.5L Auto-on/off (No tank)
So if I was a hobbyist on a budget, I think I’d go for the TCP compressor, it’s cheaper and superior or comparable in almost all of the listed stats.
There are also other factors to consider that aren’t so easily represented in numbers; such as where the product was manufactured, and the quality of the components. I can’t say if a premium brand will outlast the bargain model, but I think it’s safe to say that the bargain unit is made of the cheapest parts available.
I’d also like to say that I’m not targeting Grex as being a poor choice for your airbrushing needs. I’ve heard good things about Grex and I think my next airbrush purchase will be a Grex XGi.
Alternatives to a Compressor
I want to touch on two alternative solutions before I sign off, shop compressors and compressed gas.
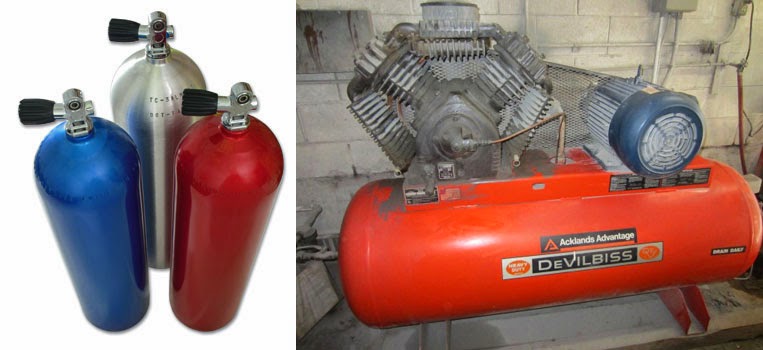
Is your hobby area in a place with one of those monster shop compressors for power tools? Great, just get some adapters and attach the regulator and moisture trap to the tank and you’re good to go. Once it stops rattling the walls and the tank fills, you’ll have air for days.
Another solution is to get an air tank with compressed gas, and hook your regulator to that. It has the advantage of being silent when you’re using it, and you can fill it with dry air;
Tell me about your set up, and how it’s preformed for you in the comments below.
Join us at Santa Cruz Warhammer for more hobby inspiration.
Author: Guest Columnist
Advertisement


