Warzone: Resurrection- Battlespace Analysis (Key Terrain)


Today we look at the selection and placement of Key Terrain in your games of Warzone: Resurrection.
Looking for the spot to hold out and defend yourself against the enemy’s onslaught? How about a good spot to put your fire support while your troops move into position? In this article, we look at the selection and placement of Key Terrain in your games of Warzone: Resurrection.
Key Terrain
Key Terrain refers to any piece of terrain that dominates the area around it. This may be because it is tall enough to cover the surrounding area, it is hard enough to allow defending units to survive attacks from more capable forces, or it is placed in a position to dominate a key space (for example, a walled area that covers a chokepoint).
Key terrain in Warzone will usually be some sort of elevated platform. This means that the models in the tower can fire out, but it also makes them targets for return fire. Depending on how much other pieces of terrain block LOS, their impact may be increased or decreased.
Due to this, the entrances to the key terrain are likely to become key battlegrounds as well. While one unit with great range, RS and firepower (like rocket launchers or snipers) is at the top of the key terrain, another might be at the base of the terrain, trying to stop the enemy from entering.
Finally, key terrain will be more important when there is less of it, and less important when there is more of it.
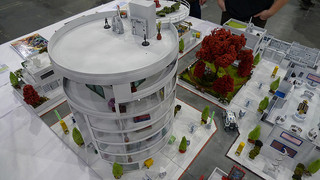
Rooftop parking, just make sure you get in quick for earlybird rates!
Where to put key terrain
There are several locations that you can consider for key terrain. These include:
- Deployment areas: when placing something in a deployment area, ensure that it does not dominate the table. This will give too much advantage early on. Also, given that most weapon ranges are 24”, key terrain in that location might not be all that useful.
- The centre of the table: this is a great place to put a ‘centrepiece’ that you’ve spent a lot of time and effort building, but beware that a serious key terrain piece here will focus the battle on it. If convergence deployment has occurred, it will provide a dominating ‘castle’ for the force that deploys there.
- Likely objectives: placing key terrain on or overlooking likely objective positions is also good, but it may swing the battle towards or away from one of those objectives. Placing one piece of key terrain overlooking one of the flanking objectives and another on the other side will balance this out, and provide equal opportunities for both players, but be aware that on a 4’x4’ table the players aren’t necessarily going to choose the table edges you expect them to!
- Table flanks: placing key terrain here makes a tactical dilemma for players (which is a good thing!) in that they can choose the great fire position in the key terrain or they can choose to head for the objective, but they might not be able to do both (and whichever one of those choices they don’t take they may give to their opponent).
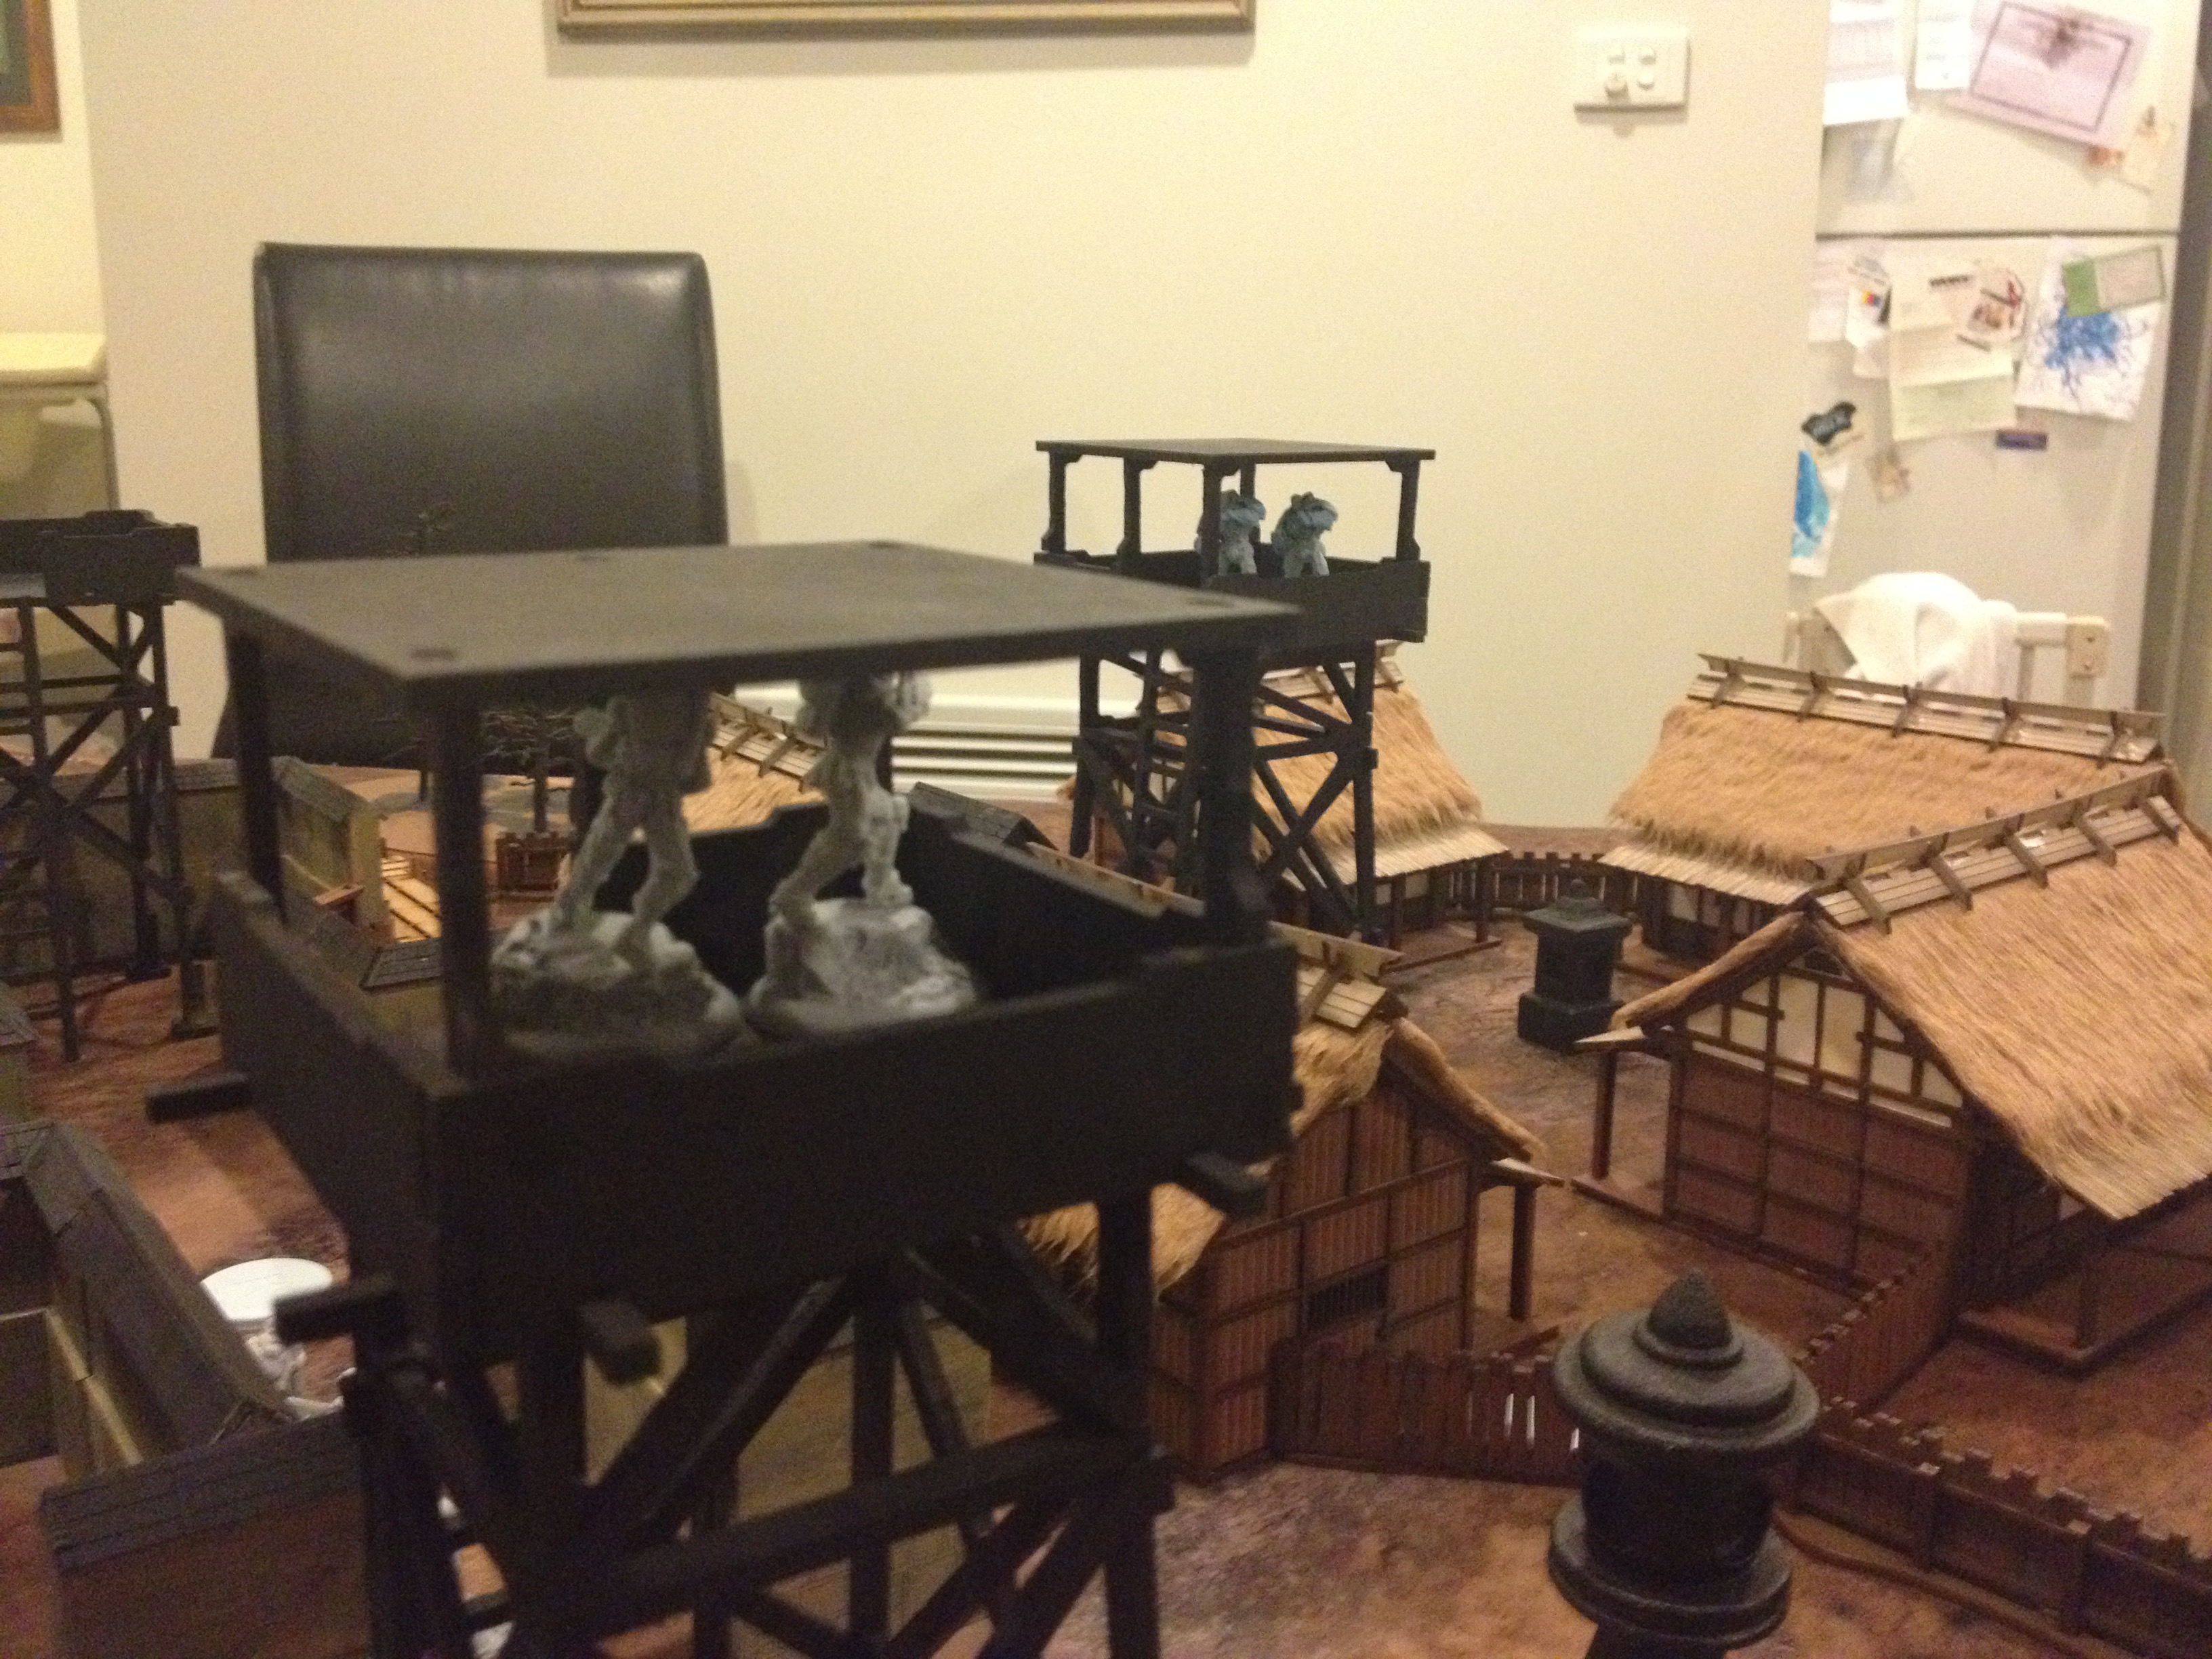
The latest competitive sport on the battlefield- watchtower occupying!
Altering the influence of Key Terrain
Depending on the role you want your key terrain to play, you might consider limiting its ability to dominate the surrounding area. Similarly, you might find that you’ve placed the terrain in a location or combination that renders it ineffective for use, and that’s not what you want. After placing your key terrain, have a look at what models can see and consider the following:
- Observation: maybe you only want the key terrain to influence some parts of the battlefield? Maybe you want it to have great reach but be vulnerable to a close assault? After you determine the lines of sight, you can move other terrain pieces to partially block the LOS from the key terrain. In some cases, the terrain itself will have blind spots that render it vulnerable. A great example of how to set this up is to place key terrain near one of the flanking objectives, but only able to fire on the opposite flank.
- Protection: as the models in the key terrain can see out, so can the enemy see in. what protection is available in the key terrain will determine how it is used. Maybe there are parts of the terrain that are better to fire from but more exposed- like a building with an enclosed space providing hard cover, but also a balcony with light cover (or no cover at all) and better LOS. If the key terrain is a hard structure like a bunker, is that protection complete? Is there a roof, an open doorway, a way in?
- Access: if you can’t get into the terrain, it’s not much use. If you have a really valuable piece of key terrain, try making it harder to access (using closed avenues or pockets as access points, for example). You can also create tactical dilemmas here- does the model use the nice, safe ladder that’s more dangerous to get to, or do they scale the legs of the structure from a covered position (with a risk of falling off while climbing)?
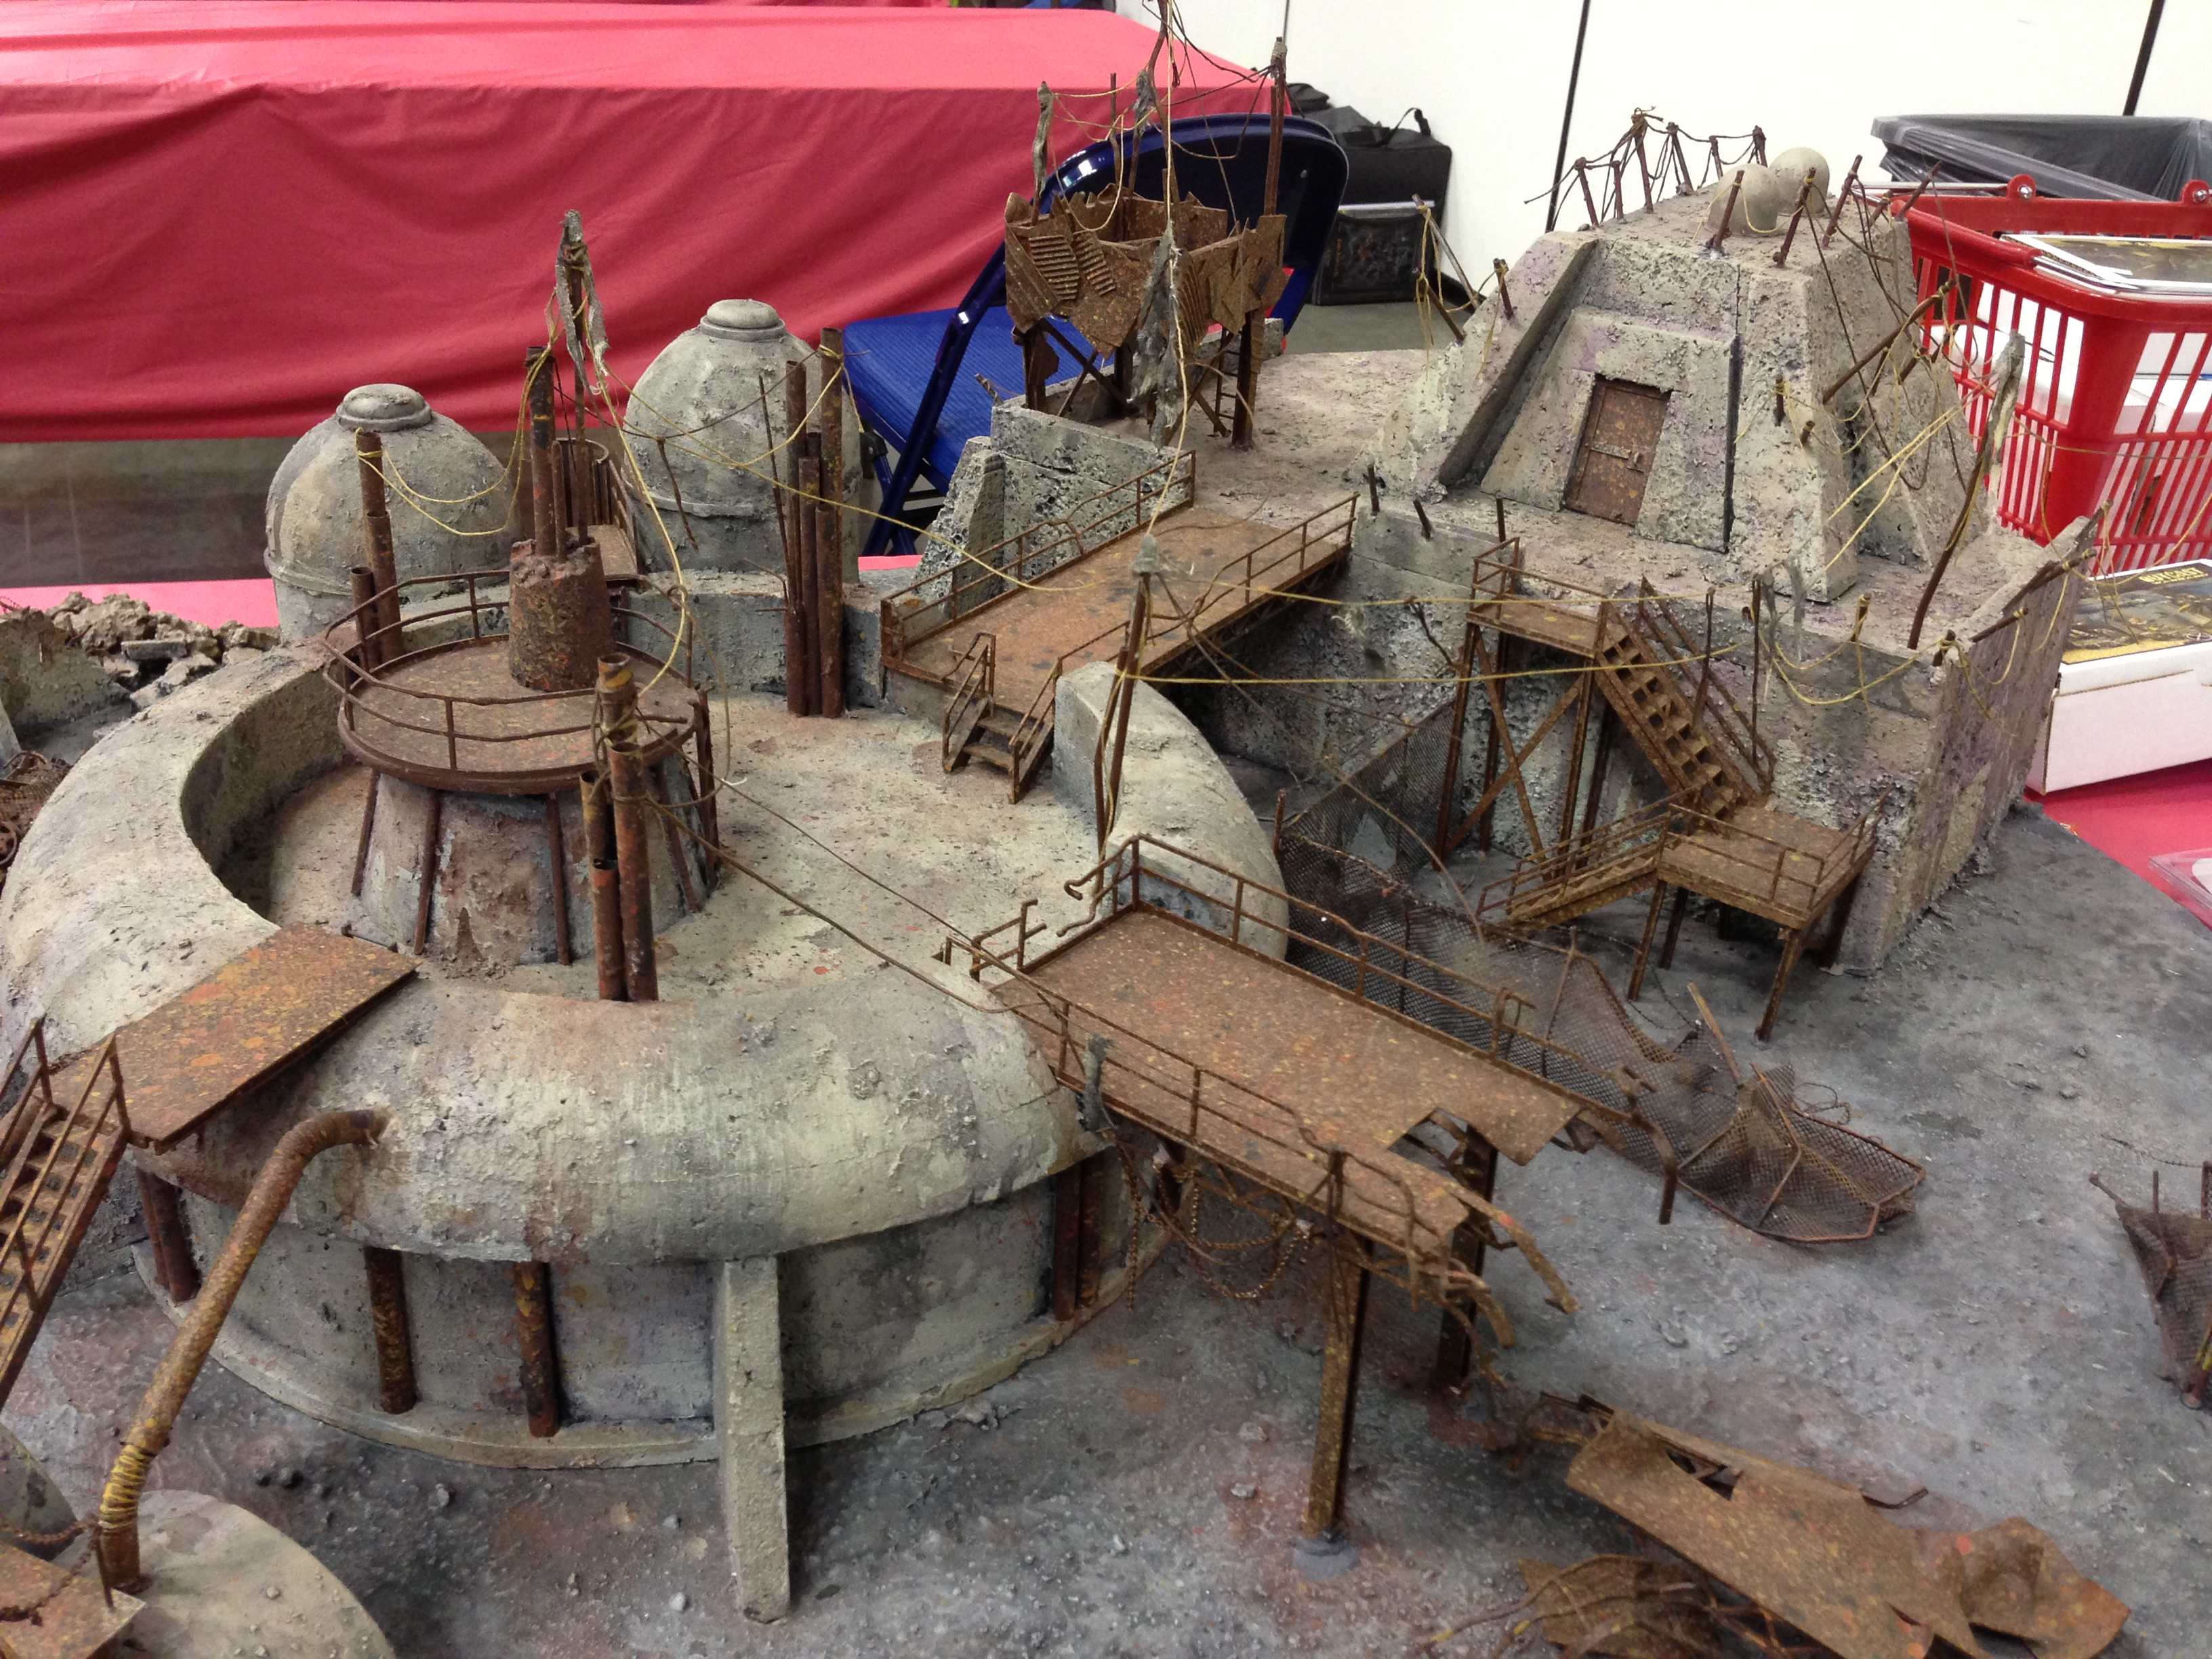
Sometimes it pays not to be too houseproud…
So there you have it. Key terrain concepts can be mixed in with the other terrain constructs like Avenues and Pockets to make a challenging table to fight over. Try mixing them together and see what you come up with!
In the next articles in our series, we will look at putting it all together to make an interesting and challenging table for Warzone: Resurrection. Previous articles looked at the theory of placing terrain, creating pockets and placing avenues.
This article is an abridged version of one that appeared in Cartel Tactical Centre magazine, issue #2. Have a look at the CTC Magazine archives here, or get a hold of their latest issue here. Also check out their Facebook Page.
What’s the best piece of key terrain that you’ve used? How did it affect the battle? Was there a great cinematic moment had there?


