HOBBY: Applying Decals so They Seem Painted


Today learn how to apply decals to make them look like they were painted on your models.
This are just a few steps to help your decal blend with the painting below it, and avoid having it look like a plastic transparent sticker that you glued to the model. This method will also help avoid the silver looking areas that may appear under the decal, ruining the paint job that you work so hard for. You have to be sure that the painted area you are going to apply the decal is dry, before starting.
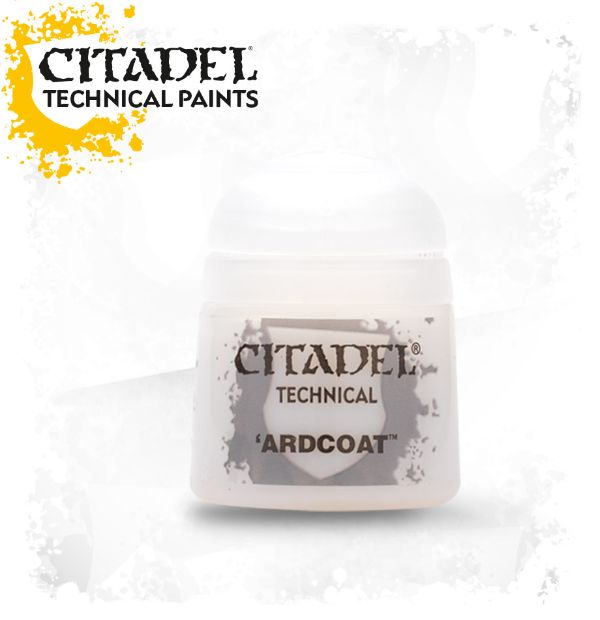
1- Apply a Gloss Coating – to the area where you are going to apply the decal on. If you are using gloss paints like citadel’s or vallejo’s I recommend to wait at least 30 minutes for the coat to dry. Depending on the climate it may take a little more time.
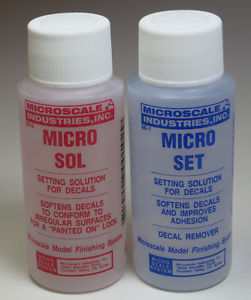
2-Moisten the Decal Location Cut away the decal you are going to apply, and let it sit on a little water until it looks that the paper backing has absorbed the liquid. While this happens put some decal setting solution, like Microscale Micro set, to the area you are going to glue the decal. If you don’t have setting solution put a little water in the area to help move the decal around to the correct position on the figure.
3- Slide the Decal On to the figure with brush and move it to the area you want to stay.
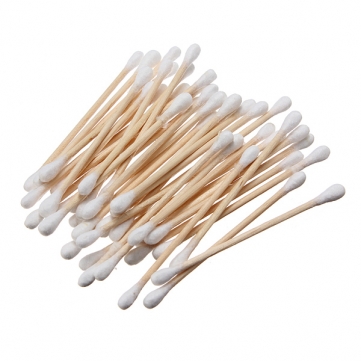
4- Remove Excess Liquid Use a cotton swab to take the liquid from below the decal. Roll the swab over the plastic so it does not lift from the figure. You can use a paper towel to press down of the transfer in a rolling motion, after you have taken most of the water out. If you used decal set solution if will stick easier than with paper alone.
5- Soften/melt the Decal Once the decal is stuck, with no water, you can use a decal solvent on it. I use Micro sol setting solution, but any hobby solvent solution will work. This step makes the transfer contour to whichever shape is was applied to, even if the model has bolts, or texture. Just brush it over the area, leaving a coating on.

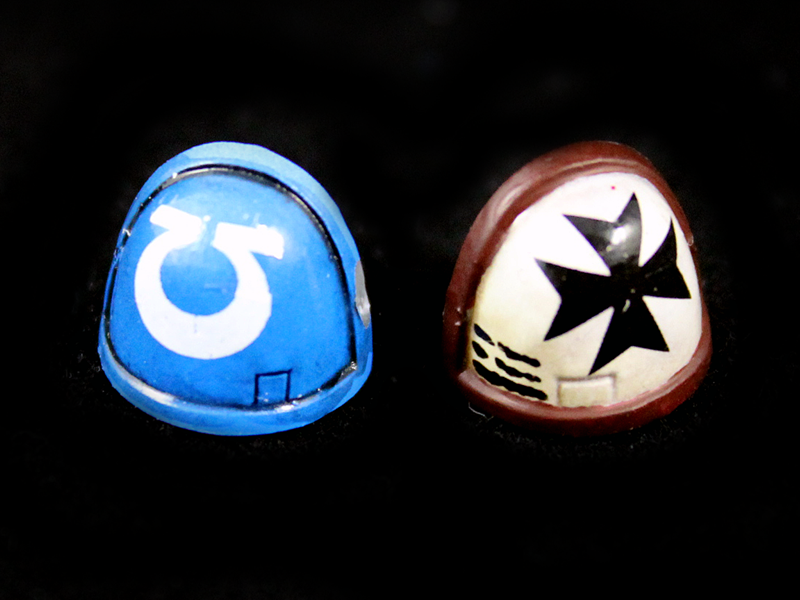
6- Wait… You must give the solvent do its work, and dry. The transfer will crinkle and look terrible (DO NOT TOUCH IT!!). After a while it should melt, straightening while molding to which ever curve or structure is on the model. An example is the shoulders on the Space Marines, where the curvature and difference in radius from top to bottom may cause the design to fail to stick correctly. Using the solvent that problem will be fixed. In the case that you do not have a solvent, you can use an exacto knife to cut a little of the excess plastic after the decal is applied, but before its dry.
7- Seal the Decal In Once completely dry, applied a new coat of gloss over the whole area. This will make the area look uniformed, which hides the corners of the decal even more. When the coat is dry, you are ready to apply the final coat of flat varnish to make the whole model look awesome.
~Get decaling hobbyists!


