GMM: Khorne Army Assembly and Backdrop
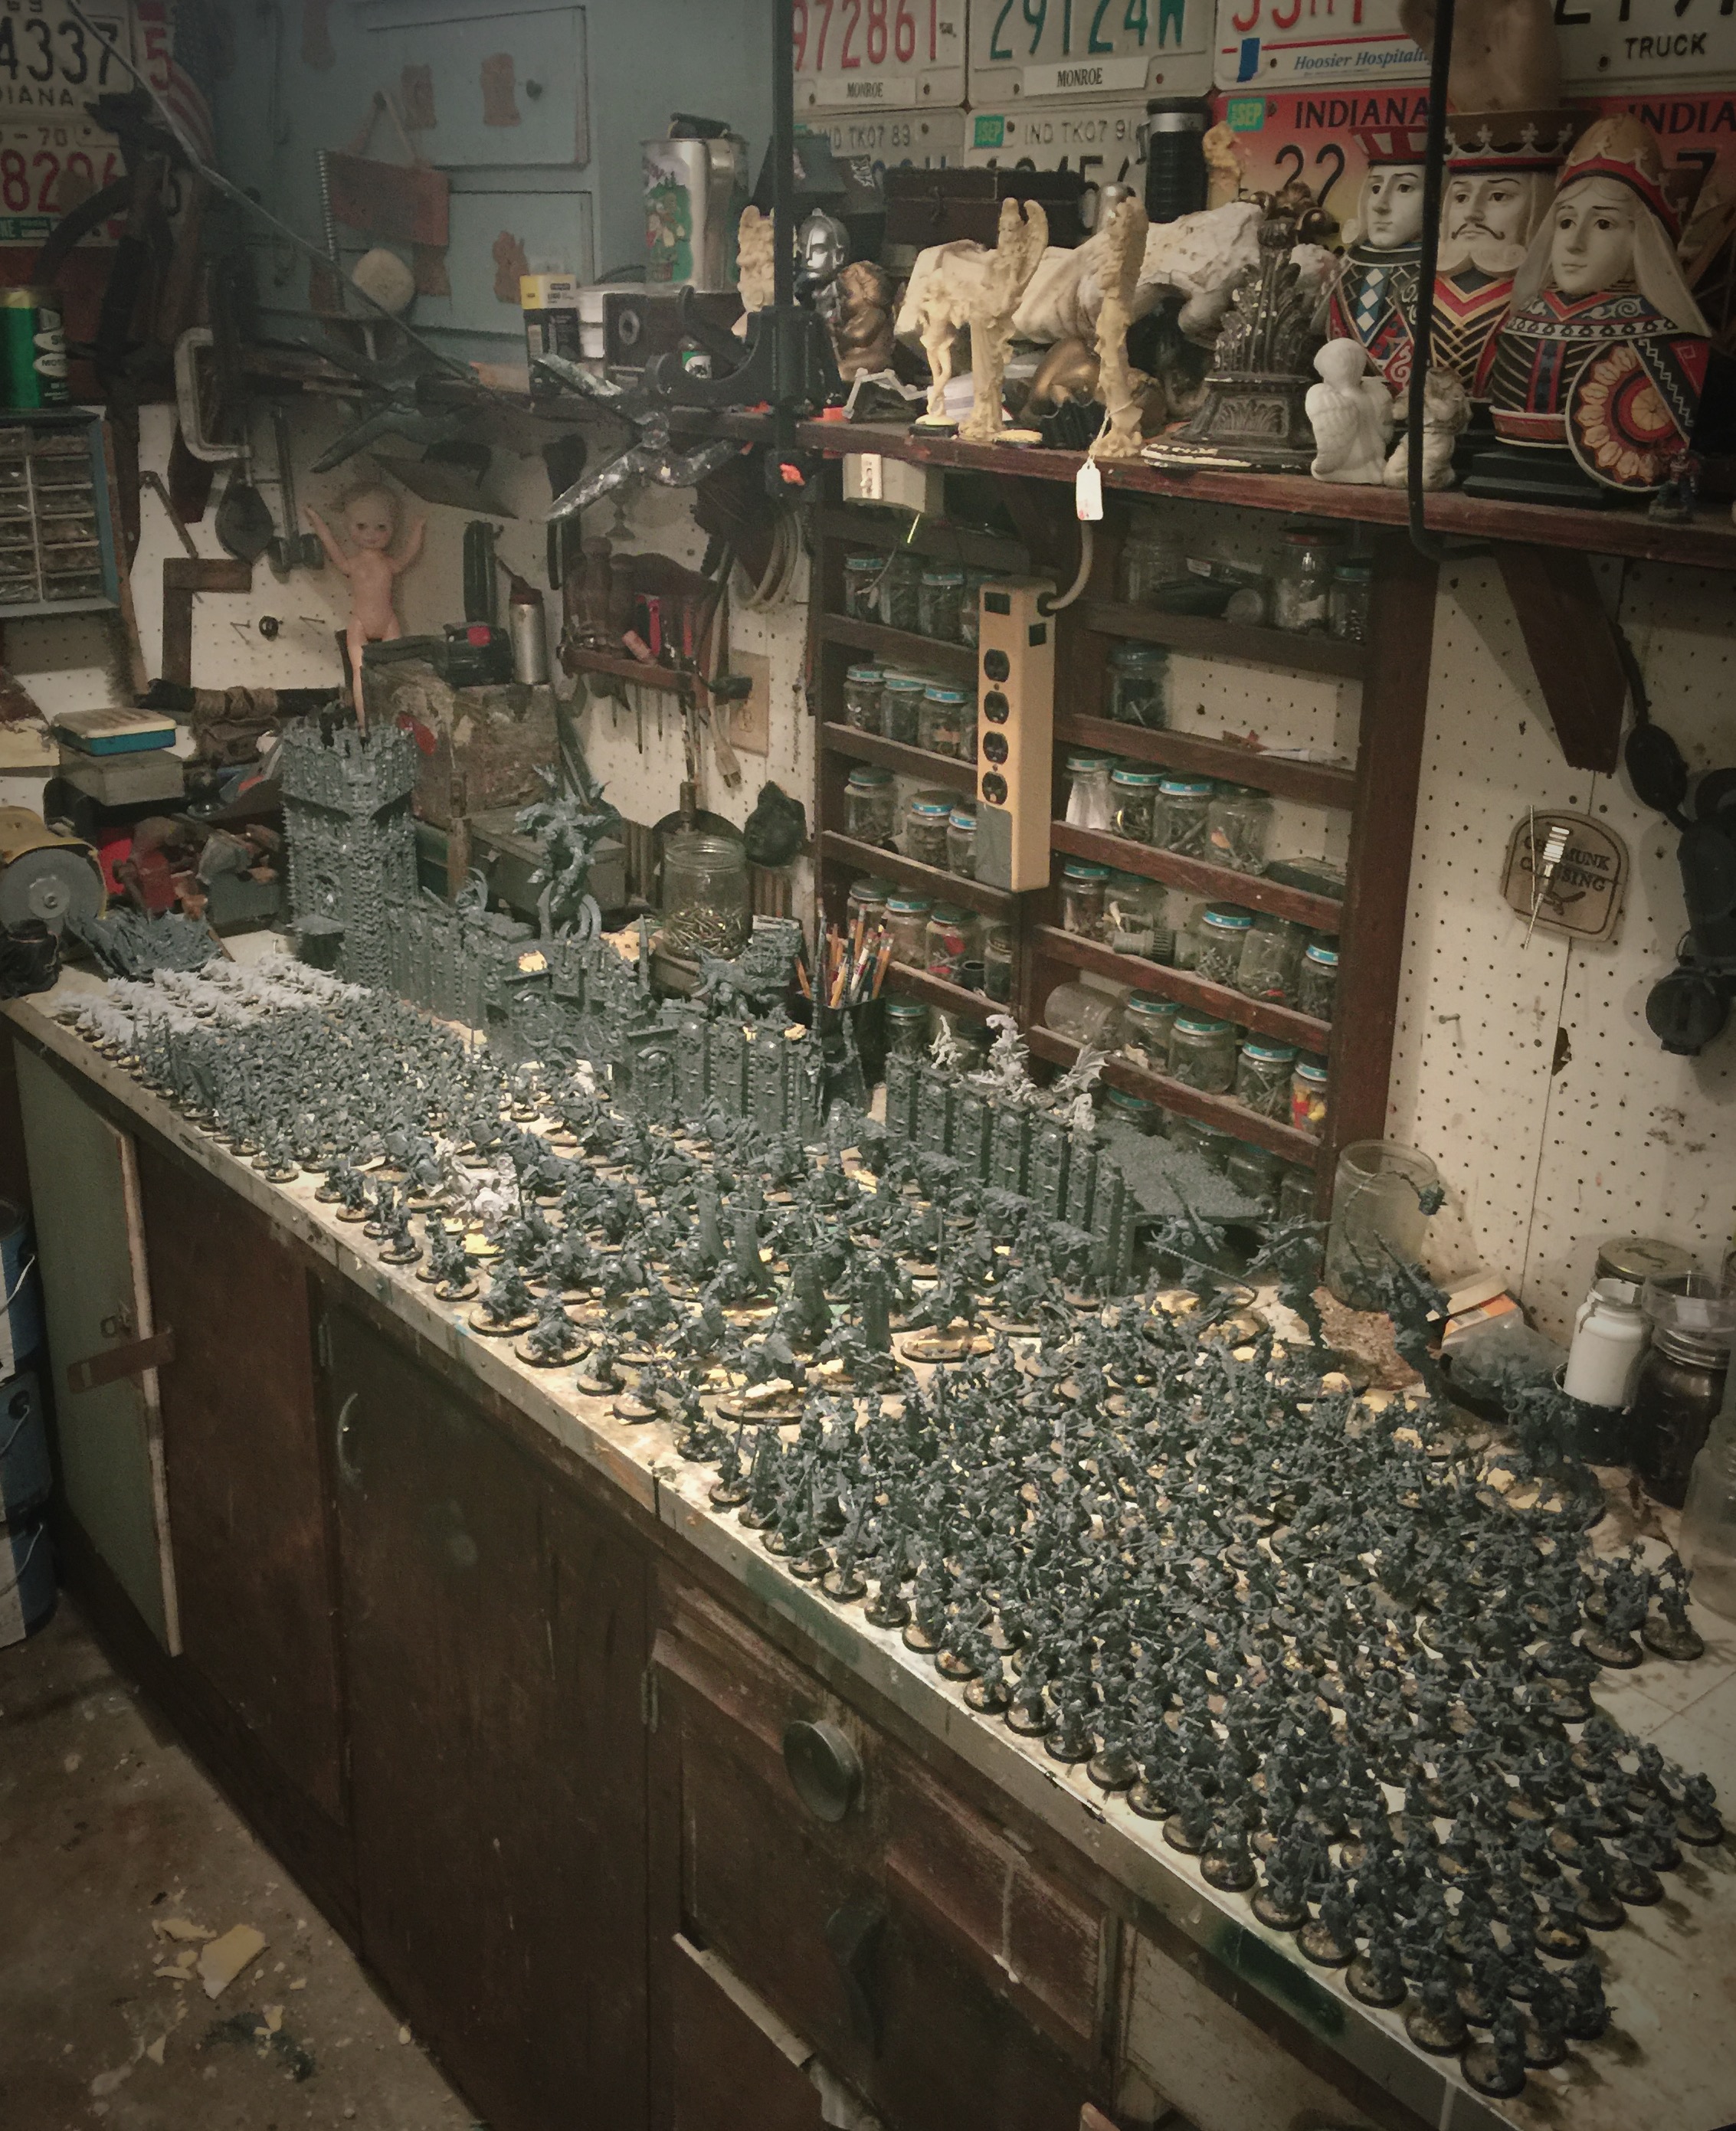

Hello BoLS readers! I am back with the start of another army. This one is a huge Khorne AoS army.
With the army assembled, and about done with paint, it is time to get the backdrop ready, so let’s get to it.
Finished and ready for paint shot, so you know where this is going!
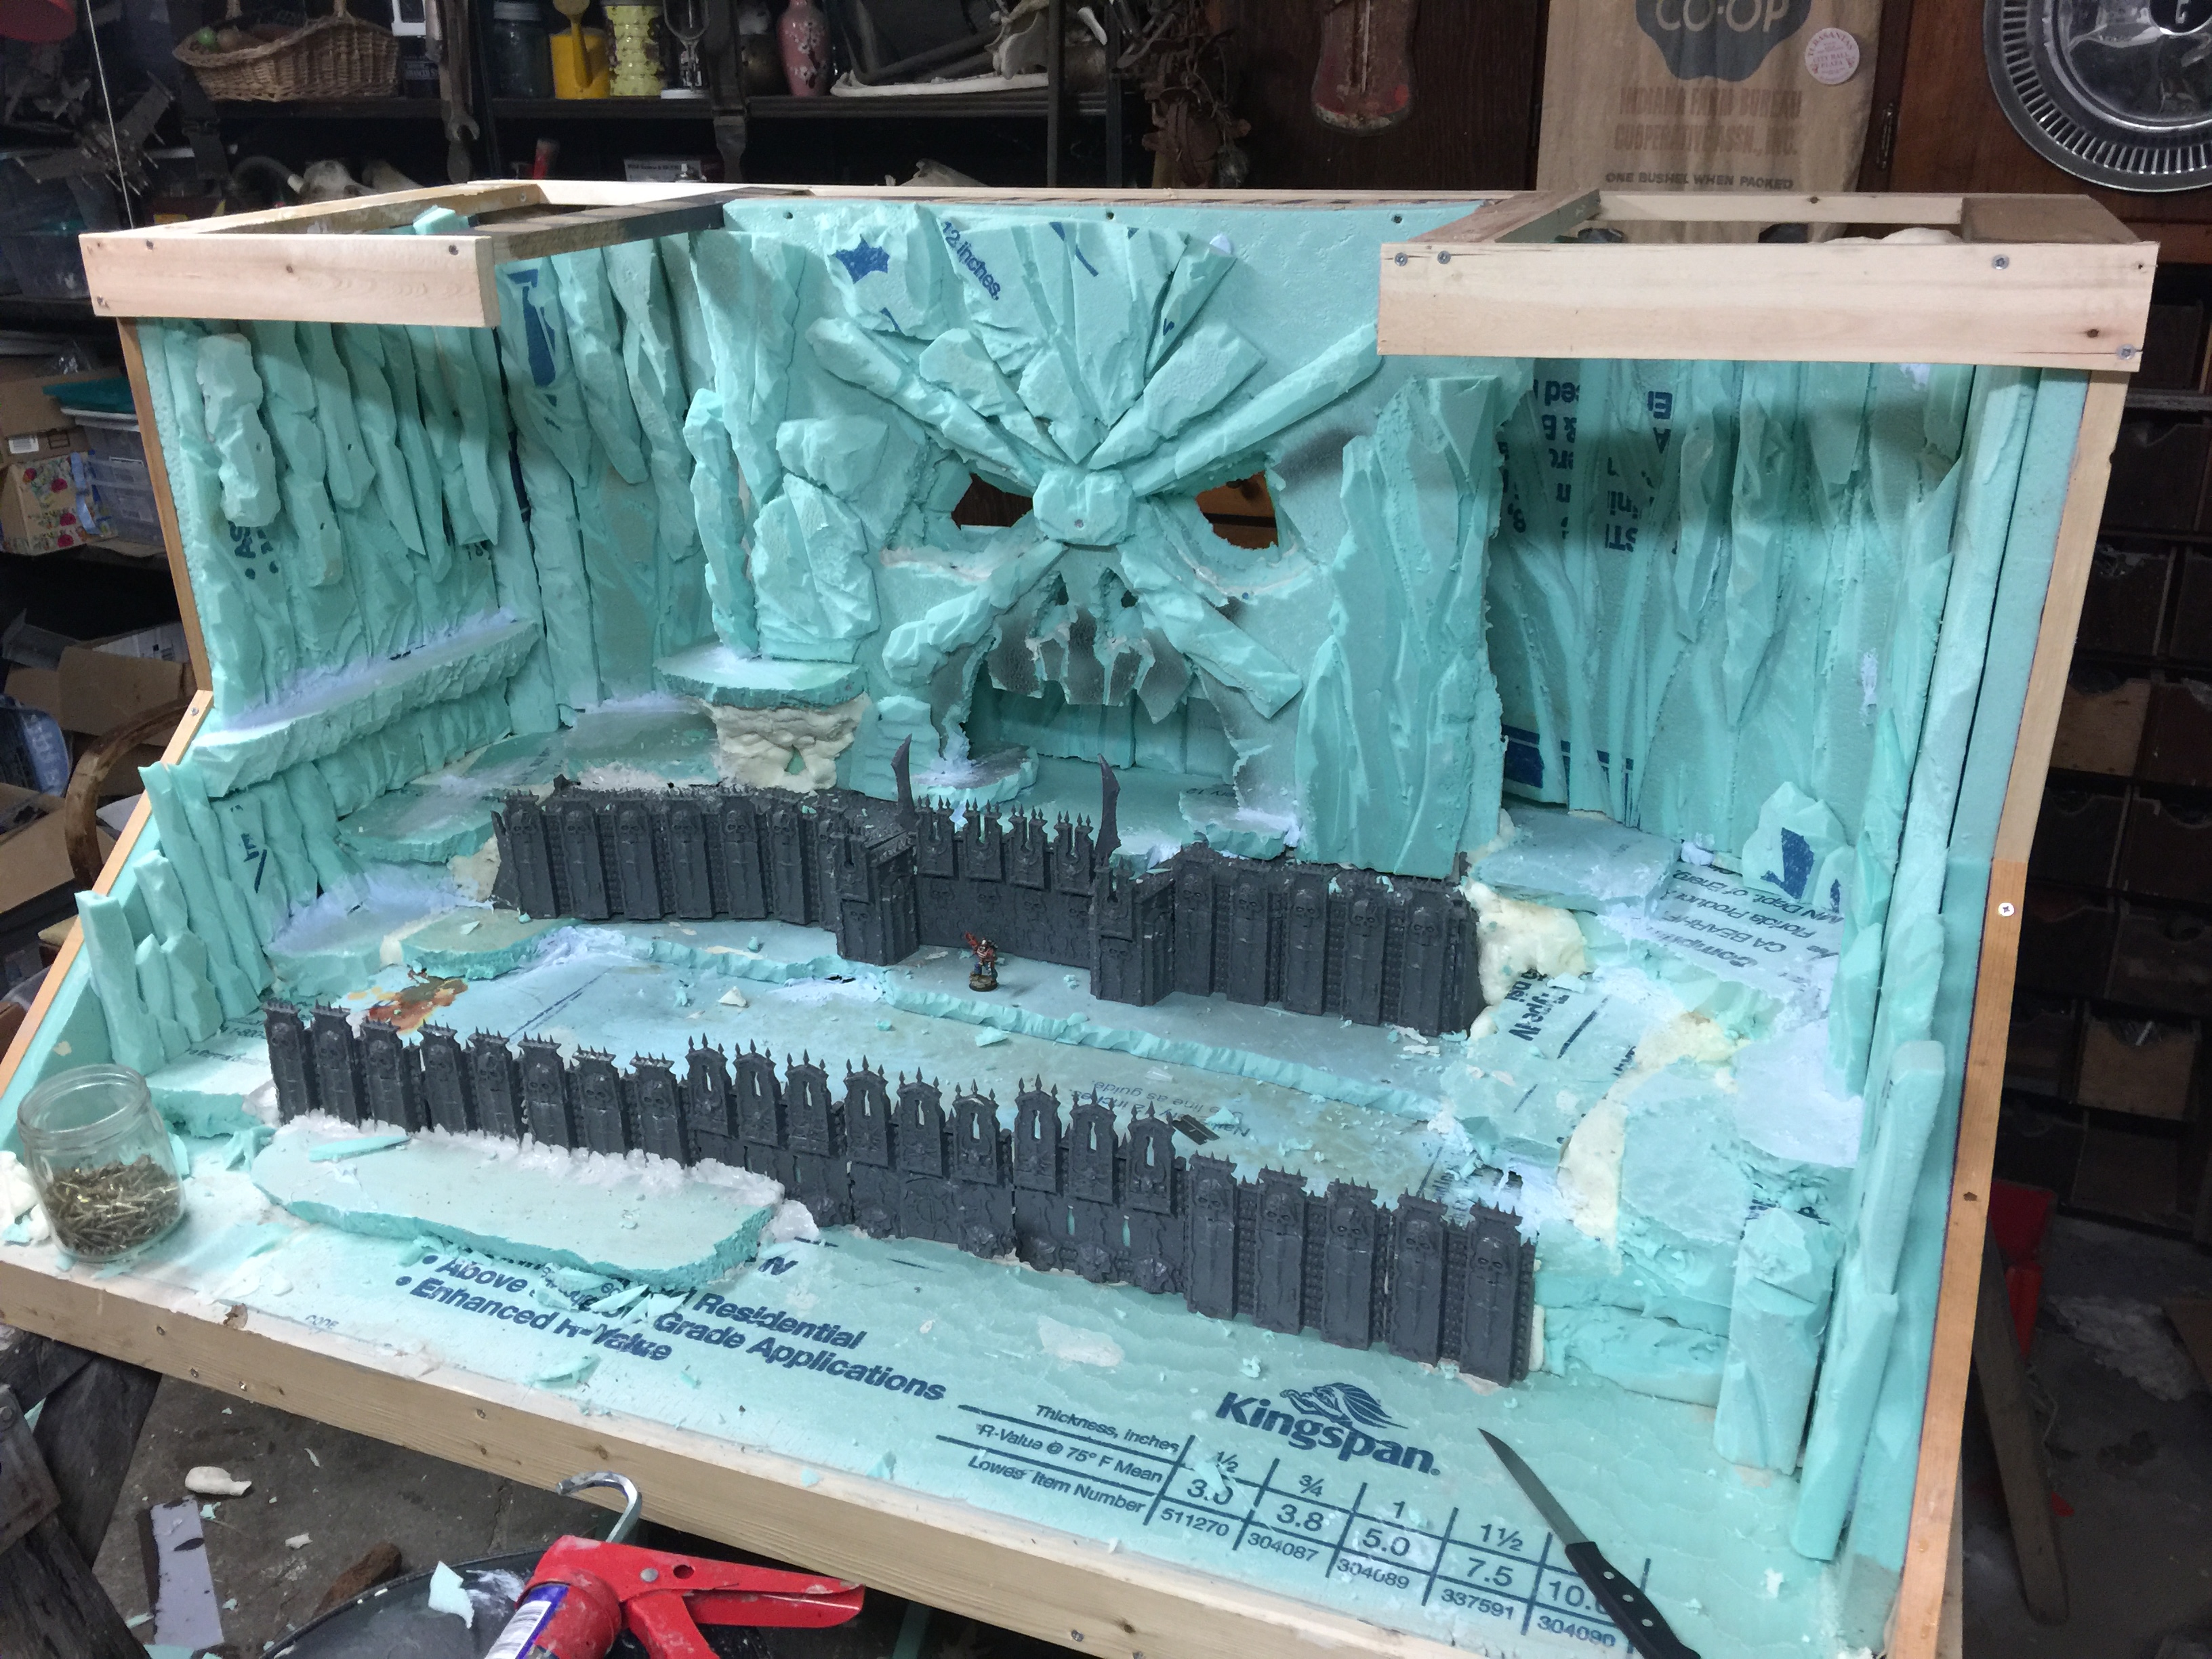
Learned a few things on the big Stormcast backdrop that are applying here. The things in common – it needs to be huge. This is 6’x4x3′. Another, it needs to stay relatively simple to fit everything on there. When dealing with photographing such a large army, have to balance cramming them in there with elevation and space. A large army even with slight gaps between units will suddenly become less impactful overall.
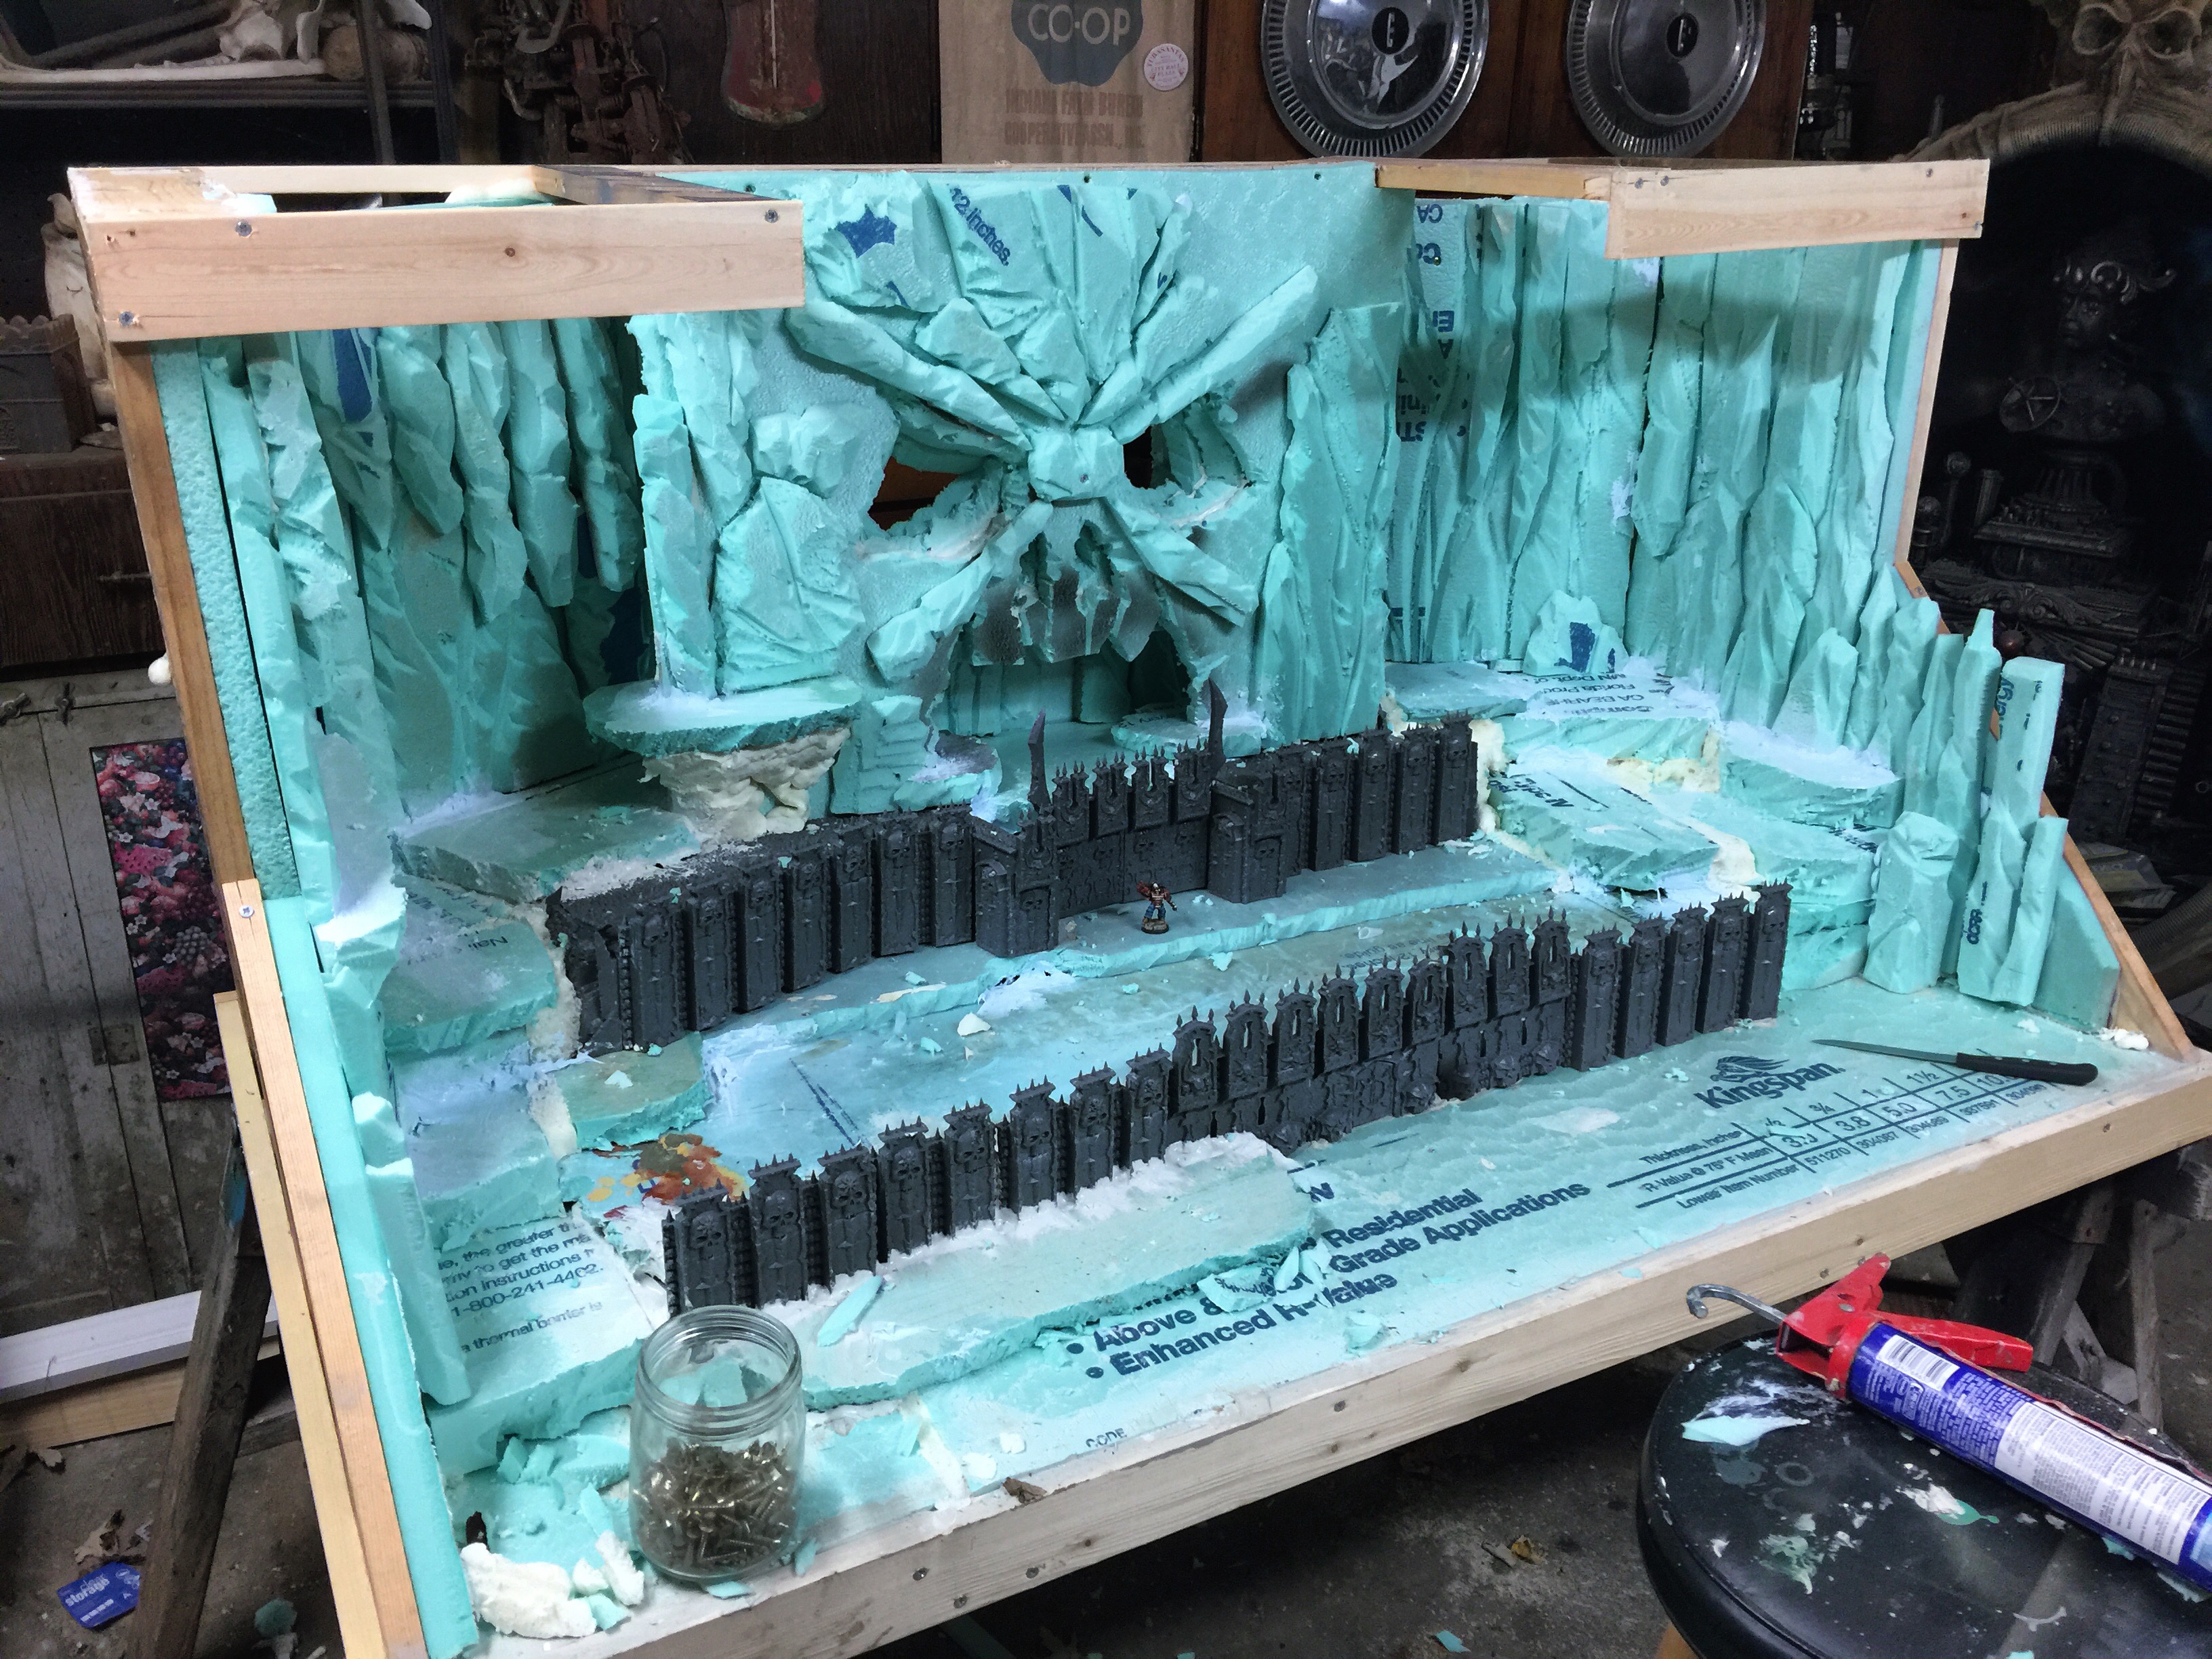
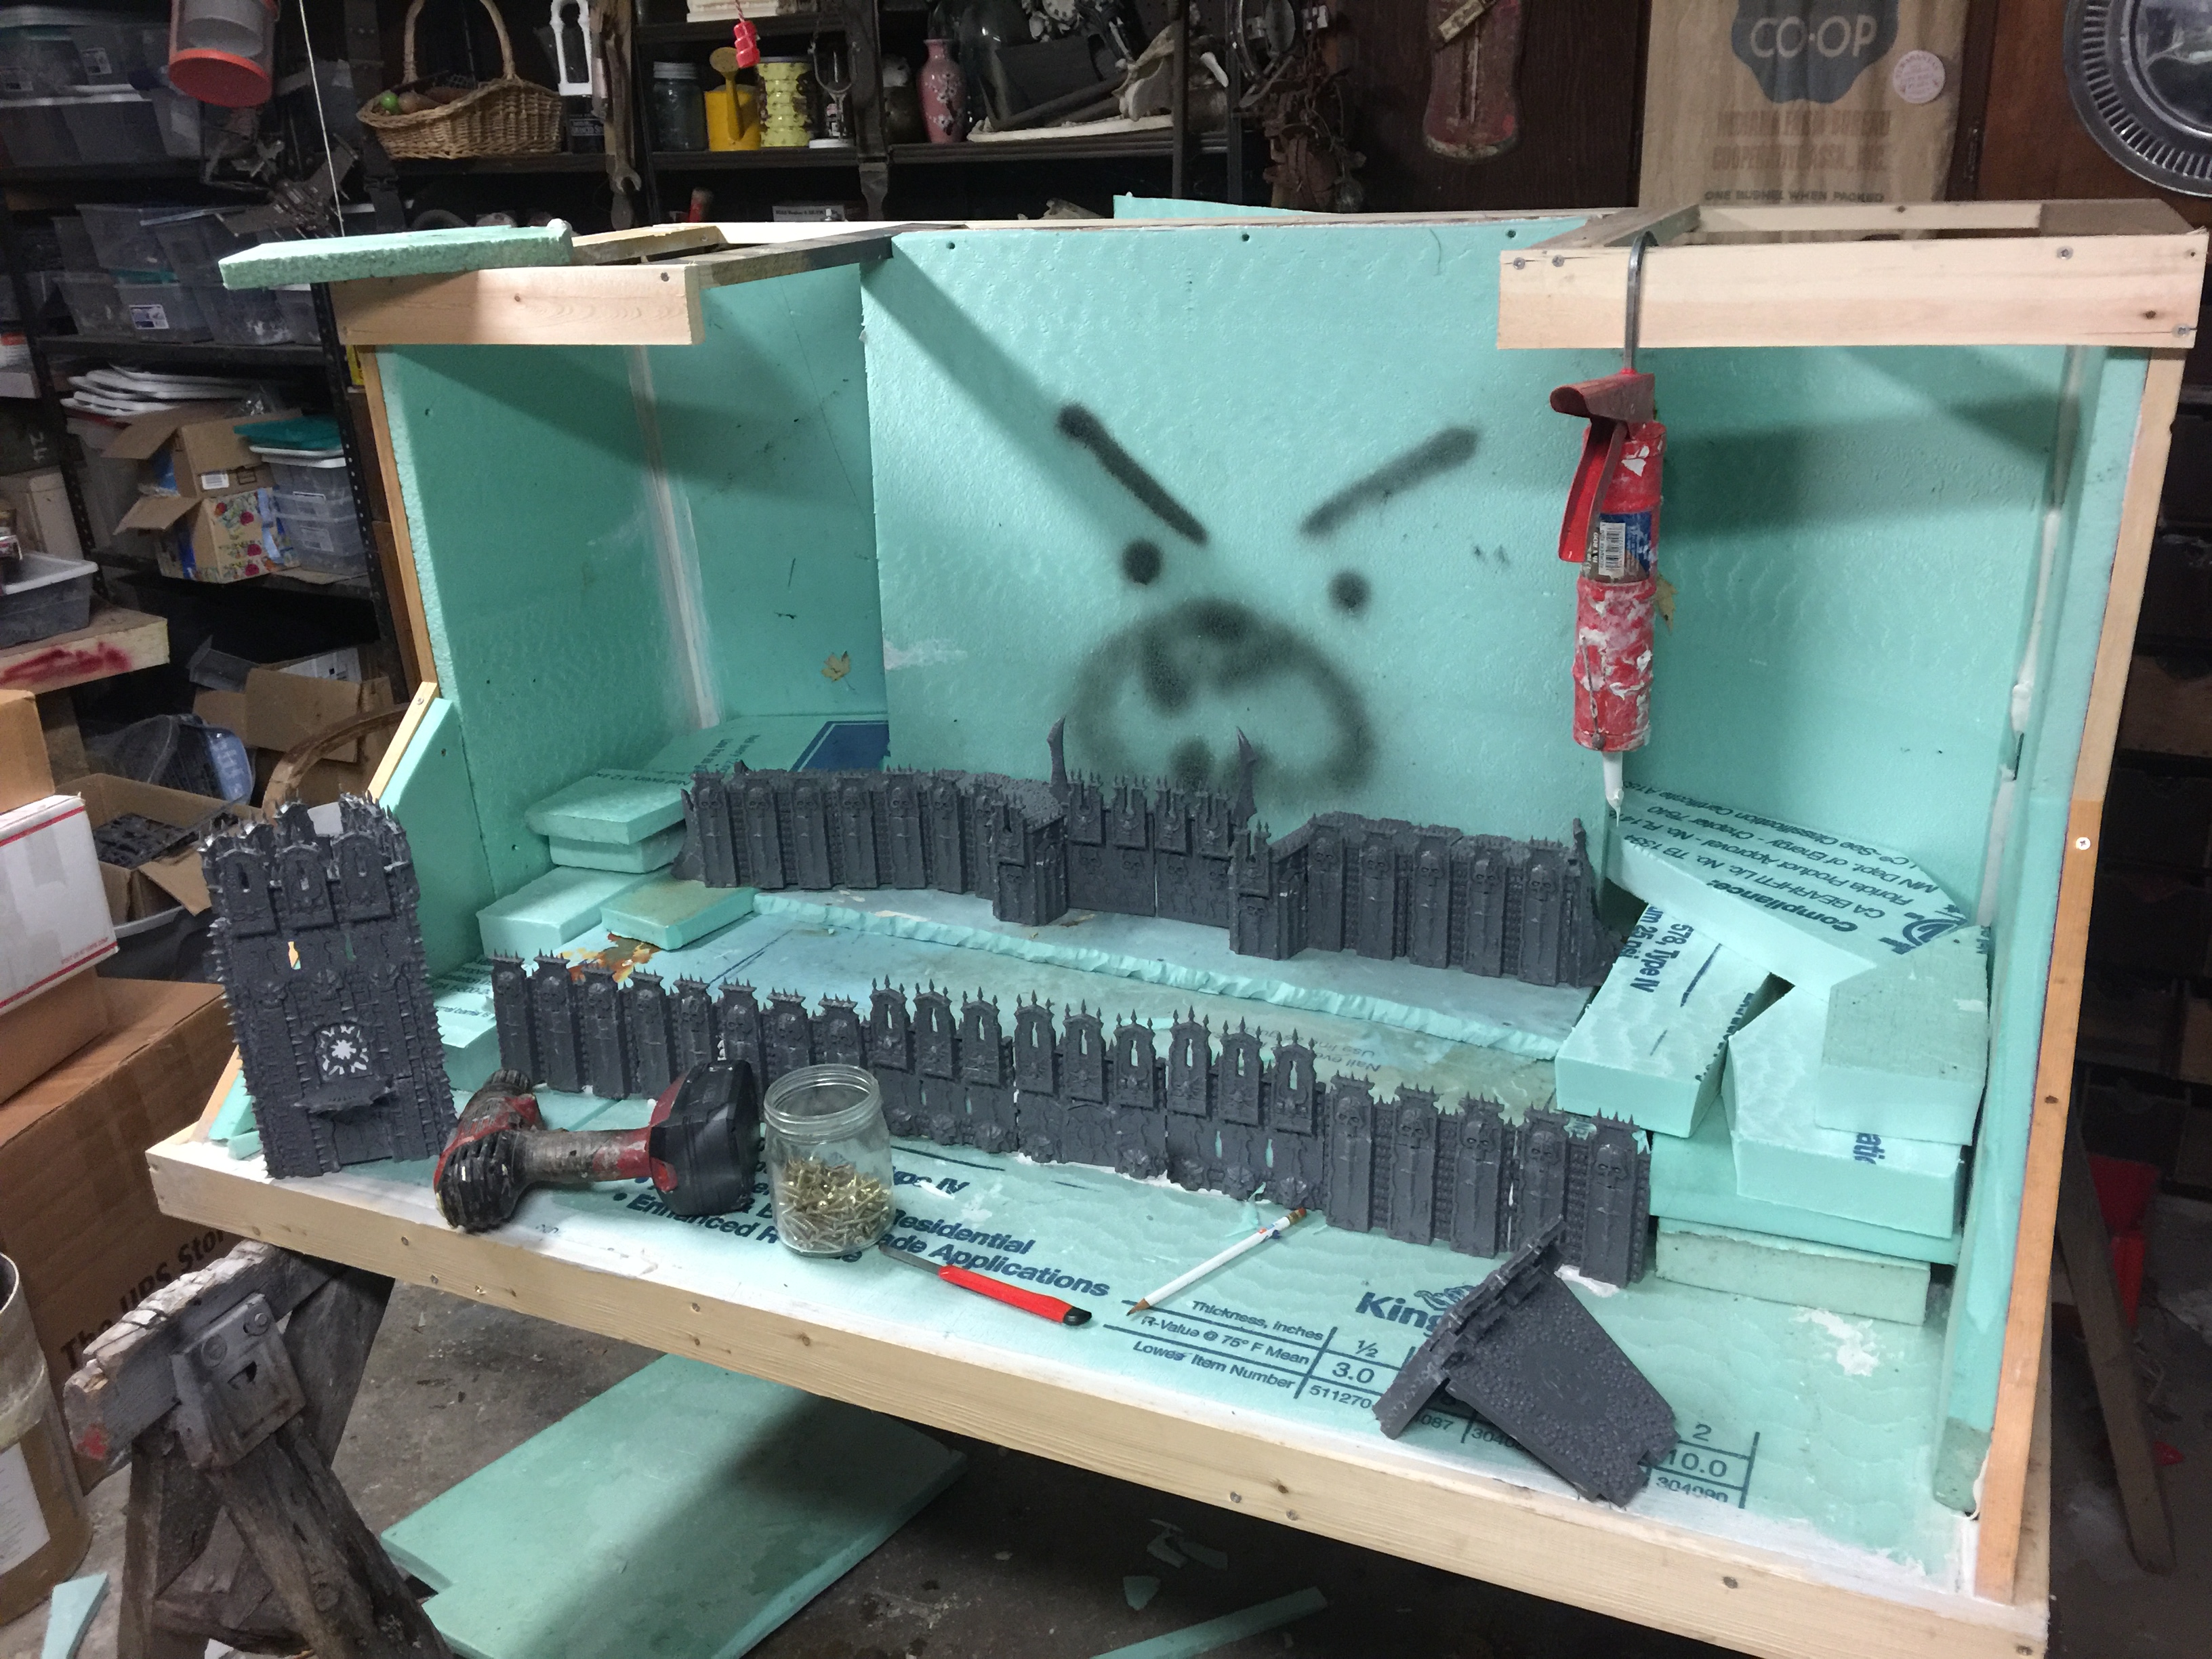
With that my thoughts went to ways to clever it up without taking any space. When I made the Stormcast backdrop, by necessity only, I had to cut away part of the interior wall to allow light in from behind to light the hallway up. That got me to thinking about using a red light to add a bit of glow.
I have always loved Oblivion and Khorne, especially the Helfort remind me of the Oblivion realm. Did not want just a flat black lava rock plane, and putting modelled lava in the floor would separate the army up. So I went with a shot at the glow effect, a red light hidden behind but casting from above the mouth, behind the eyes, and into each side of the cave.
Not really sure if it will even work, but in theory it should and I will wait until they are both done to see.
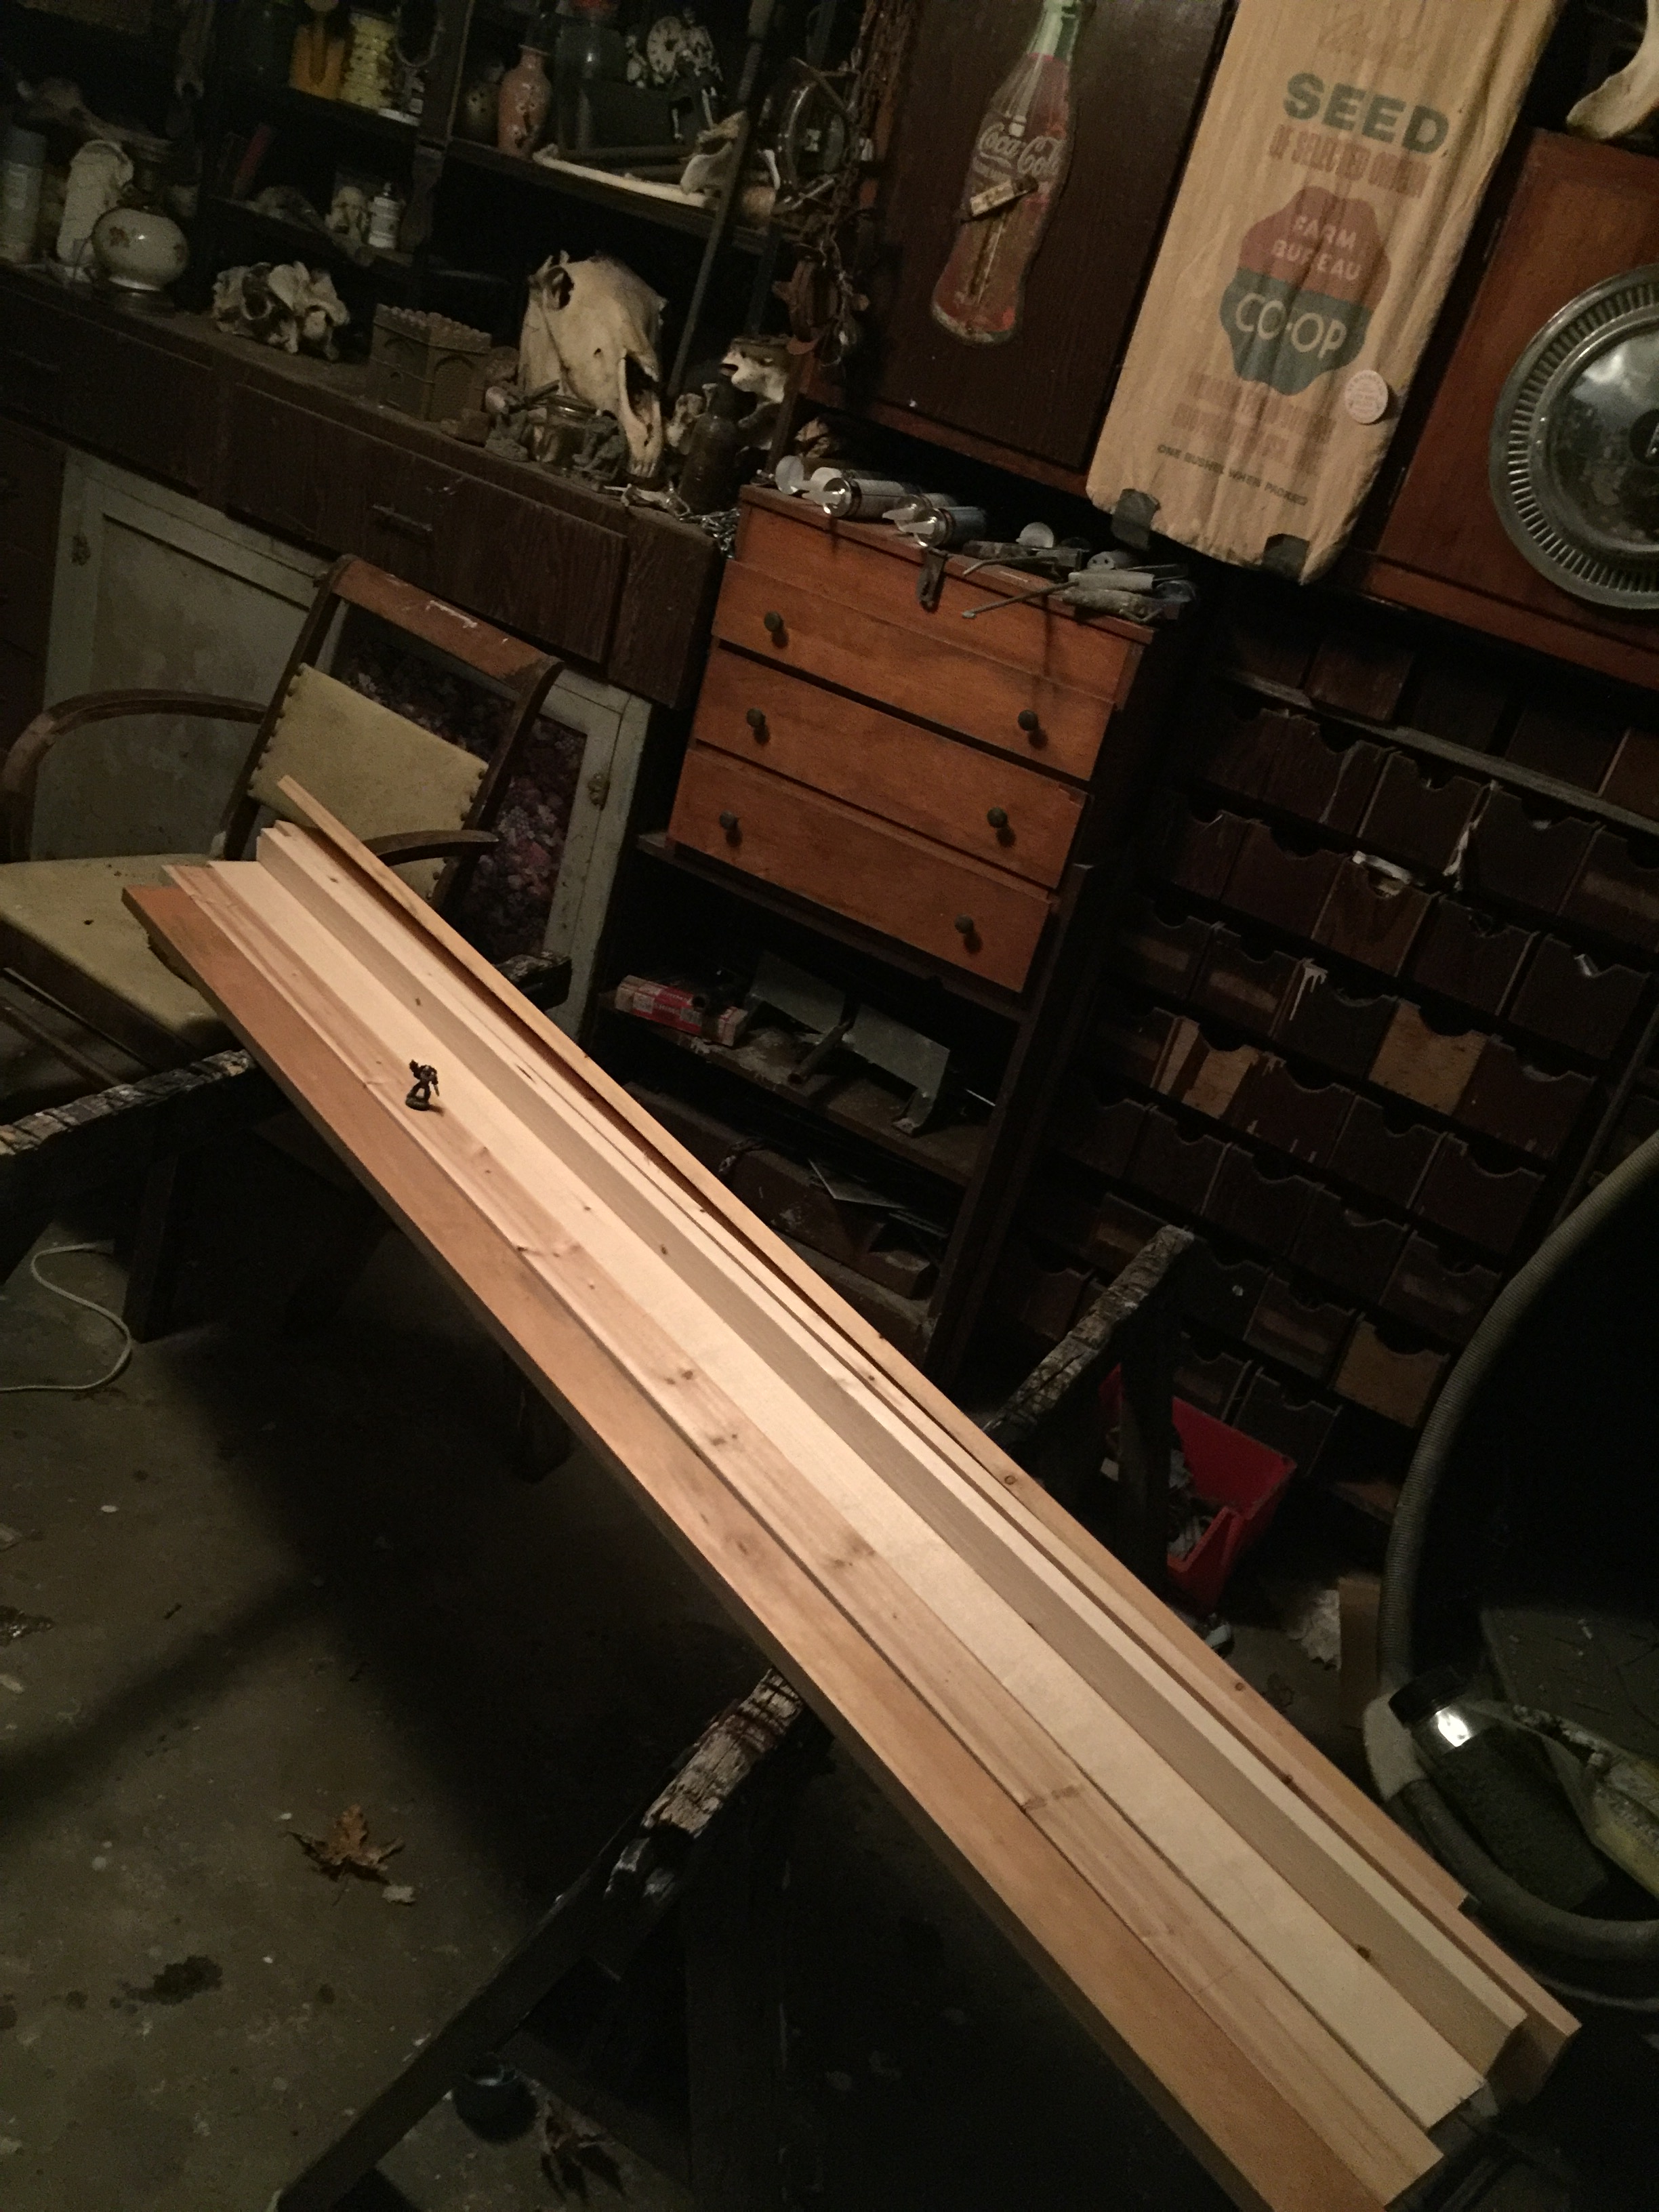
Wood! 6 foot 1x4s to make the frame. Starting with 6′ just saves cuts.
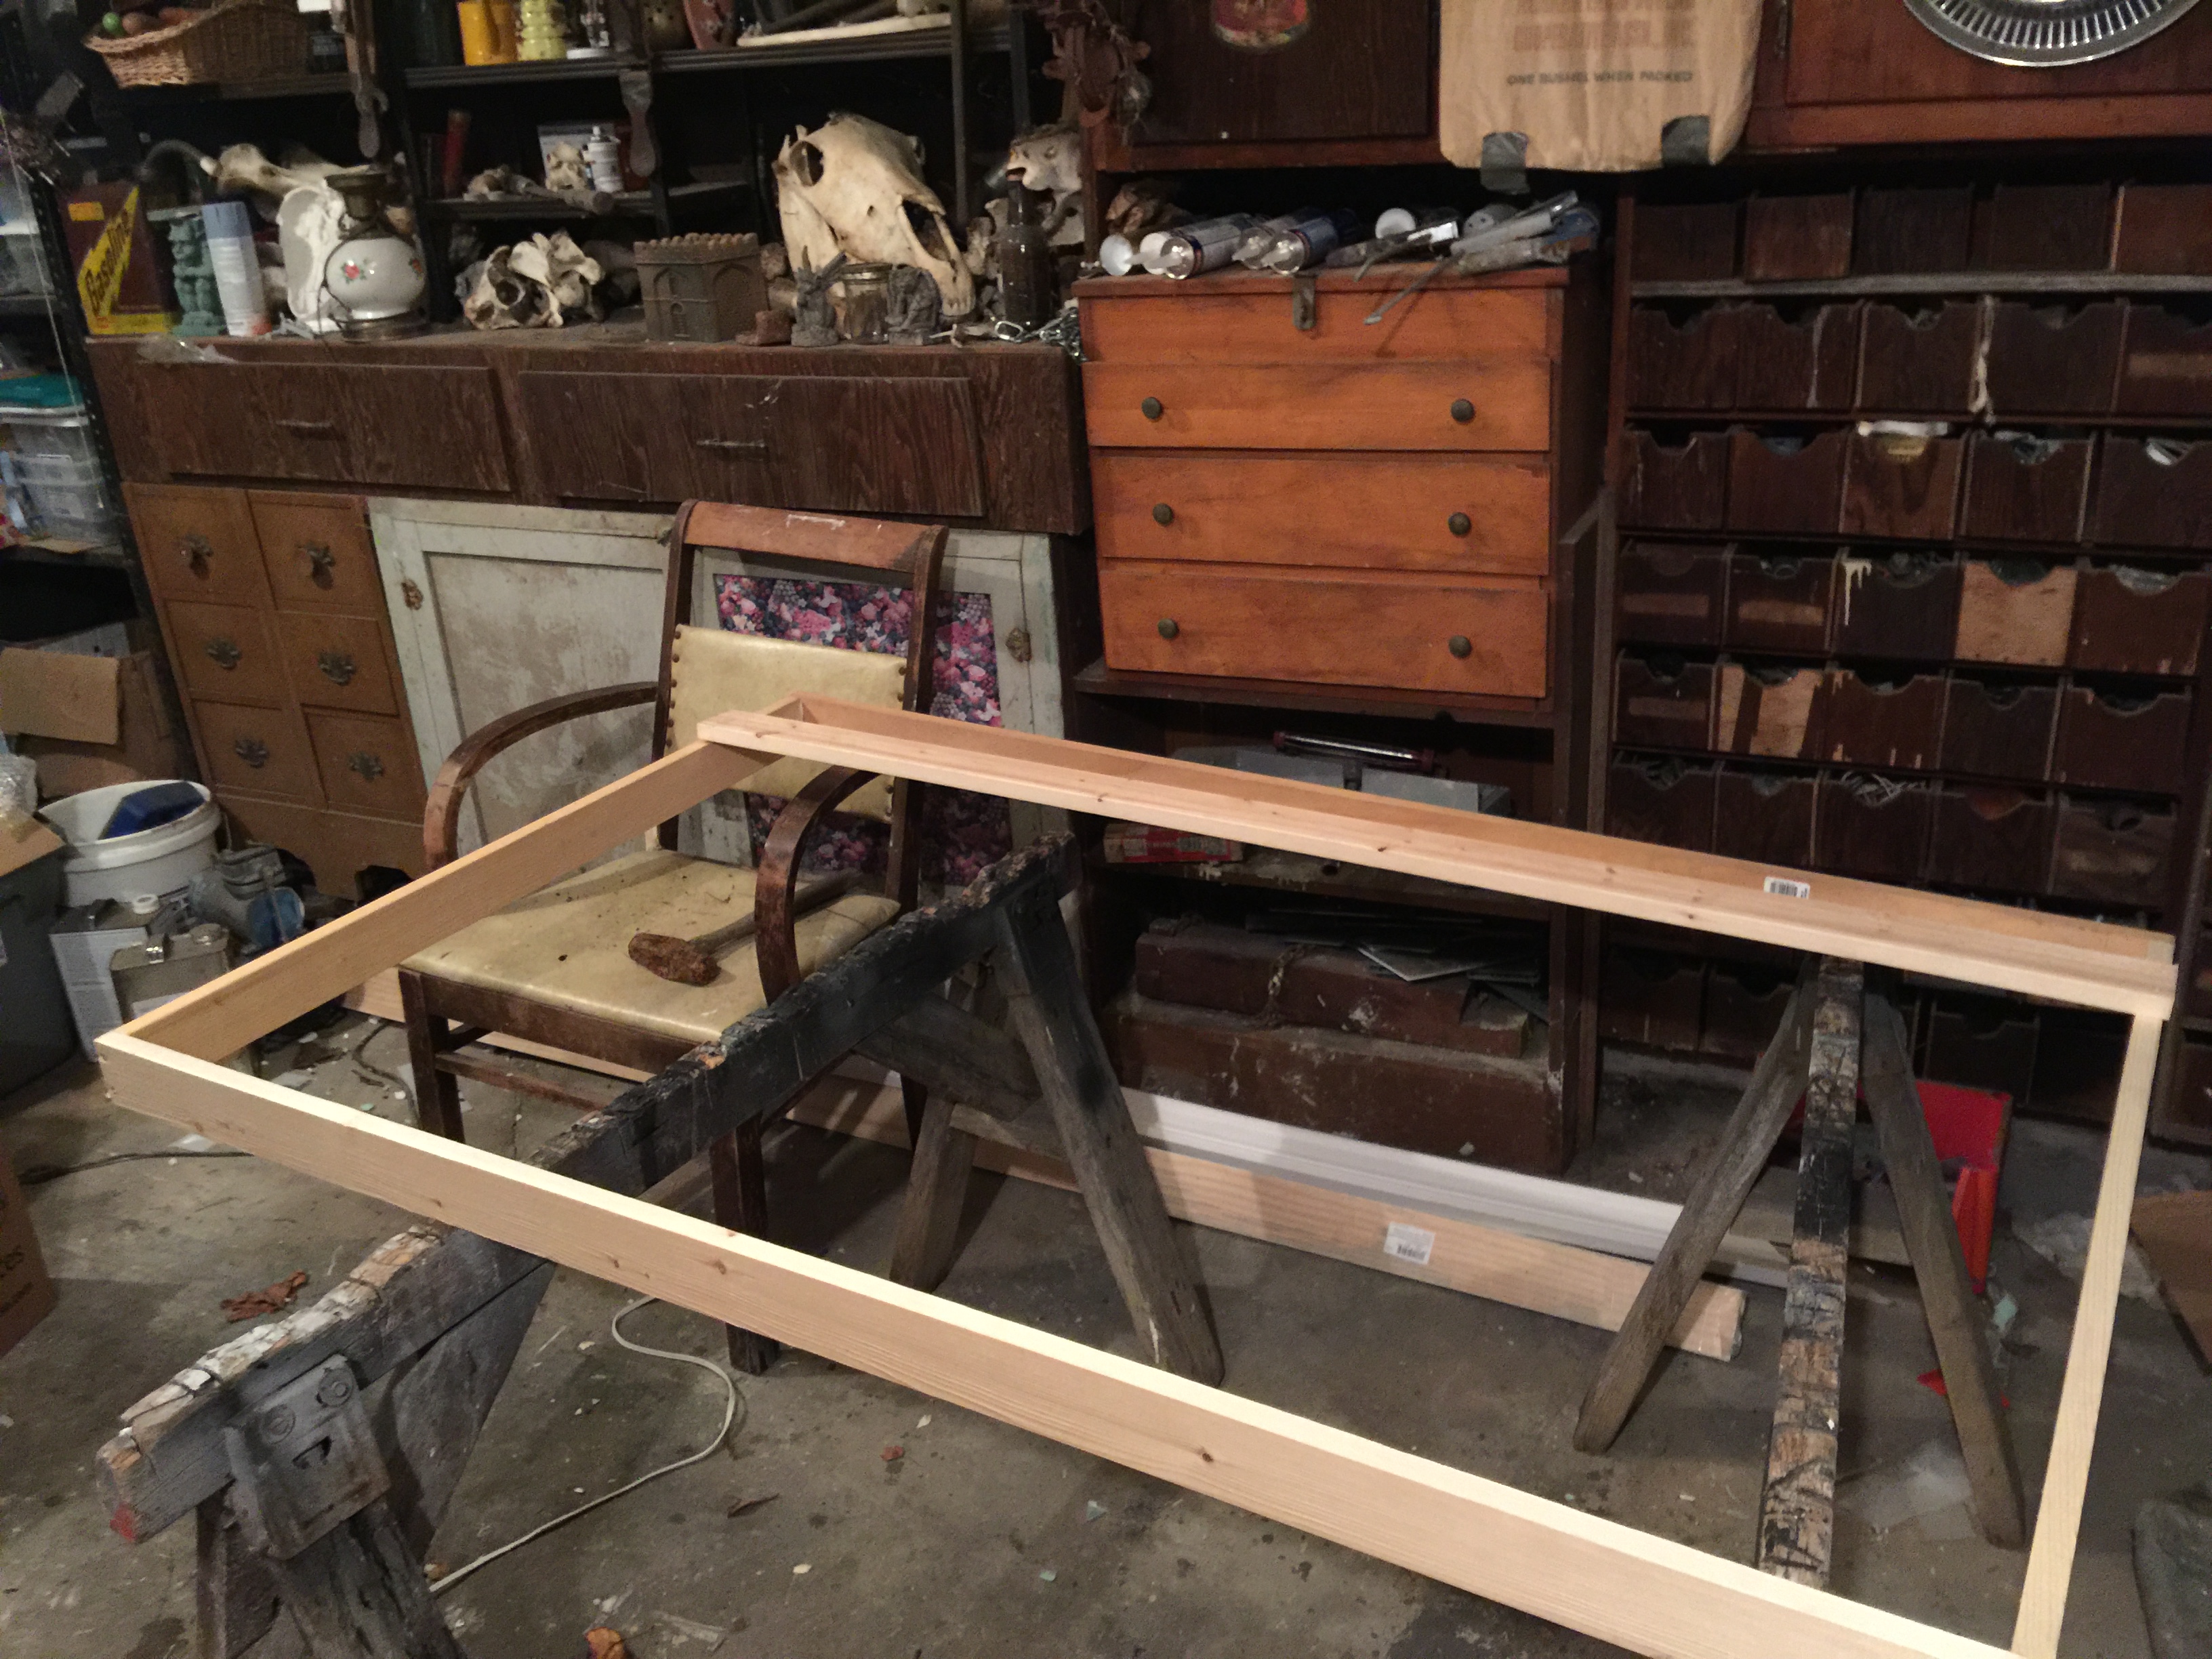
6×4 frame for the floor. This is important to give structure and durability to the foam floor. Otherwise the whole thing might as well be paper.
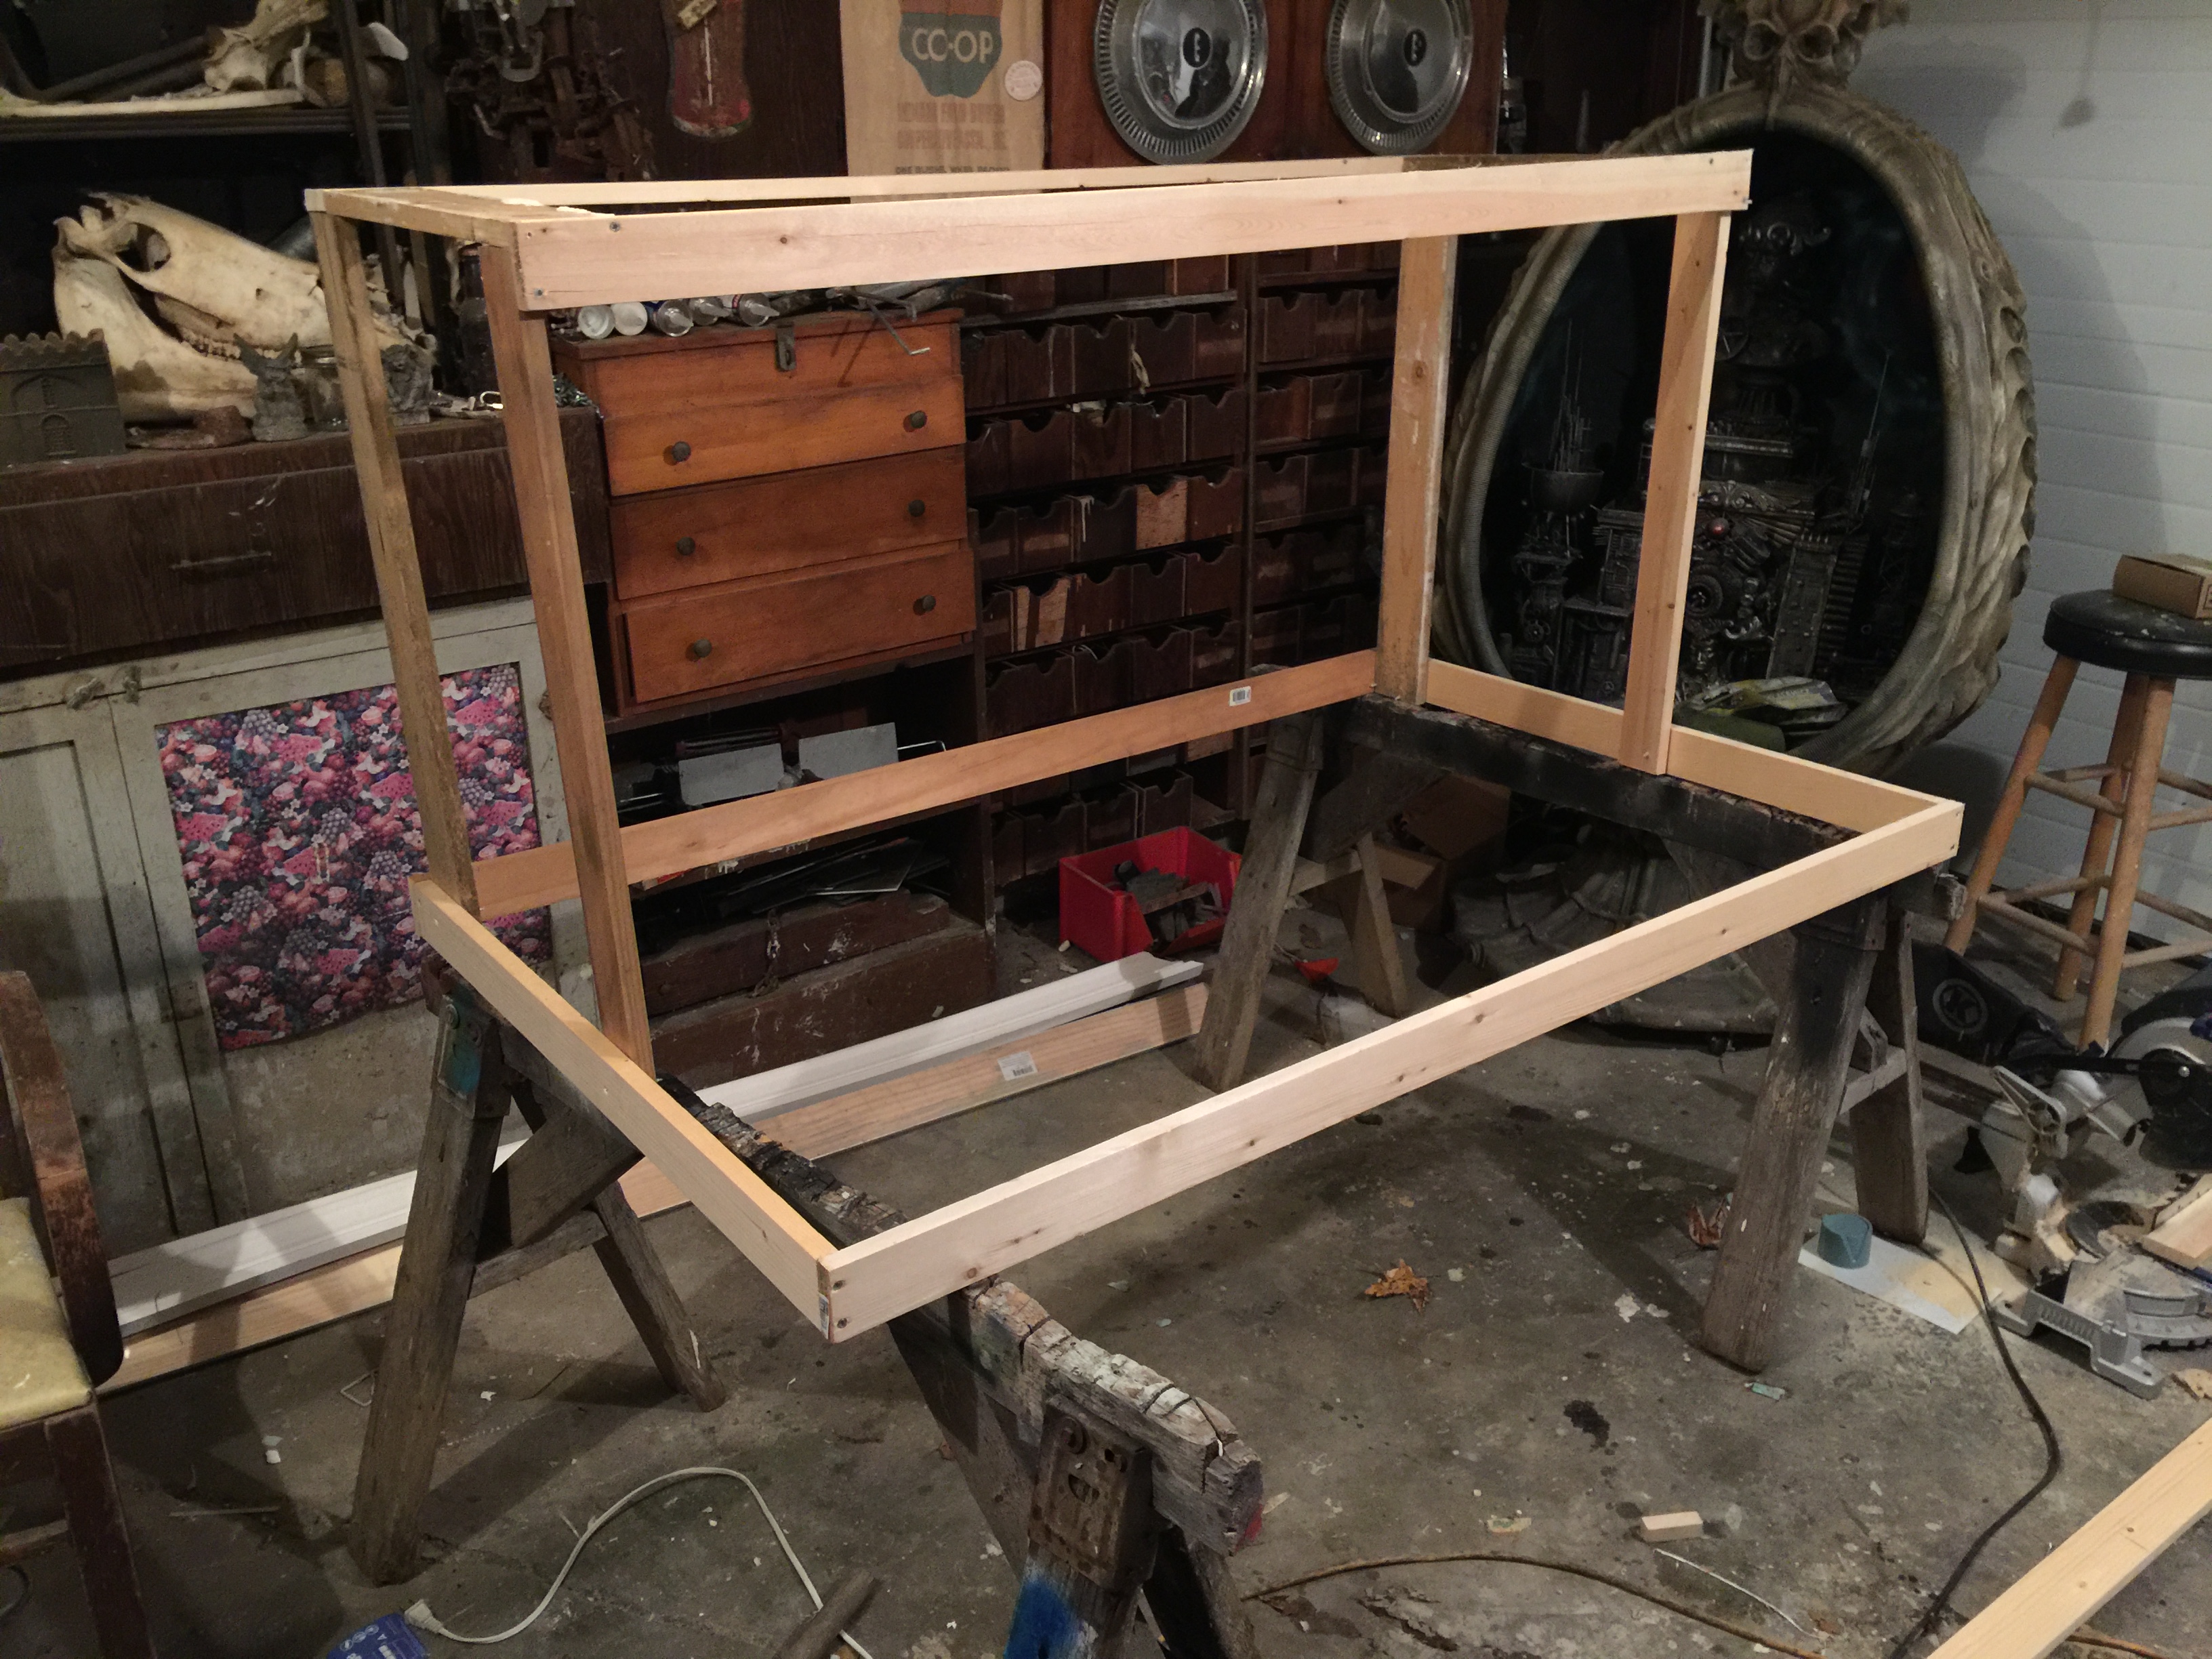
The backside built up. For displays that will be seen out in the world and in 360, I usually build a complete plywood cabinet. This is going to stay here for photography, so a wood frame is lighter and less material, but still very sturdy.
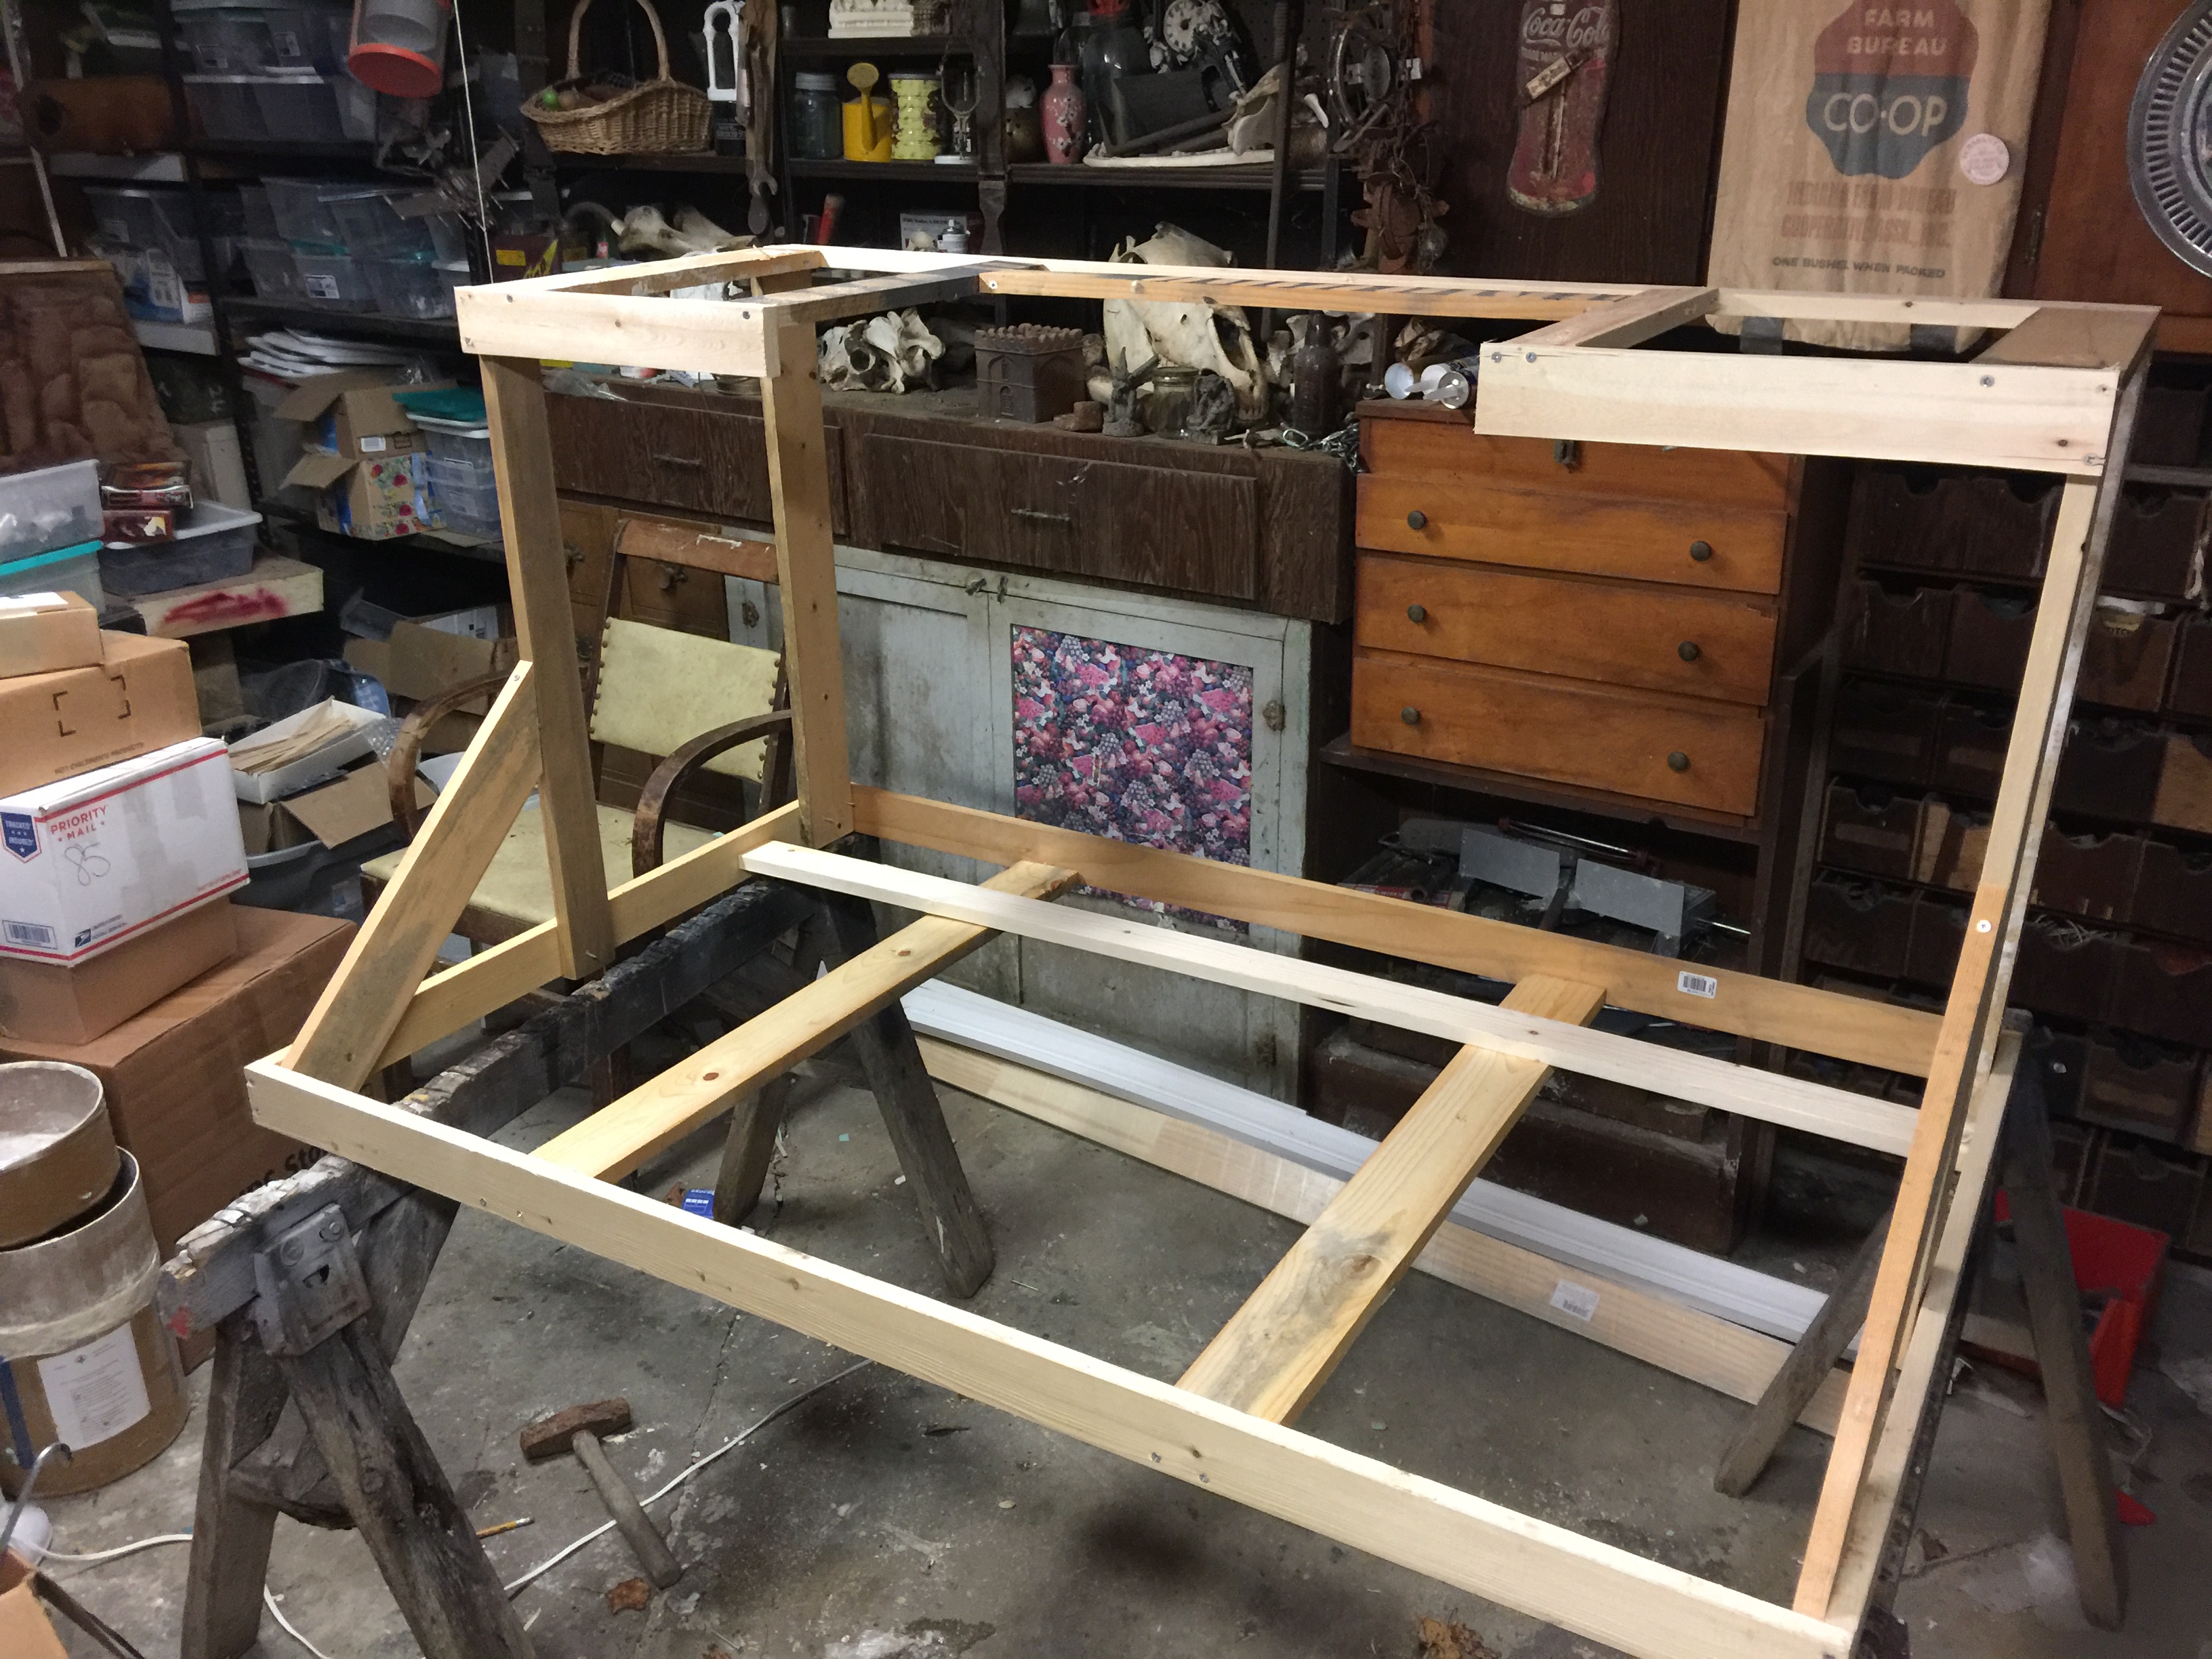
Cutting into the front face of the top and adding the bar for the front wall. Connecting between the top and bottom, this is what the back middle wall will float on and be attached to.
Blocking in the basic structures and walls. Seeing where the fort walls will go, and generally making all the big final decisions before details.
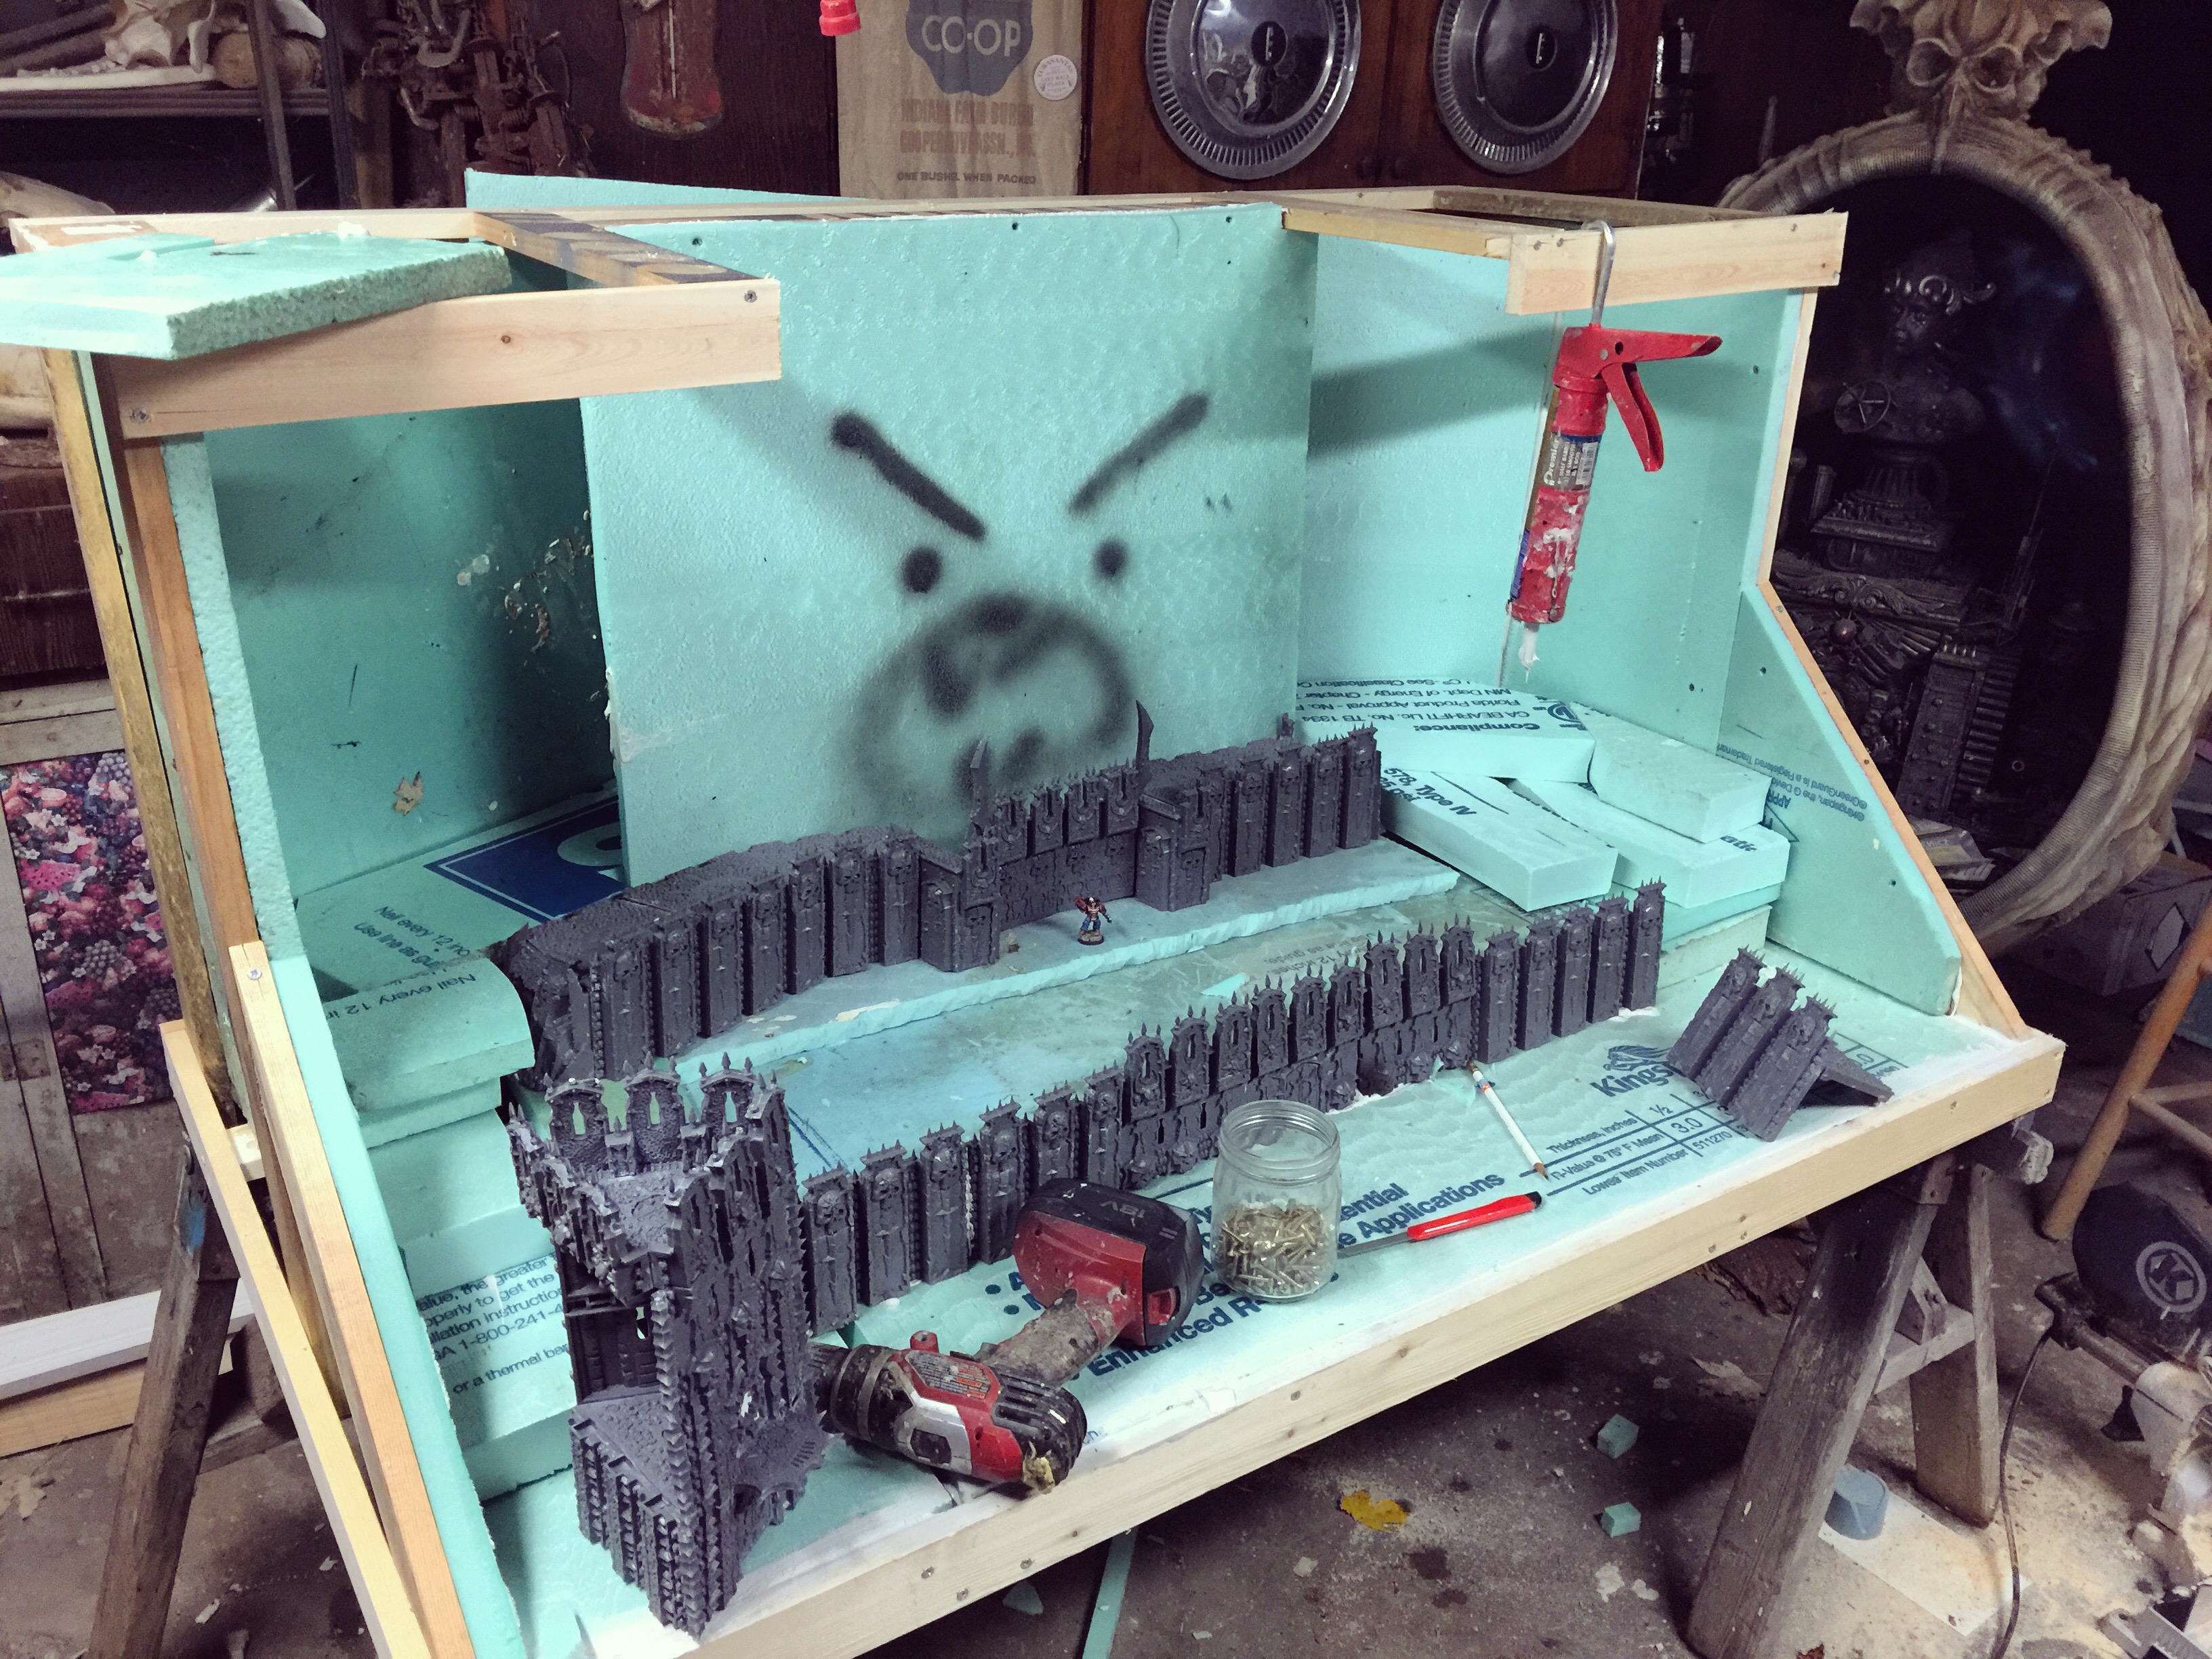

Ready for paint! Stay tuned for next time when it gets covered up, and then it is off to the races with army photography. See you then!


