D&D: 5 Tricks You Can Learn From The Final Enemy
The Final Enemy is the conclusion to the Saltmarsh trilogy. It’s also a great example of how to be clever when you’re adventuring.
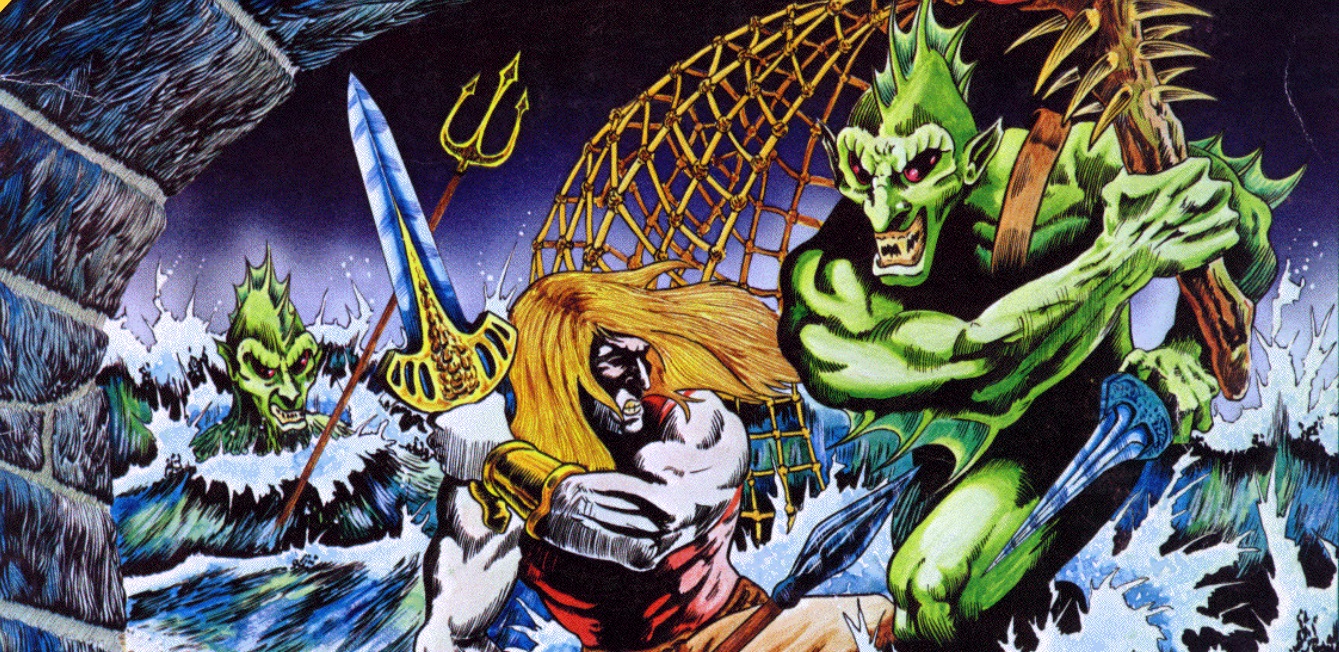
The Final Enemy is the culmination to the three-part Saltmarsh Adventure. It ends with the players and an elite team of peasants, pirates, and if done right, lizardmen going on a dangerous reconnaissance mission to scout out a Sahuagin Fortress. It’s honestly a ton of fun–the whole Saltmarsh series has been all about letting players make decisions (and more importantly, mistakes), and this module is the culmination of all of that. It’s meant to be a challenging adventure, where an unprepared and incautious party can fail.
If the players succeed, it’s because they’ve been thoughtful, clever, and have made allies. This reinforces the consequences of module U2, Danger at Dunwater, by letting the players’ decisions about whether to kill Lizardmen indiscriminately or to try and ally with them really shape the encounters they have along the way, and indeed, the prior knowledge of the Sahuagin Fort. Here’s a look at the Fort.
The players have four goals:
- Determine the strength of the sahuagin force — how many warriors, lieutenants, barons, etc. are present
- Locate important areas within the fortress — e.g. where are the warriors barracked, where are the officers quartered, etc.
- Discover any significant defensive measures — where are their traps, areas readied specifically for defense and so forth.
- Discover how advanced are the sahuagin preparations and when they might mount their first attack
How successful they are at achieving these goals determines how successful the combined townsfolk/merfolk alliance’s assault goes. Because the Fort in the Final Enemy is occupied with far too many Sahuagin for the party to assault it and clear out everyone by themselves (barring extraordinarily powerful and/or clever and/or lucky characters). Even with the addition of several NPC allies, they face a Sahuagin occupying force in a redoubt they’re fortifying to rule the coast and surrounding waters from. And that’s where we get into what makes it challenging. Since you can’t just launch a frontal assault, you have to look for other ways to succeed at those four objectives.
Stealth Option

As we mentioned, the Fortress is packed with Sahuagin. Soldiers and noncombatants alike–and if the party is spotted by any of them, the whole fort will be on alert. Hard to determine where important areas are if you can’t even make it in.
Quick Kills
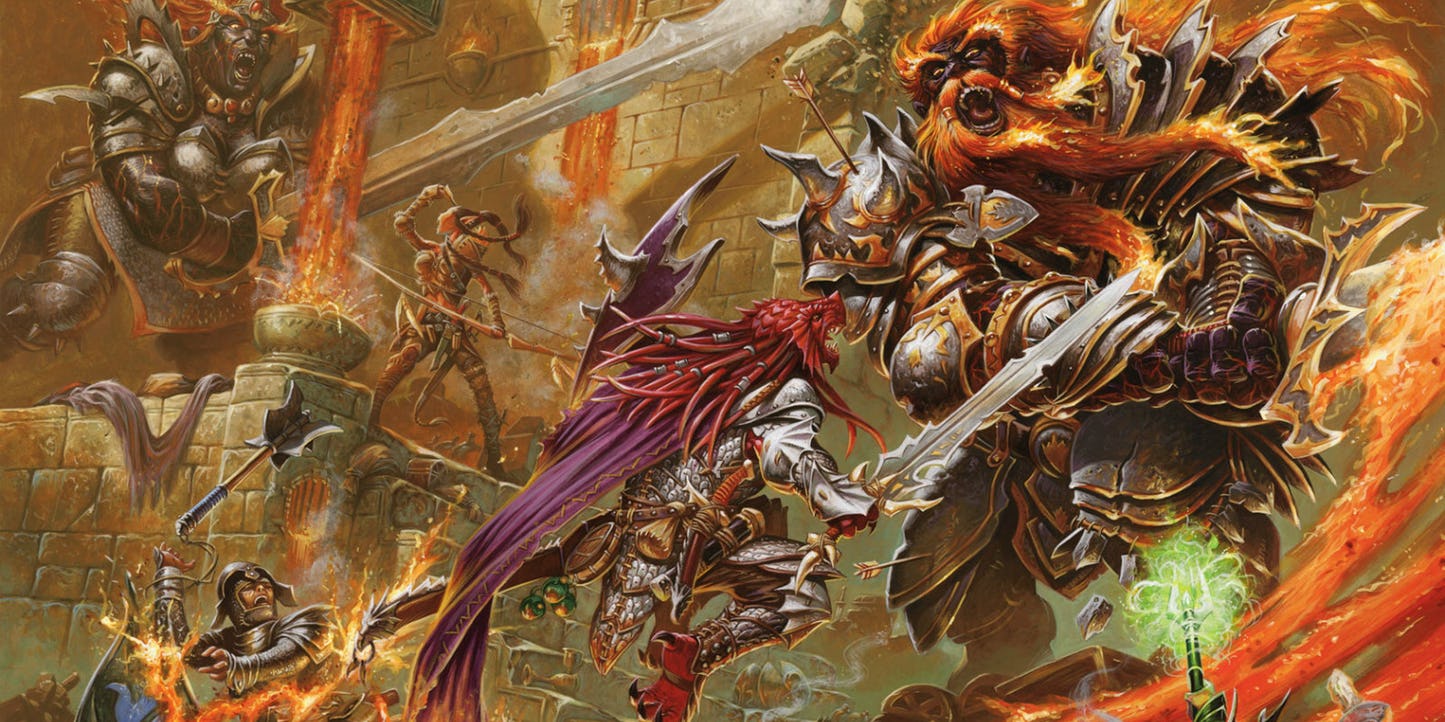
Of course, there will inevitably be times when you come across sahuagin and have to get into a fight. In the fort, if they raise the alarm, it’s going to go bad for the players. Any fights have to end quickly, decisively, and quietly if the players are going to succeed at their mission.
When In Doubt, Don’t Let Them Out

There are a few rooms that will outright set massive numbers of Sahuagin running through the fort if the players blunder into them. This includes a Sahuagin trial, a large Arena, and a Hatchery. Players who spot these areas ahead of time can sneak around and bar the entrances and exits to trap the many, many Sahuagin inside.
Cause A Distraction

If the players have done exceptionally well in the last two adventures, they might be in command of a boat and its crew. The boat is much faster than Sahuagin, normally–it could be sent to try and draw away some of the fort’s defenders–but it runs the risk of winds/currents turning against them and the boat getting overtaken by the raiders. Players might not have a ride back home.
Don’t Forget To Look For Clues
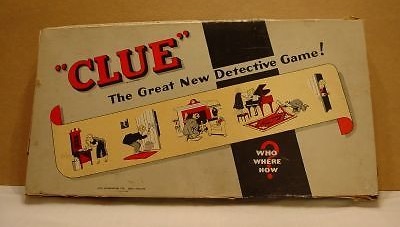
Of course, players can’t just quickly move through and scout all the rooms. They have to be thorough as well. Or they might miss key secrets. There are plenty of hidden traps and defenses that the players must identify–so the Final Enemy presents an interesting challenge. Where do you move quickly along? Where do you get through? These decisions are placed in the players’ hands.
All of which makes for a fantastic module. I’m super excited to see how these modules are updated for 5th Edition rules in the upcoming Ghosts of Saltmarsh book. Good luck out there!
And happy adventuring!