Crisis Protocol: Level Up Your Tokens
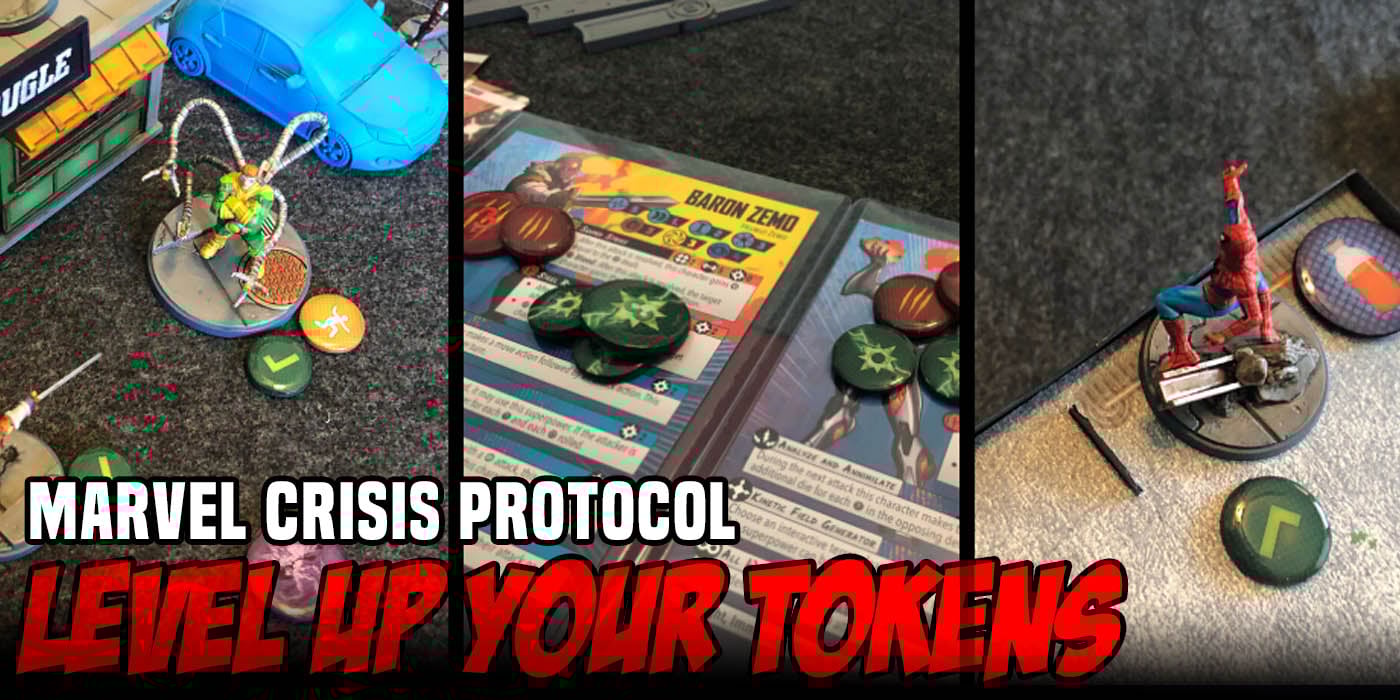

Marvel: Crisis Protocol comes with a ton of great looking tokens that I want to use for many games to come. Today we’re covering all the steps to take your tokens to the next level, not only will they look better on the table, they’ll be protected from wear and tear as well.
Tokens are an integral part of minis gaming. Whether representing an in game effect, wounds or objective marker, these small elements become another visual aspect of the game that help tell a story and represent our epic moments on the battlefield. The Core Box comes in with a whopping 170 tokens, all good quality with great art. However these tokens are still just cardboard, so it’s only a matter of time before they show some wear.
An awesome member of the Marvel: Crisis Protocol Facebook group, Phil Seale, posted up his results using a product called Mod Podge Dimensional Magic and I immediately knew I needed to give it a try. Thanks to Phil and all the great hobbyists in that group for sharing their ideas.
The Mission
- Enhanced token visuals
- General token protection from everyday wear and tear
- Don’t break the bank
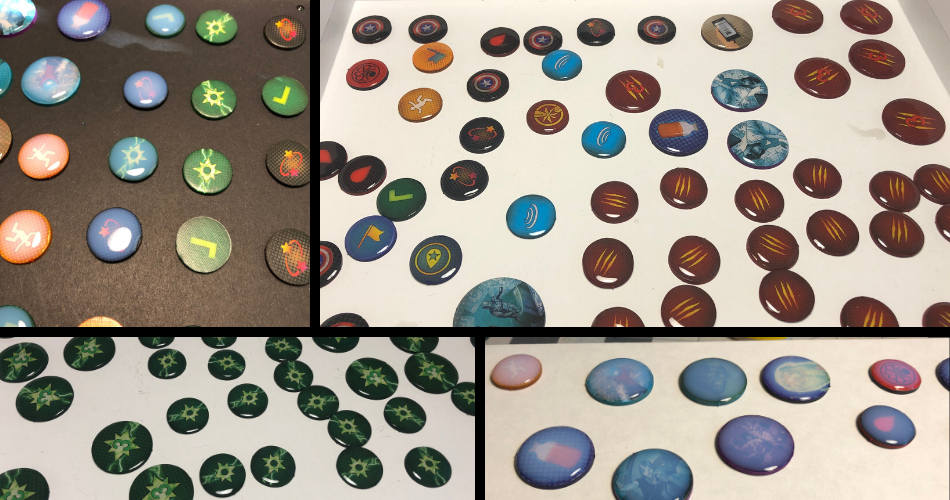
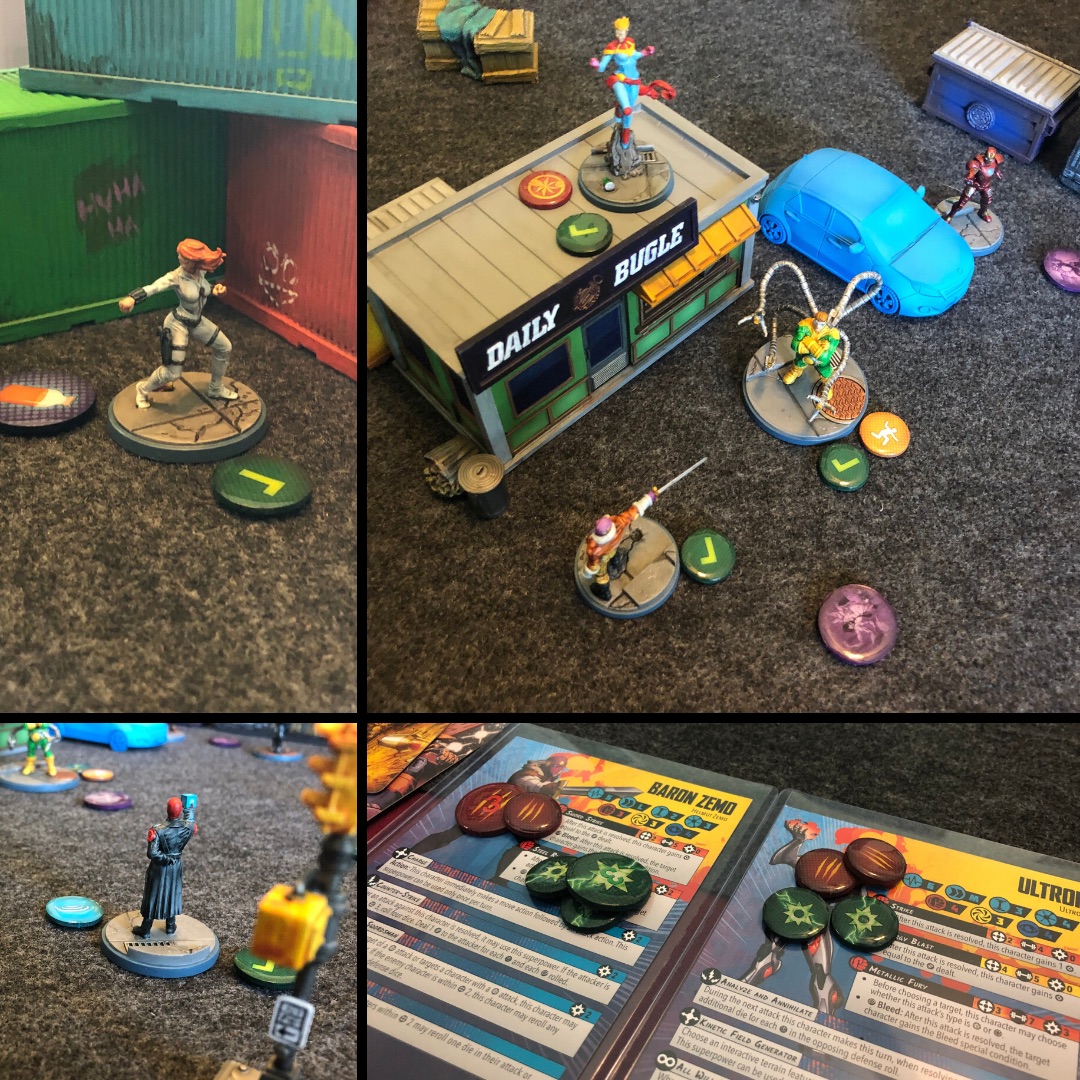
Before we get rolling, here’s a sneak peak at the finished product so you can see what we’re working towards. It can be a little hard to catch on camera, but the end result is a clear finish that looks and feels like a colored acrylic token.

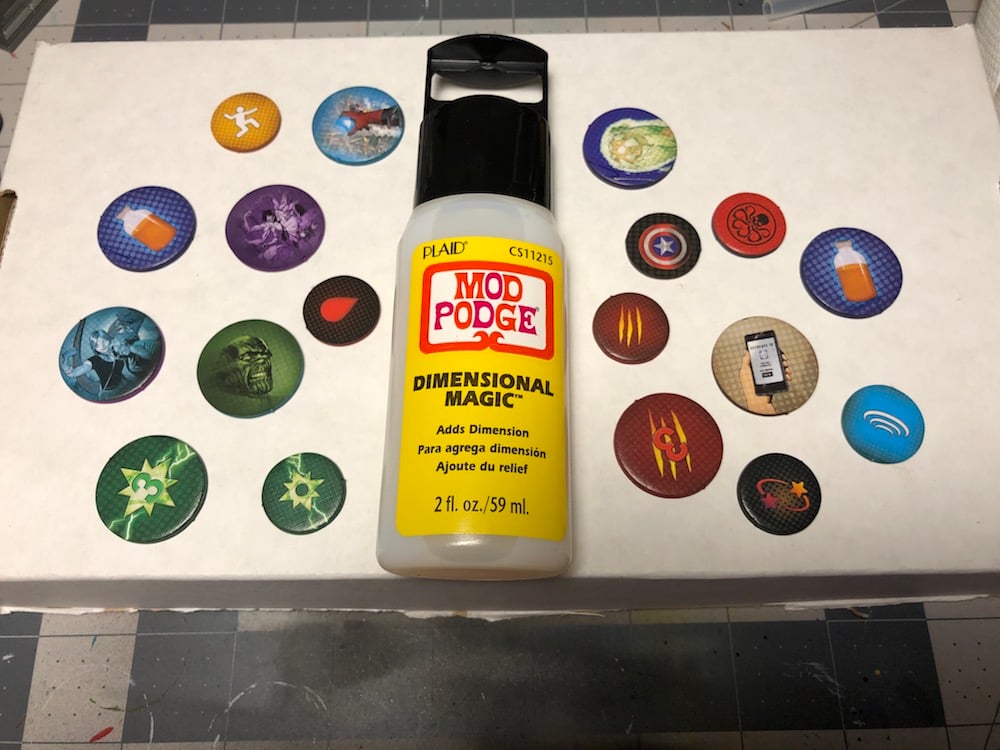
Supplies
- Sharpie or other permanent markers of various colors
- Mod Podge Dimensional Magic Clear – Order online or pick up at your local craft store. A 2oz bottle runs about $8. Depending on how much you apply to each token the amount needed can vary. I ended up using 2 full bottles and barely opened the third. However as you’ll see further on, I realized that in my early application of the product I was using more than I really needed. Had I been more efficient I could have done the entire Core Box with just 2 bottles.
- Toothpick, safety pin or something similar for popping air bubbles
Coloring Token Edges
Time: 1 hour
The first step is to hide all those cardboard edges. This is a easy trick that elevates the look of the tokens a surprising amount. I already had a set of colored Sharpies that worked perfectly, but if you don’t already have colored markers and want to save some money, you could just use black for all the edges. Here are some before, during and after shots coloring the various tokens.
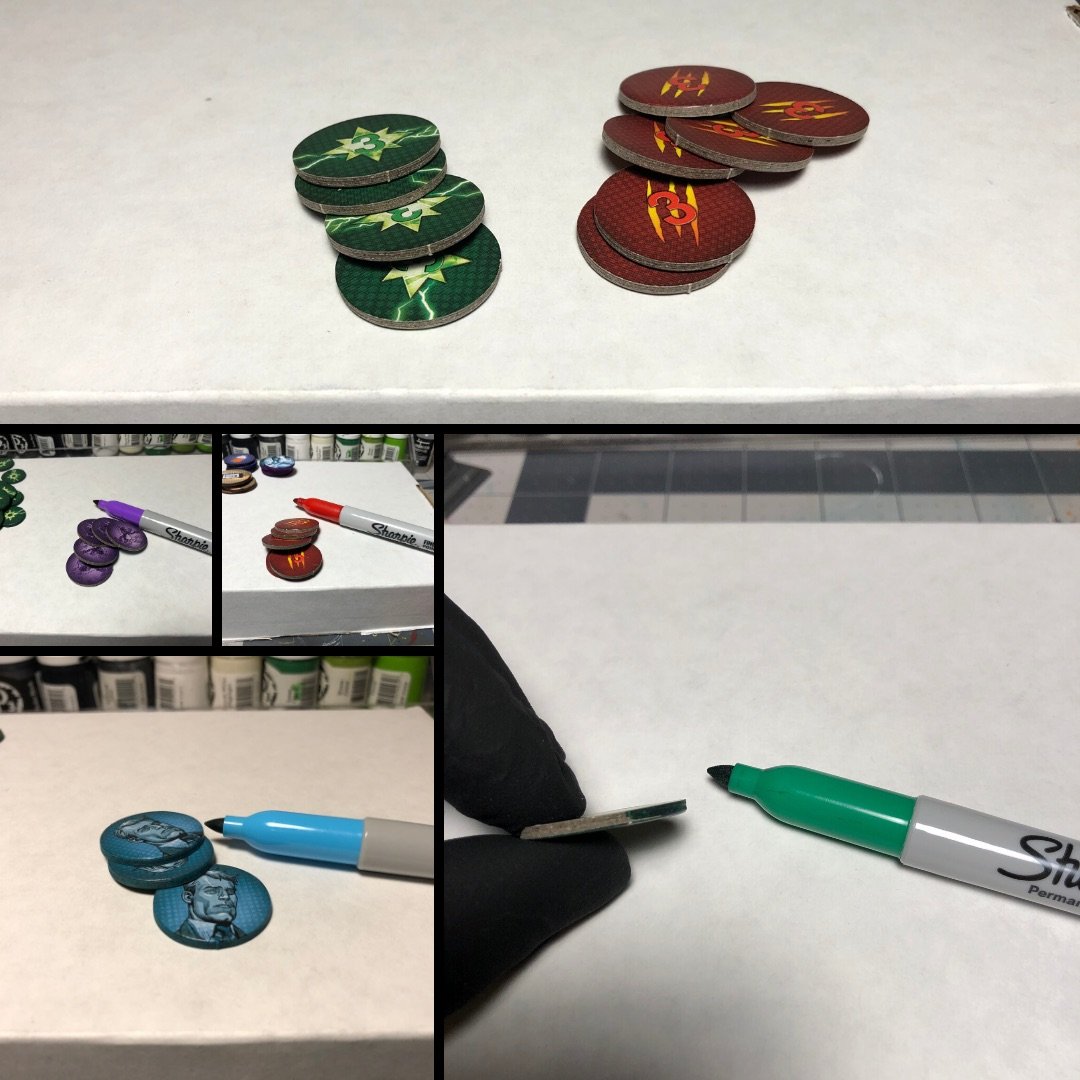
My only tip for this step would be use the side of the marker tip as it’s wider, this will greatly speed up the coloring process. I hadn’t really realized just how many tokens were in the Core Box until I sat down to color all these edges. Even if you didn’t want to proceed further with the Dimensional Magic steps, I would recommend this nice visual enhancement. It’s simple and well worth the time.
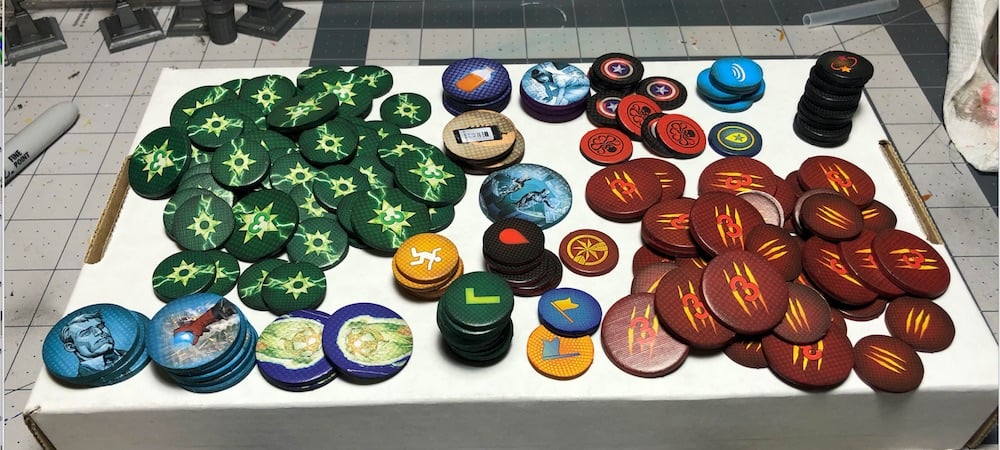
All the tokens with their edges colored
Adding the Magic
Time: Each side takes ~1.5 hours work + 3 hours dry time
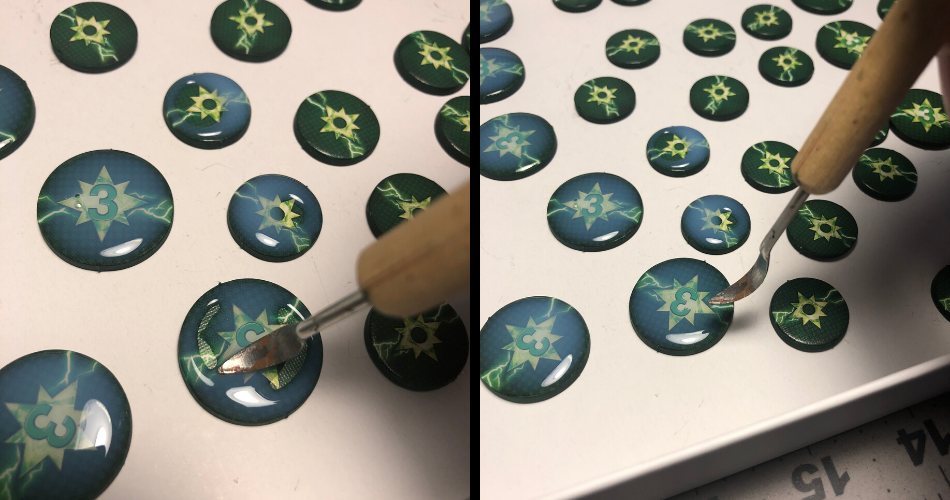
The first question I needed to answer was should I let the Dimensional Magic run over the edge to coat the sides of the tokens? I decided to test this out on a single token.
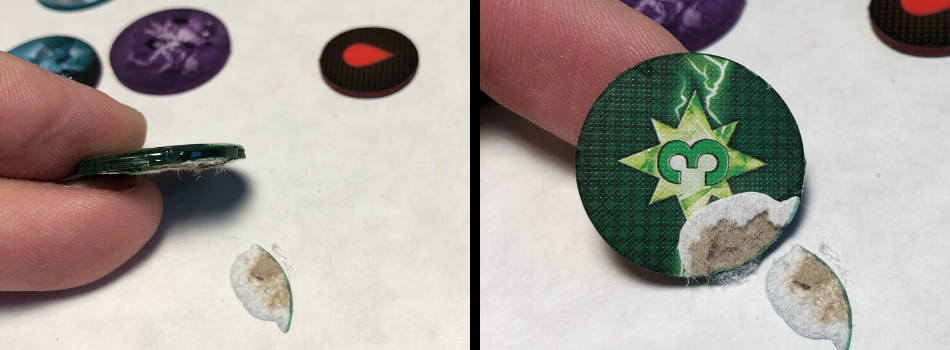
As you can see, this didn’t go so well, which in hindsight isn’t surprising considering I did this on a cardboard surface. Using parchment paper or some other non-stick surface would been the correct call. However this experiment also revealed to me that the high viscosity of the Dimensional Magic keeps the liquid on top of the token. Meaning the liquid doesn’t naturally run down the sides(which is awesome) but to cover the edges I would need to use a lot more Dimensional Magic to cause an overflow and/or painstakingly coat the edges of each token with a brush or other tool.
Ultimately I decided against trying to do the sides of the tokens for two reasons. First, it would have at least doubled the time spent on this project. Secondly with both sides of the tokens protected the sides really wouldn’t need more protection. Now time to put on some TV and cover all these tokens.
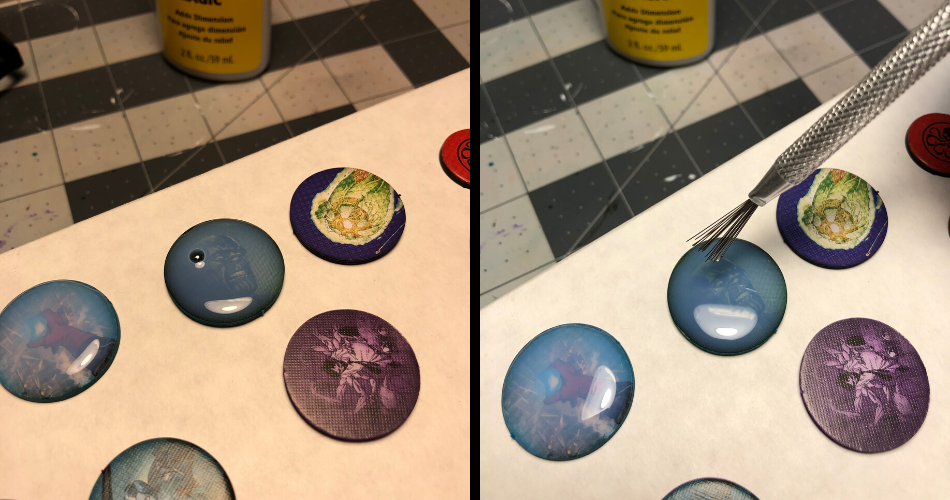
 Dimensional Magic is cloudy at first – but dries clear
While the bottle says 3 hours of drying time, several anecdotal sources online mentioned better results when letting dry overnight. So I did all the front sides of the tokens one night, let them dry overnight, then finished the back sides the following night.
Application Techniques
I’m no expert, but here are a few tips I picked up along the way.
Edges First
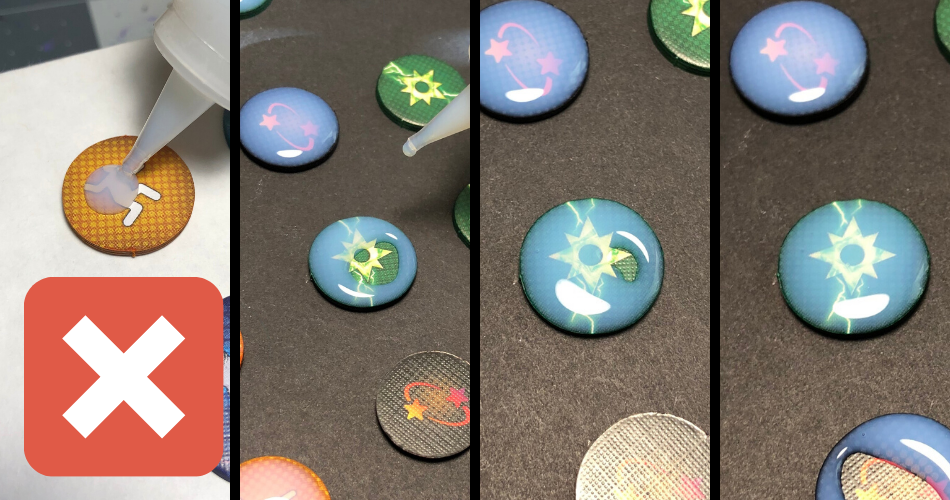
Don’t apply from the center out. While it works you’ll end up using more Dimensional Magic than you really need. Instead start by doing the edges of the token. On the smaller tokens this is often enough to cover the entire token. After a few seconds if they liquid hasn’t covered the token completely, go back and add a drop or two.
Spread The Magic
You can do this for all the tokens, but it’s especially helpful on the larger ones. After adding the liquid to the edges and a few drops in the center, spread it around a little before adding more. Dimensional Magic is pretty thick, so often you have enough on the token already, you just need to help it spread out a little.
Popping Bubbles
The best way to prevent bubbles is to make sure you don’t shake the bottle. However you’ll probably get some bubbles as you go, in this case just grab something small and sharp to pop the bubbles with. A safety pin or toothpick should work just fine.
Final Result
Once both sides are dry that’s it! You are ready to hit the table with your sweet looking tokens. One thing I am very happy about is that this technique is easy to do for a small or large batch of tokens. So as I get new models with new tokens, it’ll be easy to keep this process rolling on all of them.
There are some variables in the cost of this project. But at $8 per bottle of Dimensional Magic plus the cost of some permanent makers you are probably looking at around $30 for this project.
Hope you found this helpful!
Do you have any other cool token related ideas for Marvel: Crisis Protocol?