Warhammer Warcry: Pardon Our Warpdust – Building Red Harvest

OSHA is going to have a cow.
Red Harvest has been out for a week now, and several avid Warcry hobbyists have started constructing the ramshackle platforms and haphazard mining equipment. Like them, I got my hands on the kit, and I’m excited to add all the new scenery, terrain cards, and brand new warbands to my collection. However, the hazards of the deadly mining equipment are not limited to the combatants on the battlefield, and a few of the scenery pieces were a real…let’s say adventure to construct. Here’s a quick rundown of the terrain and warbands, and some tricks I wanted to pass down so you can avoid the same struggles I did.
Darkoath Savages
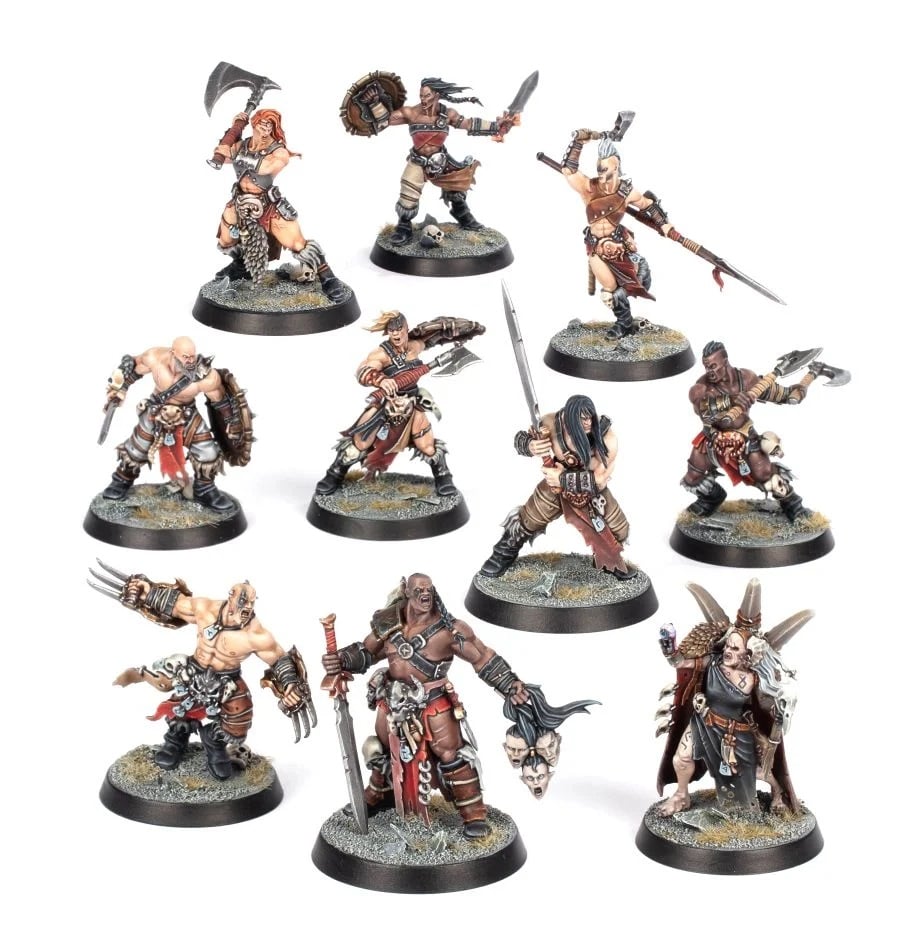
This warband is the one we’ve been waiting for, and it will suit just about any playstyle thanks to a healthy balance of speed, toughness, and power. As far as building goes, these guys are really simple, so I would suggest saving them for last so that you can focus on the more spindly Tarantulos. The Slaughterborn, God-speaker, both Proven, and every Gloryseeker has a choice of weapons, so think about how you want to kit out your warband before building, but regardless of what you choose the model poses are gorgeous. As far as the Slaughterborn, I would definitely go for the axe over sword, but use your own judgement.
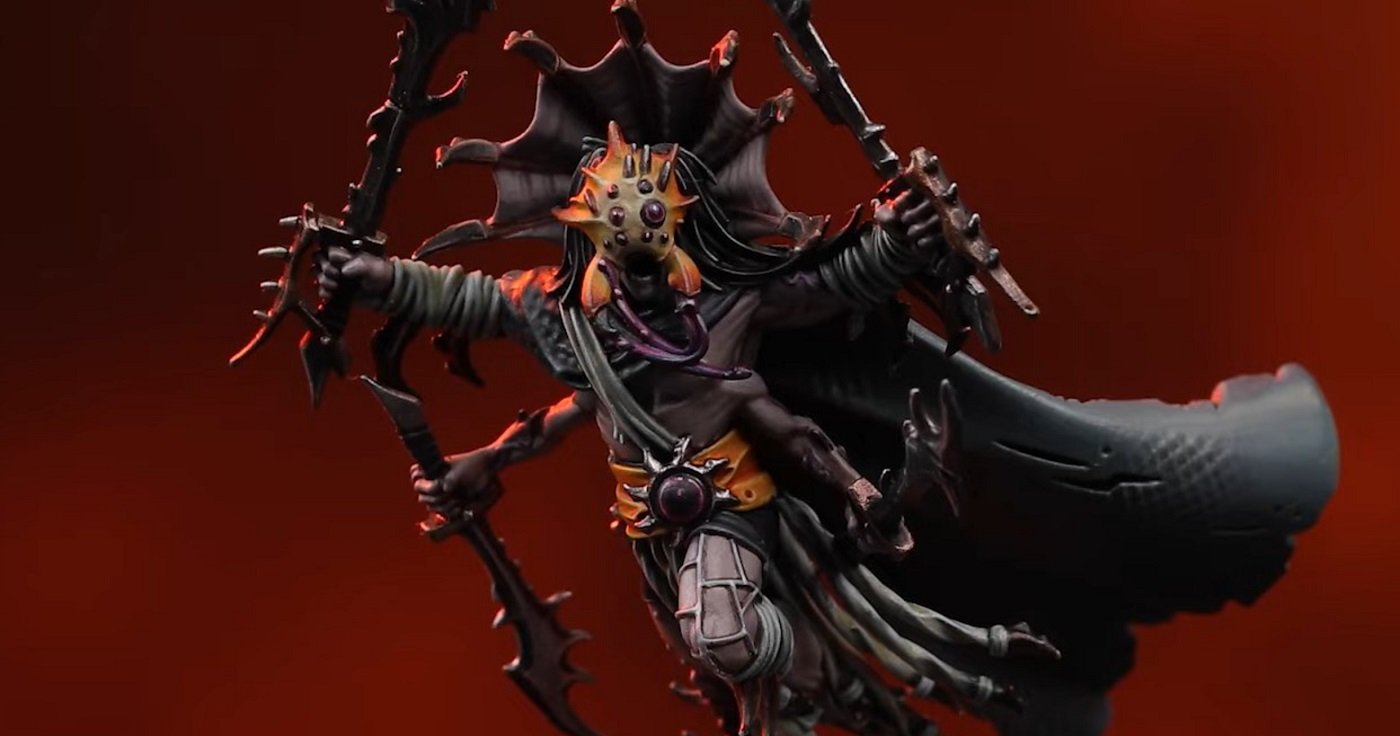
Tarantulos Brood
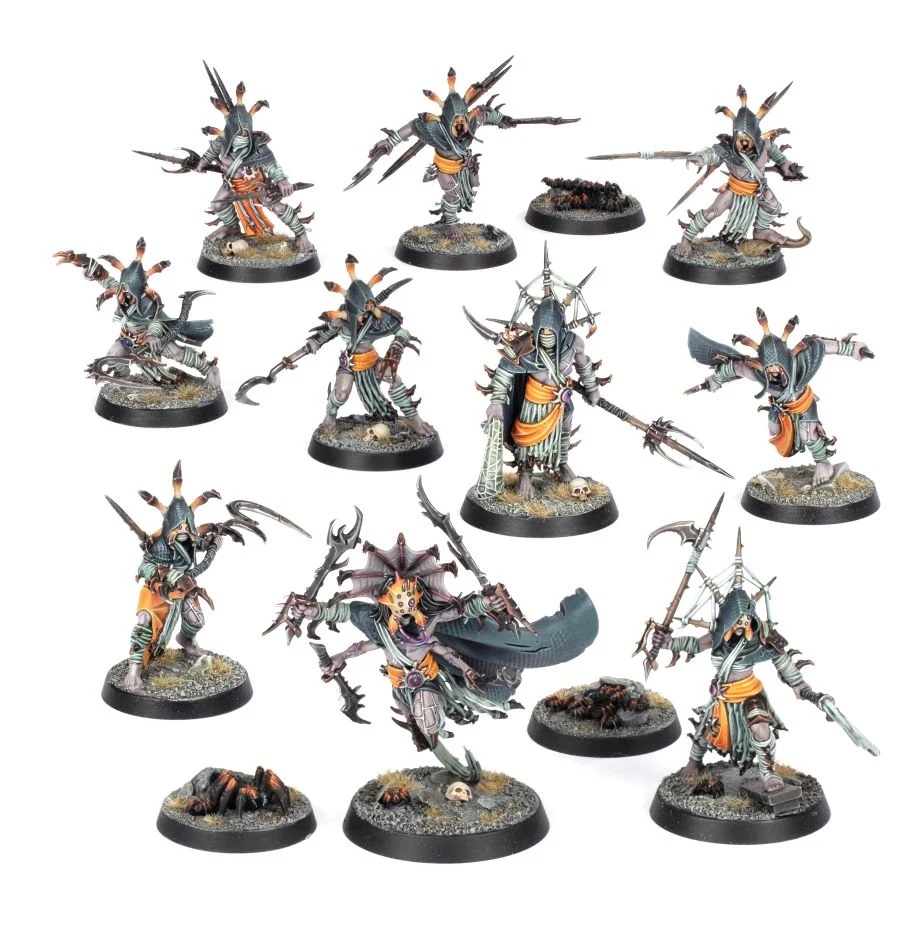
These guys are a fast, assassin style warband, and they have the spindly limbs to prove it. They aren’t the most difficult warband in the game to construct, but they certainly aren’t a cakewalk either. The Broodkin in particular have a variety of very small parts (the sai weapon option is separate right below the wrist, and they’re really easy to lose) so be careful to not drop anything or you may never see it again.
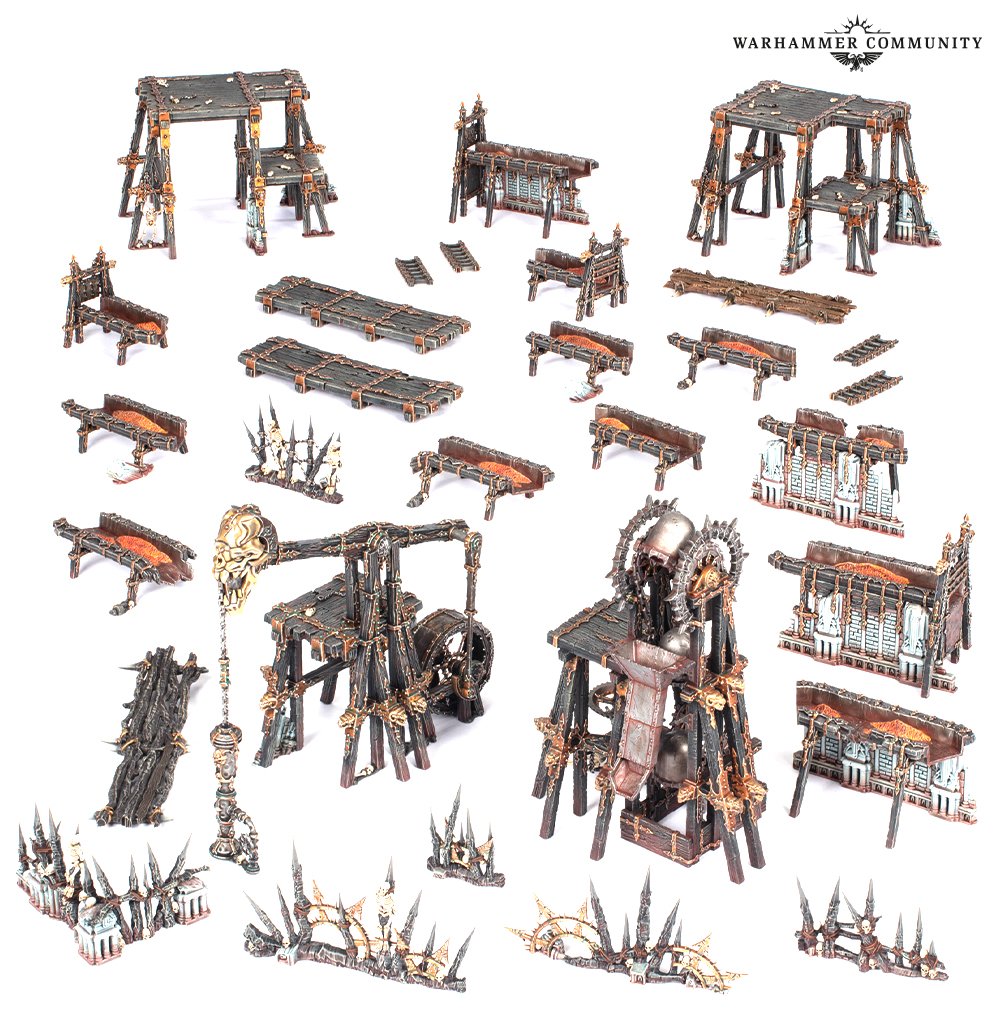
Varanite Sluice
The busted aqueducts used to transport Varanite from place to place are modular, so you can change how they fit together to make different configurations as the scenario required. As far as construction, these are very straightforward, and they look dynamic and simple all at once, showing the ingenuity of the forces of Chaos to recycle existing masonry to balance their own machinery. No tips necessary with this one, it’s one of the easiest builds in the book with no alternate sculpts.
Scaffolding
Another cut and dry build, the only difficult bit of the scaffolding is the slightly mismatched support struts, but those still line up fairly evenly. The ladder can either be built as a a single large ladder or two smaller ones, and I would suggest doing one of each. Also, do NOT glue the ladder to the scaffolding so that you can move it around as needed.
Varanite Syphon
This one is a bit of a doozy honestly, and the chain pump at the end only have two VERY small points of connection to the larger machinery. My advice is to attach the thin base piece (C29) and then stand the entire piece up, then applying glue to the chain and let it set standing up. That way, the two pieces can’t move and it will set as it needs to, but it still might take you a couple of tries.
Pit Dredger
I’m going to be honest, this piece is an absolute nightmare to build, and I’m not really sure how to make it better. Each bucket on the dredge is a separate piece, and because they aren’t perfectly even, they might set at odd angles, making it impossible to put the other side on properly. I will fully admit, I gave up, built the supports completely, then used green stuff to attach the buckets. It isn’t pretty, but it works, and I would definitely suggest putting at least one of the lower attachments (D15 or D14) on before attaching the buckets so the base will mostly stay together, but use your own discretion.
What are your tips and tricks?