Warhammer 40K: Tyranids Crusher Stampede List Ideas
Let’s go over the latest arrival from the Tyranid hivefleets – and work up some Crusher Stampede lists!
Hey everyone, Danny from TFG Radio here. Pretty much every member of the Hive Fleet I’ve seen is excited by these new Crusher Stampede rules, and well, it opens up just a huge host of list building options. Let’s dive in and see what can be done, but of course, there’s plenty of room for more.
Crusher Stampede is not as cookie-cutter as it may seem. Yes, it is a heavily restricted list, but it is easy to forget that Tyranids have a huge amount of models and unit entries, and well, that means there is a huge amount to work with here. Whether you want to lean into our mathematically most efficient bugs, your favorite bugs, or just use models that rarely saw tabletop time, you can really do it all with CrushP (still working title). Below are a few lists that I have played in some form or another, each trying to do something a bit distinct with the Crusher Stampede.
Big Boi Blast
Leviathan Battalion
Bounty of the Hive Fleet
Progeny of the Hive
Hive Tyrant. Adrenal Glands. 2x Monstrous Rending Claws. Relic – Biomorphic Carapace
Hive Tyrant. 2x Monstrous Rending Claws.
Slayer Tyrant. Monstrous Rending Claws. Monstrous Boneswords. Adrenal Glands. Warlord. Rampaging Beast. Synaptic Hive Blades. Adaptive Physiology (Murderous Size)
2×3 Tyranid Warriors. Double Scything Talons. Synaptic Link.
1×9 Tyranid Warriors. Double Scything Talons. Adrenal Glands.
2x Tyrannofexes with Acid Spray
Leviathan Super-Heavy Auxiliary
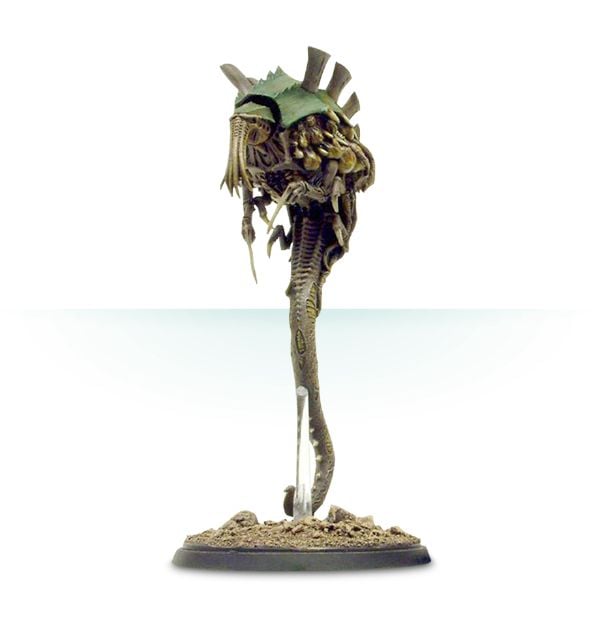
Hierophant.
Big Boi Blast Tactics
This is a small list with very few models, but it is all about leveraging the power of the biggest of buggy bois, the Hierophant. The basic idea of the list is that the Hierophant is going to mostly camp your deployment, controlling an objective and raining death downfield against hard targets. With the -1 damage and easy access to Catalyst and Synaptic Barrier, the Hiero can generally be expected to hold your own zone from just about any threat. It will shoot down just about anything between Bioweapon Bond and Pathogenic Slime/Relentless Fury. Once the main threats downfield are gone, it can move out to help take the center while a small warrior squad can stay behind.
The big block of Warriors runs into the center and is mostly there to get in the way for as long as possible. They are just about 160 points, but they can be shockingly resilient for that price point. The two Tyrannofexes want to move just once into the mid-board and control the center a bit with their double-tapping flamers, and if need be, charge into a target and pop Breaking Through for an easy chance to do 6 mortal wounds.
The Biomorphic Tyrant wants to run forward, smite or cast some buffs, but mostly it is there to tank units and helps threaten the center. With T7, 12W, 3+/4++, -1 damage, and also access to Catalyst for a 5+++ with an inherent -1 to wound, it is not the easiest bug to actually kill. The Slayer Tyrant is the linebacker, waiting for the chance to hit a hard target and get to work with 6-8 (or 7-11) attacks at S7 AP-3 D4 that ignore invul saves. The naked Hive Tyrant is there mostly for the Psychic secondaries and/or apply buffs as needed.
There is not a huge amount of finesse to the list, but it leverages both the awesome power of the Hierophant and the fact that melee walking Tyrants are amazingly cheap and durable. You can also easily add another Monster like a Toxicrene (perfect for tying up units) or a Trygon by dropping the Hierophant down to a Harridan, but seeing as the Harridan wants to move a bit more than the Hierophant, you may want to rejigger the list a bit in that case.

Trip Dima Rides Again!
Leviathan Battalion
Bounty of the Hive Fleet.
Progeny of the Hive Fleet.
Slayer Tyrant: Monstrous Rending Claws. Monstrous Boneswords. Adrenal Glands. Warlord. Rampaging Beast. Synaptic Hive Blades. Adaptive Physiology (Murderous Size)
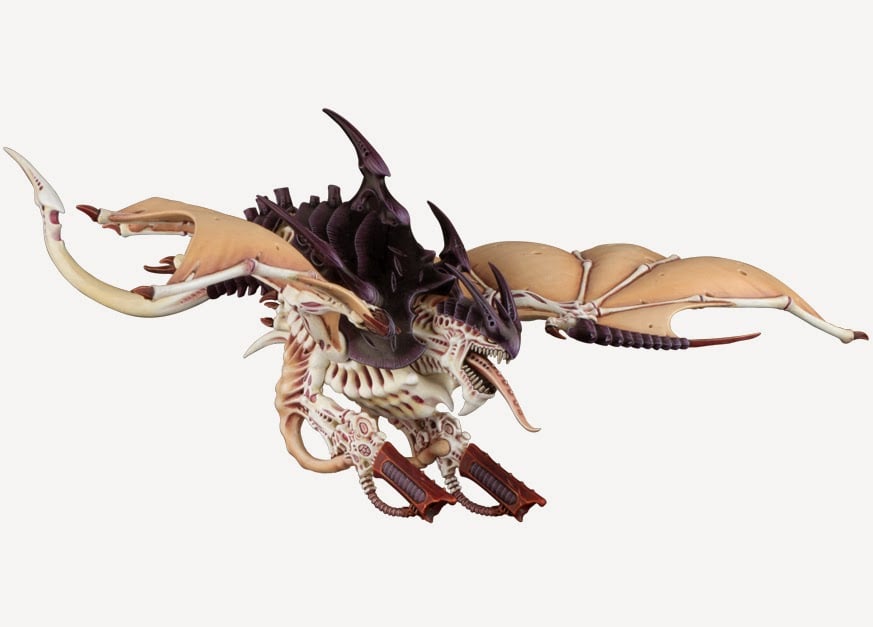
Dakka Flyrant: 2x Double Devourers. Wings. Adaptive Neural Lobe
Swarmlord
3×3 Warriors with Double talons and Synaptic Link
1×3 Warriors with Double talons.
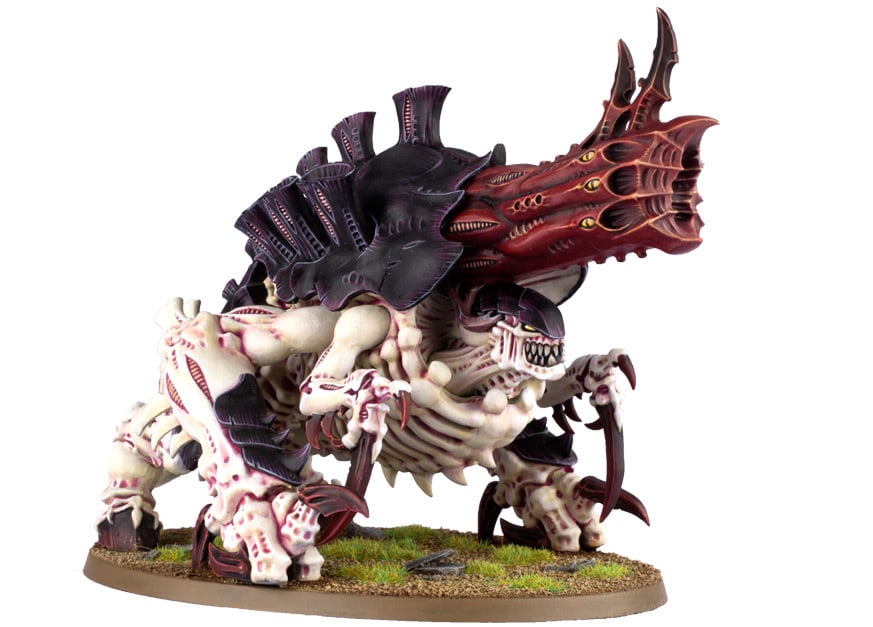
3 Dimachaerons
1 Carnifex with Double talons. Adrenal Glands
1 Scythed Hierodule
Trip Dima Rides Again Tactics
So this list is all about maximizing the best pound for pound monster in the Tyranid collection, the Dimachaeron. With a 12” move that can actually navigate terrain, they have the speed and agility to actually line up the charges that they need. At T7 with 18 wounds, a 5++, and now -1 damage, they are fairly hardy and take more than casual attention to knock down. They absolutely synergize with a whole host of stratagems, and you can load them for bear between Synaptic Link, Aggressive Surge, and Synaptic Barrier. Each Dima is capable of murdering just about anything shy of a big tarpit, but with the Swarmlord, you can pretty much guarantee one is going to get into the lines, and if you roll well on Onslaught and their advance, you can possibly get 2. Dimachaerons are just amazing, and so why not take 3 of the best monster we have?
The Slayer Tyrant and Hierodule are the mid-board campers, daring anyone to come into range. The Flyrant is there to clear out chaff and if nothing else, get some psychic secondaries, baby. A single Flyrant with +1 to hit is great clearing out big blobs as needed. Depending on terrain and opposing army, you can also save the Dimas for Turn 2 by powering up the Hierodule with a 4++, 5+++ Feel no Pain, +1 to hit, and +d3 attacks, sending it charging hard into the enemy and baiting them to try and take down all 18 wounds of it, and if it dies in melee, well, it gets to fight again, and if it dies in shooting, you can make it explode.
The Warriors are mostly there for Synaptic Link but can also do some secondaries like Raising the Banners. And of course, the 1 Carnifex is the distraction Carnifex, but for 105 points, it can do some decent damage with the right buffs, and it can surprise take an objective away while your opponent is trying to deal with the 3 Dimas. Let’s not forget that the Swarmlord is also mean as hell with +d3 attacks and -1 damage, so overall, you have 6 main melee threats with a bit of shooting to clear chaff, decent smites, and even some chaff units to camp objectives or screen out nasty surprises.

The Carni Carnival
Behemoth Battalion
Thresher Tyrant (Tyrant One Eye) – 2x Monstrous Talons. Scythes of Tyran. Warlord. Rampaging Beast. Adaptive Physiology (Murderous Size)
Old One Eye
Swarmlord
3×3 Warriors. 2x Talons and Synaptic Link
3 Tyrant Guard. 2 Talons. 1 Crushing Claws.
3×3 Carnifexes. 2x Talons. Tusks. Adrenal Glands
The Carni Carnival Tactics
So this list is all about just bringing those sweet baby Carnifexes and flooding the table with them. The basic idea is that Swarmlord is going to be firing off one a turn, so each Carnifex is a little missile with +1 to charge, 6 attacks on the Charge at WS 3+, rerolling 1s. While S6 isn’t insane, you can spend the CP to reroll wounds (and this list has 11 CPs), and if going against a Monster or Vehicle, you have Thunderous Impact for that sweet +1 to wound and +1 damage, and really, it is all about piece trading. At 115 points, you just want to trade up in value, and the Carnifex can do that with the right buffs. If running into bigger units, Old One Eye and the Thresher Tyrant are both decent at clearing through hordes, especially with Breaking Through for a quick 6 mortal wounds.
The Tyrant Guard are there as a little tek piece that can help keep Swarmlord alive (because Swarmy keeps the list working, especially in the early game), but the Tyrant Guard with +1 to hit from the Warriors and possibly reroll attacks from Infused Energies make them surprisingly killy. If you don’t much ken to that, you can also drop them and turn 3 or 4 of the Carnifexes into shooting platforms. With Enhanced Senses and Bio-Weapon Bond, you can get Carnis hitting on 2+, which on Quad-Devourers is a lot of heat, perfect for whittling down hordes or even taking out light vehicles. The Carnifexes are disposable, and this is an attrition list that can have a surprising variety of threats from mostly just spamming Carnifexes.
Finally… a list I haven’t put on the table yet (I mean, the rules haven’t exactly been out a while and hey, winter break only goes so far), is a shooty oriented list:
Big Bugs Never Tire
Leviathan Battalion
Progeny of the Hive
Bounty of the Hive Fleet
Slayer Tyrant: Monstrous Rending Claws. Monstrous Boneswords. Adrenal Glands. Warlord. Rampaging Beast. Synaptic Hive Blades. Adaptive Physiology (Murderous Size)
Swarmlord
9 Warriors. 6 2x Scything talons. 3 Barbed Stranglers/talons.
3×3 Warriors. 2x Scything Talons. Synaptic Link
2x Exocrine
Barbed Hierodule
Harpy
Leviathan Patrol
Malanthrope. Adaptive Neural Lobe
6 Warriors. 2x Scything Talons
Tyrannofex. Acid Spray
Big Bugs Never Tire
So this list is all about using the big bugs to lay down a hail of fire, mostly castling up around the Malanthrope for that sweet -1 to hit. The two big blobs of Warriors advance forward to take the center and mostly try to delay any enemy push into your castle. The Tyrannofex moves into the mid board to give some fire support to the Warriors while Swarmlord and Slayer are the line backers, waiting for anything to get through.
You may be surprised to see the Harpy, but it has an important job, namely stealing an objective easily with counting for 12 models when healthy and easy access to Hive Mind Imperative, giving it Obsec, so you can send out the Harpy to absolutely ruin your opponent’s plan for an easy 10 (or 15) points, at least for one turn, and that can be just enough to make sure that you are ahead in the primary, forcing them to try and engage your wall of death. While 310 points is expensive, I can see taking 2 Harpies for some guns and just the ability to mess with your opponent’s objectives for 2 turns, and if they dedicate resources to killing them, well, the rest of your threats are still there.
The Exocrines and Barbed Hierodule are the core of the castle, laying down a lot of firepower that most armies can’t really ignore. While Synaptic Link isn’t vital for an Exocrine as it already gets a +1, if going against a target with a -1, that extra +1 can help put the math back in your favor. The list doesn’t have a ton of mobility, but it brings a lot of ranged firepower with some surprising melee when needed.
Well, that’s just a few lists really. There are so many possibilities that I am positive we won’t see an “optimal” list for some time. With so many different bugs to choose from, the combinations are staggering, and if nothing else, I’m grateful that I can look at my collection and actually find a good reason to take just about any big boi off the shelf, and well, it’s been a long, long time coming.
Happy consuming!

Thanks as always for reading, and again, I am excited to see what CrushP lists show up at the tables of LVO 2022. Still plenty of time to refine and perfect those lists! As always, feel free to stop by and say hi to me at the judge’s table (or if I am wandering the hall as usual. I’ll be in a purple shirt), and of course, play games and be nice to each other!