Warhammer 40K: All The Dirty Harlequin Combos
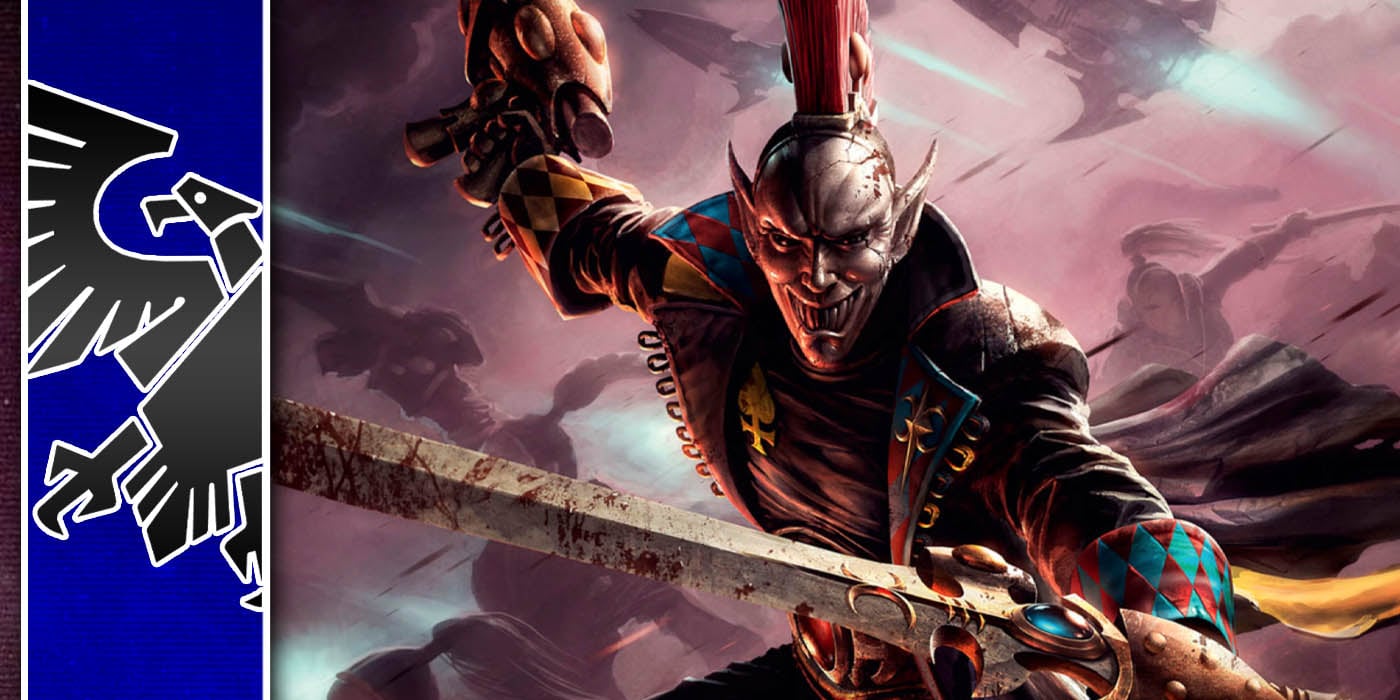
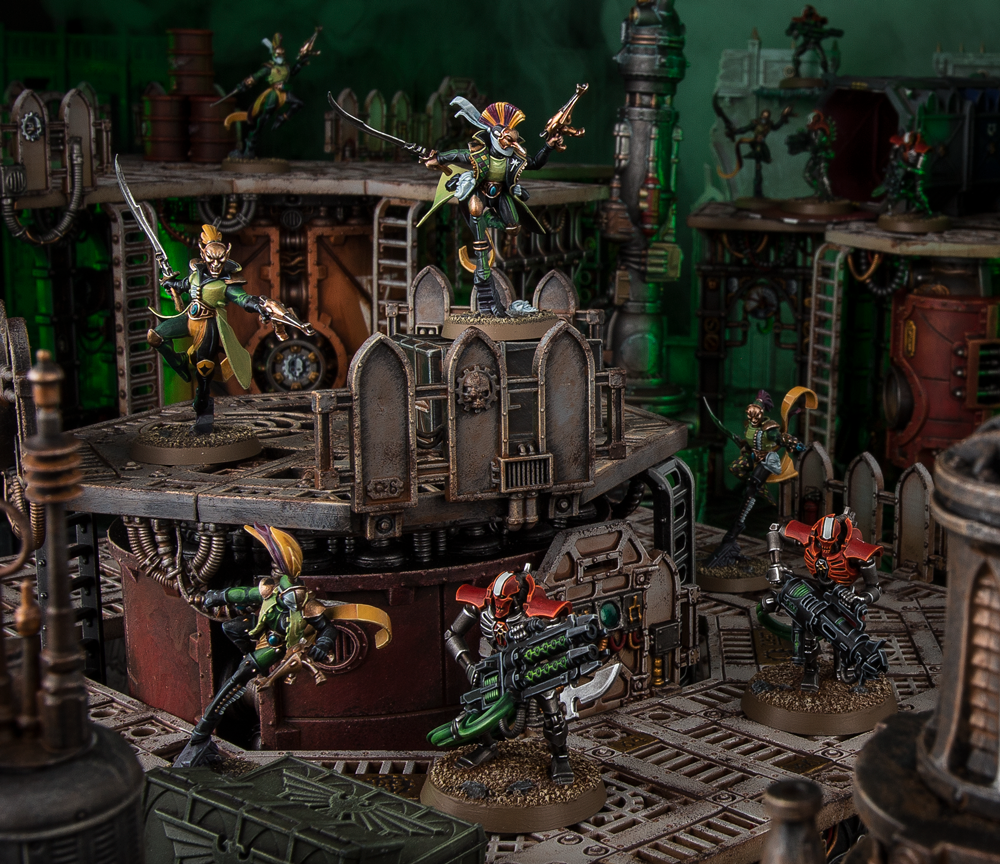
Alright, it’s time to get into the nitty-gritty of what jankness the new Harlequins can pull off. It’s impressive!
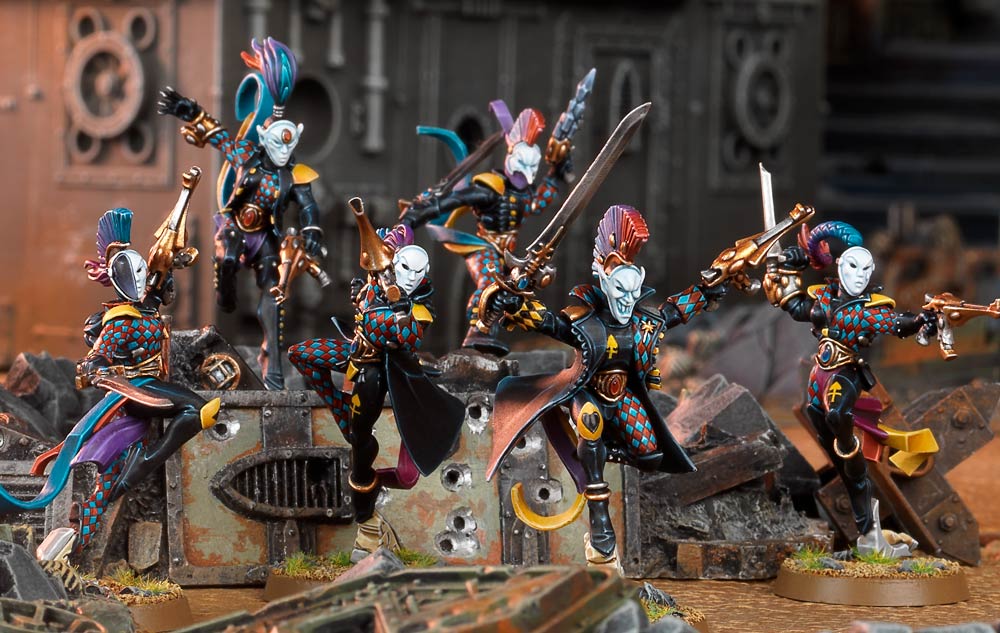
They’ve been known to be the faction that just breaks the rules and this codex helps them become more of a nuisance, so let’s see exactly what the army can pull off.
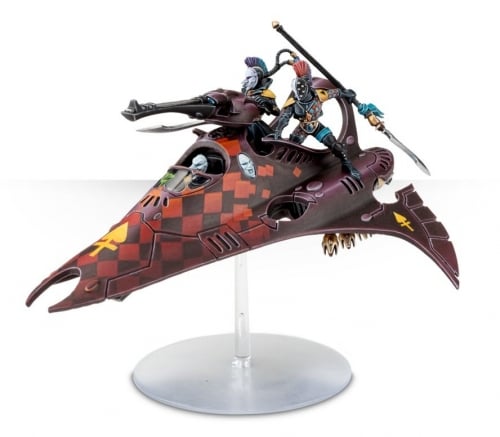
Besides having access to fall back shoot and charge, advance and charge and ignoring terrain and models the Harlequins baseline already breaks a lot of rules just by existing. However, we can go even further beyond by just doing some jankness to get even more bang for our buck with an elite army. So let’s go over the jank rules that Harlequins can perform when playing with the new Aeldari codex.
Today we go over some cool interactions and combos you can pull off. You can read the first article here.
Cegoroach’s Jest and Dramatic Entrance
Cegoroach’s Jest [1/2cp]: When an enemy unit falls back from engagement range from a Harlequins infantry unit you can either shoot as if it were your shooting phase or consolidate up to 6″. If you choose to shoot this costs 1CP, if you choose to consolidate this costs 2CP.
Dramatic Entrance [1cp]: A Harlequins Infantry unit is allowed to heroically intervene up to 6″.
At face value Cegoroach’s Jest is strong by itself just because you can really chase down an opponent and keep your characters or infantry safe, but we can go a step further by coupling this with Dramatic Entrance. If an opponent were to fall back from you, you can consolidate up to 6″. However, for the rules of consolidating you just have to end the move closer to the nearest enemy model – that means if you’re not worried about the unit that fell back from you from doing anything you can instead Move yourself closer to another unit while staying outside of engagement range of the unit that fell back and then use Dramatic Entrance to heroically intervene up to 6″ away.
Foot in the Future and Heroes’ Path
Foot in the Future [Warlord Trait]: When making an advance move instead of rolling 1d6 use D3+3 for your advance roll. When declaring a charge, add 6 to the result.
Heroes’ Path [1cp]: Select a Troupe Master model from your army that is on the battlefield and select one Death Jester or Solitaire model from your army that is on the battlefield. Add 2″ to their movement characteristic and add 1 to their charge rolls.
This is one of my favorite combos you can do with Harlequins. Foot in the Future is already amazing by itself but couple this with Heroes’ Path and you’ve got an extremely mobile beat stick that can mop the floor against characters or whatever it is you want to throw the Troupe Master at.
2″ extra movement gives a Troupe Master a 10″ move. When you advance you move D3+3″ and so on average you’re advancing 5″. Being able to add 6″ to your charge roll and also getting +1 to your roll that makes a 12″ charge successfully by rolling a charge roll of 5. That means your smashy troupe master can get across the board with a threat range of about 27″ going from objective to objective knocking off units that are holding it. This works really well in a Dark detachment so then your Troupe Master can get to places and really put the hurt down on some units and vehicles. Double points if you can put the Troupe Master back into a Starweaver using Curtain Falls after you zoomed a boat up next to your target.
Virtuosos of the Webway and Webway Gate
Virtuoso of the Webway [1cp]: Select a unit not within engagement range of an enemy unit at the end of your movement phase and put them into strategic reserves.
This one’s for all you people running a blob of troupes hiding out inside of a Webway Gate. Since you need to drop in a unit that starts in reserves by Round 3, but don’t want your unit to die because there’s nothing around to charge or your enemy has a good beat on where you can drop you can simply bring your unit onto the board through the Webway Gate (or anywhere really) and then spend 1CP for Virtuoso of the Webway to put them back into reserves and have them protected until you need them to show up.
Unit Coherency with Voidweavers and Move Blocking
This is pretty jank because before you weren’t able to bring Voidweavers in squads but now you can, and since you have to measure distance from the models hull you can string out your Voidweavers pretty dang far because of how long they are. Only having to be within 6″ of each other that means you have 6″ plus whatever the length of a Voidweaver is helping screen out against your opponent. You can even move block with the unit since again you measure distance to the hull and enemy units cant move past other models unless they have fly or a rule that allows it.
That’s a large area of denial that’ll make it hard for your opponent to get to where they need to go. Even better, you can use Starweavers instead to pretty much do the same thing for move blocking.
Capricious Reflections and Dramatic Entrance
Capricious Reflections [1cp]: When a Light unit is selected as a charge, the Light unit can make a Normal Move of up to 6″ and cannot Overwatch or Set to Defend.
Dramatic Entrance [1cp]: A Harlequin Infantry unit can perform a heroic intervention of up to 6″.
This is a great combo you can do with a smashy Troupe Master or a squad of Troupes you want to use to mulch something on an objective. When they’re selected as a charge, you can move the unit up to 6″ and then spend another command point to heroically intervene 6″ away to another unit you have no right being in combat with on your opponent’s own turn. This alone gives you a 12″ threat range on all of your infantry units during your opponent’s turn for even more mind games that you can play with your opponent.

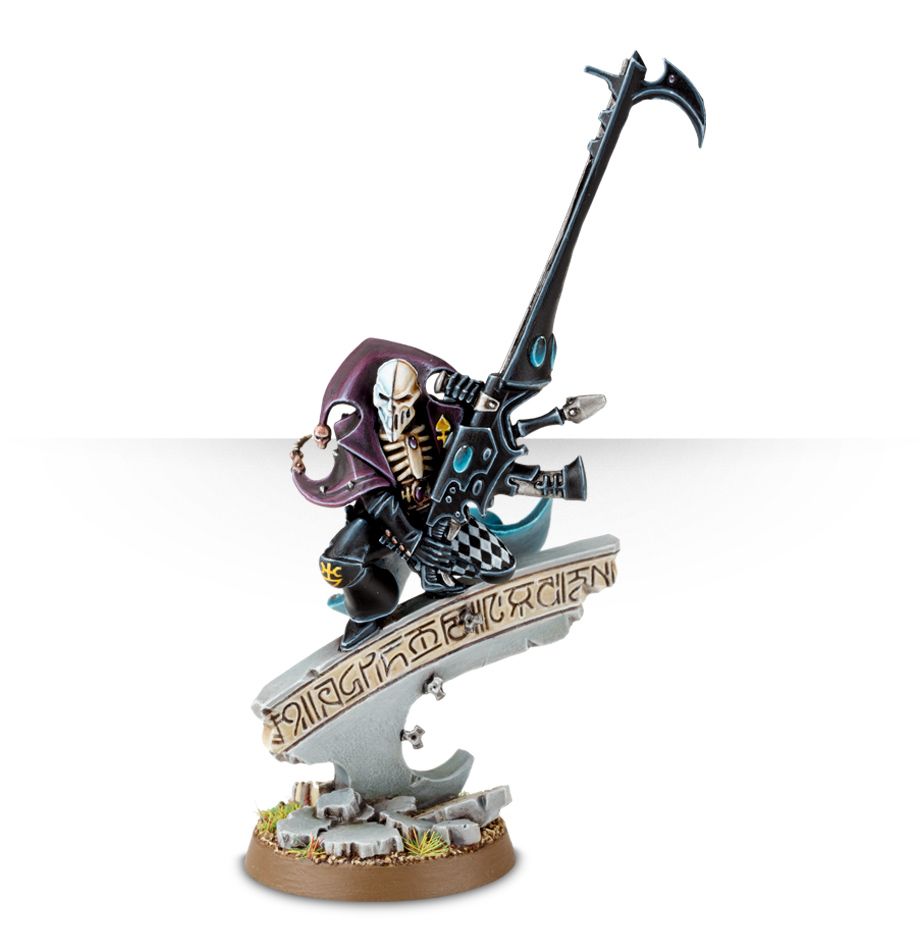
Torments of the Fiery Pit and Troupe Master
Torments of the Fiery Pit [1cp]: When a Harlequins Character model (excluding Solitaire models) from your army that has lost any wounds is selected to fight, until the end of the phase add 1 to the Strength and Attacks characteristics of that model.
This one is a bit of a meme and will only come up in very niche scenarios, however if you need extra strength and attacks on your Troupe Master. If you feel as though you can’t die from a unit’s attacks in your opponent’s turn, you can just choose to take your save on your regular armor save of 6+ to try and take some damage, which you can then combo into Torments of the Fiery Pit to give your Troupe Master a higher pip of strength as well as an extra attack. With Twilight Fang on round 3 in Twilight you’re now getting 11 attacks with just your Troupe Master at S6 AP2 3D.
Virtuosos of the Webway and To The Last
Virtuosos of the Webway [1cp]: At the end of your movement phase, select a Harlequins unit on the battlefield that’s not within engagement range of an enemy unit and place it into Strategic Reserves.
This is something that I think will become FAQ’d, but as of right now you can place any Harlequin unit into Strategic Reserves and there are no other requirements besides just that the unit can’t be within Engagement Range of an enemy unit. That gives us a very safe way to play To The Last, whenever you feel like your target is starting to get low you can just chuck the unit into Strategic Reserves for the rest of the game.
If a unit starts off the game in reserves they have to come out by Battle Round 3, however if your unit is placed into reserves after the game has started you can place the unit onto the board by the end of Battle Round 5. So as long as you put the unit back onto the field by then you’re protecting your To The Last unit almost all the time and getting your full 15 points off of it.
A Deadly Embrace and Multi Charges
A Deadly Embrace [1cp]: After a friendly Harlequins unit charges or makes a heroic intervention, select a unit it’s within engagement range with and roll a d6 for every model in that Harlequins unit. For every 4+ the enemy unit suffers 1 mortal wound to a maximum of 6.
It’s like a worse breaking through but also a breaking through that you can use to a wider degree. The best thing about this stratagem is that it doesn’t count how many models are within engagement range of an enemy unit. So you could tag an enemy unit with only 1 model and still deal a hefty amount of mortal wounds onto an enemy unit. With a nice squad of 10-12 troupe players on average you’re dealing about 5-6 mortal wounds to an enemy unit. So if you see a character that you want to try and destroy next to another unit you can declare a multi charge and just as long as 1 model gets into engagement range of the unit you want to deal mortal wounds to you get your full 10-12 d6 rolls to deal extra damage. Spicy.
Fire and Fade and Shoot
Fire and Fade [2cp]: After a unit shoots it can make a normal move of up 7″. They cannot charge afterwards or make a battle focus move.
This is an old trick you used to do with the old Harlequins but has gotten more expensive now that they do not have access to their own version of this (this went from 1cp to now costing 2cp). However you can still do what you used to do before, shoot with a Starweaver’s boat and then move an additional 7″ to get within range of another weapon you want to shoot with the units inside the transport since it’s open topped.
It’s a great way to get your fusion pistols on your troupes into position to shoot or put your Death Jesters at a good angle to snipe out a character.
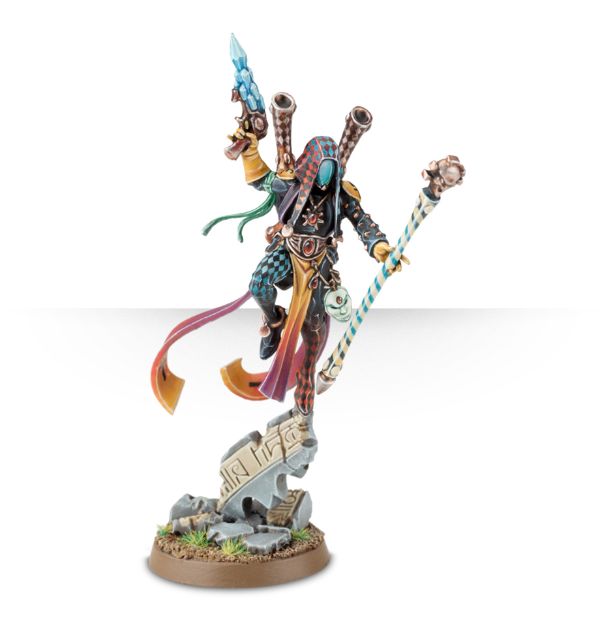
Mirror Architect and Fog of Dreams
Mirror Architect [Shadowseer Pivotal Role]: When measuring the distance of a ranged attack from an enemy unit targeting a friendly <Saedeth> unit in your army with 6″ of this bearer, those models are treated as being an additional 6″ away.
This has a lot of interesting interactions already. Flamers can’t hit you when coming down from deepstrike, grenades can’t be lobbed at you, you’re reducing the range of so many things in this game but additionally when you cast the Psychic Power Fog of Dreams that’s already a powerful spell, you’re capitalizing on it even more.
Fog of Dreams means your enemy can’t target a core unit of your choice when they’re more than 12″ away and Mirror Architect reduces this range to 6″. Whatever you unit you want to protect like a troupe unit performing actions pop this bad boy on there and stick a Shadowseer next to them.
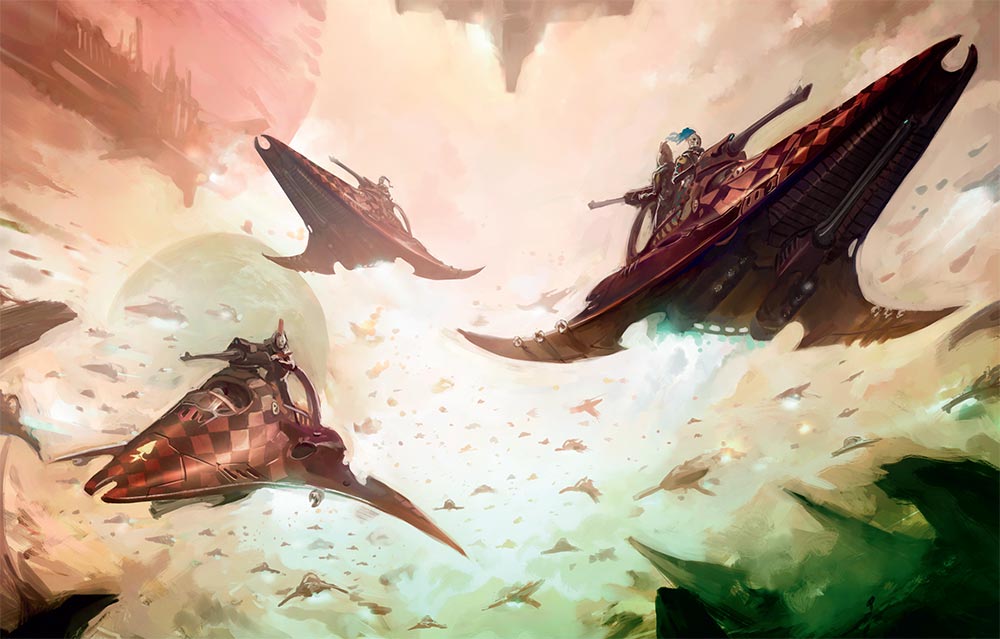
Capricious Reflections and Starweavers
Capricious Reflections is one of the best stratagems in the Harlequins codex and giving yourself an option where you can Normal Move in any direction on your opponent’s turn is powerful. When you have a Starweaver nearby on a point it’s even better.
Landing a Starweaver next to a point where you want to keep an objective or just next to a unit you don’t want to have die during the melee phase, you can just use Capricious Reflections to move them into the Transport. This is so strong that you can even put the Starweaver on the point if you want to control the objective still and pop the units into the transport.
When they try to charge the Starweaver you can always choose to not use your invulnerable saves to try and kill the transport so you can then get onto the objective at the end of your opponent’s turn. A Cheeky move with high risk and high reward. If you’re battling for Stranglehold then you’re now stealing away points with this maneuver while also making sure you still get your points on primaries. This trick can net you a nice 7pt. swing to your army that you can easily rinse and repeat throughout the game.
Embarking and Disembarking
Curtain Falls [1cp]: After fighting with a Harlequins unit, instead of consolidating – if every model in the unit is within 6″ of a Harlequins Transport you can embark onto it even if you disembarked from a transport earlier this turn.
Not only can you disembark and embark onto a transport in the same turn, you’re also getting extra movement out of it. Disembarking gives you 3″ of movement (emergency disembark if you’re a real stud for 6″) and then move your 8″ plus advance and charge. That’s a whole lot of movement you can do with your army to really blitz onto an objective. Even better you can just zoom another Starweaver up to the place you want to assault and land right back into safety.
This is an amazing stratagem that I’m happy to see the return of. It’s different from before, but the end result is still strong. Being able to punch something that literally cannot hit you back is just insane.
Take a Bow!
There you have it! Some great jankness you can do with Harlequins. The army is so much fun to play right now and all I keep thinking about is how to play them better and better with each game that I bring them to the table. Absolutely love the new updates and looking forward to bring this clown fiesta onto the table every single time.
Lone Star Open 2022 Registration Now Open!