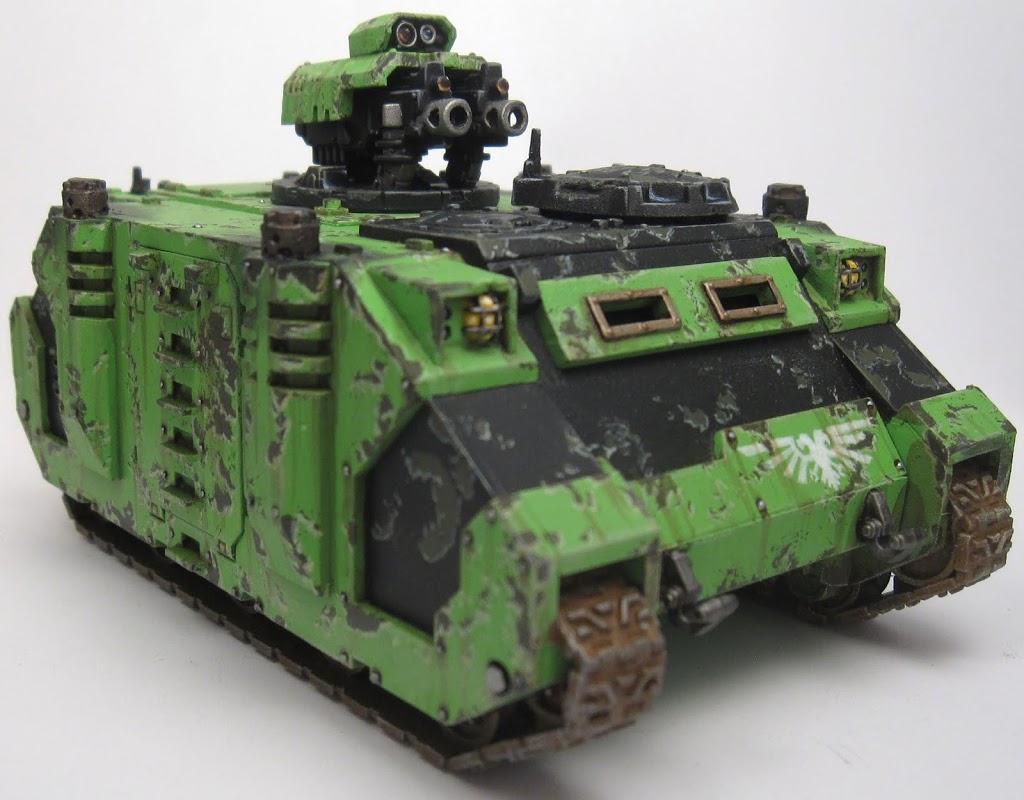
Here’s a follow up and some more in-depth technique for weathering from my Sons of Medusa Razorback.
It’s been a while since I’ve really dug in with weathering and this time around I’ve taken the time to get a good amount of photos along the way. Many of you already know, I fully believe in the beauty of weathering, grit and damage on models and have been advocating their use for years now! With this tutorial I’ll walk you through my simple and effective method of paint chips/battle damage all done using just a few simple tools and a bit of good color choice!
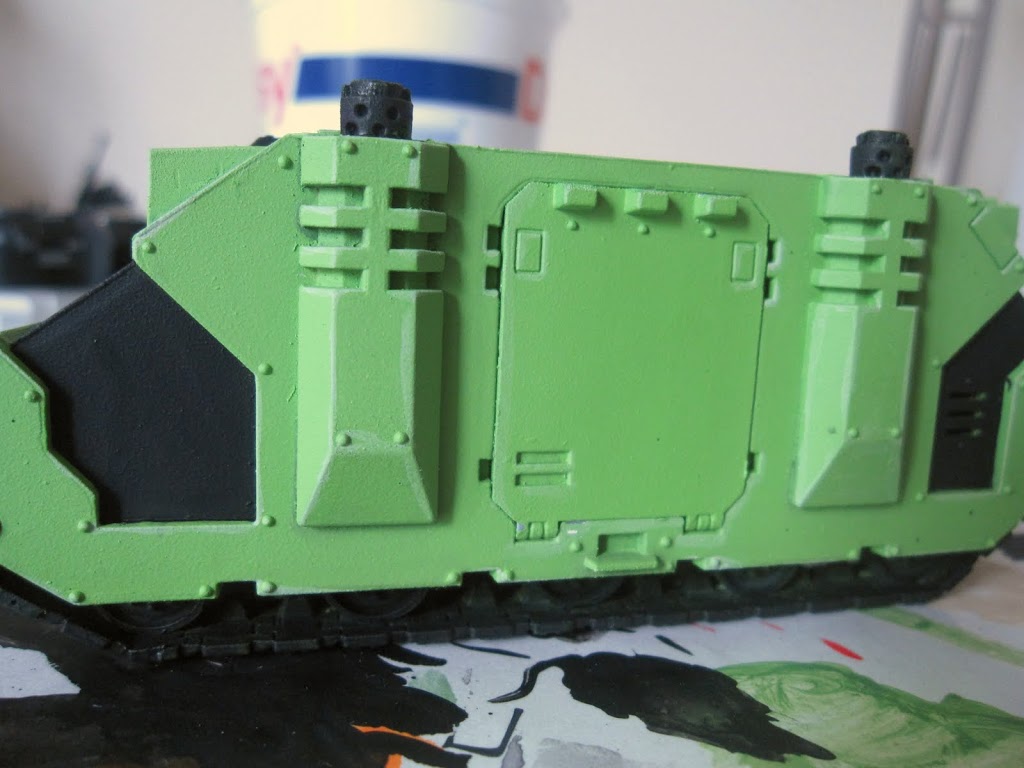
When starting off with my latest Sons of Medusa Razorback, I knew I wanted to approach it much the same as past things but try and speed it up a bit by adding depth in later stages. So to start off, just getting your model to base color with a light highlight along armor lines and joins. Get your colors blocked out, clean and smooth. I highly suggest an airbrush to get your main color on and use a brush to block in the rest, in this case that’s what I’ve done with the black.
Advertisement
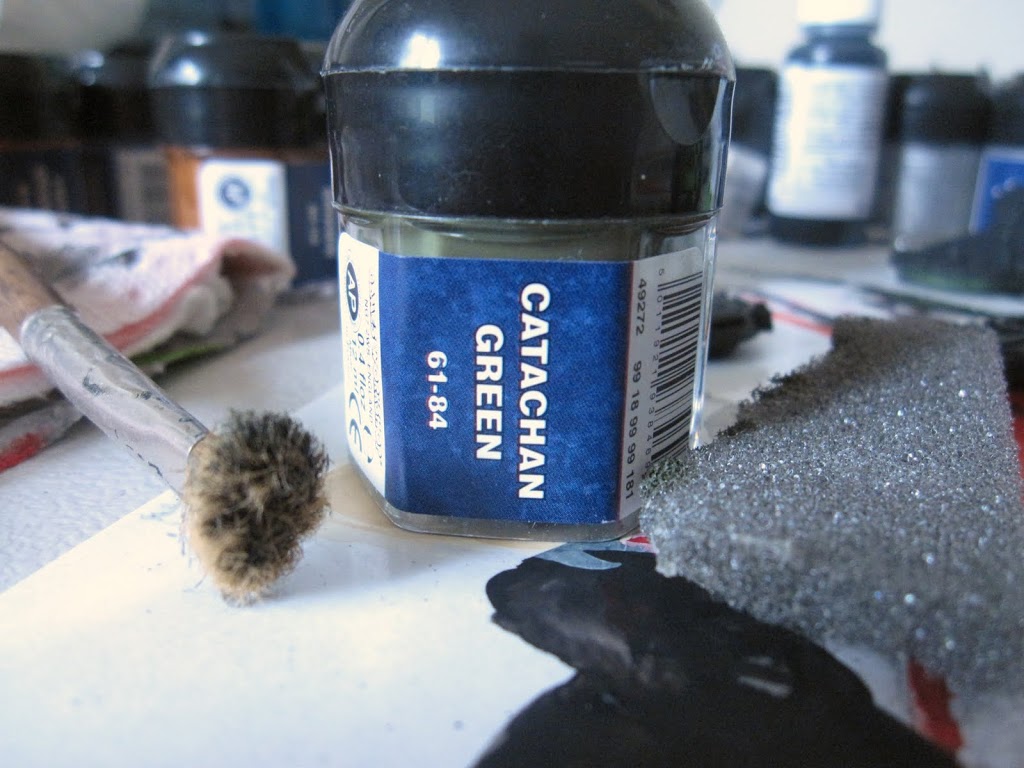
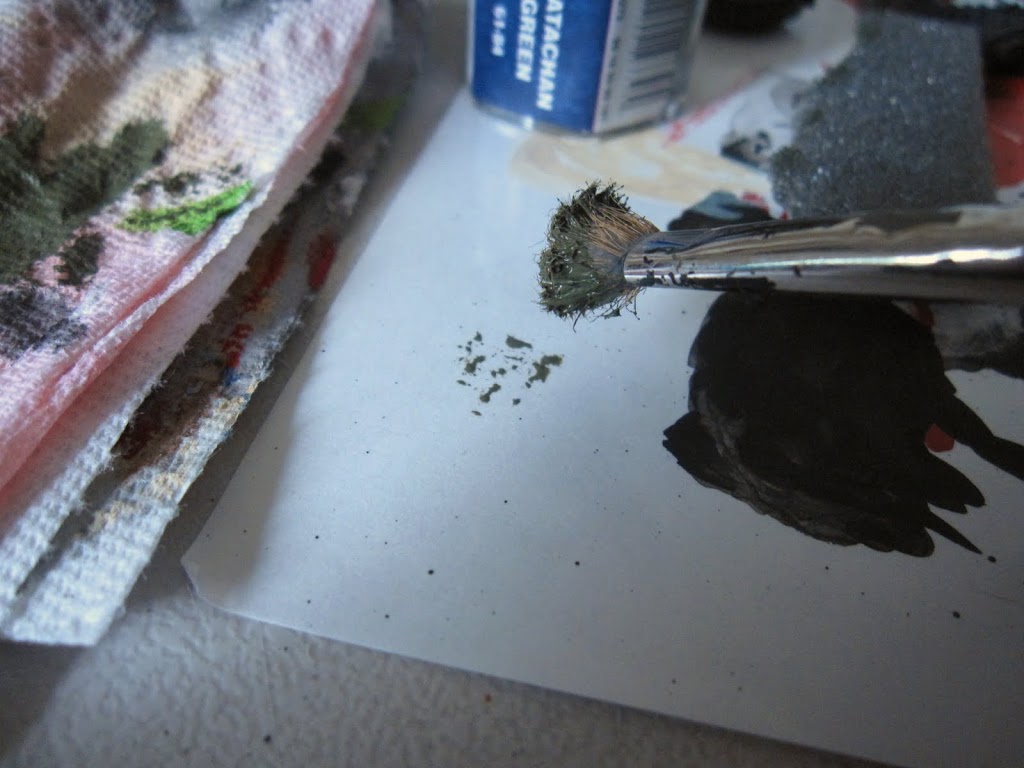
Here you can see the tools of the trade. I make consistent use of foam from a blister I bought way back when, chipping off a little bit of the crusted up foam each time and creating a new random edge to use. In this same photo you see a big, gnarly messed up brush. If you don’t have one of these, you need one. Go do a few terrain projects and trust me, you’ll get one quick enough! The brush is a bit less random but with a good eye for the pattern it’s giving you, you can make it just as random as the foam but this comes with a handle! When you’re using the foam, you can do a few different things to help in the application, rolling it, scrunching it, whatever. Just find something that works for you, is easy to work with, and gives the kind of pattern you’re looking for.
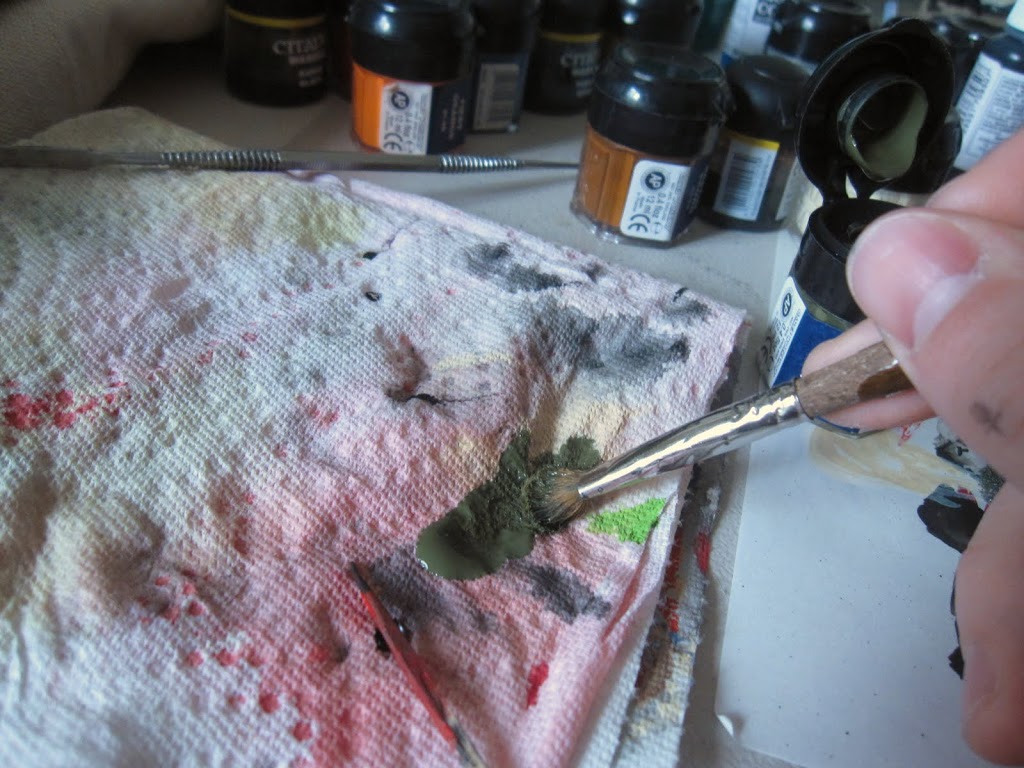
I make use of a paper towel as my palette when working on chipping. It’s a bit easier for me to guarantee I won’t blob the paint on and get just enough to the tips of the bristles or edges of the foam.
Advertisement
When you’re using this technique/method, it’s REALLY important to know what sort of pattern you’re getting with what sort of pressure you’re pressing with. Check on a piece of paper, your palette, hand, whatever. Don’t just go blob the paint onto your model without first checking that you’re getting the right look for what you’re going for. Make adjustments with paint amount, pressure, angle, and applicator before you go to the model with the paint.
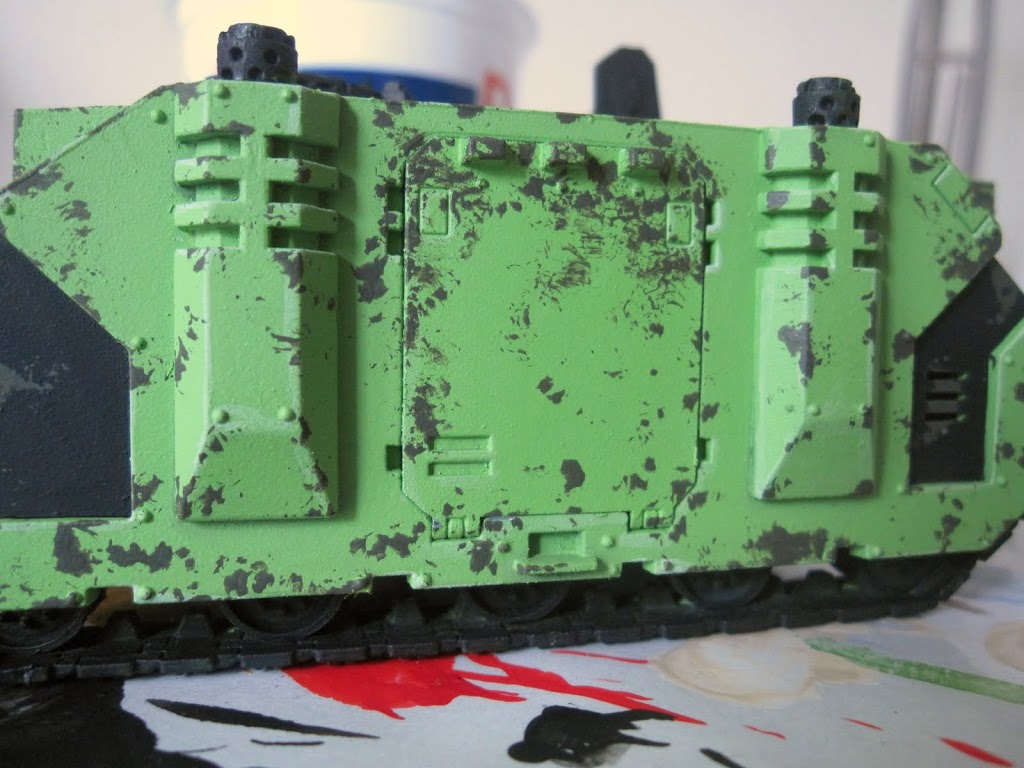
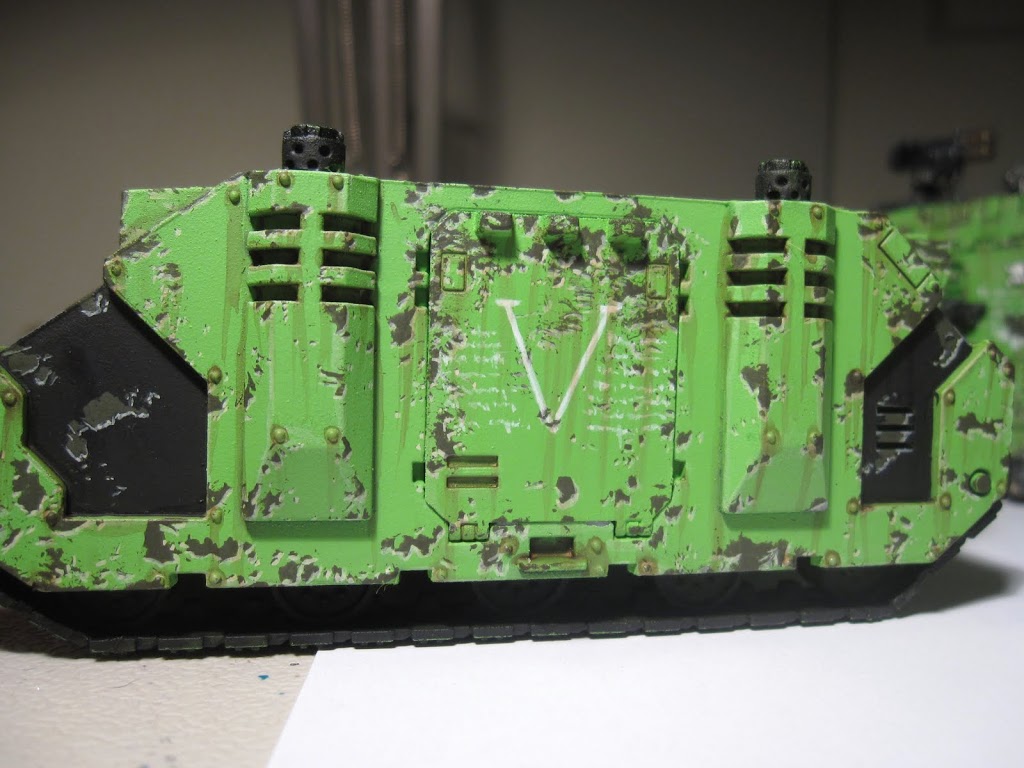
I’ve gone with Catachan Green as my vehicles ‘primer/undercolor’. This deeper green helps to push the color back behind the bright Scorpion Green base color. Cooler/Darker colors will work great for this, but test a few things out on a few different test pieces. See what works best for your color scheme and go through the full method for each to be sure of your color choices. The level of weathering is up to you, a little, a lot, in between, whatever you like! Pay special attention to high traffic areas like the hatches, edges and track sections. Give your piece a bit of narrative with a few long scratches from some unknown alien race! Have fun, and if you go a bit overboard, you can always paint the base color back in.
Advertisement
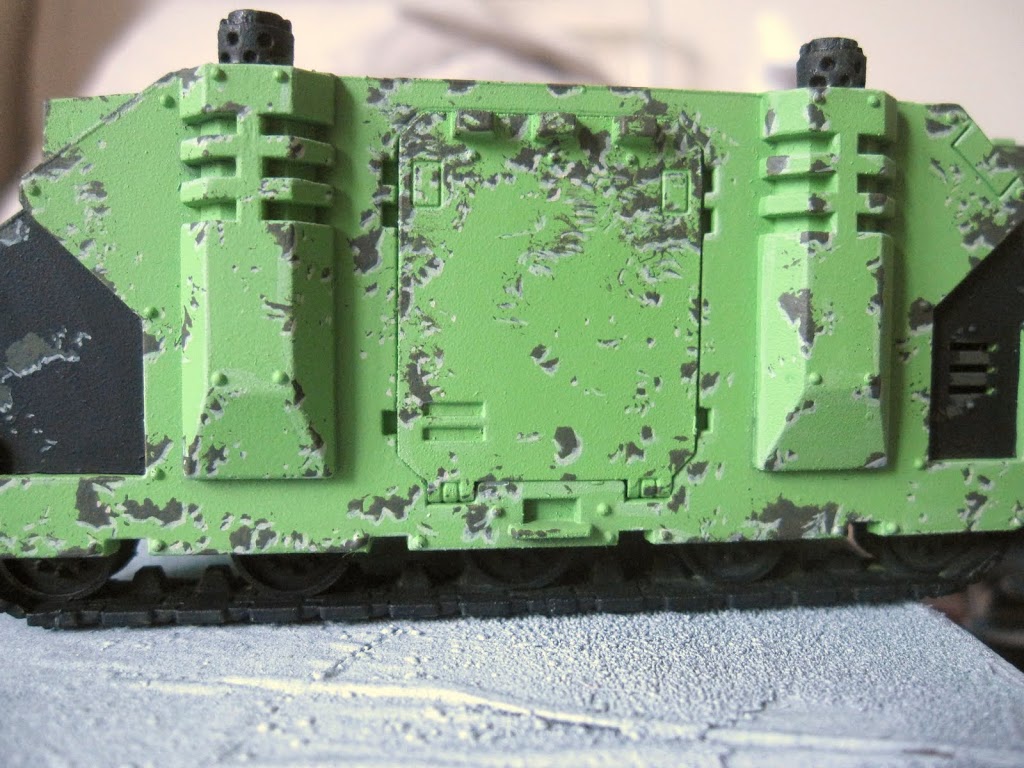
Above you can see the Bleached Bone highlighting that is applied to the lower edge of all chips. This is what really drives home the depth of the chipping. I simply use the same color that I highlight everything else with. Take your time with your chips to be sure you’re hitting the right edges and the results will be nice and convincing. Also don’t be shy, those little chips need love too, get in there and go to town!
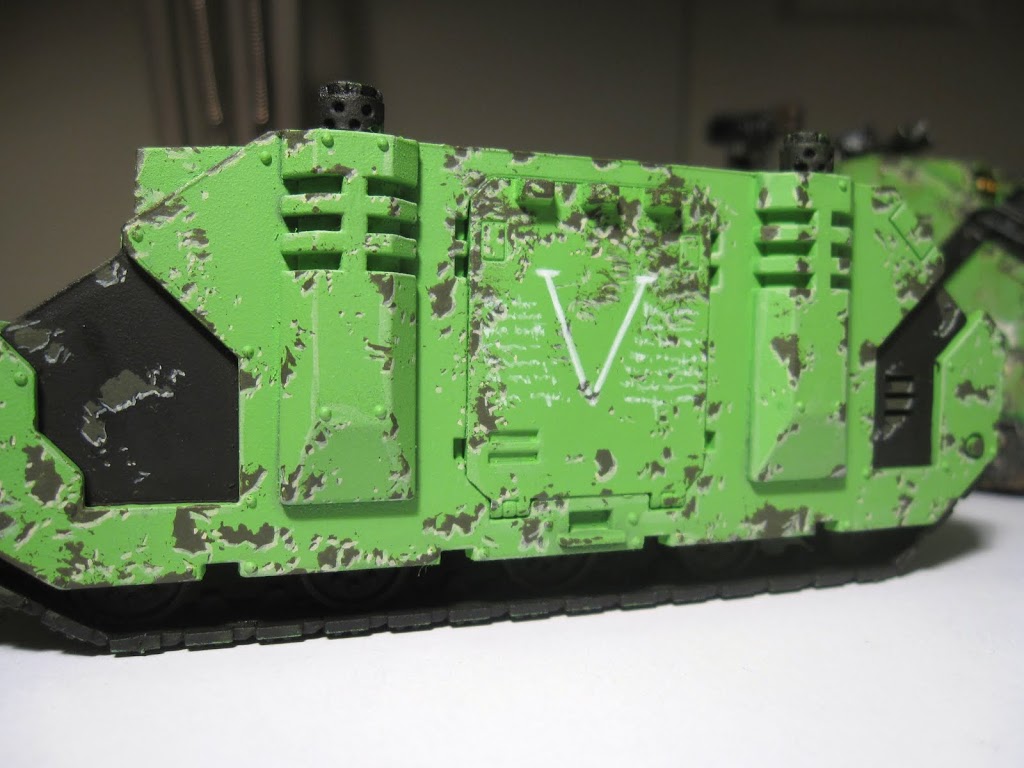
A lot of folks like to add freehand detailing to their vehicles. After a few goes at it on various other projects, I’ve found that the best time to do so is after your chipping is finished. You don’t waste time with unnecessary details that end up getting smothered in chipping by an unsteady hand this way. You know what sections you have to work with this way and save time by not having to paint some areas of your freehand details thanks to a convenient paint chip! Just paint around the paint chips with your freehand and pay attention so you’re not going over them.
Advertisement
Once the freehand is down, here is when you get to play a bit more and be free to make a bit of a mess. Using my grime streaking, I go in with Gryphonne Sepia and from the edges, corners, bolts and a few of the larger paint chips, I streak down along the model a bit. I don’t like to go all the way down the model, just far enough to make it noticeable. The above look took two layers of wash and a bit of heavy attention to the crevices with a big drop of wash painted in to add the depth we skipped out on earlier! With regard to the top of the tank, I don’t streak, but pool around areas like rivets and other details that stick out. Just a quick pool around these details and a wipe off of the raised surface works wonders!
Once the wash is down, you can move on to a plethora of other techniques that all add something extra to the story of your freshly busted up ride!
Want more? Then don’t forget to visit The Painting Corps for regular updates with tips for the newest wargamer to the most grizzled veterans. There’s something for everyone. Head over and join the conversation!
Subscribe to our newsletter!
Get Tabletop, RPG & Pop Culture news delivered directly to your inbox.