40k: Battle Report – Necrons vs Salamanders – 2,000 points

Mercer here with a nice oldschool written Necron Batrep from my home on the web Imperius Dominatus. Let’s hit it!
The game against Chris, was at my usual Thursday outing at Powerfist Gaming. This game is a rematch from when Chris came round my house for a game over Christmas. So far I’ve played Chris three times and beaten him in all games, I’ve also managed to win the roll off for deployment, with me deciding to go second each time. Things have gone my way the last three games but is my luck up and are my undefeated Necron list heading for a loss?
 The Lists
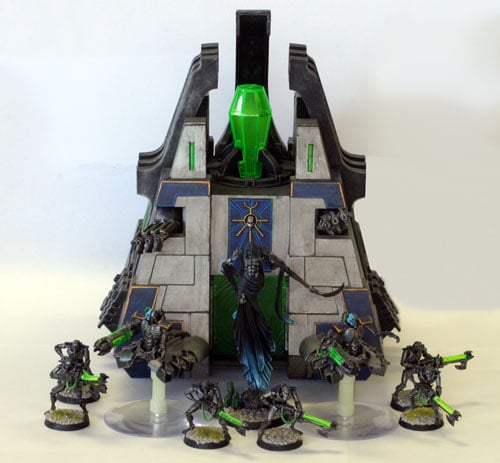
Necrons – 2,000 points
HQ
Overlord w/ Catacomb Command Barge – warscythe, mindshackle scarabs & sempiternal weave
Royal Court 3 x Crypteks w/ – harbinger of destruction & solar pulse
Elites
Triarch Stalker
Triarch Stalker
Troops
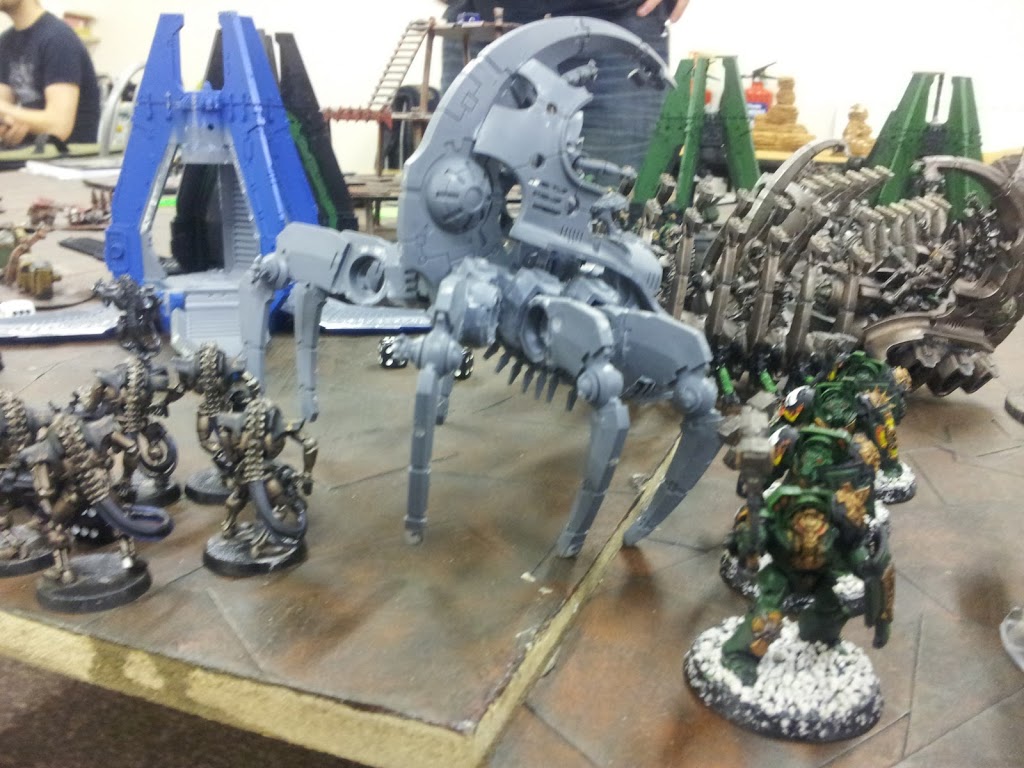
8 x Necron Warriors w/ Ghost Ark
8 x Necron Warriors w/ Ghost Ark
8 x Necron Warriors w/ Ghost Ark
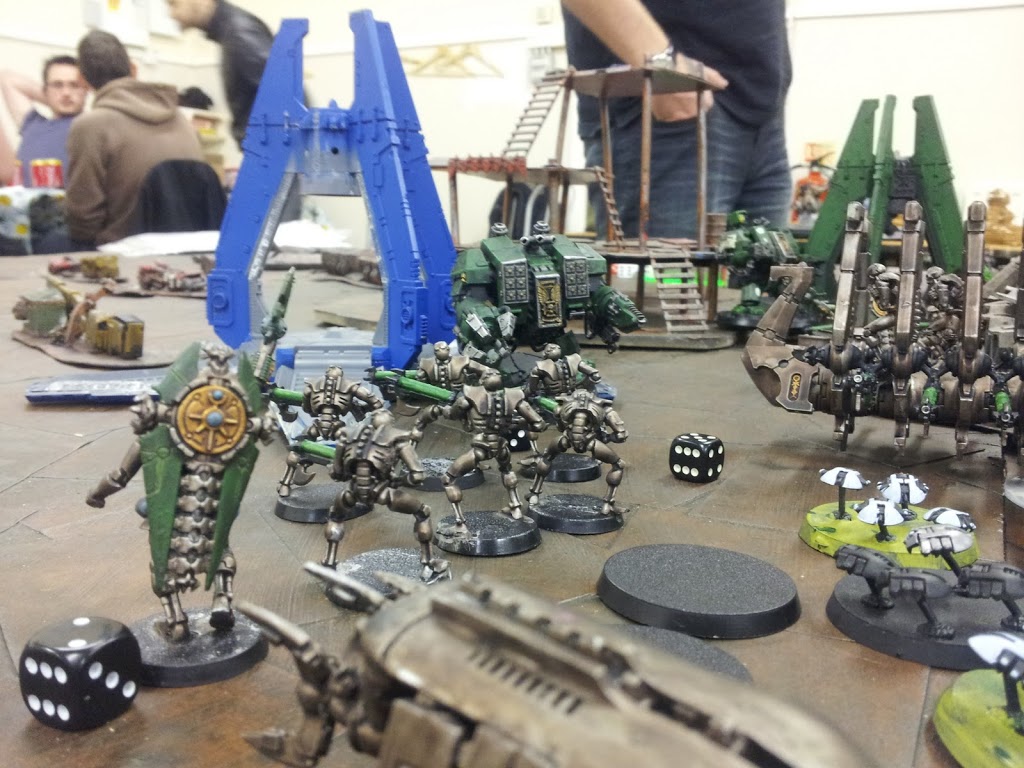
5 x Necron Immortals – tesla carbines
Fast Attack
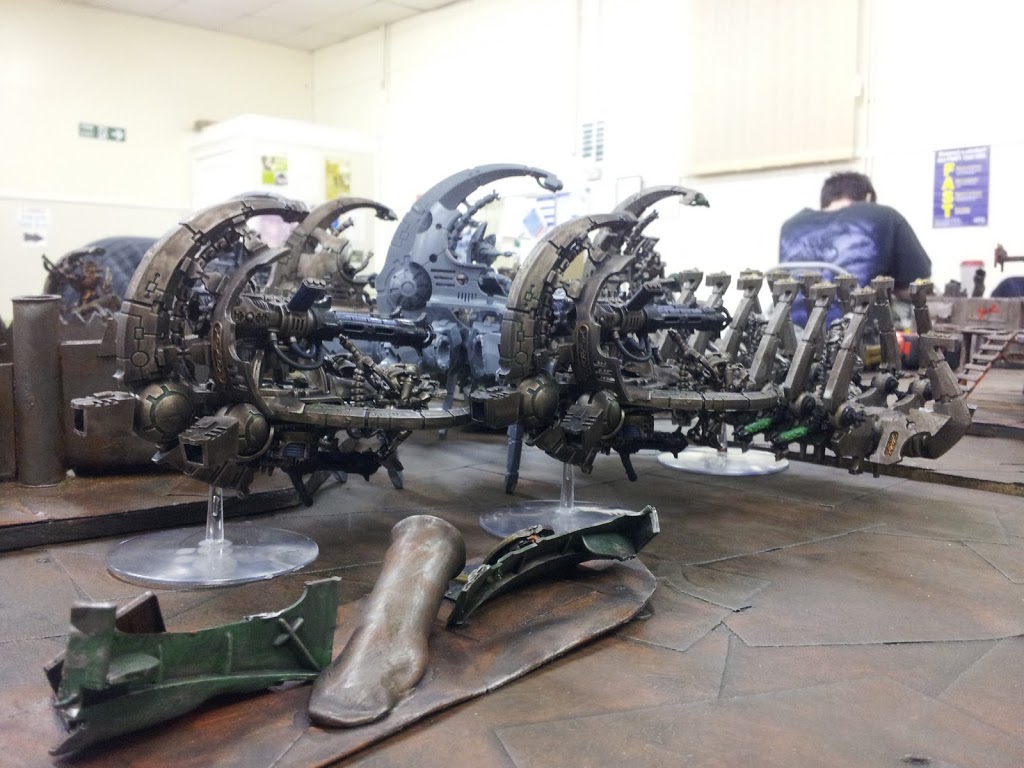
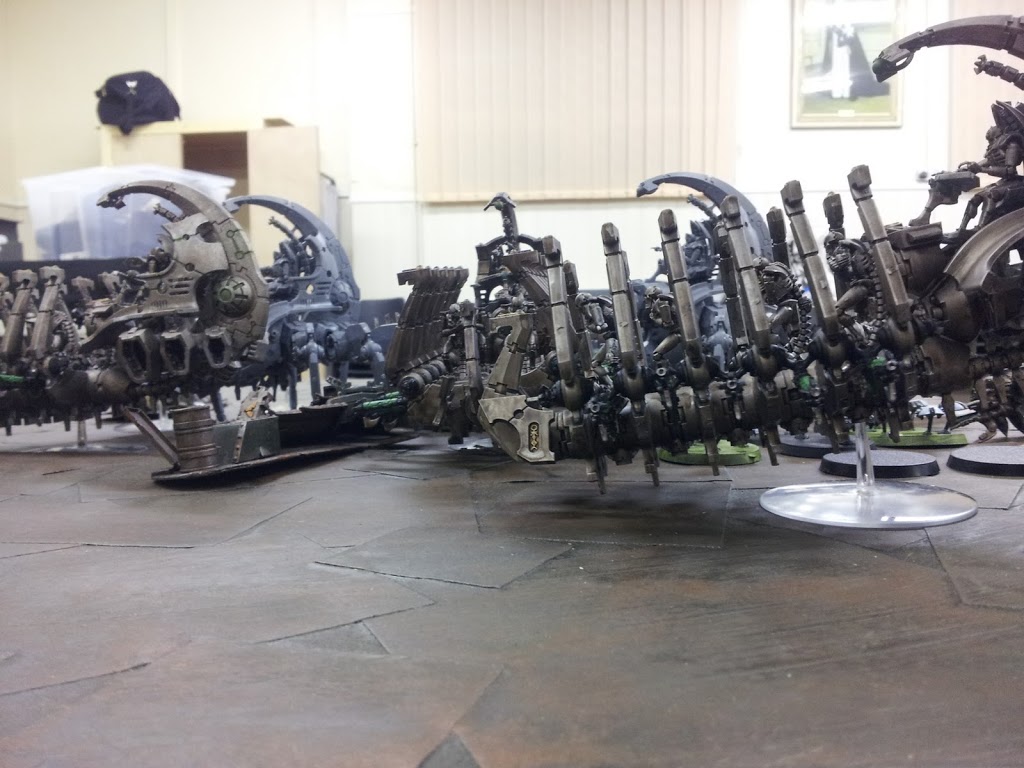
5 x Canoptek Wraiths – 3 x whip coils & particle caster
8 x Canoptek Scarabs
Heavy Support
Annihilation Barge
Annihilation Barge
2 x Canoptek Spyders – fabricator claw array
Salamanders – 2,000 points
HQ
Vulkan He’Staan
Master of the Forge
Elites
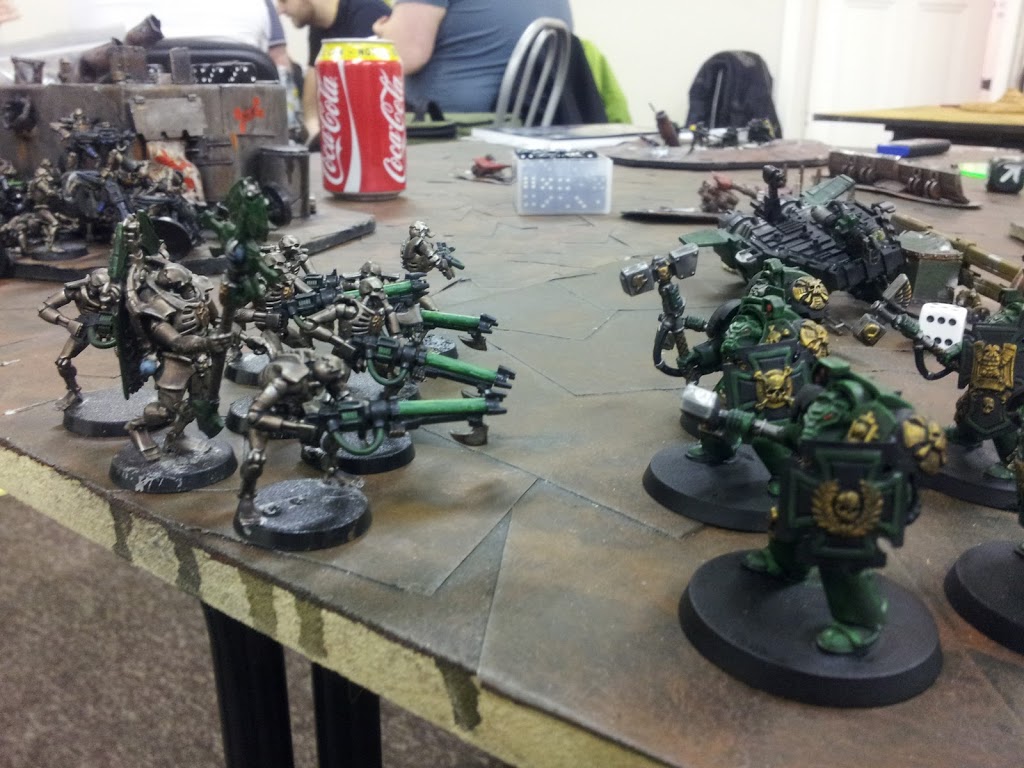
5 x Assault Terminators – 5 x thunder hammers and storm shields
5 x Assault Terminators – 5 x thunder hammers and storm shields
5 x Sternguard Veterans – combi melta, 2 x combi flamers & meltagun
Troops
10 x Tactical Marines w/ Drop Pod – meltagun & multi melta – sgt w/ combi melta
10 x Tactical Marines w/ Drop Pod – meltagun & multi melta – sgt w/ combi flamer
5 x Scouts – sniper rifles & camo cloaks
Fast Attack
Land Speeder – multi melta & heavy flamer
Land Speeder – multi melta & heavy flamer
Heavy Support
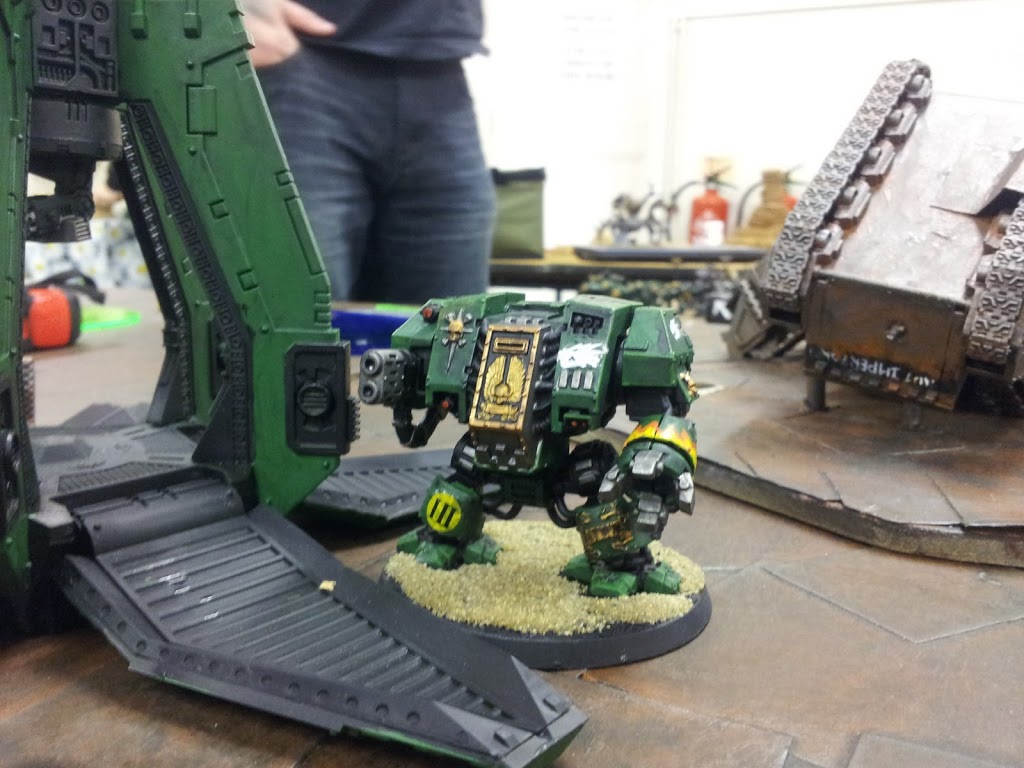
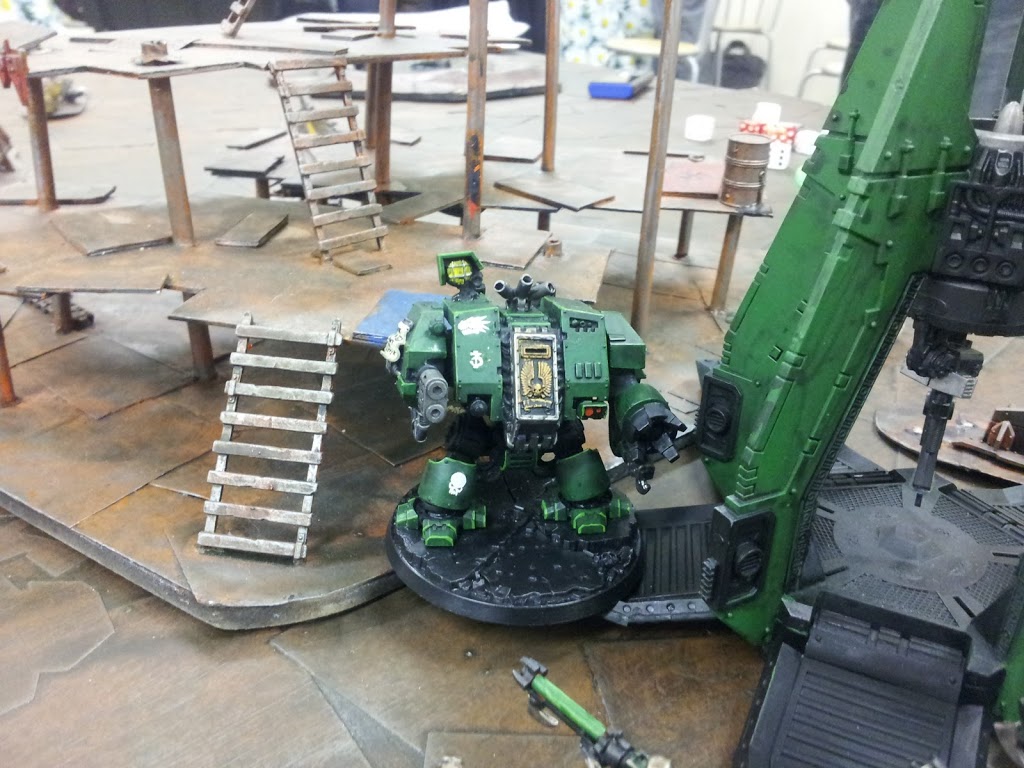
Ironclad Dreadnought w/ Drop Pod – meltagun & heavy flamer – Drop Pod w/ locator beacon
Dreadnought w/ Drop Pod – multi melta & heavy flamer – Drop Pod w/ locator beacon
Dreadnought w/ Drop Pod – multi melta & heavy flamer – Drop Pod w/ locator beacon
MISSION: Annihilation + Spearhead
Pre-game Analysis
This is now the fourth time I am playing Chris, and while he has made some changes to his list (Scouts & Sternguard) from last time, it is mostly unchanged. My target priority stays the same. I am not really fussed about the Scouts and Sternguard and both of those are walking in from the table edge, so I can avoid both of them and no doubt the Scouts are only included in the list for those objective games.
The Dreadnoughts are annoying in this list, and although there aren’t many, they have to be dealt with first turn in some way. If I can score a weapon destroyed on them or stop them from moving in shooting in anyway I’ll be happy. After that I just hope Chris’ reserve rolls don’t go his way.
For my Necrons the main problem I see is the double Assault Terminator units. My Wraiths and Scarabs are my primary assault units. Scarabs aren’t good against infantry and the Wraiths will only tie up the Terminators for so long. Everything else I can gauss to death (or tesla) and hopefully I can get some good gauss damage on Dreadnoughts to suppress them; that’s if the Triarchs haven’t blown them up.
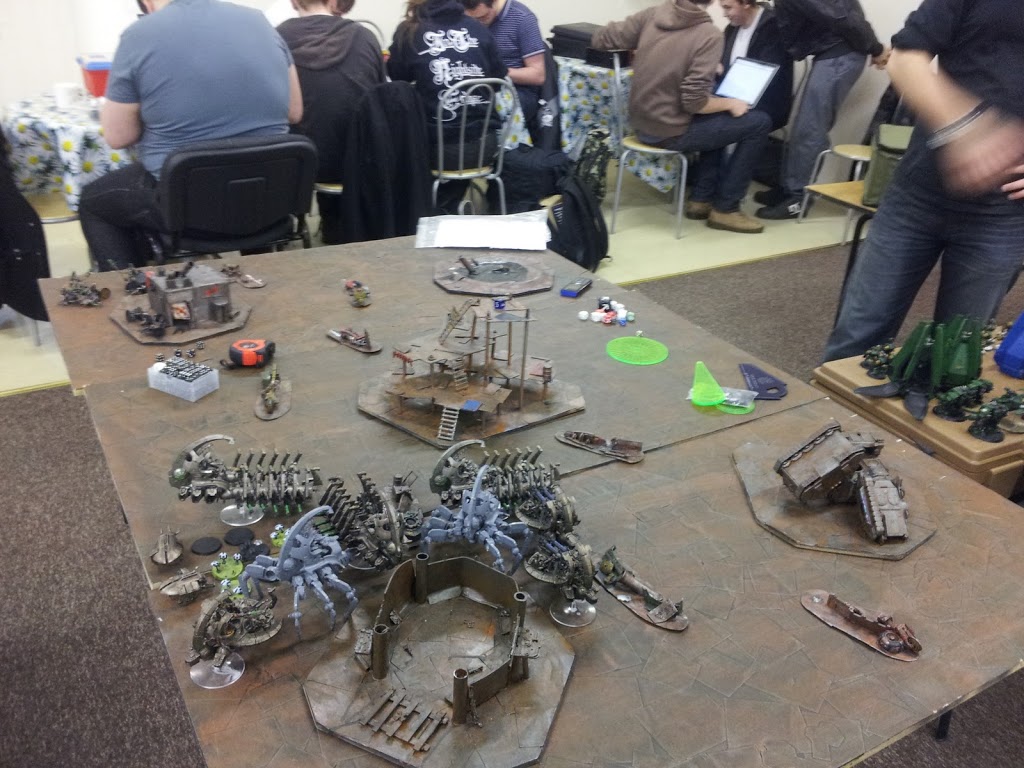
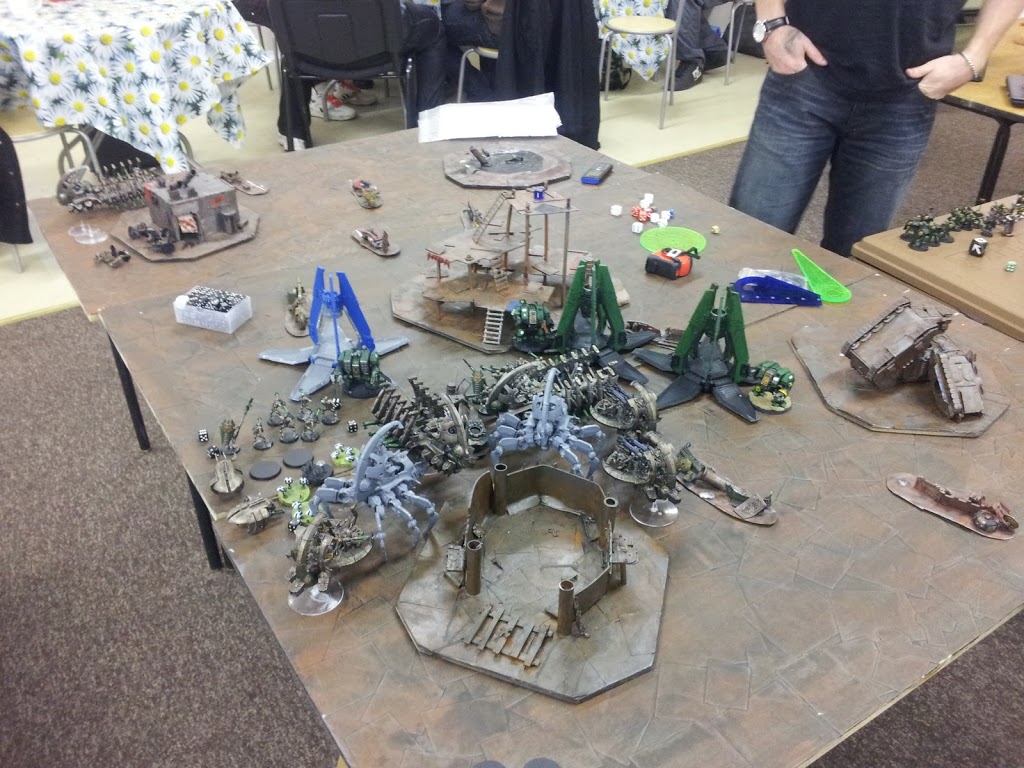
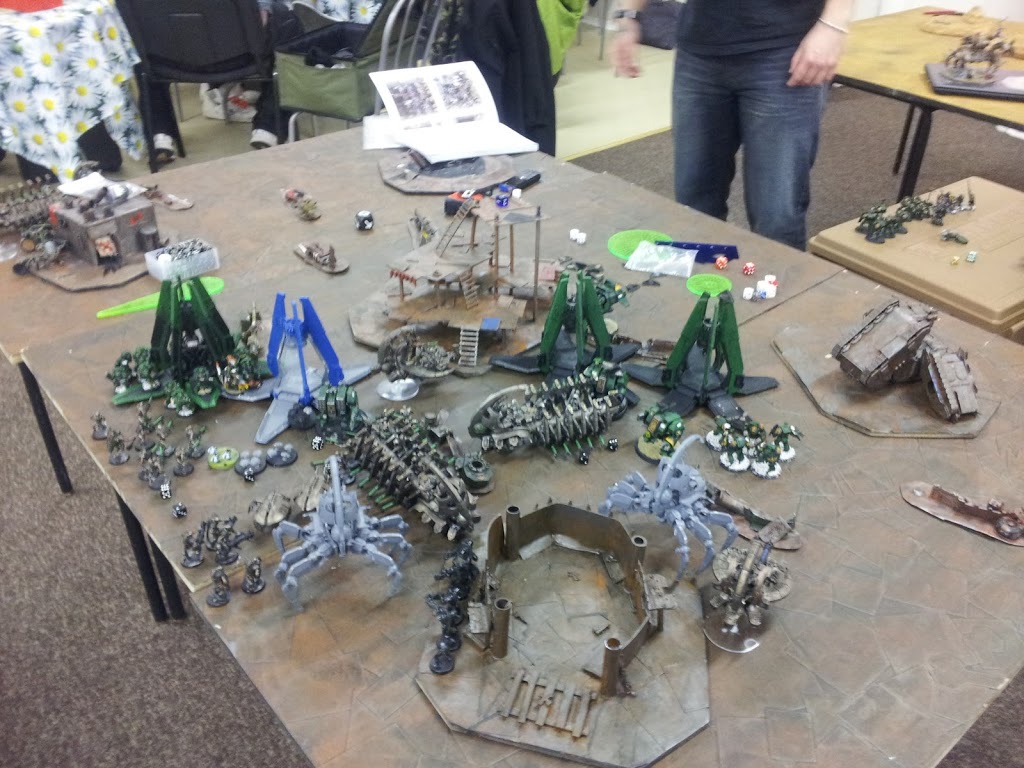
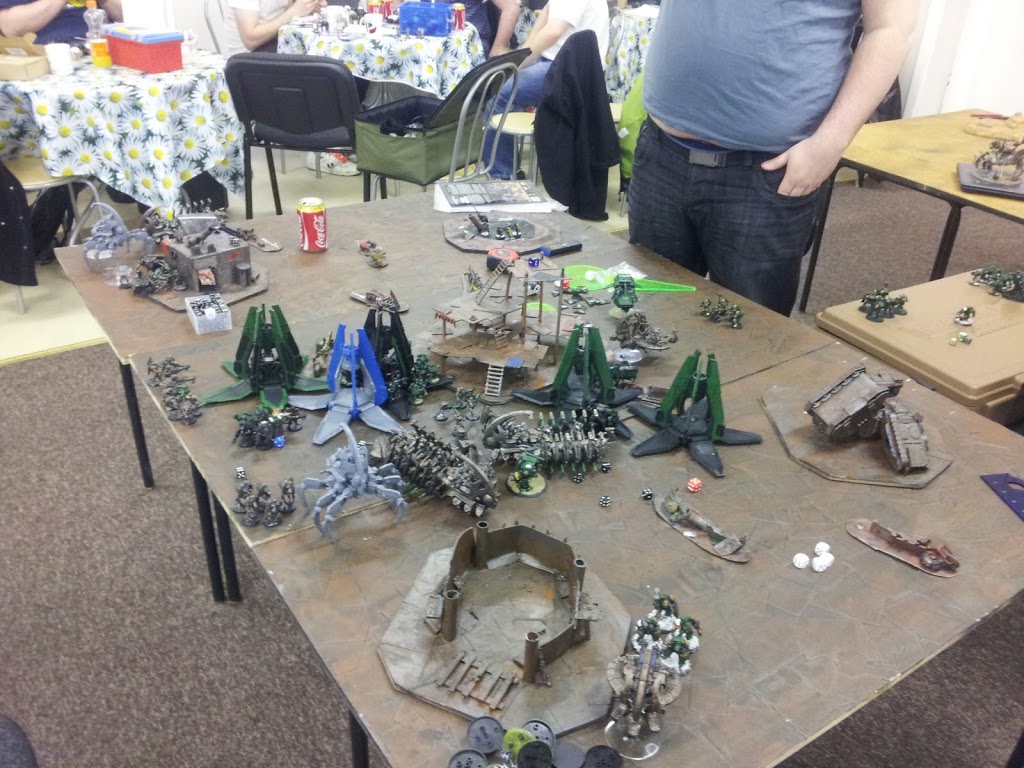
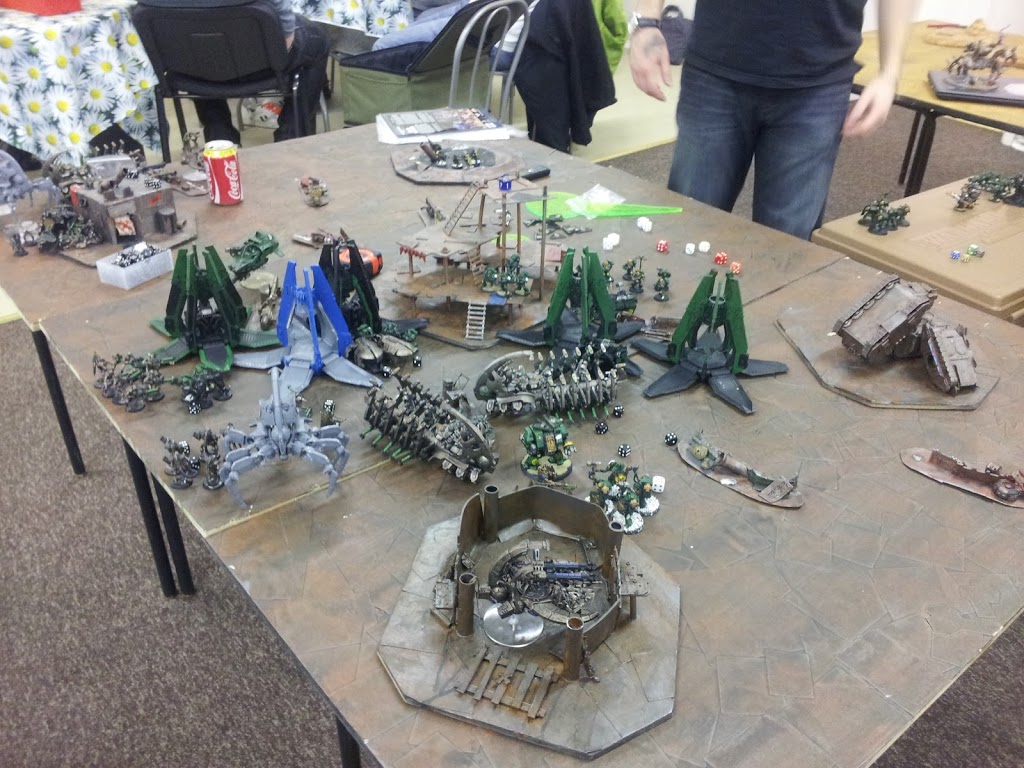
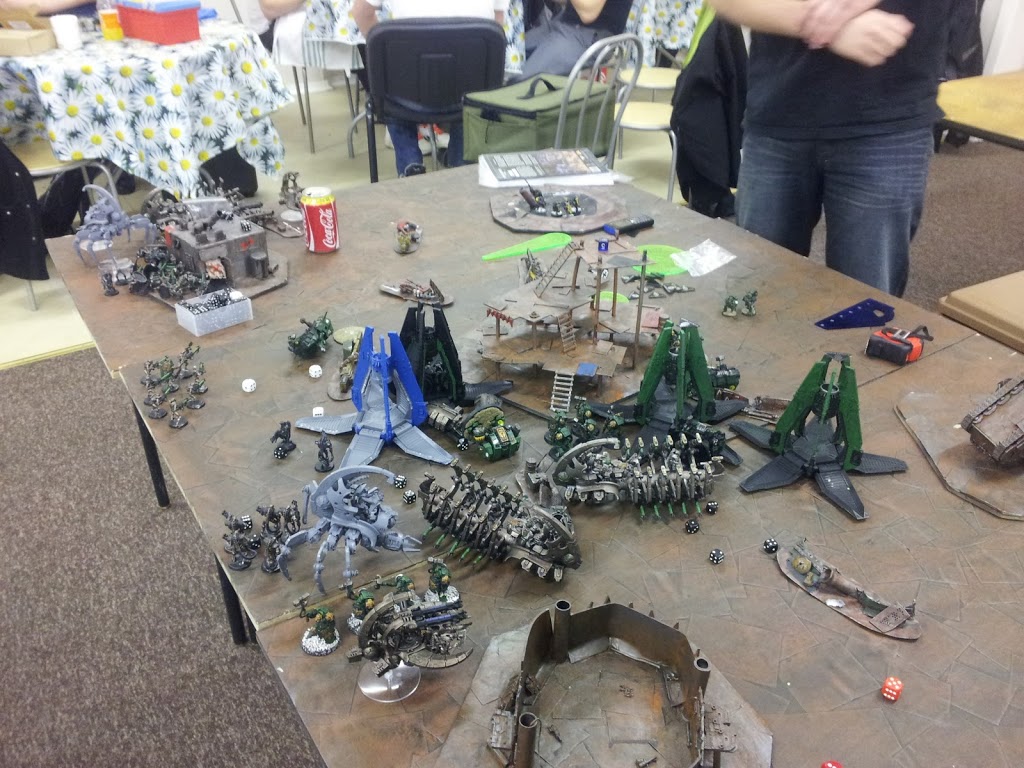
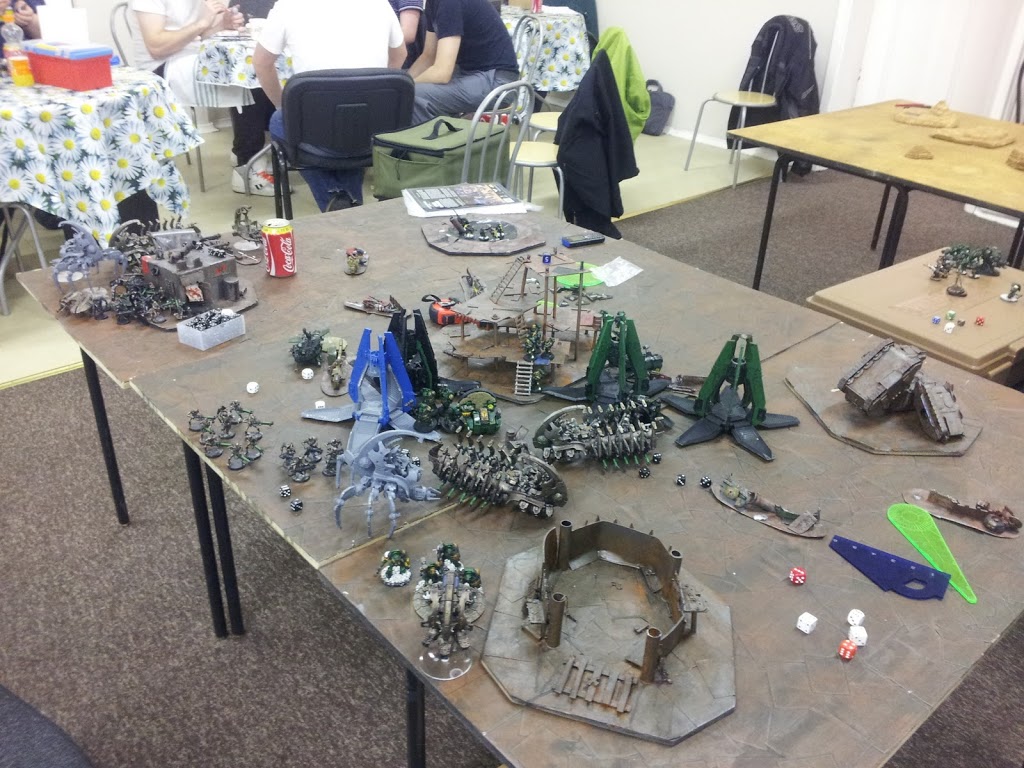
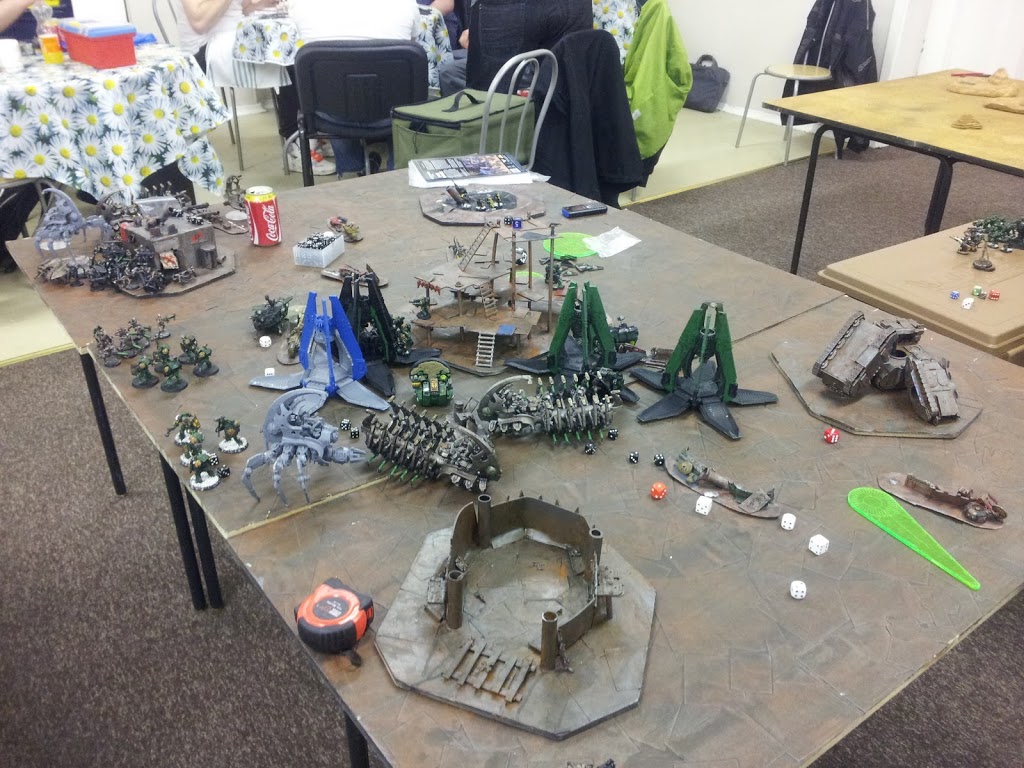
Deployment
Chris won the roll off and decided to go second, a good choice by him. I took the bottom right corner and castled up my forces, I put the Ghost Arks at the front and then everything behind. I left a small gap behind as a sort of temptation for Chris, this was near the board edge so he would have to hope for good scatter rolls if he did drop on there. I kept the Immortals in reserve.
Chris deployed nothing, can’t say that’s a surprise 😛
* Tactical Notes
Ok, Chris is going second here, which isn’t good for me as I lose a turn of shooting. When his Drop Pods arrive I expect those Dreadnoughts to be blasting the Triarch Stalkers and Annihilation Barges, this would cut down the serious anti tank and high strength weaponry, that’s what I expect Chris to do anyway.
My target priority is to in some shape or form stop those Dreadnoughts from shooting and moving. Then when other units arrive I’ll deal with Speeders and Tactical Squads, Vulkan I’ll tie up with Wraiths or something while gaussing and blasting Terminators to death.
Turn 1
I move my things a little bit so Chris doesn’t auto hit in combat. Thinking backon it, I’m not sure what the point in this was as Dreadnoughts cannot assault out of Drop Pods anyway! I’m a nitwit – though it doesn’t matter as I literally moved them a little bit.
No shooting!
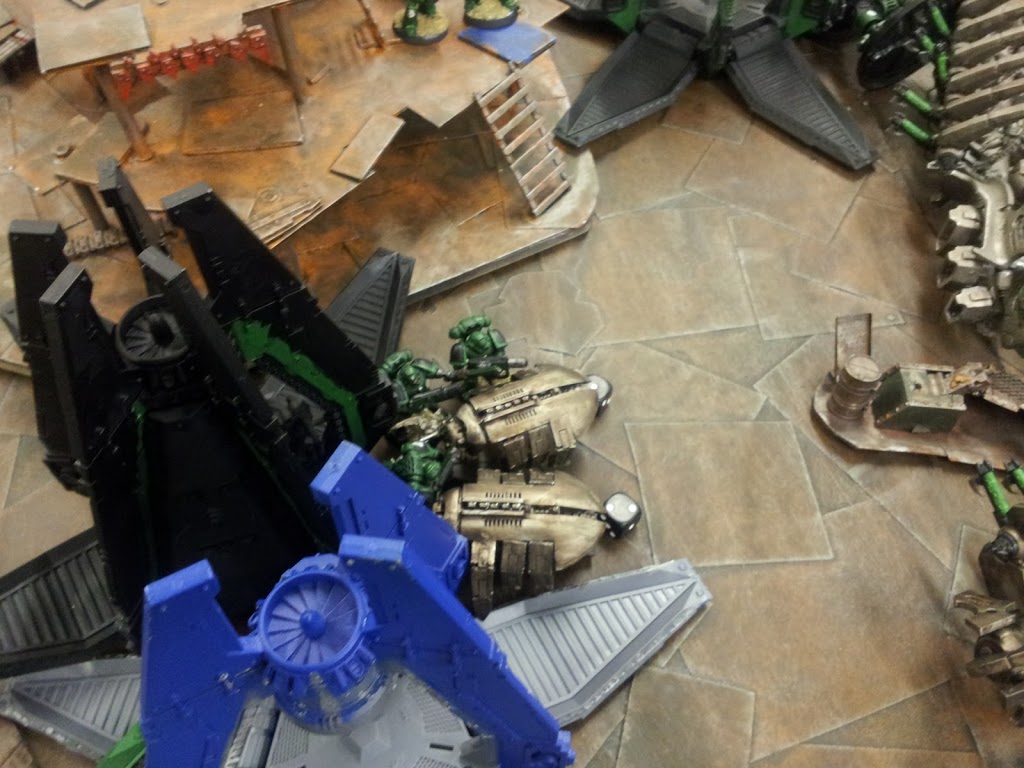
Three Drop Pods carrying the Dreadnoughts bomb down and land at 9p, 11p and 12a positions around my Ghost Ark line.
Shooting; Dreadnought at 12 position blasts a Annihilation Barge stripping away the quantum shielding and immobilizing it. The other Dreadnoughts do better and one wrecks a Ghost Ark while the other makes it go boom, I lose a few Necrons in the blast, they pass pinning.
* Tactical Notes
Chris has taken a nice lead by taking out two of my Ghost Arks, this is quite annoying as the Ghost Arks add a lot of suppression fire (they can knock out 20 gauss flayer shots) and regenerate any Warrior units which have taken some damage, at least I’ve got a Ghost Ark left.
Next turn I’ll move the Scarabs up to assault a Drop Pod, as it’s immobilized they will no doubt wreck it thanks to entropic assault. I’ll blast the Ironclad with a Triarch Stalker and then gauss it if it’s still there, the other Stalker will tackle another Dreadnought while the Overlord sweeps the other – gauss and telsas will add fire power where needed.
Turn 2
I roll for reserves and the Immortals come in near the Scarabs.
I spawn more Scarabs without any problems. I attempt to regenerate some Warriors and roll a 1 for the Ghost Ark, the Warriors are back to full strength, but the glancing hit wrecks my own Ghost Ark! Drat! My Overlord sweeps a Dreadnought and scores a weapon destroyed and I take out the multi melta.
Shooting: A Triarch Stalker blasts the Ironclad and scores weapon destroyed; I take the arm with the meltagun. Warriors follow up thanks to to nice twin-linked action and the Ironclad is immobilised and shaken – gauss ftw! Warriors blast the Dreadnought the Overlord attacked and score a shaken. The other Stalkers blasts the other Dreadnought and score a weapon destroyed – I take the multi melta. My Annihilation Barges both fire at the Dreadnought the last Stalker fired at but only manage to shake it.
In assault the Canoptek Scarabs rot a Drop Pod away (the blue one).
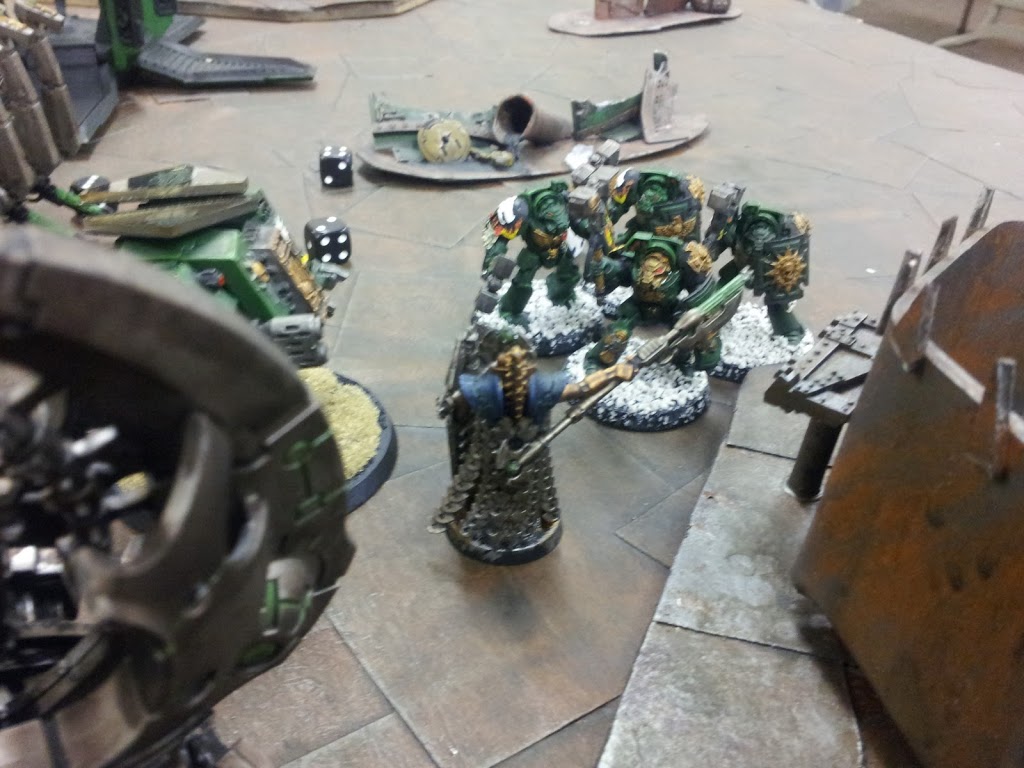
Chris Turn: Vulkan and a Tactical Squad, Assault Terminators and Land Speeder arrive from reserve. Everything deep strikes in except for the Speeder which moves 24″ down the centre of the board and taking cover behind a Drop Pod and Dreadnought.
At this point I realised I’ve made a real school boy error and forgot to deploy the Wraiths! (proxy black Immortals), I drop them in the terrain piece where I would have originally put them anyway – I just hope they are in assault range of Vulkan!
Shooting: Flamers from Vulkan’s unit along with bolters blast the Scarabs and thin them out while the other combat squads blast into Warriors. A couple of storm bolters fire into Warriors as well, but that’s it really.
In assault one of the Dreadnoughts charges into my Warriors – they fail morale and fall back but are destroyed either way as the Dreadnought swept them and my own Warriors were blocking them. The other Dreadnought assaults the immobilised Annihilation Barges and easily wrecks it.
* Tactical Notes
Not a very good turn! I gave Chris a free kill point from my Ghost Ark thanks to bad dice rolls, that means I’ve got no more Arks to regen more Warriors. Another bad spot for me was forgetting to deploy the Wraiths, what a school boy error! I just hope they can assault Vulkan next turn.
Chris has now taken a nice lead, I am hoping I can catch him up this turn, the Ironclad will be easy prey for the Scarabs as it’s now down to one attack – I’ll pile the Spyders in just to be on the safe side. Immortals and Warriors will thin out Vulkan’s unit and the Wraiths can charge in, while the other Warriors gauss a multi melta combat squad. Overlord will sweep the Speeder.
Turn 3
The Spyders spawn two more Scarabs boosting their numbers back up. My Warriors move to allow room for the Wraiths to come through, they land near Vulkan after moving through terrain without problems. The Triarch Stalker near the Assault Terminators moves deeper into terrain to hopefully avoid a charge while the Annihilation Barge moves away also. The Overlord sweeps the Land Speeder and wrecks it.
Shooting: Warriors gauss a multi melta combat squad leaving three left and killing the multi melta – the squad passes morale. More Warriors and Immortals blast Vulkan’s unit to thin them out before the Wraiths assault. A Triarch Stalker fires at the Drop Pod next to the depleted multi melta combat squad and misses, the other Triarch Stalker blasts another Pod and scores a weapon destroyed. The Annihilation Barges blast one of the Dreadnoughts and wrecks it.
In assault the Scarabs and Spyders charge the Ironclad, though the Scarabs take it down to Chinatown. The Wraiths charge Vulkan and the combat squad, and win combat with only Vulkan left who is now on two wounds.
Chris’ third turn: Scouts, Sternguard and the other Land Speeder arrive from reserve – all of them coming in from the board edge. The Scouts take up position in area terrain in the top left while the Speeder and Sternguard move to engage the Overlord. The last Drop Pod arrives carrying the Master of the Forge and a Tactical Squad, landing near Vulkan.
The Assault Terminators move to assault the Triarch Stalker, it’s going to be close! The depleted multi melta combat squad moves to assist Vulkan in combat.
Shooting: A Land Speeder and Sternguard blast the Overlord but neither do any damage. The Tactical Squad out of the Drop Pod which just arrived (split into combat squads) blasts the Warriors in front of them, who pass morale. The nearby Scarabs get incinerated by flamers and bolters and are wiped out.
In assault the depleted combat squad joins in with the Wraiths. The combat is a draw as Vulkan takes a wound and a Marine dies and two Wraiths take a wound. The Assault Terminators just make assault with the Triarch Stalker. The Stalker kills a Terminator though it’s hammered in return – Termies consolidate towards the Annihilation Barge.
* Tactical Notes
Things have started to turn around for me now. I have started to gain kill points, though Chris still has a nice lead. I’ve now lost my Scarabs, which would have moved onto another Drop Pod as it is just a easy kill point – though the Spyders can do the same job I guess.
Next turn I will send the Spyders to attack the Master of the Forge in combat, that’s a easy kill point while Warriors and Immortals blast combat squads.
Turn 4
The Warriors near my table edge move to get better LOS on the multi melta combat squad which arrived from the Drop Pod in Chris’ last turn. The Overlord turns away from the surrounding melta and moves back into Necron terriority and sweeps the last Dreadnought, but only scores a shaken!
Shooting: Warriors and Immortals blast the multi melta combat squad, who takes 25% damage and fails morale and falls back. The depleted Warriors blast into the Master of the Forge’s unit to soften them up for the Canoptek Spyders. A Triarch Stalker blasts a Drop Pod again – and misses – again! The Annihilation Barge blasts the remaining Dreadnought and does no damage.
In assault the Wraiths kill Vulkan but only two of them remain and one has one wound. My Spyders charge the Master of the Forge and combat squad, they roll poorly and hardly hit and don’t wound at all. In return they take a beating and the plain Spyder has a single wound left and the claw Spyder two wounds.
Chris rolls for reserves and the Assault Terminators – don’t arrive.
His Sternguard move down towards the centre ruin while the Speeder moves flat out towards the Warriors by my table edge. A Dreadnought moves to engage the Overlord’s Barge along with the Assault Terminators.
Shooting: The Sternguard and regrouped combat squad blast the depleted Warriors, who fail morale and fall back. That’s all the Salamander shooting!
In assault the Dreadnought explodes the Overlord’s Barge before the Terminators strike but the Overlord emerges unharmed. The Master of the Forge gets ripped too pieces in combat while a Marine snuffs it. Wraiths and the two remaining Marines battle to a stalemate.
* Tactical Notes
I’ve managed to almost catch up with Chris on kill points now, though he is still one ahead. I see at last four easy points on the Speeder, depleted combat squad and both units engaged in close combat. If all goes well I should take a nice lead here.
My plan is to blast the Speeder with Warriors and hope it goes down, the Triarch Stalker blasts the Drop Pod, again, while Wraiths and Spyders do what they do in combat. I am not sure what to do with the Overlord though, he’s dead either way I guess.
Turn 5
I carry on falling back with my Warriors as they are within 6″ of a enemy unit. They move off the board and give up a kill point. The Annihilation Barge moves into terrain so the Assault Terminators cannot just walk up and whack it. Warriors move to draw better LOS on the Speeder.
Shooting: Warriors blast and wreck the Speeder. The Triarch Stalker blasts and explodes the Drop Pod. Immortals blast into the depleted combat squad along with the Annihilation Barge, leaving two Marines left who fail morale and fall back.
In assault the Wraiths wipe out the combat squad while the Spyders do the same. I charge the Overlord into the Dreadnought thinking it had a power fist, it’s a dccw – what a noob! Overlord is smashed. I guess charging the Overlord into the Assault Terminators would have resulted in his death also.
The last unit of Terminators arrive from reserve and land near the Canoptek Spyders.
Dreadnought moves to engage the Spyders while the combat squad fails morale again and carries on falling back. The other Assault Terminators move to engage the last Triarch Stalker.
Shooting: The Spyders get shot by the Dreadnought’s heavy flamer and a few storm bolter shots fire, that’s it.
In assault the Assault Terminators wreck the Triarch Stalker while the Canoptek Spyders split open the Dreadnought, though one Spyder is killed.
* Tactical Notes
I’ve caught up with Chris and now overtaken him by a few kill points, I’ve got the lead on him like he has had on me majority of the game. I am really hoping that the game ends next turn and I can pick up a close shave victory, if not I haven’t got a lot left which can deal with the remaining units.
Turn 6
The Game continues…
My remaining Warriors and Immortals move to blast the Assault Terminators while the Wriaths move up to assault. In shooting and combat the Assault Terminators are all fine.
Salamanders turn: Sternguard move up while the falling back unit regroups. The Assault Terminators charge and kill the remaining Spyder while the other Assault Terminators smash the Wraiths.
* Tactical Notes
I really should have played defensively in my last turn instead of aggressive. I should have moved all units away so Salamanders couldn’t reach assault or shoot. I was hoping too much to kill the Assault Terminators with torrent of fire power, which the Warriors was hardly in range for anyway. All I can hope is that the game ends this turn and I pick up a draw.
Turn 7
The Game continues. (insert dramatic music)
I play defensively and move the Barge 12″ away so it’s just out of Assault Terminators range and move and run the Warriors and Immortals – but both roll a 1 for running. I just hope they have moved far enough.
Salamanders last turn: The full strength Assault Terminators manage to assault the Immortals and smash them to bits picking up a vital killpoint.
Summary
Wow, that really was a epic game! I started off not doing so well and managed to catch up and over take. I was really hoping the game would end turn 5, it didn’t, and I then took my eye off the ball and should have turned to defensive tactics instead of offensive. After my winning streak – the Necrontyr are now undone and the mighty have fallen.
A big well done to Chris, he’s got his own back on me for the last few games. He played well and went for the target priority of crippling my ability to regenerate my Warriors. He knocked out my firepower and then just stomped around with his Assault Terminators literally hammering all my units. His list is almost there, the Scouts will do nicely in objective games, though I think the Sternguard either need a Drop Pod or just replace them with another Dreadnought. The Sternguard could get a Drop Pod if the Ironclad was degraded to a normal Dreadnought, it’s not like the Ironclad lasted any longer anyway.
Thanks for reading and what did you think everybody?


