WARMACHINE: The Great Bears

It takes a little deeper understanding of the game (only a little, this is still axe-to-face, not rocket science) to learn to use the Bears correctly. For anyone who recently started Khador, I’d like to share one of the things I learned about them early on: They’re for counterattacking, not for leading the initial strike.
Firstly, Warmachine is primarily a game about trading pieces. Because almost everything can charge to boost melee damage, but few things can boost ranged damage, the game is focused in favor of close combat. Thus, it’s usually difficult to take out a hard target without exposing your models to a counterattack. You often need to commit models of reasonably high value (e.g. your heavy warjack) in order to kill something of equally high value (e.g. their heavy warbeast). The Bears break this rule.
The Great Bears are 5 army points that you can spend in order to ensure that, with very few exceptions, if they send in a heavy to kill your heavy, it’s going to die in return. Doesn’t matter if their heavy cost 7 points or 13 points, it still cost more than the Bears, and they are still going to kill it in one turn almost guaranteed(*). They should not be in the front lines where they can “die before they do anything.” They should be at the back of your army, safe until it’s time to counterattack and they can prove themselves “the best melee unit in the game.”
As in all things Warmachine, this comes down to 2 fundamentals: positioning and probability. First off, positioning. Here’s one example of how to position the bears:
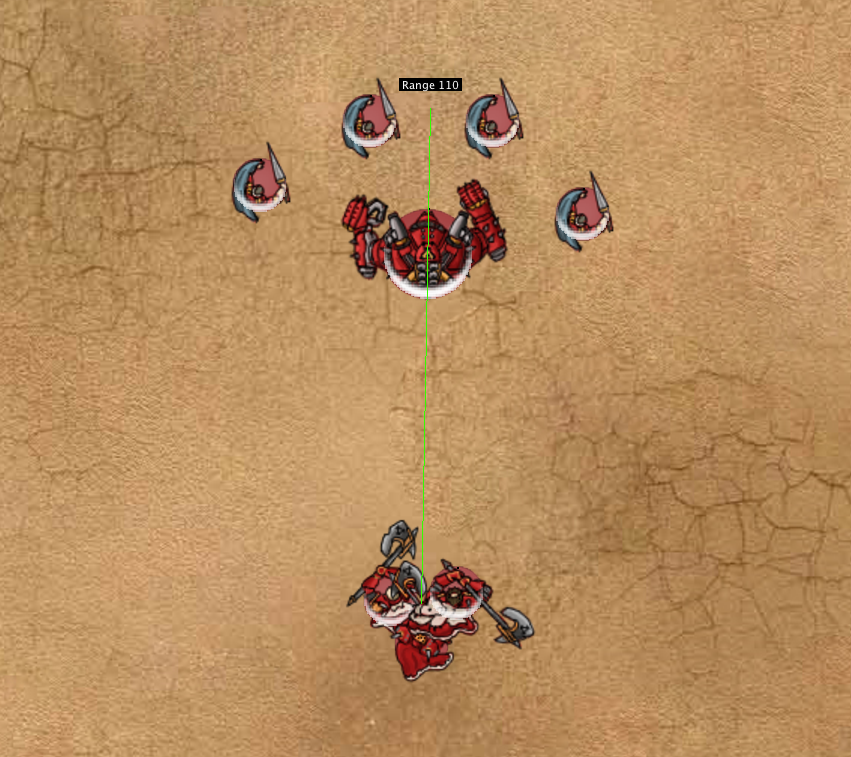
Which brings us to probability – if you’ve just started playing the game and look at their card, you may wonder where the hype is coming from – its 3 dudes with pow 12 axes, how much could they really do to that ARM 19 heavy? They have backswing, which means they deliver 6 attacks despite only taking up the space of 3 models, so you can almost always clear a lane to put them all on one target(**). They’re weaponmasters, which means they’re rolling 4 dice for damage on the charge and 3 dice on the backswing. This isn’t as consistent as a higher pow weapon with lower number of dice, but it has the potential for spikes of much higher damage. Precision strike lets them remove shields or cripple systems as soon as they do enough initial damage to take out 2 columns. They’re MAT 8, which means they won’t miss very often against most heavies. Even the difference between needing to roll a 4 to hit with the Bears versus a 6 to hit with a standard melee unit results in about a 20% increase in damage output due to less missed attacks. They’re in Khador, which means they can get Battle Lust or Fury + Butcher’s feat or Hand of Fate or… you get the idea.
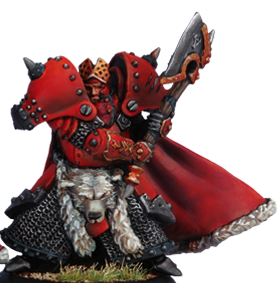
So, bottom line, if someone sends in a heavy to kill your heavy, the Bears eat it for lunch. At which point they’re sitting in the cover of your jack’s wreck marker with DEF 17 against shooting, ARM 16 because you remembered to leave them all base-to-base, and Tough. When they pass their tough rolls, they’re immune to knockdown because you remembered to protect Kolsk, the guy with the helmet at the top of this article. All of that adds up to a serious end-game threat.
Of course, this is not the only way to play the Great Bears. They’re also good for things other than counterattacking – with the proper screening units for delivery, they are quite good at killing casters. MAT 8 is just high enough to hit most casters with a slightly above average roll, and with 4-5 damage dice, one hit is often all it takes. Sometimes if you’re out of other options, you’ll need to send them in to try and hold a scenario zone with tough rolls. Likewise, you’re going to have to change up your positioning against enemies with flaming AOEs that can drift on top of them, or sneaky spellcasters who will Influence them into attacking each other. But in general, if you’re having trouble figuring out how to apply the Great Bears, start out by keeping them well away from the front lines, and ready to counterattack.


