X-Wing: Moving Formations, Part 3

Welcome back Academy Pilot! Today we will talk about how to fly in tight formation and NOT bang into your wingman.
First off, make sure you’ve caught up with part 1 and part 2 of this series. Ok, let’s continue.
Before we talked about what moves not to make when it came to flying in a tight formation where upon examination we realized that you can’t make equal numbered Turns or Banks with ships that start out 100% adjacent to each other. Today we’ll talk about what moves actually don’t end in overlaps and therefore Action robbing collisions.
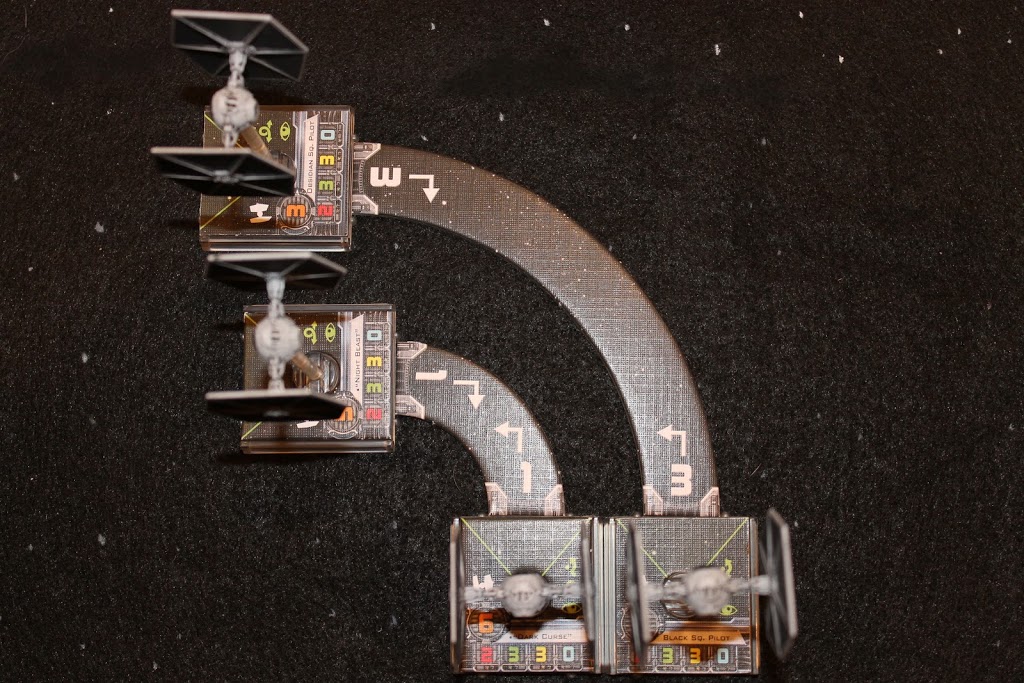
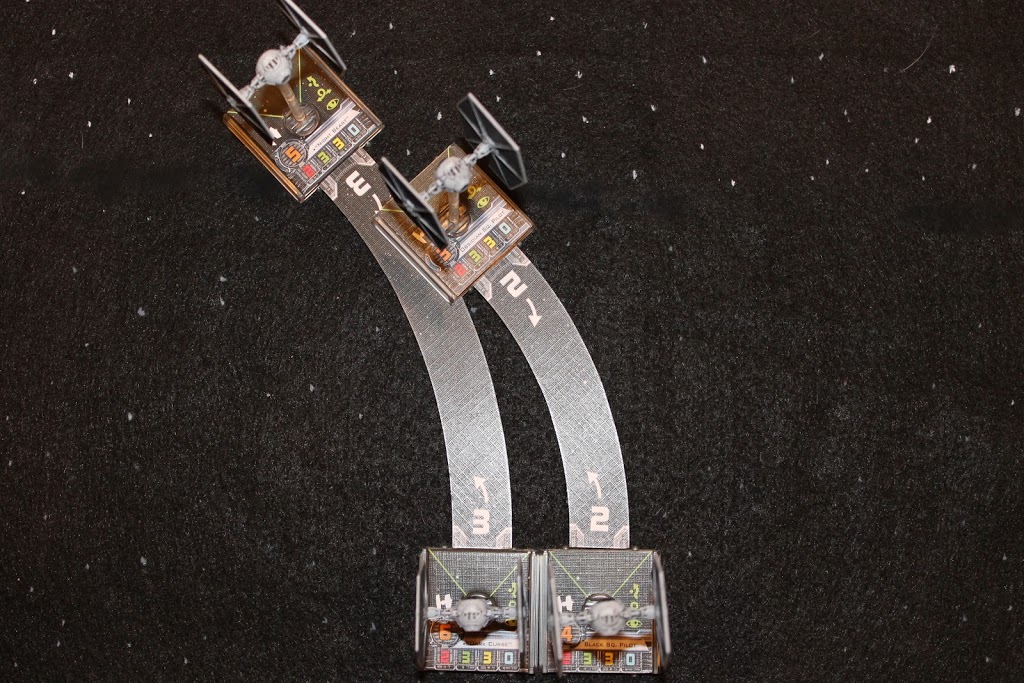
So let’s check out some more moves! First up- Turns. I want to get 3 Turns out of the way first and since we know what happens if we do double 3 Turns, let’s look at what happens when the outside ship pulls a 2 Turn and the inside ship pulls a 3 Turn.
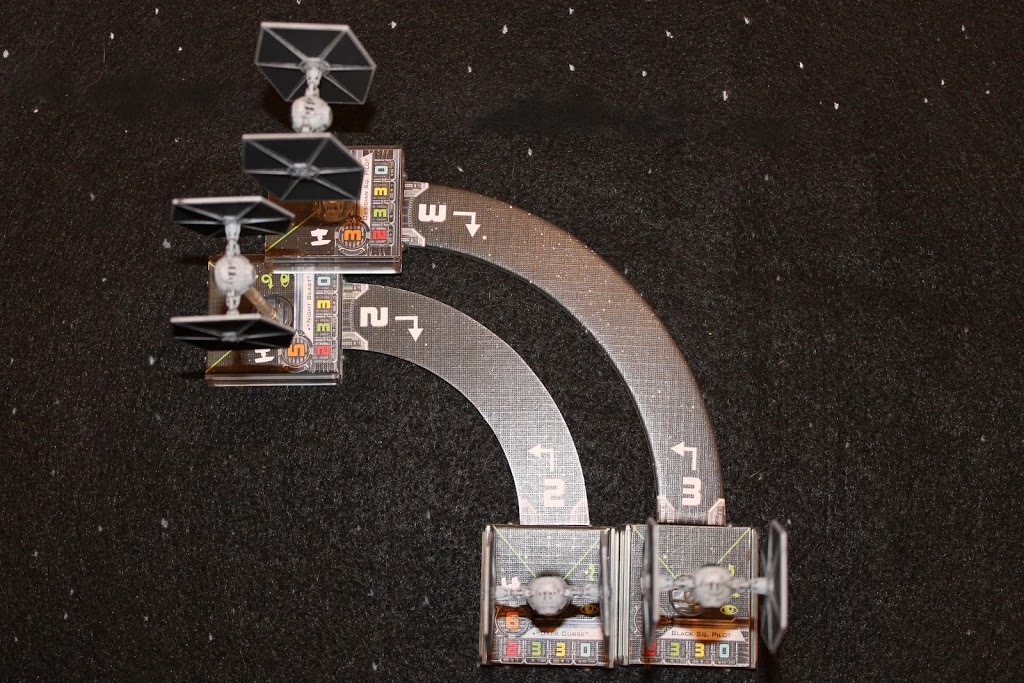
Oh, that’s right out. No good.
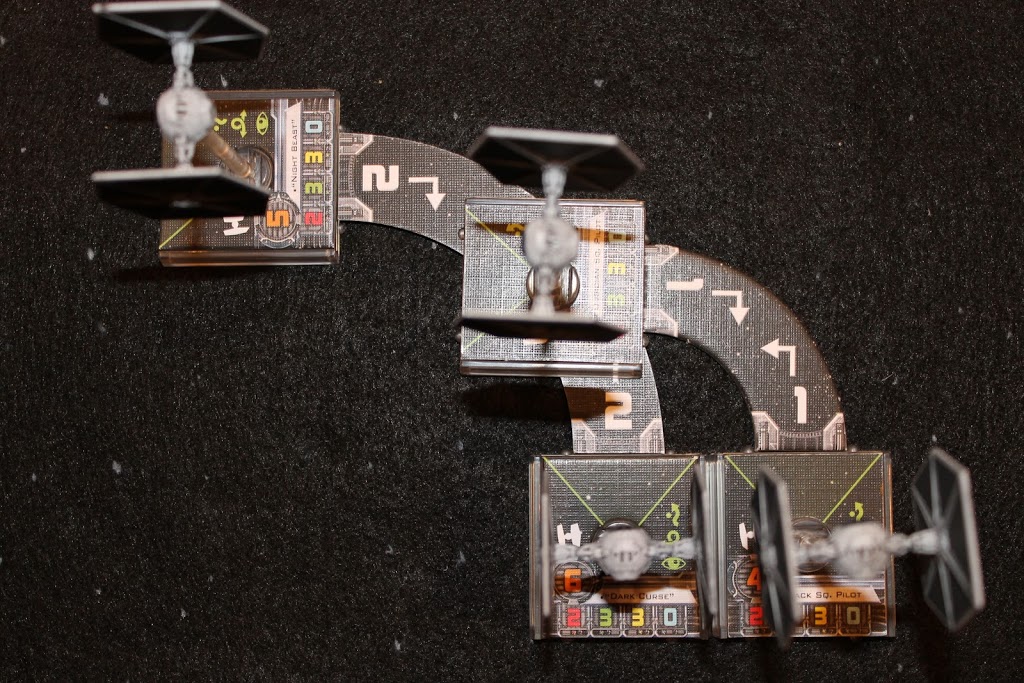
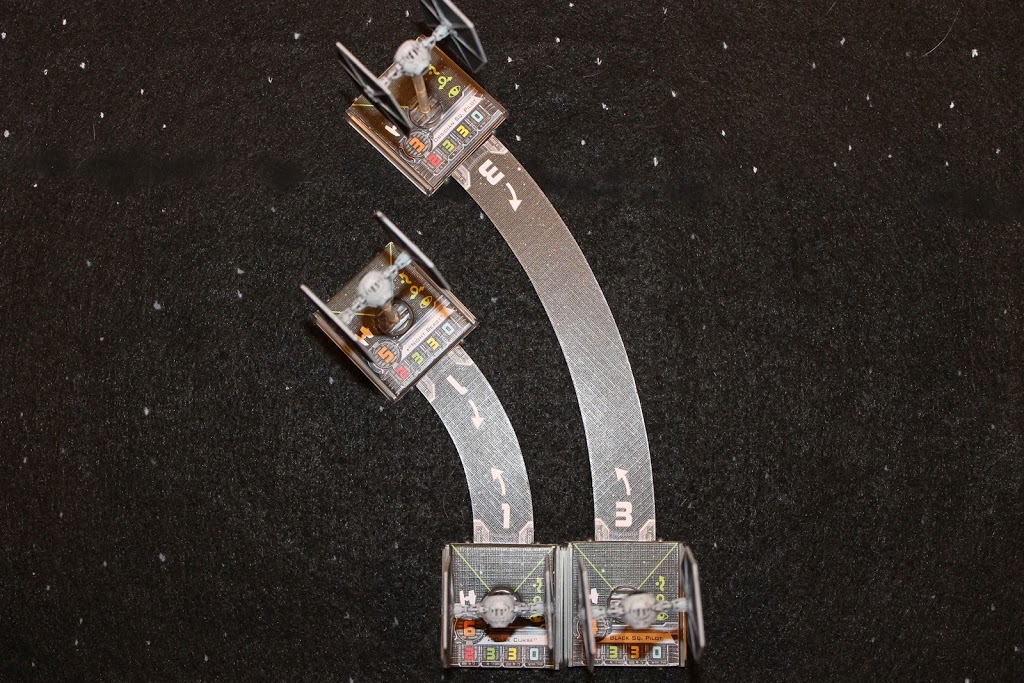
Ok, moving on. Let’s switch those templates and try the reverse- the outside ship pulling a 3 Turn and the inside ship pulling a 2 Turn.
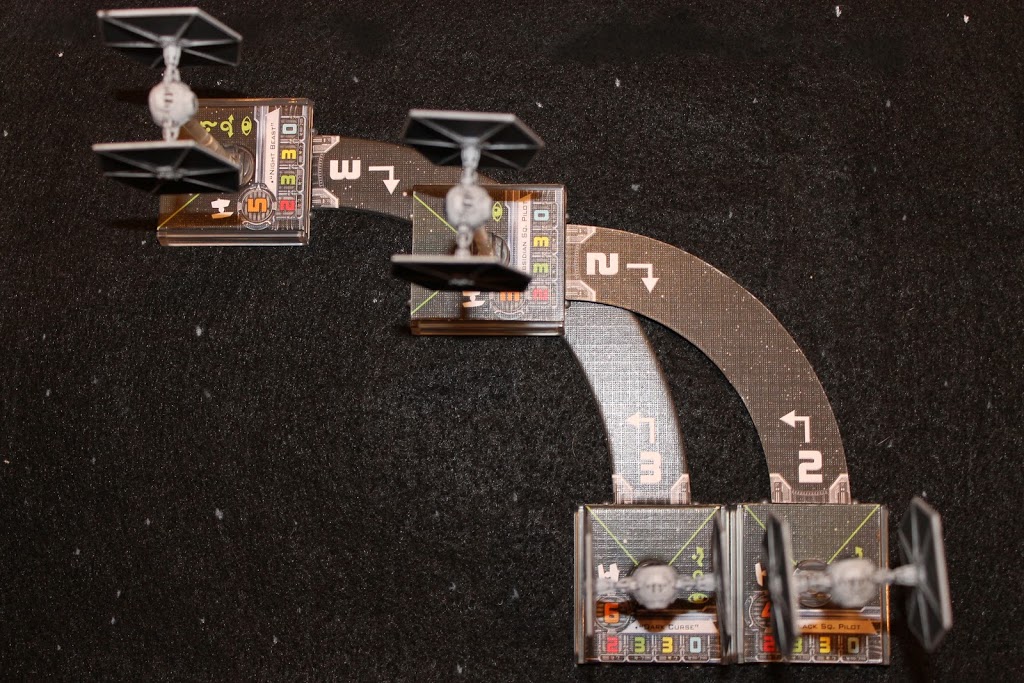
Friggin’ finally! Now we’re getting somewhere! Two ships Turned and didn’t crash into each other! Holy mackerel!
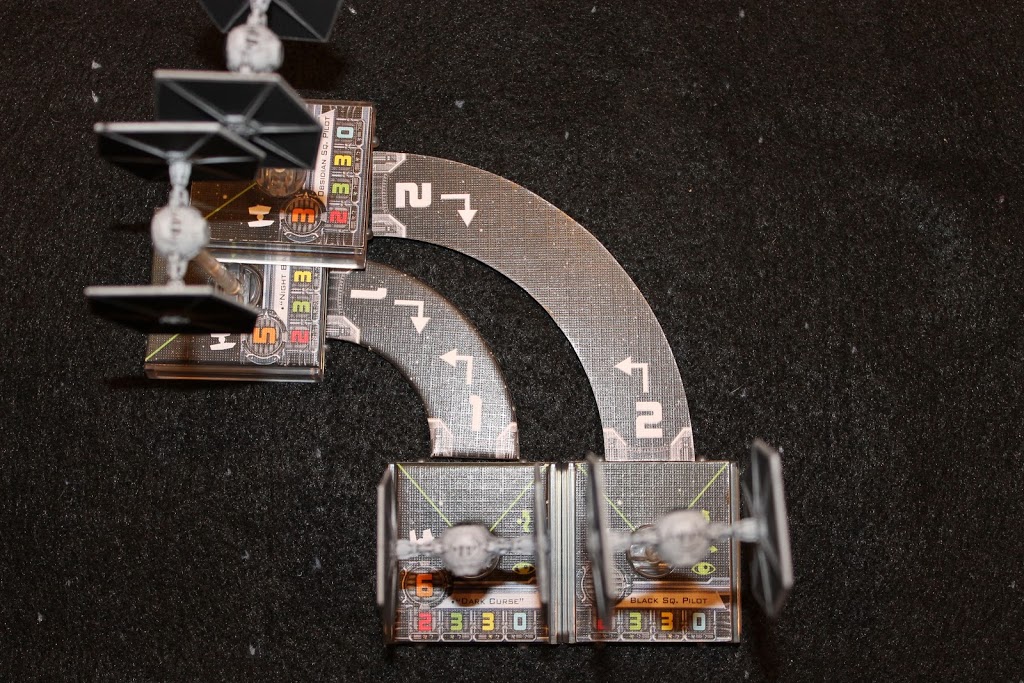
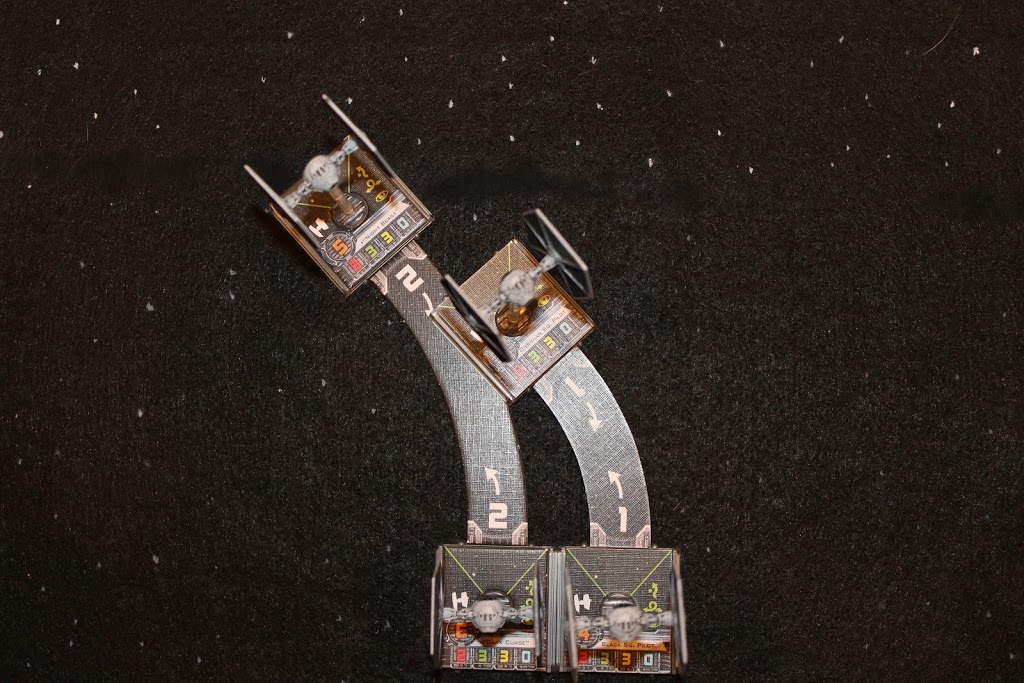
So we’ve covered 3-2 and 2-3, let’s try a ship on the outside Turning 3 and an inside ship Turning 1. Should be cool, right?
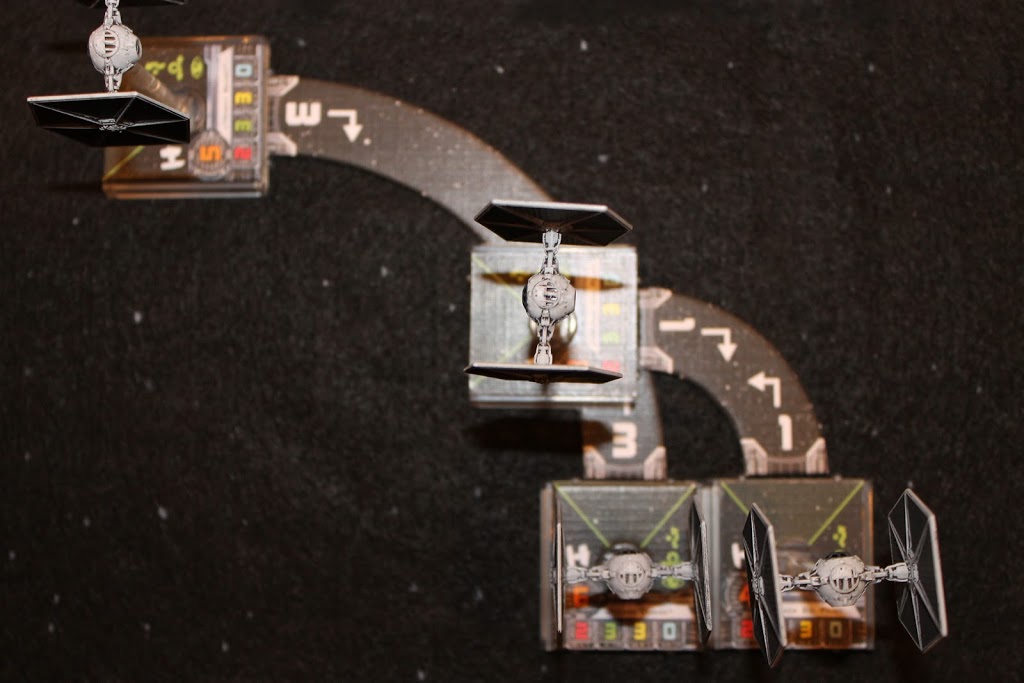
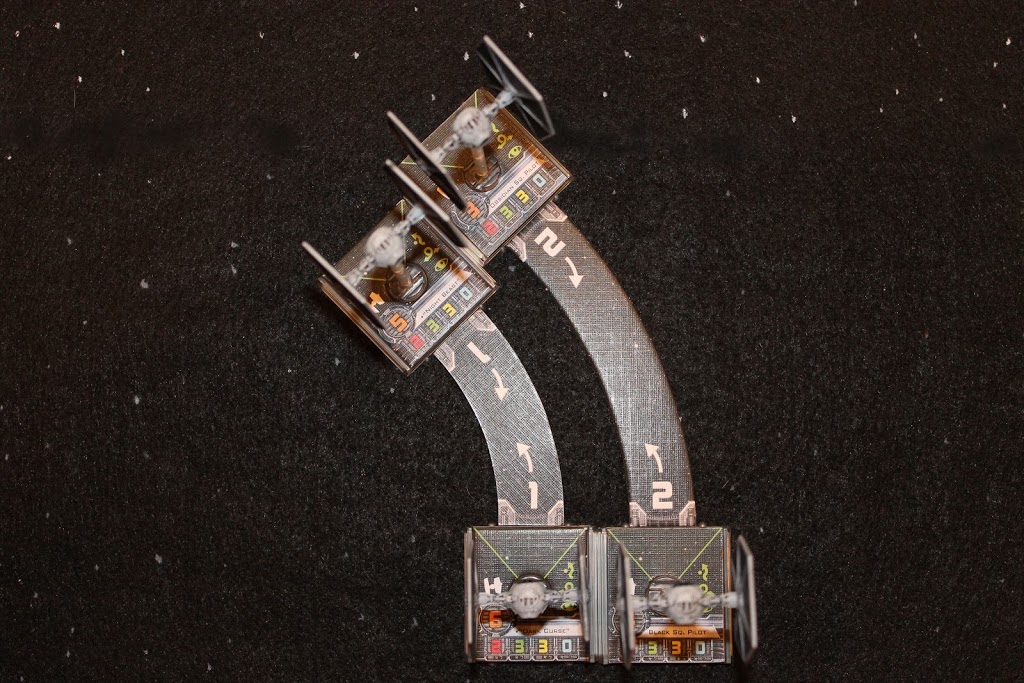
Oh fo’ sho’. No problem there at all either. Let’s try a 1-3 and finish off the 3 Turn permutations.
Smooth like Colt .45.
Ok, so a 2 Turn for the outside is cool with a 1 Turn for the inside. We already did a 2 Turn outside with a 3 Turn inside (wasn’t cool- scroll back up if you already forgot that result and consider seeing a doctor about increasing your ADD meds), so let’s switch them and see if a 1-2 nets the same results as a 2-3 did.
Same results- overlap.
Want to place any bets on Banks?
Same deal- let’s go through the various permutations starting with the 3 Banks. I’ll go in the same order as I did with the turns so I don’t go completely crazy here trying to keep this straight.
First up we’ve got 2 Bank outside, 3 Bank inside.
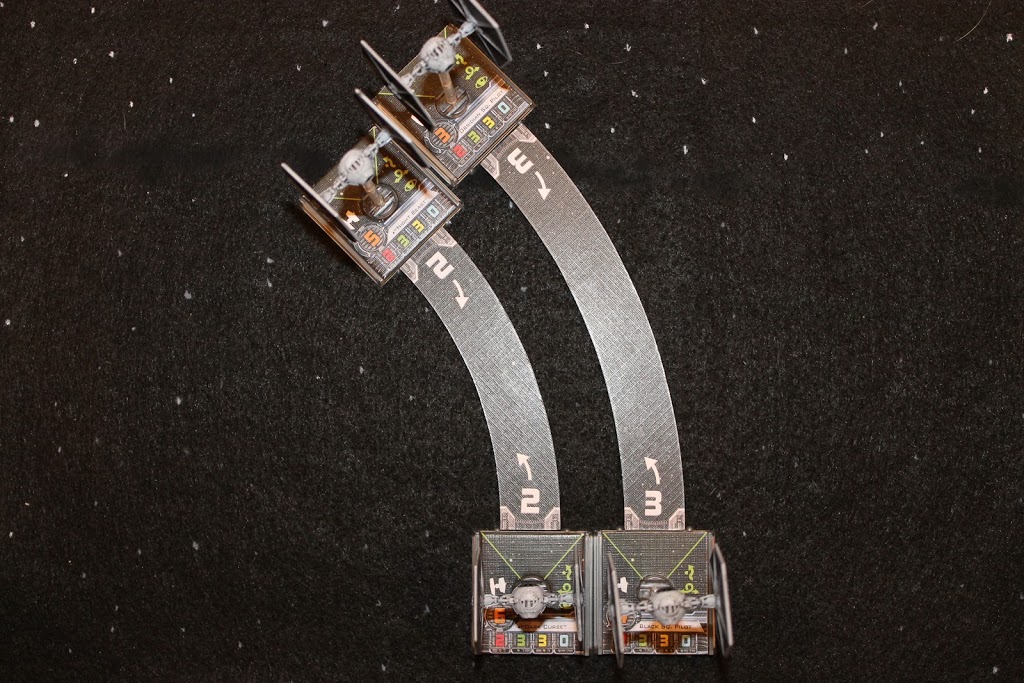
They’re really, really, REALLY close, but it’s a valid move- no overlap.
Let’s flip the templates. Now we’re looking at a 3-2.
Oh yeah! No problem there whatsoever! Two for Two! I spelled that out so nobody would think I was talking about a 2-2 which we already covered the other day. I’m serious. And by nobody I mean me, primarily, for when I go back over this and proofread it later.

Not a care in the world, those two. They’re just rollin’.
Switch templates to a 1-3.
Ditto for these moves. All good.
Last set of moves starts off with a 2 Bank on the outside and a 1 Bank on the inside.
No problemo. Hasta la vista… baby.
Switch templates to a 1-2.
Bank summary time-


